If you’ve spent enough time outdoors, you’re probably familiar with the unpleasant feeling of water seeping into your shoes. Maybe you lost your footing while crossing a creek, got caught in a sudden rainstorm, or simply walked through a field full of dew-soaked tall grass. Whatever the case, it’s always miserable to feel the water saturate your sock like a sponge, and know that you’re going to have to live with wet feet until you can dry them out over a fire.
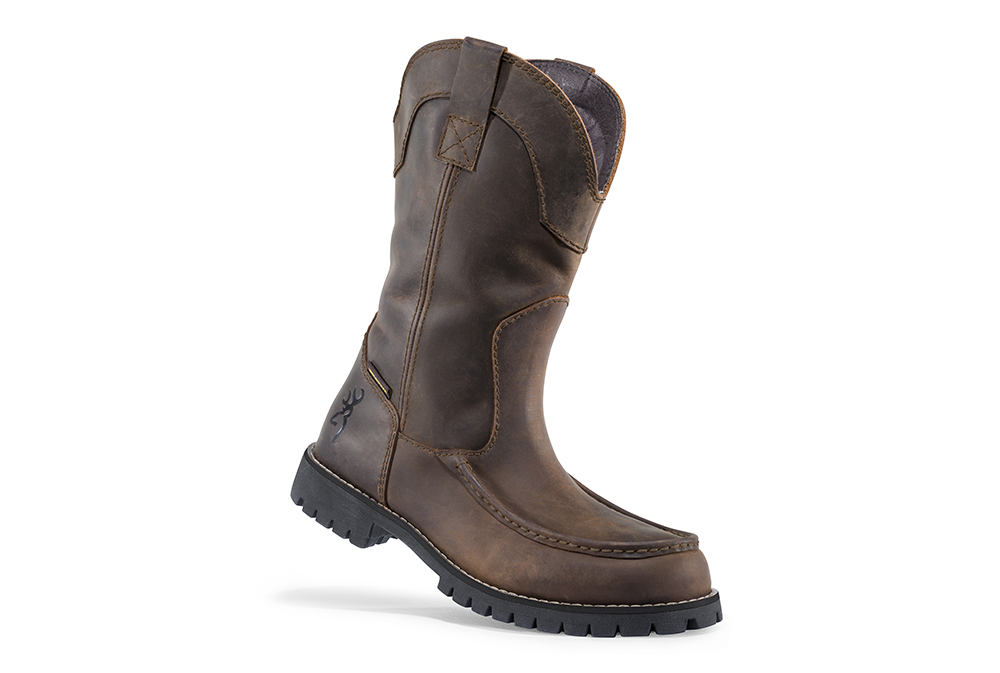
The Wellington style of slip on boots has been used by hunters since the early 1800s, and Browning has released two new upland hunting boot designs inspired by this classic Wellington format. The Browning Watson and Hastings boots are both outfitted with Climate Command waterproofing, so they’ll keep water away from your feet in the situations we mentioned above.
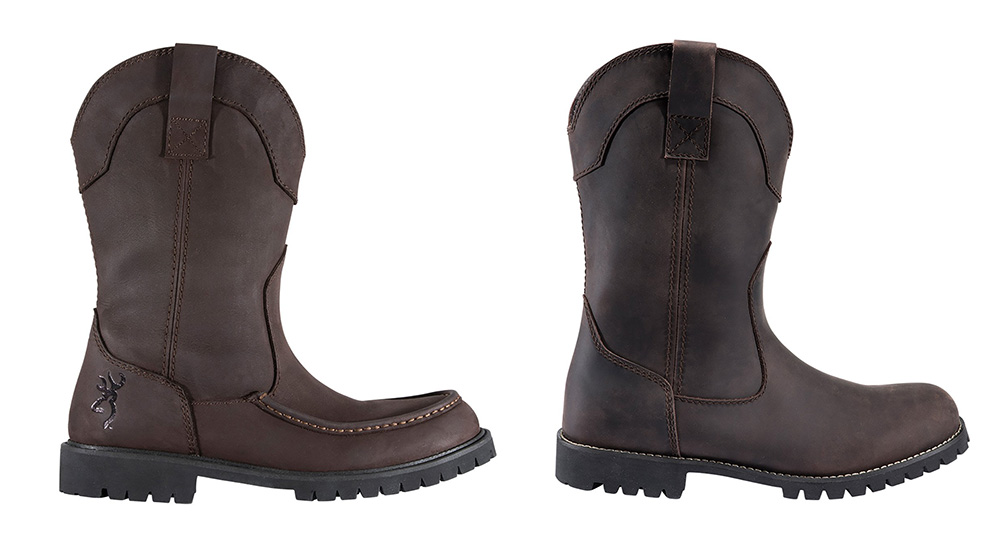
Both of these new Browning boots offer all-leather construction, and are embossed with the Browning Buckmark logo at the heel. The difference between the models visible at the toe section — the Watson boot has a smooth toe, while the Hastings has a moccasin-style toe with additional stitching.
Left: Hastings boot. Right: Watson boot.
The Browning Watson and Hastings hunting boots are available in men’s sizes from 8 to 13, including three half sizes: 9.5, 10.5, and 11.5. Both boots are available at an MSRP of $150. For more information, go to BrowningFootwear.com.
In a true life-and-death survival situation, there are no holds barred when it comes to staying alive. You’ll need every advantage you can get over Mother Nature if you expect to find shelter, build a fire, purify water, and collect enough calories to keep your muscles moving. In these situations, you’ll be far better off if you can actively fish and hunt game, instead of relying on foraging alone.
Foraging for wild edibles and trapping small game can only sustain you for so long.
Sport hunters usually enjoy an element of challenge, and may shy away from tools that provide an unfair advantage over their prey. Hunting laws also dictate what tools can be legally used to attract and kill game in a sportsmanlike manner. When you’re surviving, all these restrictions are cast aside. Tactics such as large gill nets, steel traps, hunting spotlights, and even the use of chemicals to stun prey are all fair game.
Animal calls are another tool which can provide an advantage while hunting to survive. Manual game calls have long been used to hunt ducks, geese, turkeys, and other birds. They’re a great affordable and compact option to include in your survival kit — just be sure to study species in your area, and learn how to use the calls effectively. Here’s a clip from Bass Pro Shops that shows a few duck call techniques:
For a more powerful and versatile option, electronic game calls are worth considering. These devices can reproduce a wide variety of animal vocalizations at high volumes, and bring larger prey to you instead of relying on your ability to track it down. The speaker can be placed downrange in an open field, and remotely activated using a handset to play a sound that will attract animals. However, they require batteries, and may be difficult to repair in the field if they break.
Billy Birdzell of RECOILtv discusses an Inferno electronic call from FoxPro in the following video:
So, while you may already have a fishing kit, snares, traps, and a survival rifle in your emergency kit, have you considered game calls as a survival tool? Let us know your thoughts in the poll below.
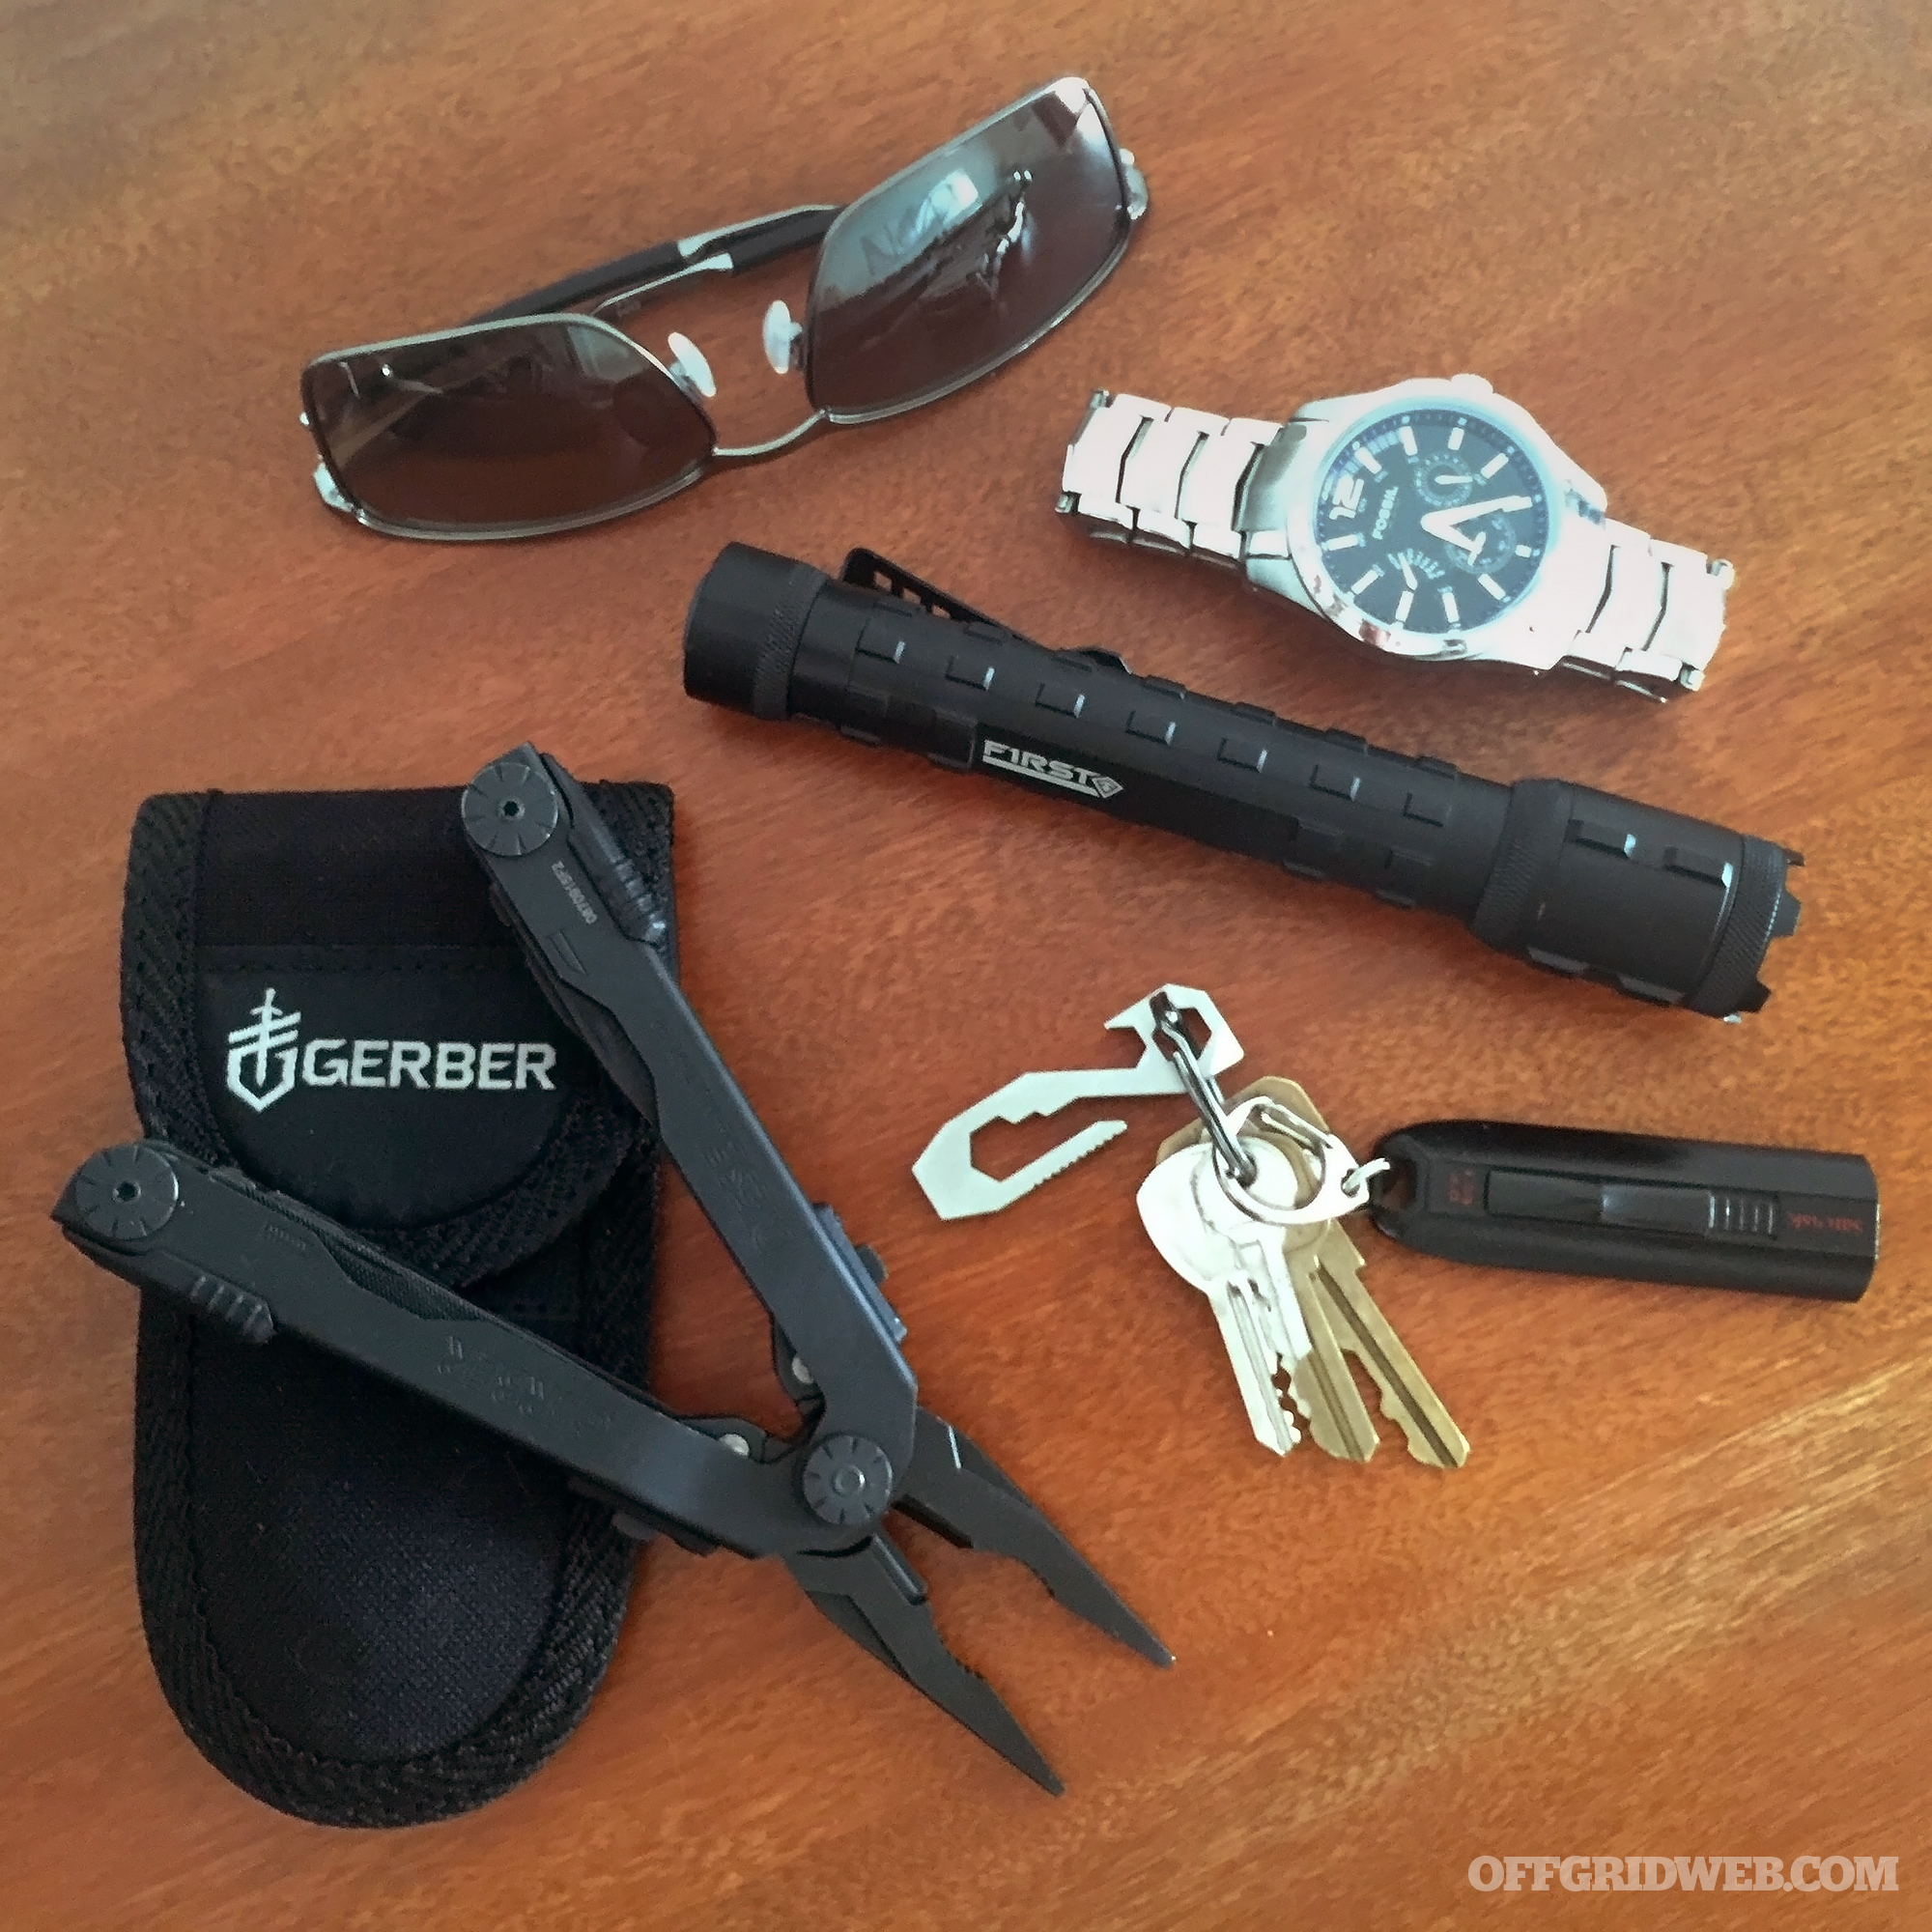
Every-day carry gear, or EDC, is all about being prepared for situations you might encounter throughout your daily routine. Some tasks, such as cutting open a box, jotting down notes, or illuminating a dark corner can be accomplished with conventional EDC tools — folding knives, tactical pens, and flashlights.
On the other hand, some events we prepare for are extremely rare. While getting mugged or carjacked is (hopefully) not a common occurrence in your life, you might carry a concealed weapon for self-defense in these unusual but life-threatening scenarios. In the same way, it’s wise to carry a blow-out kit or personal trauma kit to stop blood loss in case things really don’t go according to plan and you find yourself with a major injury.
The conundrum with EDC medical items — e.g. a tourniquet, hemostatic gauze, Israeli bandage, and gloves — is their size. These items are about as small as they can get while remaining functional, and carrying them in your pockets can be bulky and uncomfortable. In the article below from Breach Bang Clear, contributor Tom Marshall talks about the potential value of ankle carry for an EDC blow-out kit.
Editor’s Note: The following article was originally published by our friends at Breach Bang Clear. It appears here in its entirety with their permission. For more from the Mad Duo and crew, go to BreachBangClear.com or follow them on Facebook or Instagram.
The evolution of concealed carry has, in recent years, taken to an approach we’re huge fans of. Those of us who’ve EDC’ed rucks, IBAs, duty belts and patrol bags have known for years that a compact pistol and a couple extra bullets just isn’t enough. The real world’s infinite variables demand more forethought, and more preparedness. Fortunately, those lessons are now making their way into the knowledge banks of the responsibly armed citizen community. A number of high-profile incidents over the last several years highlight potential disasters that have been successfully thwarted by quick-thinking citizens willing to be more involved in safeguarding their own safety.
But there’s a flipside to every coin. What comes with being prepared versus simply being armed is the ever-increasing complexity of the carry “loadout”. To put it another way, the more situations we want to be prepared for, the more stuff we have to carry. For better or worse, the idea of citizens wearing full gun belts fell out of fashion somewhere around the 1880s. Just like so many fashion trends, we think (hope) it’s destined to make a comeback. Until then, the race is on for more compact, efficient and innovative methods to carry what we need.
Enter US Primary Armament Logistics and Manufacturing, or US PALM for short. Known primarily for their built-like-a-tank AK mags, they’ve stepped their game up exponentially over the last couple years and now offer a complete line of products designed for what professionals would call “low signature load carriage”. The line includes belts, bags and their ankle-based carry systems. They sent us a sample of their AIFAK – Ankle Individual First Aid Kit.
[Editor’s Note: Unfortunately, US PALM is no longer selling gear, so you won’t be able to buy this exact setup. However, the concepts discussed in this article remain valid. For alternative ankle carry kits, check out TacMed Solutions and North American Rescue (makers of the CAT tourniquet).]
North American Rescue’s Ankle Trauma Kit ($39) is similar to the discontinued kit seen in this article.
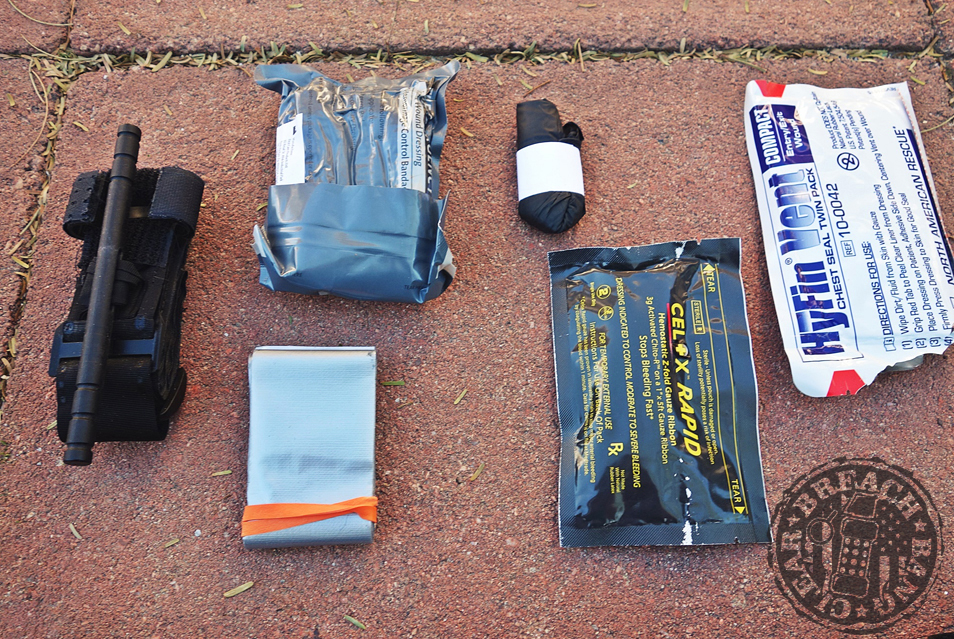
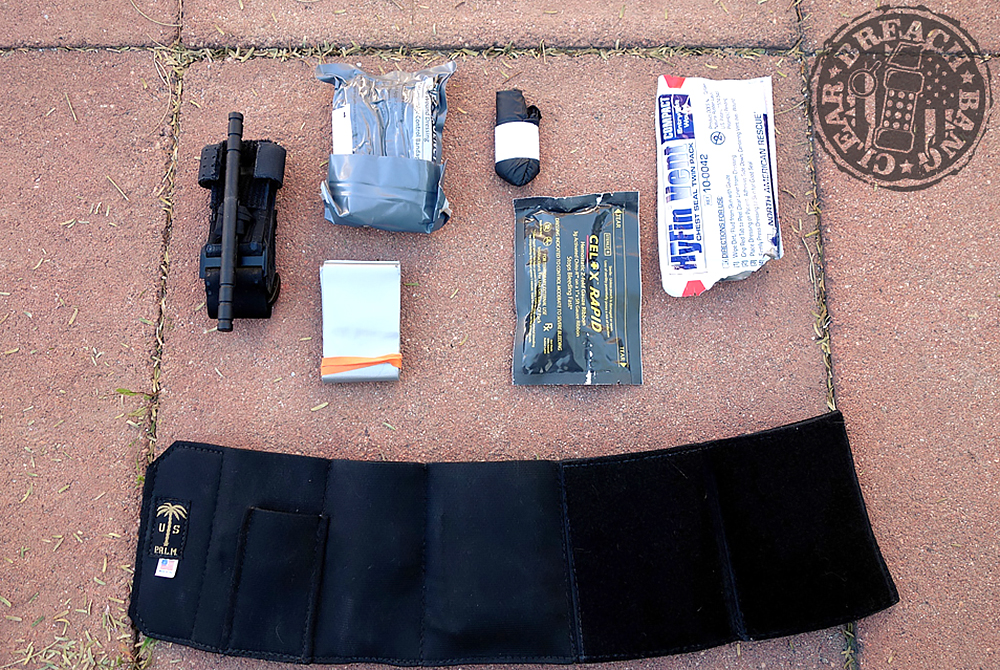
The platform is a stretchy cuff that secures around your ankle via hook-and-loop with pockets sewn across its length. What you put in it is up to you; for our test, we were able to fit 90% of a deployment-ready blowout kit around our lower leg. Here’s what we put in ours:
CAT Tourniquet
Israeli bandage
HyFin compact chest seals (pack of 2)
Celox rapid ribbon
36” strip of duct tape with hi-viz rubber band
Nitrile gloves
When compared to our mil-issued IFAK from OIF ’09-’10 the only things missing are Z-fold gauze, NPA with surgi-lube and a chest needle. We could probably have fit the needle and NPA if we really tried, and we may or may not keep a travel bottle of KY in the glove box anyway. (Some emergencies are personal. Don’t judge.)
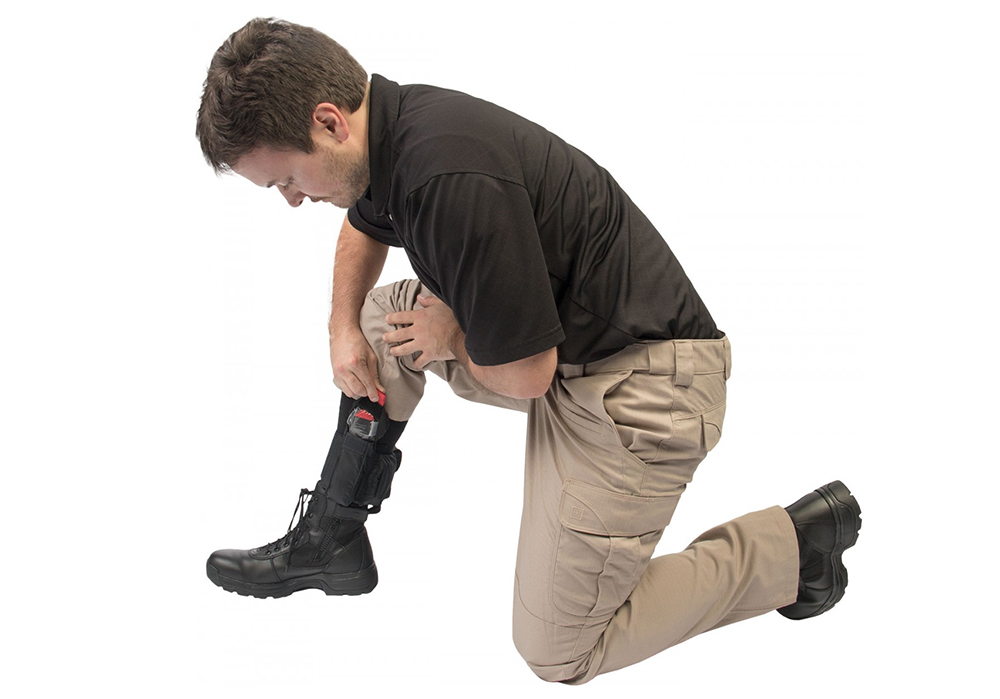
We got our AIFAK right after SHOT Show and have been running it pretty faithfully ever since. Whether your pants are made by Wrangle, Kuhl or Jos. A. Banks, the AIFAK fits comfortable and prints minimally. In fact, short of wearing skinny jeans the AIFAK will fit under almost any pant leg with no obvious presentation.
Previously, we’d tried a number of other options that just didn’t work in civilian attire. Belt-mounted IFAKs make you look like tactical-creepy-uncle no matter how hard you try not to. Back pocket works, but severely restricts what you can carry. There’s the man-bag, which can be a pain to lug around everywhere and may not be permitted in places like malls and movie theaters. Pre-staging stuff in your car is a great secondary care option but will likely be out of reach at the exact moment when SHTF. All in all we think the ankle cuff is the best compromise between being the point man or the gray man. It’s clean, comfortable, and concealable under any dress code.
The only time it became uncomfortable was during a 7-hour rehearsal of vehicle bailouts in preparation for exigent circumstances. Lessons learned: 1) it can get hung up on a vehicle console if you’re not used to wearing it and 2) if you’re going to wear the AIFAK for extended periods, you might not want to go with ankle socks that day.
Despite that friction point (get it?) we’re still in love with US PALM’s EDC medical solution. It’s elegantly simple and offers immense response capacity when loaded properly.
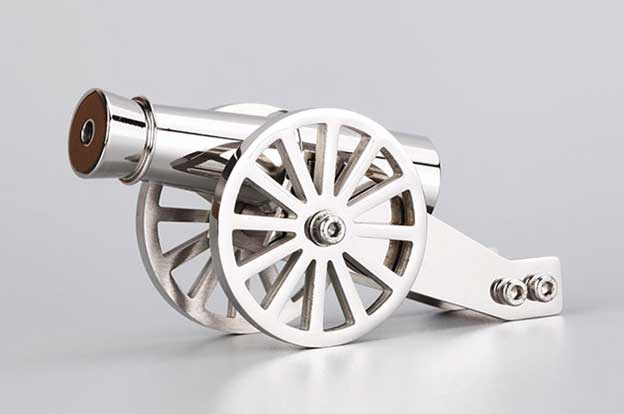
Mini cannon: Is there a cooler combo of words? Well, now those words are more than just letters on a page—they’re a reality. If you have a desk, a coffee table, or any flat surface, then you’re going to want one of these fun handheld cannons. Check out these novelty cannons and fire away.
This .25 caliber Mini Cannon provides a modern take on this classic weapon of war. Just add some 3F black powder and let the fun explode. It even comes with 2 sets of cannonballs. Whether you’re at the office, the park, or elsewhere, blast away boredom with a mini cannon.
History buff? The Combat Cannon is a miniature version of the classic 19th century cannon. At just under a half pound, this antique style is a perfect compliment to your collection, or just a cool desk item. This classic handheld cannon comes with 2 sets of cannonballs, meaning you can start the fun right away.
As we’ve noted with the release of several previous videos, the Primitive Technology YouTube channel seems to be gradually headed towards the age of metallurgy. This channel started out with simple videos on how to build tools and shelters in the Australian jungle, and has gradually evolved into more complex items. Most recently, he developed a sophisticated hydraulic hammer and several types of pottery kilns.
Older Primitive Technology videos showed how to make a forge with a manually-operated blower.
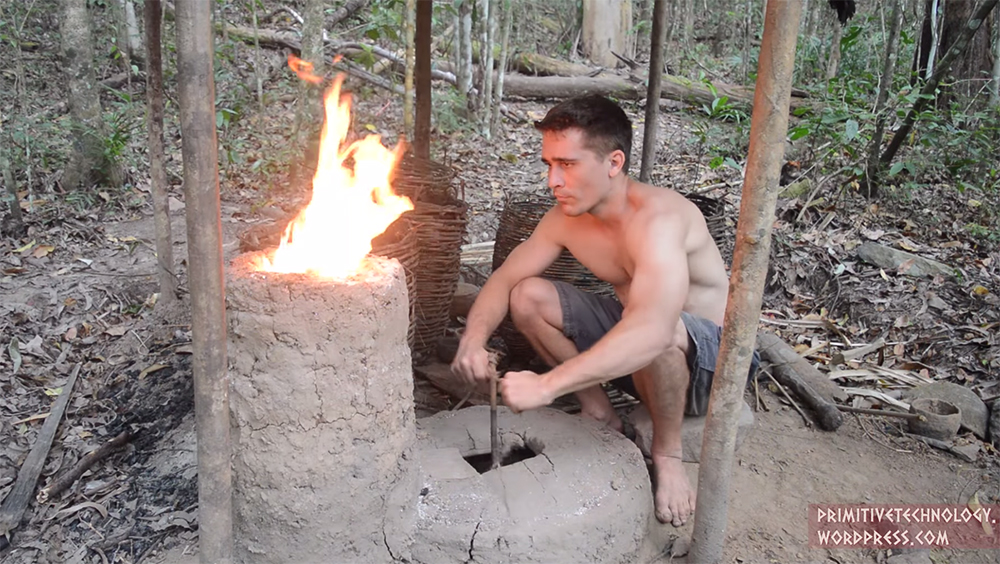
In his latest video, the silent host of this informative channel shows off an even more efficient and powerful source of heat: a draft furnace.
Two previous forge videos showed how to construct a rotary blower that forced air into a combustion chamber, cranking up the heat enough to smelt small iron particles from naturally-occurring ore. While effective, these blowers require constant effort — and that means burning valuable calories.
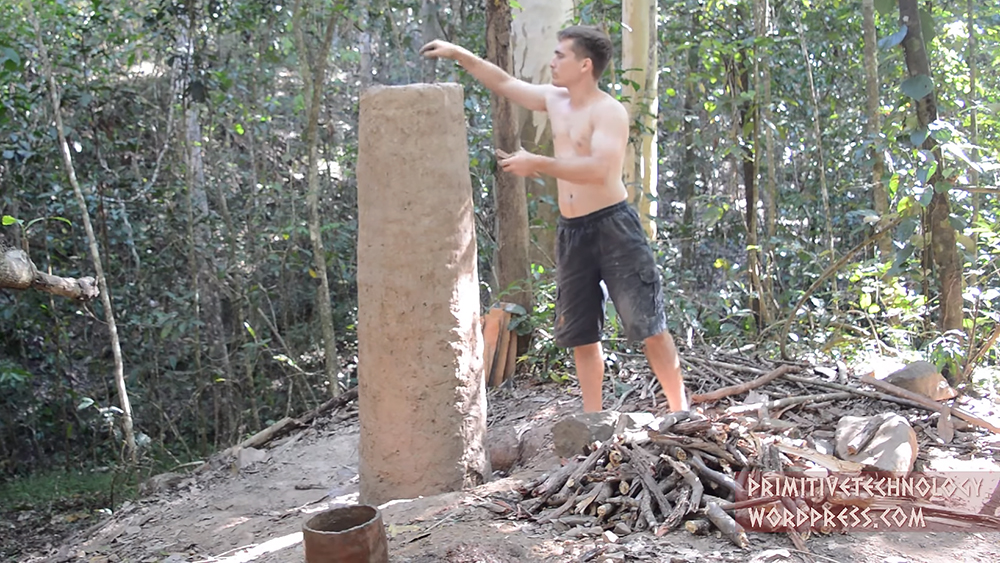
The draft furnace was built from termite mound clay reinforced with plant fibers.
The advantage to a draft furnace is that there’s no continuous labor involved, aside from feeding the fire with charcoal or wood fuel. The channel host sculpted his furnace from clay in a large cylinder, leaving an air vent tube — known as a tuyere — in the side.
The furnace began as a small round foundation, and was built up to shoulder height.
The tuyere allows the furnace to pull in air naturally, and brings the fuel to a white-hot glow. In the YouTube video description, the host goes into detail about the design and estimated temperature output (he claims 1200°C/2192°F).
Wood fuel and bog ore were inserted into the top of the furnace.
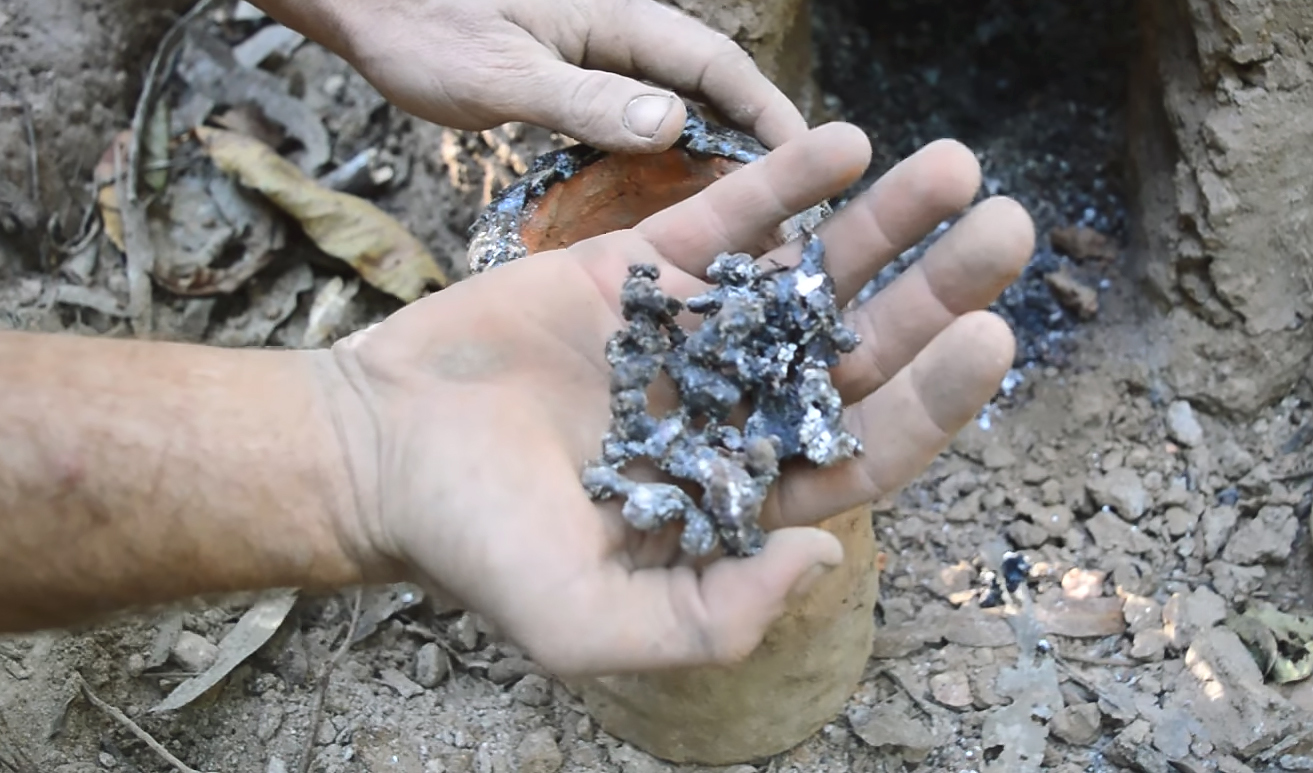
The draft furnace was tested on chunks of impure bog ore found nearby; this new source melted and hardened but didn’t produce pure iron. However, by experimenting with iron bacteria in previous videos, he should be able to produce enough pure iron particles to start forging tools.
The bog ore didn’t produce pure iron this time, so a new source will be required.
It’s one step closer to entering the iron age, and that’s pretty cool considering the host has used no modern tools or equipment to achieve this. He might be forging blades in no time.
We’ve often seen the word “tactical” used as a marketing buzzword. You’ll see the term applied to everything from belt buckles to hammocks — through the magic of the Internet, you can even order a tactical assault rock. But the word does have a proper definition beyond its overuse. A tactical item is one that’s specifically designed for combat tactics.
Tactical pens are writing instruments that are purpose-built to double as what some self-defense instructors would call force multipliers.
These implements are usually machined from a solid billet of impact-resistant metal, with textured elements to improve grip for repeated hammer-fist strikes. Some also include sharpened tips to amplify the damage dealt, or glass-breakers to aid in escape or rescue scenarios. Tactical pens are especially useful in nonpermissive environments — they can provide a last-ditch defensive tool in places where more conventional weapons like firearms or knives aren’t allowed.
Above all else, a tactical pen must reliably write. For survivalists, a writing instrument can be an invaluable tool for certain tasks, from marking where you foraged for food and mapping a path to your bug-out cabin to leaving a note behind at basecamp or writing instructions for your survival group. And, of course, it’s just handy to be able to jot down a grocery list or the number of that hot mountain climber you just asked out.
Whether you’re looking for a durable pen to add to your everyday-carry (EDC) gear, a powerful defensive weapon that won’t draw the wrong kind of attention, or both, read through our reviews of these eight tactical pens. They may not be literally mightier than a sword, but they’re certainly mightier than an empty fist.
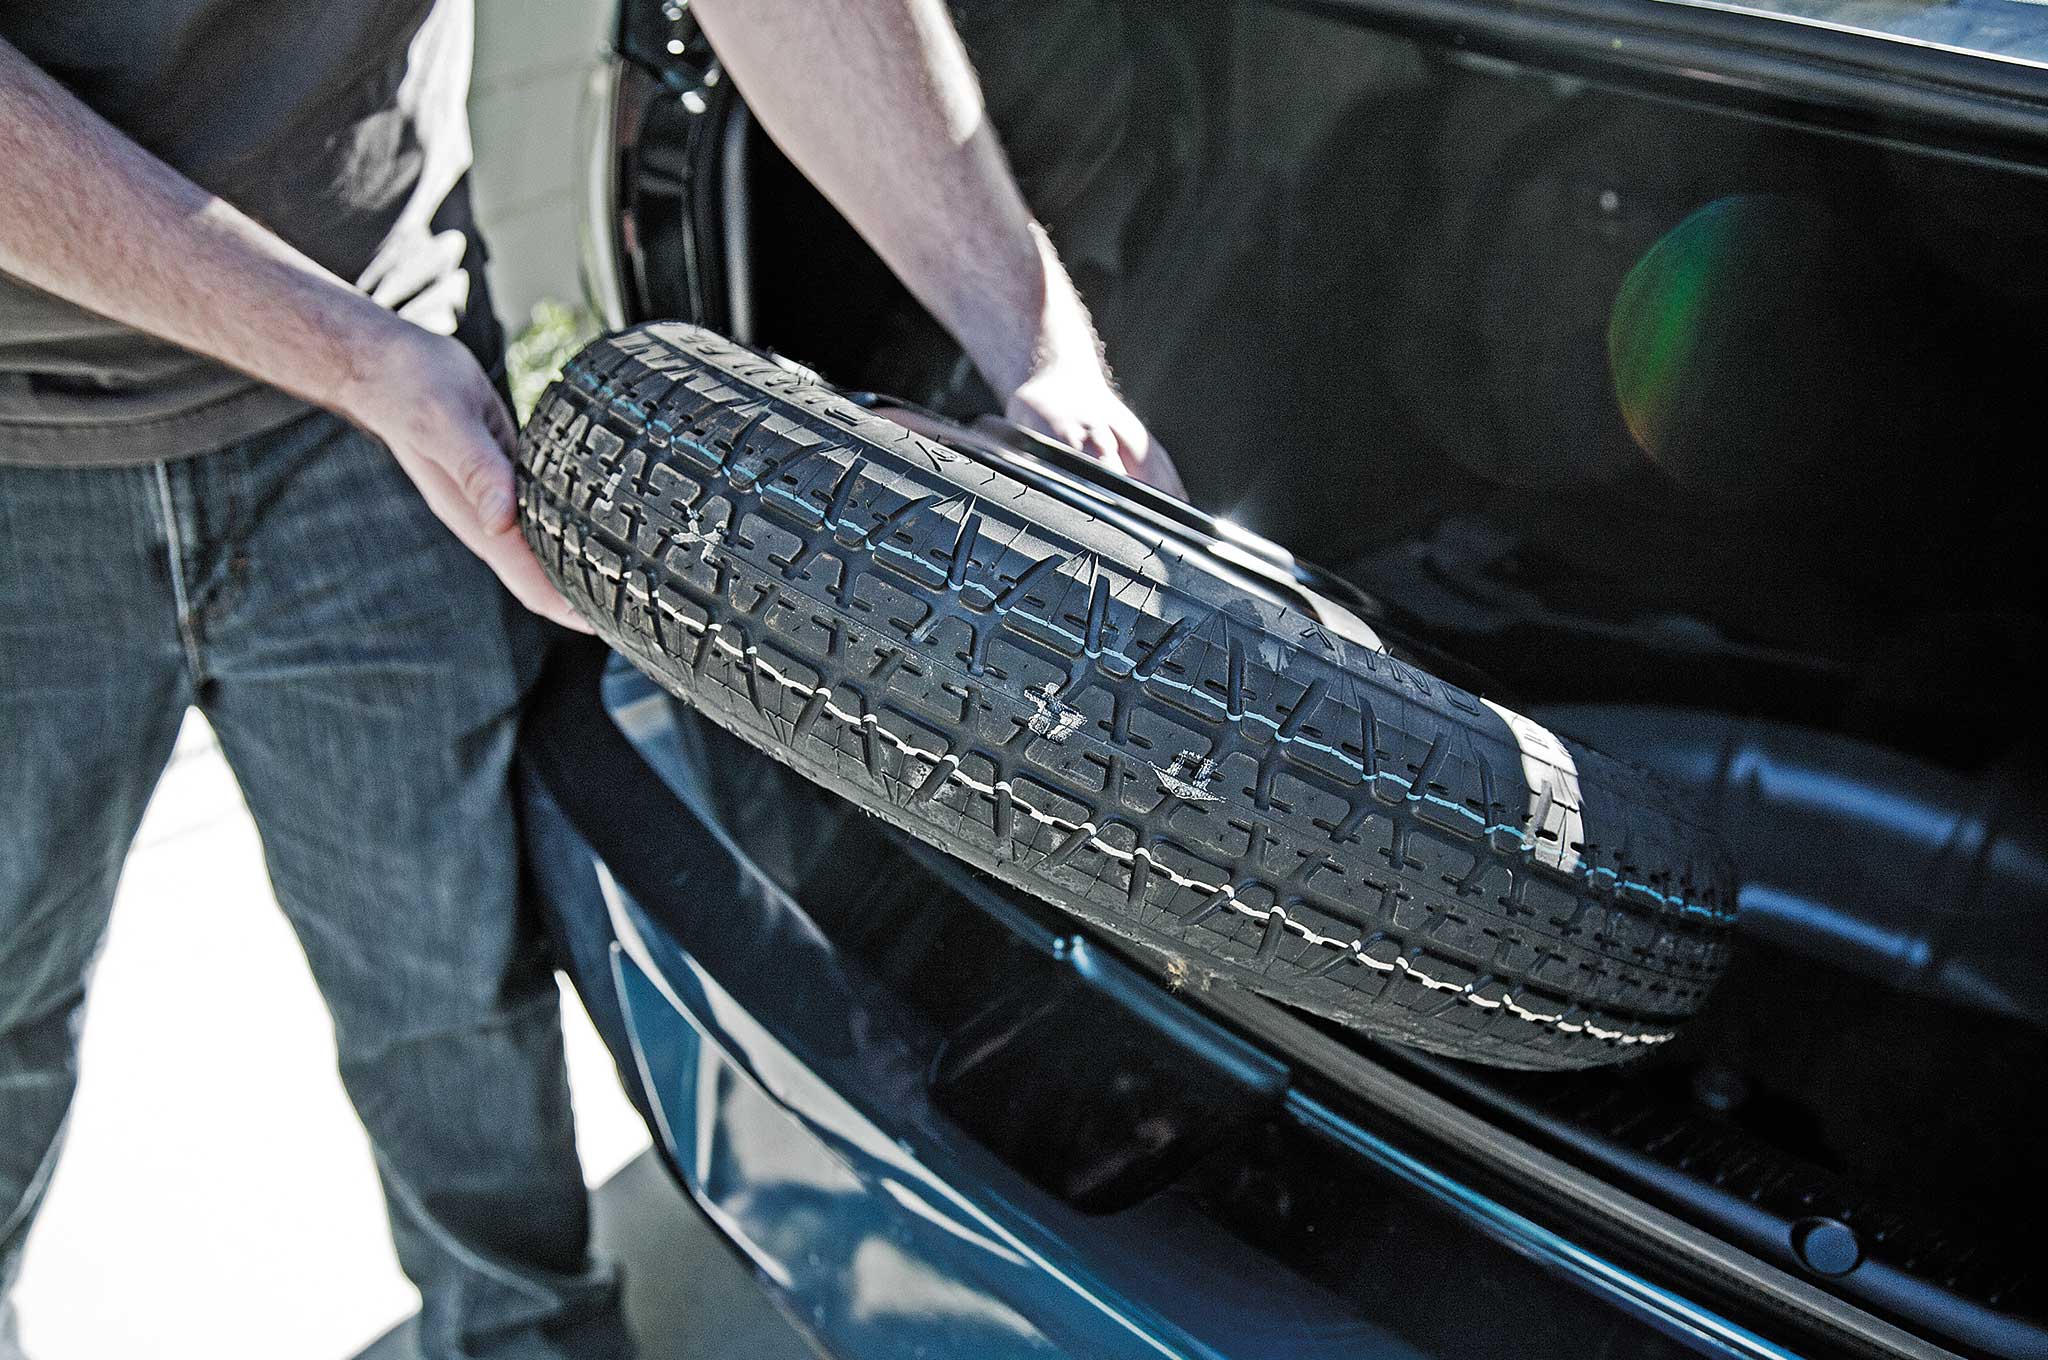
What’s the most important part of your vehicle? Some might say the motor, since that’s the part that makes it a vehicle rather than a lawn ornament. Others might say the brakes, since they allow you to stop safely and avoid danger. Others still might argue in favor of the four-wheel-drive system and ground clearance, which let you overcome obstacles and traverse rough roads. However, every one of these systems is dependent on a single part: the tires.
Without adequate tires, you won’t have enough traction to accelerate, brake, drive over obstacles, or even swerve to avoid an accident. Poor road conditions caused by rain, snow, mud, or uneven asphalt only amplify these problems. Think about it — the only contact surface connecting your car, truck, or SUV to the ground is four small patches of rubber.
When was the last time you checked your spare tire? Don’t forget about it.
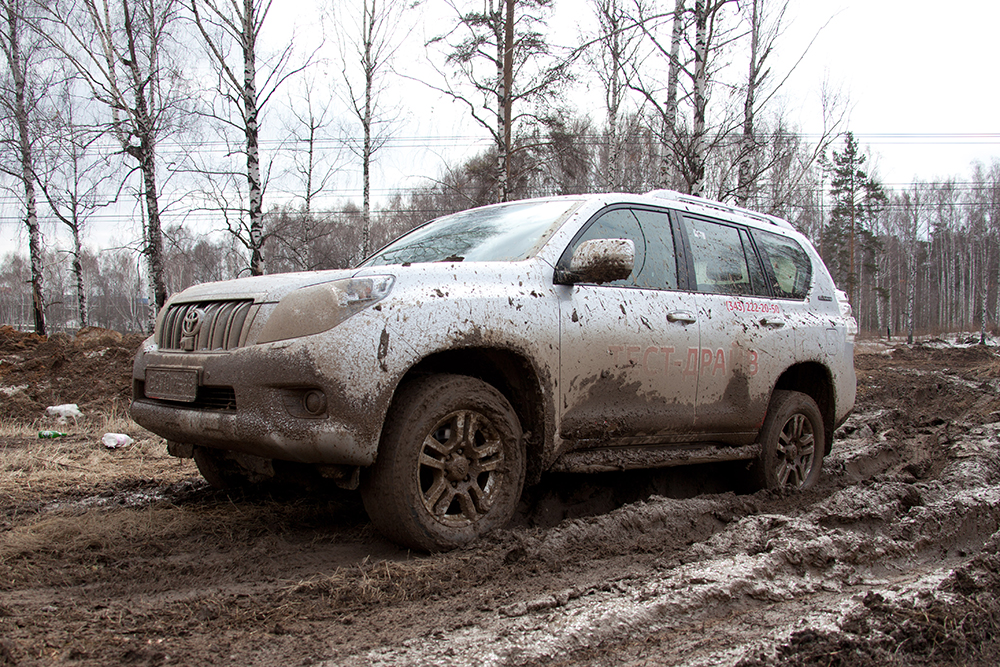
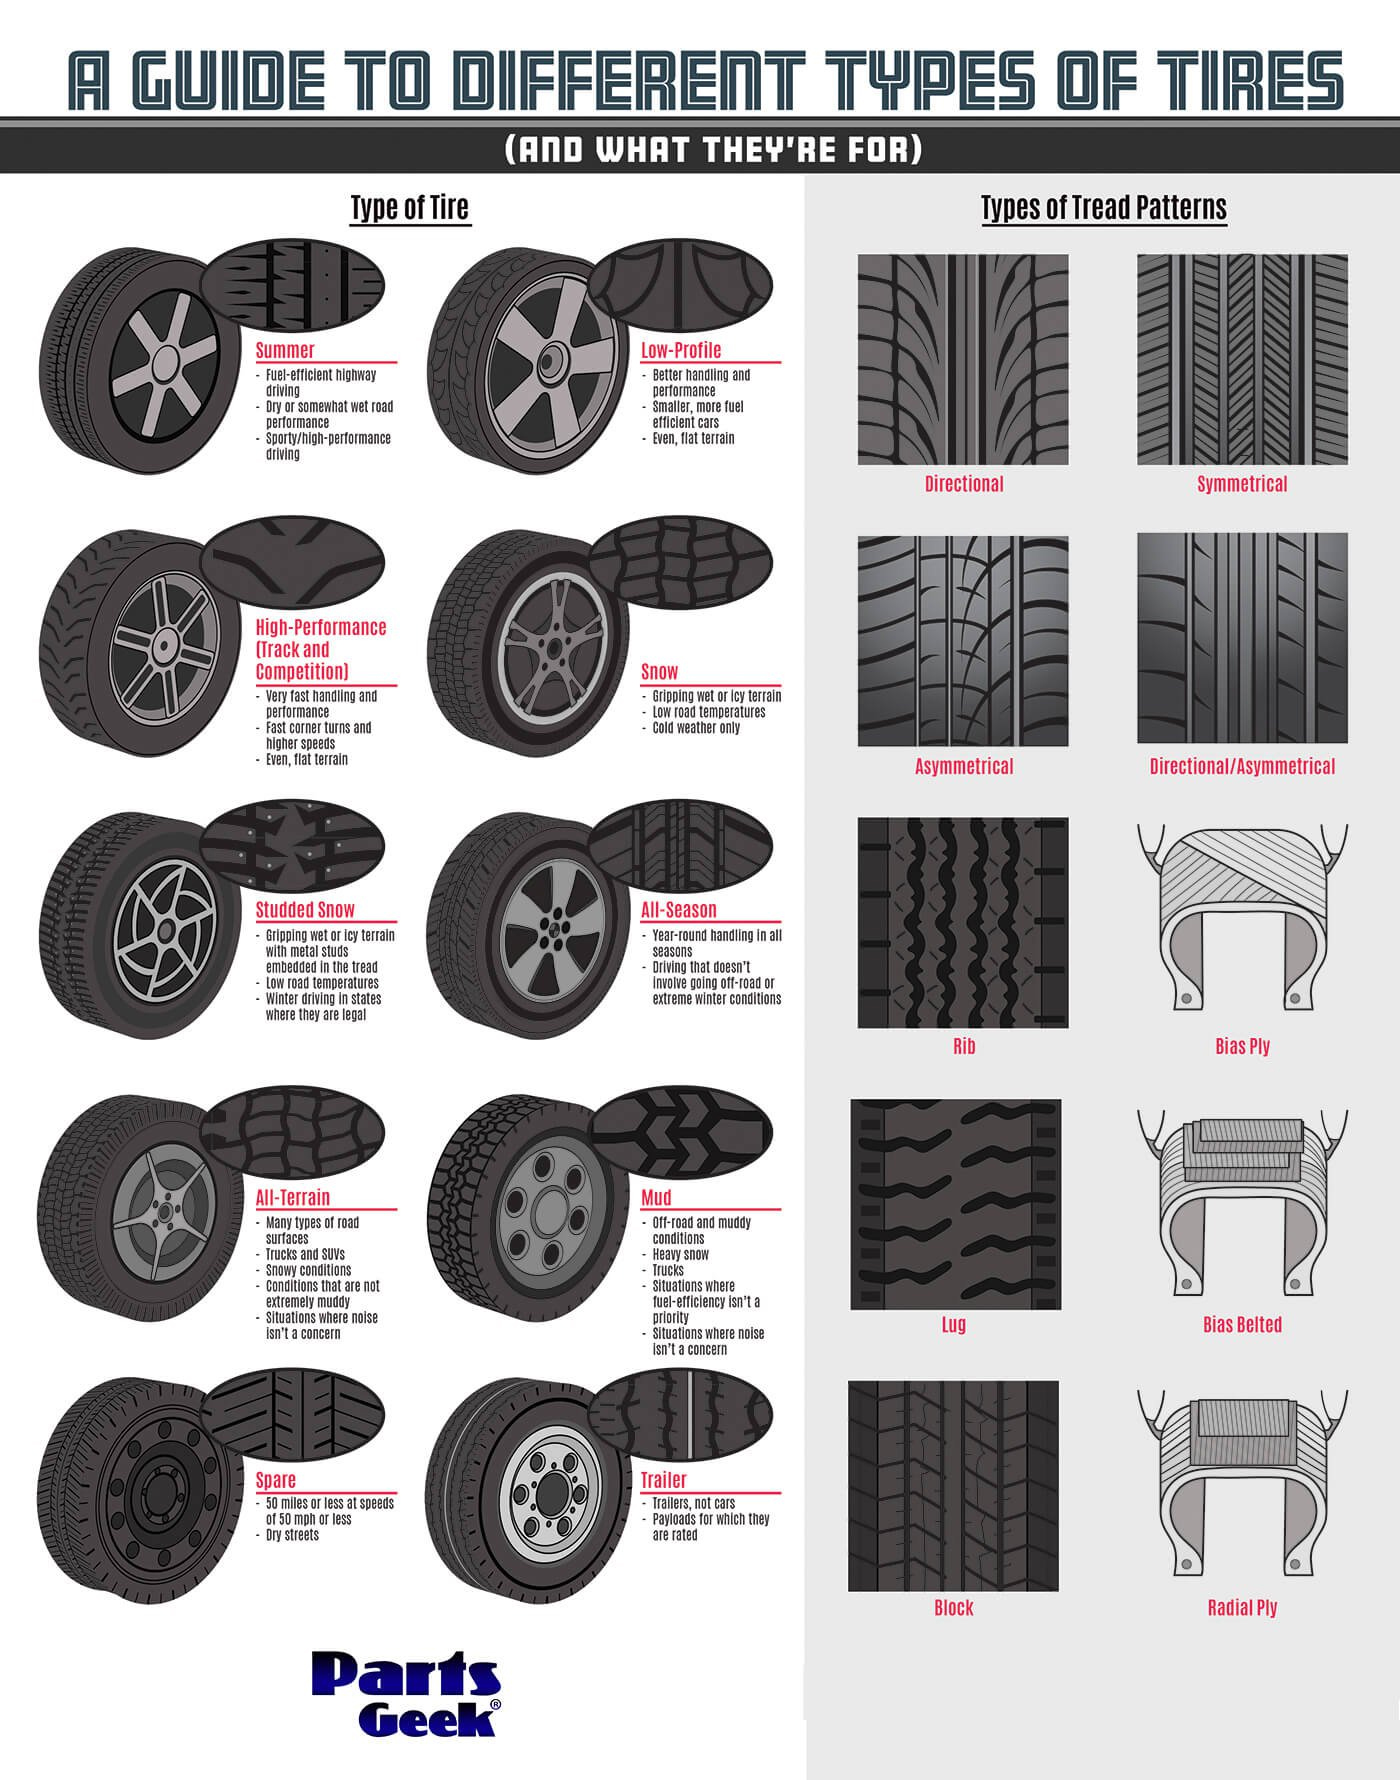
While they may not be as exciting as LED light bars, winches, and other “apocalypse-ready” accessories, you should think long and hard about the tires you choose for your bug-out vehicle. They could literally be the factor that decides if you’re able to make it to safety or not. The following infographic from Parts Geek gives a primer on the types of tires to consider — some of the differences aren’t as intuitive as you may have thought. Click here to download a full-size version of this graphic.
The first thing worth noting is that every tire is a compromise, and you must choose based on your location. Here on the west coast, one misconception is that all-season tires are required for rain, but in reality even summer tires are designed to cope with wet weather (some better than others, of course). If you’re out in a dry desert and don’t anticipate much off-roading, the best tire for bug-out may actually be a summer tire. Off-road mud tires or all-terrains offer good performance on mud and gravel, but they’re often noisy and sluggish on the road, and their heavy weight hurts fuel economy for long trips.
As for the features in the right column, we gave the short version below, or you can read this article from Tire Rack for the longer version.
Directional – Improves wet weather performance by channeling water away from the center. Only able to be safely mounted in one direction; can’t be rotated side-to-side without re-mounting on the wheel.
Symmetrical – The tread pattern is mirrored across the tire’s center line. Most modern car tires are both symmetrical and directional, though non-directional symmetrical designs do exist.
Asymmetrical – Uses different design elements on each side of the tire’s centerline to achieve good dry grip and wet traction. May also be directional to further improve wet performance.
Ribs/Lugs/Blocks – Technical terms used to describe the flat chunks on the tire tread pattern. Ribs are usually found on heavy-duty truck or trailer tires; lugs are usually seen on off-road mud tires.
Ply – Virtually all new tires are radial ply, a.k.a. “radial”. Bias ply and bias belted tires were used
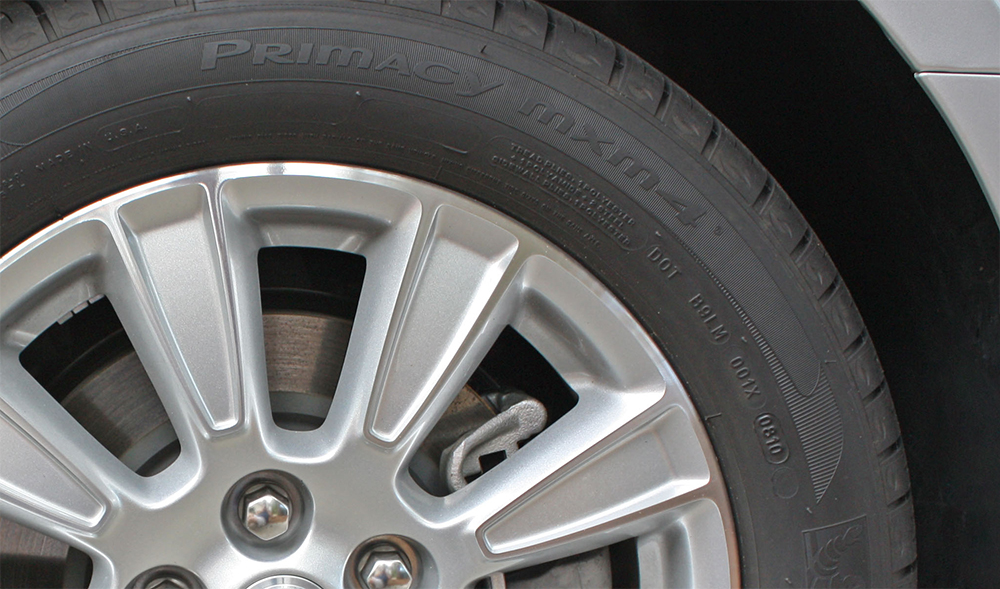
There are many other factors to consider, so don’t make the mistake of cheaping out or buying whatever the guy at your tire shop recommends. Do you research as if your entire bug-out plan hinged on the tires you choose — it actually might. To learn more, check out this article from Parts Geek or read our previous article about checking your tires’ DOT date codes.
There’s no doubt that Kickstarter has helped develop some pretty goofy products, such as crystal bacon and frying pan swords. However, this platform also serves as a launchpad for some pretty interesting outdoor gear (e.g. the GRAYL water purifier), so we make a point to keep an eye out for these more practical items.
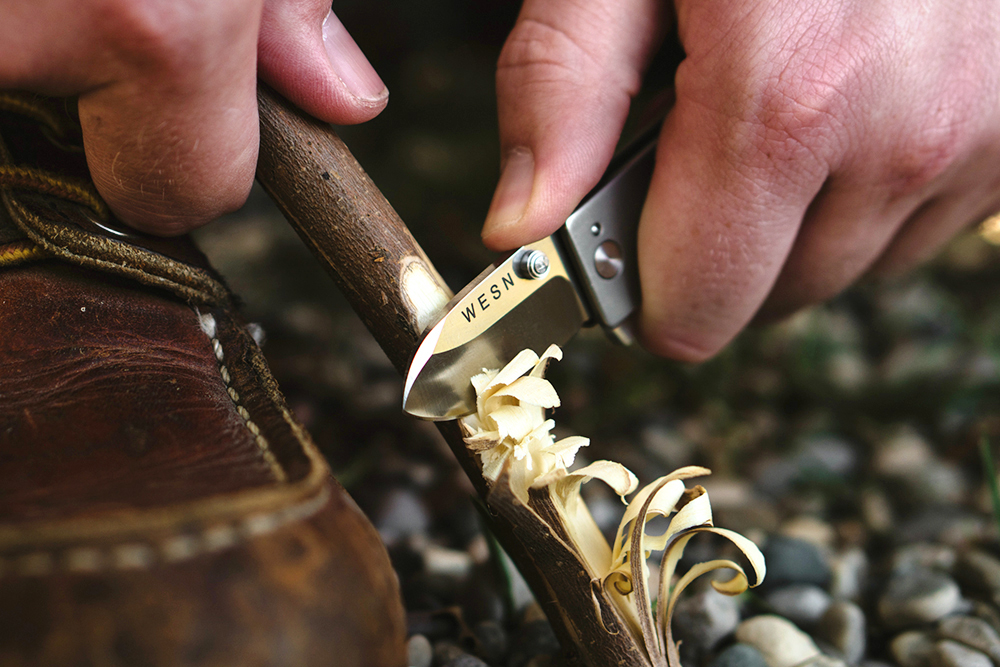
Recently, we heard about a Kickstarter for a small folding knife known as WESN. The concept of a mini folder is nothing new, but this implementation of the concept looks like it may have some promise. Other backers thought so, too — the project hit $34,000 in funding within 24 hours, far exceeding its $12,000 goal.
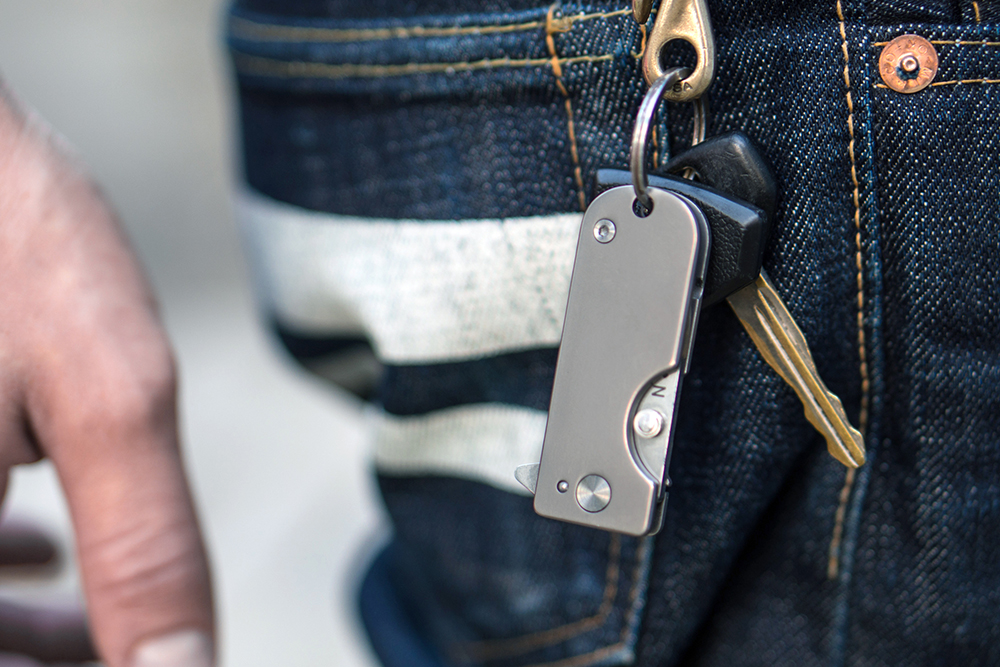
WESN is an acronym for the cardinal directions — West, East, South, North — and it’s also the first commercial knife project by founder and designer Billy Chester. The knife is intended to be compact and light enough to fit on a keychain, while also offering full-size knife features and materials.
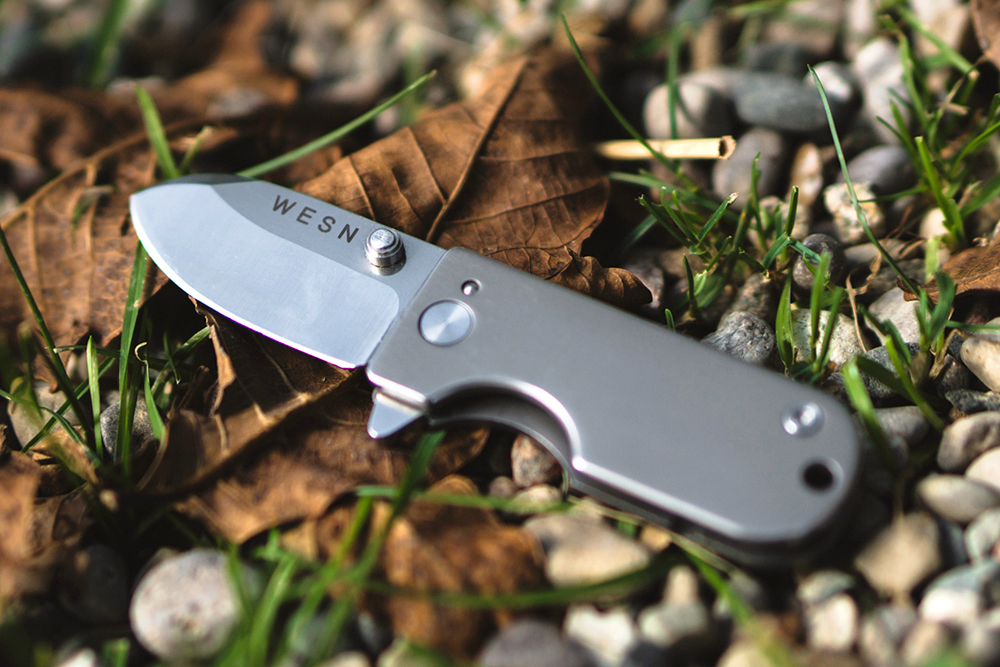
The WESN consists of a 1.9-inch handle made from Grade 5 titanium, and a 1.5-inch blade made from AUS8 steel. The blade features an upswept tip, swedge, and compound grind that should make it versatile enough for skinning game or opening packages. It also includes a flipper and thumb stud.
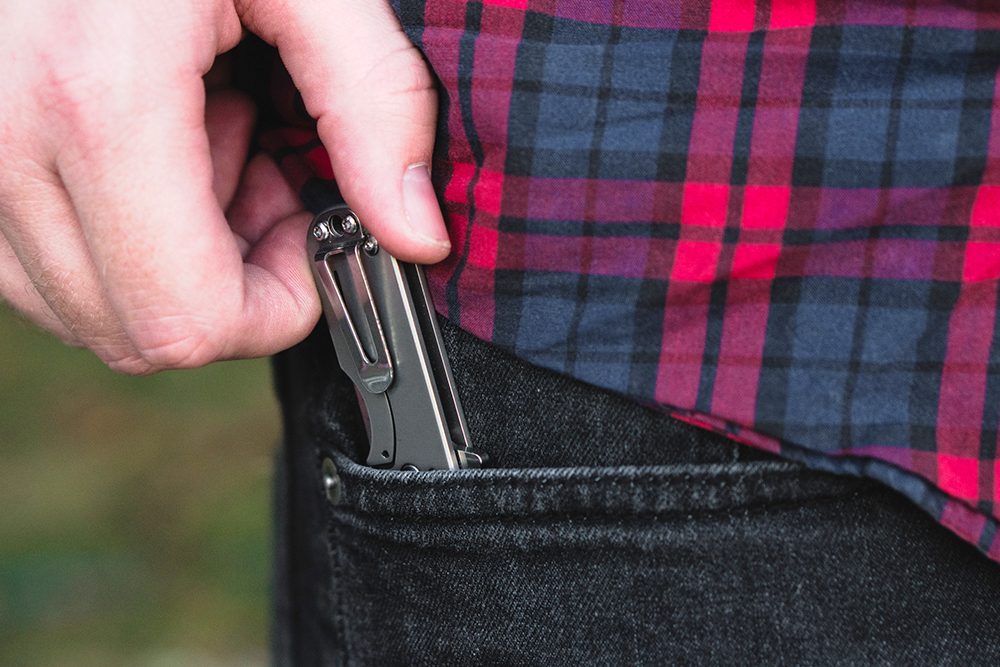
The knife’s satin titanium frame features a bronze washer pivot, as well as an integral frame lock with ball detent — something usually not seen on knives this size. There’s also a key ring hole and a small stainless pocket clip.
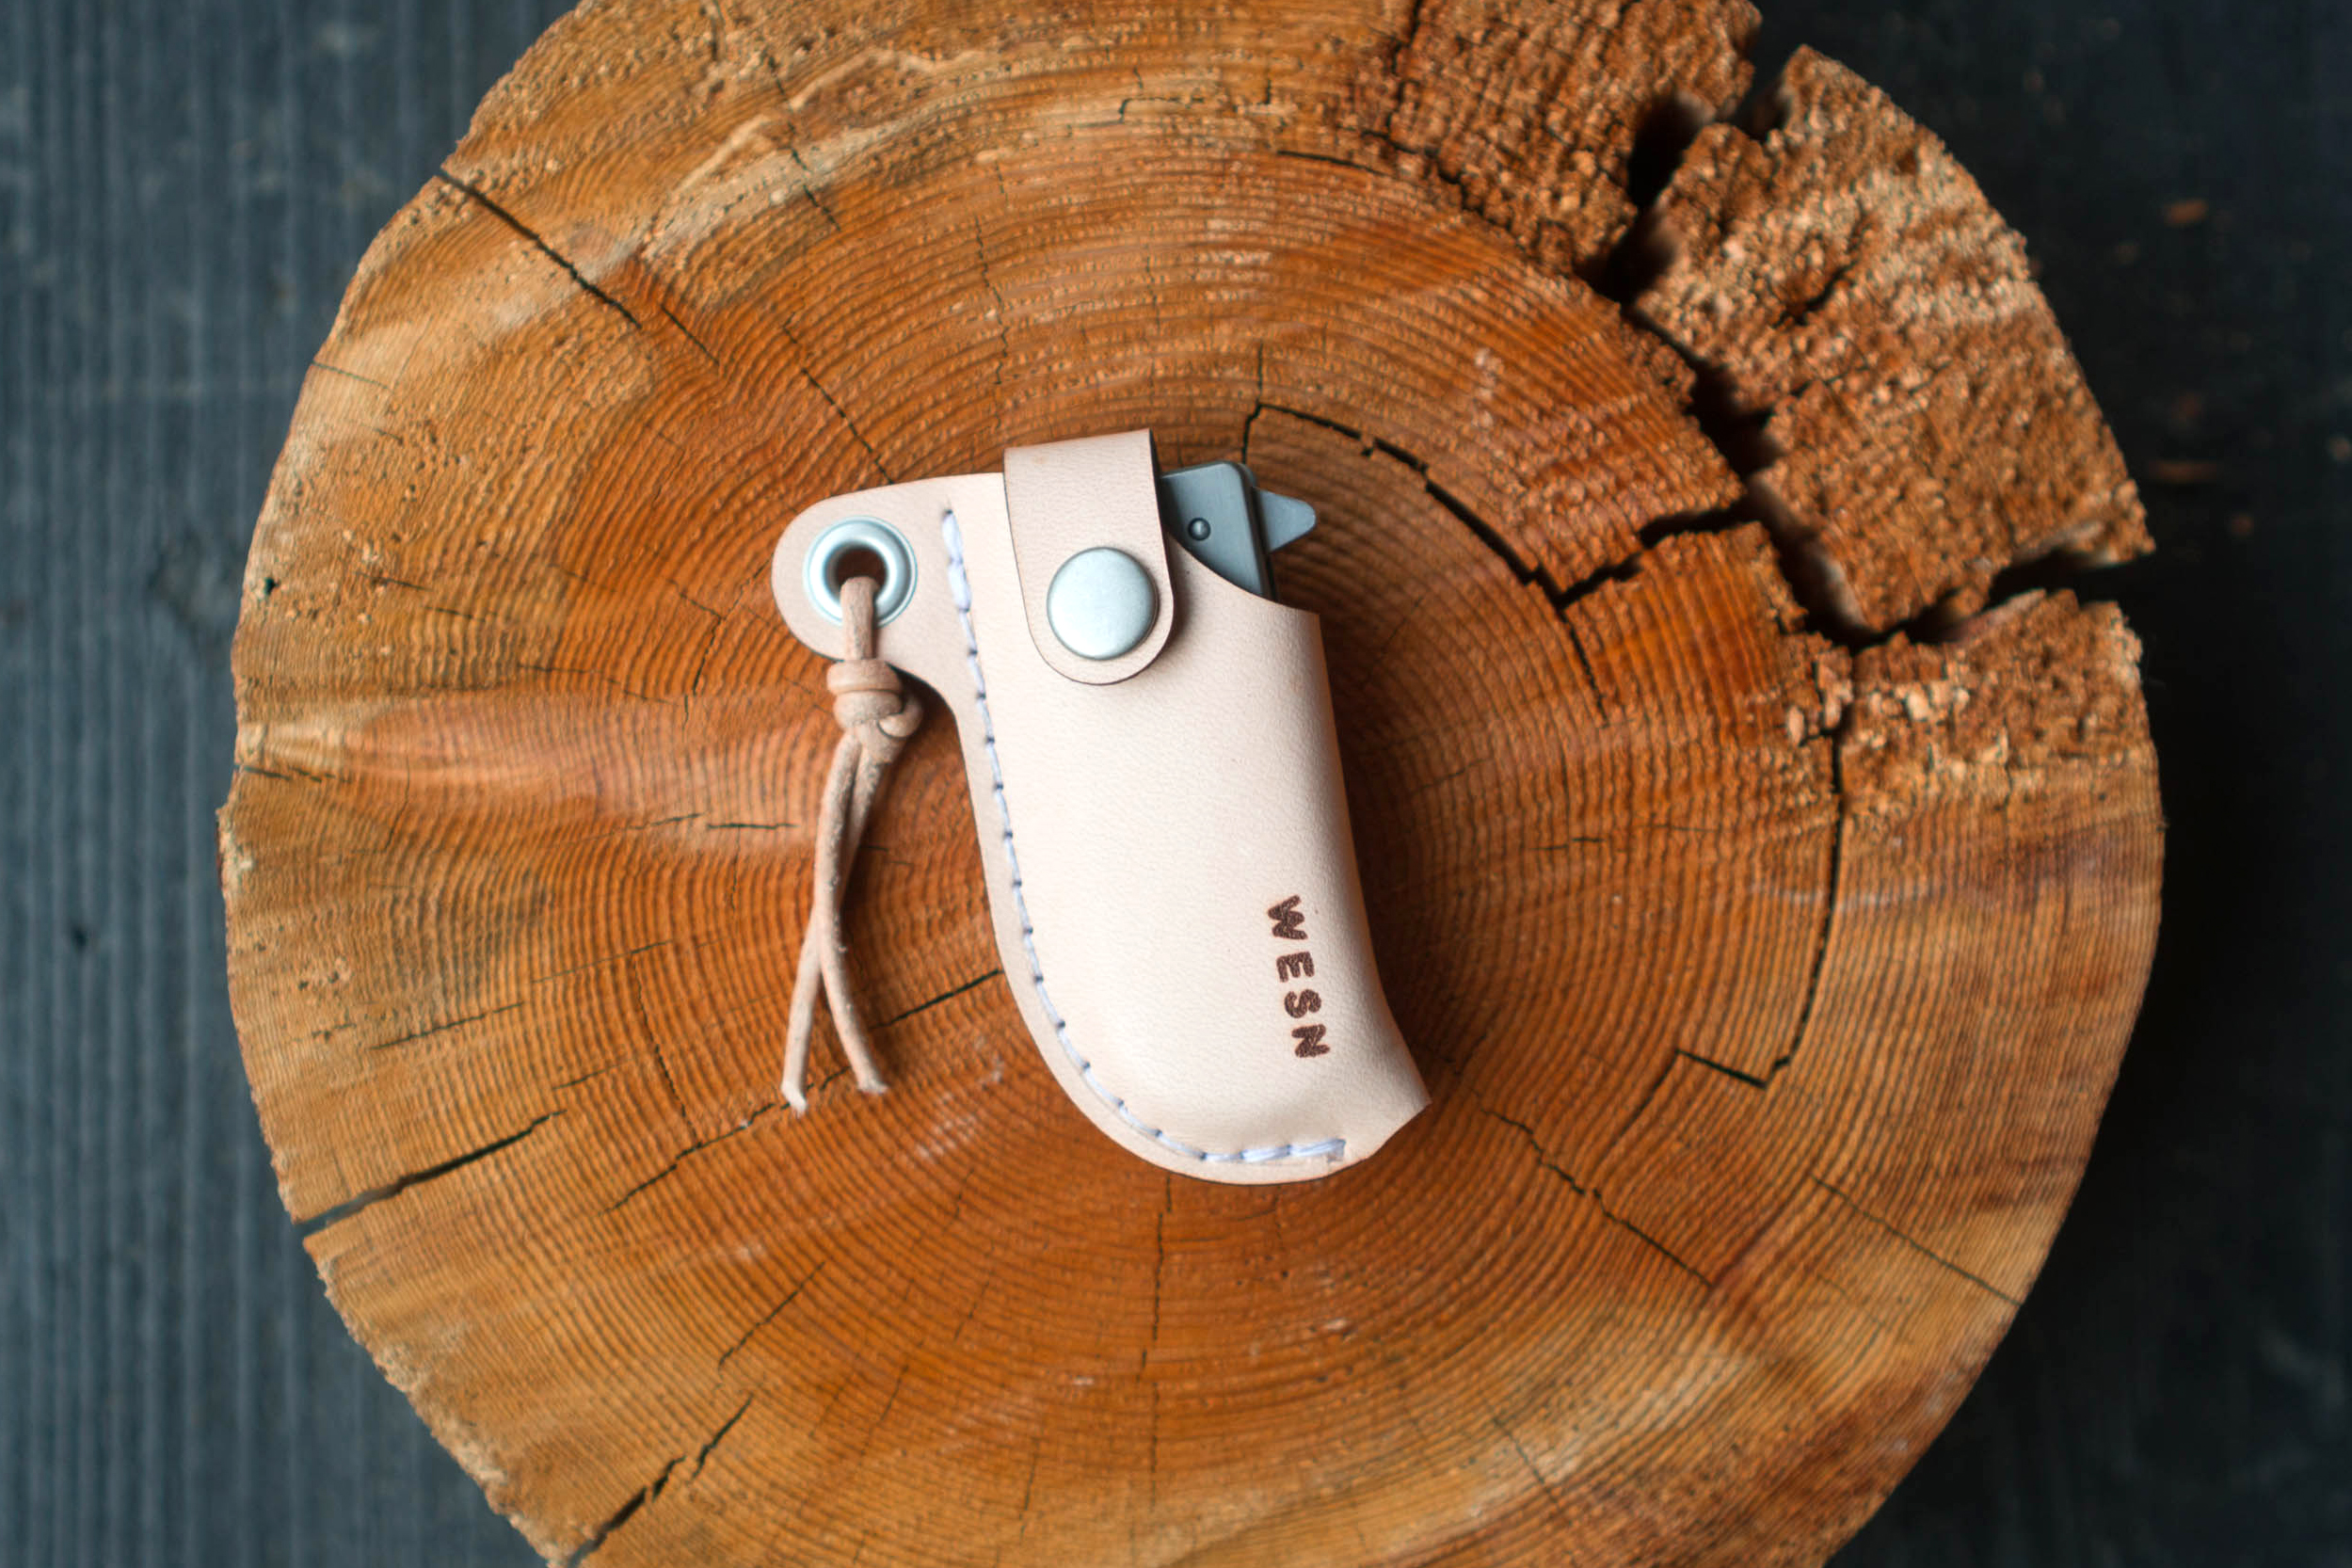
For those who want another carry option, WESN has partnered with American leather goods company Stock & Barrel to create a sheath that’s wearable around the neck.
The Kickstarter campaign states that production of the WESN will be handled by “a top knife manufacturer overseas” to keep costs down. Expected retail price for the WESN is $50, but the knife is currently available to Kickstarter backers for $40. You can read more about this item on the Kickstarter project page.
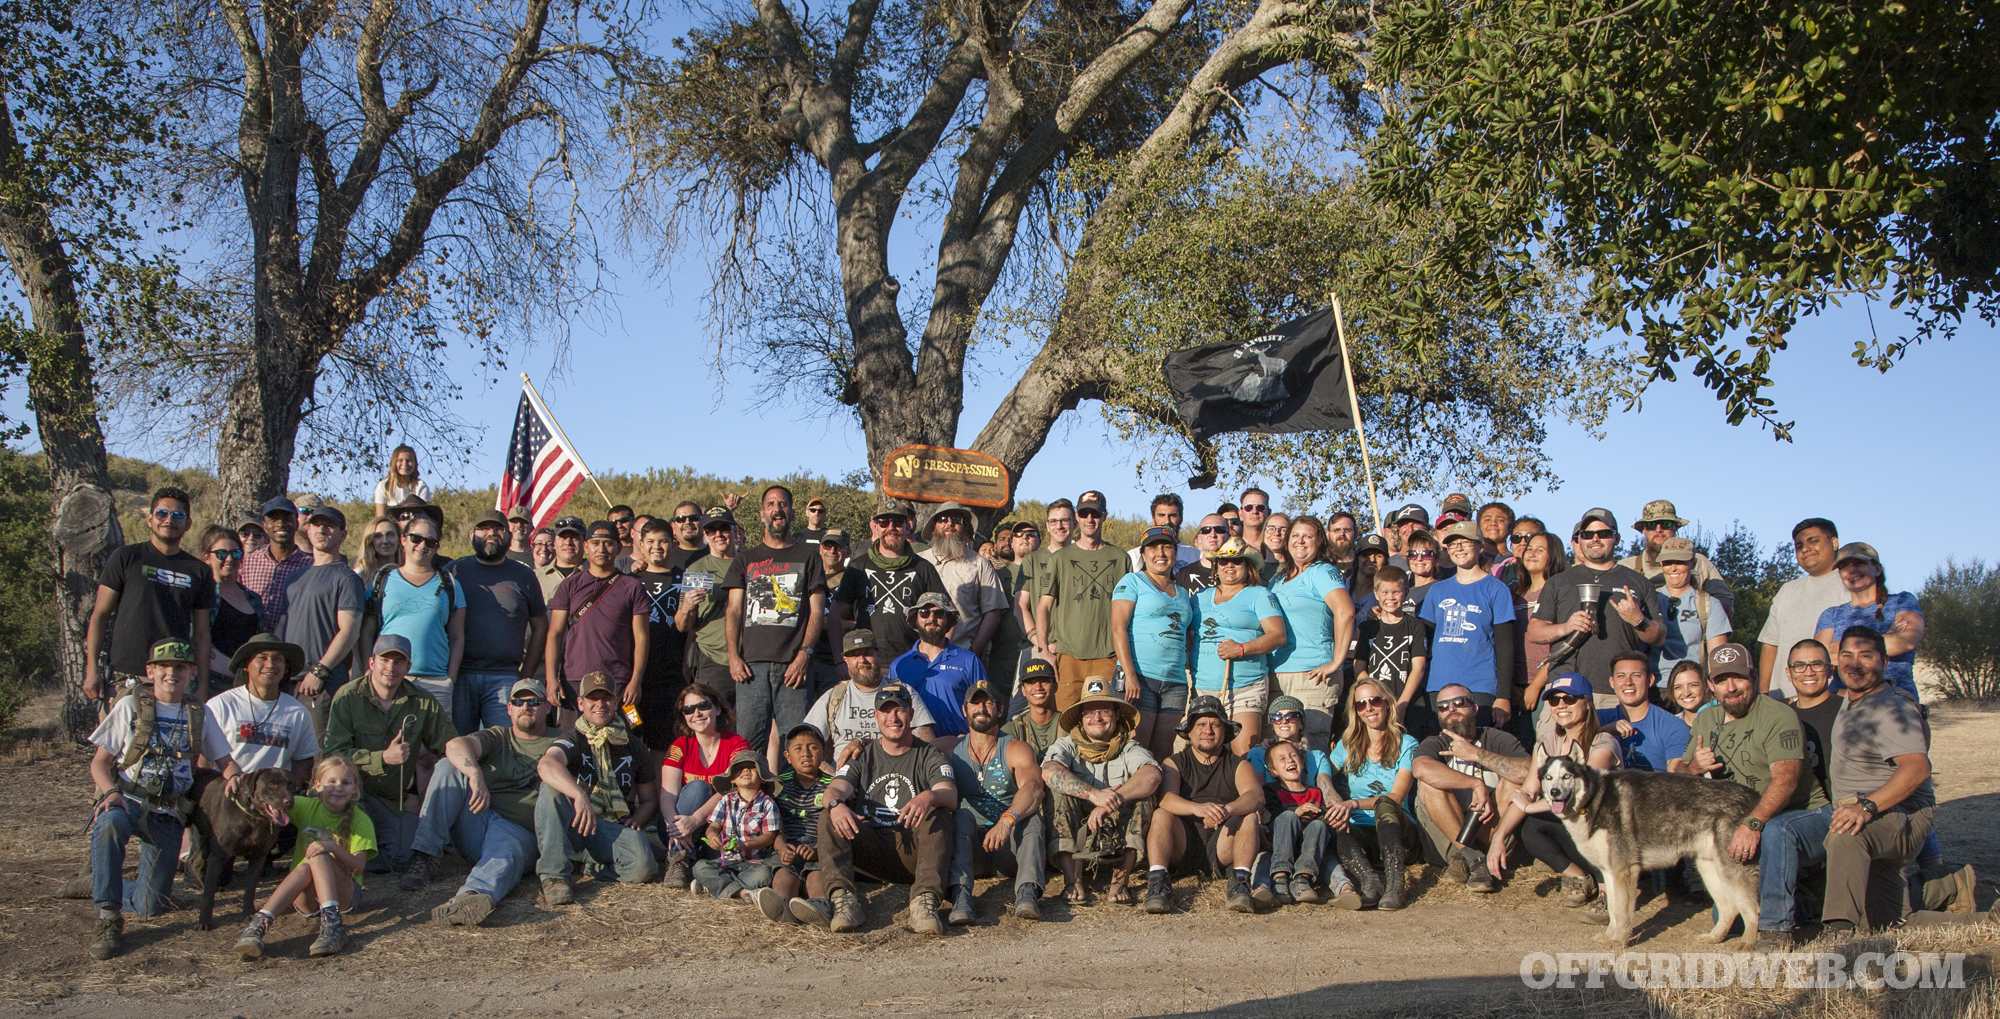
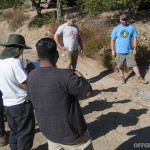
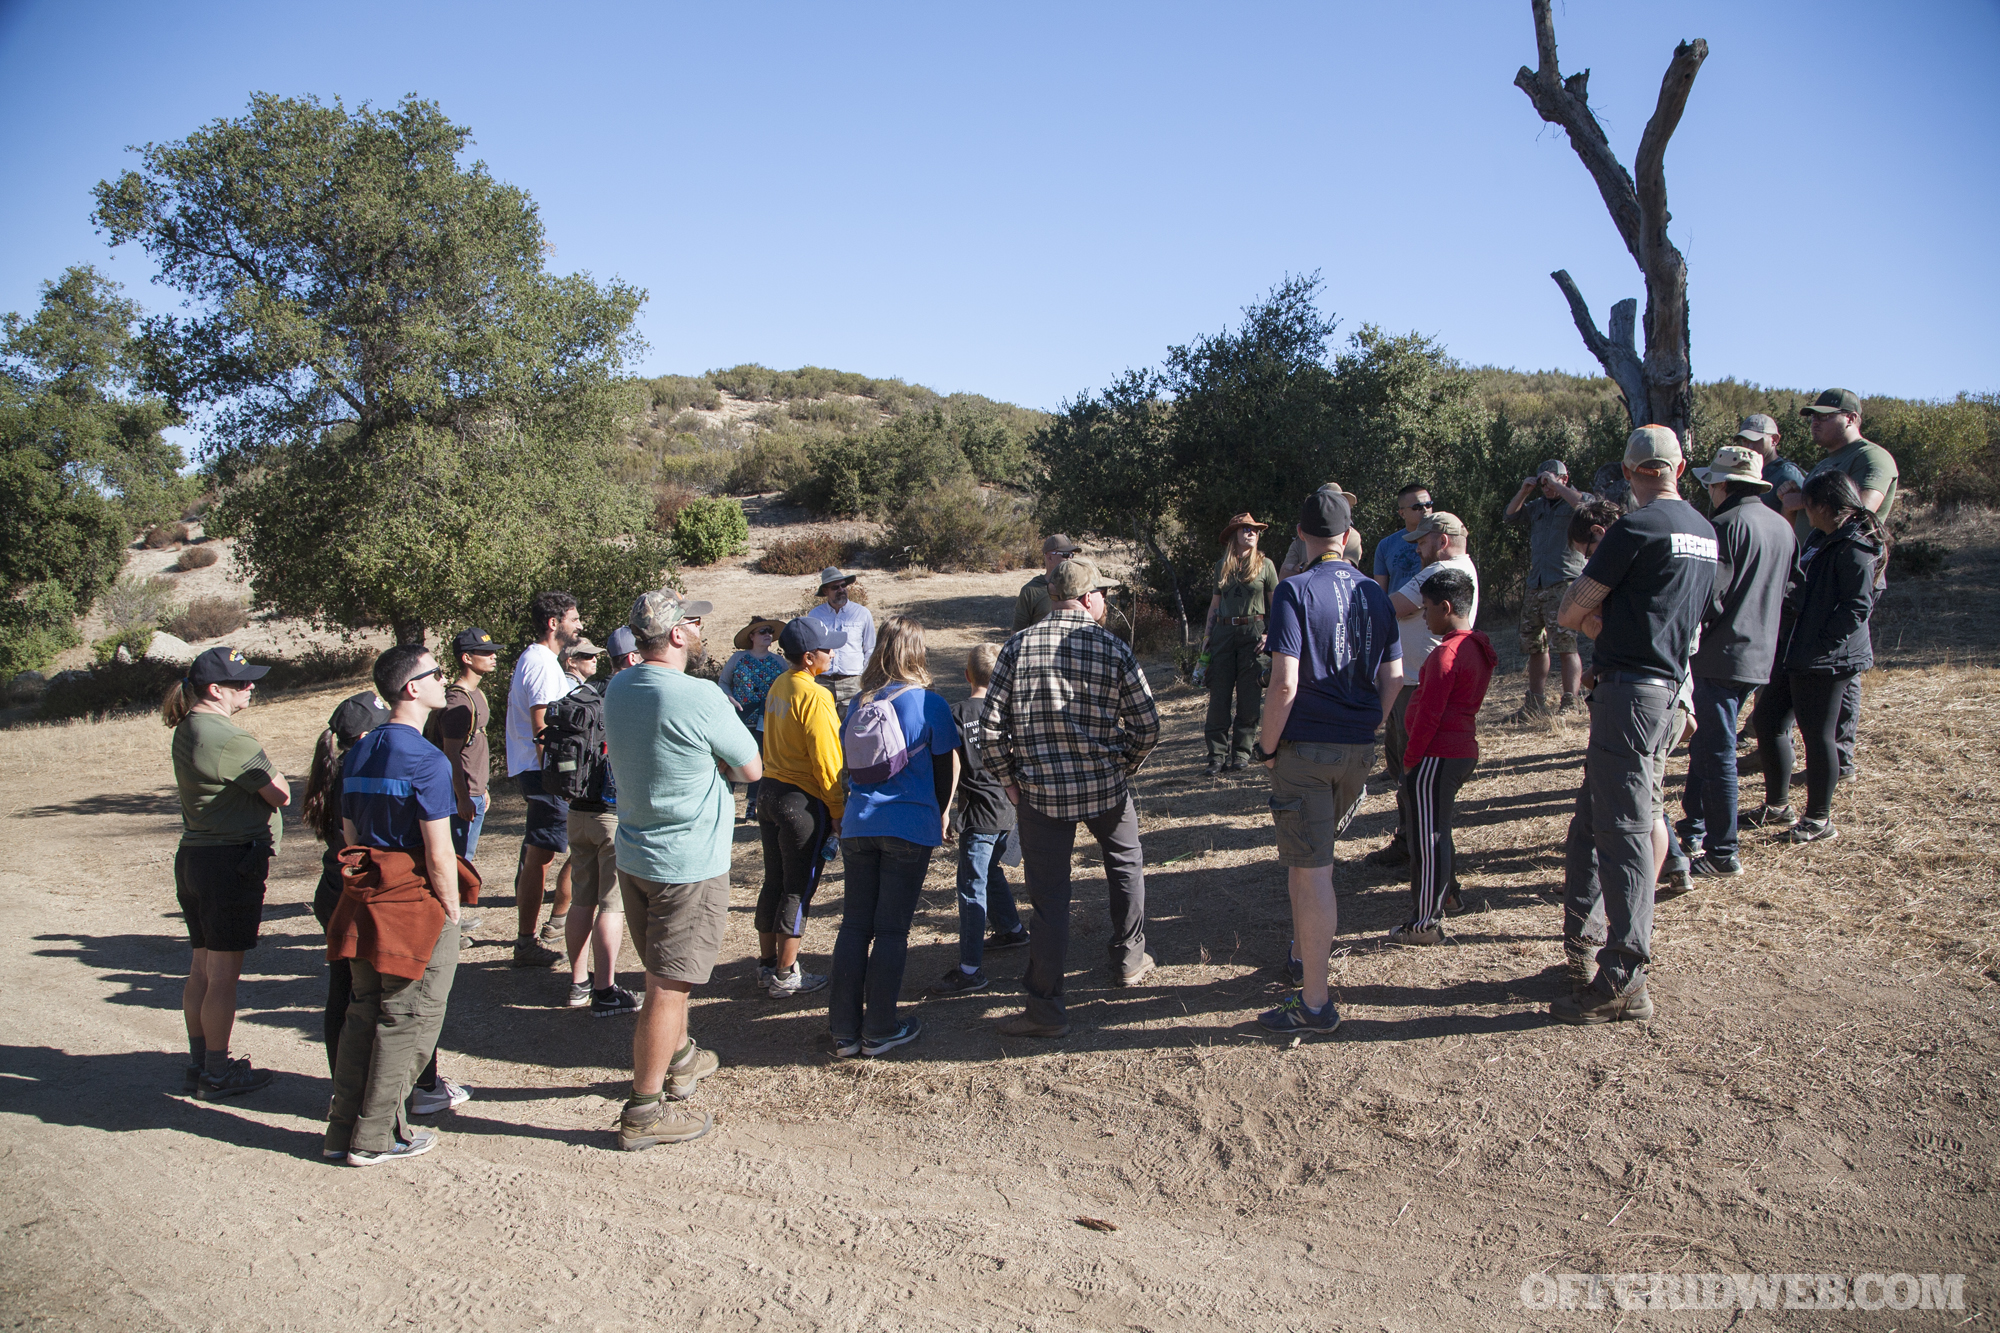
We recently spent a full weekend in San Diego at the Fall 2017 Modern Mountain Man Rendezvous, also known as 3MR. This event is organized by Triple B Adventures, and is intended as a time of learning and fellowship for anyone interested in survival, the outdoors, and emergency preparedness. This non-profit event is open to the public, and attendees included active-duty military men and women, veterans, medical personnel, couples, and even families with kids.
To learn more about the origin of the 3MR event and its goals, check out our interview with Brady Pesola, a Triple B Adventures co-founder and leader at the San Diego School of Survival.
The Modern Mountain Man Rendezvous was supported by people of all ages and walks of life.
At the Fall 2017 3MR event , volunteer instructors taught brief courses on many helpful topics. These subjects included water purification, fire-starting, signaling for rescue, foraging for wild edibles, killing and processing small game, dealing with traumatic injuries in the wilderness, knot-tying, camp cooking, nighttime hiking, and even the basics of survival for children.
In the sections to follow, we’ll share the first part of the many lessons we saw demonstrated at 3MR. For part 2, be sure to follow us on Facebook and check our site again next Sunday.
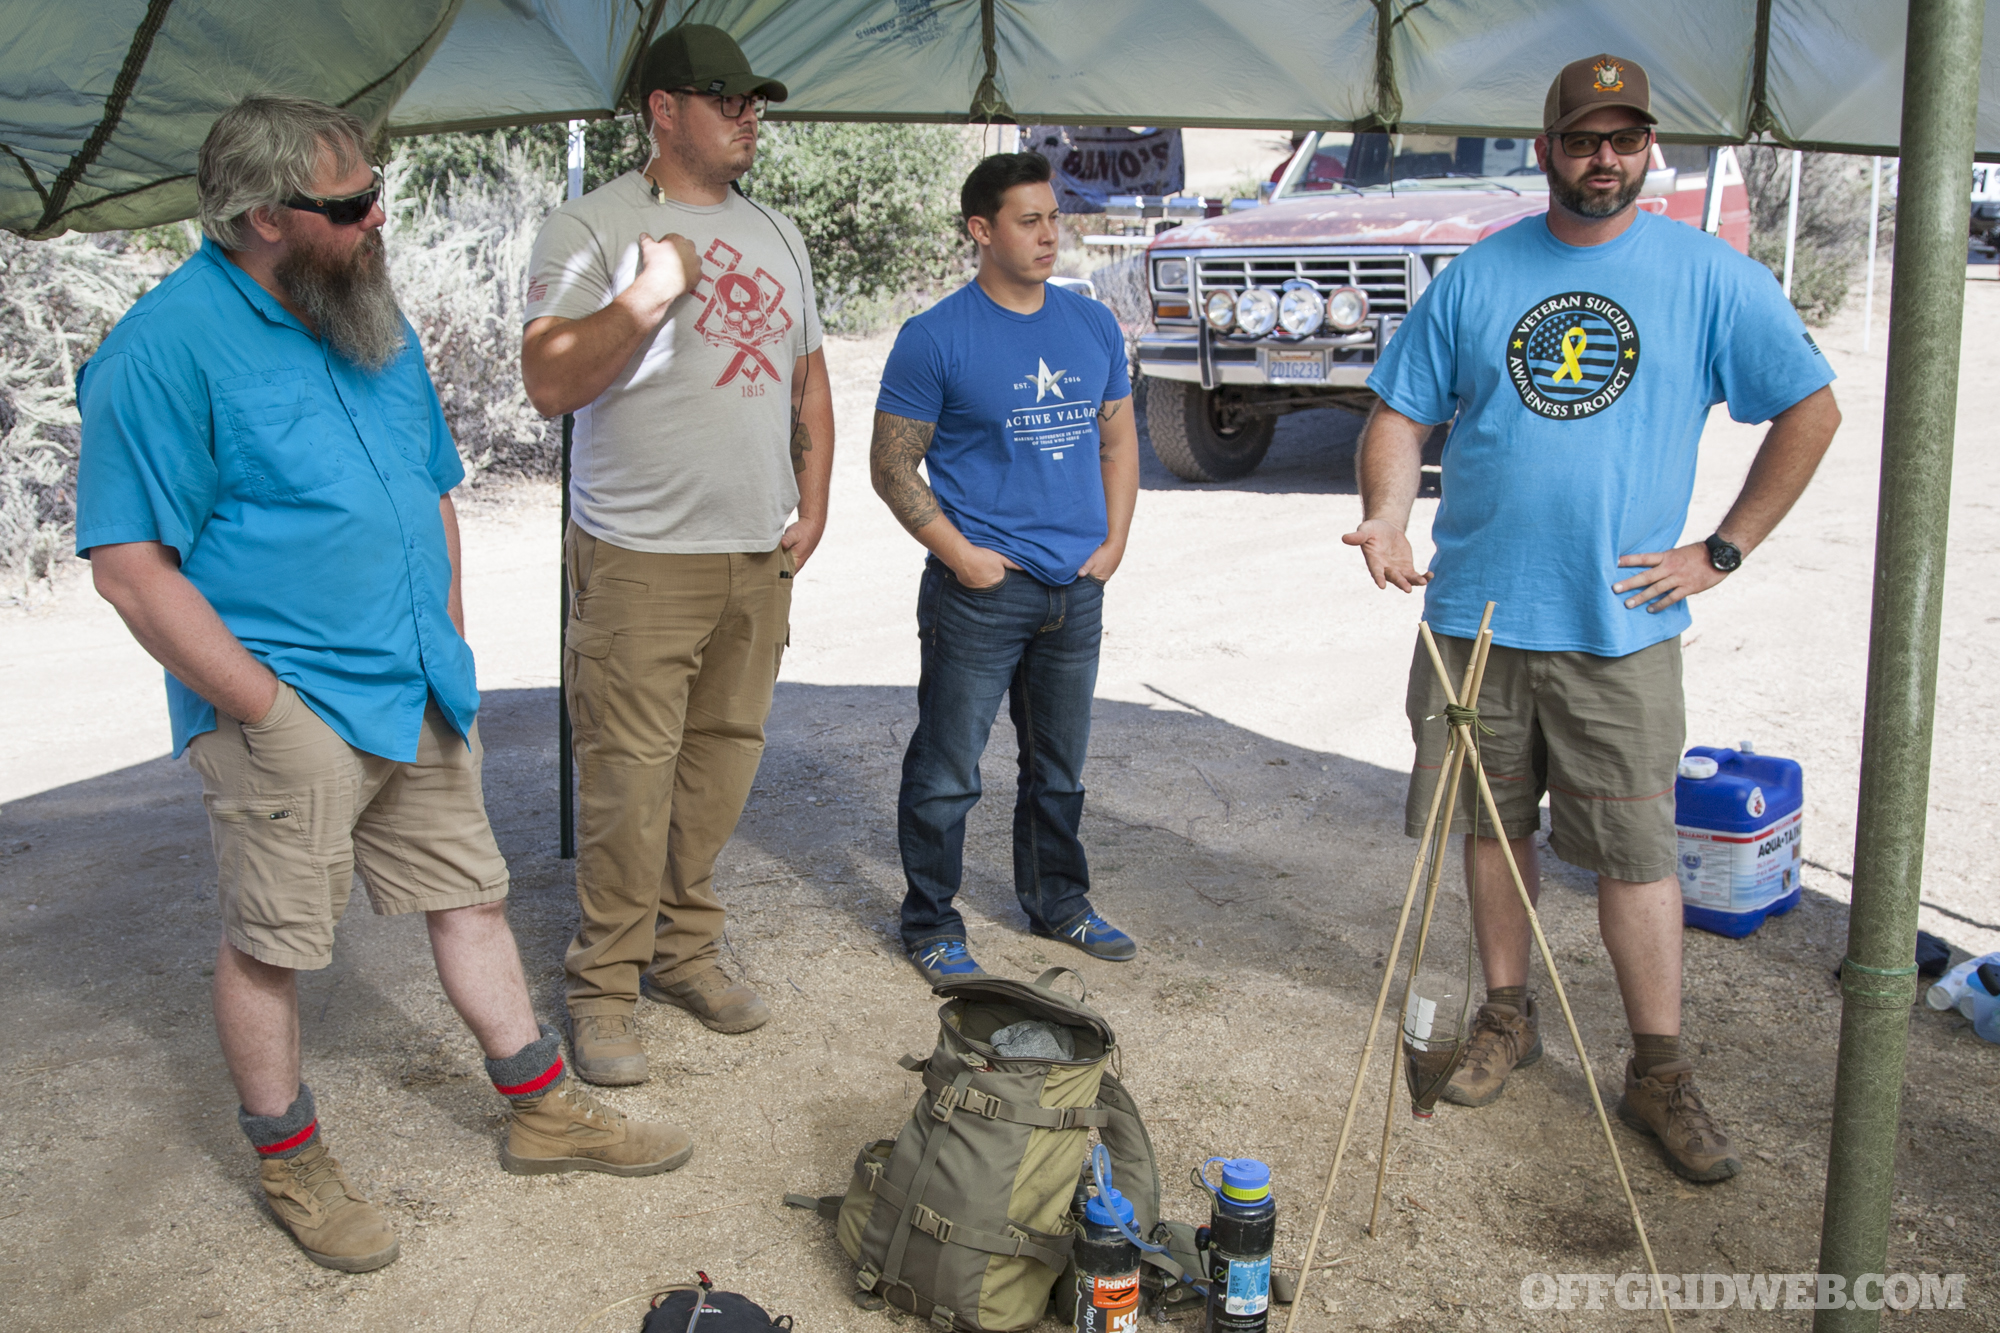
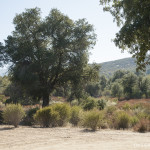
Southern California is well-known for its dry conditions, and the unincorporated Warner Springs area of San Diego county is particularly arid. So, the first point Colin emphasized is the importance of bringing a healthy supply of water as you venture into the desert. In this environment, water is life. And as you’ll see later, it may not be easy to resupply in the wild.
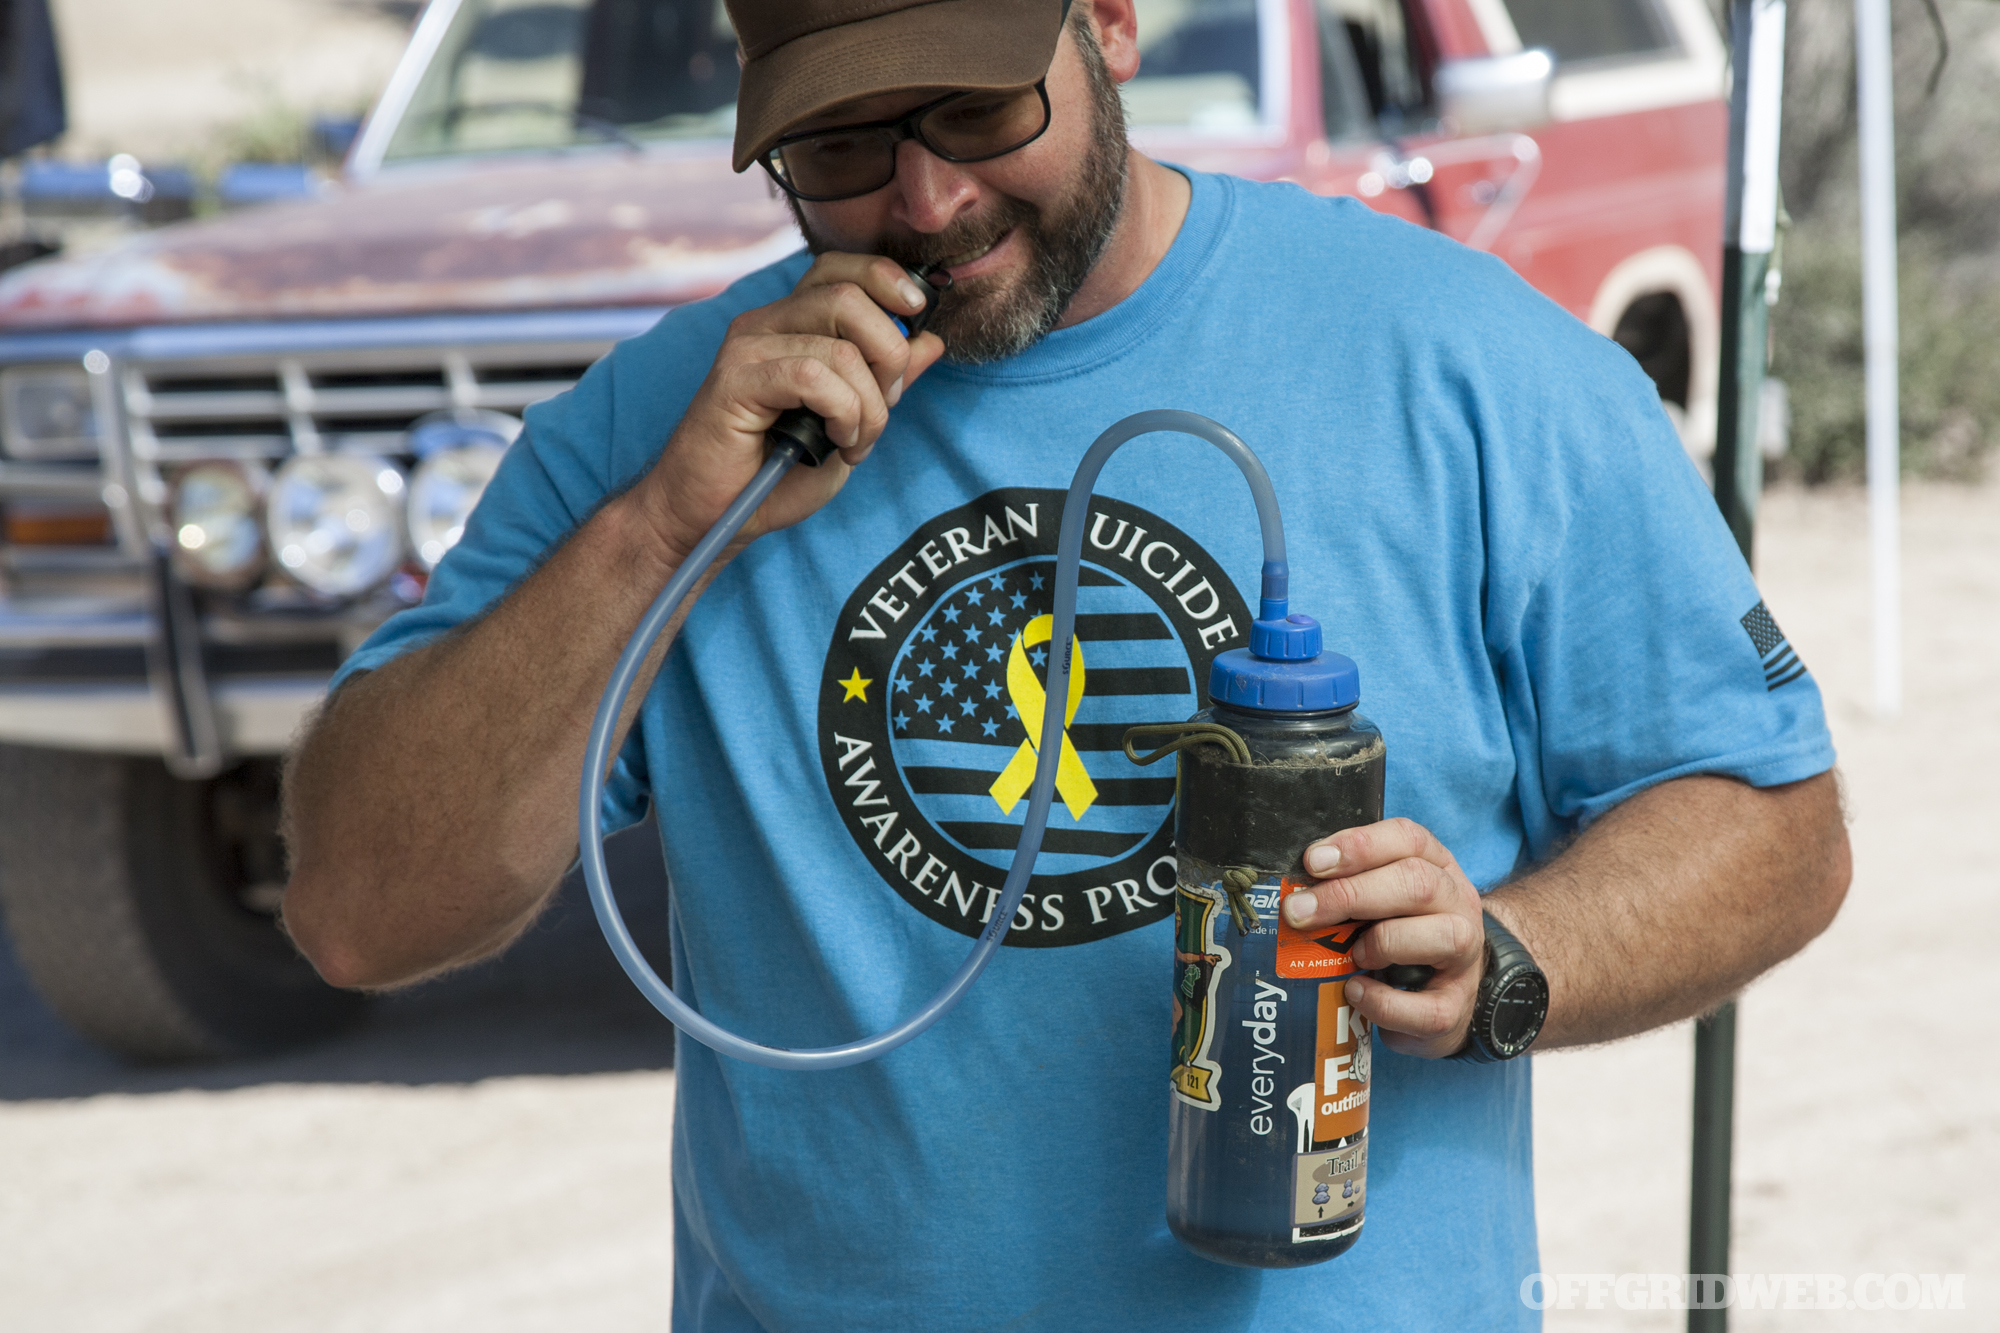
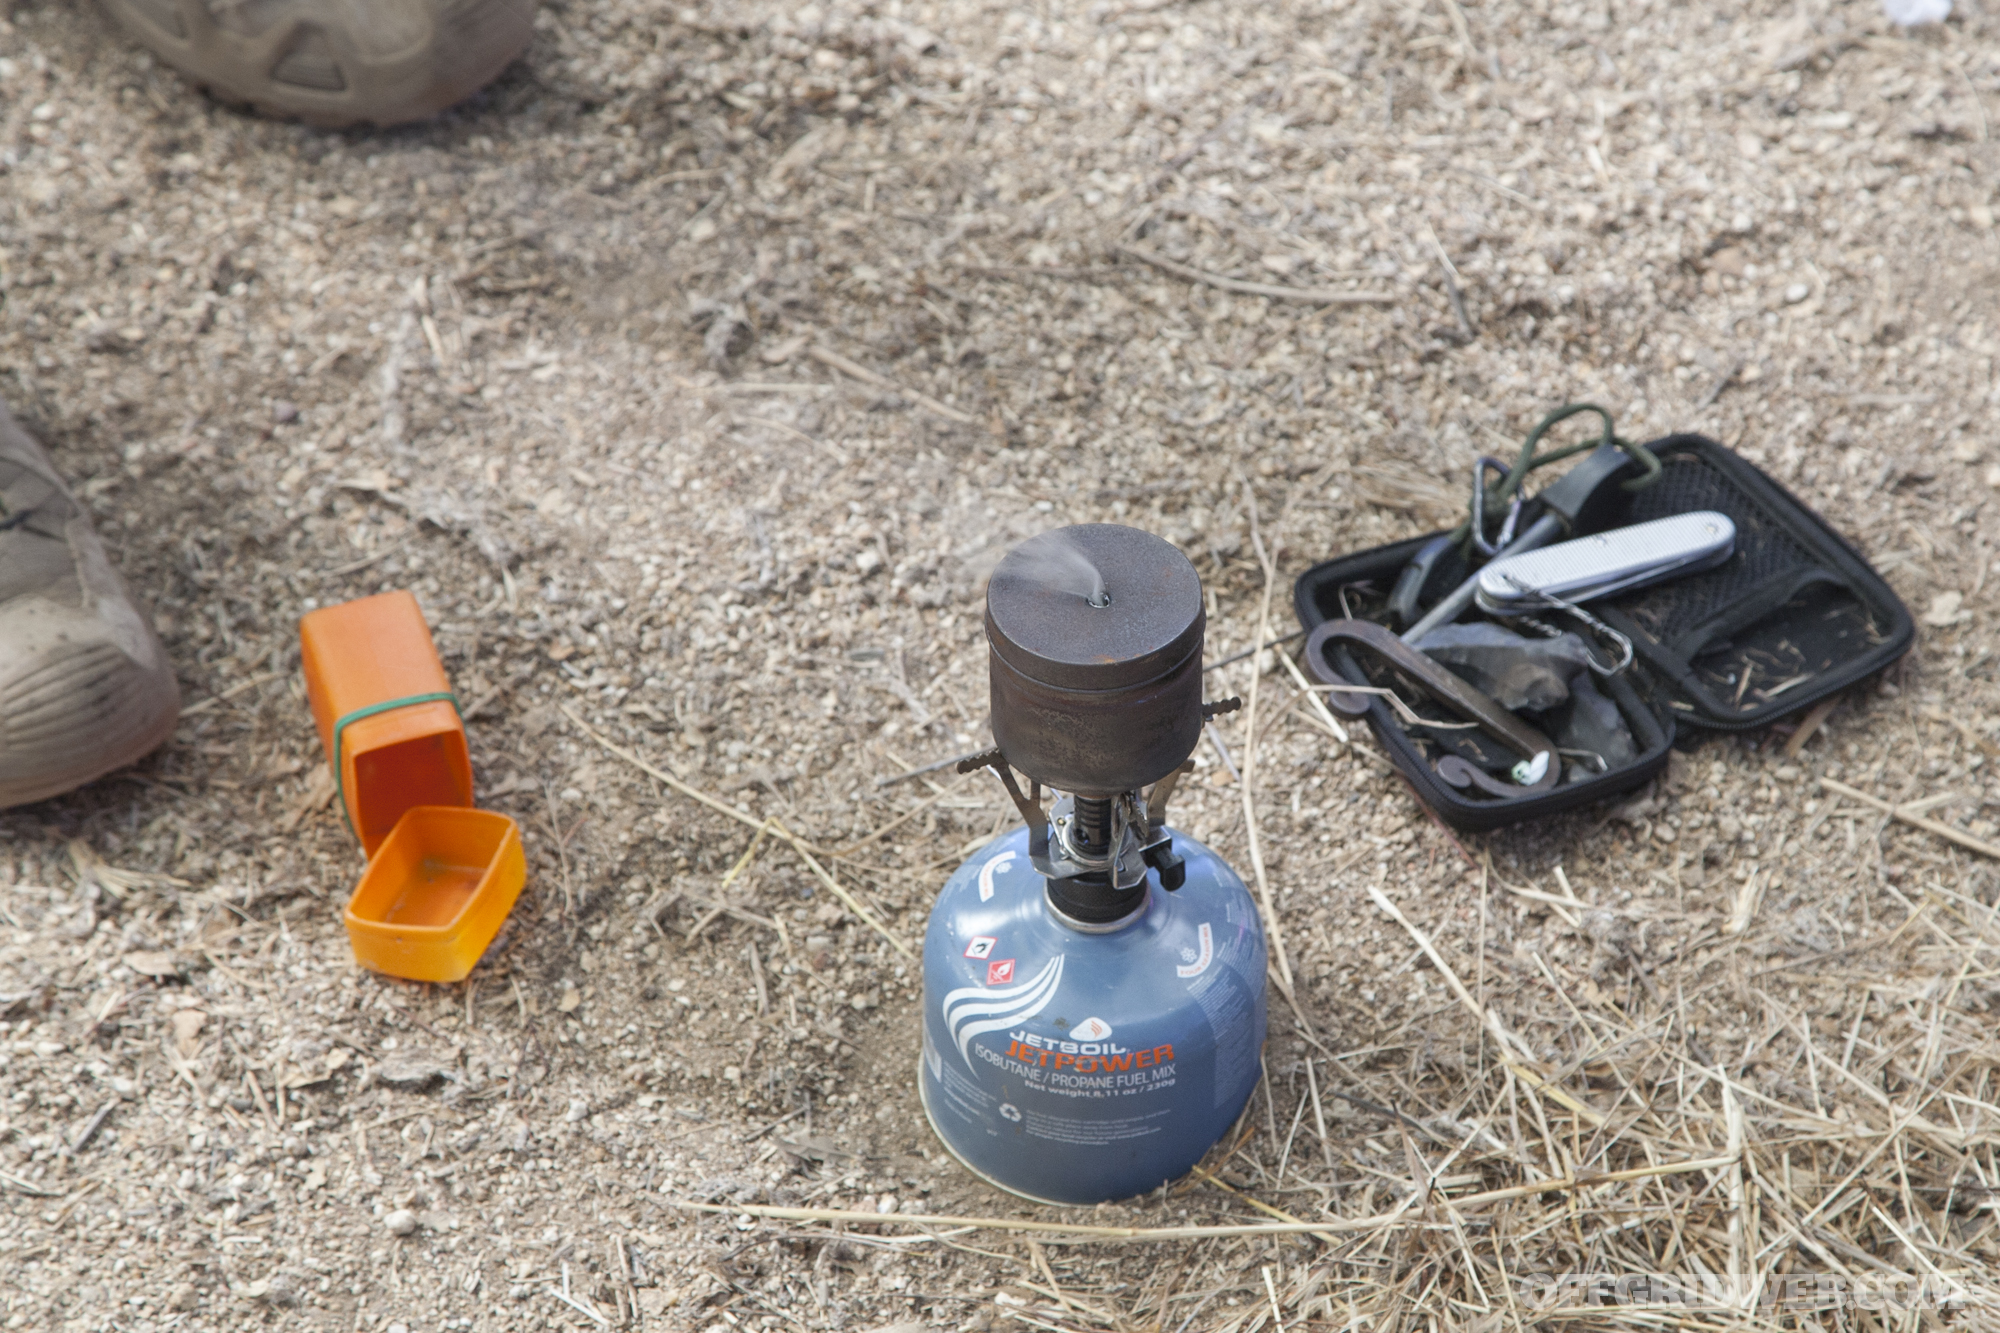
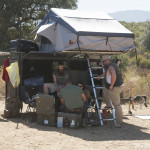
His pack contains two 48-ounce Nalgene bottles. One is fitted with a Source Convertube hydration adapter for quick access; the other contains a green Pillid for storage of chlorine purification tablets and other meds. He also carries a small metal canteen for boiling water, and a Sawyer Mini filter (shown above) that can be installed in-line on the Convertube. This setup provides a well-rounded approach to purifying water, and plenty of capacity for longer treks.
Colin also noted that he carries something to replenish electrolytes, such as hiking salt tablets, sports drink powder, bouillon cubes, or small packets of dried chicken soup mix.
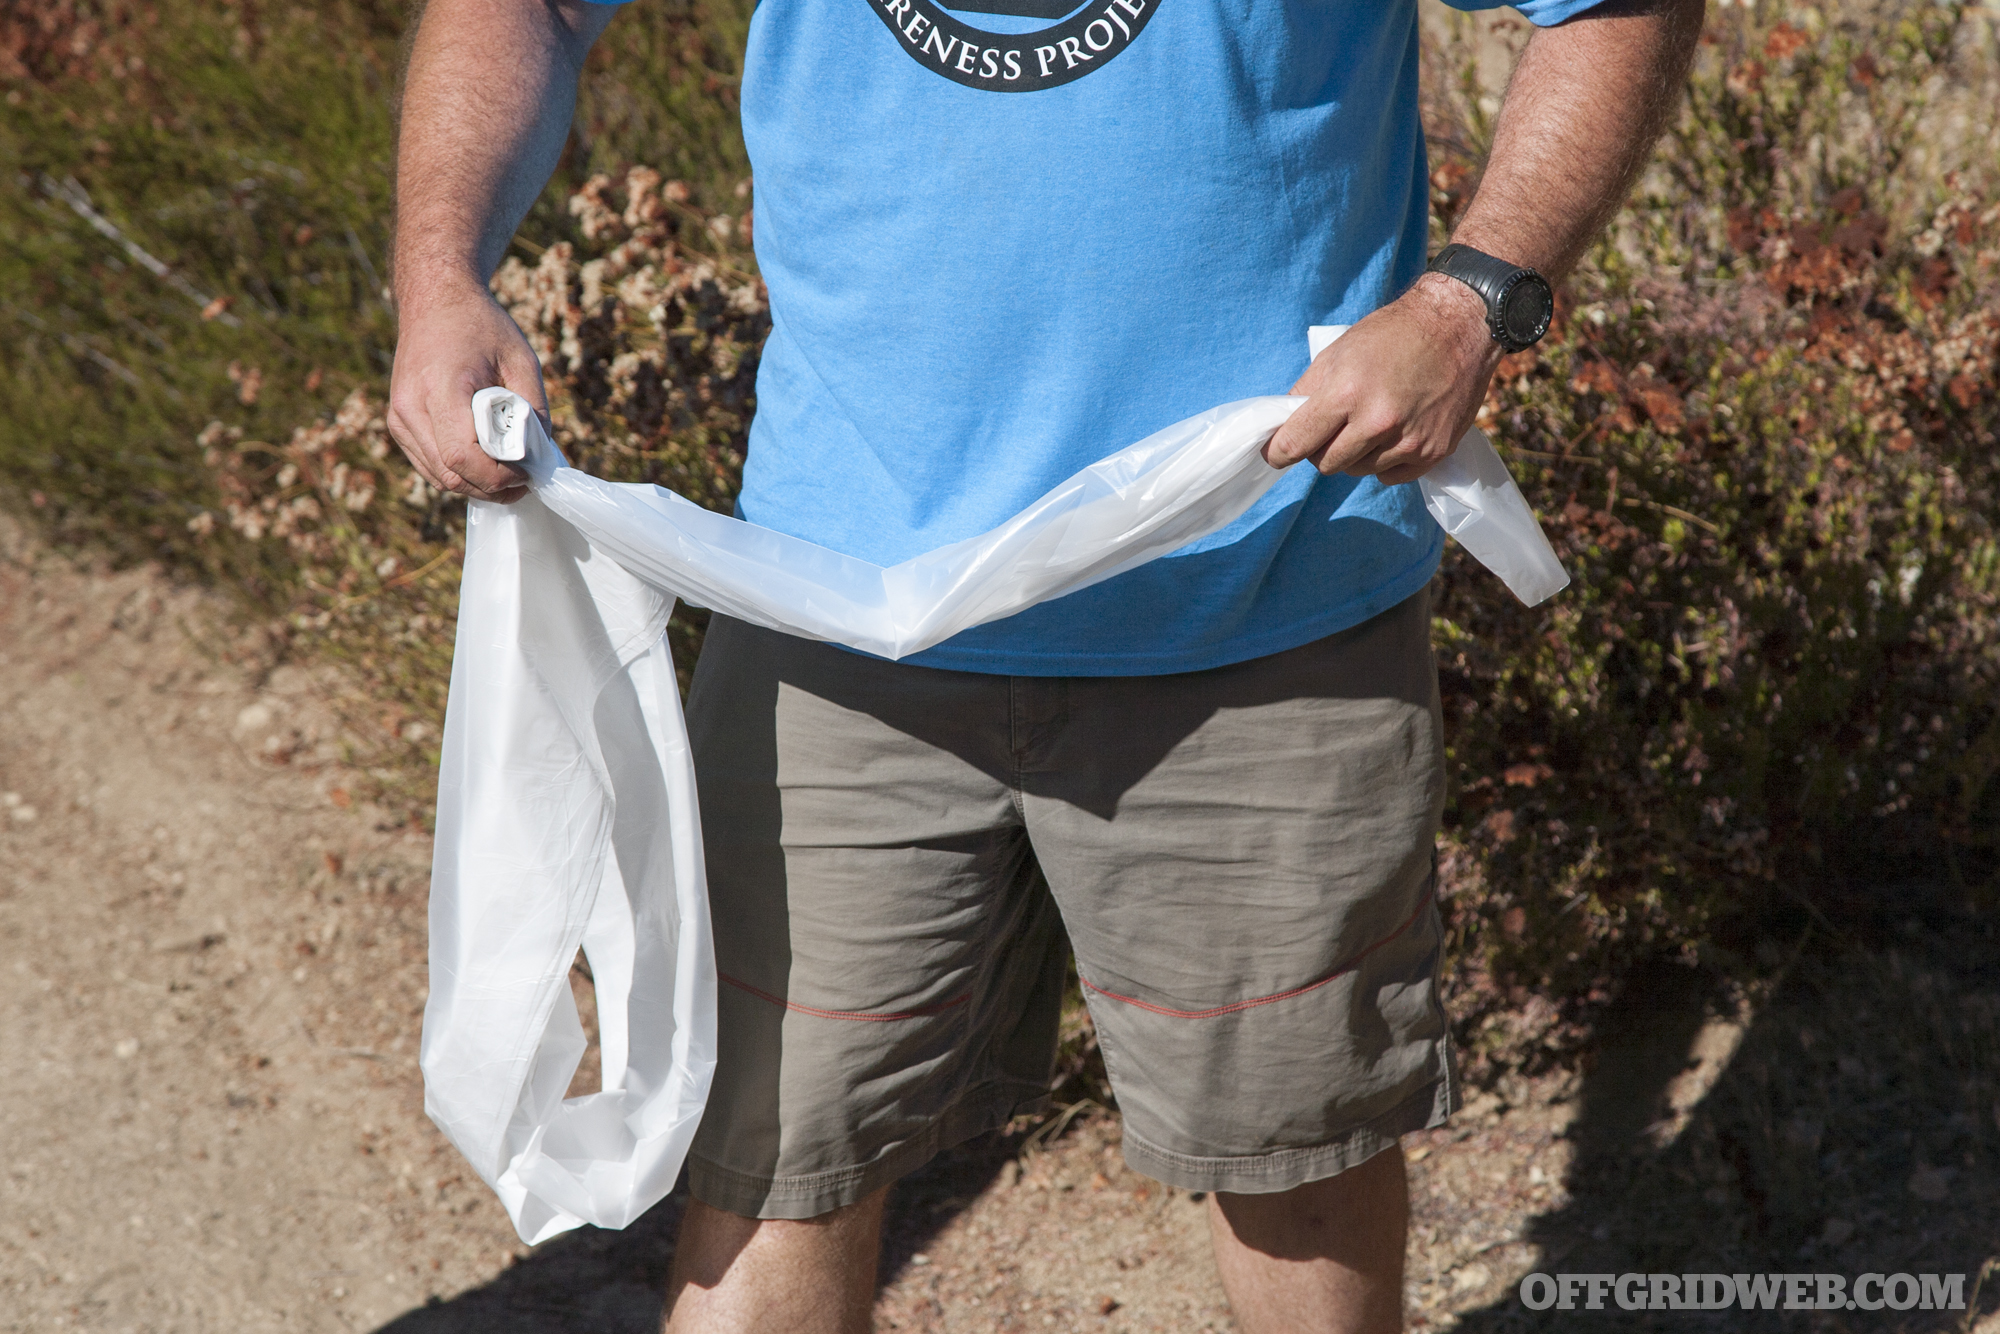
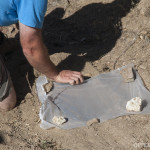
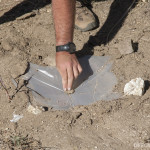
With some clear plastic, you can make a solar still to produce clean water.
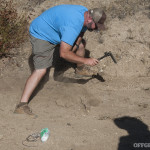
So, what happens if you run out of water? It’s unlikely that you’ll come across so much as a trickling creek in the scorching desert heat — purifying water from stagnant puddles with the methods above may be the only course of action. If that fails, Colin showed another method of obtaining water: a solar still.
Here are the steps to making a solar still:
Dig a hole about one foot deep.
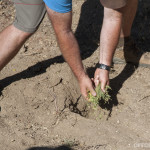
Fill the base of that hole with something that contains moisture, such as pulverized plant material. Unlike most other purification methods, even urine can be used in a solar still, as this process distills out the water from its impurities.
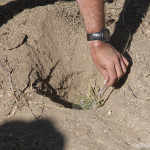
Insert a cup in the center. In this case, the bottom portion of a plastic soda bottle was used. A tube can also be run from the cup to the surface of the hole for easy drinking.
Cover the hole with plastic sheeting, and place rocks and soil around the edges to keep the enclosure sealed.
Place a stone or weight in the center of the hole.
Sunlight will create condensation on the sheet, and that water will run down to the weighted portion, dripping into the cup.
This is a slow process, but in a dry environment, it may be one of the only ways to replenish your water supplies.
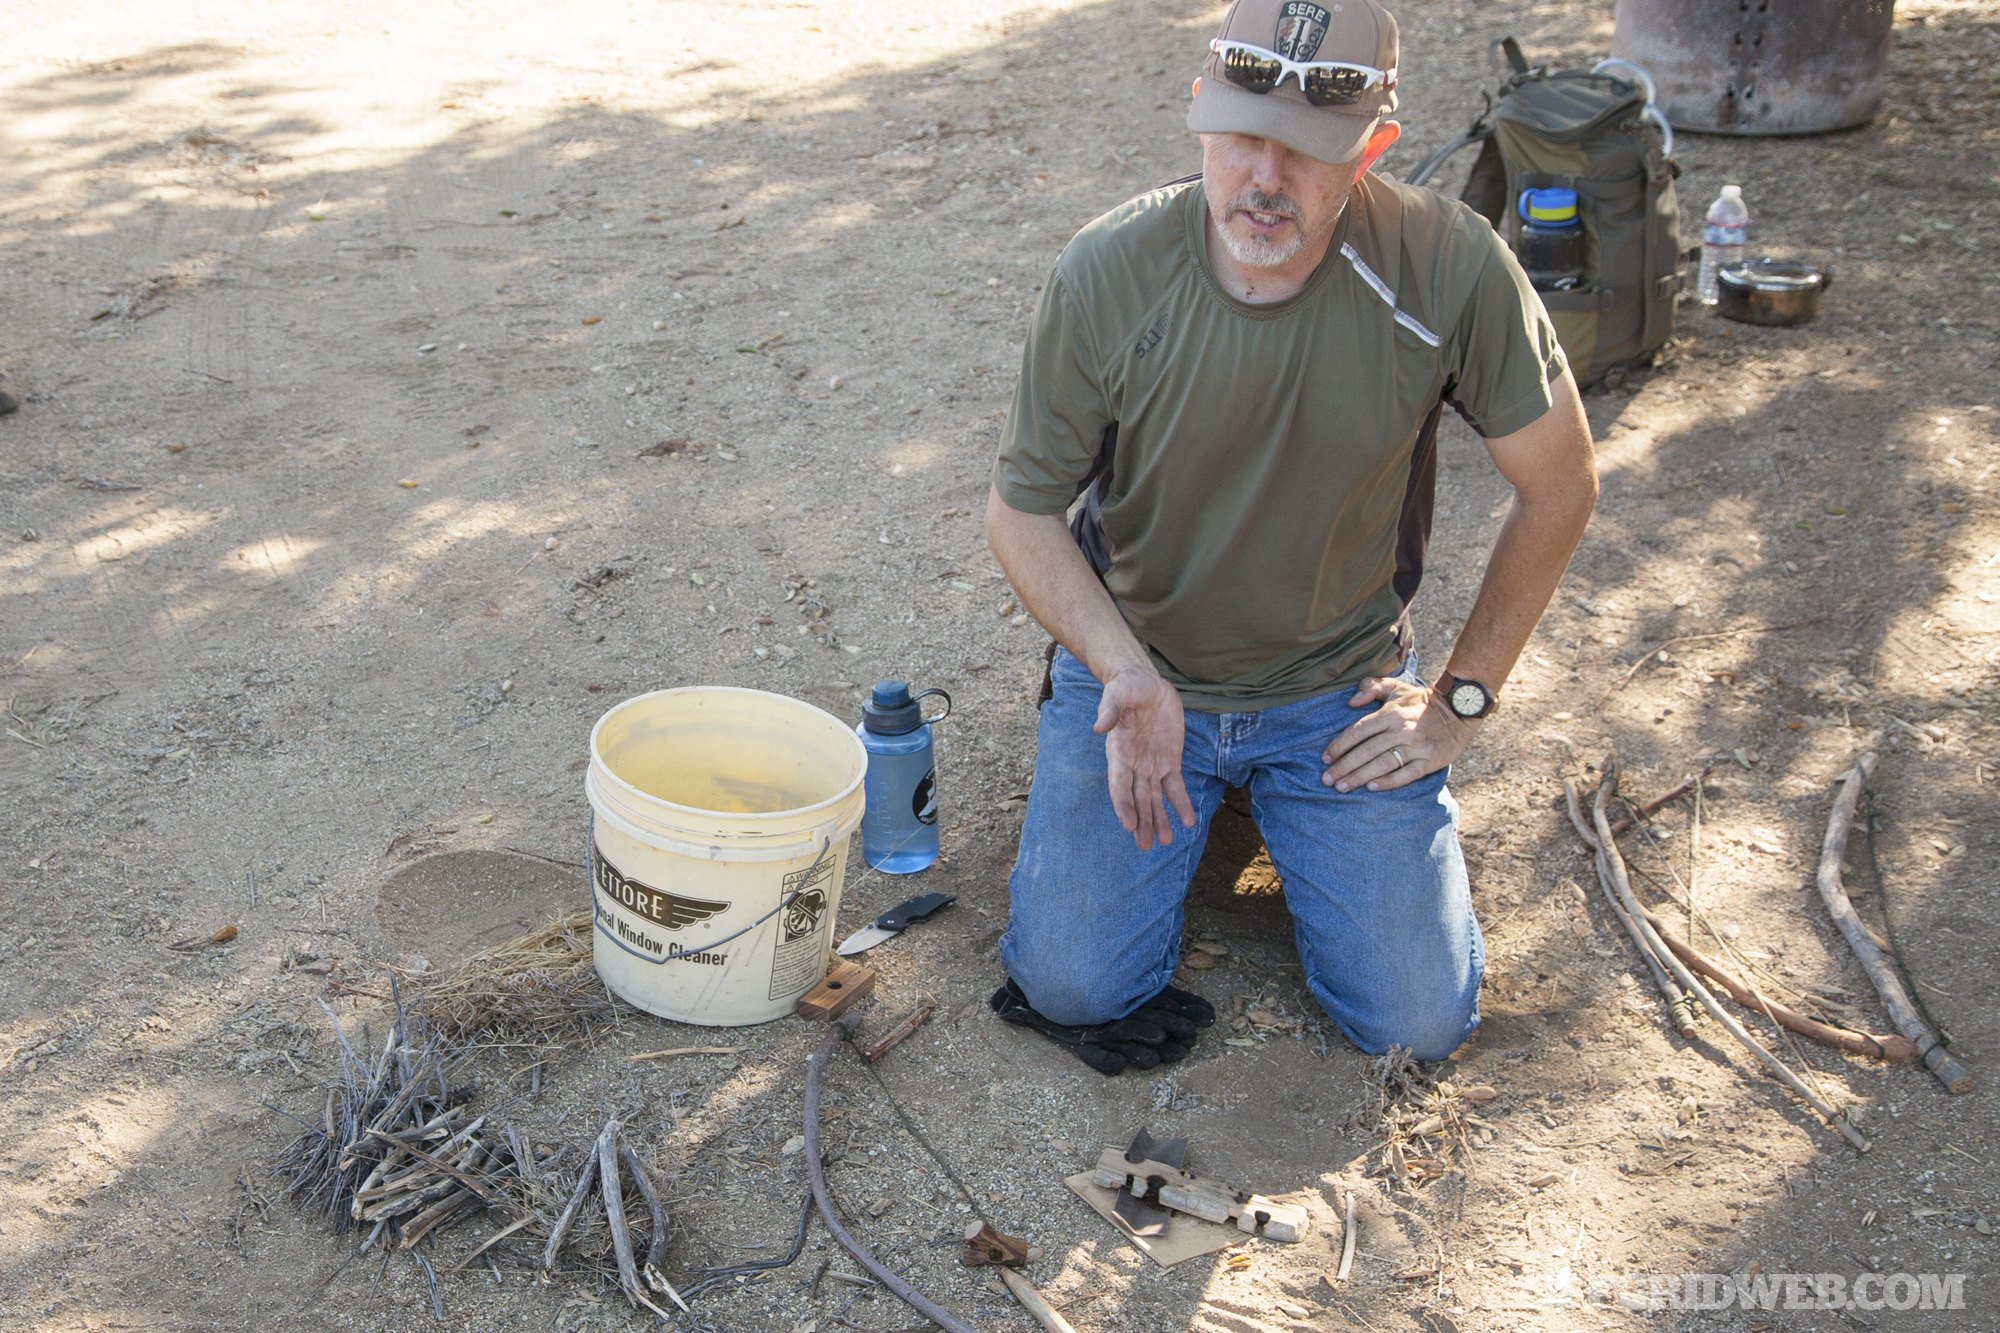
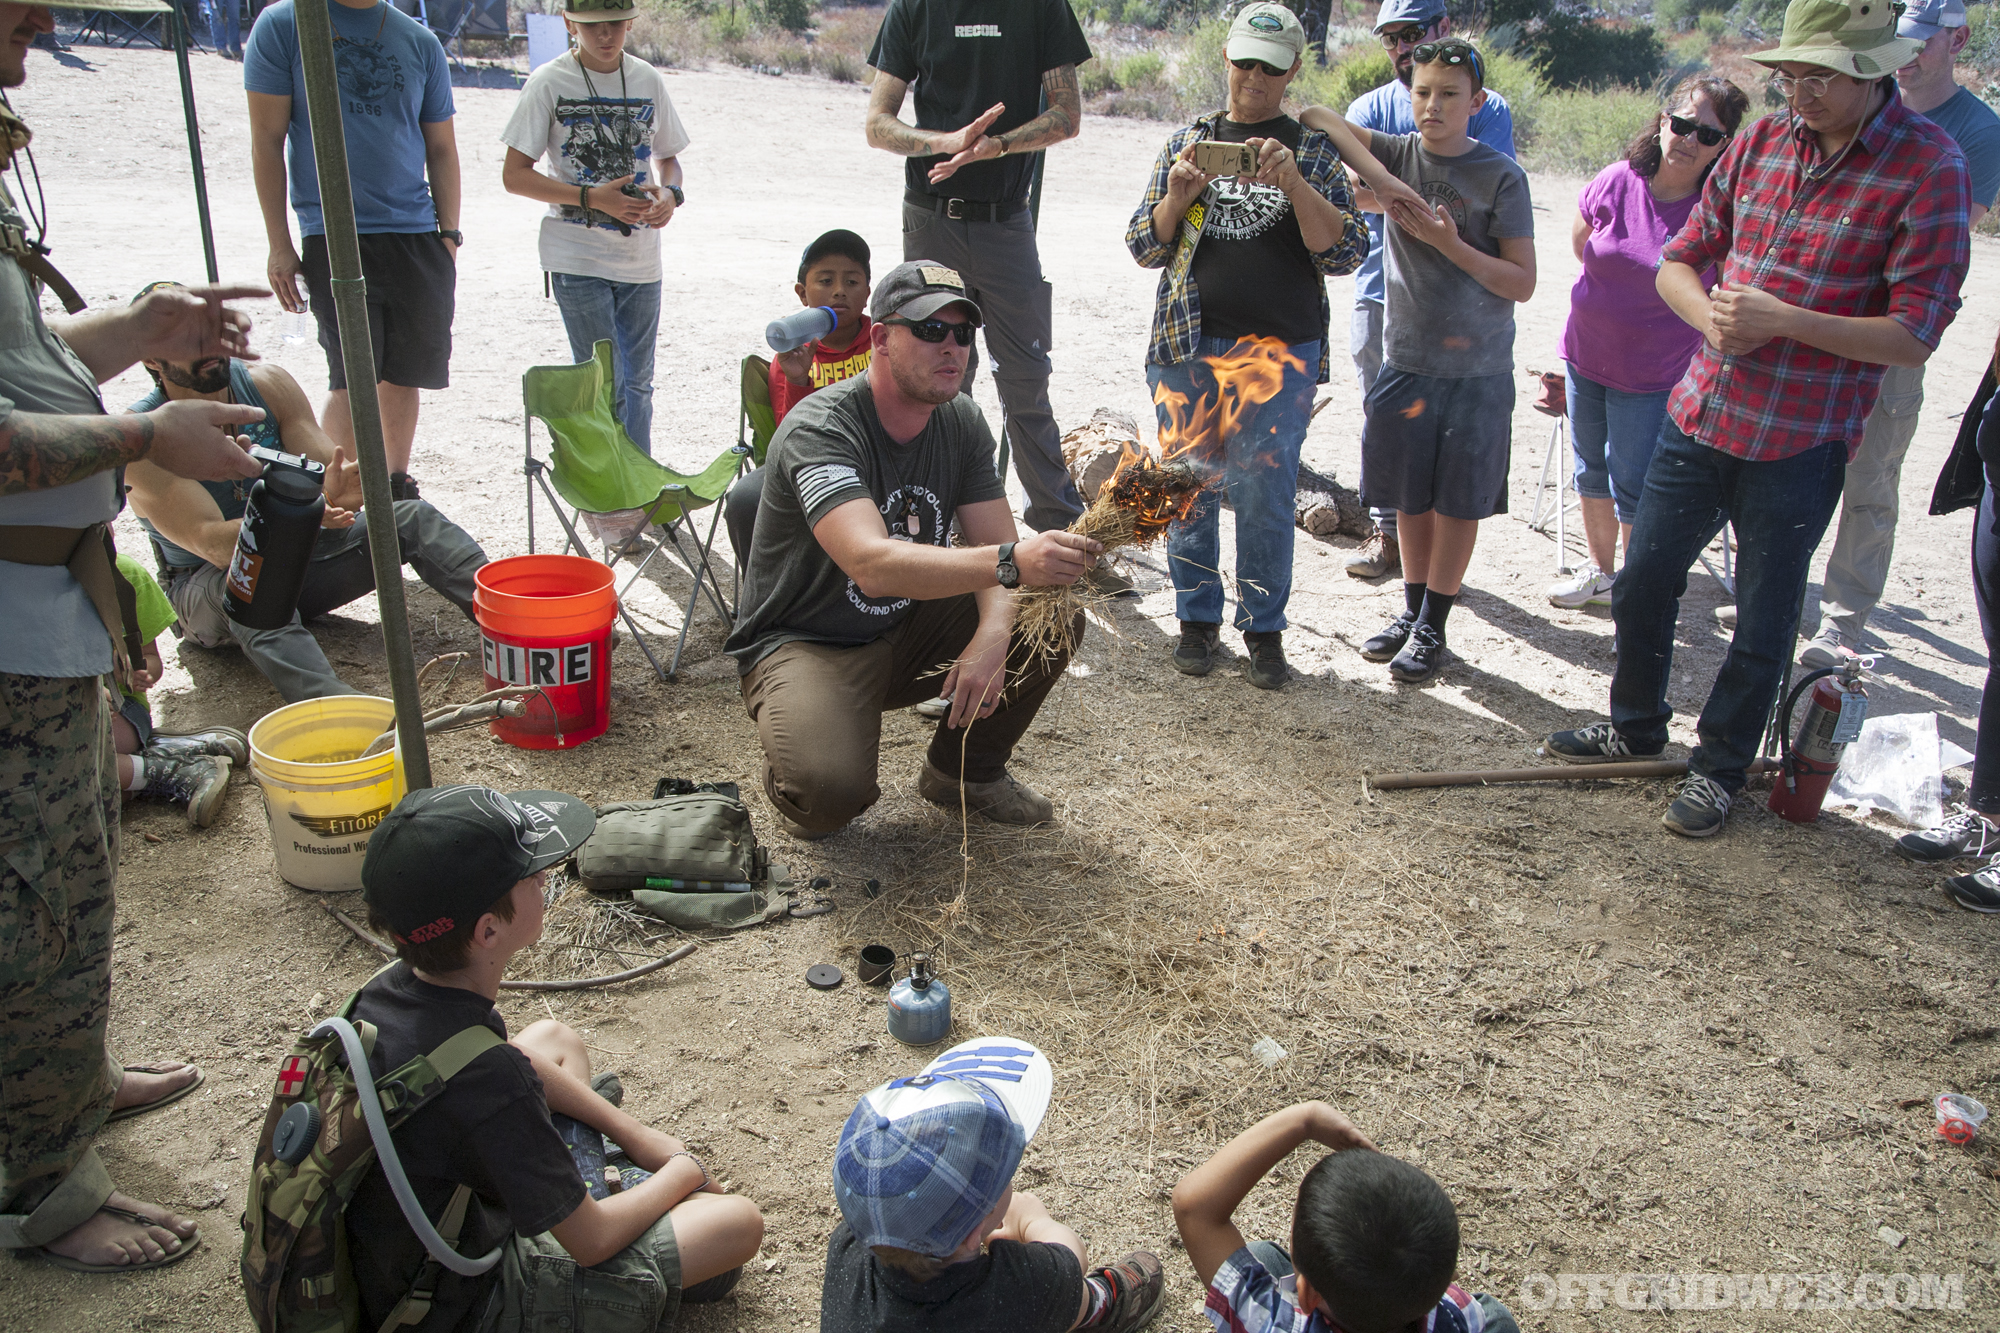
Tinder Materials & Fire-Starting
Taught by Todd (a SERE instructor) and Brady Pesola
Even in a sunny desert region, fire-making is an essential skill. Nighttime temperatures drop sharply in this area — they reached the low-40°F range on this otherwise warm October weekend. This can quickly lead to hypothermia if you’re not cautious.
In addition to heat, fire also provides a means of cooking food, repelling insects, and signaling for help. Todd discussed how to collect tinder, kindling, and firewood, as well as a few methods to ignite these items.
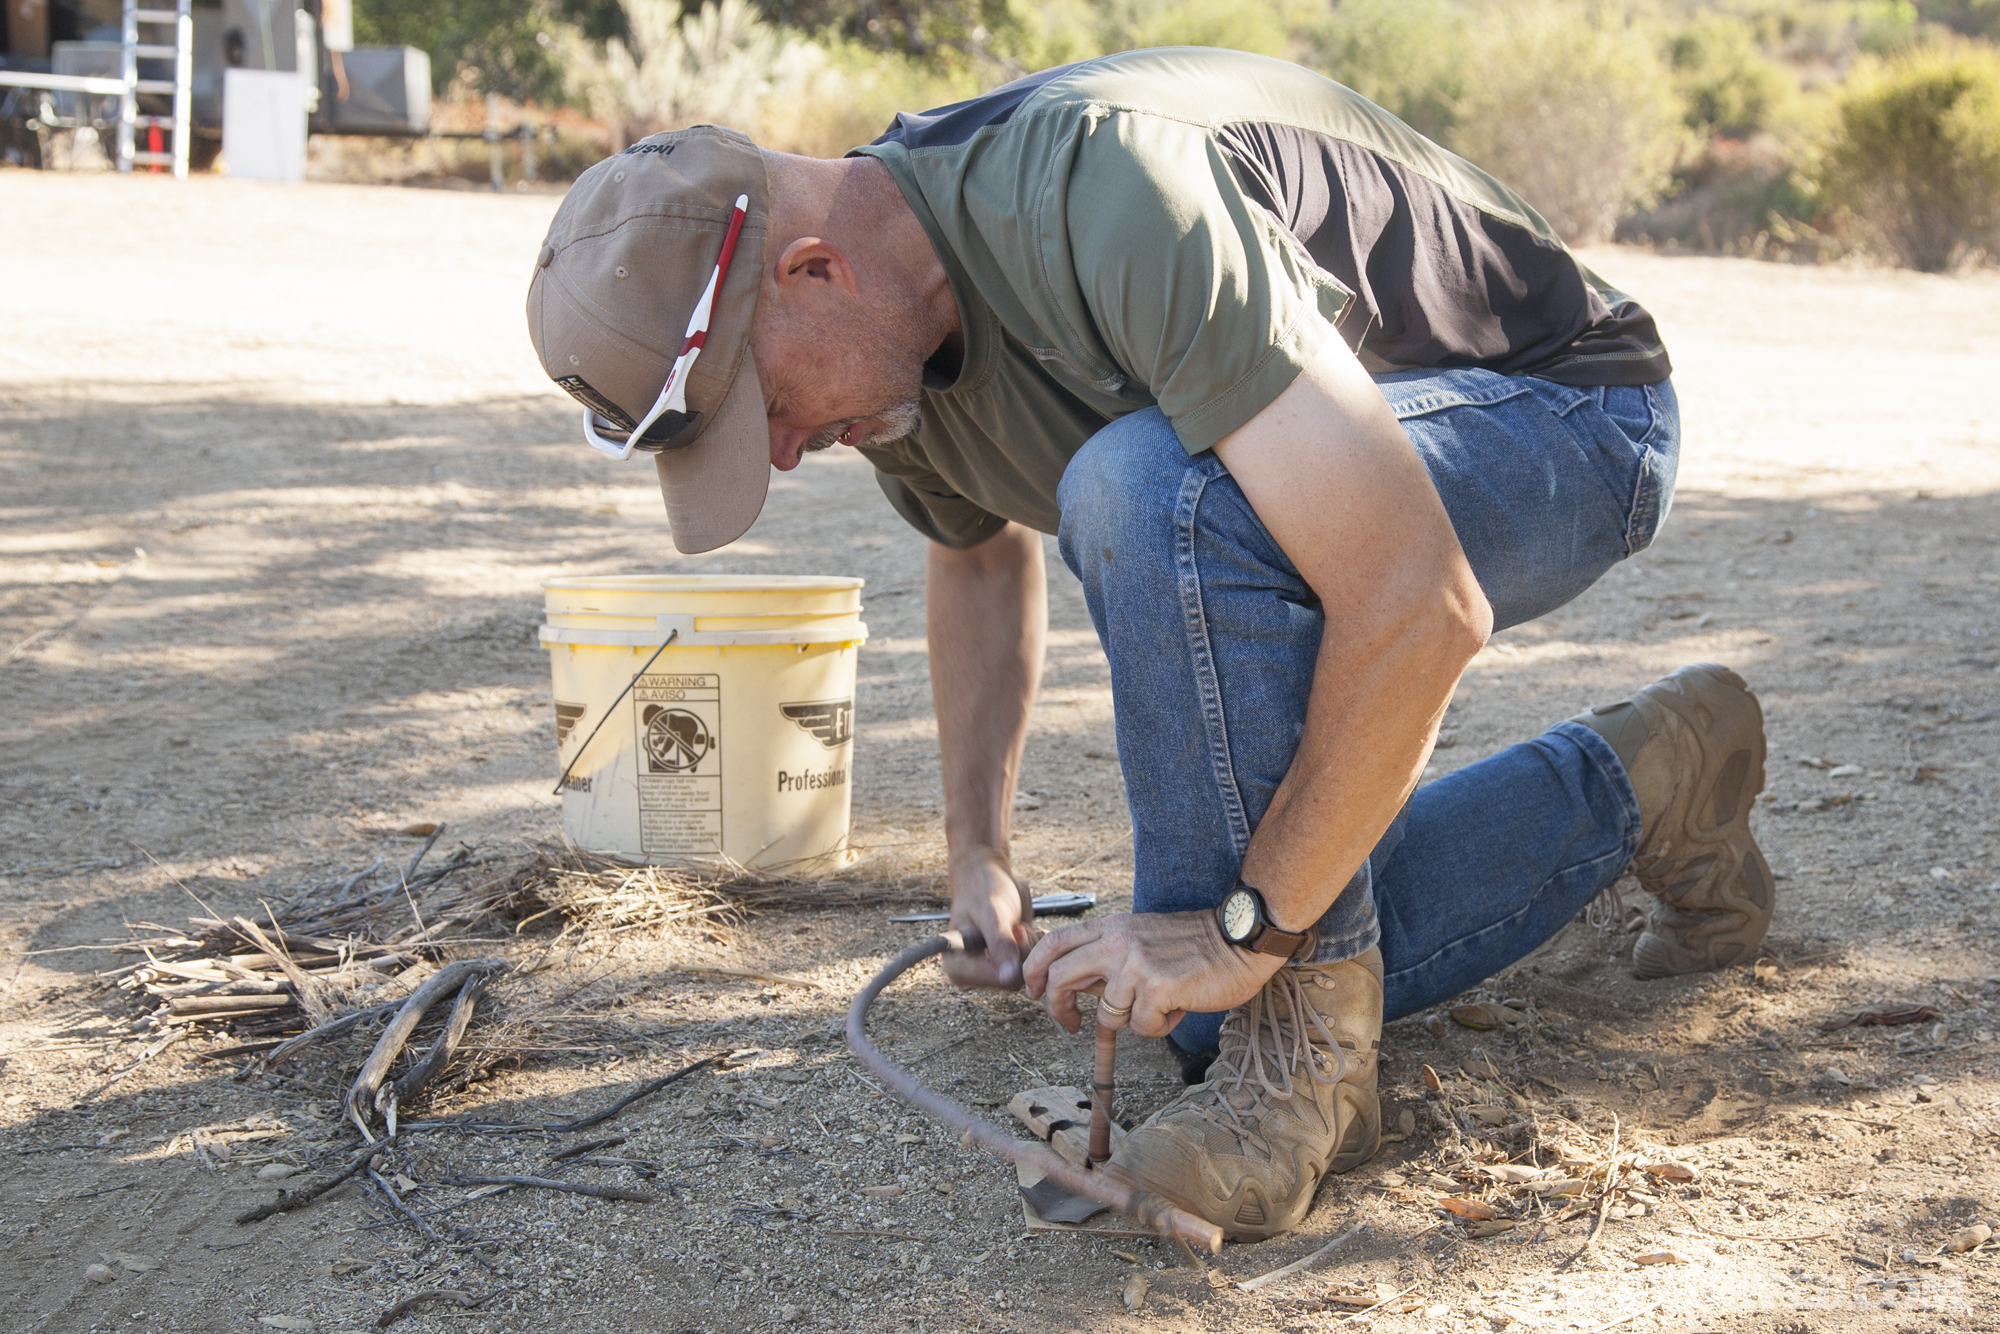
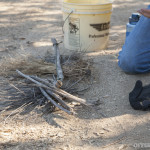
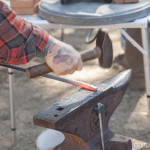
A bow drill uses a curved branch and some cordage to quickly rotate a spindle, generating friction on a notched board. After several minutes of vigorous work, an ember is generated, and tipped into a piece of leather below. Unfortunately, it’s not as easy as seen on TV. Even with Todd’s considerable experience, he was unable to get a fire going with the bow drill during the 20-minute lesson.
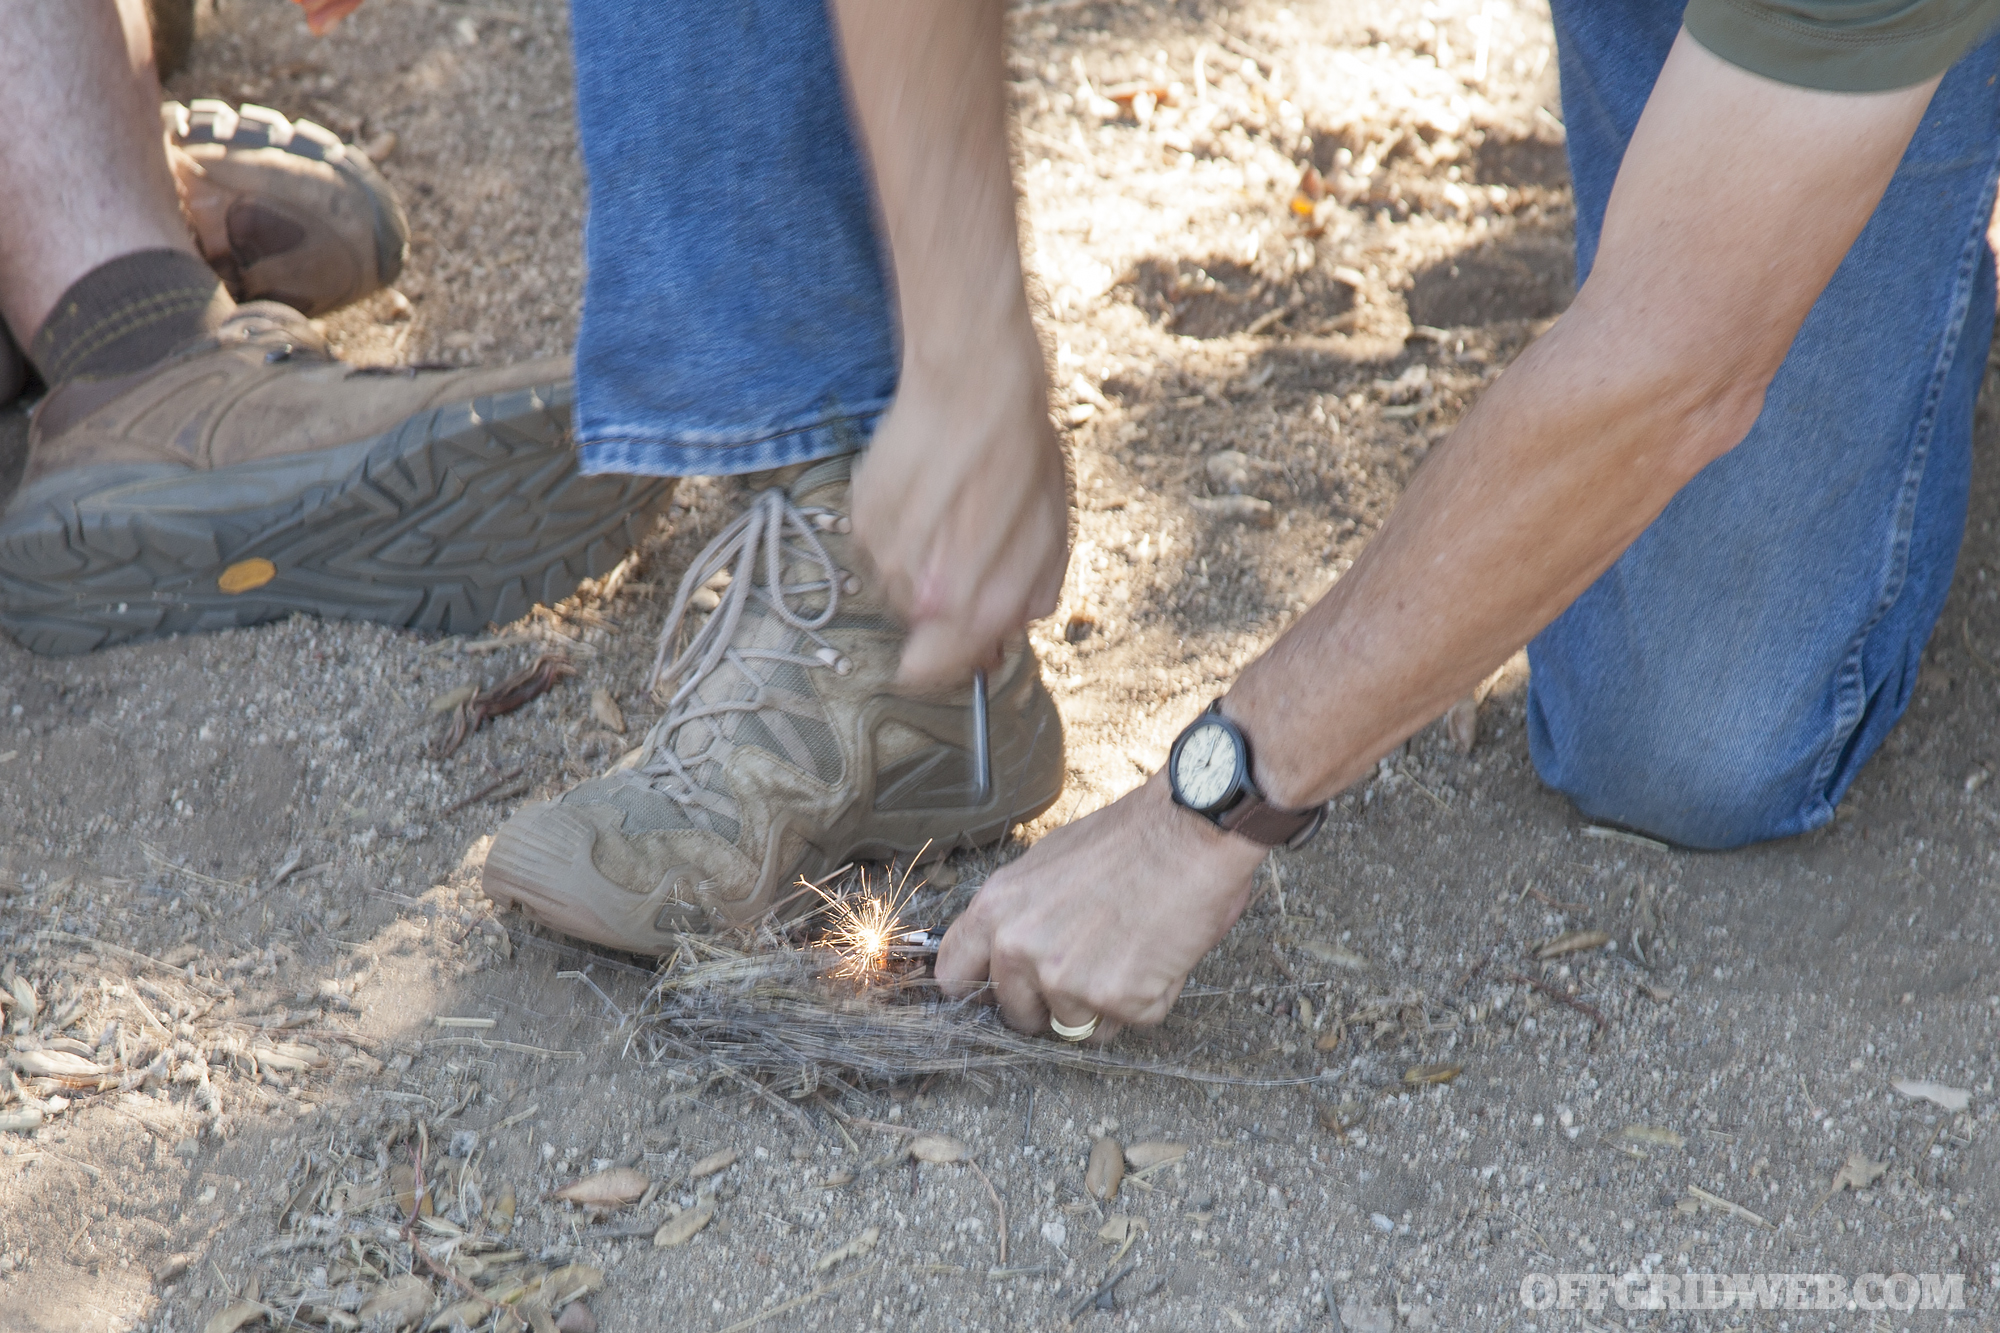
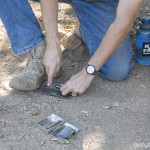
Fortunately, easier methods of fire-starting exist. You just need to prepare by bringing them in your pack. Todd demonstrated a clever method of striking a ferrocerium rod by holding a his knife’s tip against his boot and above a pile of tinder. Drawing the rod back against the hard-edged steel, sparks showered directly onto the tinder instead of scattering haphazardly.
This method was also used to scrape shavings of a magnesium bar, as seen above. Colin stepped in to show the resilience of a storm-proof match, dipping it into a water bottle and holding it up as it re-ignited.
Char cloth can be made in a punctured tin over a campfire or any other intense open flame.
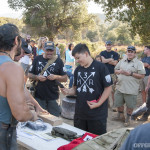
He also discussed the importance of forming a tinder nest from folded dry grass, and how an ember can be nursed into flame by gently blowing into the tinder as if you’re “praying to the fire gods”.
Emergency Signaling
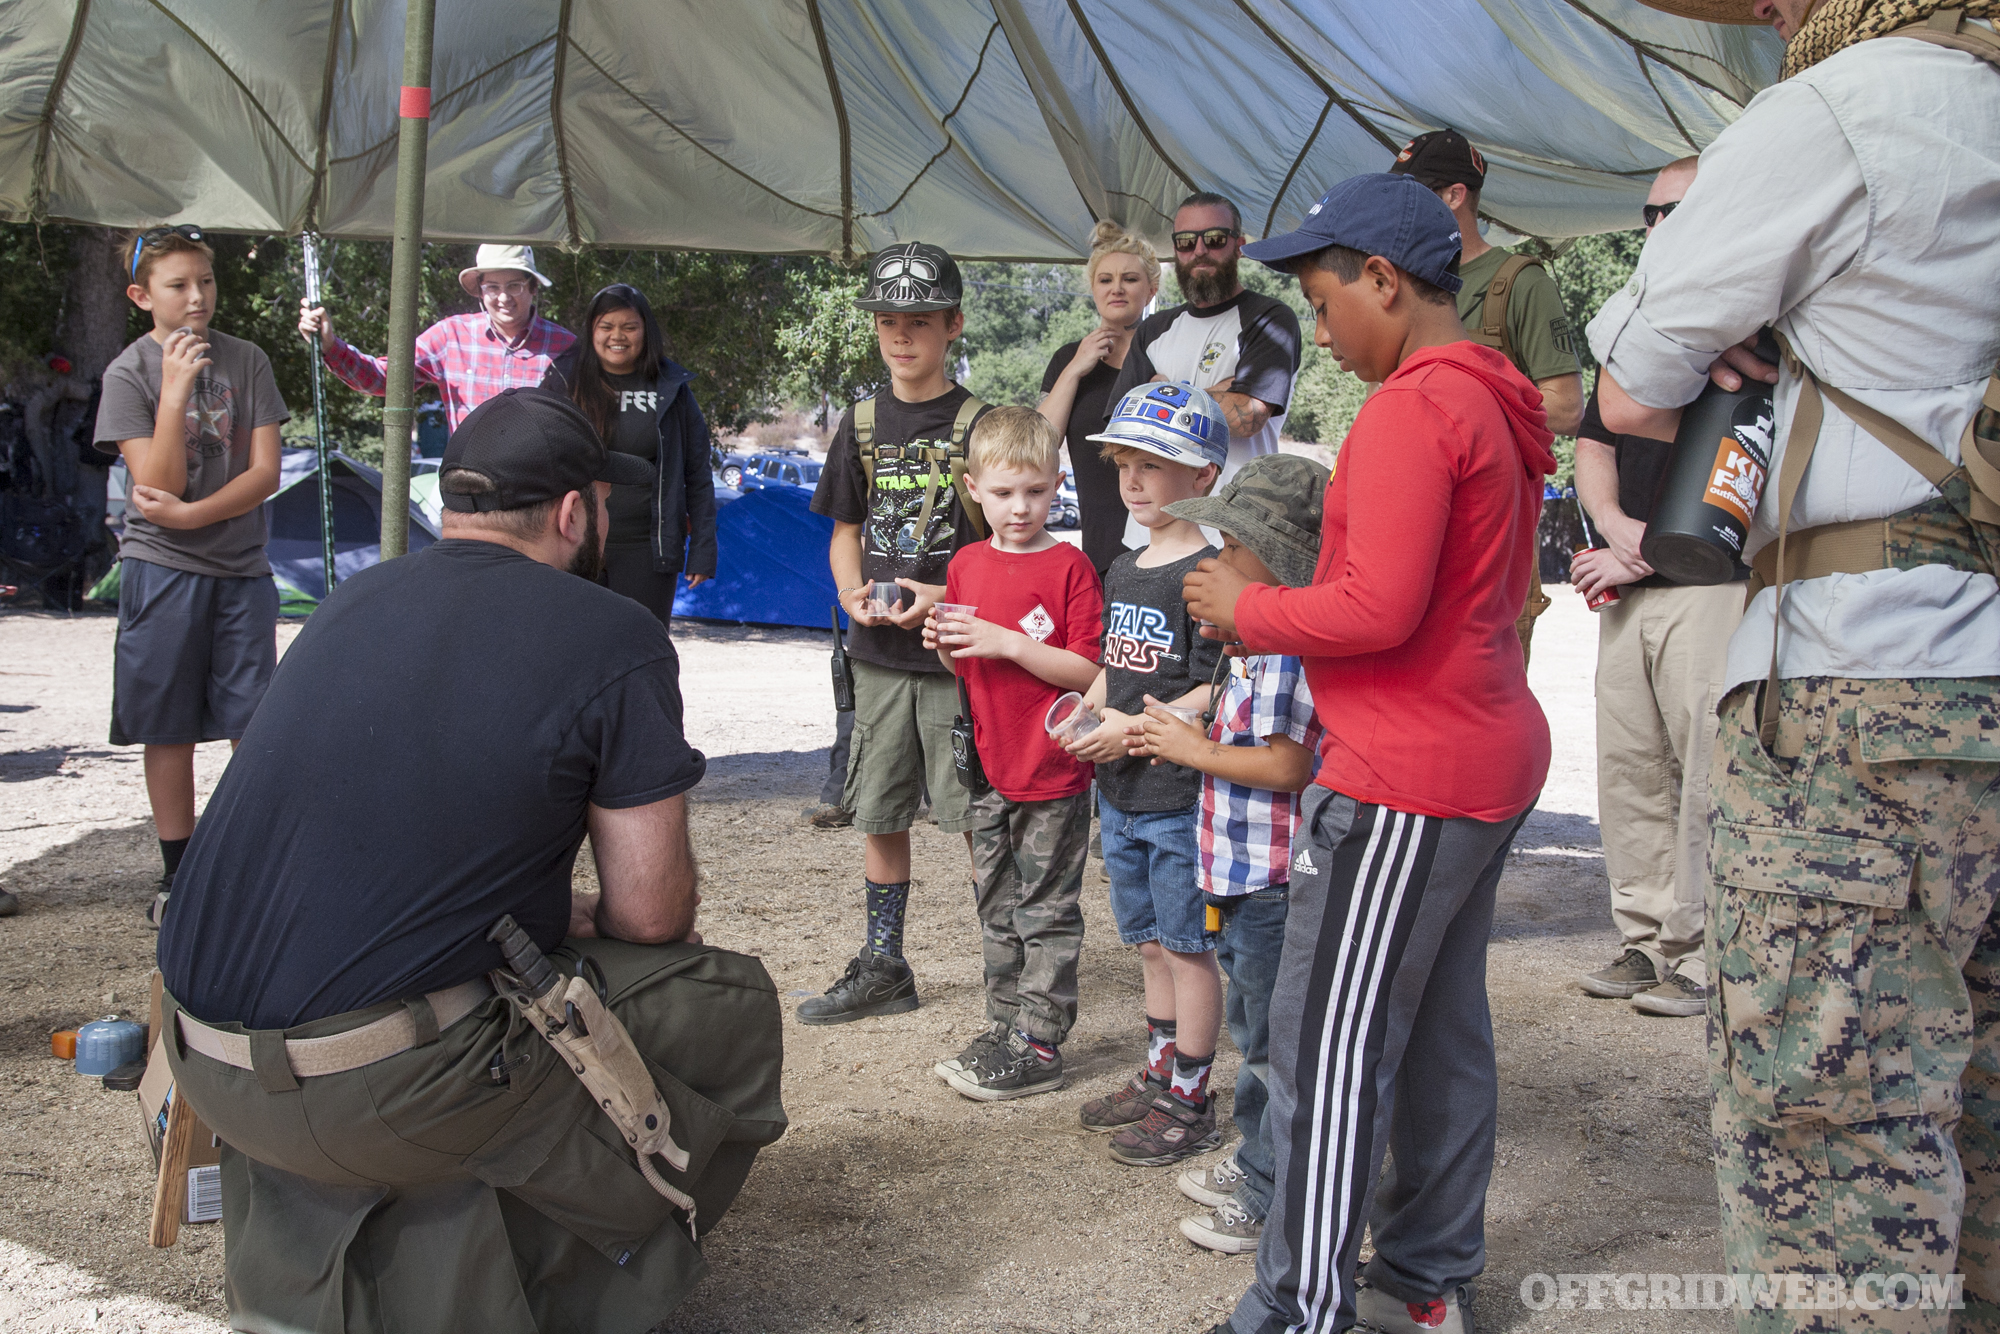
Taught by Colin of Kit Fox Outfitters
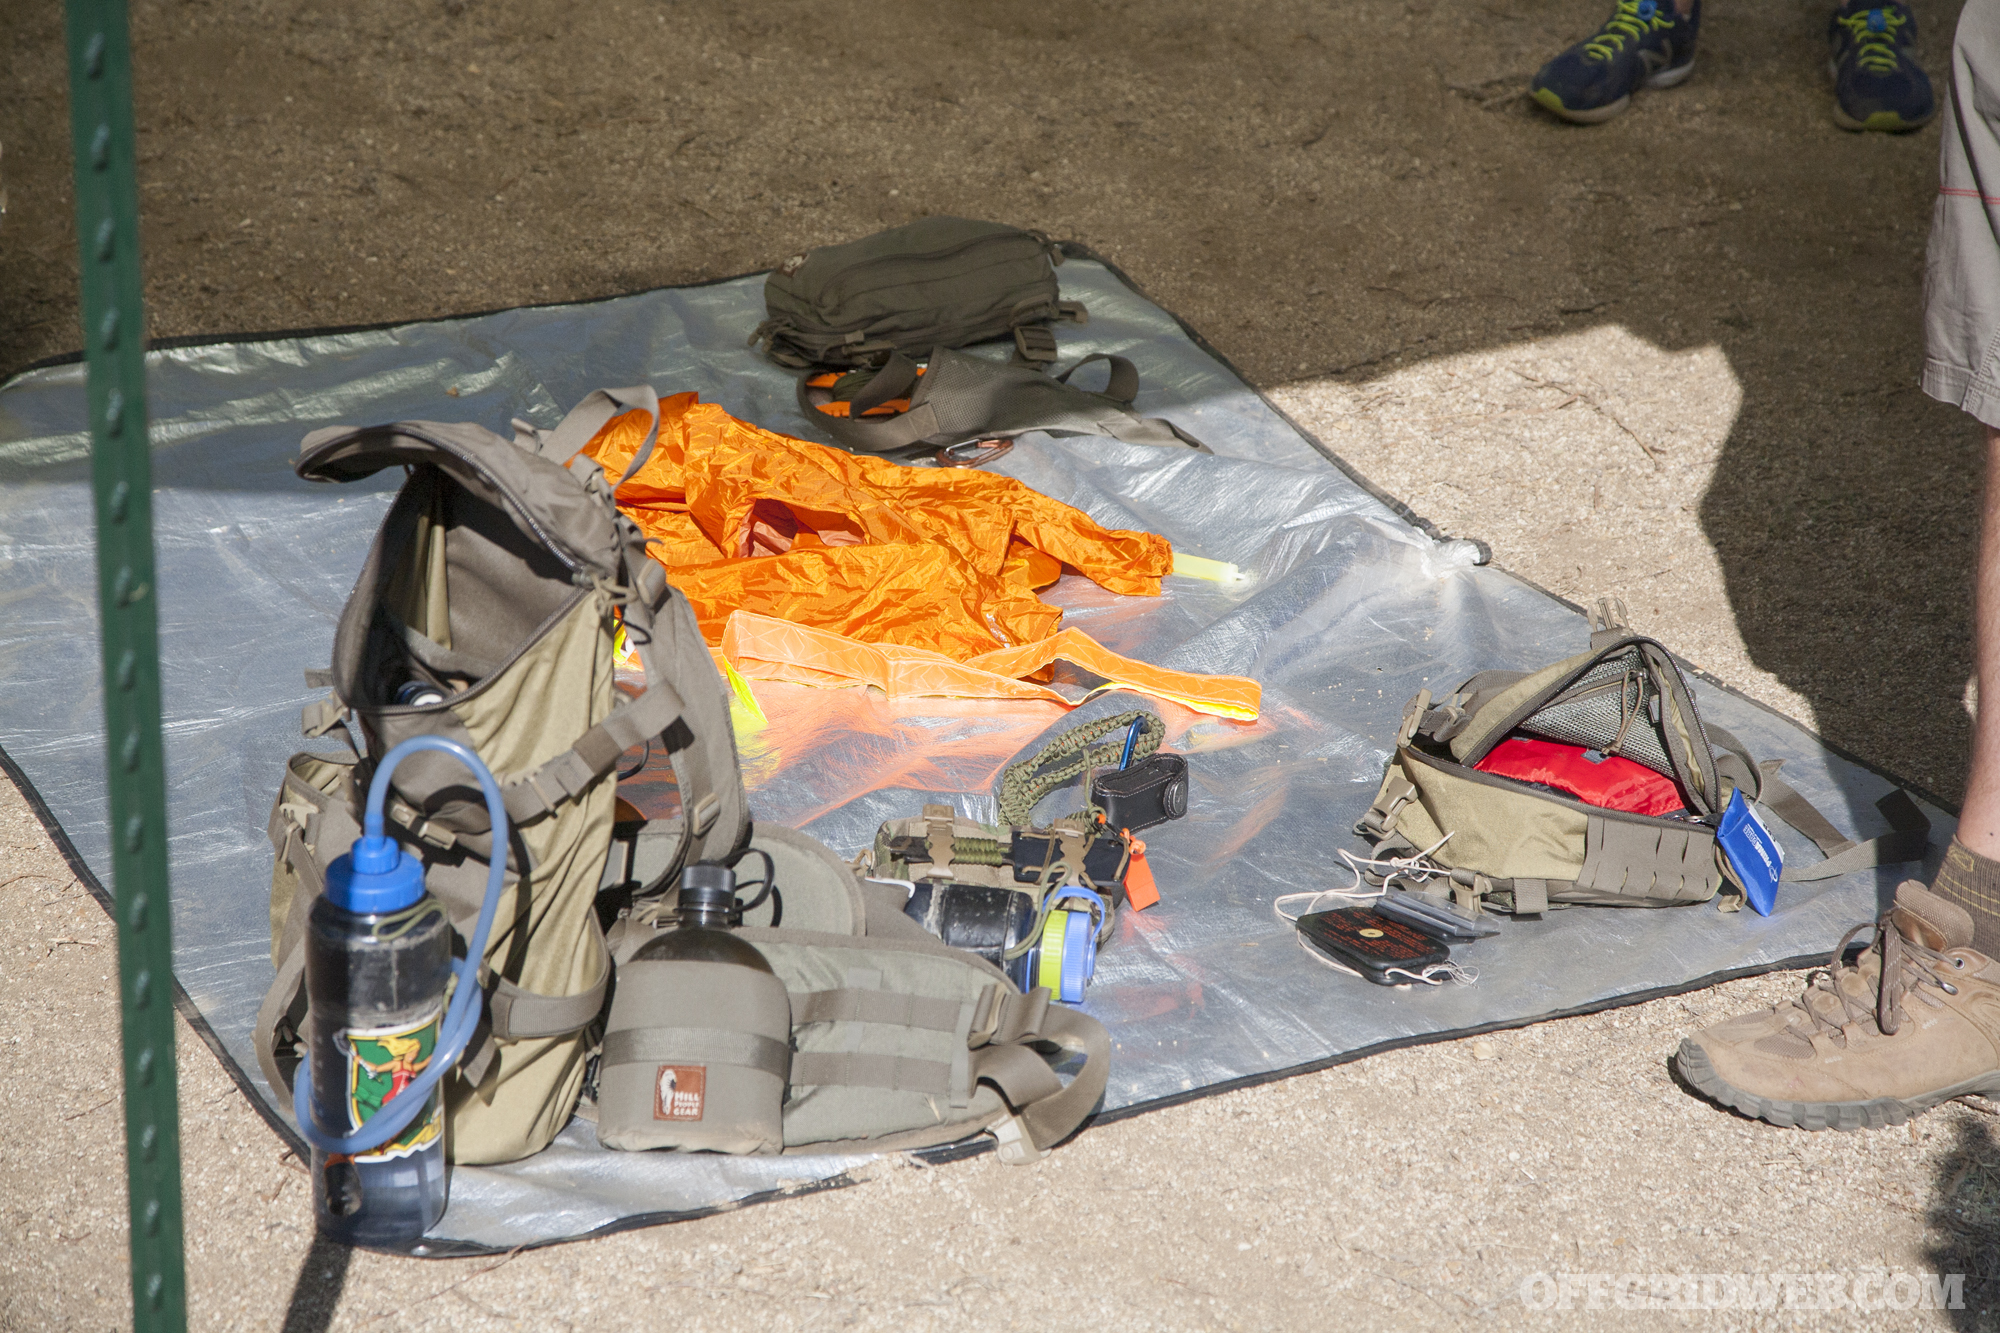
Colin stepped in once more to show some of the emergency signaling devices he carries in his various packs. He emphasized the following principles of signaling for rescue:
Rule of 3 – Patterns such as three straight lines of rocks, three whistle blasts, or three gunshots clearly indicate the presence of a human.
Contrast is key. Use signals that visually or audibly stand out among the surroundings, whatever they may be.
Movement attracts the eye. Tied-off strips of bright fabric fluttering in the wind can help rescuers.
International ground-to-air emergency codes – Mark the ground with a large V for “require assistance”, an X for “require medical assistance”, or an arrow for the direction you’re traveling
“Chum the waters” with as many signals as possible. Leave a variety of metaphorical breadcrumbs which rescuers can track.
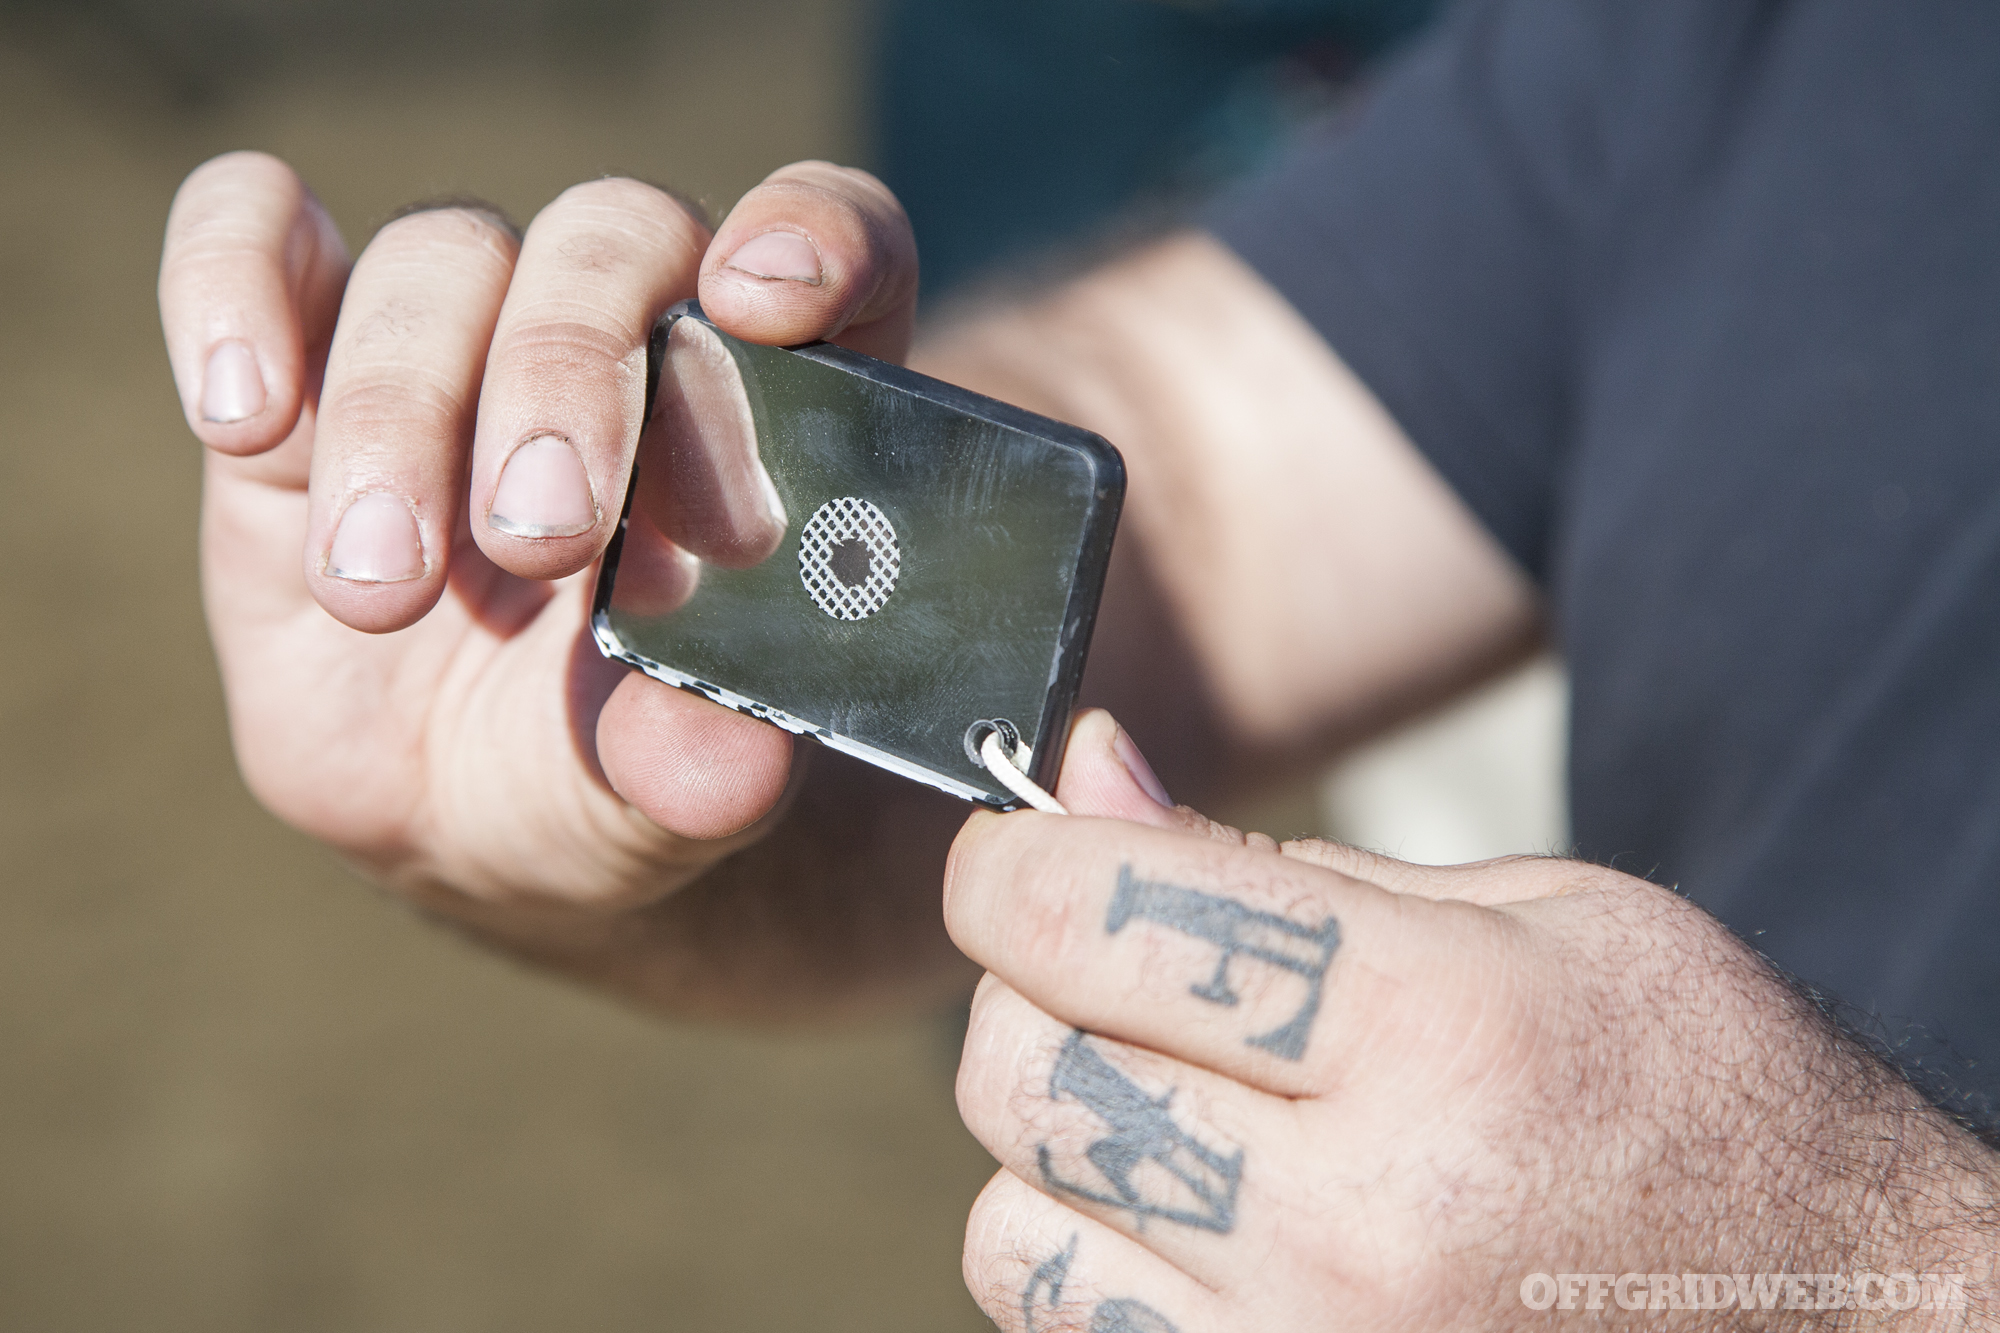
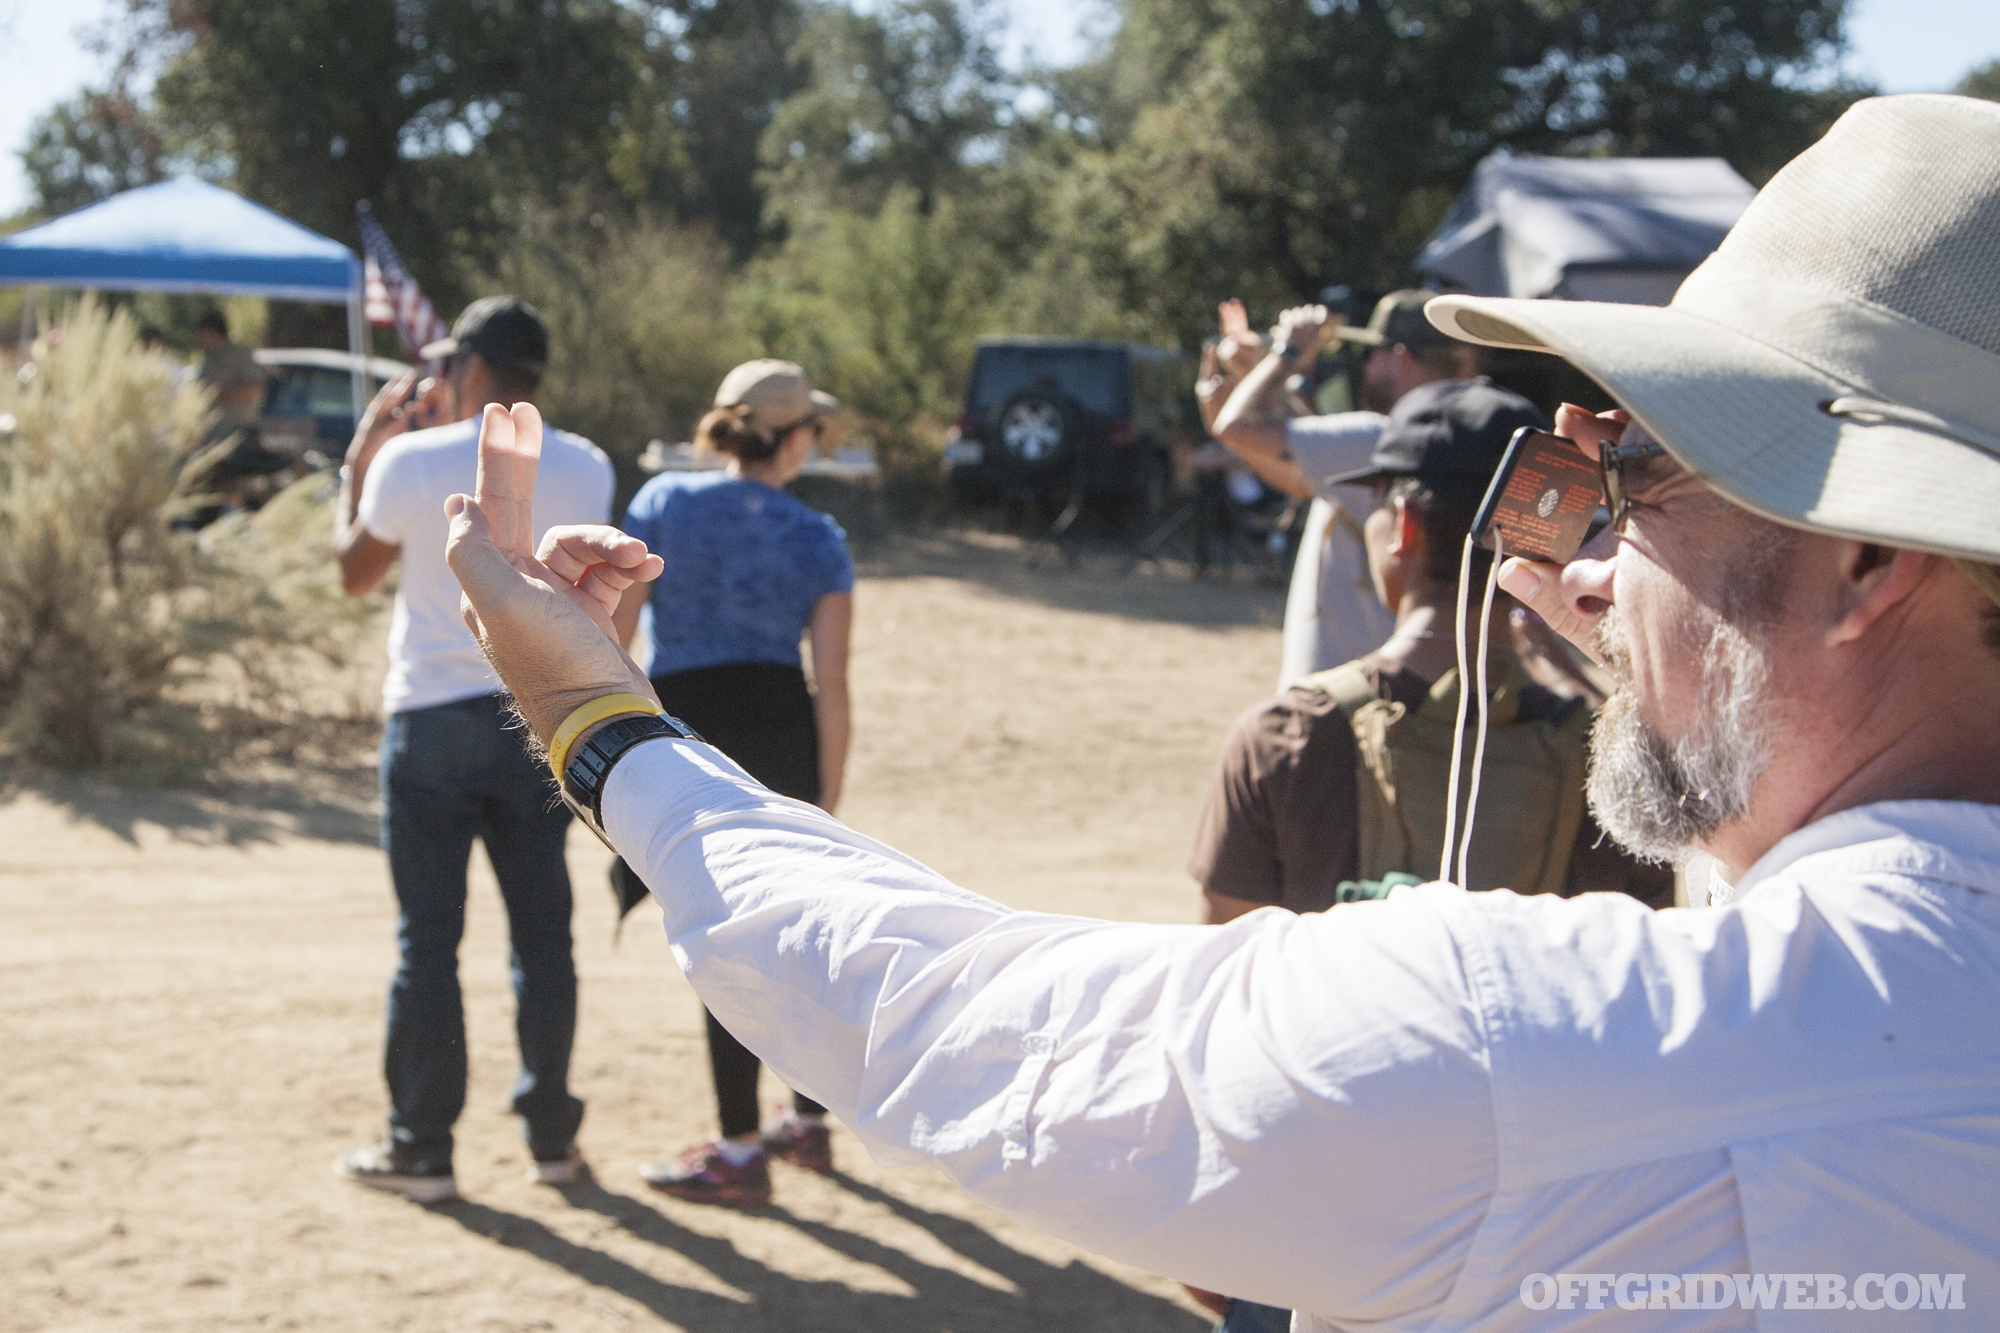
The transparent peep sight in the center of a signaling mirror makes aiming easier.
The use of a signal mirror was also demonstrated, and sample mirrors were passed out to 3MR students. By holding fingers out in a V shape, the mirror can be aimed through the V much like using the rear sight posts on a gun. Flashes from this mirror can be used for long-distance Morse code communication, or simple distress signals.
Photo Gallery
There was so much to learn at the 3MR event, we couldn’t fit it all into one article. So, we split the remaining lessons on wild edibles, small game animals, and wilderness medicine into a second post. Check back next weekend for the continuation of these courses.
Rudy Reyes used his experience as a Force Recon Marine to show students the basics of rope work.
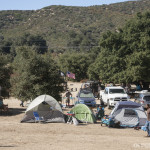
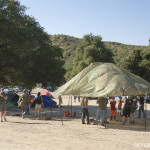
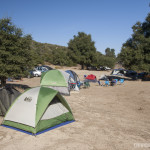
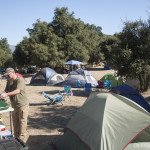
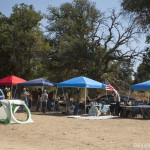
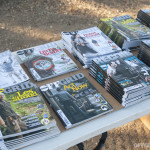
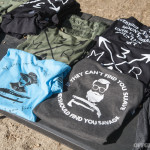
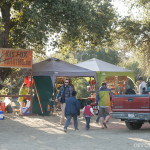
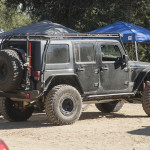
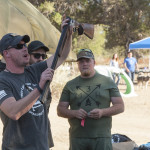
Below, you can also check out a photo gallery of some candid shots we took throughout the weekend. Broken Oak Ranch was a great location, and provided plenty of space to set up tents and booths. We even handed out free copies of RECOIL OFFGRID, RECOIL, and CONCEALMENT magazines to attendees. Funds for upcoming Triple B Adventures events were generated by a charity raffle that included some great prizes from event sponsors — backpacks, knives, water bottles, fire starters, gift certificates, and a beautifully-engraved break-action shotgun.
Courses were small enough that students could ask questions and offer suggestions. We all learned from each other.
A survival course for kids taught the basics of what to do in an emergency, and potential dangers they might face.
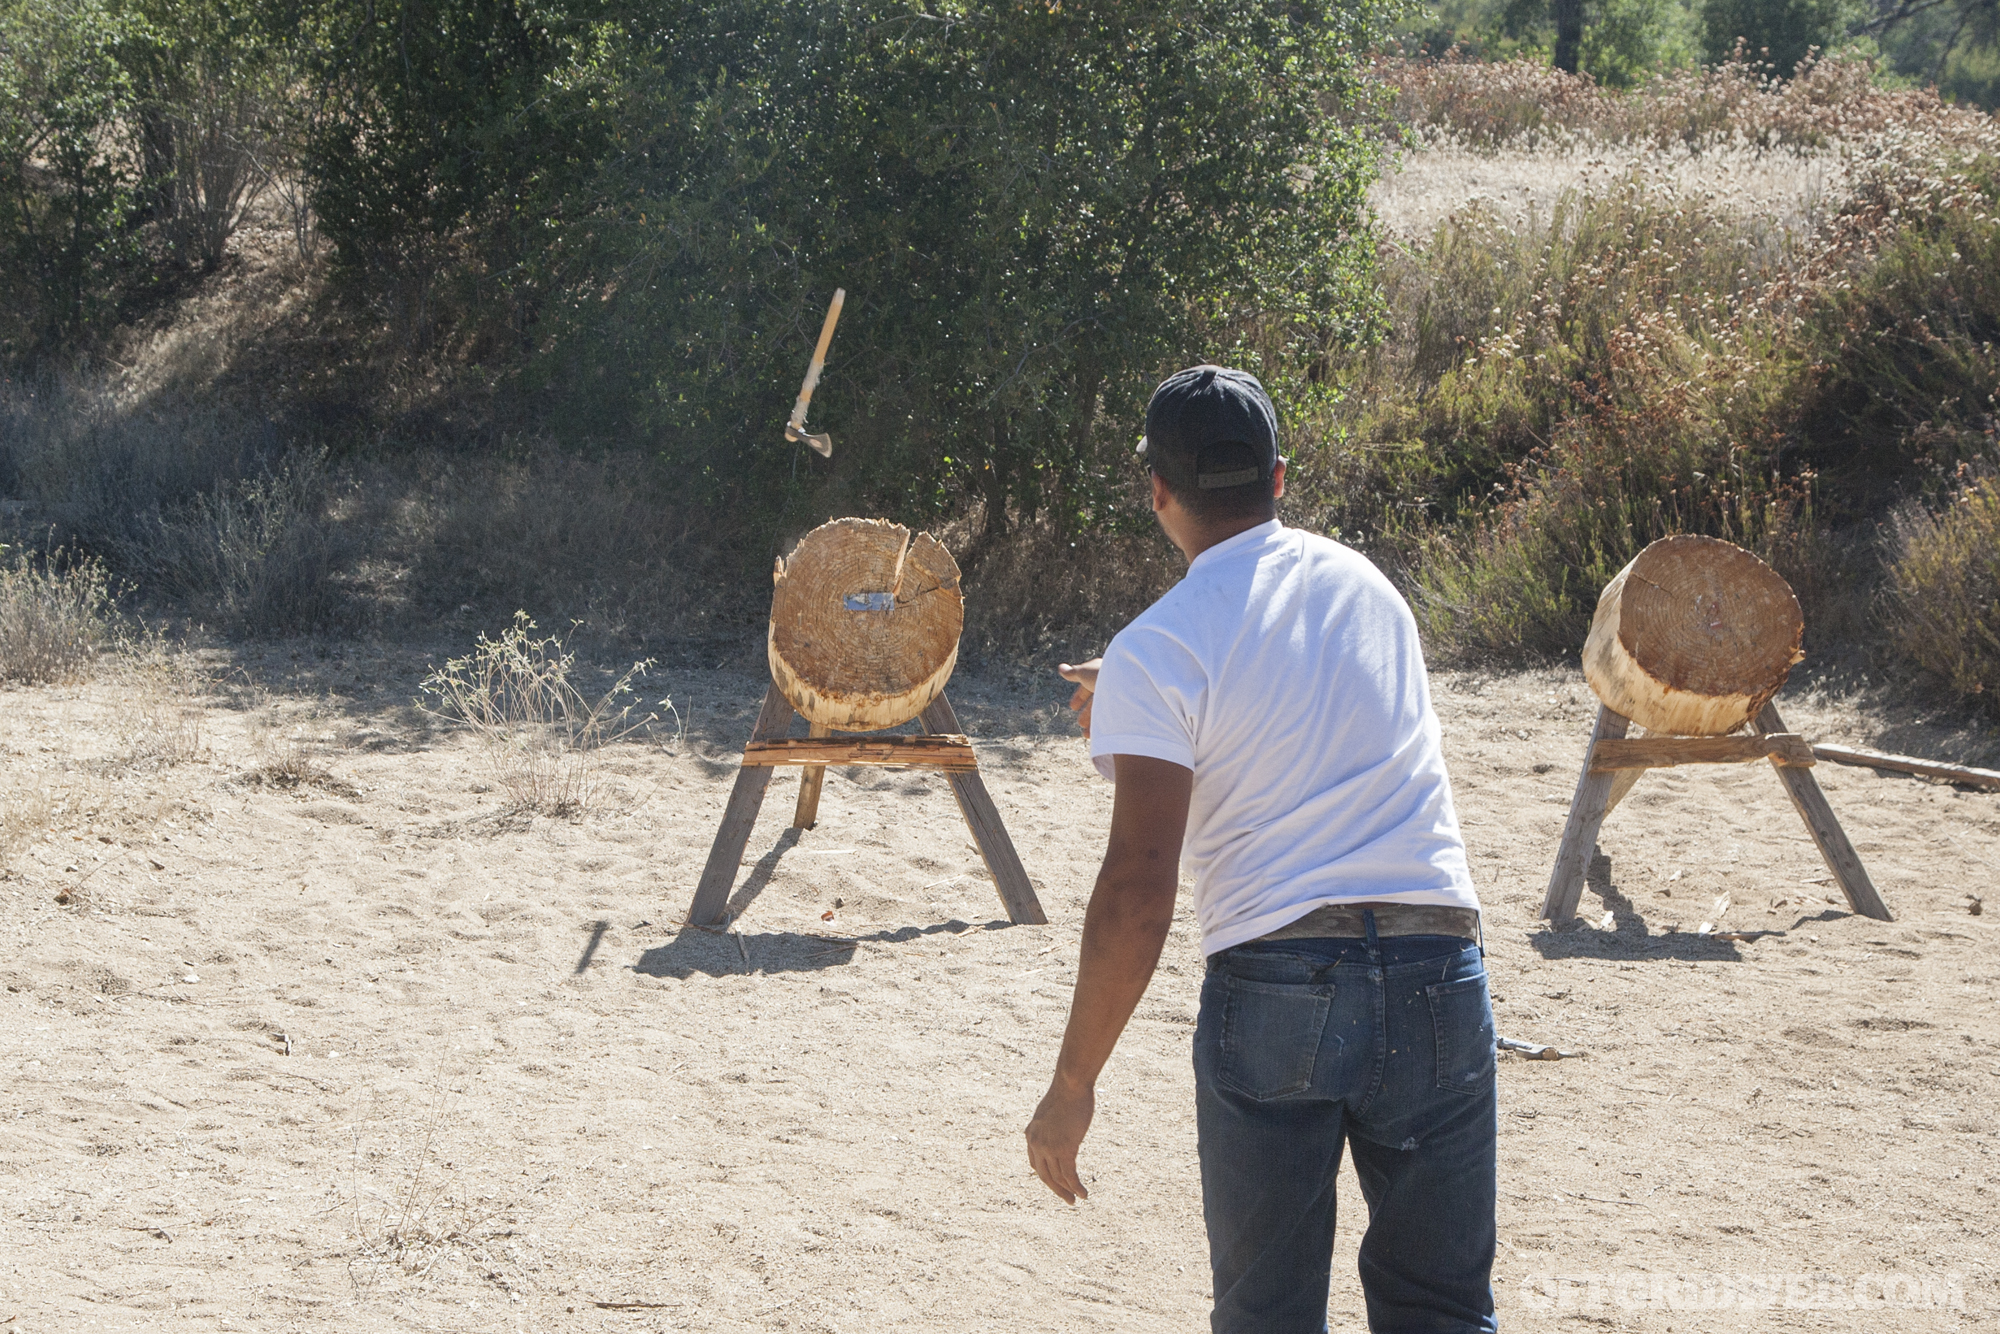
Target ranges for archery and tomahawk throwing were open all weekend.
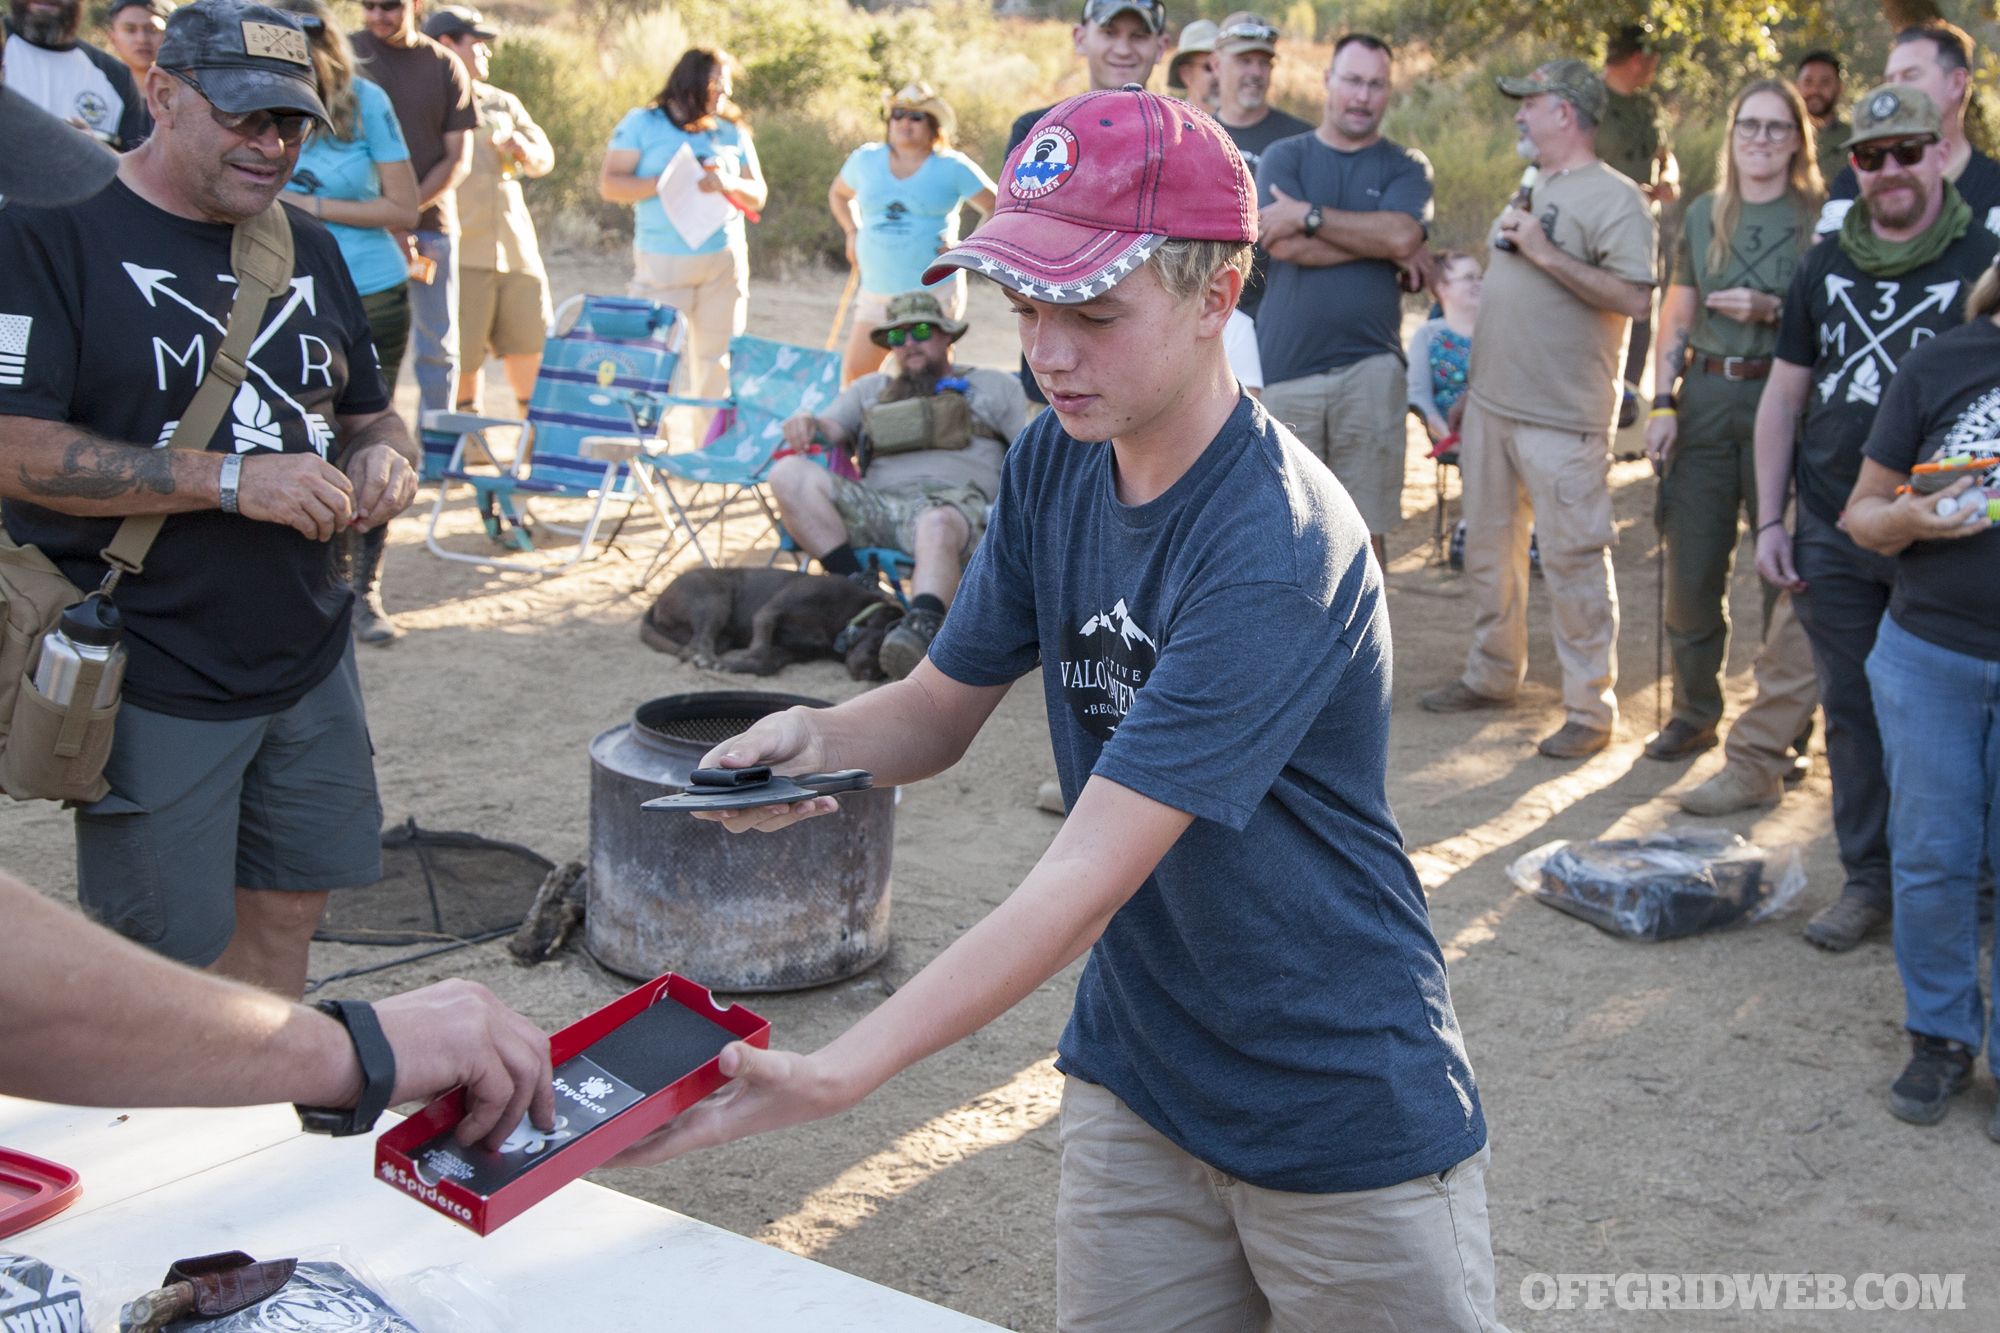
An auction generated funding for future non-profit events. We donated several prizes, including this Spyderco knife.
If you’re interested in learning more about 3MR or attending a future event in the San Diego area, go to 3MR.vet or follow the Modern Mountain Man Rendezvous page on Facebook.
Sure, you can eat with your hands. But who wants to do that all the time? Whether camping, surviving, or just taking a snack break on the trail, having handy, easily-carried portable utensils can enhance your dining experience. They’ll also keep your food away from your greasy, grimy booger hooks.
Do you really want to shovel this into your mouth bare-handed like a caveman? We didn’t think so.
Issue 23 of our magazine (on sale 12/1/2017) will contain a portable utensil buyer’s guide that covers sporks, cutlery sets, and other eating tools. While testing these conventional utensils, we also picked up two pairs of portable chopsticks from Spartan Blades and Fire Maple.
These portable chopsticks are the ultimate minimalist utensils, as they offer the exact same functionality as regular chopsticks. Chopsticks are simply… sticks. Thus, like a portable pool cue, these two-piece chopsticks simply thread together for use. This makes them work identically to a one-piece chopstick, but also allows them to pack down for compact storage.
So long as the portable chopstick has solid construction, all you have to do is choose one that suits your personal preference. If you like using chopsticks, you should definitely check out our reviews below, and consider a portable set for your bug-out bag or backpacking kit.
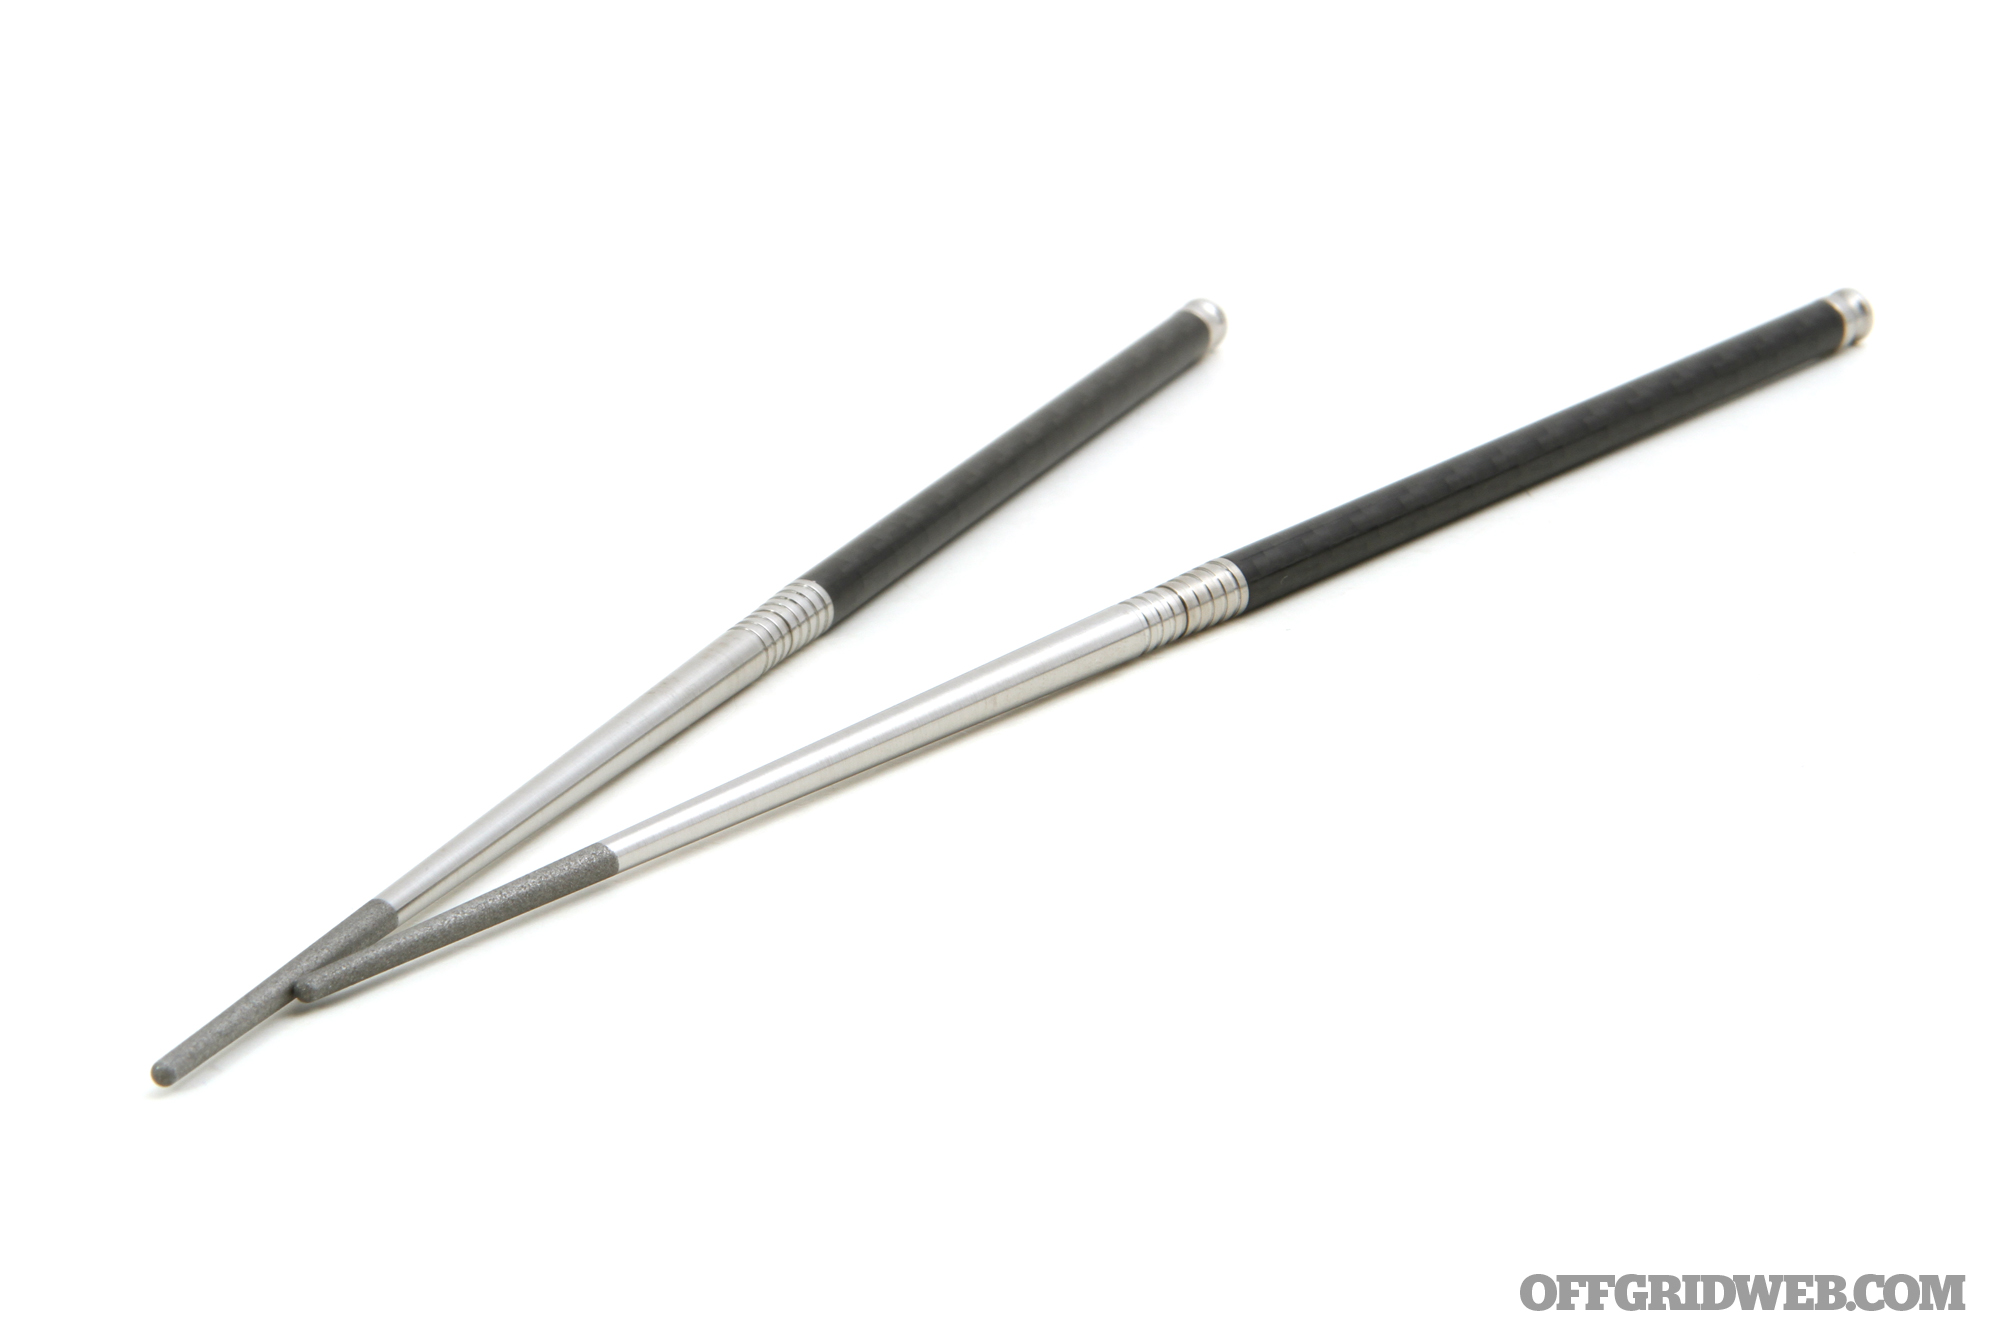
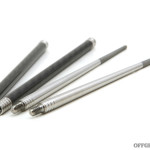
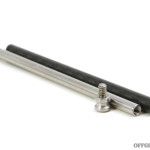
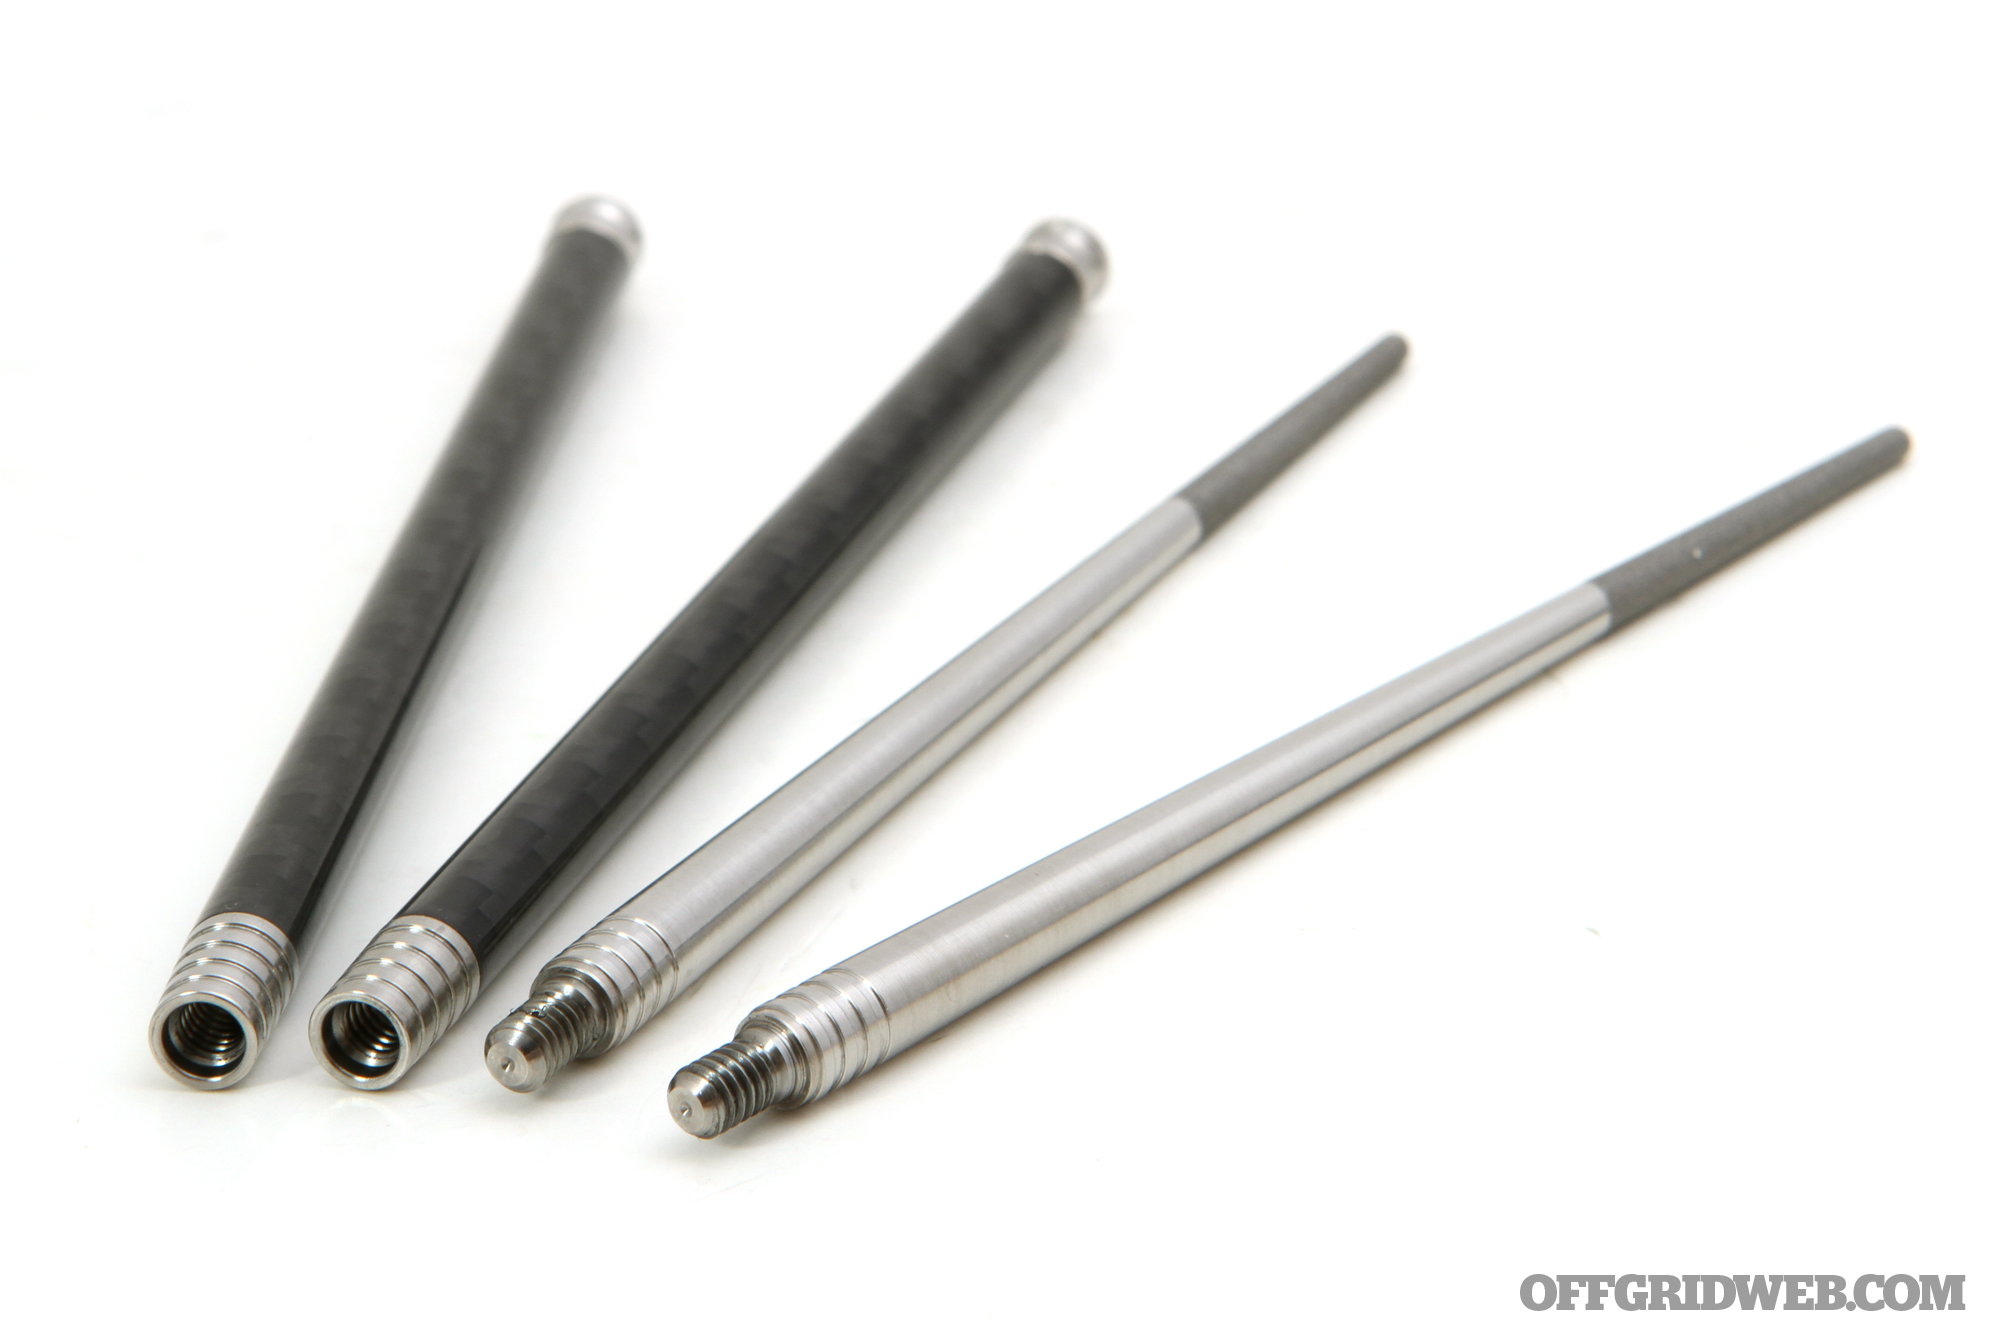
These chopsticks from Spartan Blades are simply badass, from the titanium construction to the carbon-fiber tubes. The titanium is finely-machined, threading together like butter, and you can completely disassemble all the pieces for a thorough cleaning. The tips are textured for extra grip.
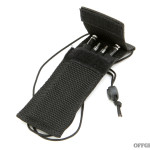
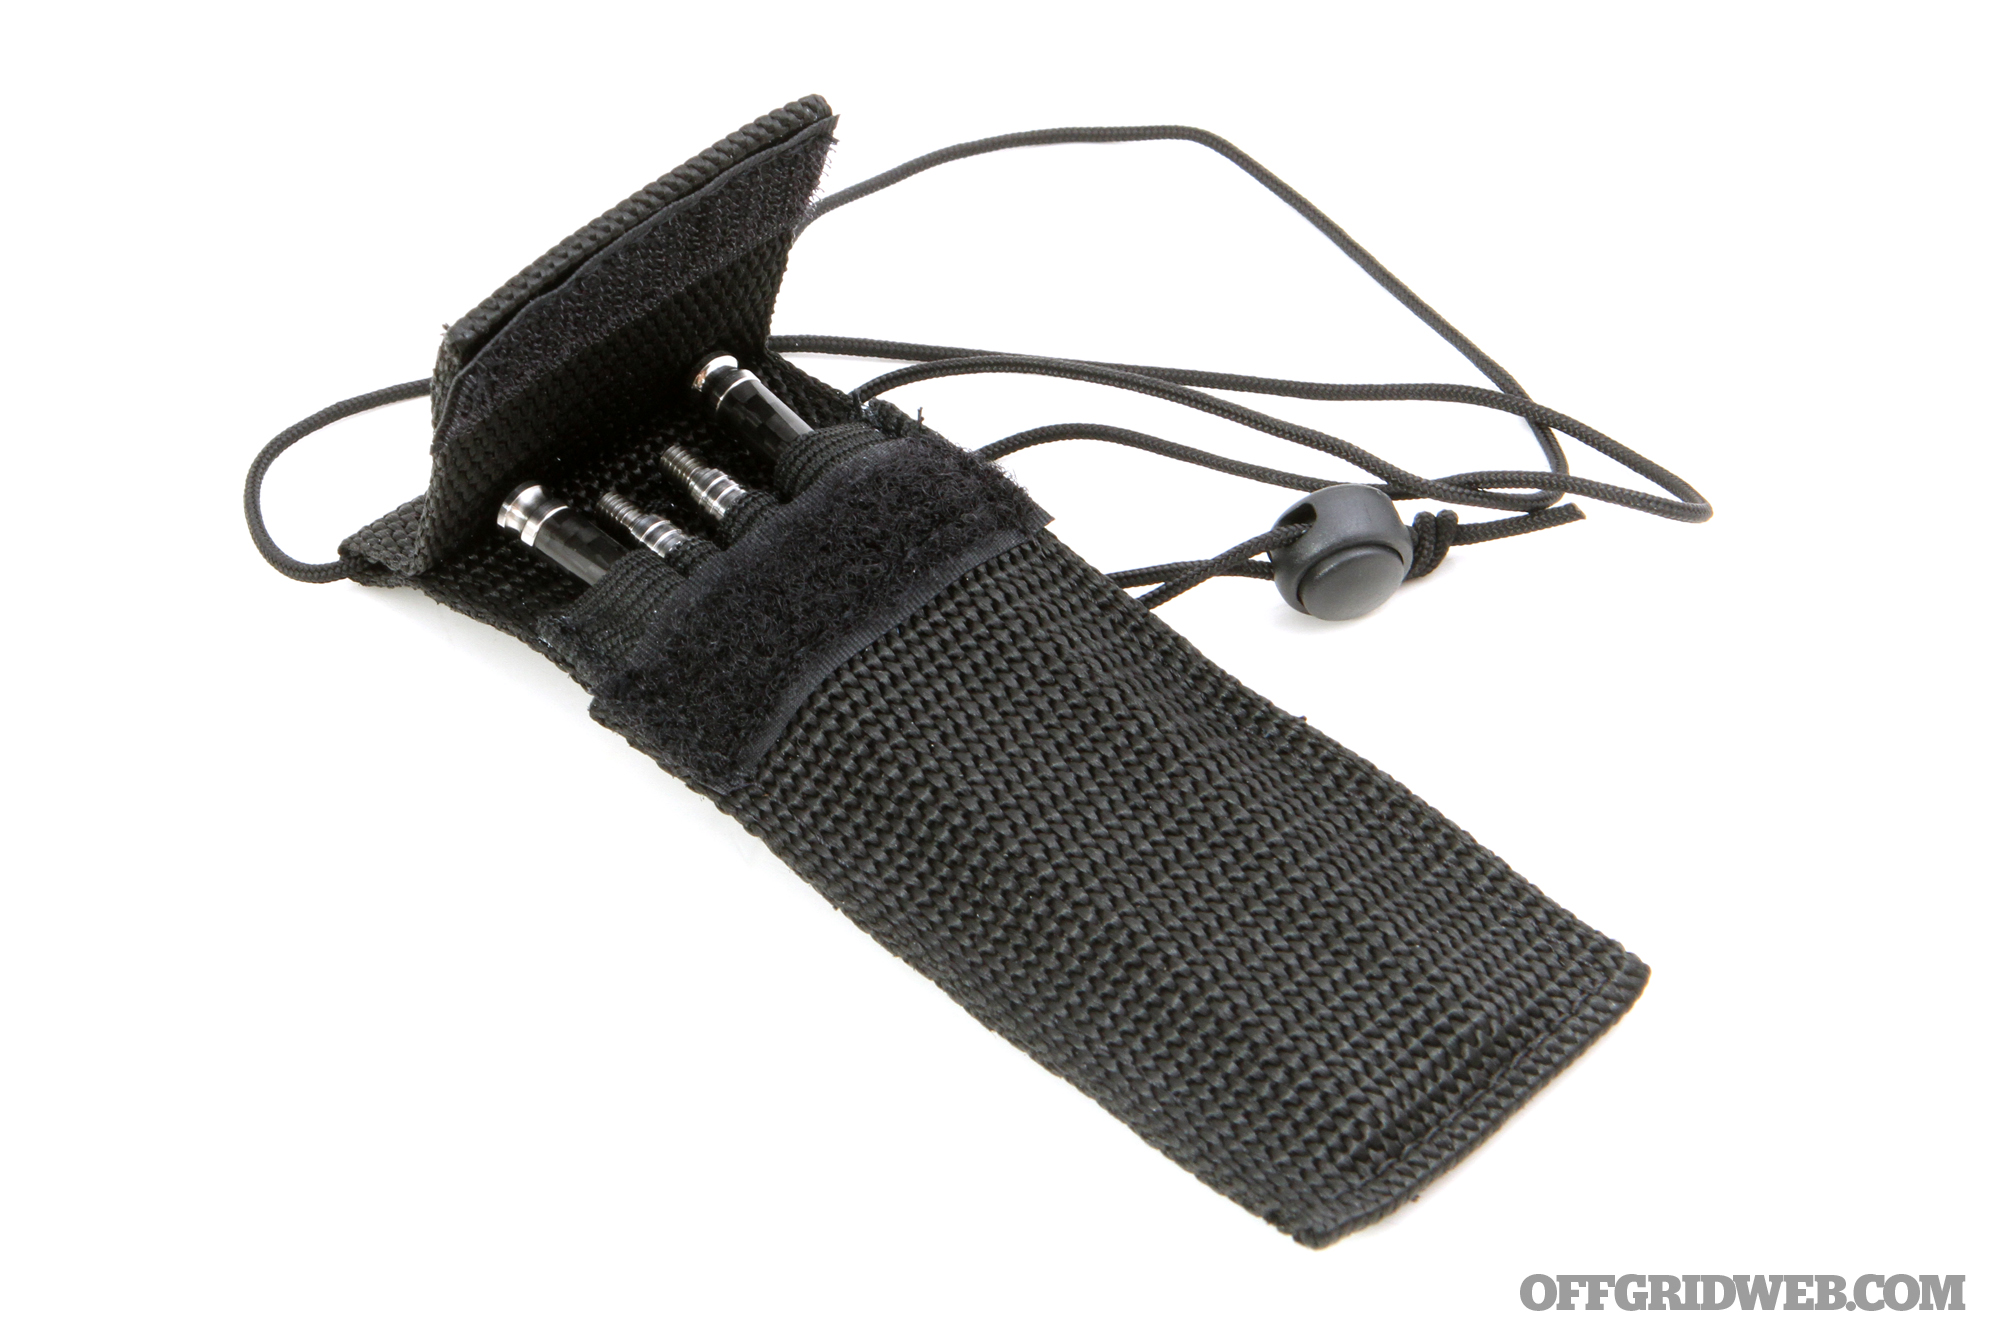
This design is completely round, so be sure not to let the sticks roll away. Some may dislike the feel of metal chopsticks, while others prefer them; give some a try to see if you have a preference. The set comes with a nylon case that includes a belt loop and neck lanyard.
As the most expensive product in this utensil guide, it might more likely occupy an esteemed spot in our home or kit than be stashed for an emergency. Which is just as well, because it would be a shame not to use them on a regular basis.
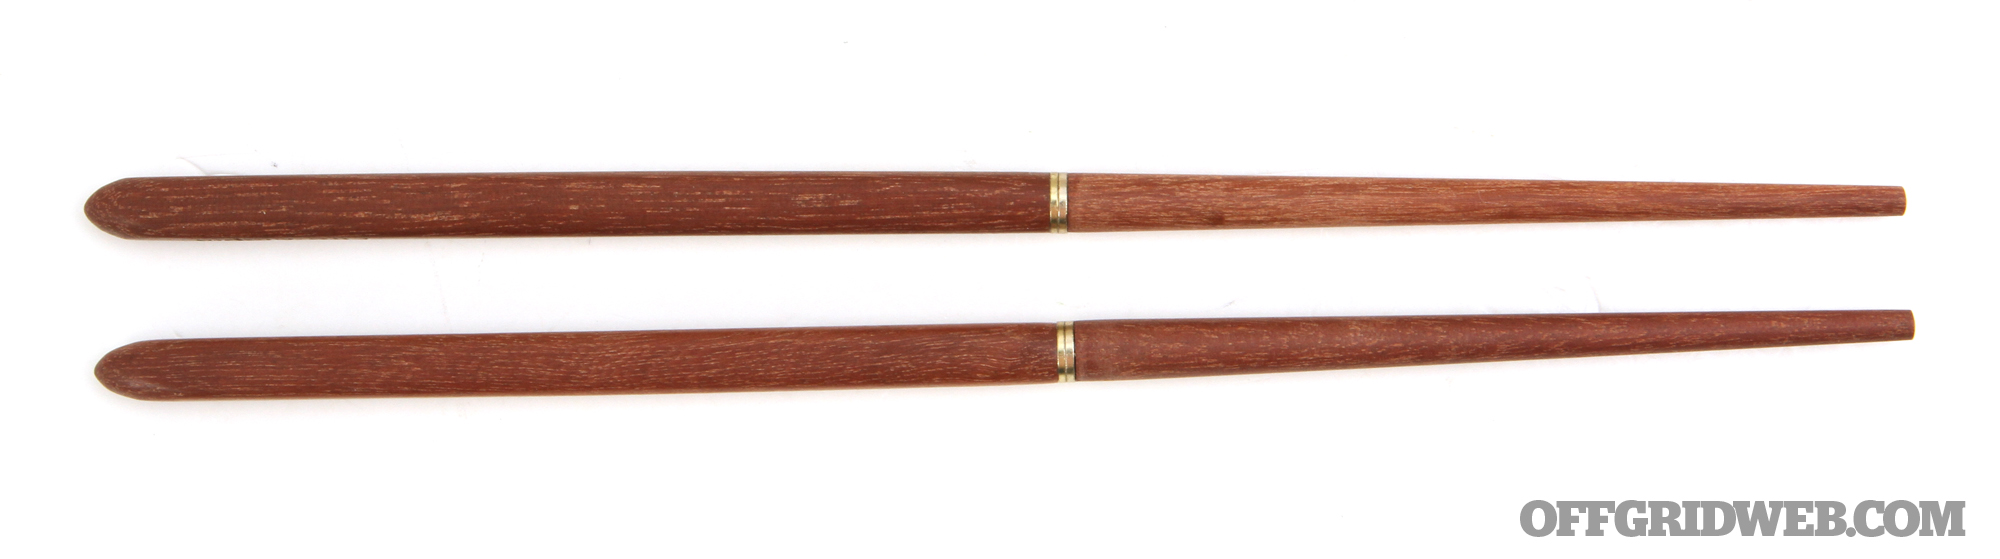
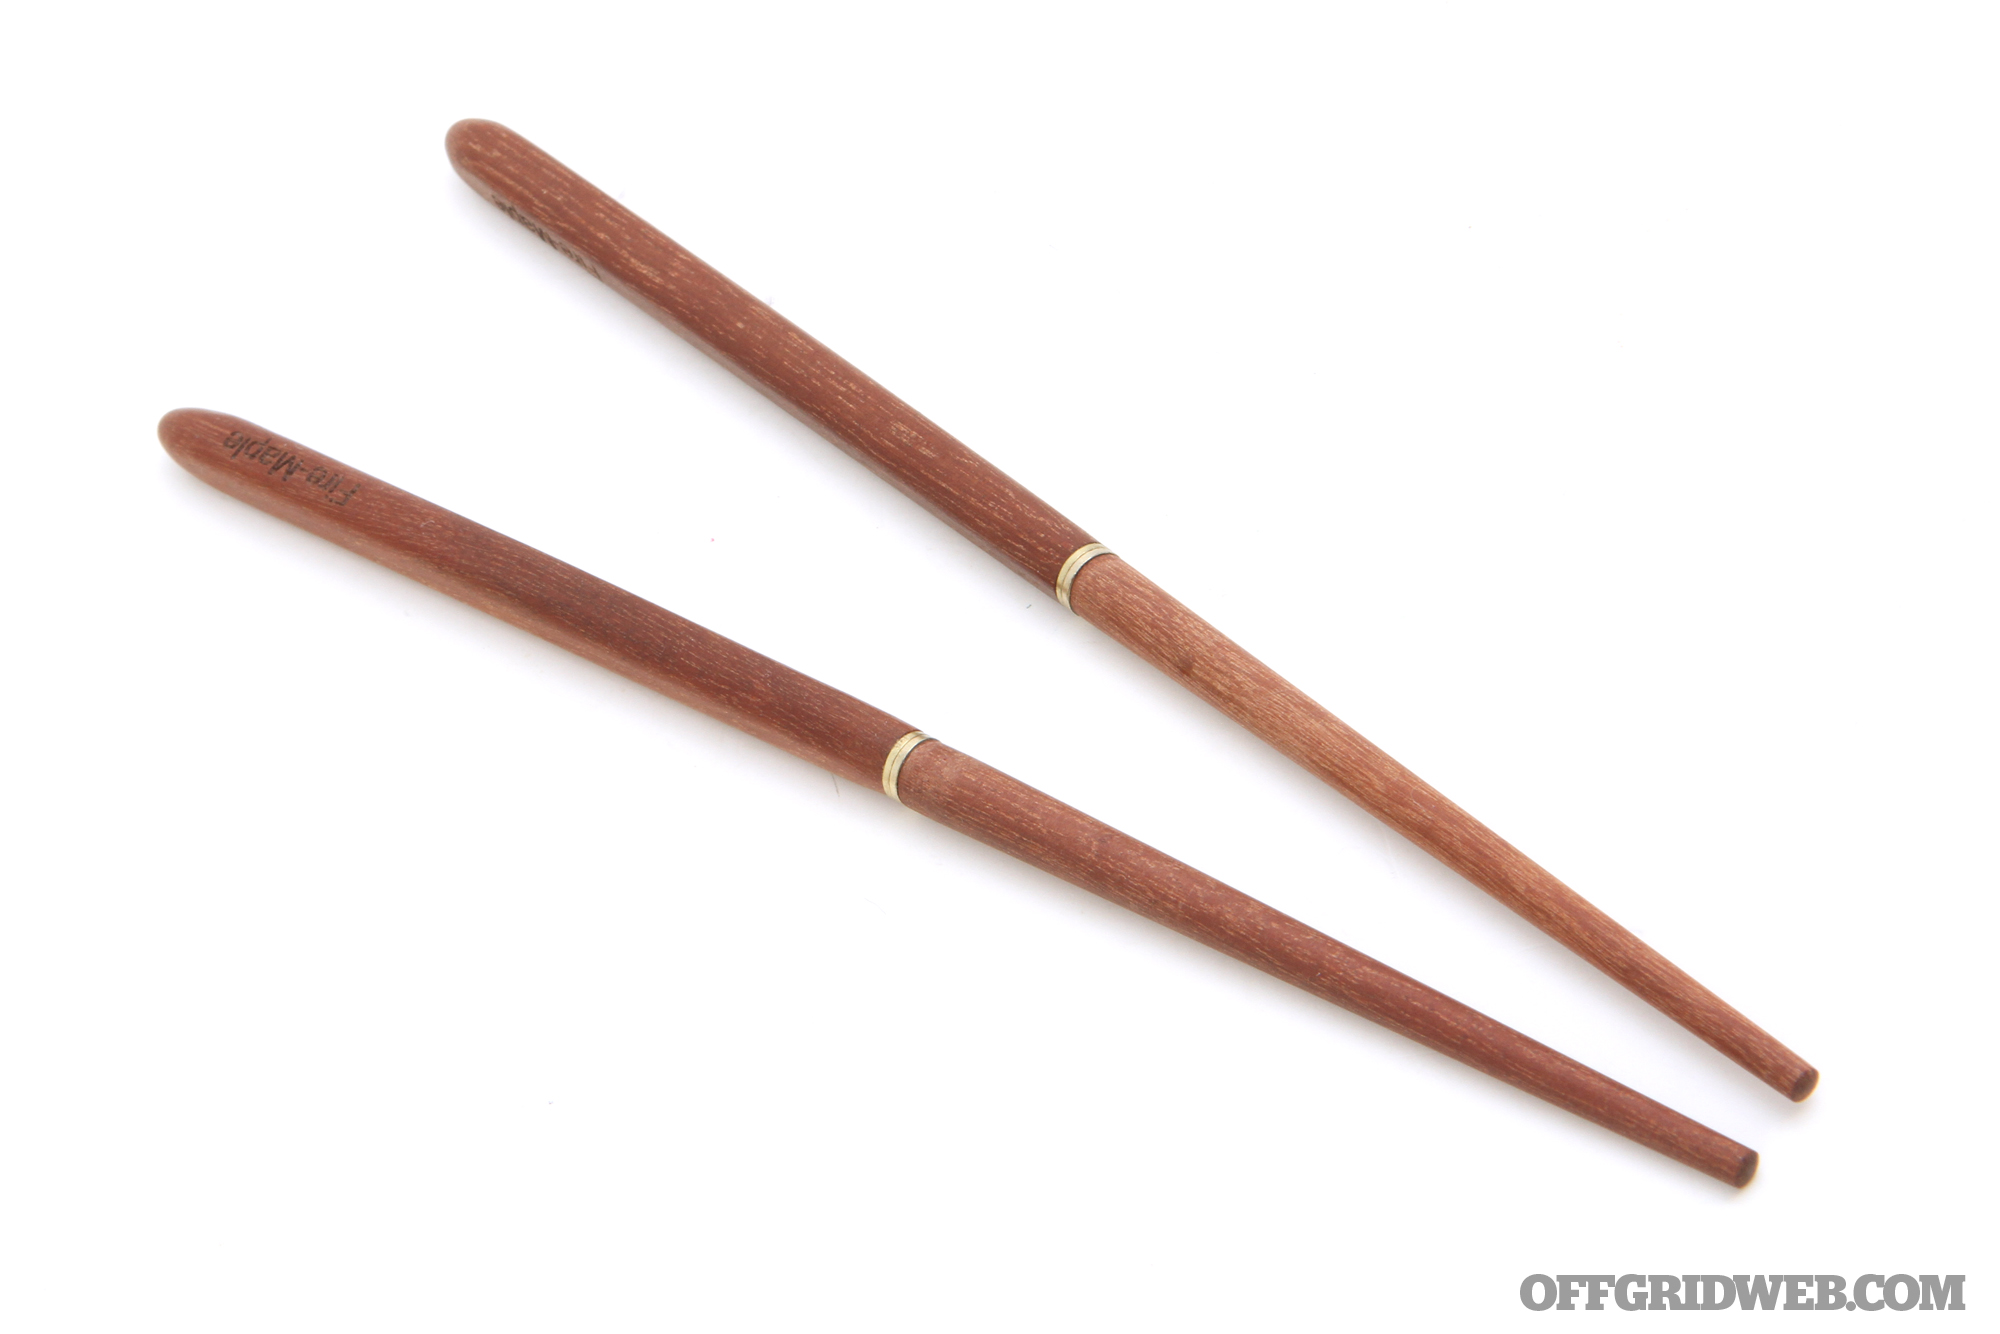
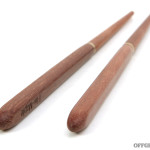
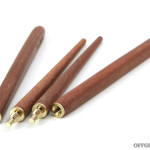
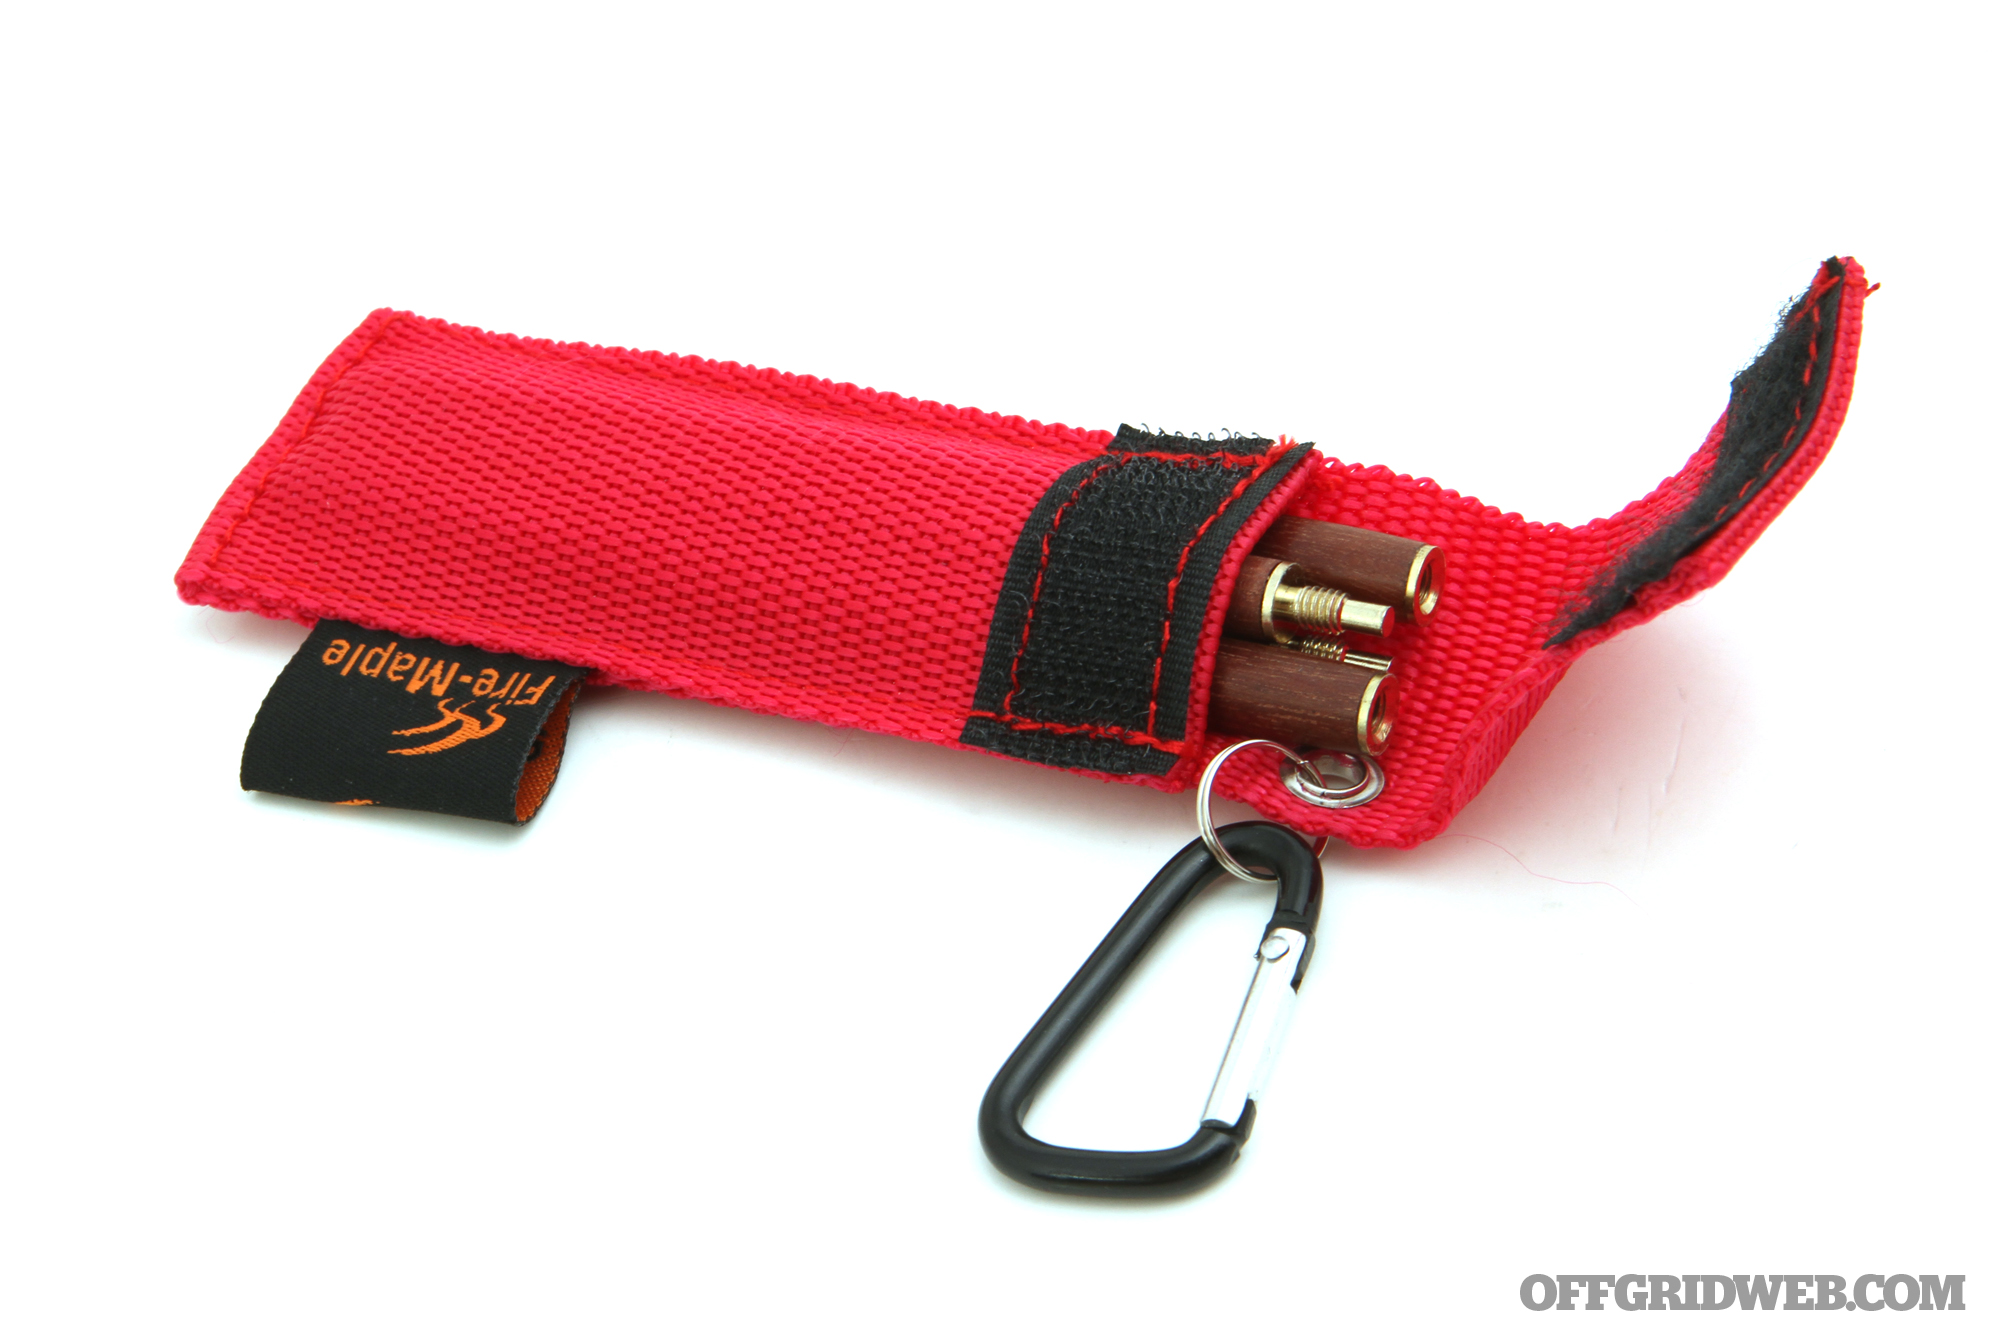
Fire Maple Portable Chopsticks
Dimensions: 4.4 by 0.6 inches (closed and bundled), 8.1 by 0.3 (assembled) inches Weight: 0.3 ounces Material: Rosewood, copper Colorways: Brown MSRP: $11 URL: www.amazon.com
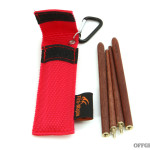
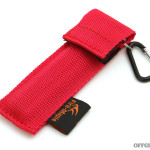
These were the top result on Amazon for portable chopsticks; you can probably find similar (and cheaper) options at your friendly local Asian market. They aren’t nearly as awesome as the Spartan Blades chopsticks, but they’re only $11. And they work perfectly as chopsticks, catering to those who like the feel of wood over metal.
The far half of the chopsticks has a square profile, preventing them from rolling amok. It comes with a small carrying case and a carabiner. What more can we say? If you like chopsticks, these would be a great addition to your kit. If you have an Asian market nearby, check it first; you might find better deals there.