Most sources concur that over 100 million individual AK-pattern rifles have been produced worldwide. At time of writing, the world’s population is estimated at 8 billion. That means there could be roughly one AK for every 80 people on the entire planet; counting out those that have been lost or destroyed in combat, let’s call it one Kalashnikov for every 100 people on earth. There’s a statistically significant chance that, if you haven’t already seen, touched, or fired an AK, you will at some point. Hopefully it’s because you buy one or shoot a buddy’s at the range. But, with the commonality, low cost, and popularity of this rifle — particularly among radical actors around the world who have imported their extremism to American shores — there’s an unfortunately real possibility you may come across one in the “real world” under less enjoyable circumstances.
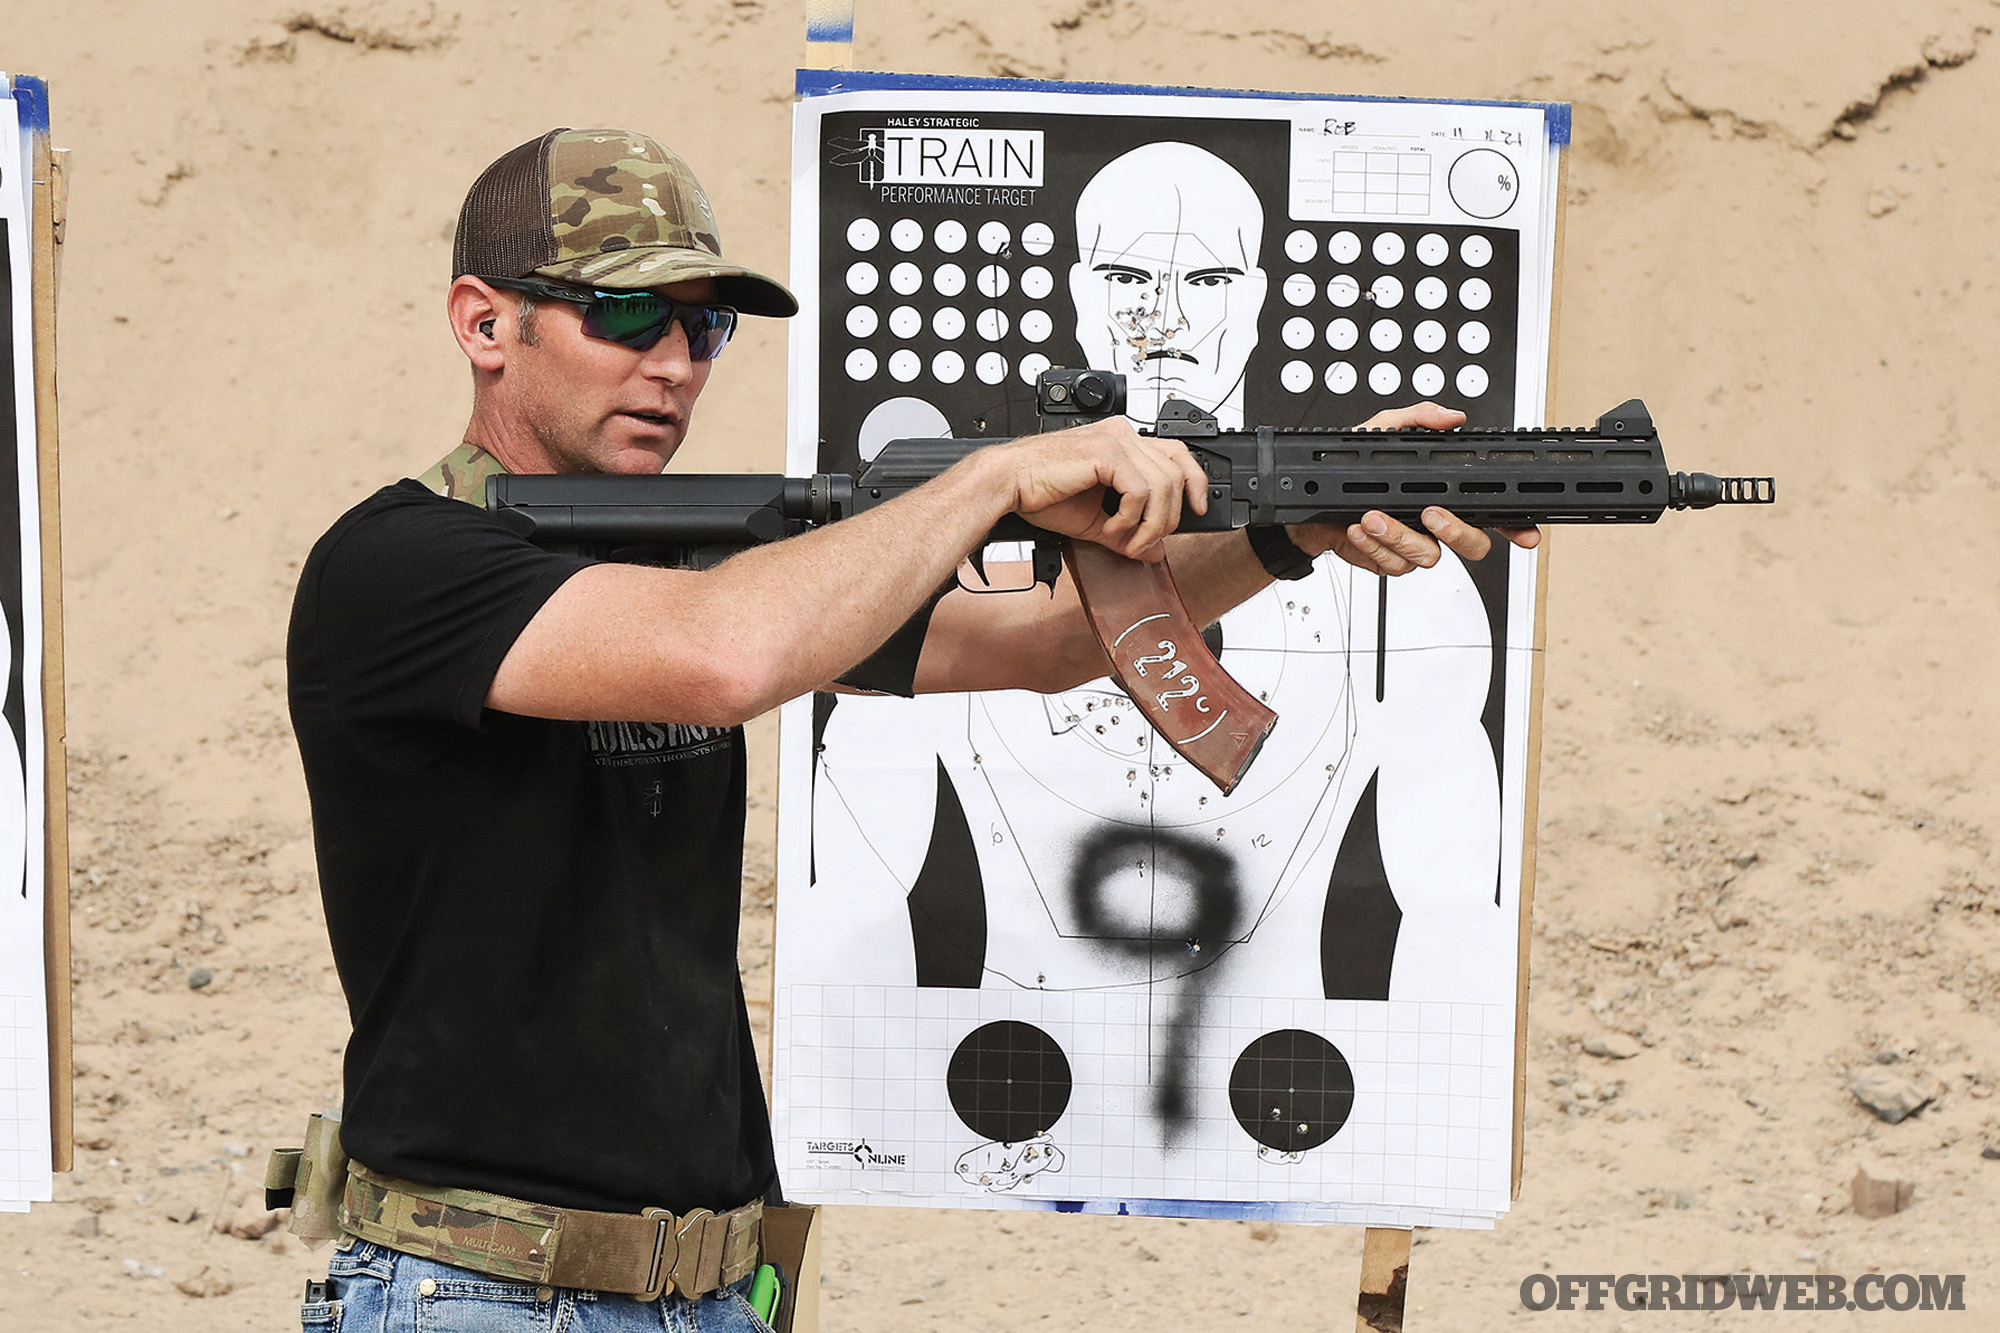
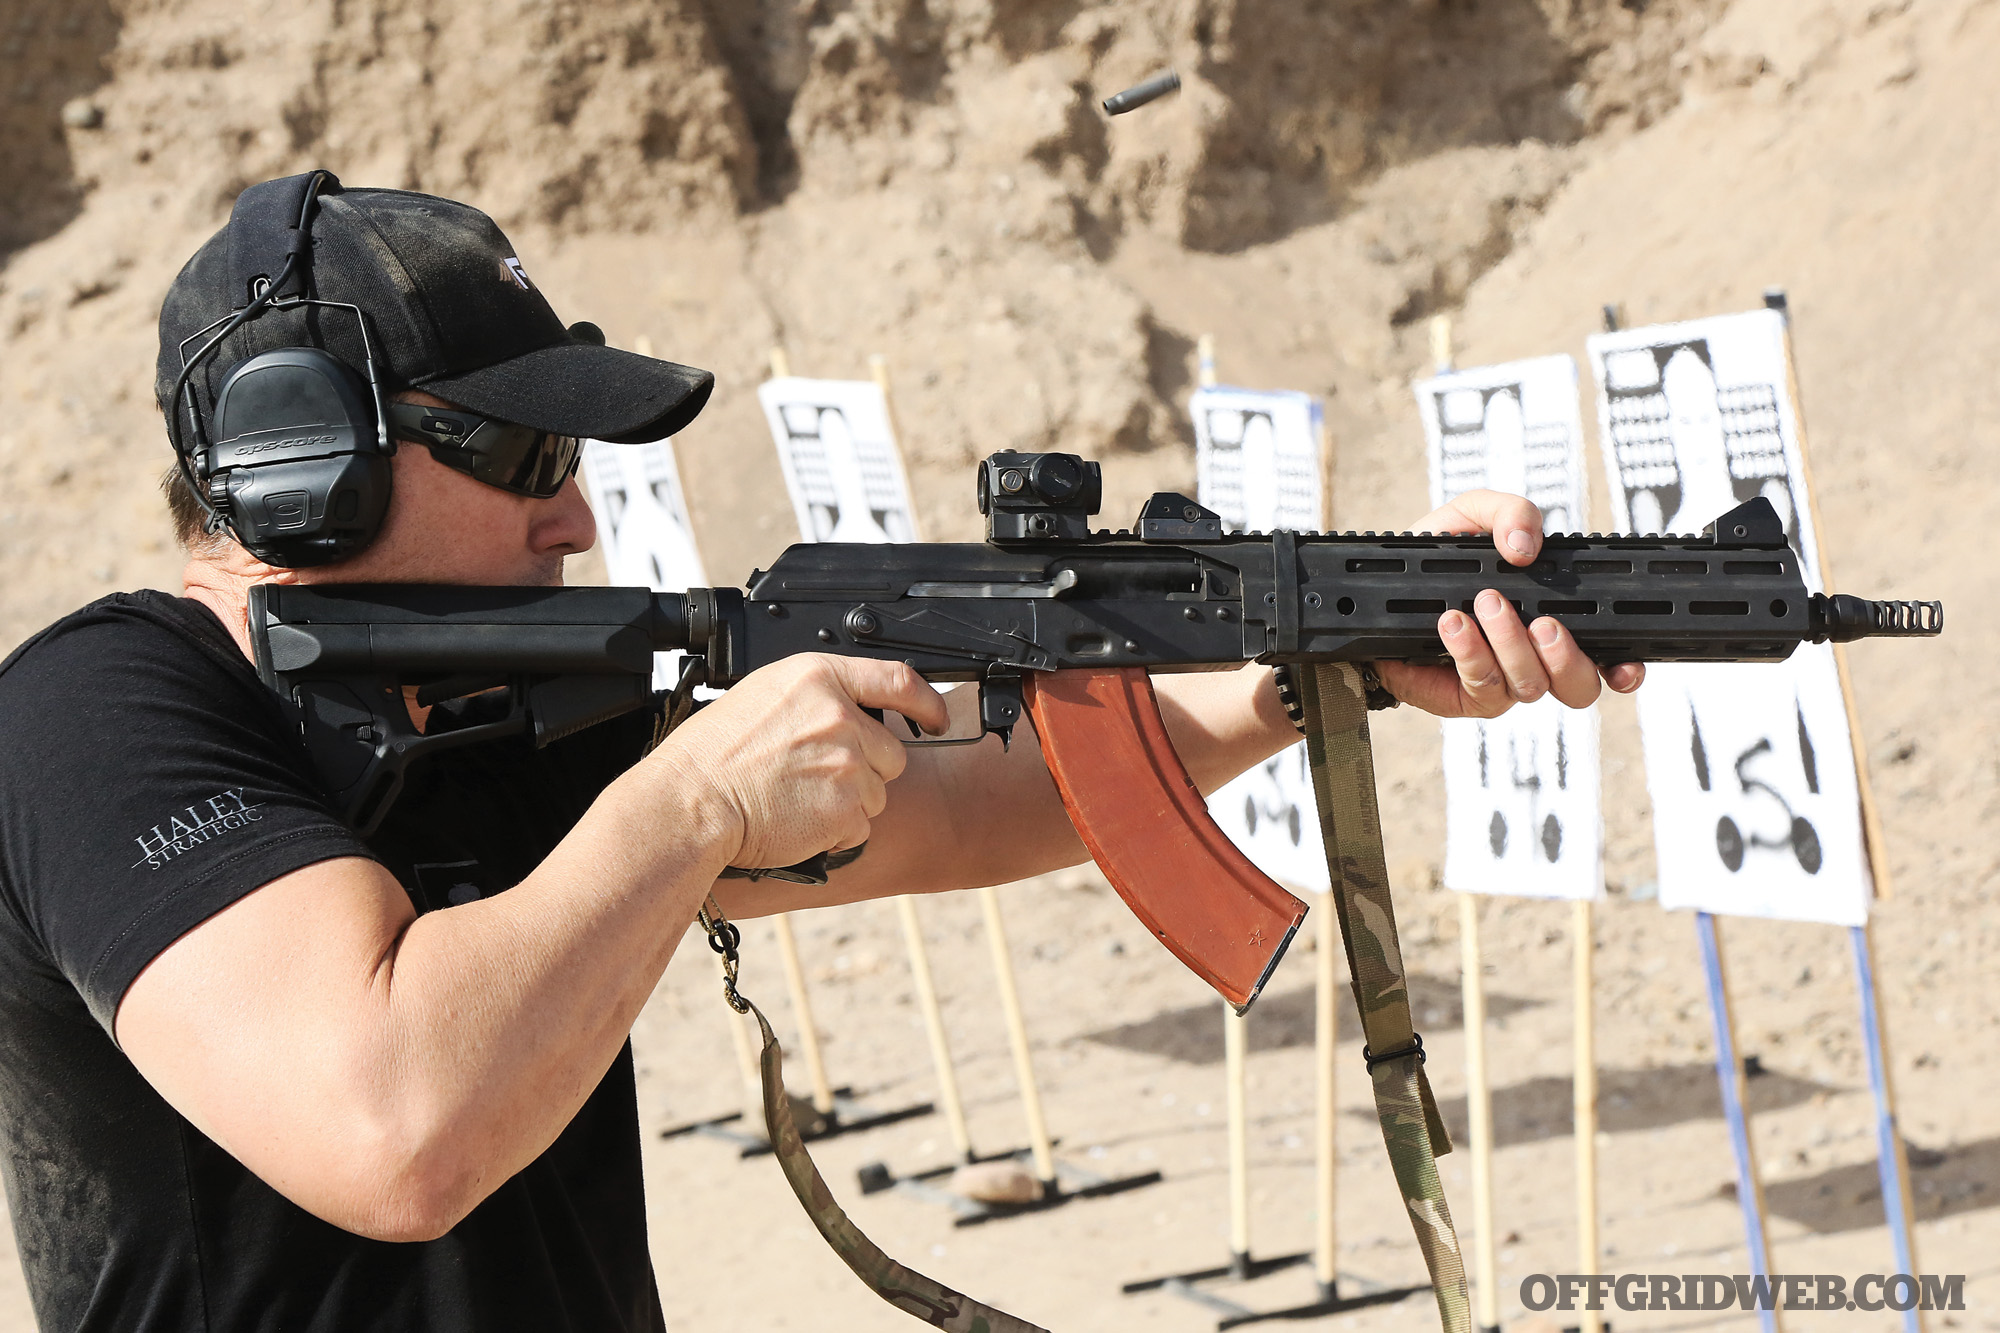
Regardless of the context, understanding the Kalashnikov’s unique manual-of-arms is a valuable skill to have in your library of preparedness knowledge. While most of the RECOIL OFFGRID team has previous experience with AKs from personally owned weapons or deployments overseas, it never hurts to refresh a skillset under the guidance of specialists. In this case, we attended the three-day D5 Kalashnikov course put on by Haley Strategic Partners (HSP). Former Force Recon Marine and HSP owner Travis Haley has extensive knowledge of this platform through multiple deployments around the world as a Marine and independent contractor. More recently, HSP teamed up with famed AK gunsmith Jim Fuller and his new company, Fuller Phoenix. We had the privilege of learning directly from these two AK experts during our time in the course. At the end of the day, proper sight alignment and trigger press are universally applicable, but the accompanying manipulations are substantially different for those used to AR-pattern black rifles.
AK Setup & Equipment Notes
In preparation for this class, we took the chance to pressure test an AK we had on hand from a previous review in RECOIL, and the accessory configurations we thought were ideal for running these guns hard in the desert dust.
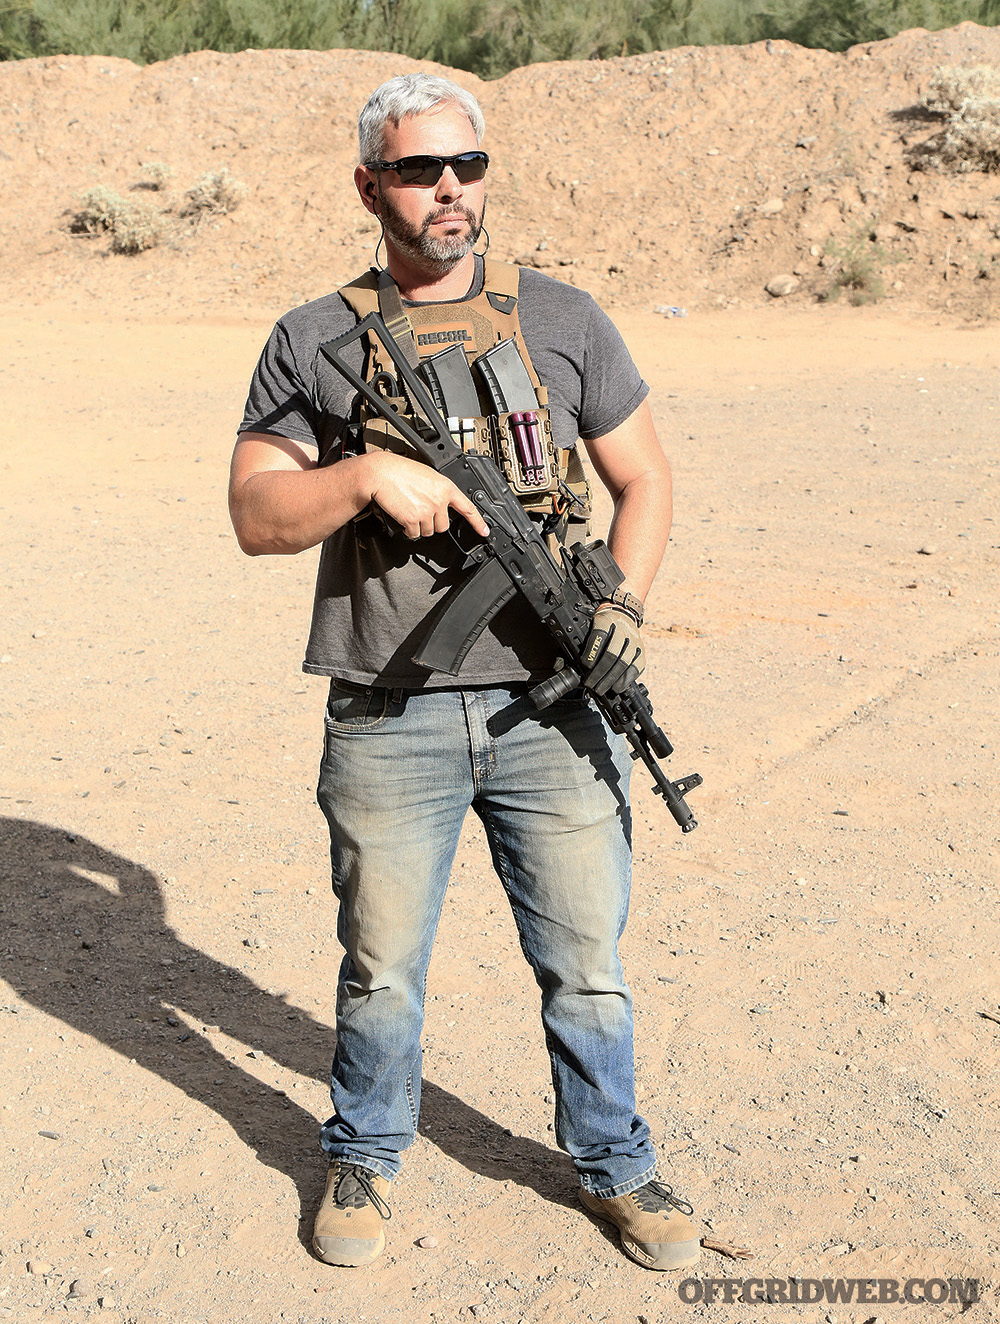
Above: Our full load-out for this course, including OTTE Gear LVZ OVT Plate Carrier with G-Code Scorpion mag pouches, which flex to accommodate the odd shape of 5.45x39mm magazines.
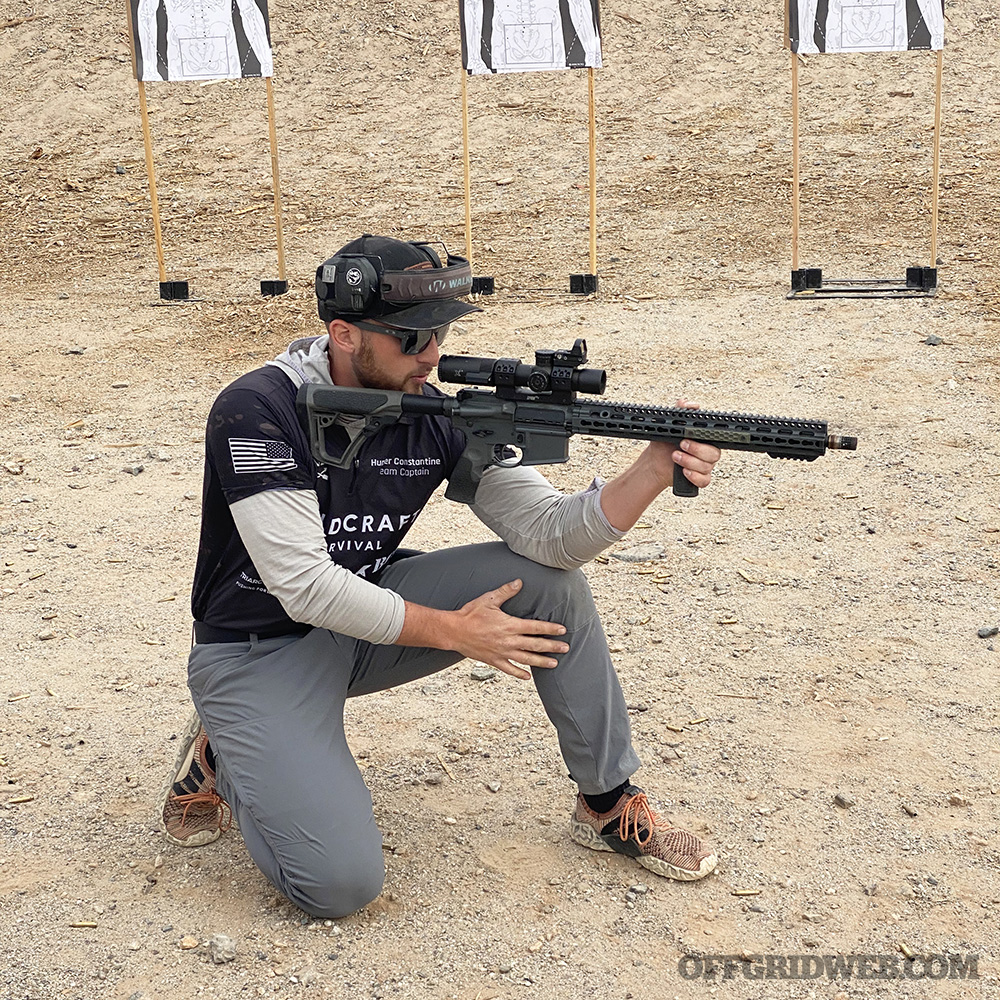
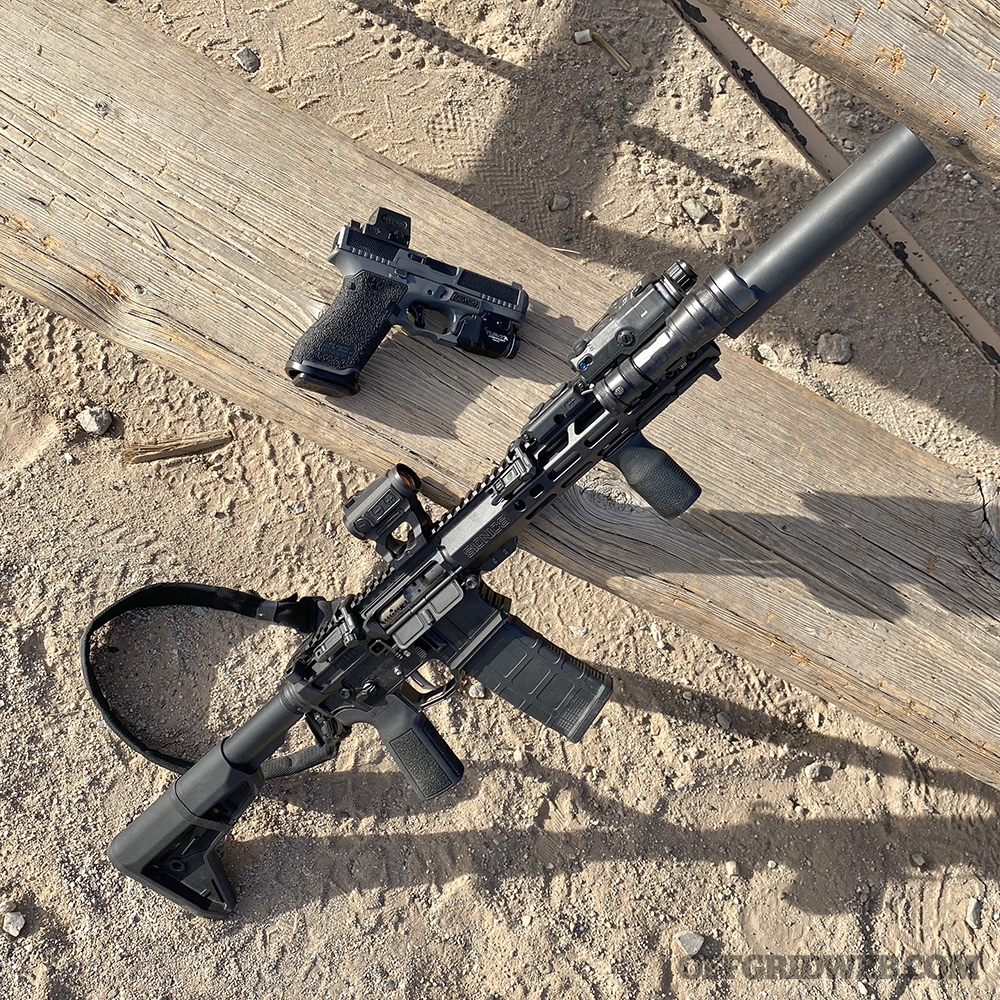
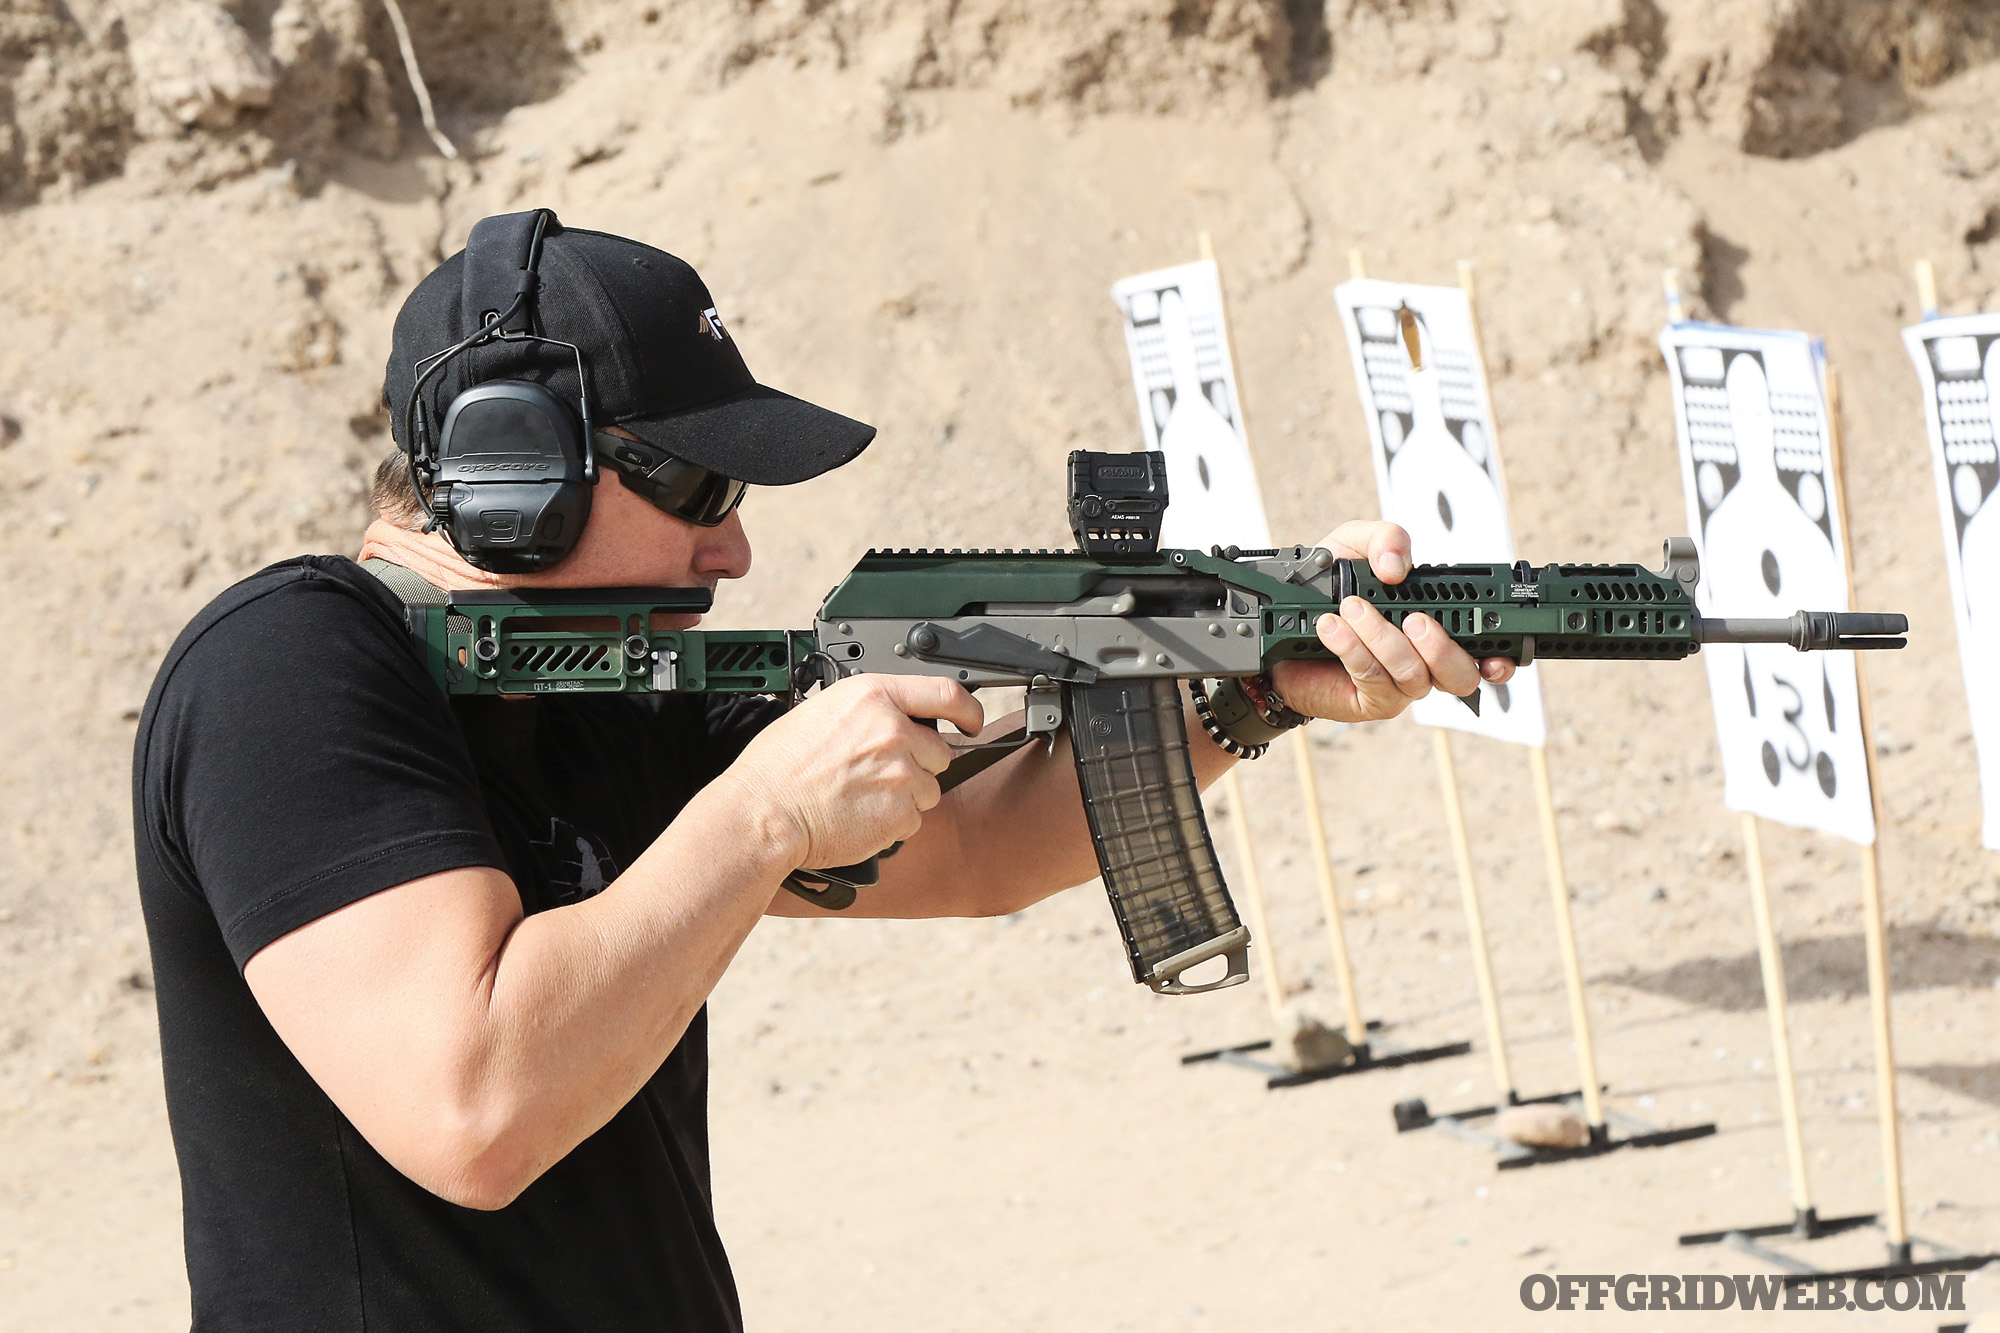
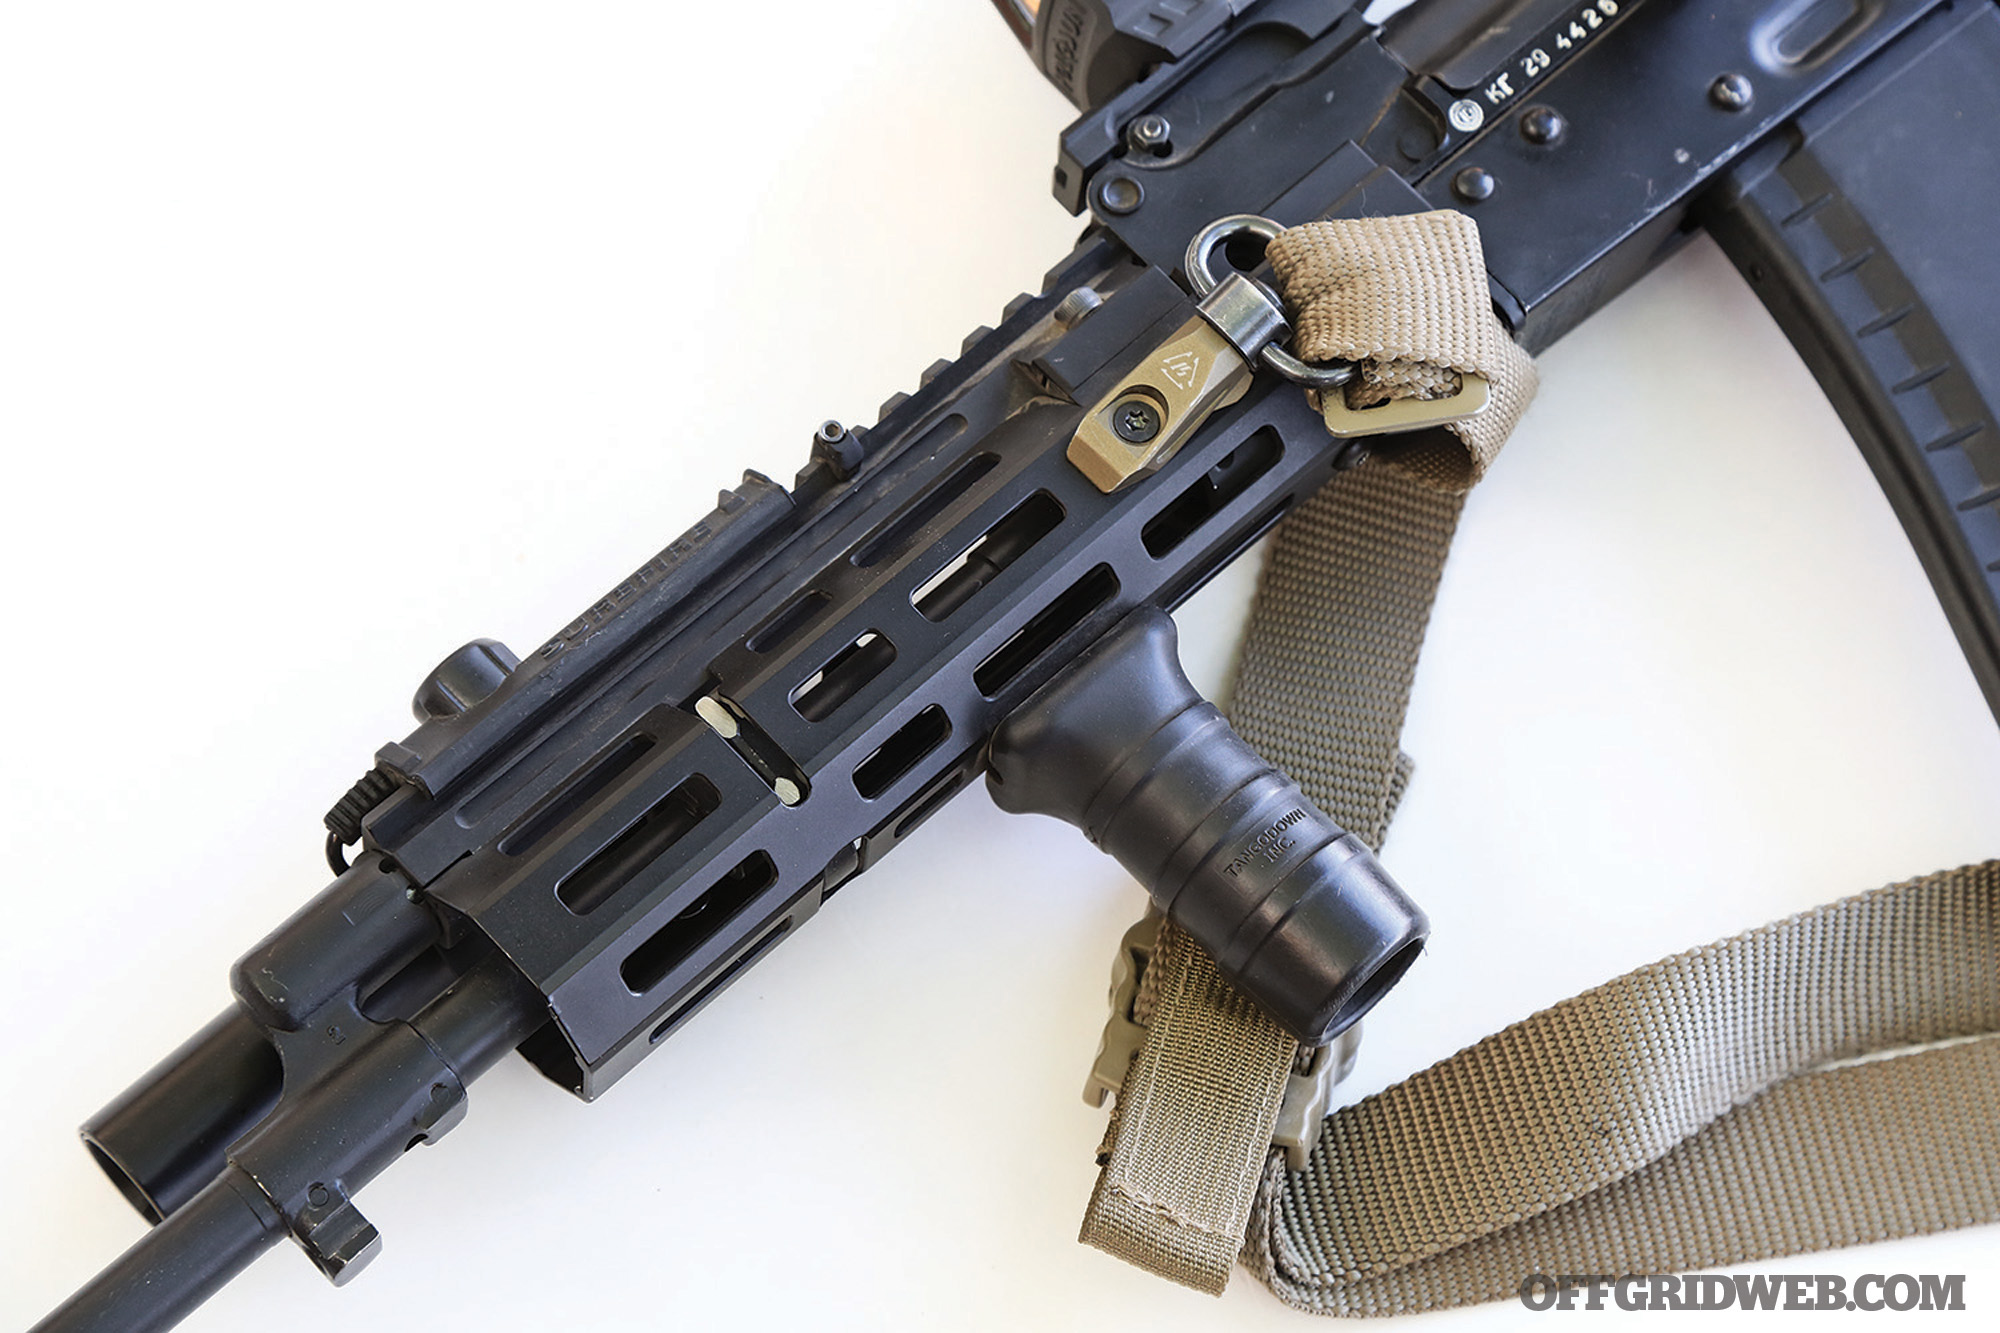
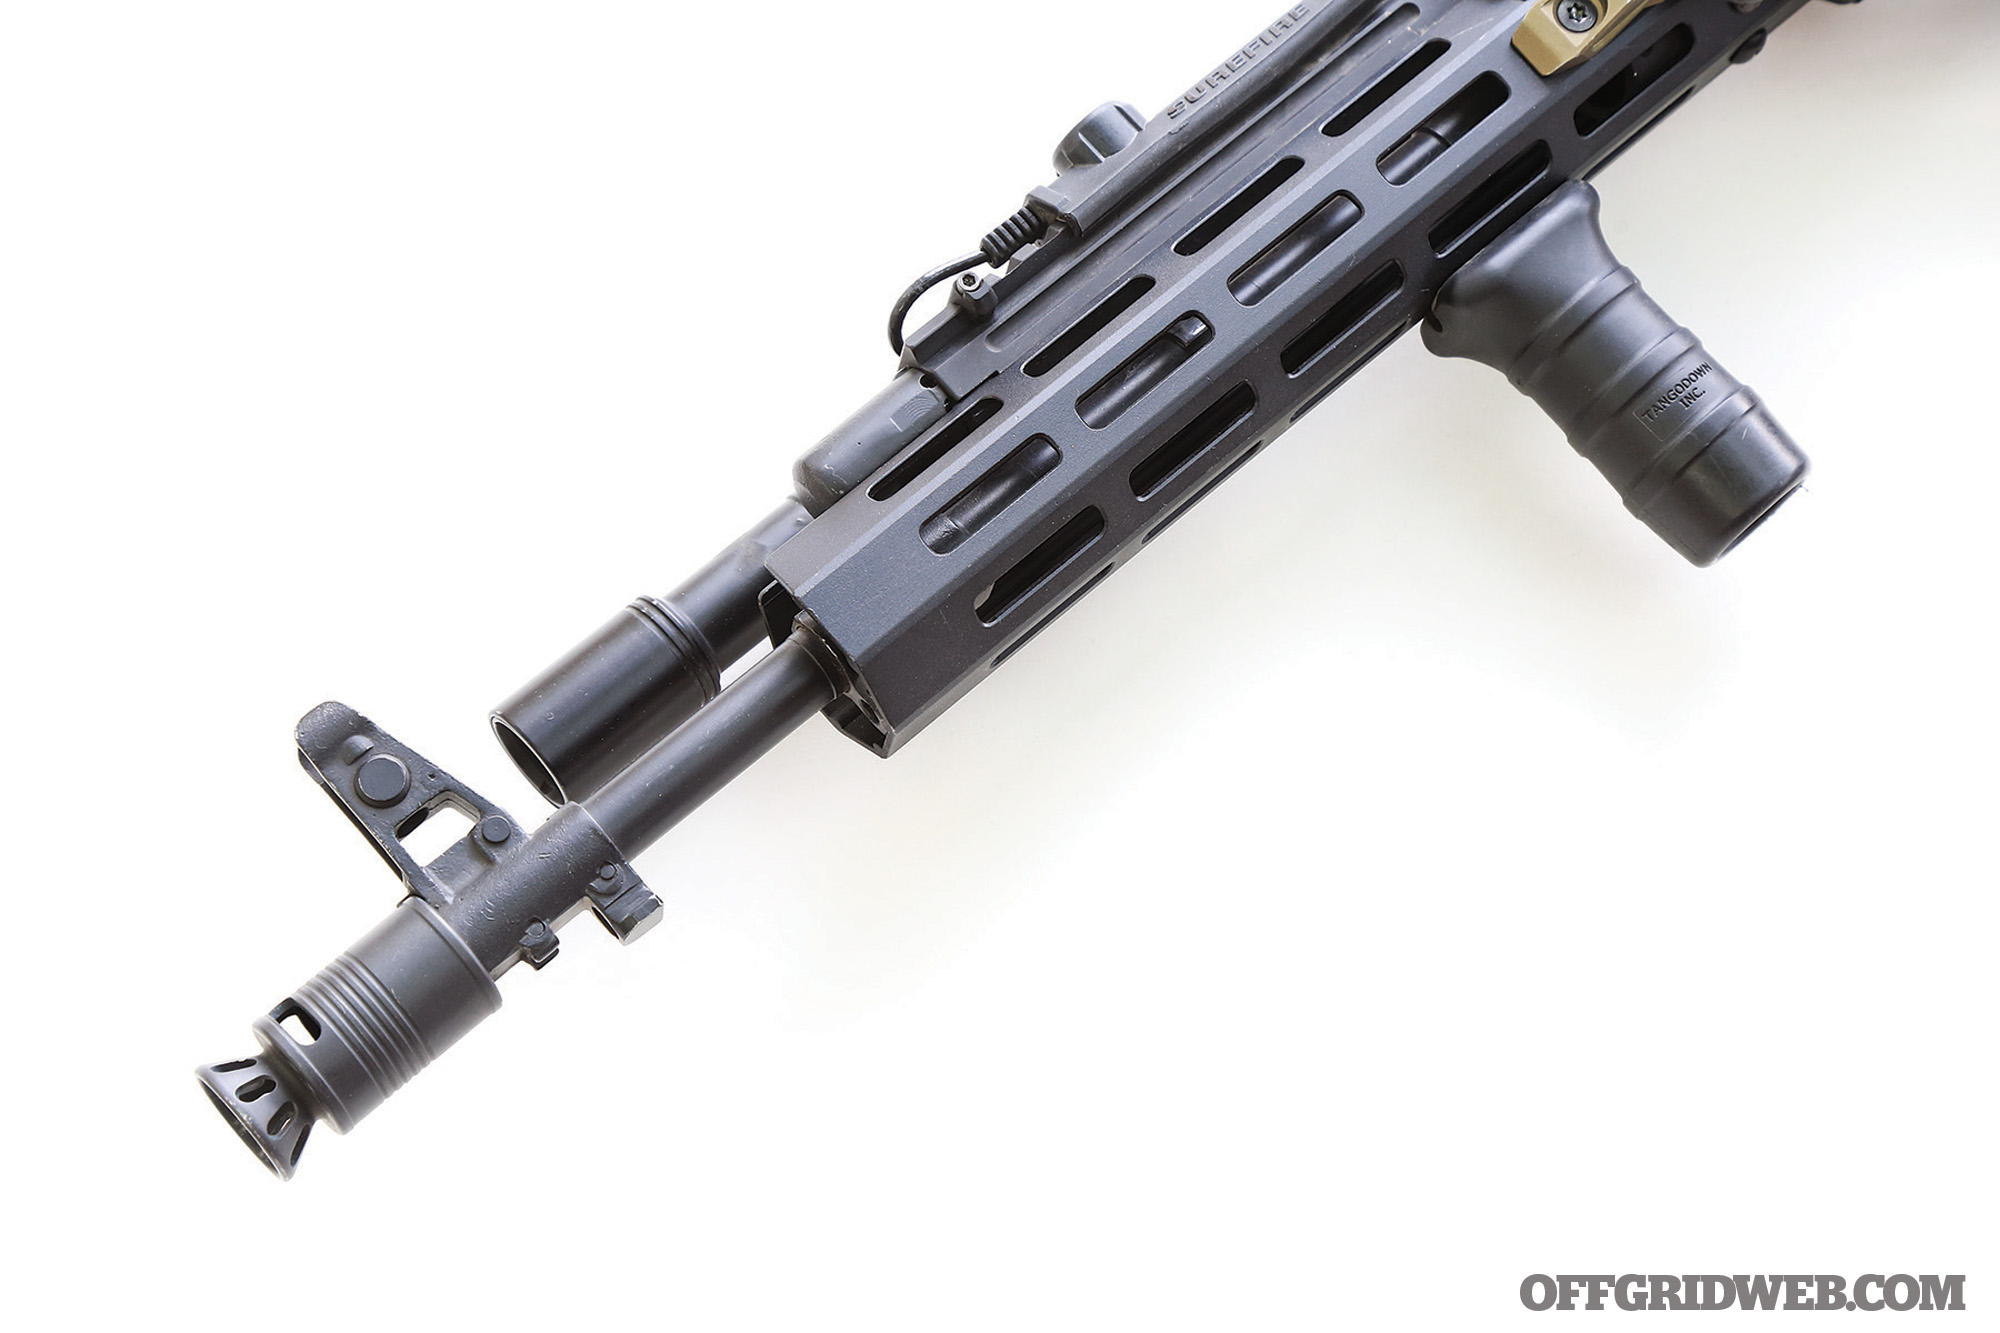
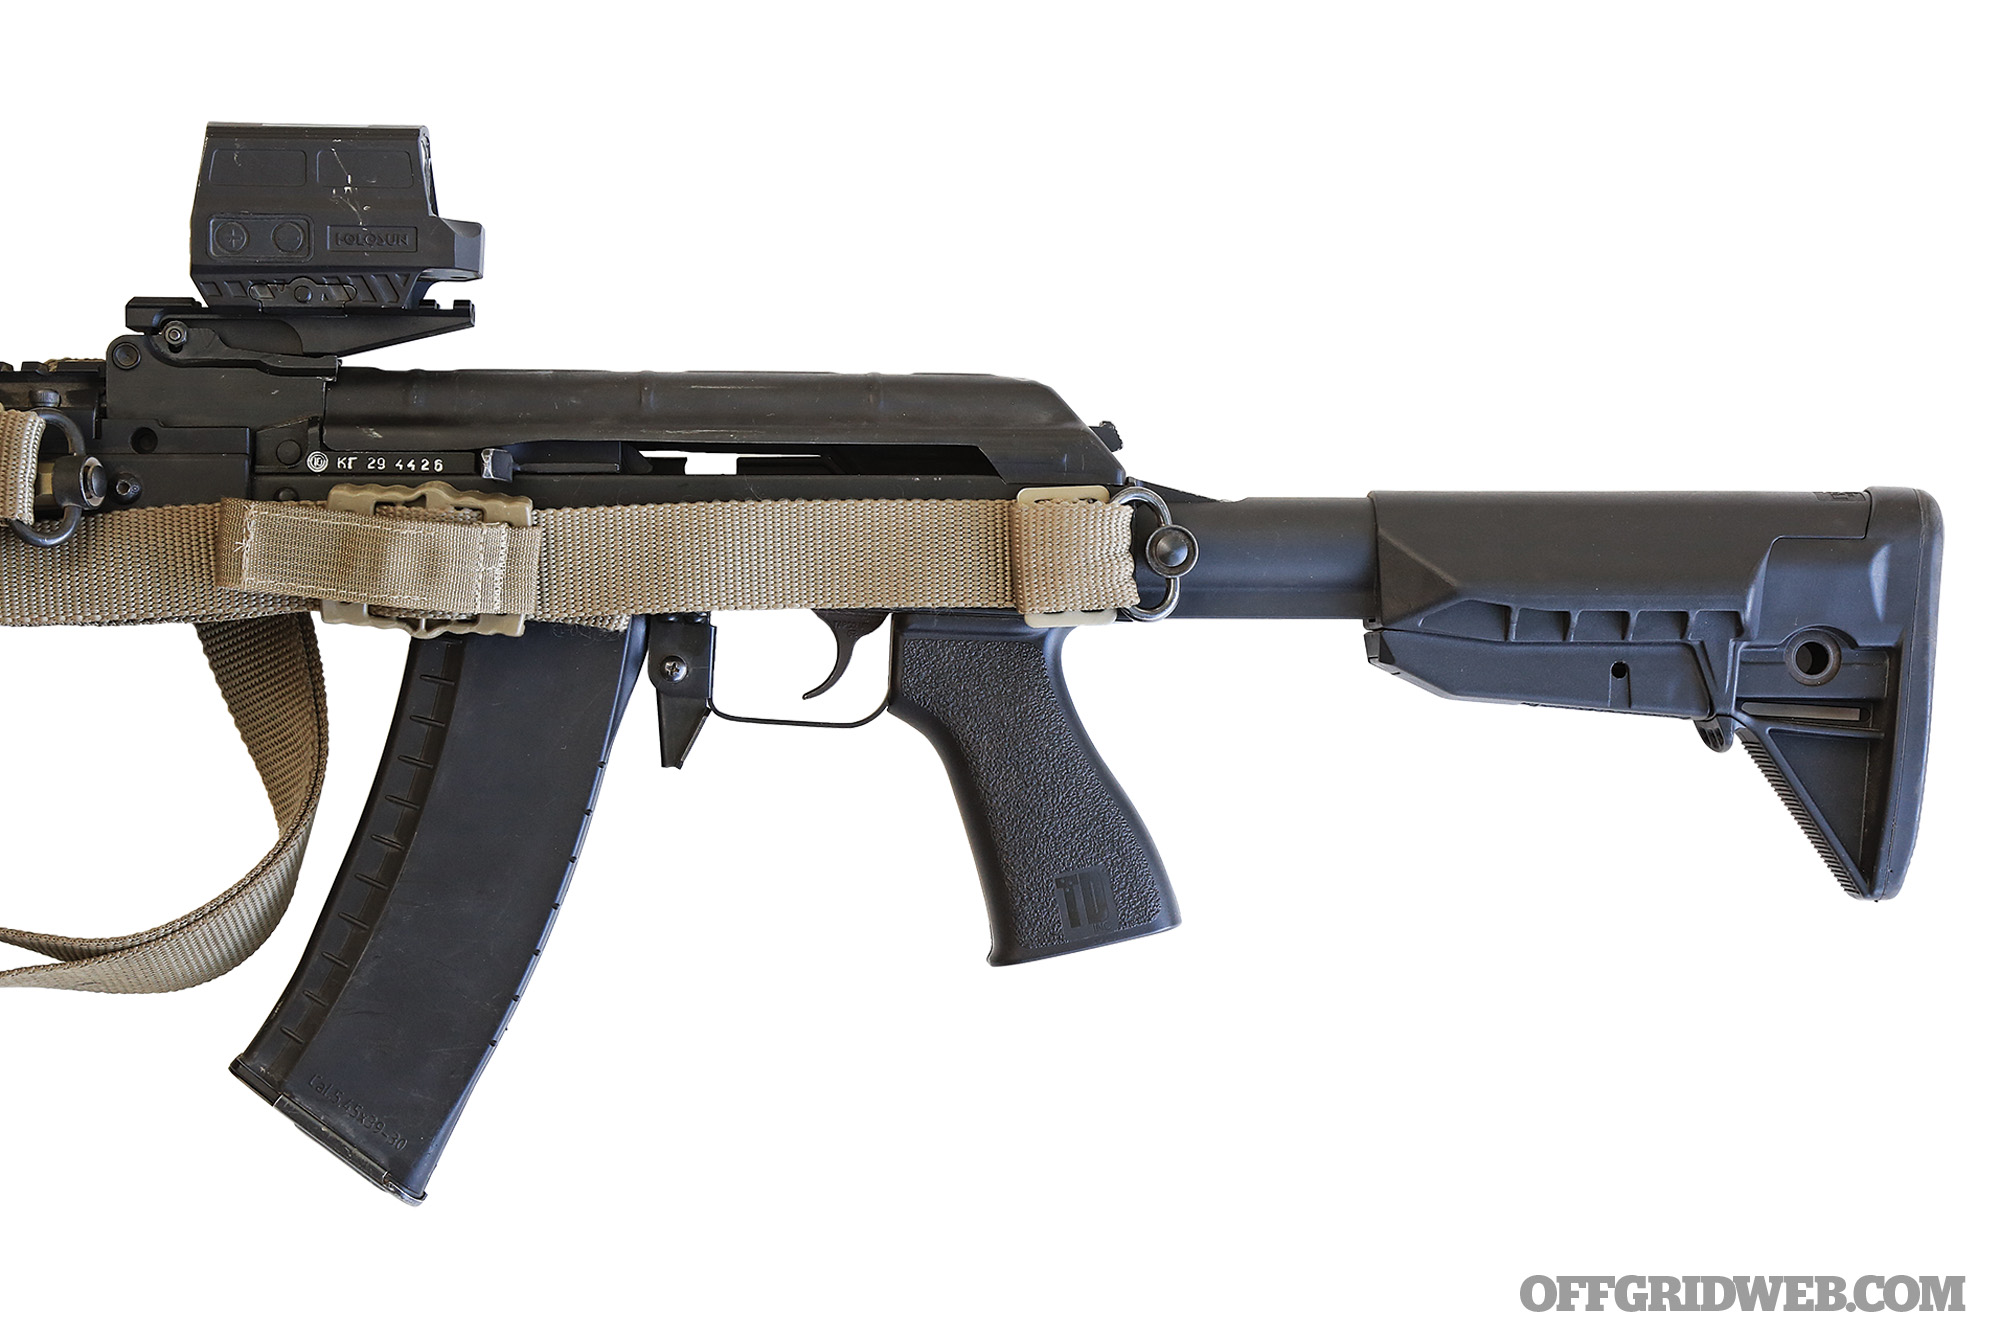
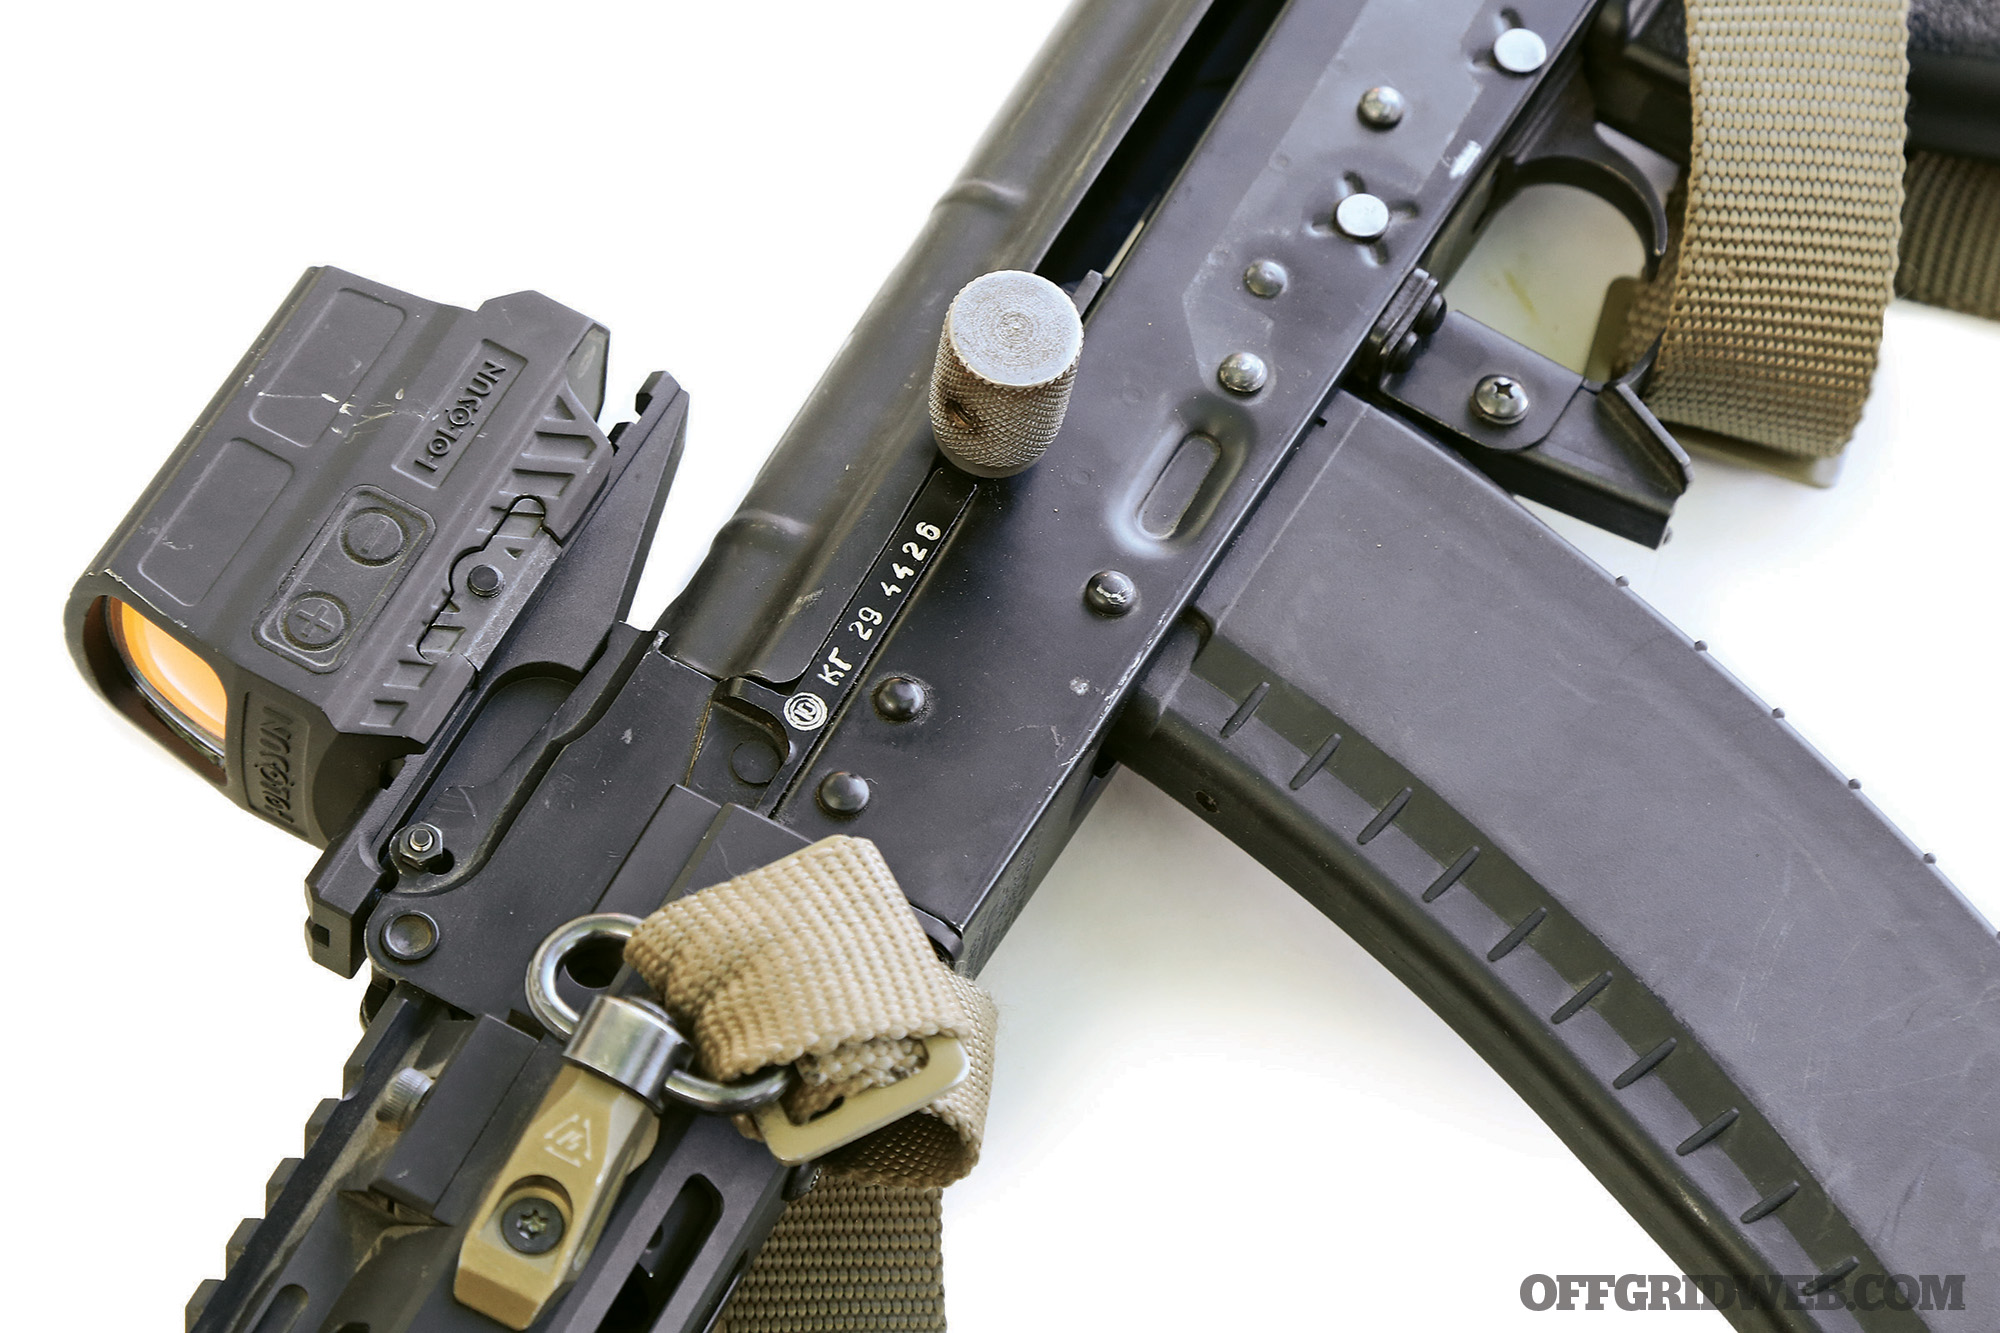
The base gun is a Petronov Armament AK-74 in 5.45x39mm. The smaller 5.45mm cartridge has better long-range ballistics than its bigger, heavier 7.62mm progenitor, and has an incredibly light, quick recoil impulse that’ll give anyone the giggles after a few fast strings of fire. I dressed this rifle out with a Mk1 handguard system from Sureshot Armament, which includes an M-LOK handguard as well as a railed gas tube. The two pieces are machined to link together and reinforce each other for a secure fit. A TangoDown M-LOK vertical grip, SureFire Scout Light Pro, and Definitive Arms muzzle brake rounded out the front-end setup. For optics, I mounted a Holosun 512 red dot to a Strike Industries rear sight riser rail. This resulted in a minimalist optic mount that sits nice and tall for a heads-up position while shooting and facilitates passive aiming under night vision. The rear end was dressed out with a matching TangoDown Battle Grip and a Fixed Triangle Stock from CRH Customs. As the name implies, this stock replicates the look and feel of a traditional triangle folder for fixed-rear-trunnion receivers. While there’s no folding mechanism, it’s a lightweight, low-bulk stock with a pleasing aesthetic.

Above: The business end of our Petronov Armament AK-74, along with several boxes of Century Arms’ Red Army Standard 5.45x39mm ammo.
Finally, we attached an Arbor Arms adjustable sling and dropped in an ambidextrous Lightning Bolt from Colorado Shooting Sports. This kit includes a bolt carrier and top cover that can be had in either left-side or ambi-charging handle configurations. Slab-sided Bulgarian mags courtesy of GunMag Warehouse kept this rig well-fed throughout the course. It should be noted that many folks shied away from AK-74s once a ban on the importation of cheap Russian 7N6 surplus ammo was implemented in 2014. But Red Army Standard, Century Arms’ ammo imprint, sells non-Russian 5.45mm ammo that functioned flawlessly for us. At the time of writing, a 1,000-round case could be had for right at $400, which puts the price at or just under comparable .223/5.56mm ammo.
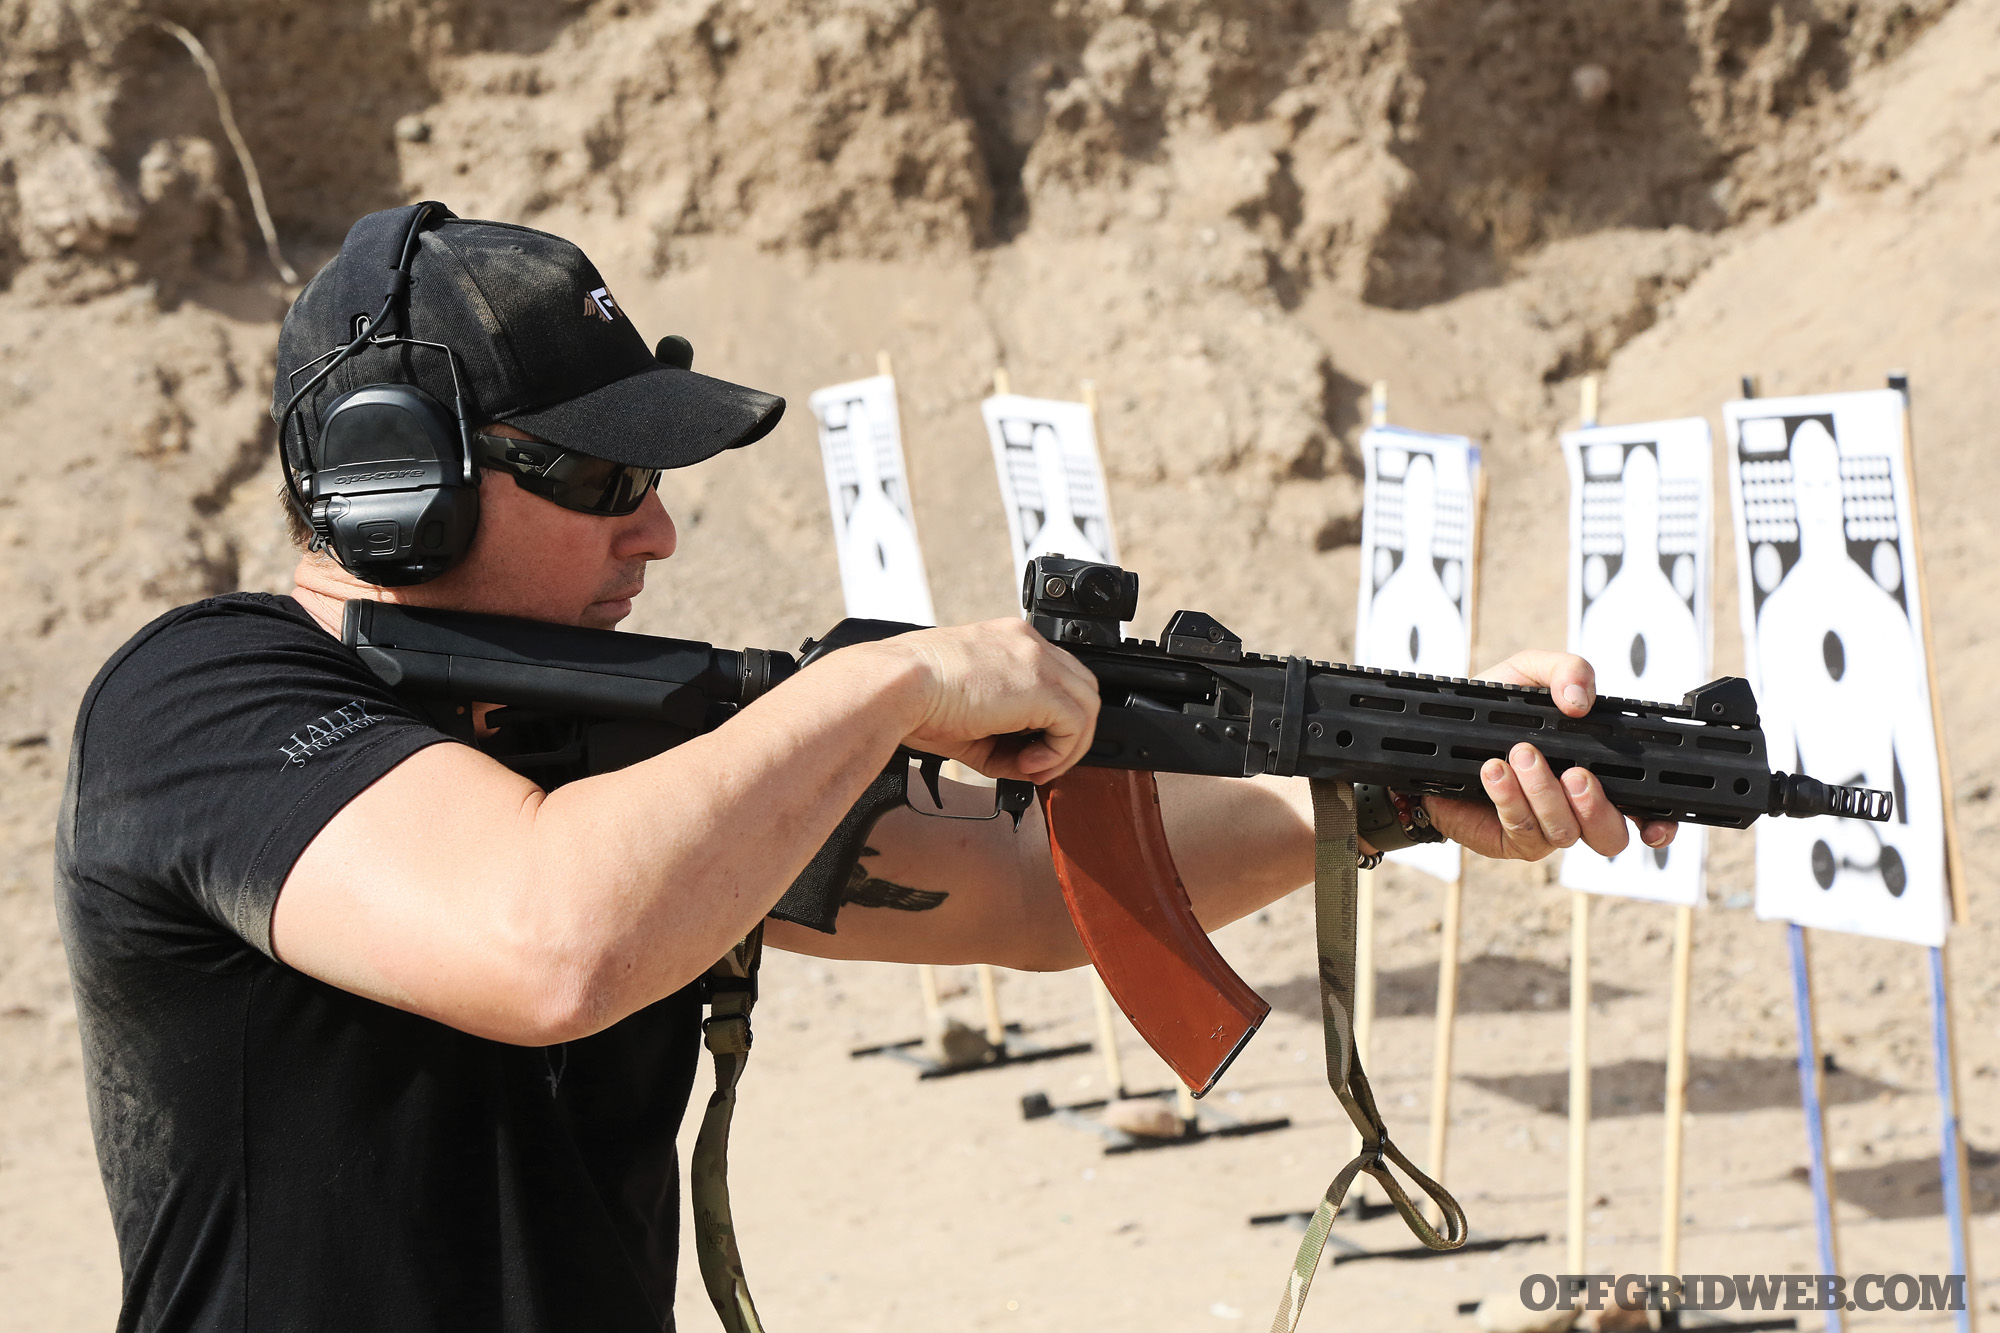
The differences in manual-of-arms between AKs and ARs primarily boils down to differences in the three fire control interfaces: the safety selector, the charging handle, and the magazine release.
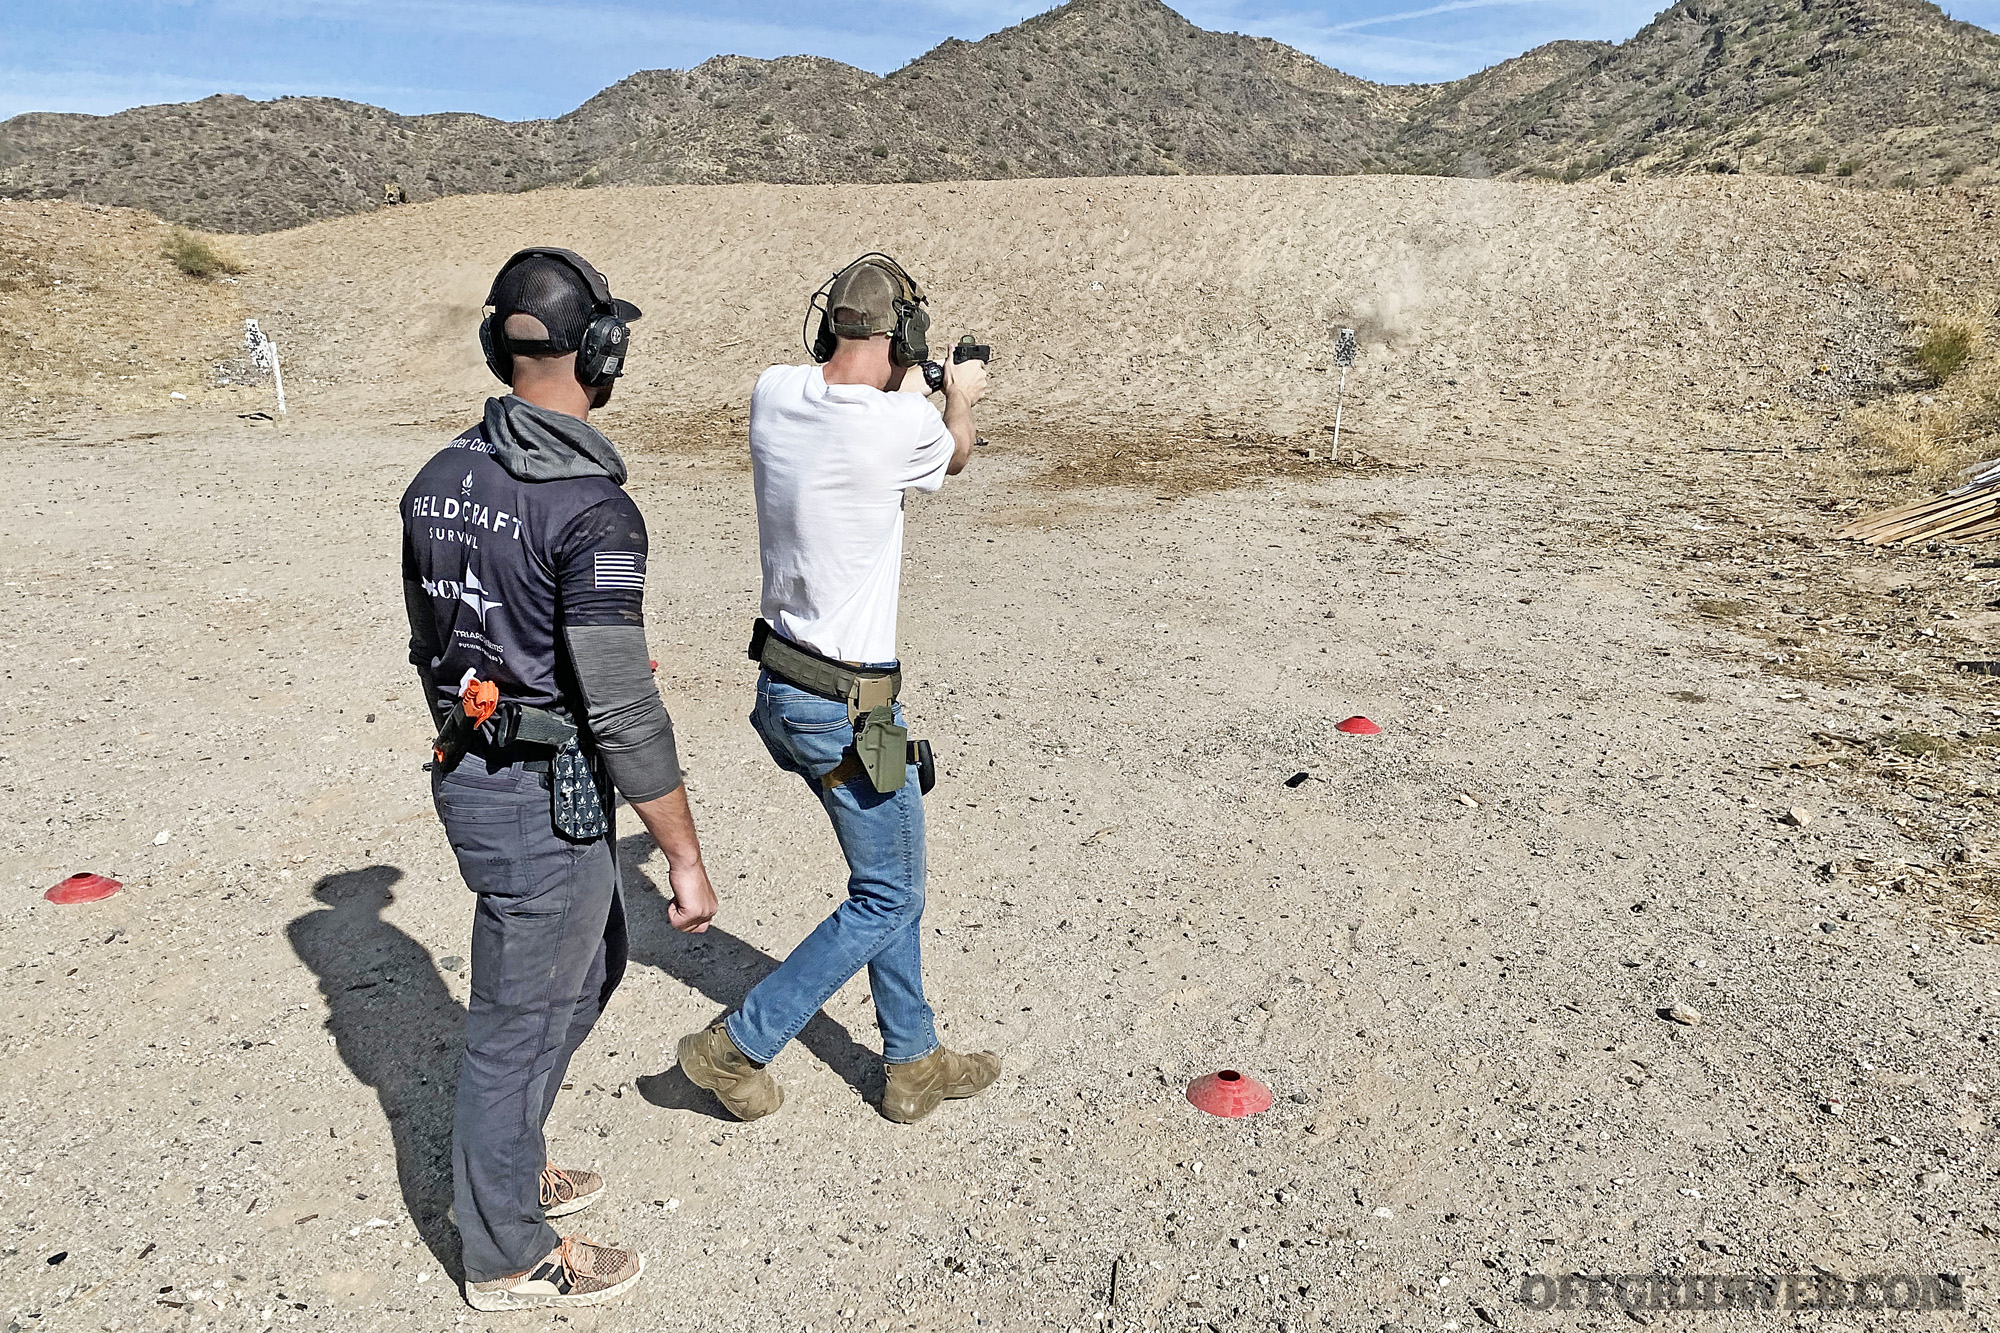
Charging an AK
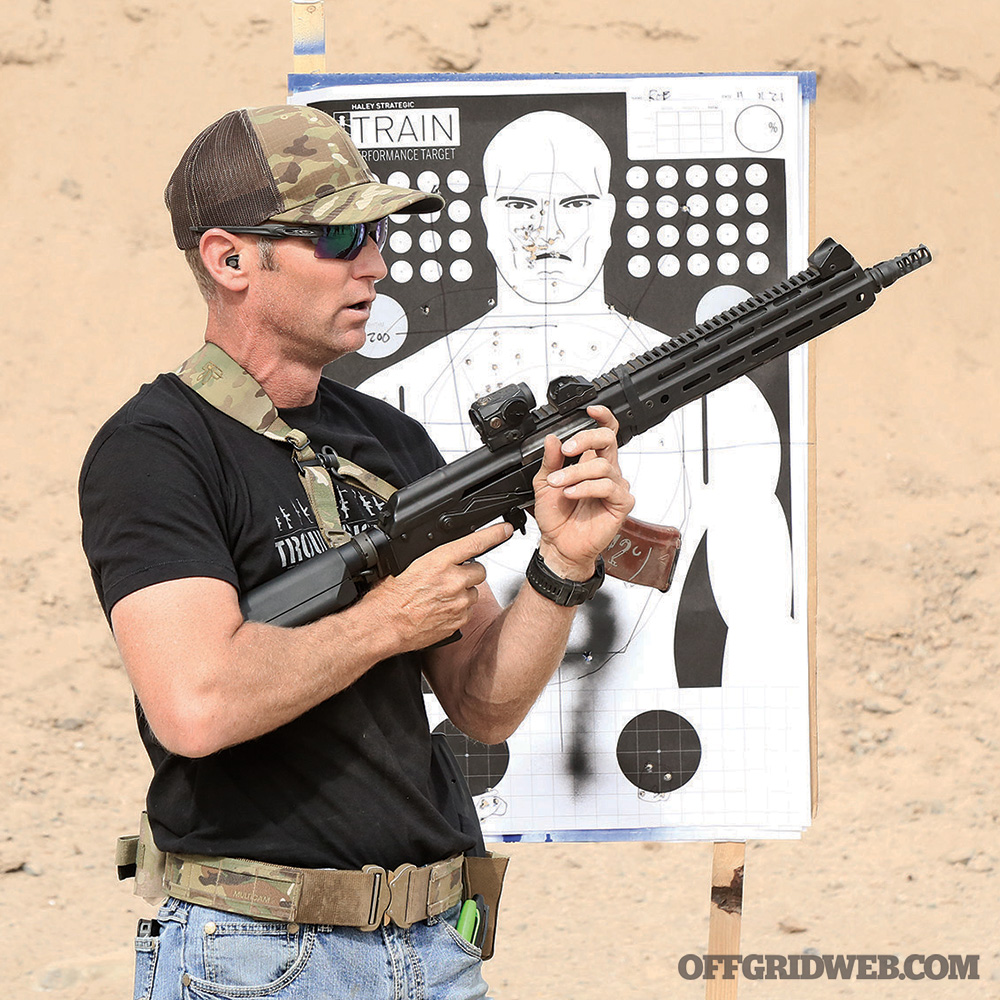
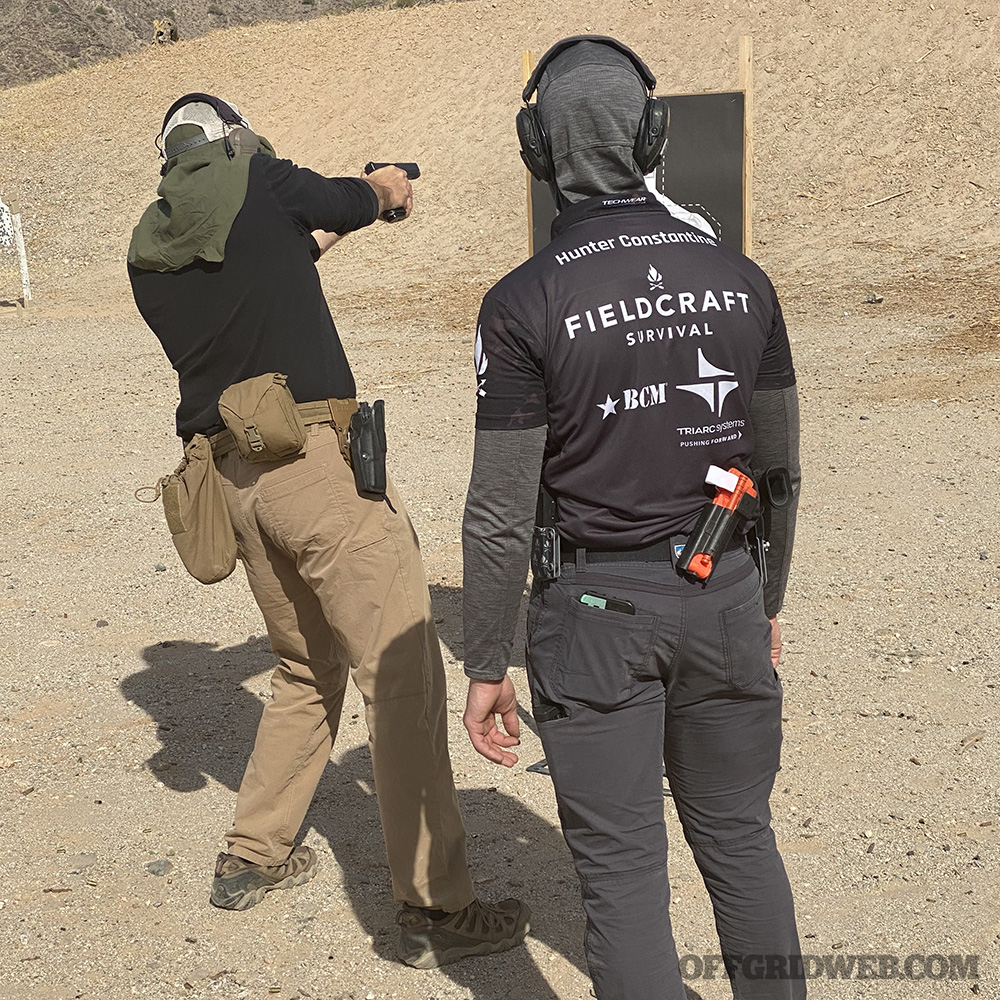
Above: Haley Strategic instructor Jared Segraves demonstrated several different methods of charging AK pattern rifles.
Charging your weapon (chambering a round) can be either an administrative or fighting function, depending on the context. You may be loading your weapon and then placing it on safe for ready storage — in your vehicle or under your bed, for example. You may be conducting an administrative “load and make ready” at a course or competition. Or you may be in the middle of a firefight and conducting an emergency reload.
All of those situations have one thing in common: They require you to cycle the bolt. AR shooters are spoiled by the addition of a dedicated mechanism to lock the bolt in an open position and to release it at the literal push of a button. Mr. Kalashnikov, it seems, would’ve dubbed such a thing extraneous. Instead, the bolt handle is attached to the carrier itself and pokes out the ejection port side of the rifle by about an inch. For right-handed shooters, there are a couple of different techniques to run this handle.
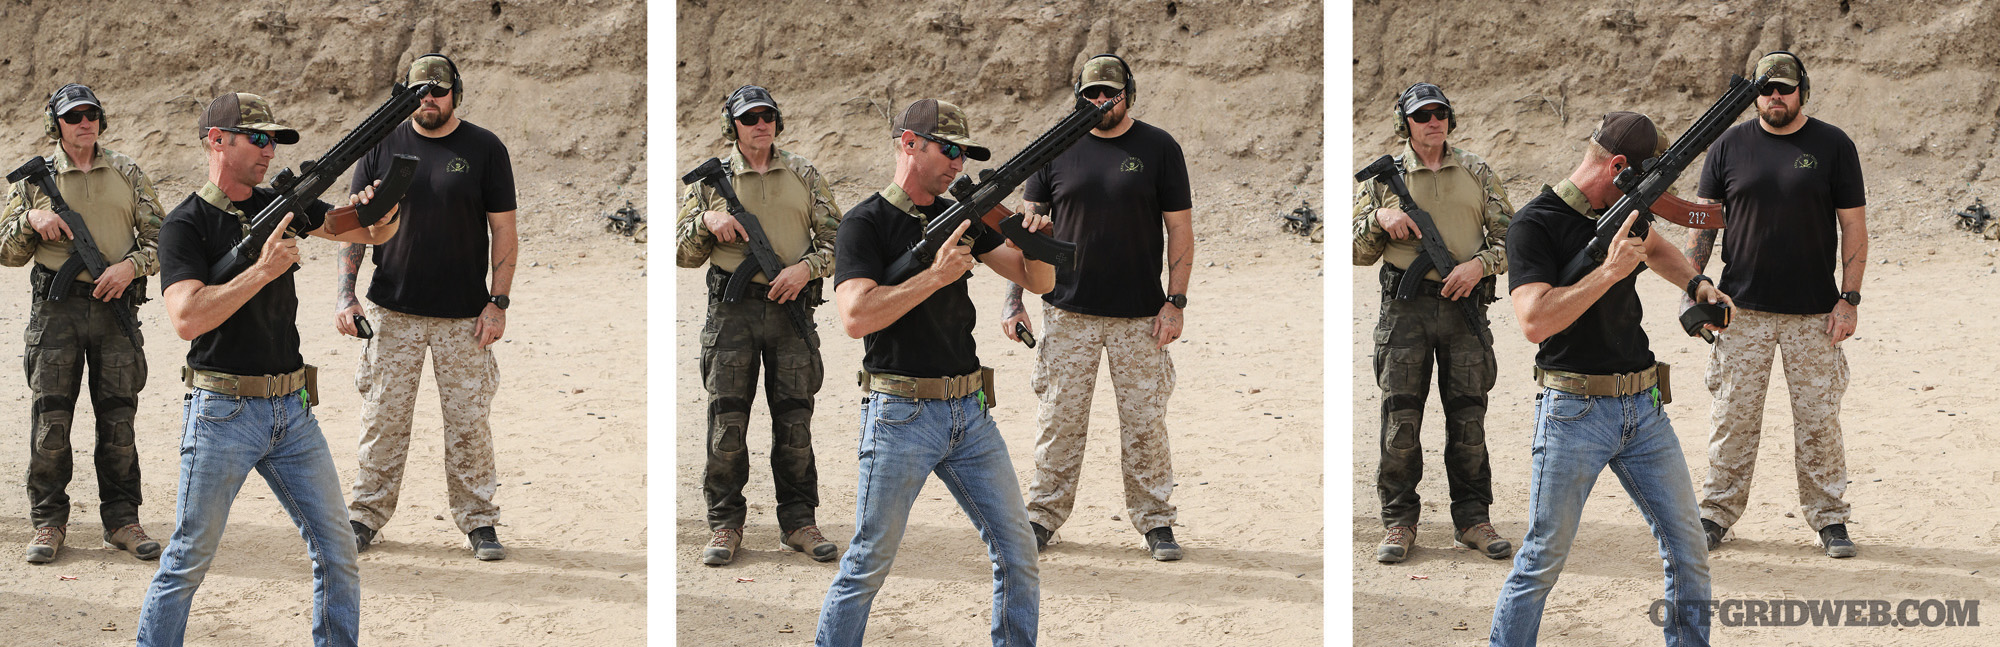
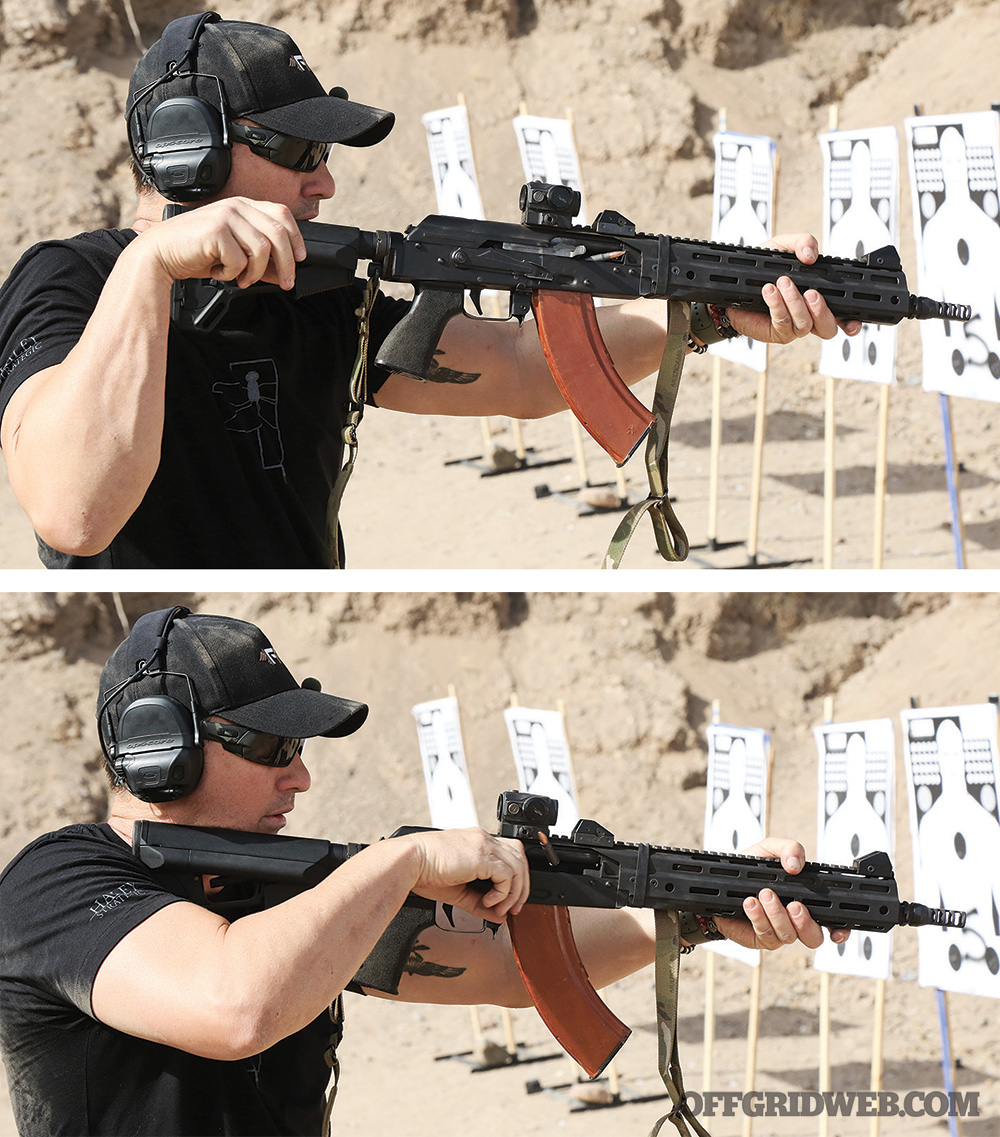
The most popular method is probably running your support hand underneath the rifle, in front of the magazine and racking the bolt that way. Alternately, you can reach over the top of the receiver and run the bolt with your support hand. If you’re running a classic iron-sighted AK, or one with a forward-set optic (rear sight rail, as seen here, or on a railed gas tube), then whether you reach under or over the receiver is largely personal preference. But if you use the side-rail optic mount or a railed top cover to mount your optic further back on the rifle, that placement may interfere with your ability to reach over the top.
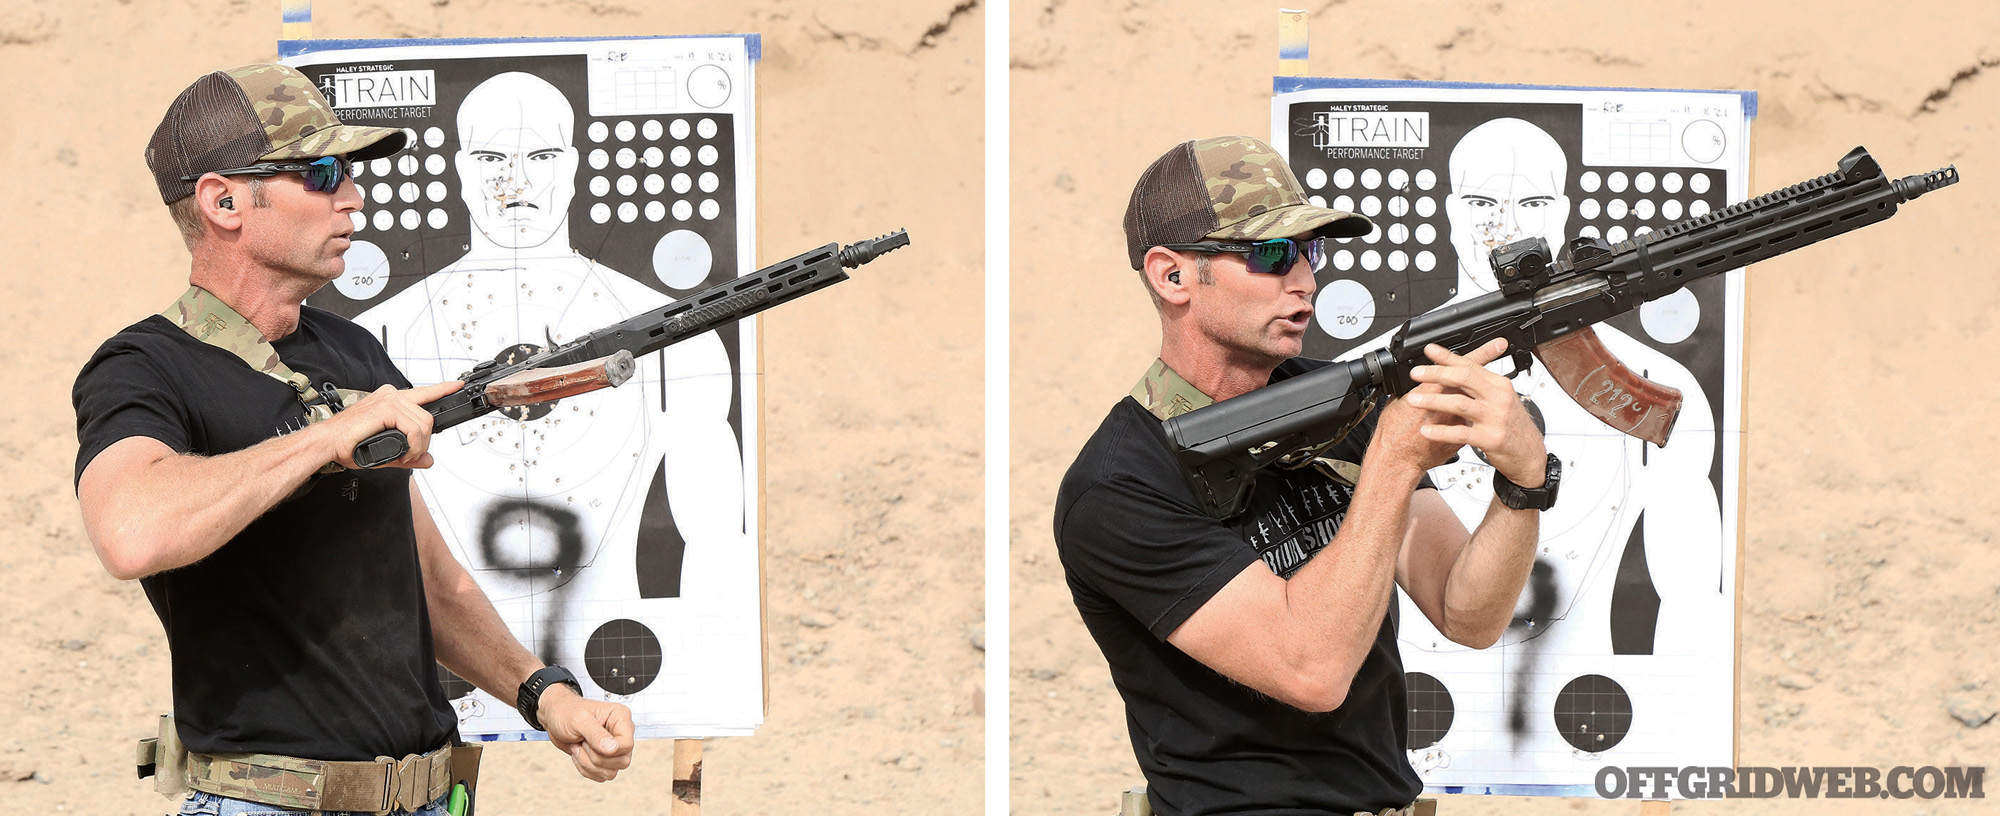
Left: Segraves rolls the rifle left to run the charging handle from above. Right: Reaching underneath is one of the most common ways to run the charging handle, especially on AKs equipped with optics.
There are variations on both of these techniques that involve rolling the entire rifle 90 degrees left or right. This orients the charging handle straight up or straight down. While this might make the charging handle more accessible, since you’re not wrapping your support arm completely over or under the receiver, you have now introduced additional motion that requires moving both hands simultaneously (roll the rifle with strong hand, run the bolt with support hand) without reducing the amount of work your support hand already had to do. The cadre at Haley Strategic makes a point to emphasize biomechanical efficiency, as “going faster” is directly related to economy of motion. Therefore, rolling the rifle — while demonstrated — wasn’t prioritized in training. In fact, reaching underneath the rifle was our method of choice; it seemed to work consistently for the widest array of rifle setups without adapting or modifying the technique itself.
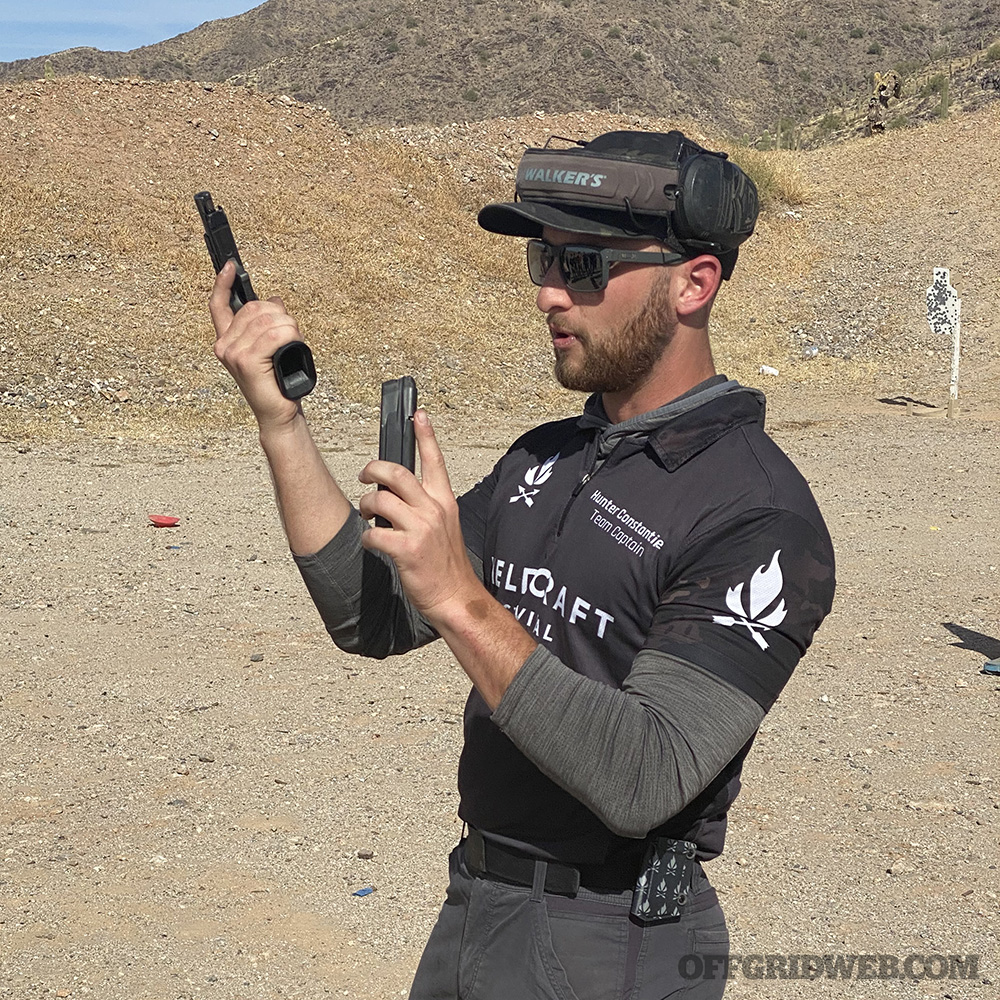
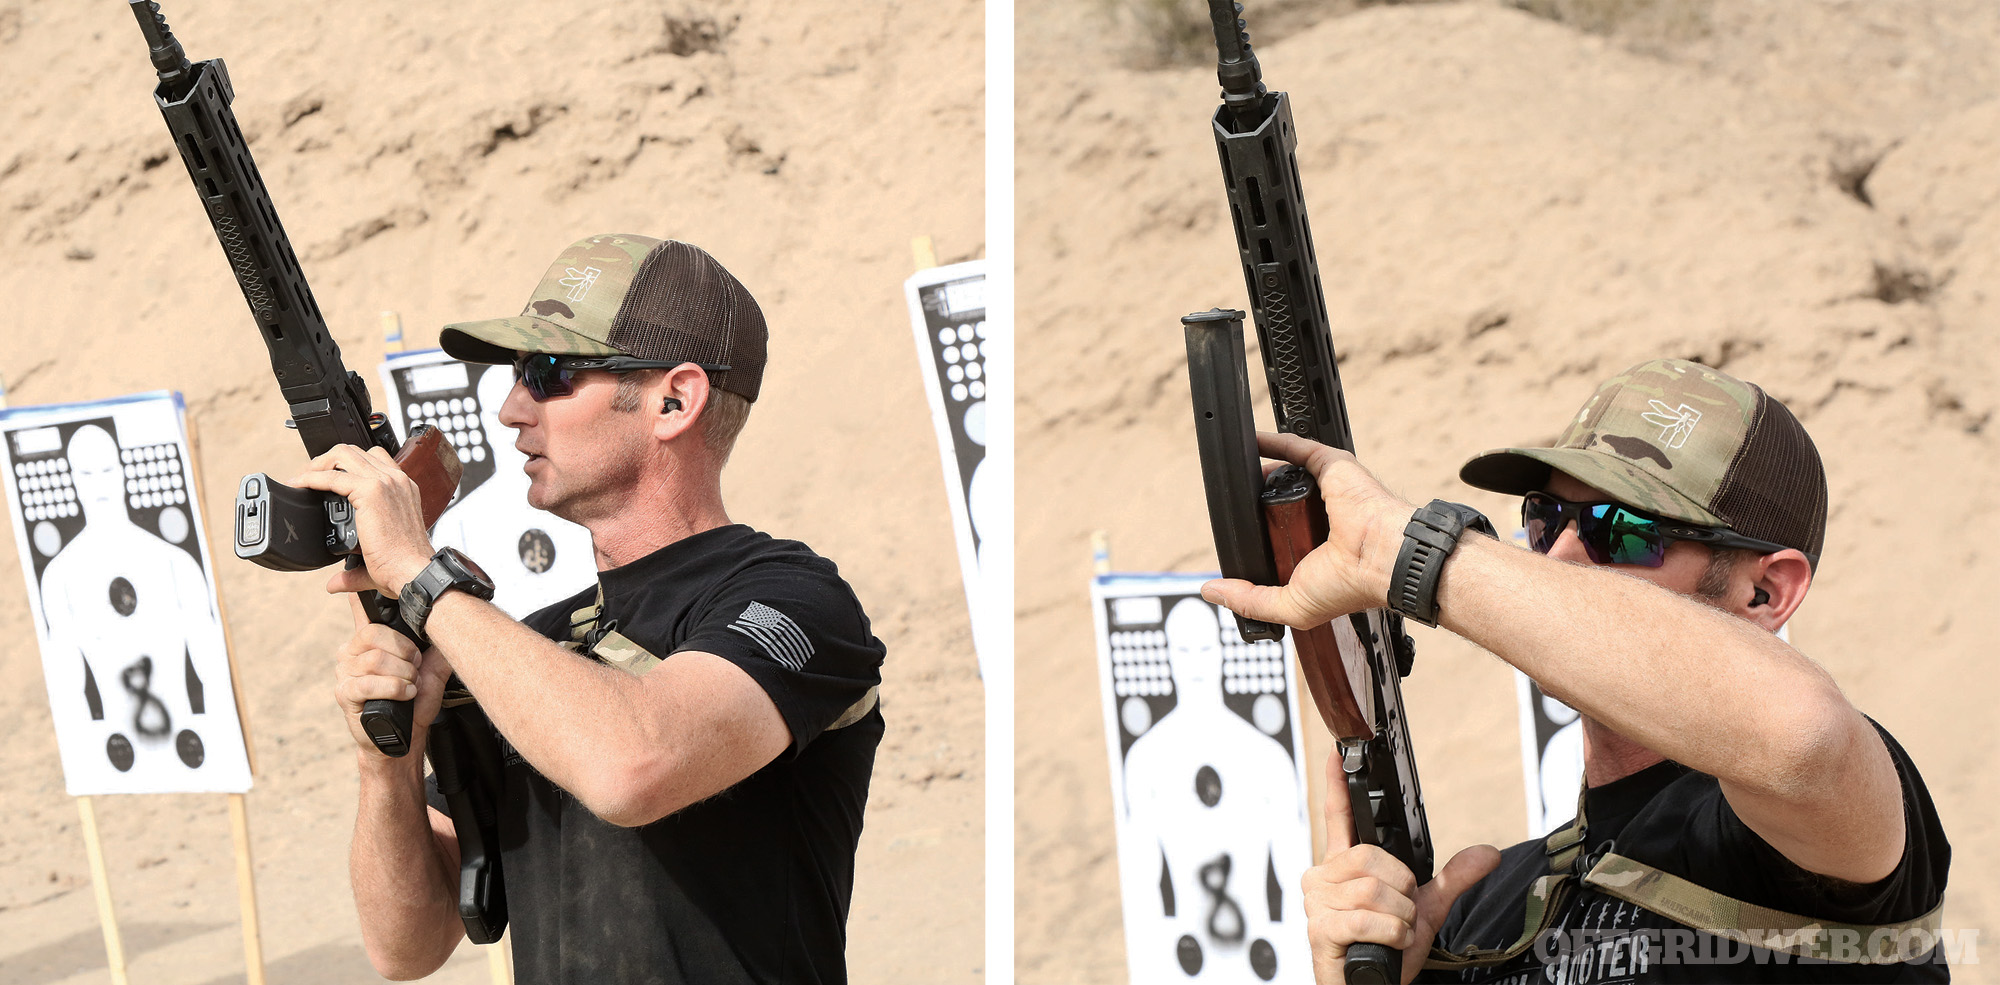
Above: Some users prefer to keep the support hand on the rifle and move the dominant hand to the charging handle. This offers the advantage of maintaining a constant sight picture.
Finally, there’s a third method: removing your strong hand off the pistol grip to rack the bolt while holding the rifle up with your support arm. Most Western schools of thought on running any type of defensive carbine recommend you minimize the number of times you remove your hand from the master grip. But it’s an option worth considering, and one that’s reportedly more common among Russian and Eastern European users. The upside to this technique is that it allows the shooter to maintain a continuous sight picture and shouldered position while charging the AK, much like one would while operating a bolt-action rifle.
Reloading an AK
Between ARs and AKs, there are two primary differences in reload management: You cannot reach the magazine release with your trigger finger, and you cannot insert magazine straight into the receiver – mags must be rocked in and out.
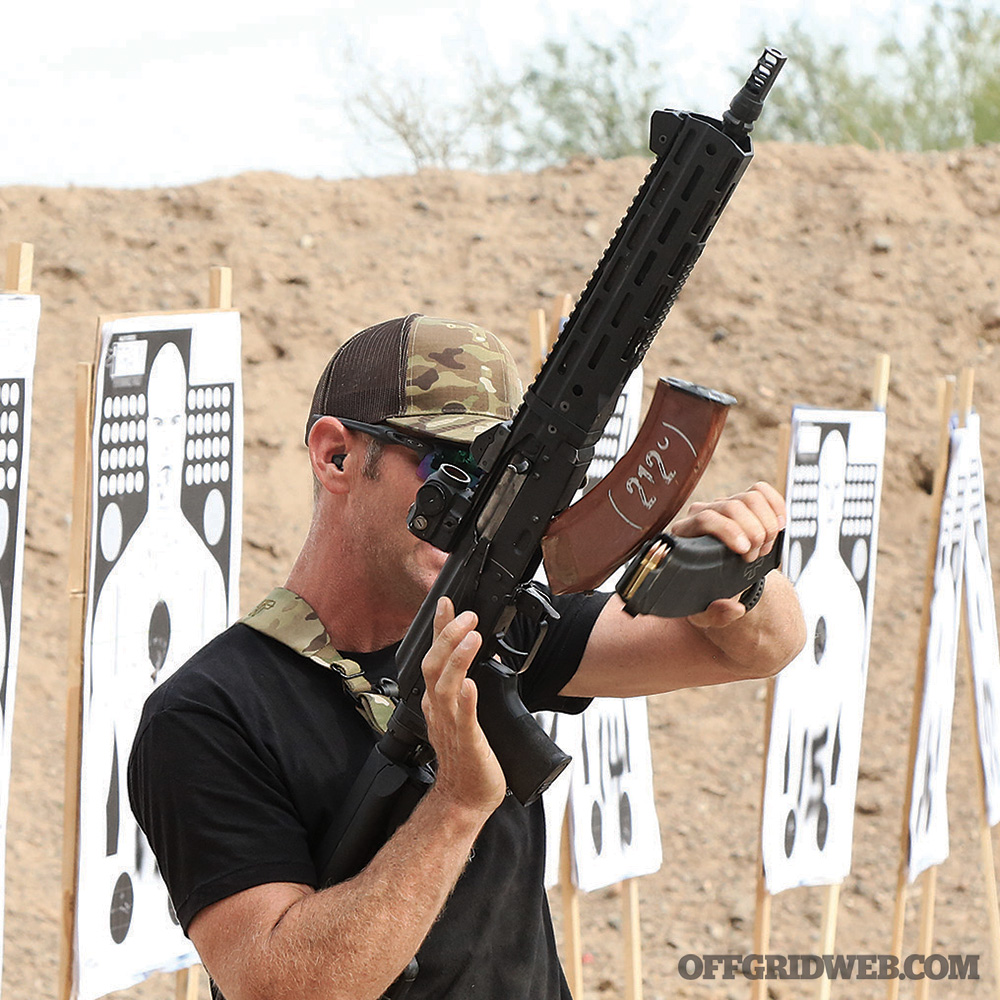
Above: Reloading the AK while retaining the (partially) spent magazine.
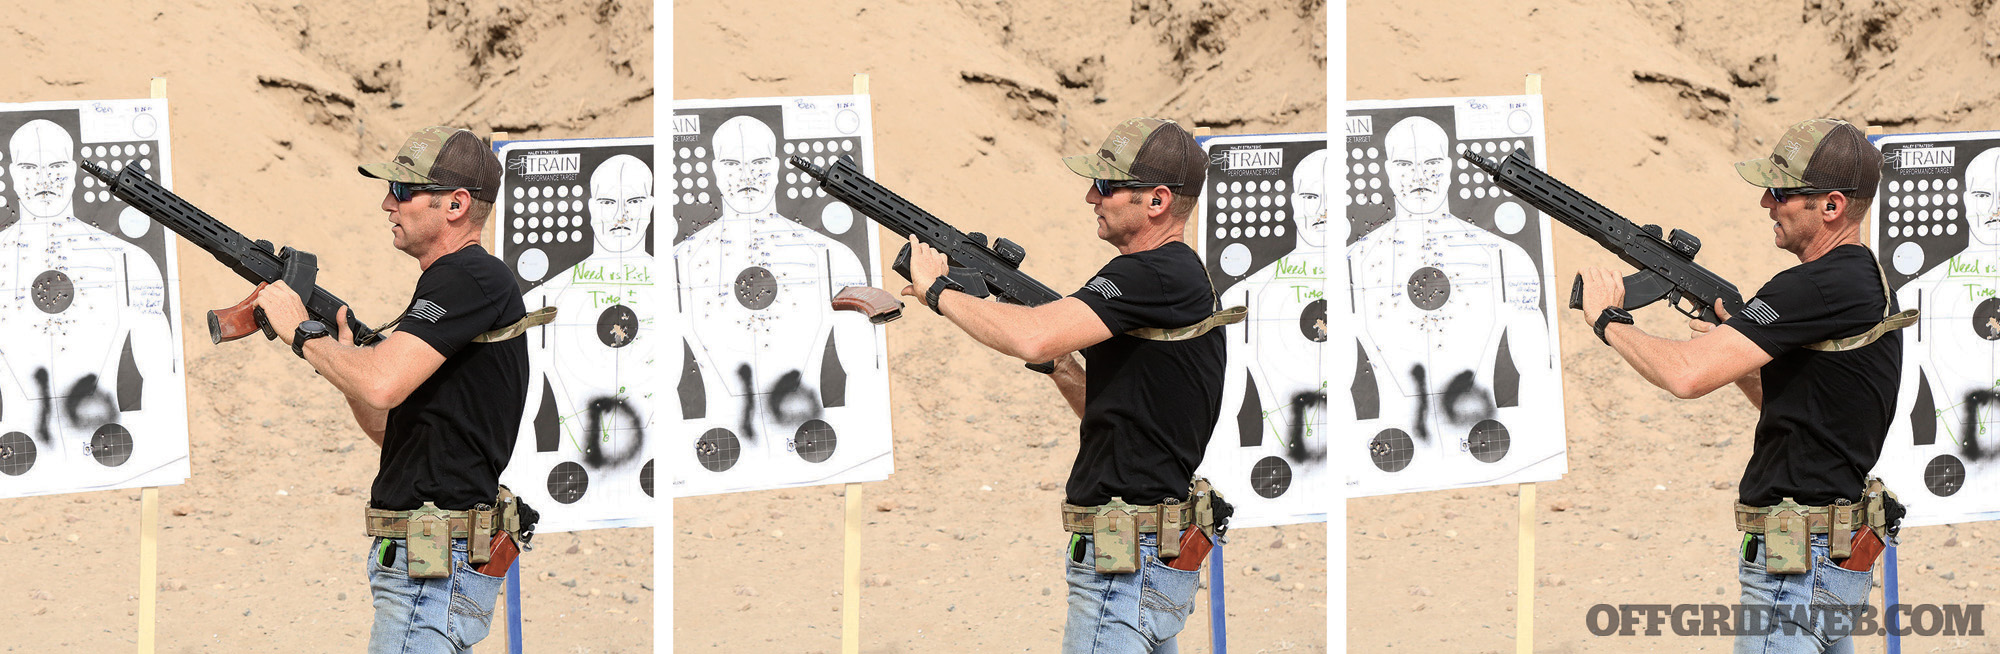
Reloads WITH Magazine Retention
If you want to keep your magazine, say in the case of a tactical reload, the traditional V- or L-shaped reloads you may have learned on an AR will not work here. You’ve got two basic options. The first is to completely remove the magazine from the gun by itself. Grab the mag high and, in a beer-can grip, press the magazine release tab with your thumb, rock the mag forward and down. Stow it in a dump pouch, mag pouch, or pocket. Grab a fresh mag, rock it in front-to-back. If consistency across multiple weapon platforms is your jam, or if you already use a “grip-and-strip” method on your AR, this is the way to go. The changes are minimal, and only to accommodate the mechanics of the rifle itself.
The other technique is to remove your new mag off your kit first. Then, when you bring your fresh mag up to the rifle, pin it to the left side of the receiver and get your digits around both the reload and the magazine currently in the gun. Pop the release tab with your thumb. Rock the mag out of your gun, move your hand to position the new mag underneath the gun, and click it into place. Slide the partial (or empty) mag you just removed off the fresh reload, keeping it in your grip the whole time, and stow it. This may be faster if trained sufficiently, but requires a baseline of hand size and manual dexterity to execute effectively.
Reloads WITHOUT Magazine Retention
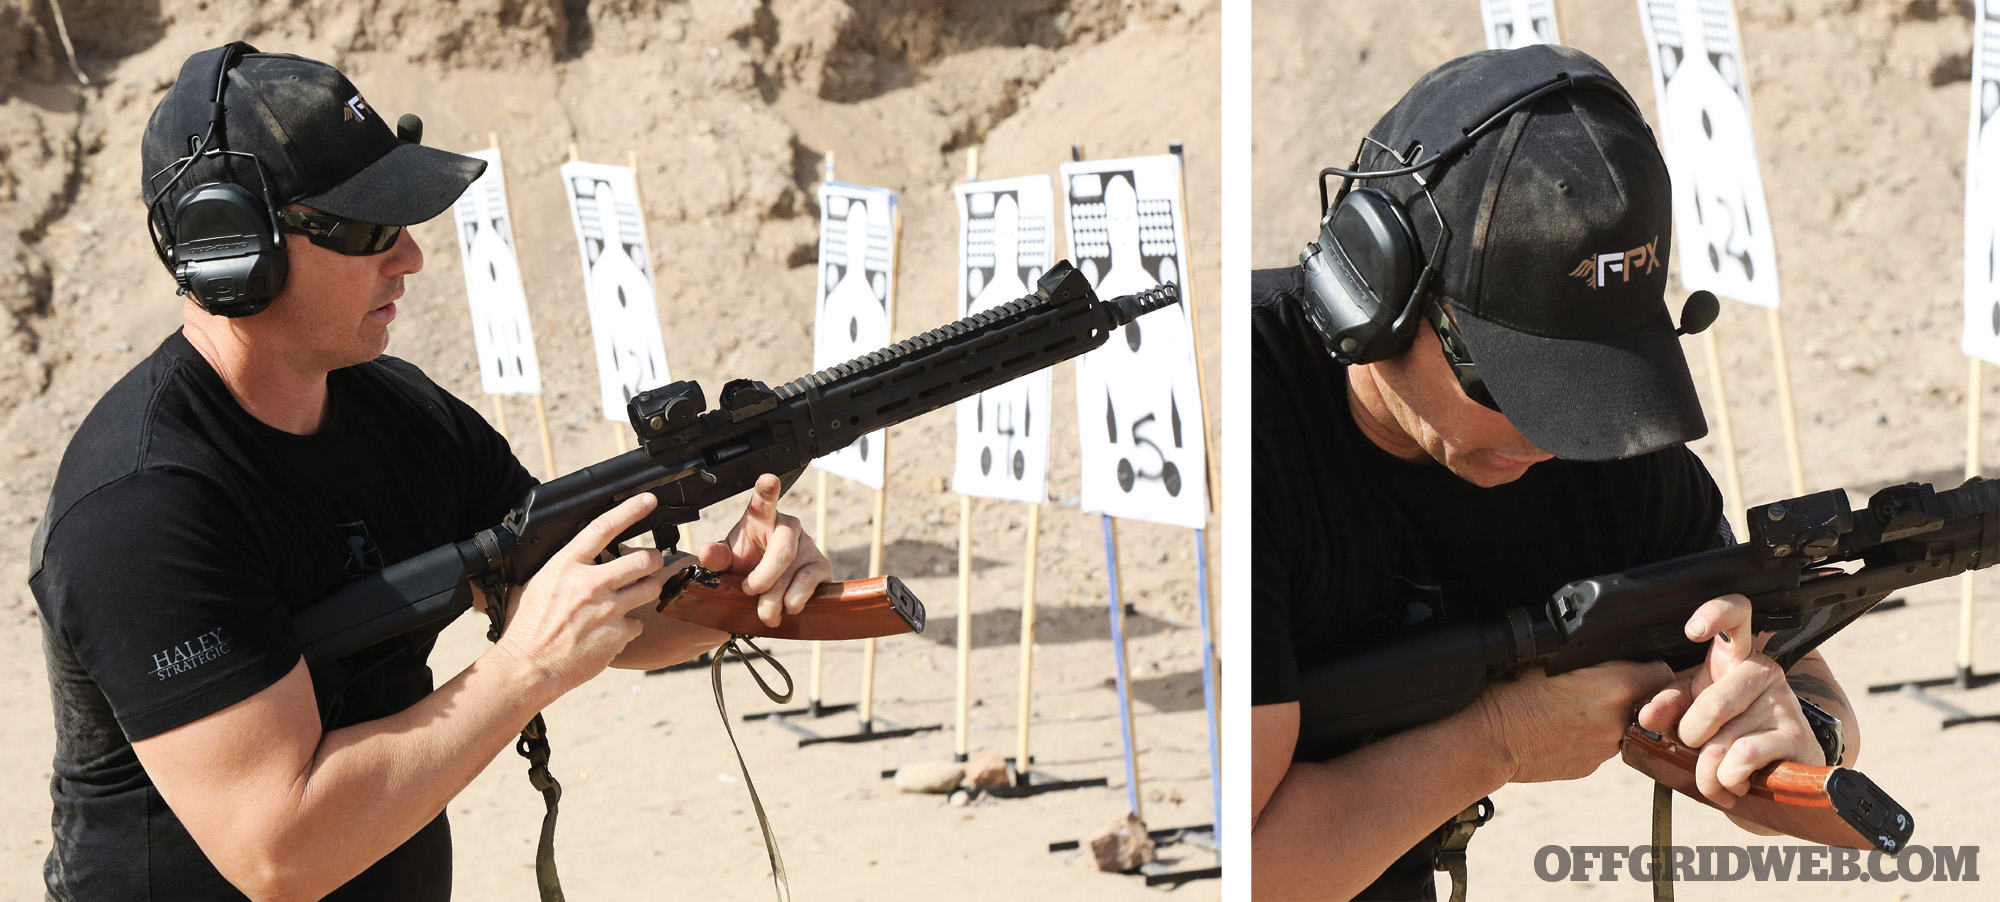
If you’re not concerned with retaining the magazine, both of the above-listed methods work almost the same. The only difference on the second method would be to bring the magazine alongside the receiver and, when you hit the release tab with your thumb, just follow through another inch or so to knock that mag out so it falls free. Then, insert your new mag.
Above: When it’s not necessary to retain a magazine (i.e. an emergency reload), simply extend the thumb to press the magazine release and knock the empty mag out of place.
There is, of course, the method made popular by social media and tacticool AK operator internet videos: drawing a fresh mag off your kit, turning it sideways, and using the front edge of the magazine itself to hit the release tab and fling the empty mag out of the gun. We admit, it’s got style points. But those points are gained entirely out of context. According to the cadre at Haley Strategic, this method was actually developed for Russian troops fighting in extreme cold weather conditions — typically while wearing “half mitts” with independent thumb and trigger fingers, and the remaining digits bound up in true mitten style. With this reduced dexterity, using the magazine as a reload tool made sense. But it’s not particularly efficient from a biomechanics standpoint. Also, the effectiveness of this move could be influenced by the size, shape, or quality of construction of your magazines or your magazine release tab. As cool as it might look, executing a smooth and efficient reload to get back on target quickly will always be cooler.
Above: The now-famous method of using your full mag to eject your empty one came from Soviet troops in cold weather wearing arctic mittens.
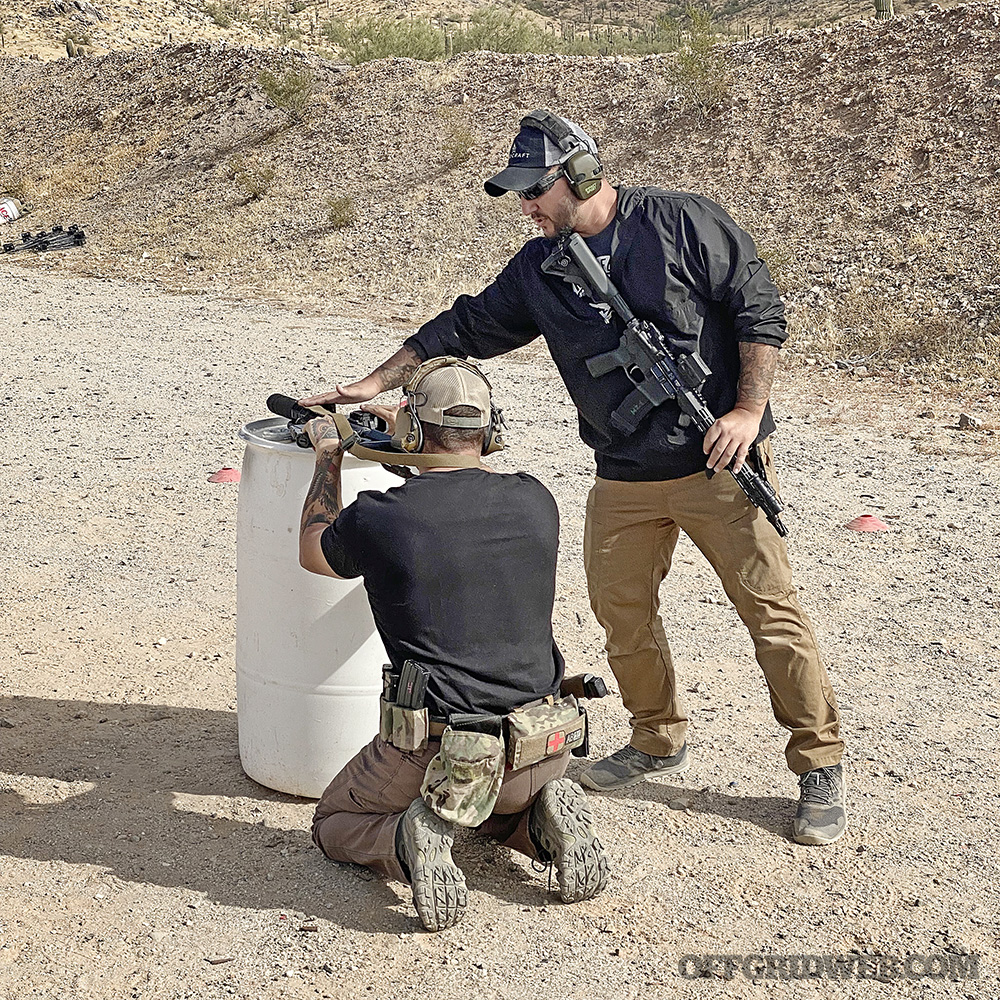
AK Malfunctions
Despite what you may have heard anywhere ever, the Kalashnikov is, in fact, capable of malfunctioning (gasp). But, if built to proper specifications, it’s a pretty rare occurrence.
In addition to the rugged simplicity and relatively loose tolerances of the system itself, the 7.62x39mm’s full-taper case geometry aids in reliability by minimizing the possibility of a stuck case — whether through swelling or debris in the action. Most of the common malfunctions we’ve run across tend to be magazine related. Sometimes the issue is the magazine itself, especially if you’re shooting from the prone position in a dusty environment as we did. Muzzle brakes kick up a lot of dust, and it gets everywhere. Other times, the magazine well or magazine locking latch isn’t properly sized. In the latter case, the magazine hangs so loosely inside the well that rounds may not be lined up properly with the chamber. If you lock a magazine into your AK and it wobbles side-to-side a little, that’s usually acceptable. But if it wobbles front-to-back, keep a close eye out for feeding issues. In terms of remedial action for malfunctions, the process — like all things AK — is simple. As opposed to AR malfunction procedures, which tend to be taught in a “if this, do that” format, there is exactly one malfunction procedure for the AK platform:
- Run the charging handle
- Press the trigger
If that doesn’t fix it …
- Remove magazine
- Run charging handle
- Reinsert magazine
- Run charging handle
- Press trigger
The process is even further simplified by Haley Strategic instructor Jared Segraves, who reminded us that, when all else fails: “Just unload the gun, then reload the gun.”
With approximately 20 students over three days running 1,000 rounds each, we didn’t see any malfunction that wasn’t remedied by this procedure.
Above: Travis Haley demonstrates AK malfunction clearance.
Lessons Learned
After three days and 1,000 rounds through my test rifle, I also came away with some lessons about how my specific rifle was configured and made some changes to integrate said lessons.
The biggest issue I had was with the handguard. The Sureshot Armament system worked great, but the version I ran was their shorter “4-slot” Mk1 handguard which is designed to work with a standard AK handguard retainer. The handguard itself held up fine, even through back-to-back runs of rapid-fire drills. But the handguard retainer heated up to the point where, even with gloves on, it became too hot to keep a hand on that portion of the front end. Fortunately, the solution was fairly easy. The Sureshot Mk1 is also available in a longer “5-slot” model that provides another row of usable M-LOK slots at the so-called cost of cutting off the handguard retainer. A Dremel tool and cutting wheel made quick work of the retainer, and swapping the four-slot for a five-slot lower handguard was a matter of a couple screws and locking tabs.
Switching to the slightly longer Sureshot USA Mk1 handguard (pictured below) gave us more usable rail space and allowed us to ditch the handguard retainer, which acted as a heat sink.
The only other “issue” we ran into was with the CRH stock. Again, we want to clarify that it functioned fine. There was no rattle or flexing in the stock during our range time. But the high volume of fire made the all-metal stock with machined-in tread pattern on the butt pad somewhat uncomfortable to shoot, even with the light-recoiling 5.45mm round. This is, of course, a matter of personal preference. We’d still recommend the CRH Fixed Triangle for anyone who’s interested in it, but be mindful that it won’t baby your shoulder if you run your AK hard and do so often.
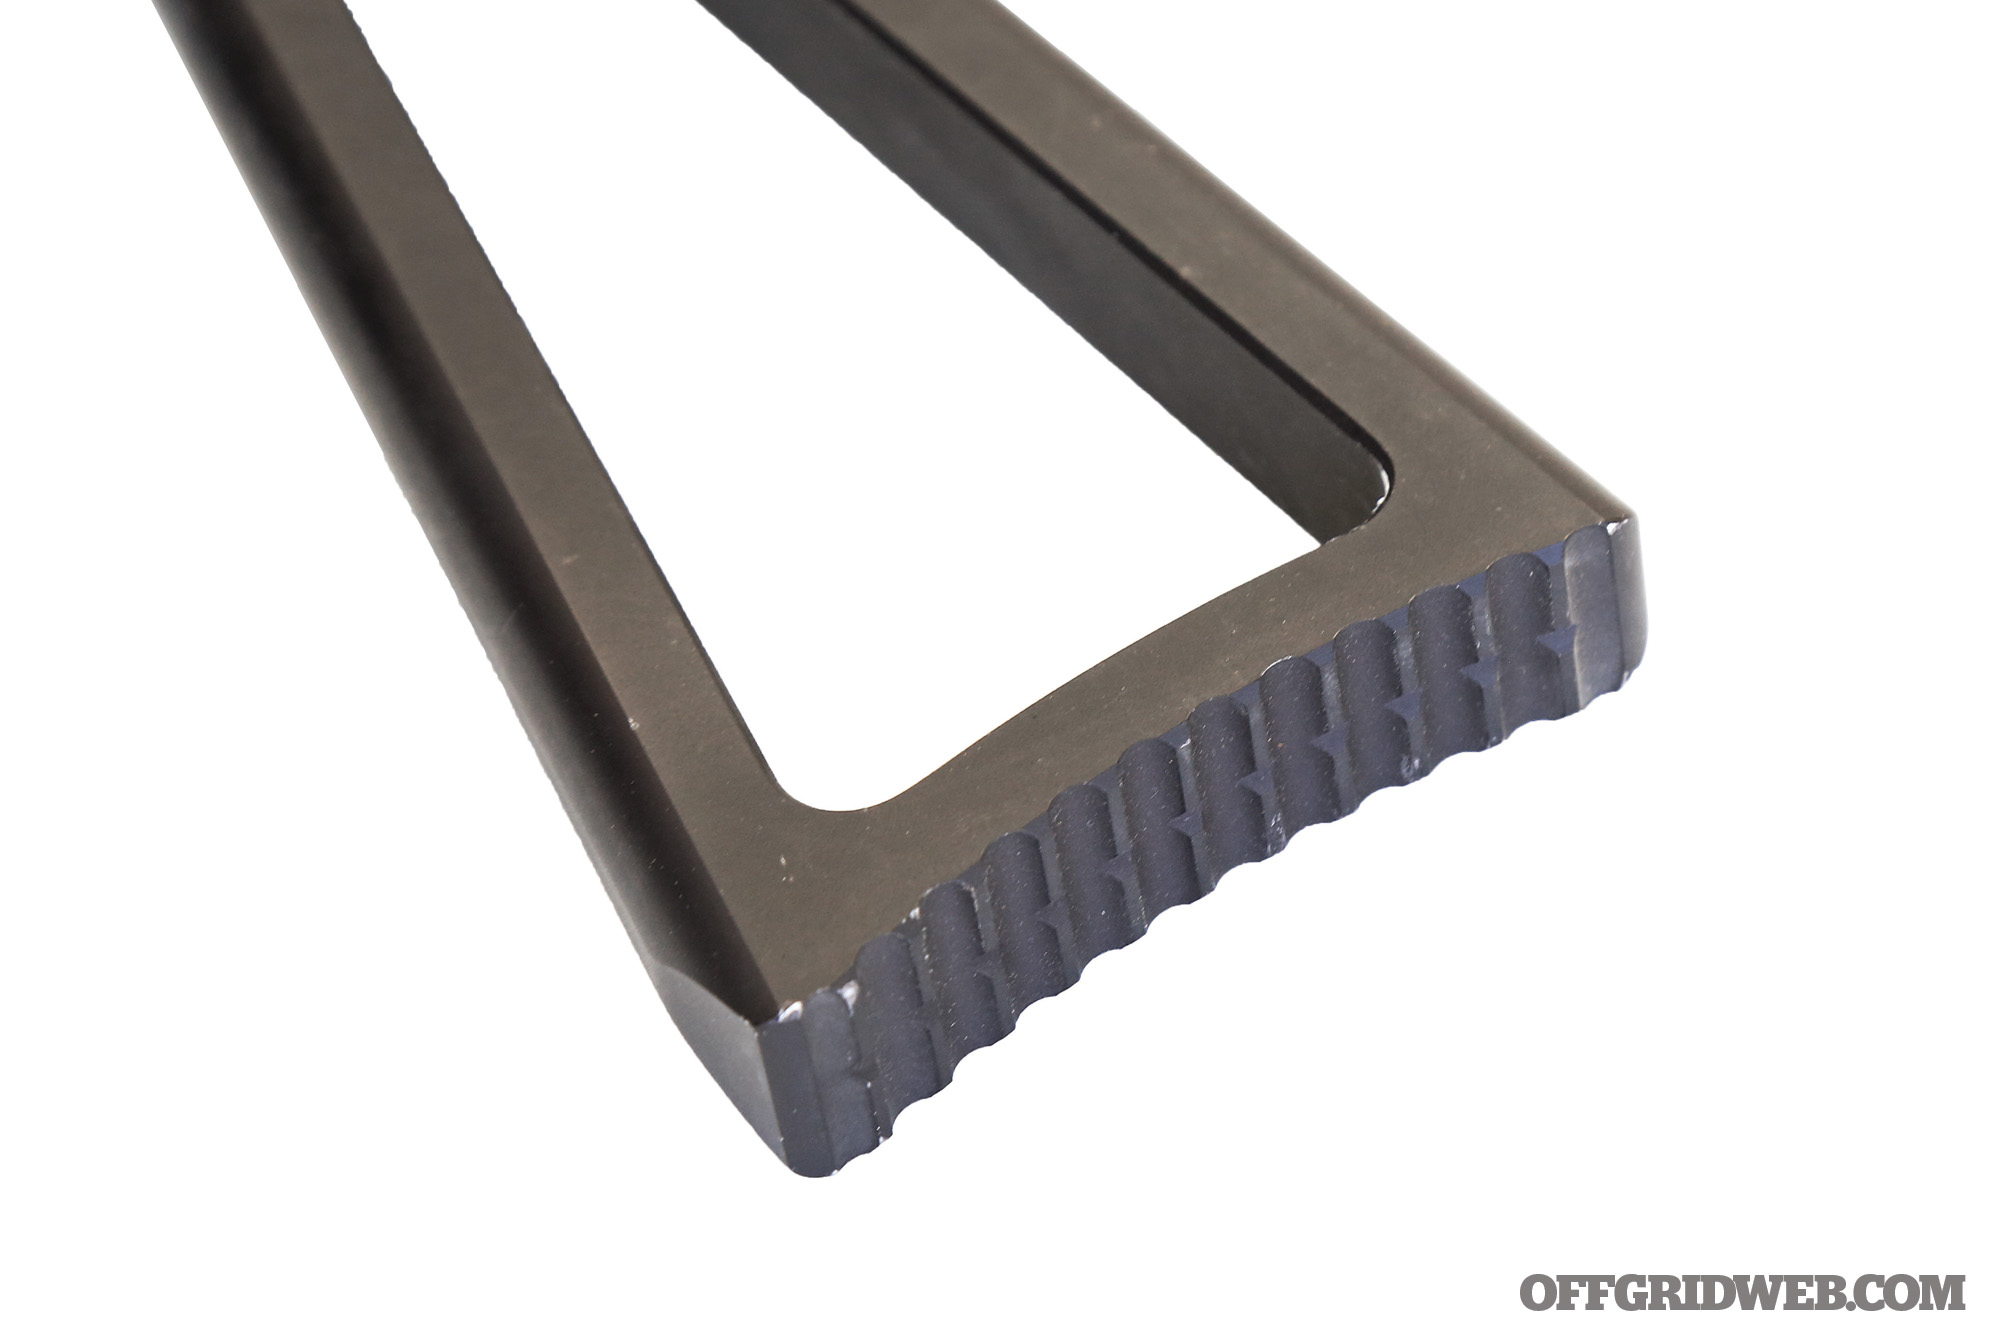
Above: The CRH stock features a deep-cut tread pattern.
For those interested in more adjustability or flexibility on the back end, we also experimented with a VLTOR RE-5 tube extension, capped with a BCM Gunfighter butt stock. While not as svelte as the CRH, the thick recoil pad on the end of the BCM stock was a little comfier to shoulder during extended range sessions. This combo adds some length and bulk to the end of the gun compared to the CRH option, but individual needs and preference will help you make your stock selection.

Above: An AR-style stock adapter offers extra adjustment if preferred.
Finally, we removed the extended charging handles on our ambi Lightning Bolt. While the knurled, screw-on sleeves did give us some extra purchase during fast reloads, we found that our slow-fire groups were significantly larger than we thought they should be — about 4 to 5 inches across at 50 yards. Even for an AK, that’s a problem. Especially when our “groups” were essentially lateral strings with no vertical dispersion. Fortunately, Jim Fuller happened to be on the range and ran down some basic diagnostics with us. The end result was realizing that our particular 74 has some pretty loose tolerance between the bolt carrier and receiver rails. So, the extra weight of the oversized charging handle knobs was creating a significant amount of left-right play in the BCG as it cycled. As soon as we removed these, our groups shrunk to a much more respectable 1.5 to 2 inches across at 50 yards.
Above: Strike Industries’ rear sight rail allows a more head-up shooting stance.
Everything else withstood the crucible of Haley’s D5 Kalashnikov course, and the rifle remains otherwise unchanged aside from these two plug-and-play parts swaps. Not only was I extremely satisfied with this rifle build, but I also came away from the Haley Strategic class with a deeper, more nuanced understanding of the peculiarities of running an AK-style rifle as a primary duty weapon. Whether you intend to run an AK as your primary survival rifle or just want to learn how to handle the rifle most common to America’s enemies, we highly suggest investing in some specific training, and the Haley D5 AK course is one of the best options we know of out there. The Kalashnikov platform is rugged, reliable, easy to operate, and commonly found all around the world. If you don’t have one in your armory, consider getting one and learning how to operate it properly. As always, forewarned is forearmed.
Sources