There are few situations as despair-inducing as those that leave you removed from other people and unable to help yourself. Bad weather or a blown tire sends you careening off the road, your boat motor craps out and you’re adrift without power, or you’re lost or injured in the wilderness and in need of help — these are all very realistic scenarios that occur every day. The easy, go-to distress signal method is your cell phone, and that works great right up until the moment that it doesn’t. Assuming your phone isn’t broken and the battery has some life, signal strength can be sketchy, particularly in the wilderness or offshore. If you subscribe to movie clichés, don’t forget that technology always fails at the most critical moment. It can be an incredible tool, but overreliance on technology can be fatal.
Whether you’re preparing for an excursion in the great outdoors or conducting your due diligence by stocking your boat or automobile with a small cache of safety equipment, having the ability to signal when you’re in a predicament shouldn’t be considered optional. Packing a small first-aid kit is more than most accomplish, but even that’s often the extent of an average person’s contingency planning. Somewhere between doing nothing and investing in a personal locator beacon (PLB), lie some small and lightweight distress signal options that are universally recognized for locating someone in need of help. The term “flare” often conjures an image of what looks like a stick of dynamite with a bright-red flaming end that resembles a firework. While classic flares are still widely used and generally accepted as roadside and maritime signaling/warning devices, there are alternatives that can be just as effective and may be better suited to meet your space and weight requirements as well as your overall expectations.
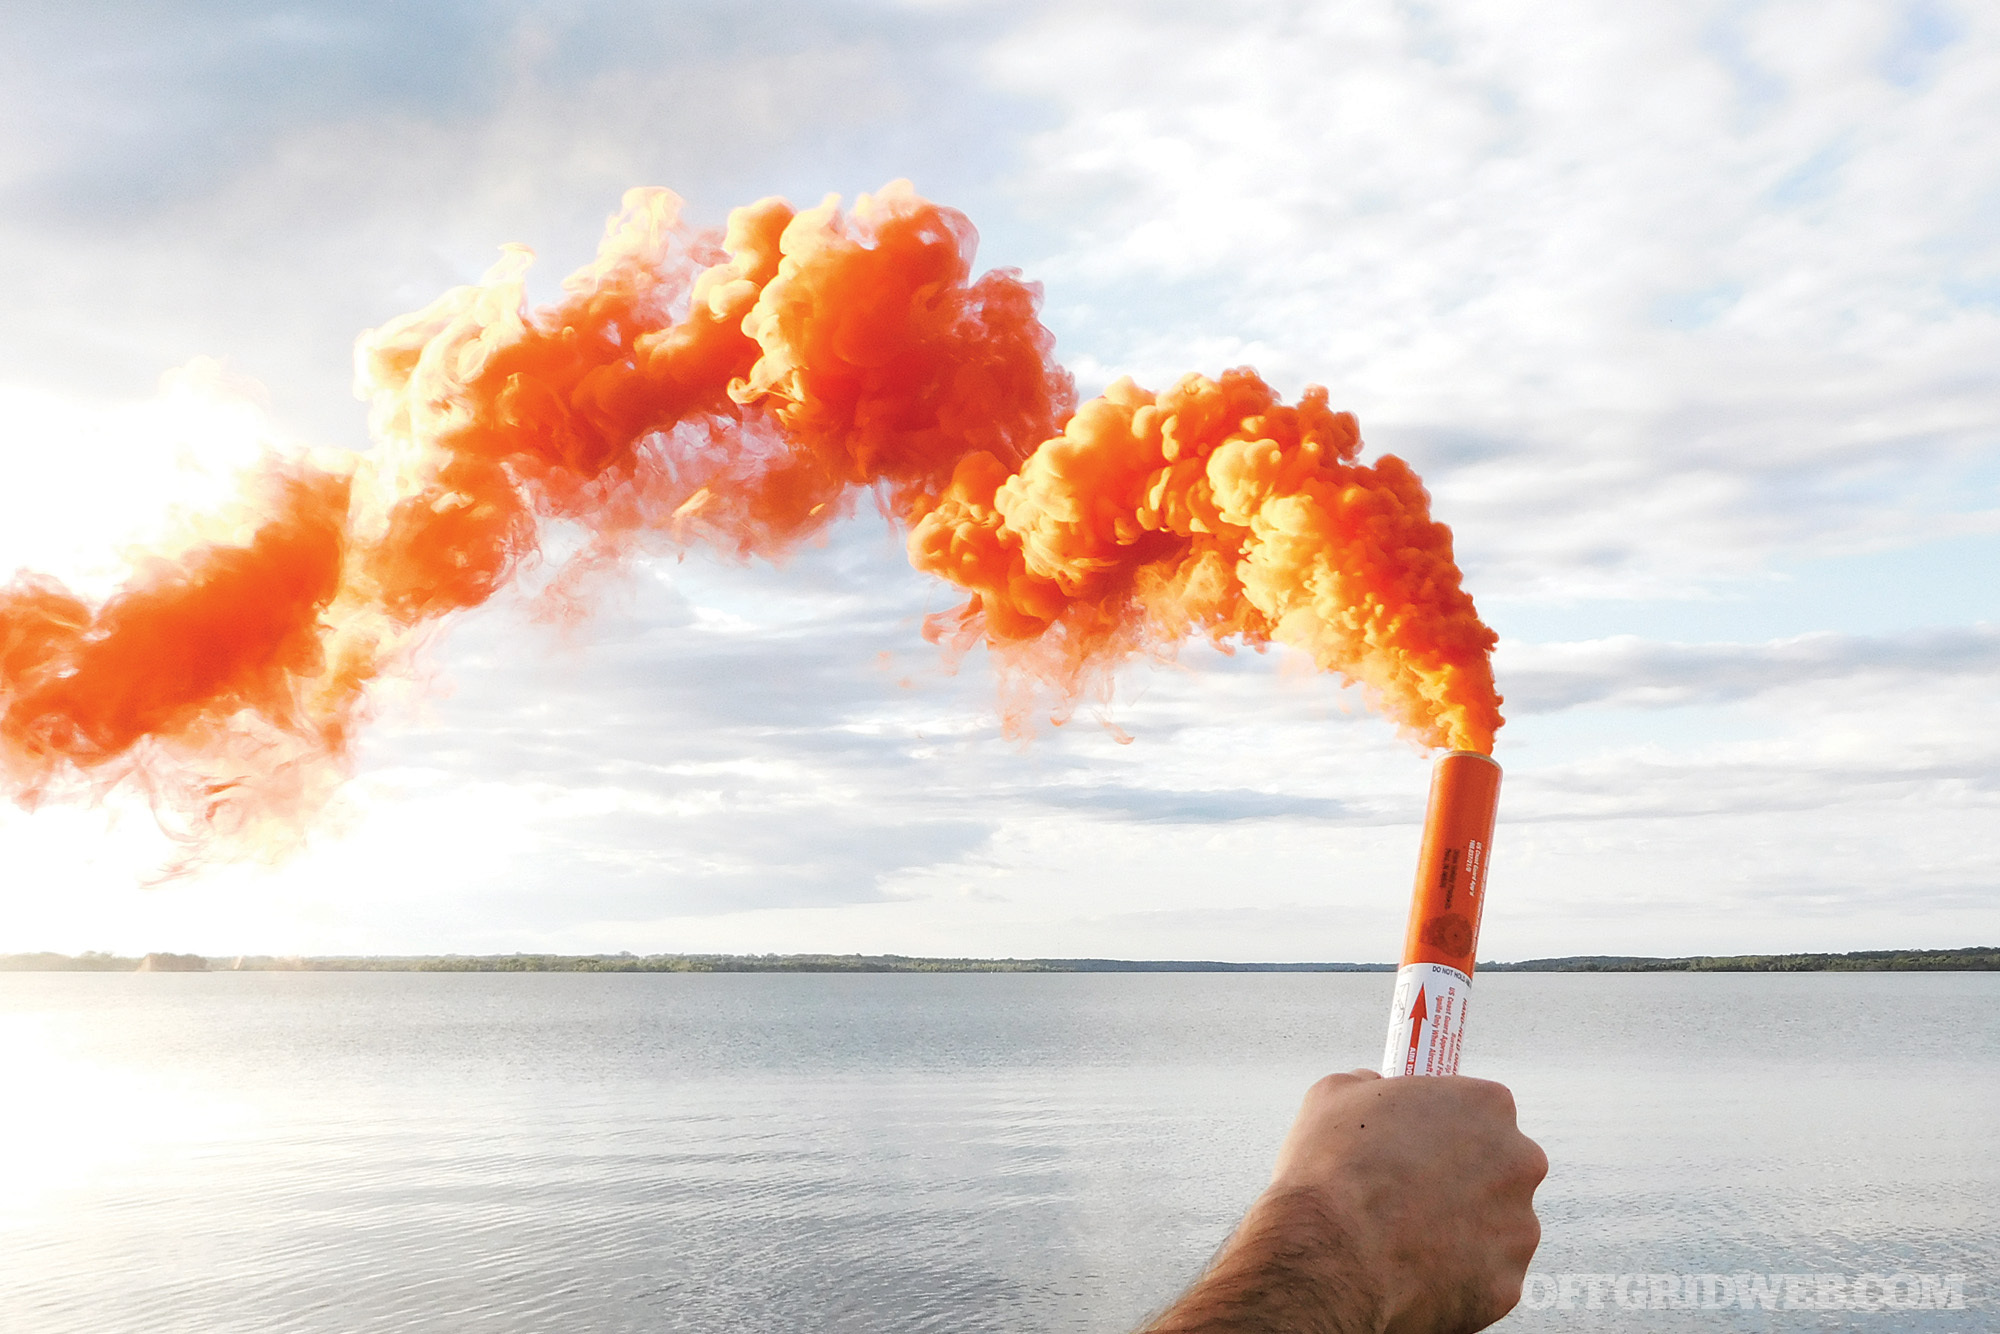
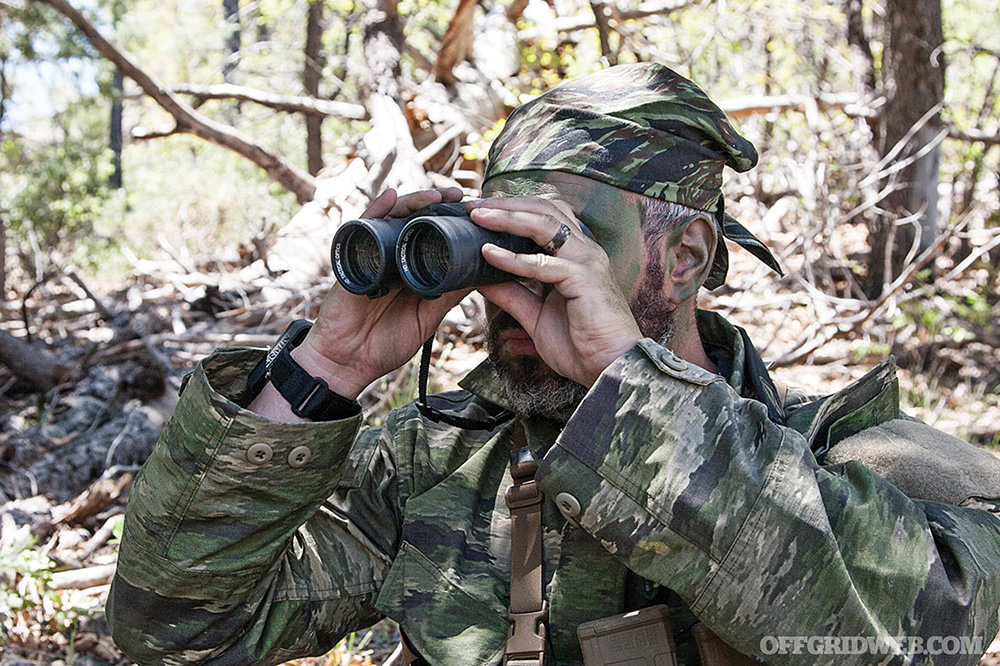
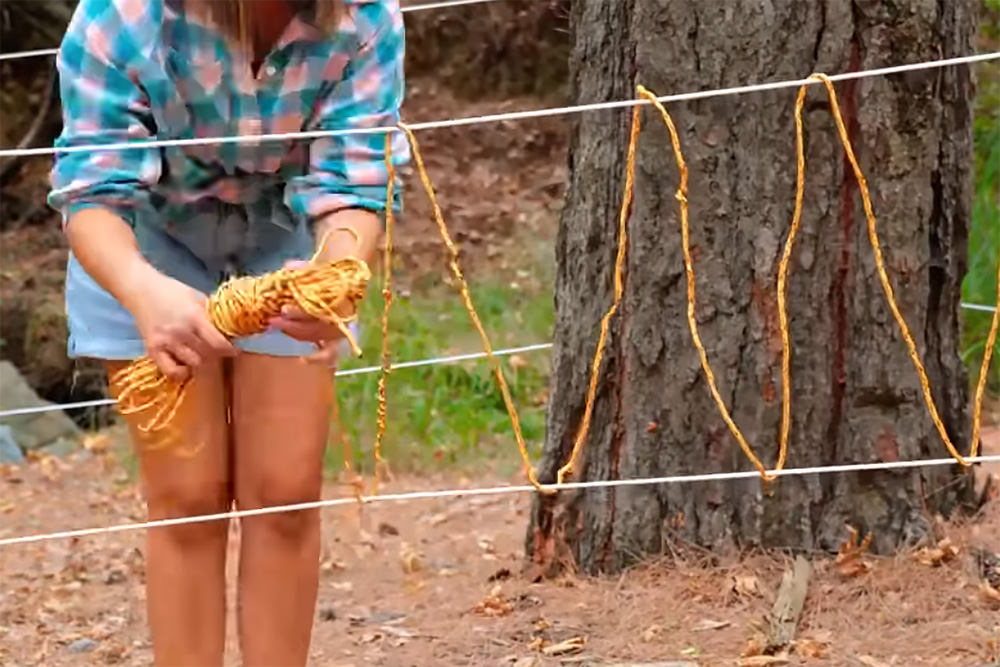
Above: Orange smoke is one of the most effective daytime distress signals, particularly when seen from above.
Purists will tout the capabilities and ease of carry of a good old-fashioned mirror and whistle or the effectiveness of the white smoke from a pine-needle fire. While those are certainly time-tested and situationally effective options, most would prefer a little further reach for their distress signals. There are multiple types of distress signal devices that can be used in a variety of situations. Flares and signaling devices are separated, although not exclusively, into three general categories. Individually they can be placed into one or two of the general categories, but most can be utilized in many different scenarios.
Distress Signal Applications
Roadside: Roadside distress signal devices are used to warn oncoming traffic that you’re stopped or stuck, and they need to reduce speed and check for needed assistance. The devices can also be used to alert passersby that you’ve gone off-road and need aid. Common devices: traditional road flares (also called highway flares or ground flares) and LED flares/strobes.
Marine: The United States Coast Guard (USCG) regulates the quantity, types, and disposal of required signaling devices needed for boats over 16 feet in length. Three day and night signals are required when there’s more than a 2-mile passage to the sea. Pyrotechnic flares are required by USCG to be replaced 42 months after their manufacture date. For smaller vessels, warning devices are recommended, although not required. Common devices: floating beacons, smoke, and aerial flares.
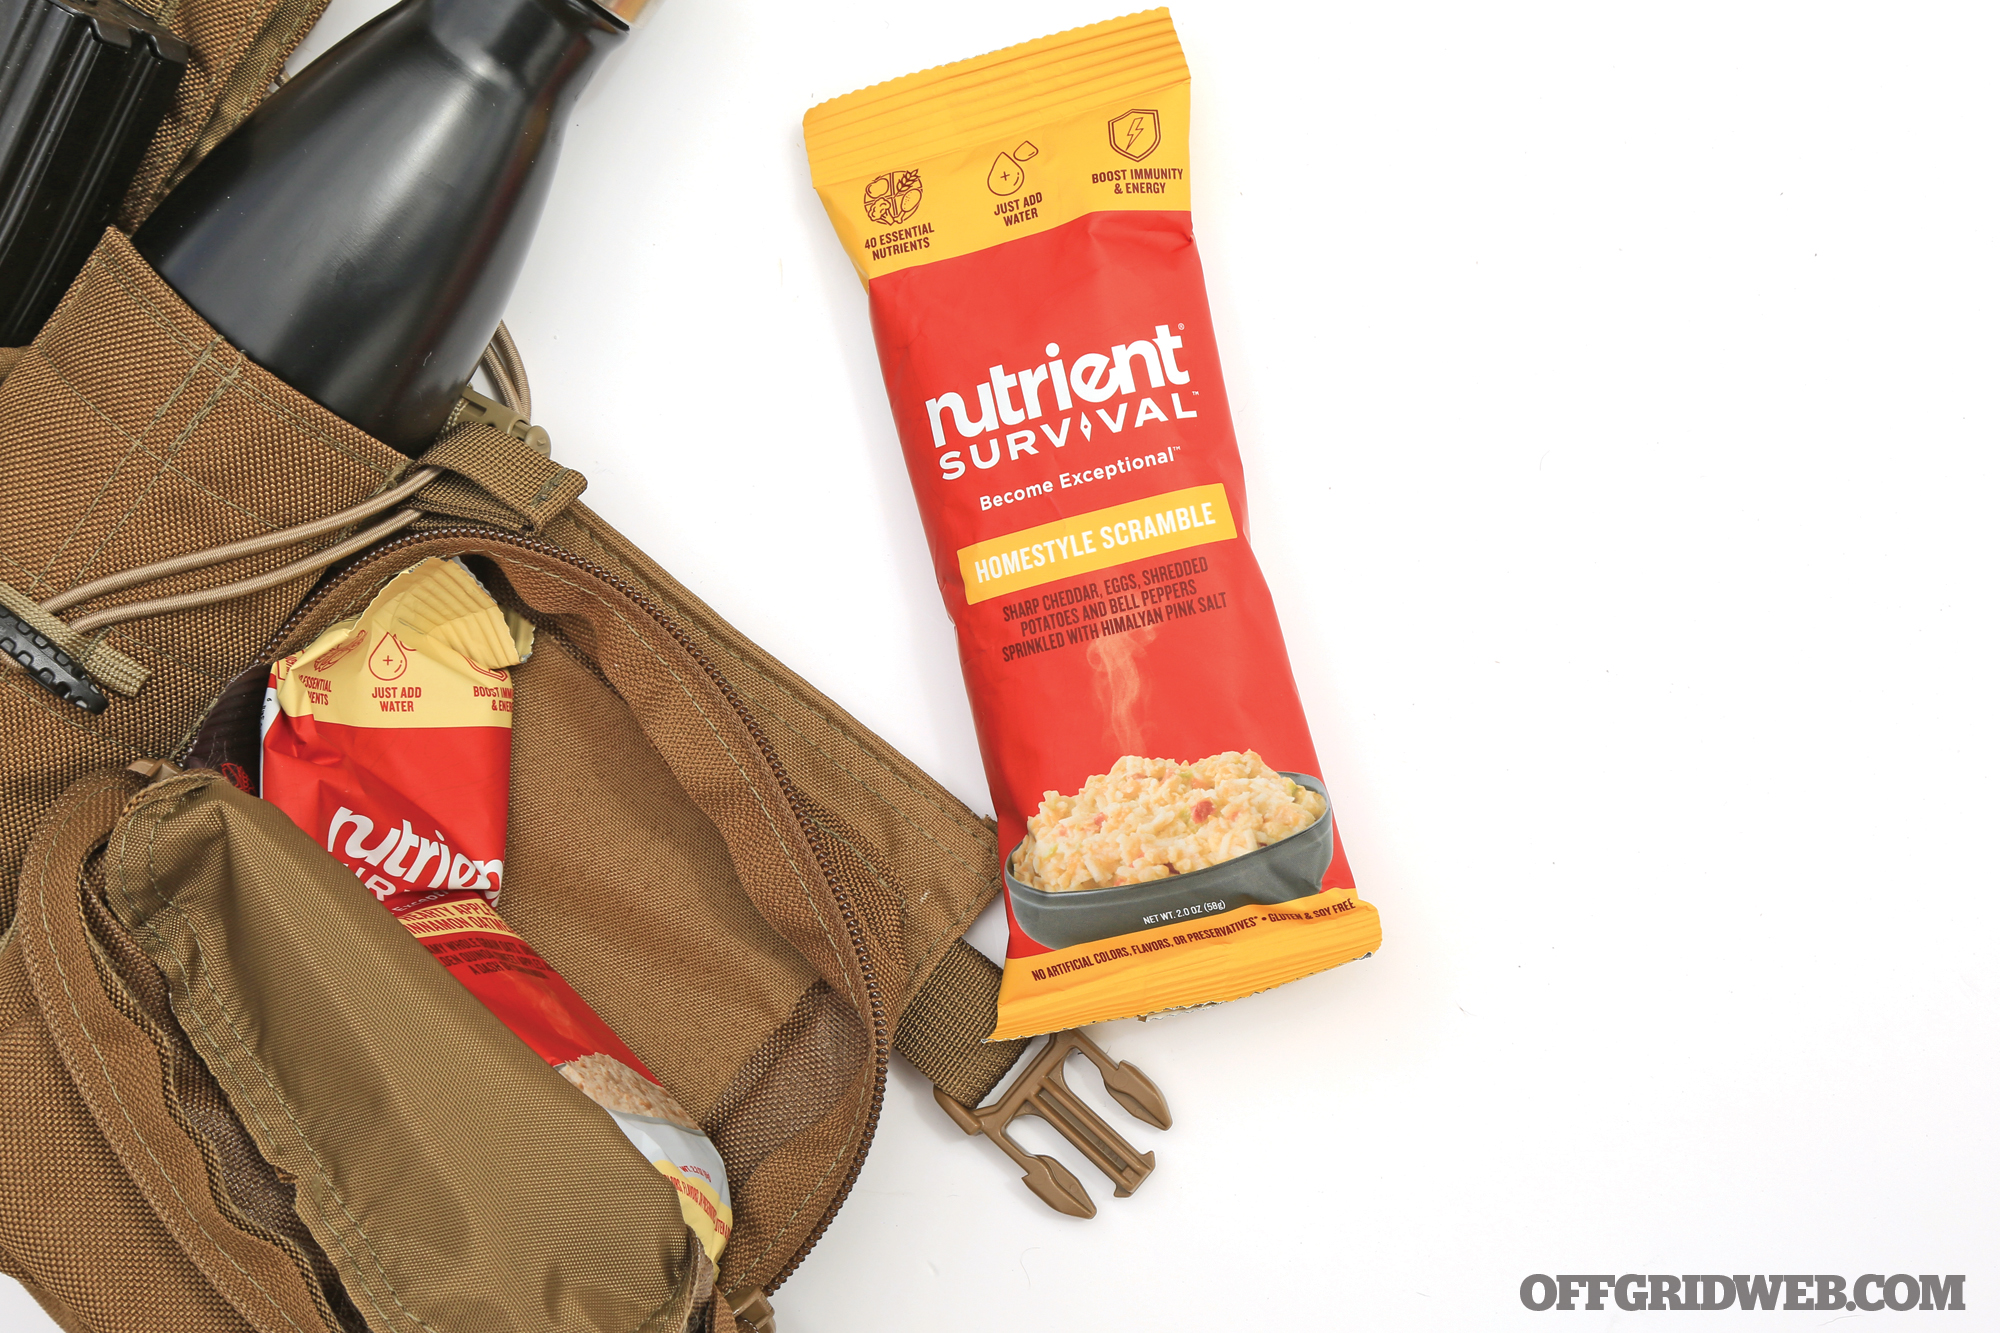
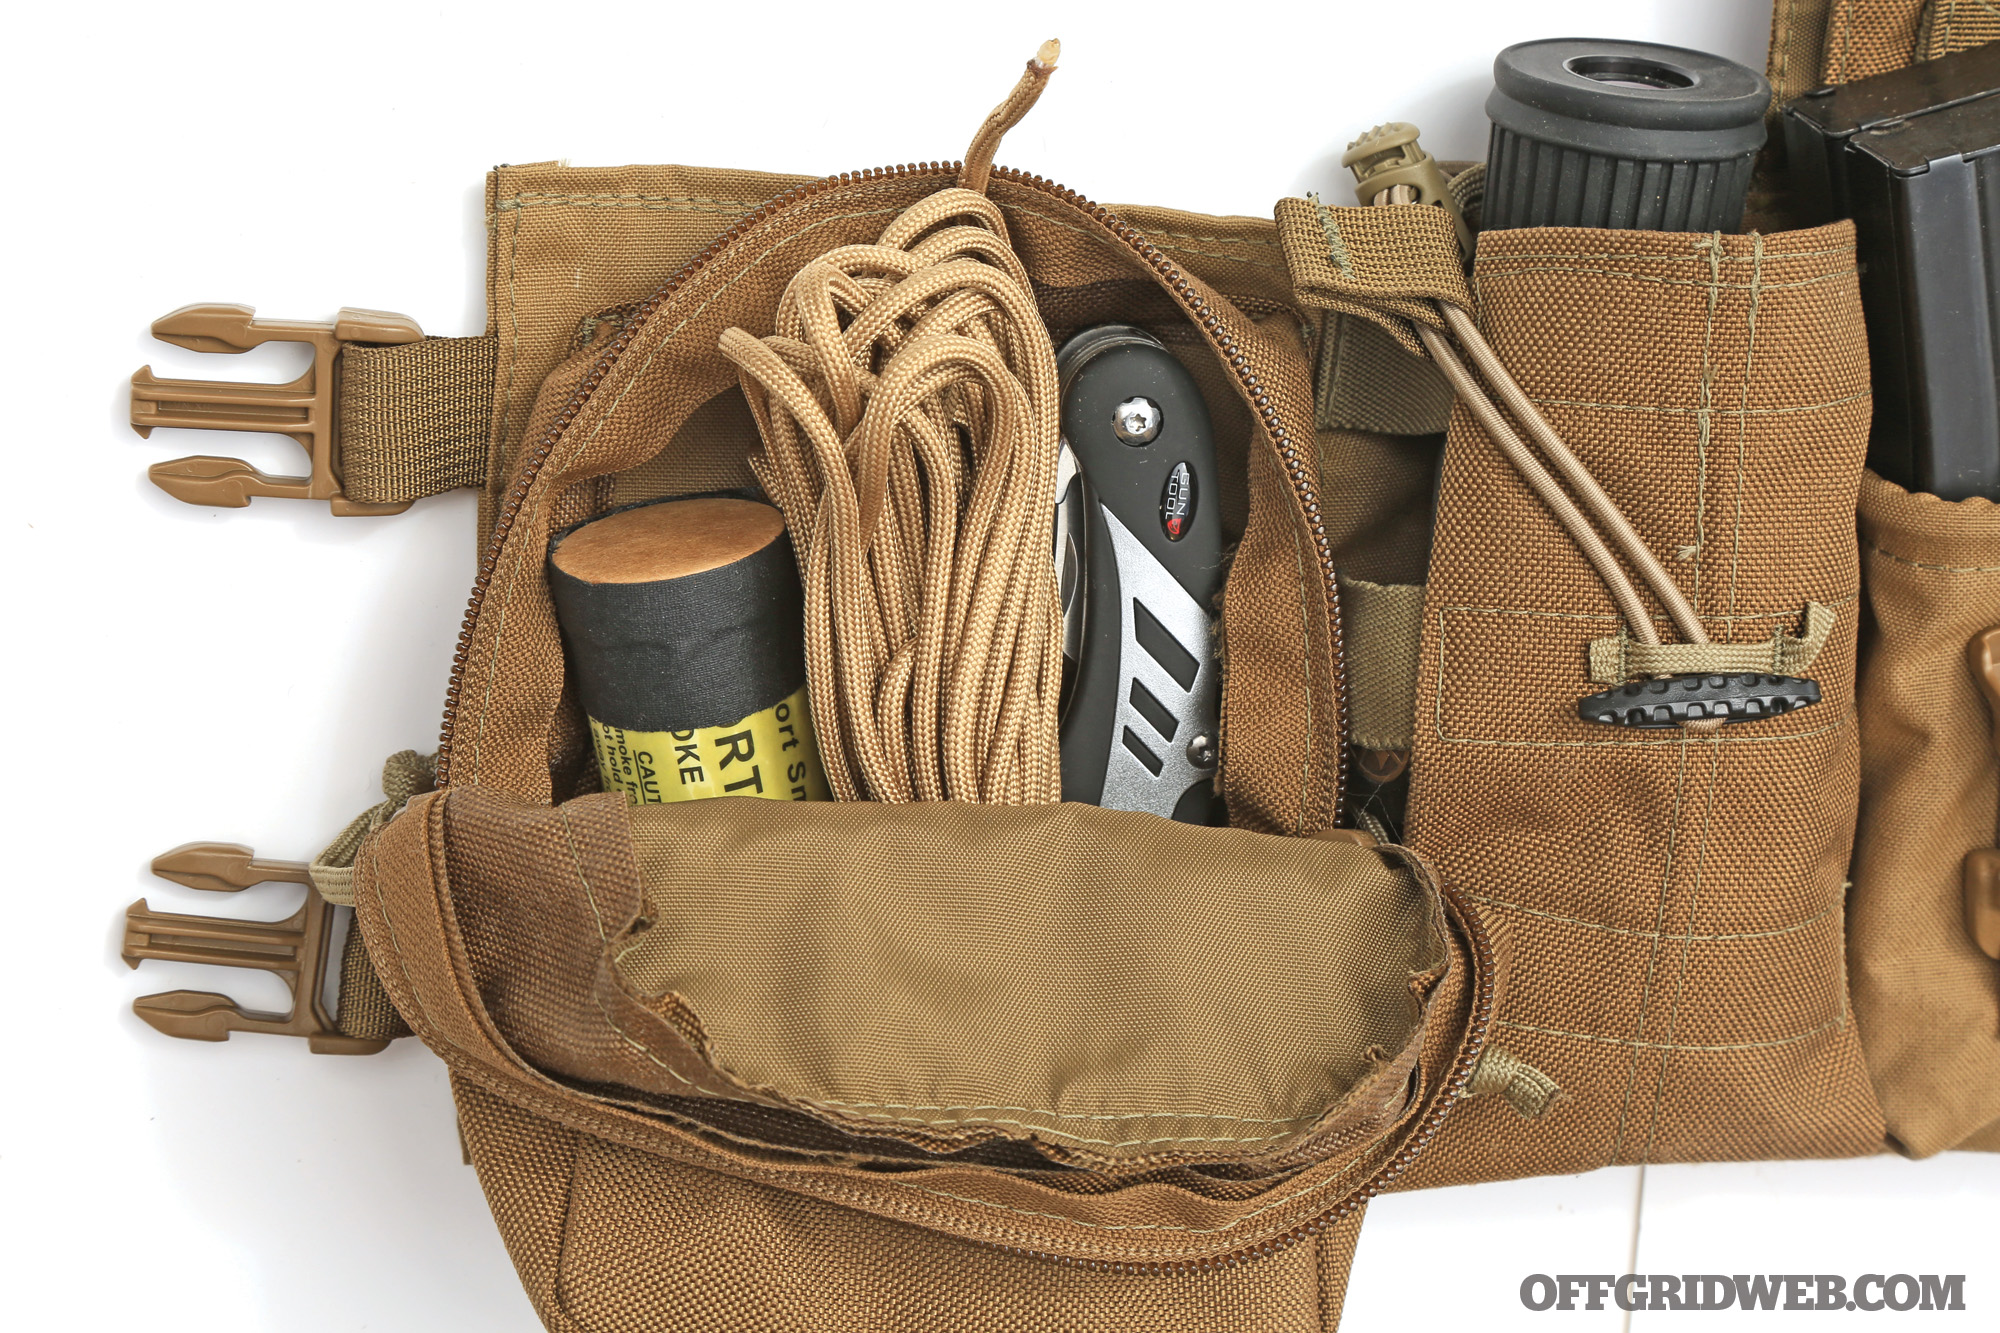
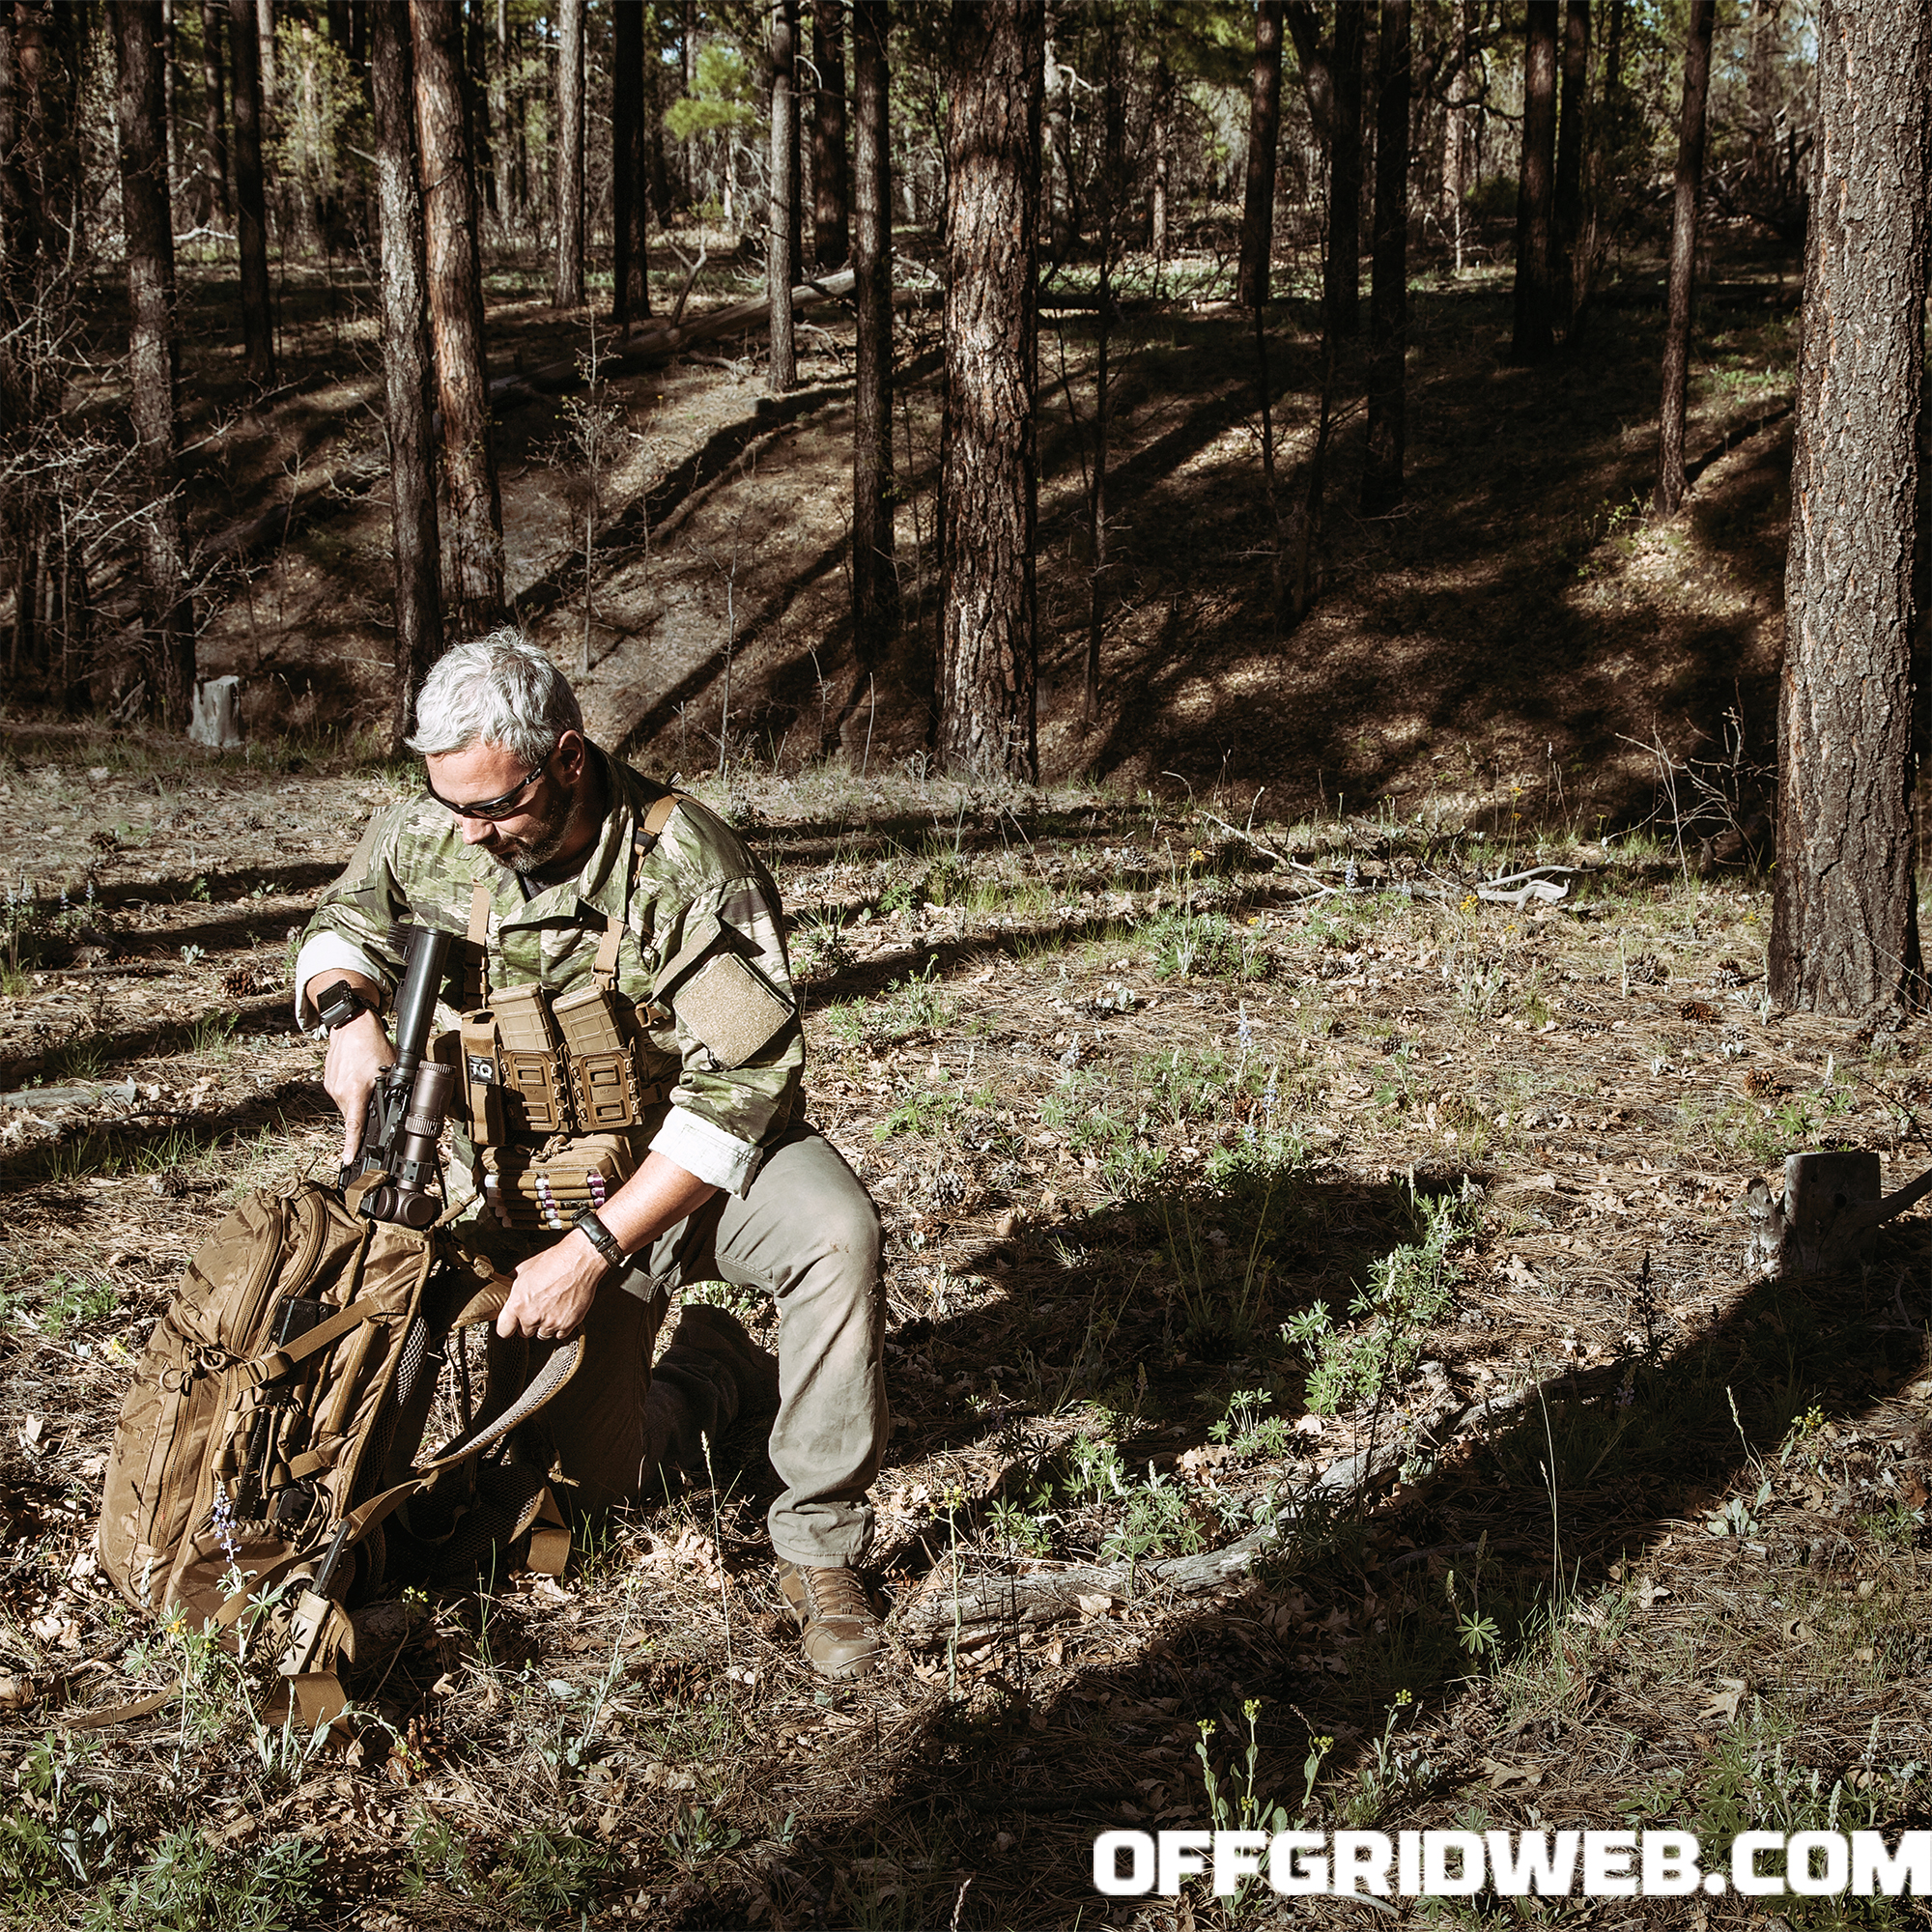
Wilderness: For those who enjoy going off-road and into the wild, whether it’s in the mountains, canyons, waterways, or trails, an emergency signaling device should always be within reach. Ask anyone with a stickered Nalgene bottle, and they can give you an earful of examples, regaling near-misses and lore of wilderness tragedies. Common devices: smoke signals and handheld flares.
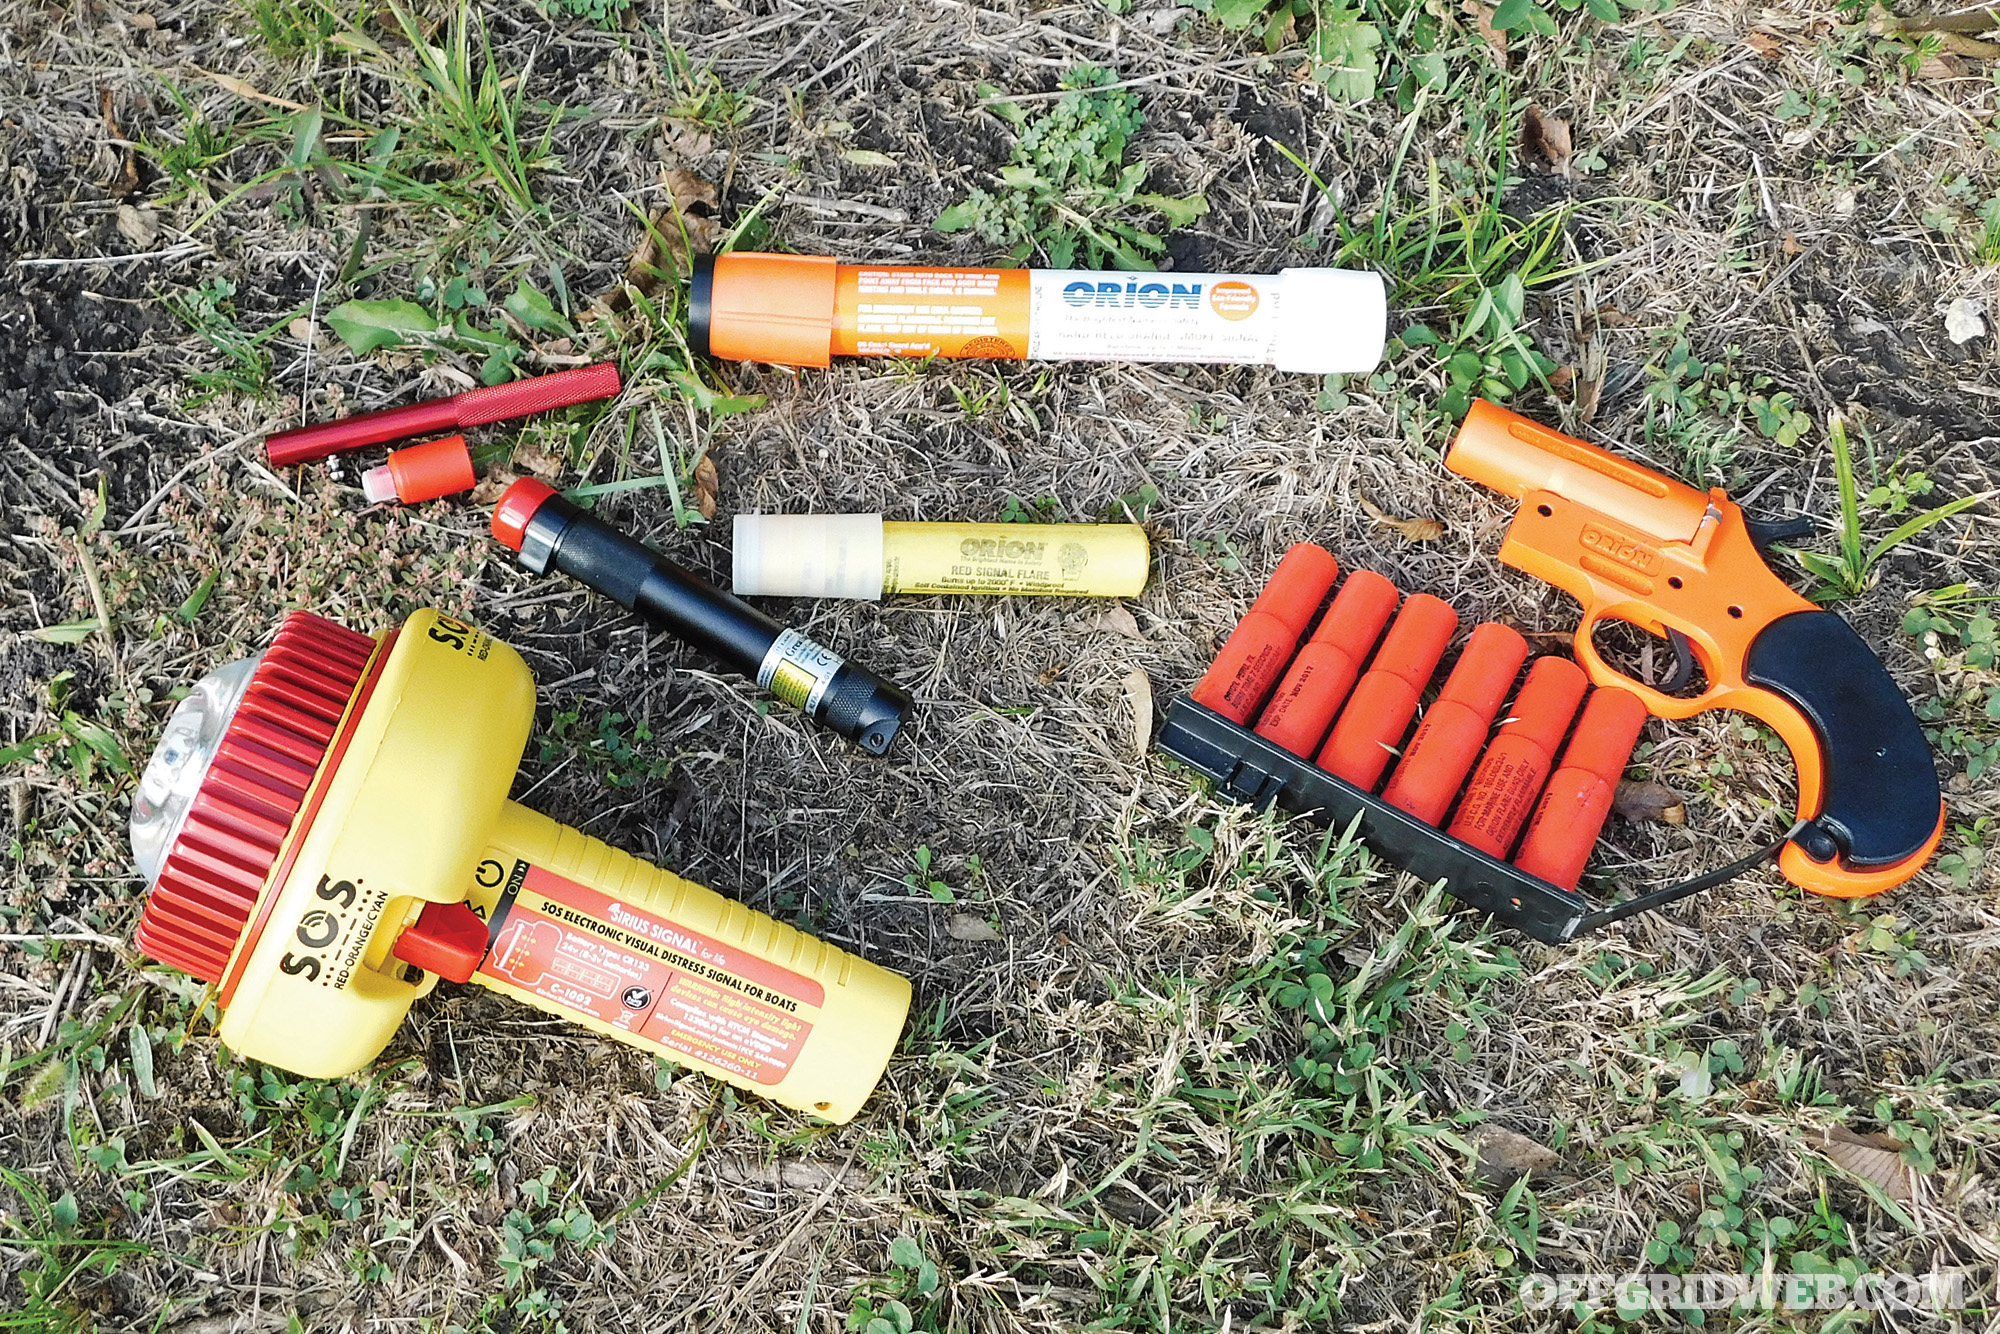
Above: Flares come in a variety of sizes and uses. Packing the right one and knowing how to use it should be an essential part of your planning.
Distress Signal Comparison Test
The potential list of warning devices is vast. This article features six options that were put to the test and provide different and sometimes unique methods for alerting others of your need for assistance. Your particular comfort level, storage requirements, and environment will dictate which style you pursue. The evaluation of these flares wasn’t conducted in a controlled environment using scientific methodology. They were evaluated based on their manufacturer provided and published data and field tests on a mild Midwestern fall day.
The daytime distress signal tests were conducted at approximately 3:30 p.m. on a mostly clear day with little to no wind. The night tests were administered at 7:30 p.m. in the same conditions. Evaluators were placed at a distance of 2 miles and 5 miles with a direct line of sight to where the signals were activated.
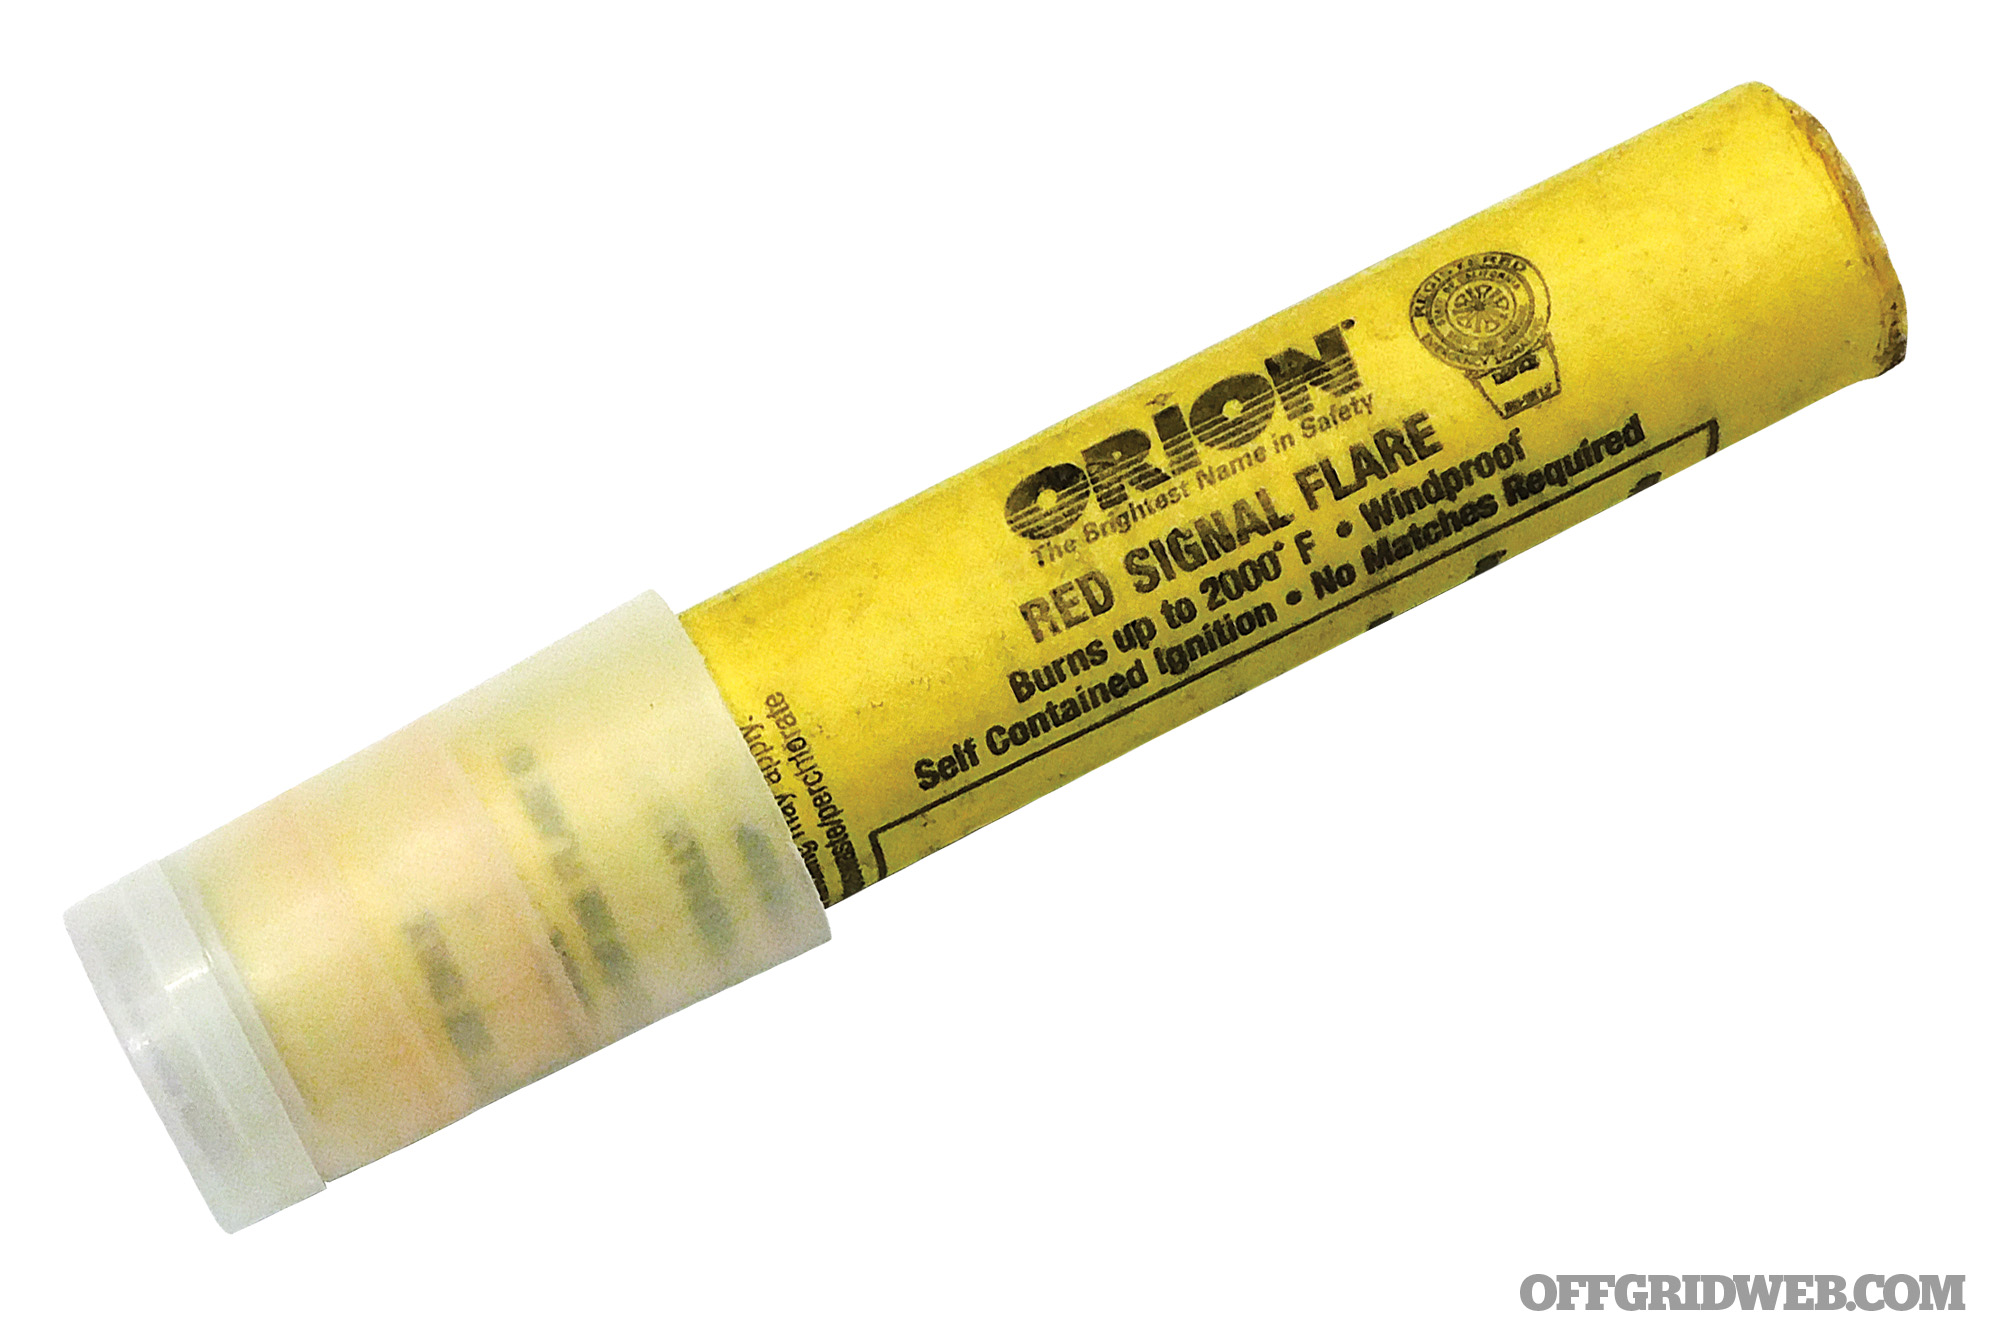
Orion Signal Flare / Fire Starter 2-Pack
Category:
Roadside, Marine, Wilderness
Day/Night:
Both
Effective Range:
1 mile
Duration:
5 minutes
Shelf Life:
No expiration
Cost:
$5 (2 pack)
URL:
orionsignals.com
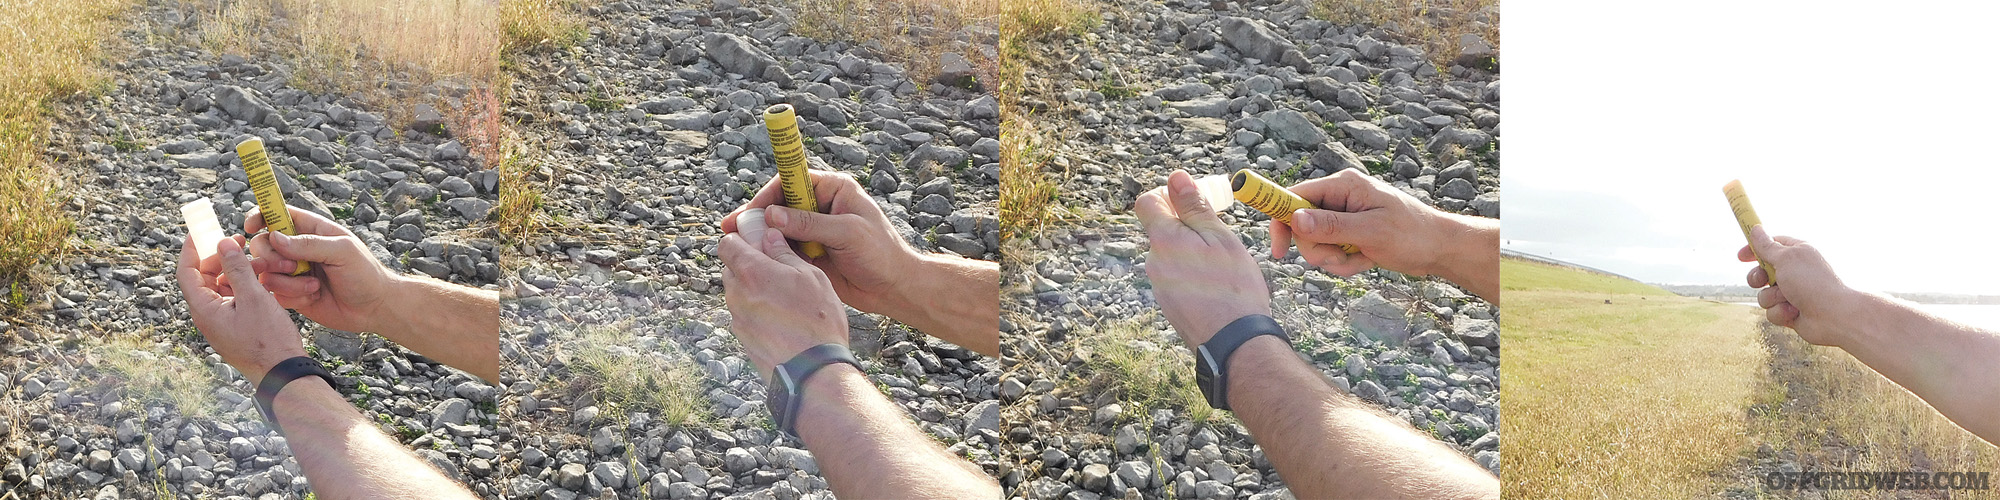
Above: Lighting the flare with the self-contained igniter.
Notes: If there’s one thing that preppers and outdoor enthusiasts love, it’s multi-use items. Orion leveraged their position as the long-standing most recognized name in flares and re-engineered their bread-and-butter road flare to also be employed for an obvious secondary use: a fire-starter. They wrap it up in a small, lightweight, and inexpensive package effectively checking the “multi-use” box as an emergency fire-starter and signaling device.
As you’d expect, this small flare isn’t a heavy hitter, but certainly has its place on the spectrum of alerting devices. Its size and dual application characteristics make it a practical tool for a backpack or bug-out bag. This flare was simple to ignite and sparked easily the first time, even for the evaluator, who had never used one before. The bright, ambient sunlight drowned out the small flame and greatly limited its ability to be seen during the daytime test. The evaluator at the 2-mile post, though, could see it when using binoculars.

At night it stood out far better and could even be seen (barely) at the 2-mile post exceeding the 1-mile range given to it by the manufacturer. It couldn’t be seen at the 5-mile post. The only drawbacks for the Camp Fire Starter / Signal Flare are the limited daytime visibility and the molten drippings that weep from the end of the flare that’s burning at over 2,000 degrees F. The flare itself isn’t too hot to hold with a bare hand, but the drippings will remind you to hold it away from your body and not above anything that might melt or burn.
Recommendation: These little flares are a great addition to your backpack as a small alerting device and/or an effective fire-starter if you have wet or precarious natural fuel.
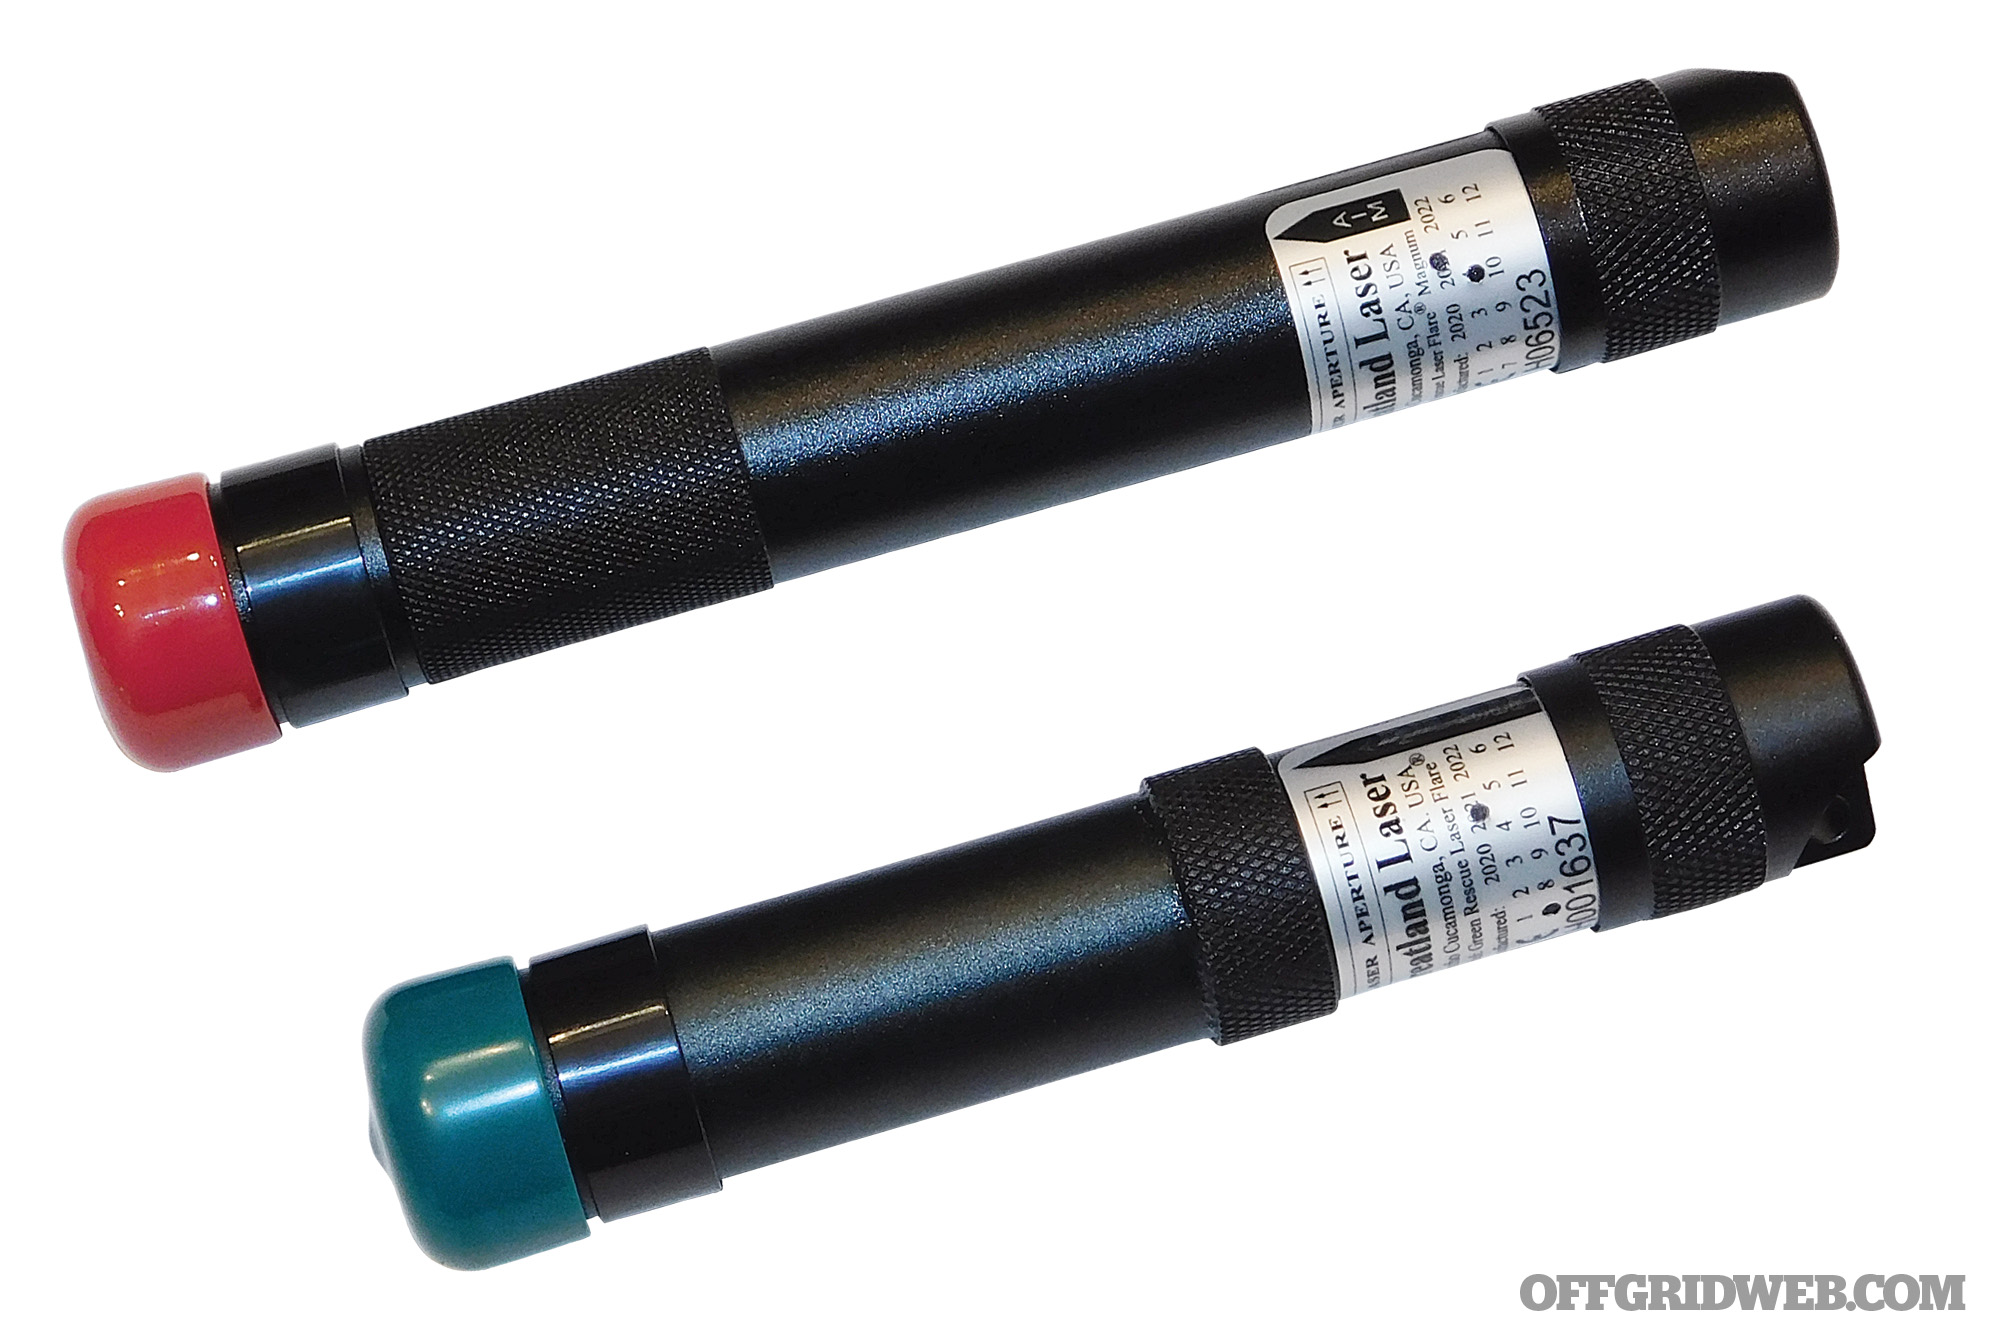
Greatland Laser Green Rescue Laser Flare / Rescue Laser Flare Magnum
Category:
Roadside, Marine, Wilderness
Day/Night:
Both
Effective Range:
Night: 30 miles, day: 1-5 miles (green) / night: 20 miles, day: 1-3 miles (red)
Duration:
Battery life is 5 hours continuous use
Shelf Life:
No expiration
Cost:
$125 (red laser) / $225 (green laser)
URL:
greatlandlaser.com
Notes: Nearly all signaling devices are a pyrotechnic of some sort that present some obvious risks, most notably the heat they create and the inherent potential for flame-related destruction. The fix? Remove the fire from the distress signal. Greatland Laser has created a trio of “laser flares” that pack quite a punch in a small package and range in price from $100 to $225.
We evaluated the Rescue Laser Flare Magnum (red) and the Green Rescue Laser Flare. These types of signaling devices are unique in that they’re not traditionally recognized as a call for help. Most often they are viewed as antics by someone just trying to get a reaction. That perception and the requirement for a direct line of sight are certainly limiting factors, but these tools have benefits that tip the scale.
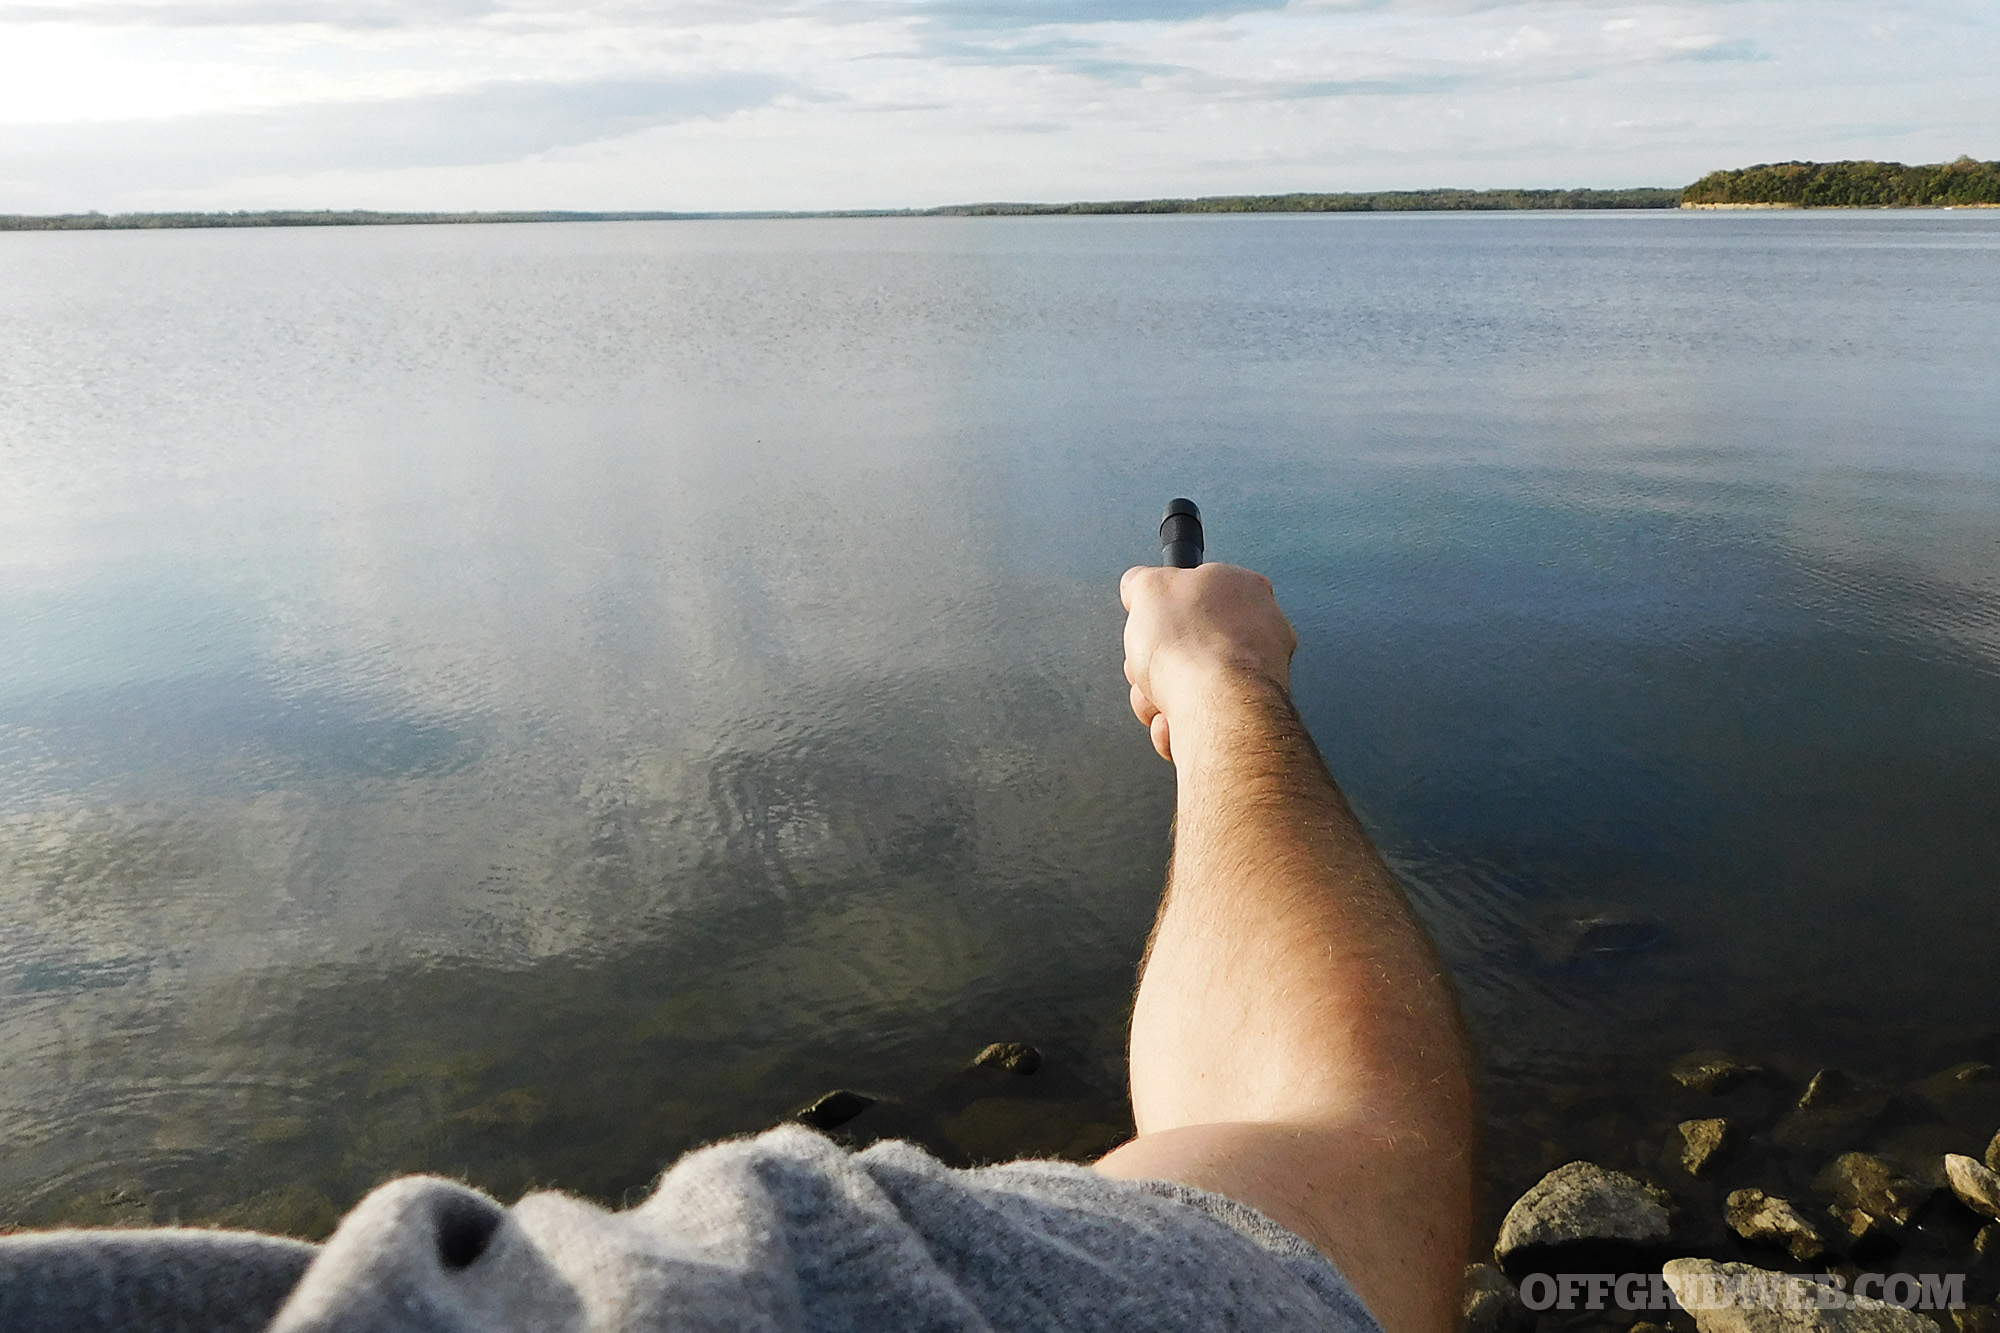
The advantages of the laser flares are that they’re compact, lightweight, and won’t fail in the rain, create secondary damage, or start a fire. A key advantage may lie when used in conjunction with another signaling device. Pyrotechnic flares are limited in their duration, therefore activating one to garner attention and then utilizing the laser to help concerned parties zero in on your location may be the perfect one-two punch to be rescued. Additionally, their prime benefit is getting the attention of aircraft. Although it’s illegal to point lasers at aircraft, federal law makes an exception when it’s used as a distress signal. The Green Rescue Laser Flare is slightly smaller and lighter than the red lasers and carries a bigger price tag but was noticed much easier at the 2- and 5-mile posts. The evaluators did note they didn’t see the lasers during the day unless they were specifically looking for them, and at night, they may not perceive the laser as a call for help. So, the person in peril may need to focus on their target and annoy them into calling law enforcement.
Recommendation: If reliability is at the top of your priority list for equipment, you can’t beat a Greatland Laser. It may be most effective when used in conjunction with another, more prominent notification device.
Orion Alerter Basic 4 Flare Gun

Category:
Marine, Wilderness
Day/Night:
Night
Effective Range:
27 miles (factoring in curvature of the earth)
Duration:
7 seconds at up to 500 feet high
Shelf Life:
No expiration (42-month Coast Guard mandate)
Cost:
$60
URL:
orionsignals.com
Notes: In another offering from the Orion family, the Alerter Basic 4 is a classic aerial signaling device. There’s a familiarity and comfort in the pistol-shaped 12-gauge launcher. From it, a red rocket fires and illuminates the sky. It can be seen for miles. Because the projectile is airborne and burns out before it hits the ground, it’s considered safer than some other pyrotechnic devices when used correctly. Usually found on watercraft, the Alerter Basic 4 has frequently been used by hikers as well, proving its versatility.
During the assessment, when the red fireball shot from the pistol, there was no question from evaluators at the 2- and 5-mile posts that a distress signal had been activated. Unless you happen to be in distress in the middle of a fireworks show, this signal is universally acknowledged as an alert to anyone in the area that someone is in need of help. The evaluator who fired the Alerter Basic 4 had never done so before, and with zero instruction, was able to load and fire the flare. He noted there was no kick and no heat, but recommended hearing protection because of the loud, gun-like bang.
Recommendation: This flare would be a great addition to any watercraft, as it’s USCG approved and could be included in backcountry vehicle kits for contingency planning.
Sirius C-1002 Two Color Distress Light Flag & Whistle
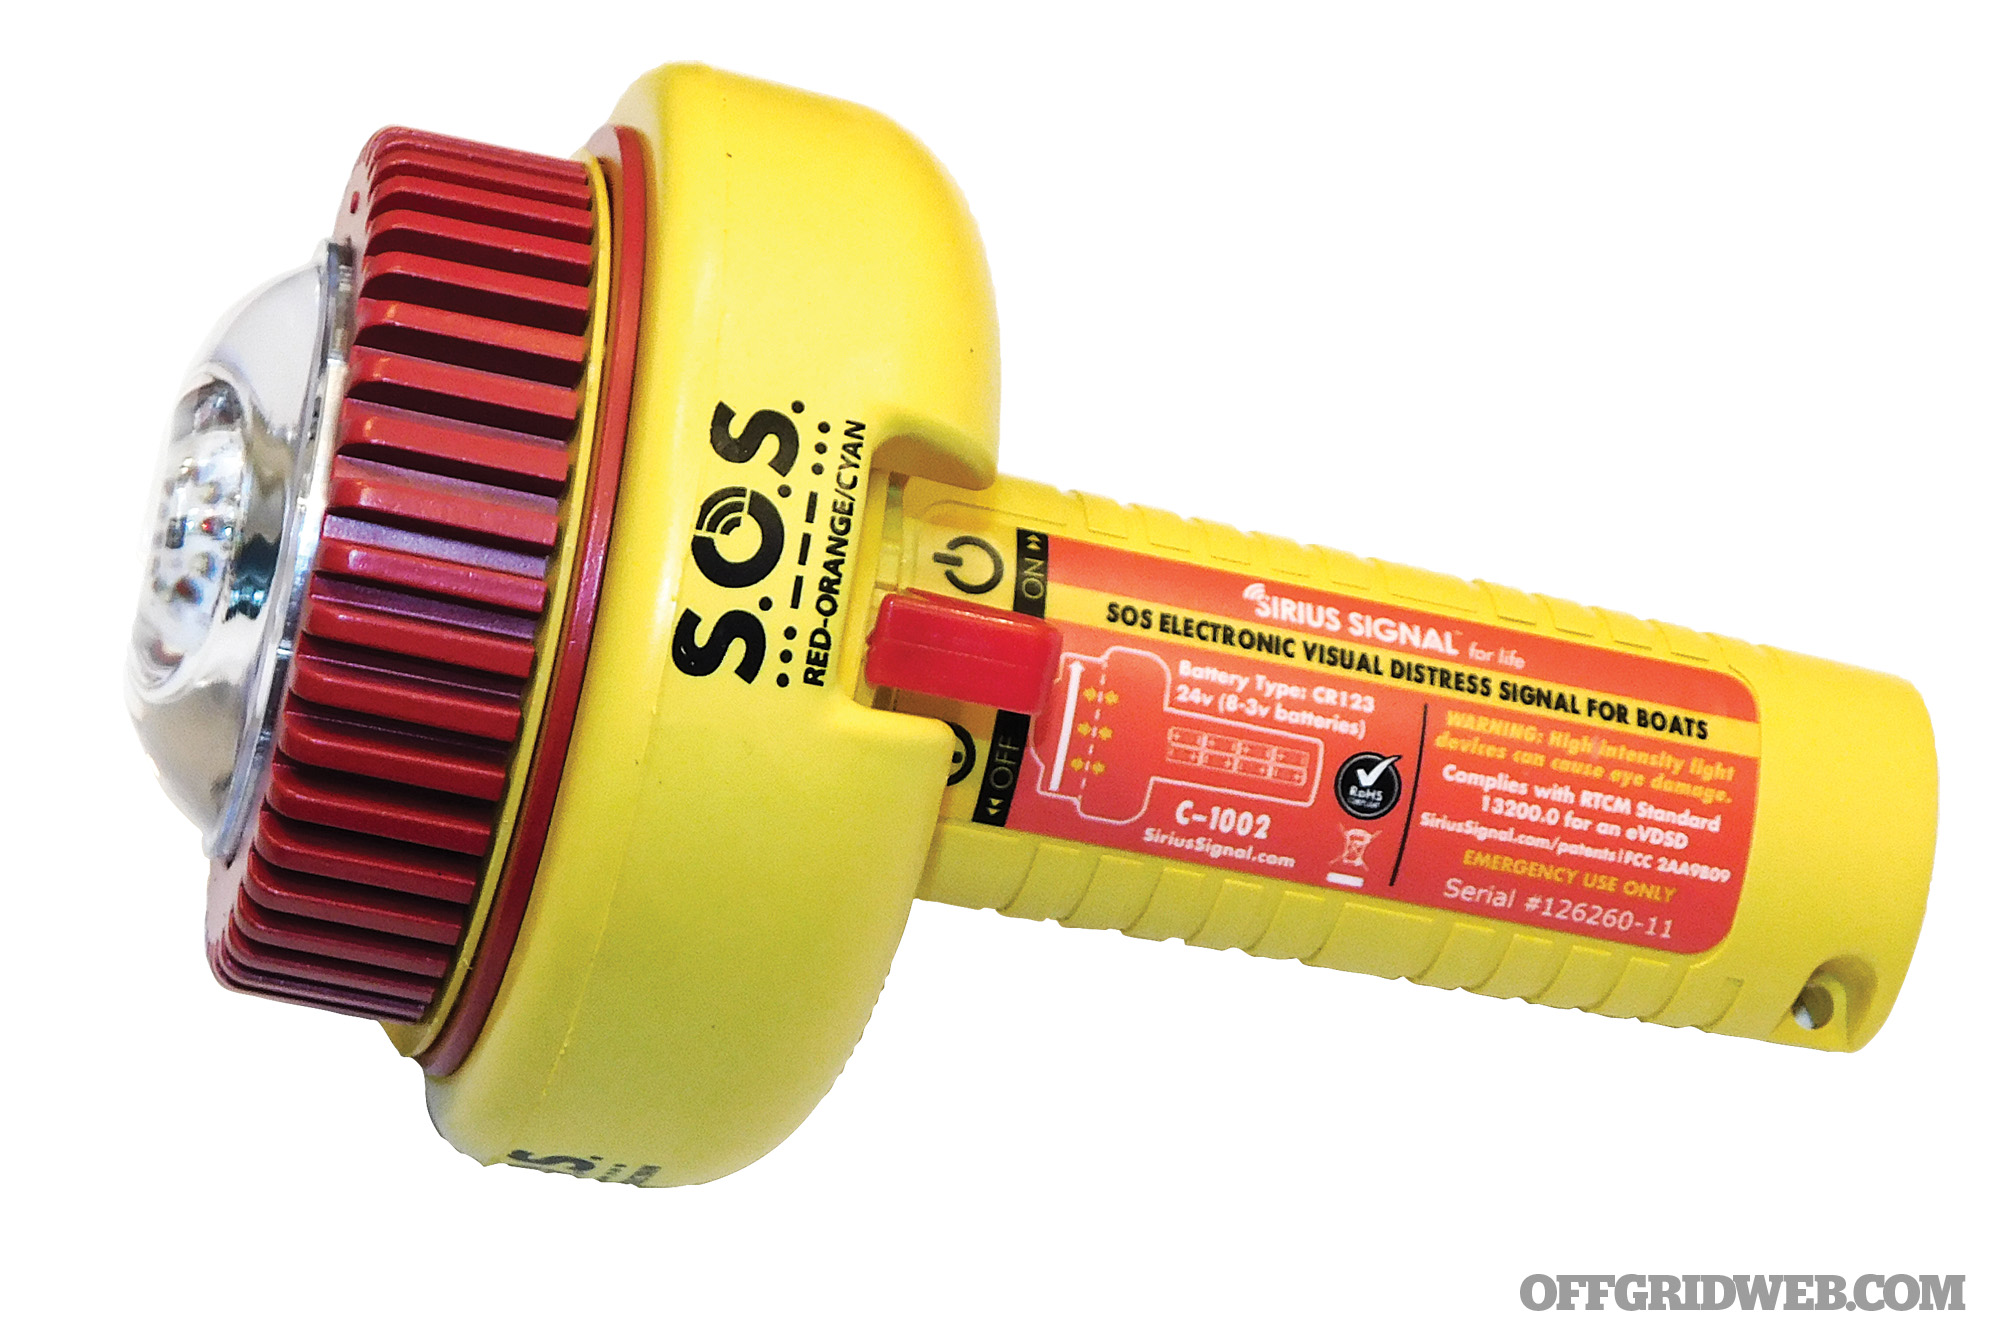
Category:
Marine
Day/Night:
Both
Effective Range:
6 miles / 20 miles from aircraft at 3,000 feet
Duration:
6-hour run time (2 hours required + bonus 4 hours)
Shelf Life:
10-year batteries
Cost:
$300
URL:
siriussignal.com
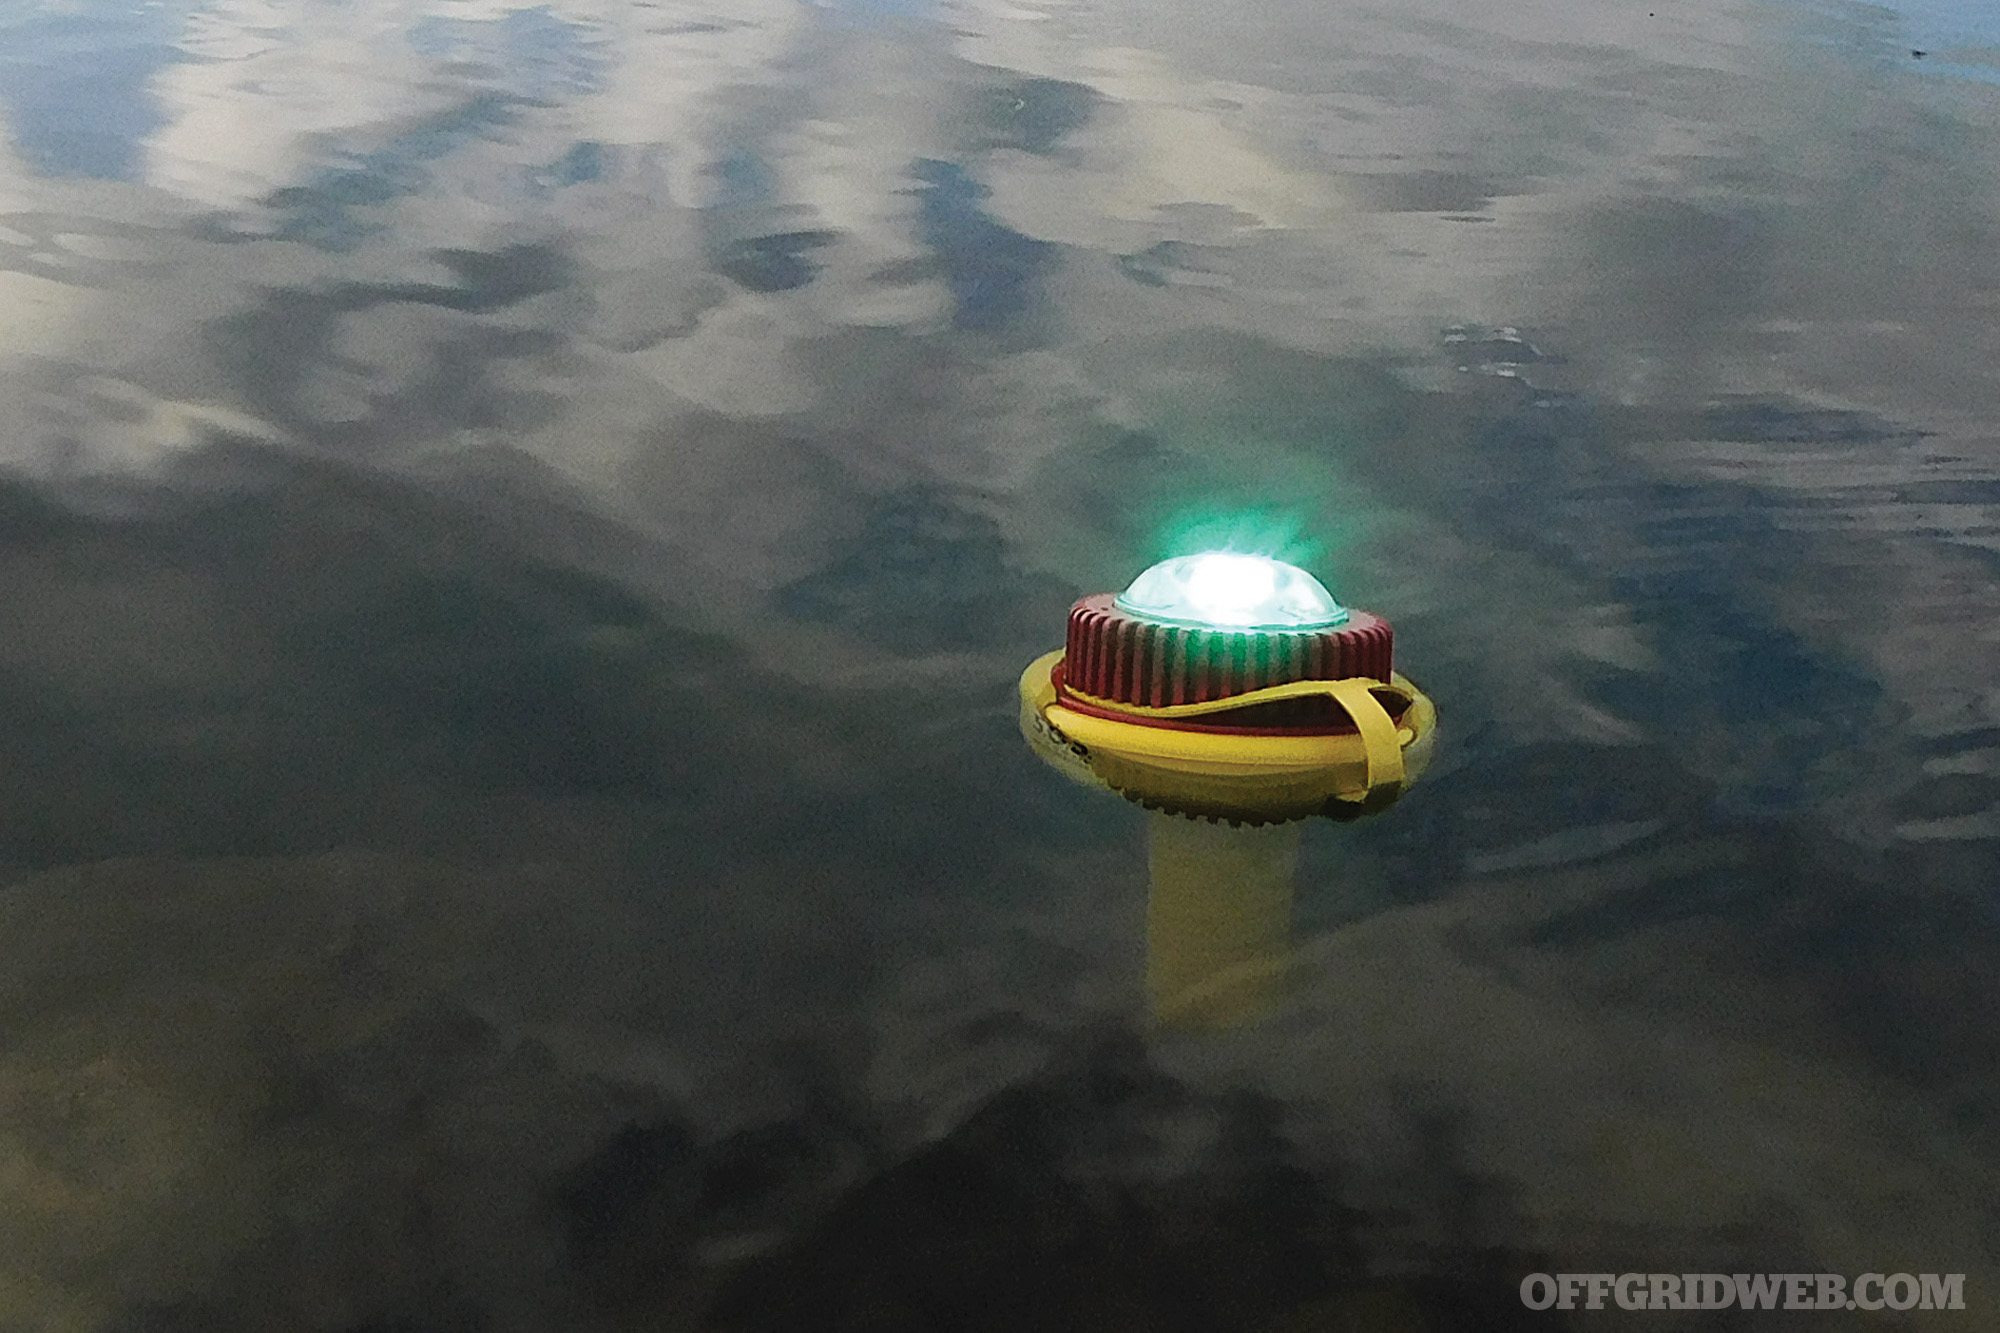
Notes: Sirius Signals has taken the classic water distress beacon and injected a healthy dose of the latest technology. While it comes at a hefty price tag, it’d be tough to argue that you could do better for a maritime distress signal device. It even comes with an accompanying app that provides the platform to enter as much of your personal and watercraft identification information as you’d like, the ability to send out a customized text, a concise first-aid tab, and a request for tow service. Also included is a “check me” button that can send your float plan and a text to up to five contacts, and a “SOS” button that can alert first responders with a customized message via text and phone call.
The beacon itself is about as basic as it gets, with a prominent and simple on/off switch. Be warned, though — when you switch it on, the beacon illuminates immediately and is extremely bright. The 2-mile post reported it to be “plain as day” and “very visible.” The 5-mile post had a little more difficulty seeing it, but once it was picked up out of the water and pointed, it became more easily recognized. This reinforced that, from an elevated vantage point such as the deck of a ship or an aircraft, this beacon can be seen from a great distance. Sirius touts that its 13 LEDs are five times brighter than any other approved device on the market.
Recommendation: Adding this beacon to your watercraft will satisfy Coast Guard requirements as well as provide the ability to issue a salvo of requests for aid.
Pocket Flare Mixed Signal Kit with Case
(Includes “Bear Bangers” plus flares)
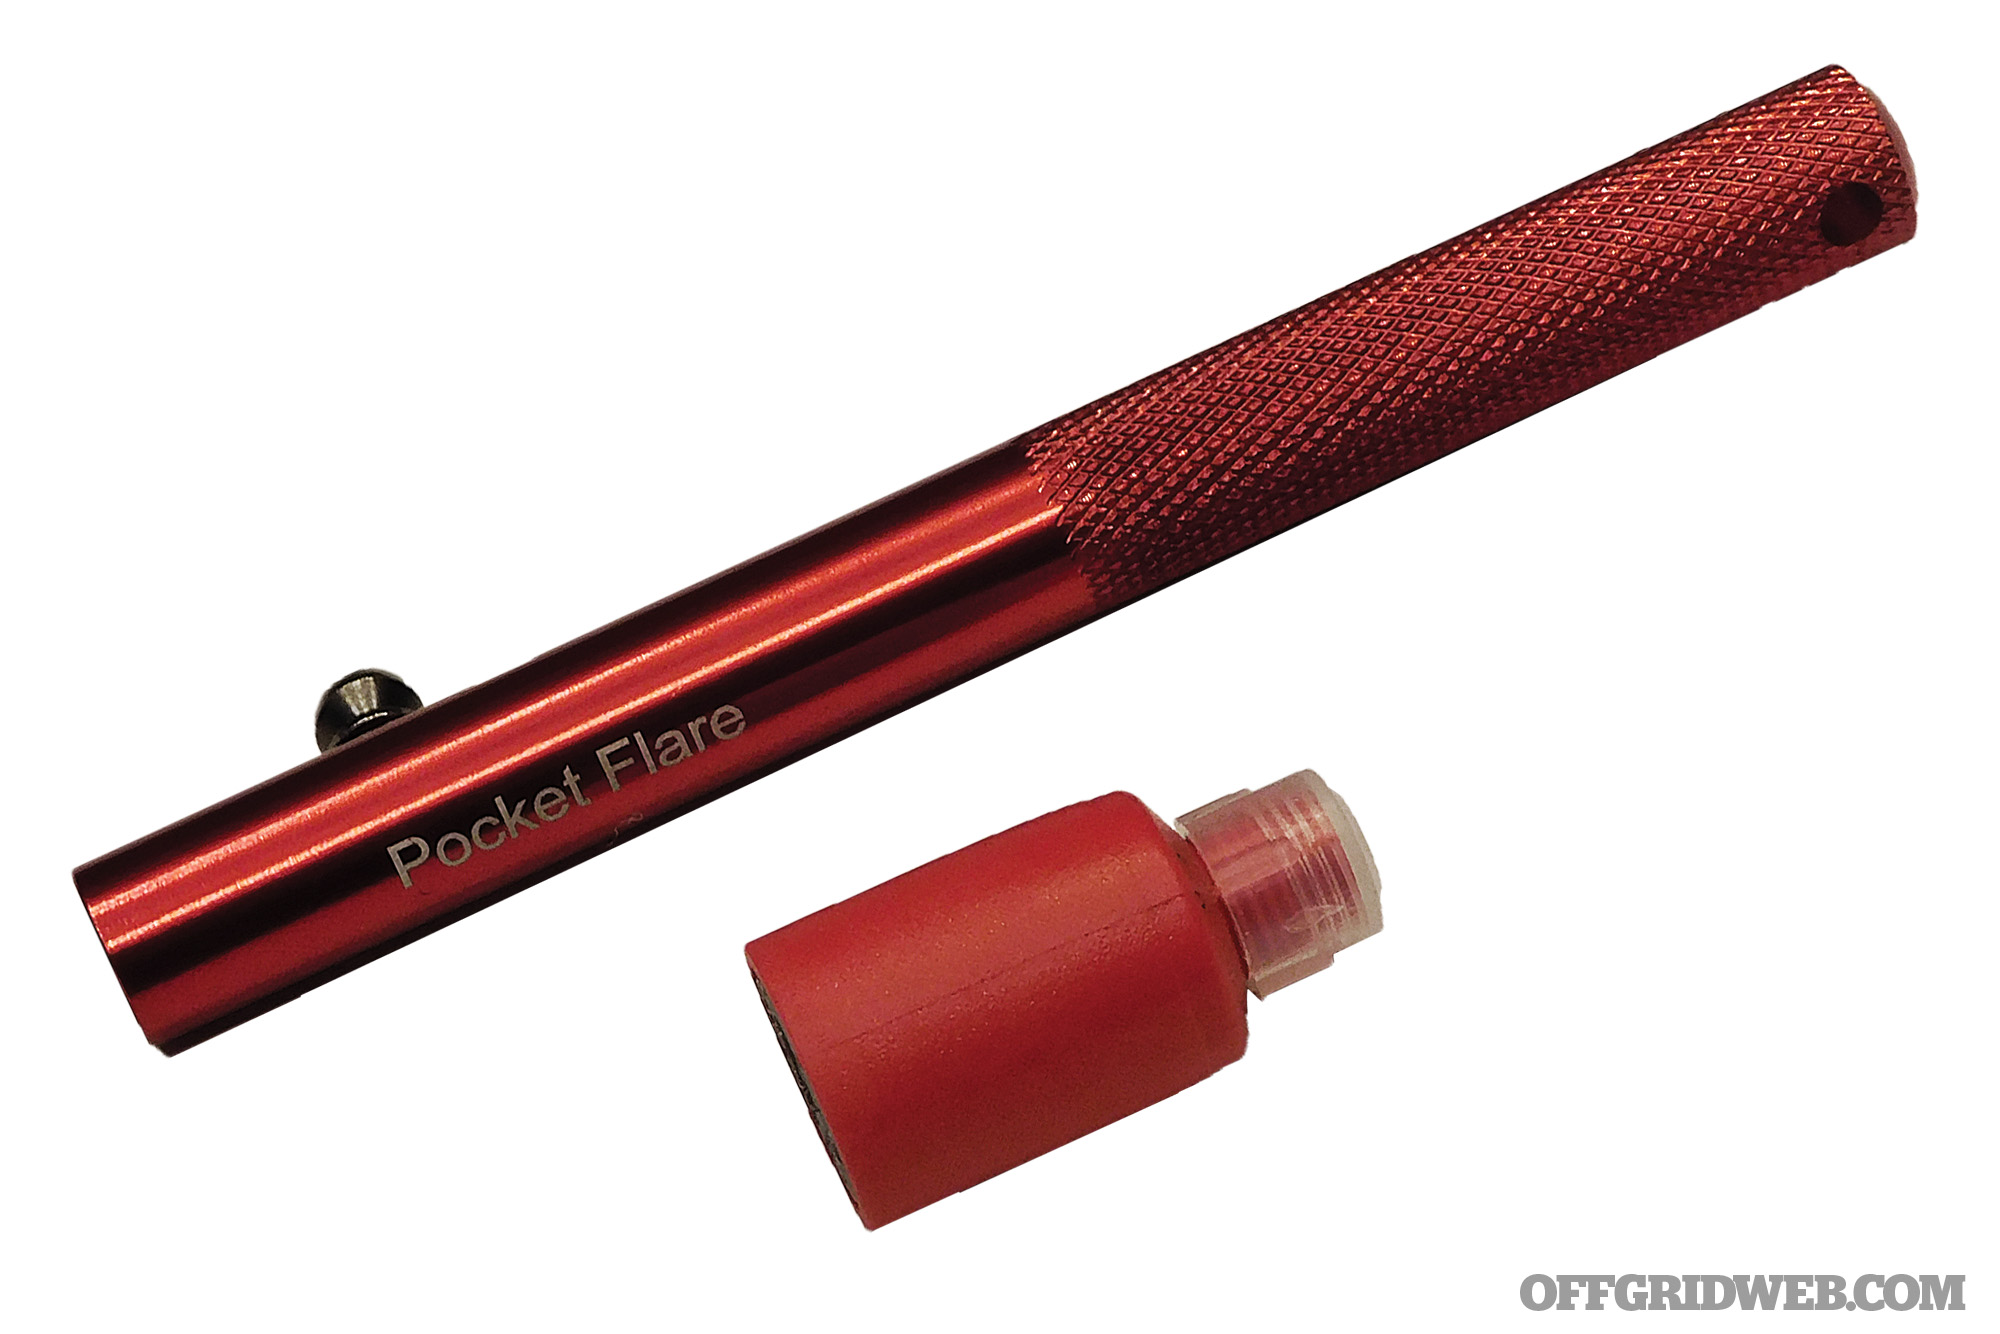
Category:
Wilderness
Day/Night:
Night
Effective Range:
3 miles
Duration:
5 seconds
Shelf Life:
No expiration (if stored properly)
Cost:
$65 CAD (approx. $53 USD)
URL:
frankensled.com
Notes: Flares come in a variety of shapes and sizes. One of the most compact options is the “pocket” or “pen” flare. A variety of manufacturers sell versions of this tiny giant, but we evaluated the one included in the Mixed Signal Kit sold by Frankensled. The kit, which also includes bear bangers, contains three signal flares and a pen-style launcher, all contained in a waterproof case fitted with a belt clip and small carabiner. These flares are reasonably priced in comparison to their larger brethren. The shipping fees to the United States, if you buy from a Canadian manufacturer, can sting a bit, but these are in a class of their own for size, weight, and effectiveness.
The red, fiery projectile burns at more than 15,000 candlepower at a height of over 150 feet. The flare itself simply screws into the end of the pen launcher. Then, you point it up in the air at a 45- to 60-degree angle, pull back the slide trigger, and let it spring forward which fires the device. It’s possible to operate this with one hand, but it’s a smoother process with two. Hearing protection is recommended and, as with all projectile-type flares, you should utilize eye protection or turn your head and look away when firing. After a sharp “bang,” your flare is airborne and a glowing red ball burns across the sky for about 7 seconds. This flare was easily seen and recognized from both the 2- and 5-mile posts.
Recommendation: Backpackers, ATV enthusiasts, and even boaters could find these flares extremely beneficial. Moderate in price, low in weight and space, and high in effectiveness, this flare is appealing to just about all genres of the prepper and outdoor communities.
Orion Orange Smoke Handheld Signal
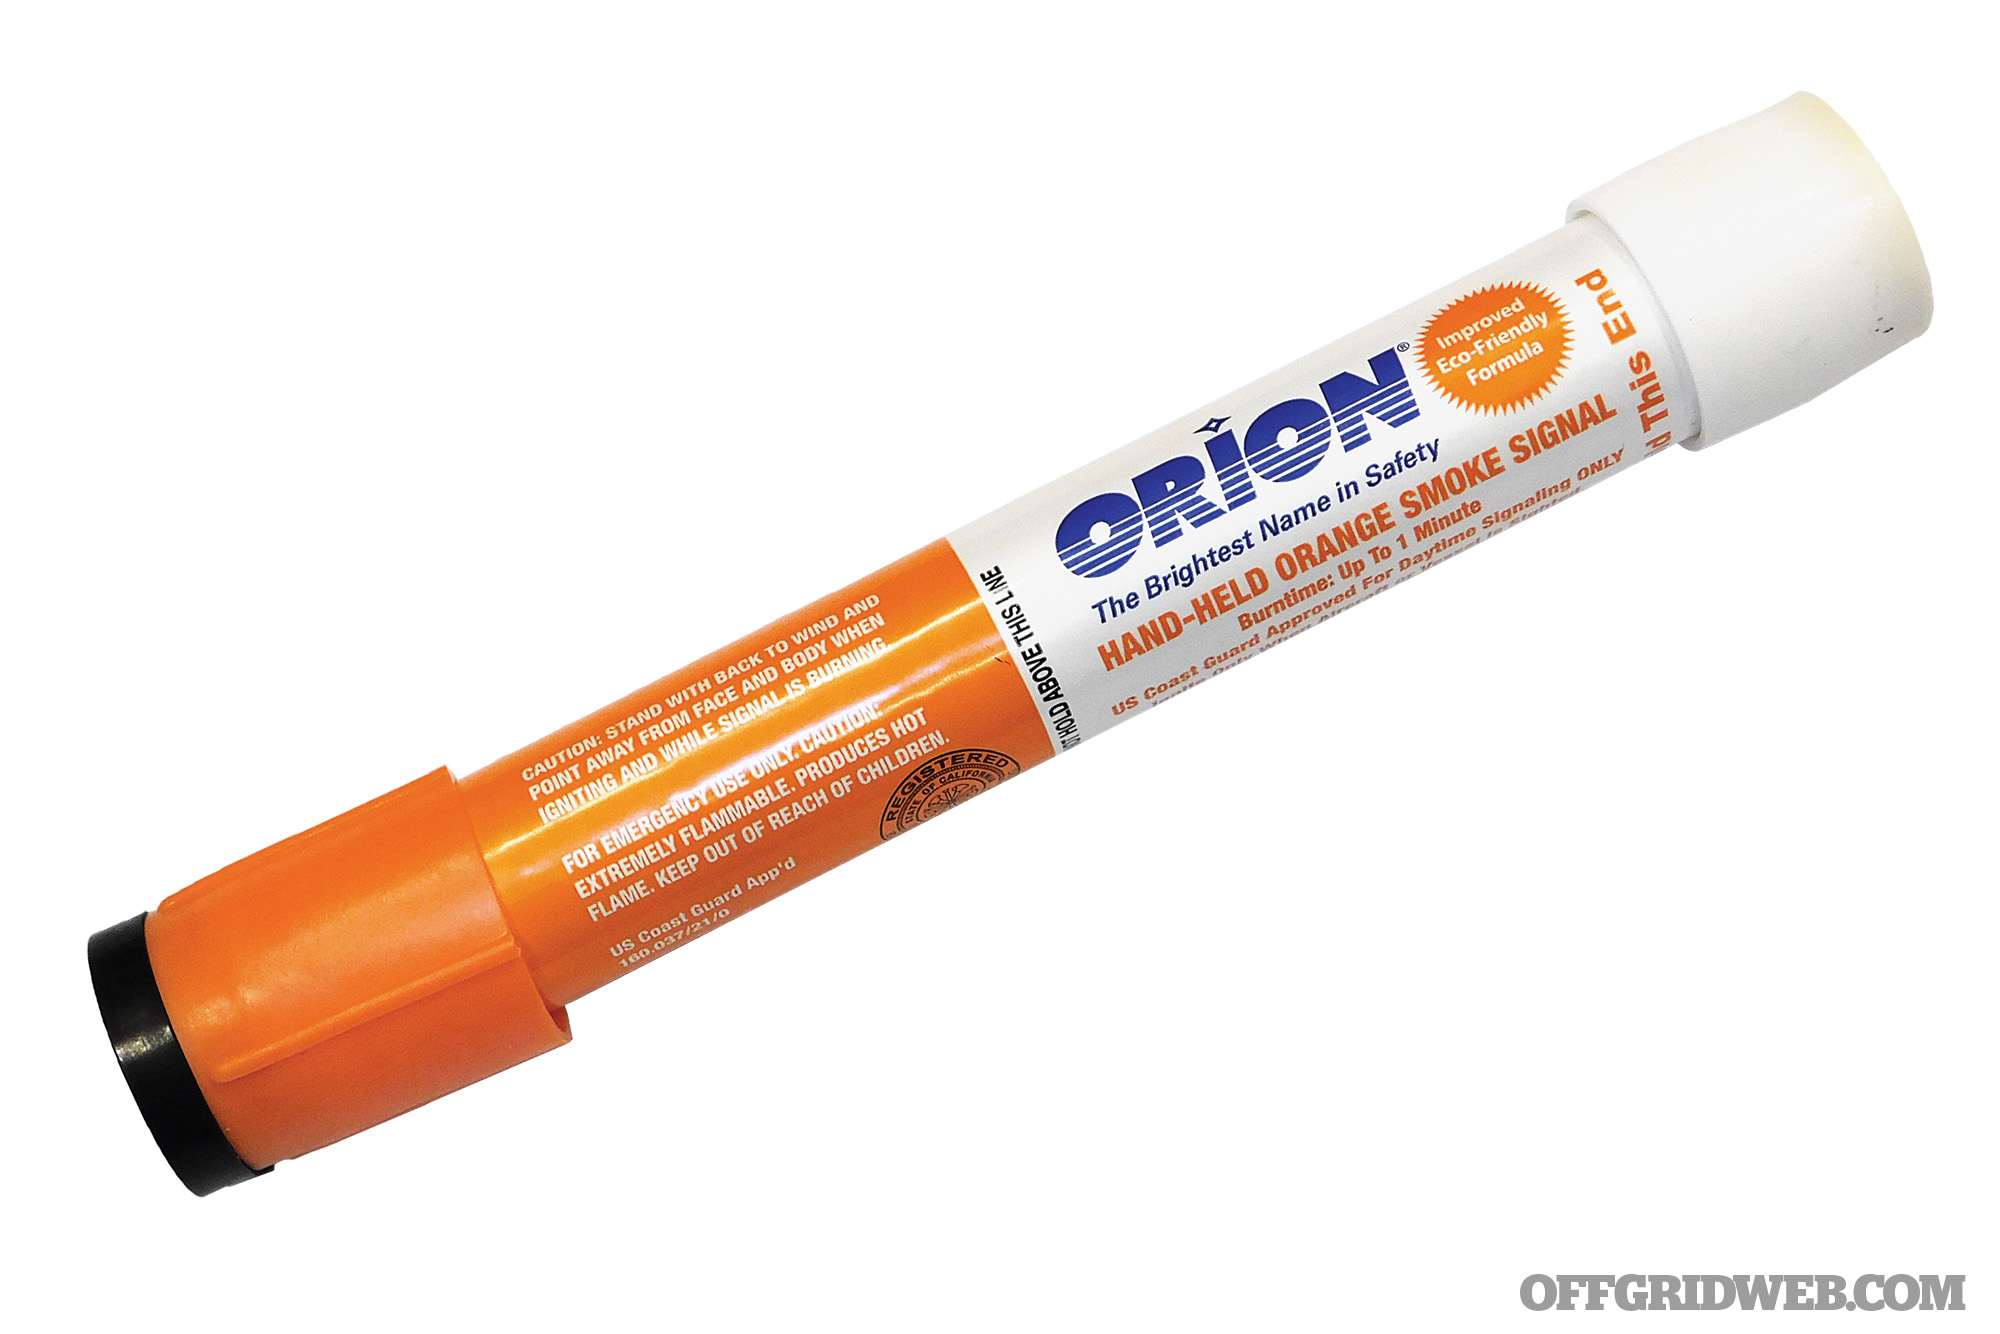
Category:
Marine, Wilderness
Day/Night:
Day
Effective Range:
3 miles
Duration:
1 minute
Shelf Life:
No expiration (42-month Coast Guard mandate)
Cost:
$30
URL:
orionsignals.com
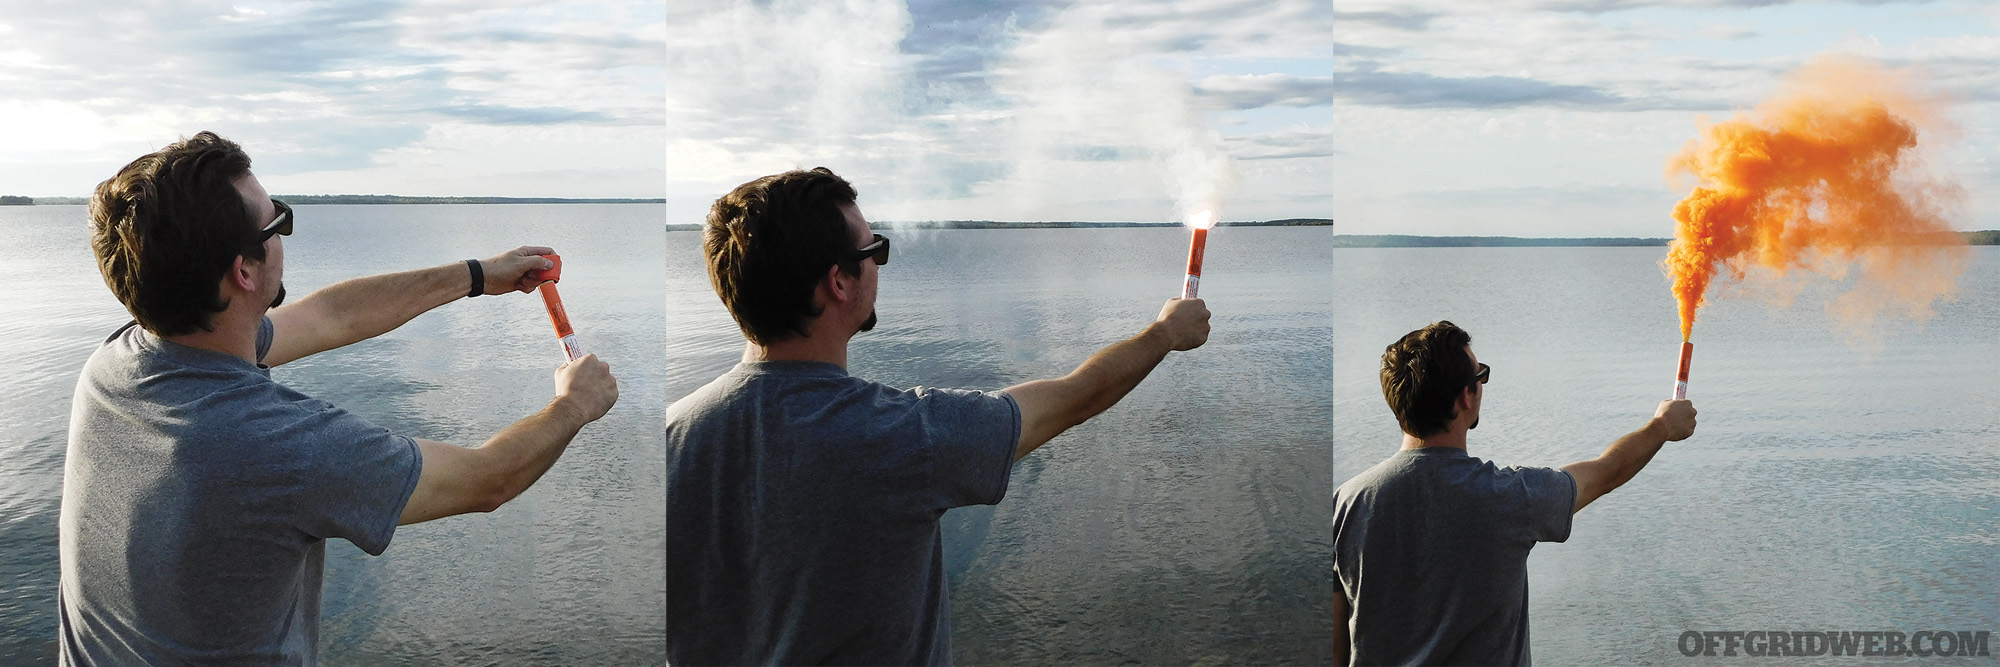
Notes: Like red aerial flares at night, orange smoke is a universally recognized signal for help. It’s the standard for maritime distress during the day. Orange is used because of its high visibility, and it lies on the opposite side of the color wheel as blue, which provides the greatest contrast against water. In the open, and in an area of high contrast, it has a proven record of effectiveness. There are, though, some limitations. Ambient light, wind, and cover can render orange smoke useless. Night will eliminate the visibility of the smoke. A moderate to high wind will dissipate the smoke readily, which reduces visibility, particularly from a distance. And if you’re in a dense forest or among very high trees, the orange smoke isn’t easily identified.
Orion manufactures several versions of their orange smoke distress signals. The handheld version is lightweight, relatively inexpensive, and packs away nicely. It strikes easily on the first attempt and after a belch of white smoke, an impressive volume of orange smoke discharges that continues for a full minute. A potential rescuer should be within sight because of the brief duration of the orange smoke signal. The 2-mile post reported the smoke could be seen, but was unsure if he would acknowledge that it was a signal for help if he wasn’t pre-informed. It couldn’t be seen from the 5-mile post.
Recommendation: Within certain parameters, orange smoke is a proven distress signal. It should be used during the day, in an open area, preferably with high contrast, and a rescuer in sight.
Summary
Best practices dictate that you don’t activate a signal flare unless you’ve identified a person, people, or vehicle/aircraft/watercraft whose attention you’re attempting to grab. It’s also recommended that you locate yourself, if possible, in an open area, ideally that would provide high contrast to your signaling device. Depending on your respective scenario, there are a variety of options that can bring attention to you when you require aid. Don’t let the first time you need one be the first time you think about or use one. Consider which might be the best fit for you and learn about them, practice using them, and then take them with you. Flares can be life-saving tools when used correctly and should be given thorough consideration before venturing out on your next outing.