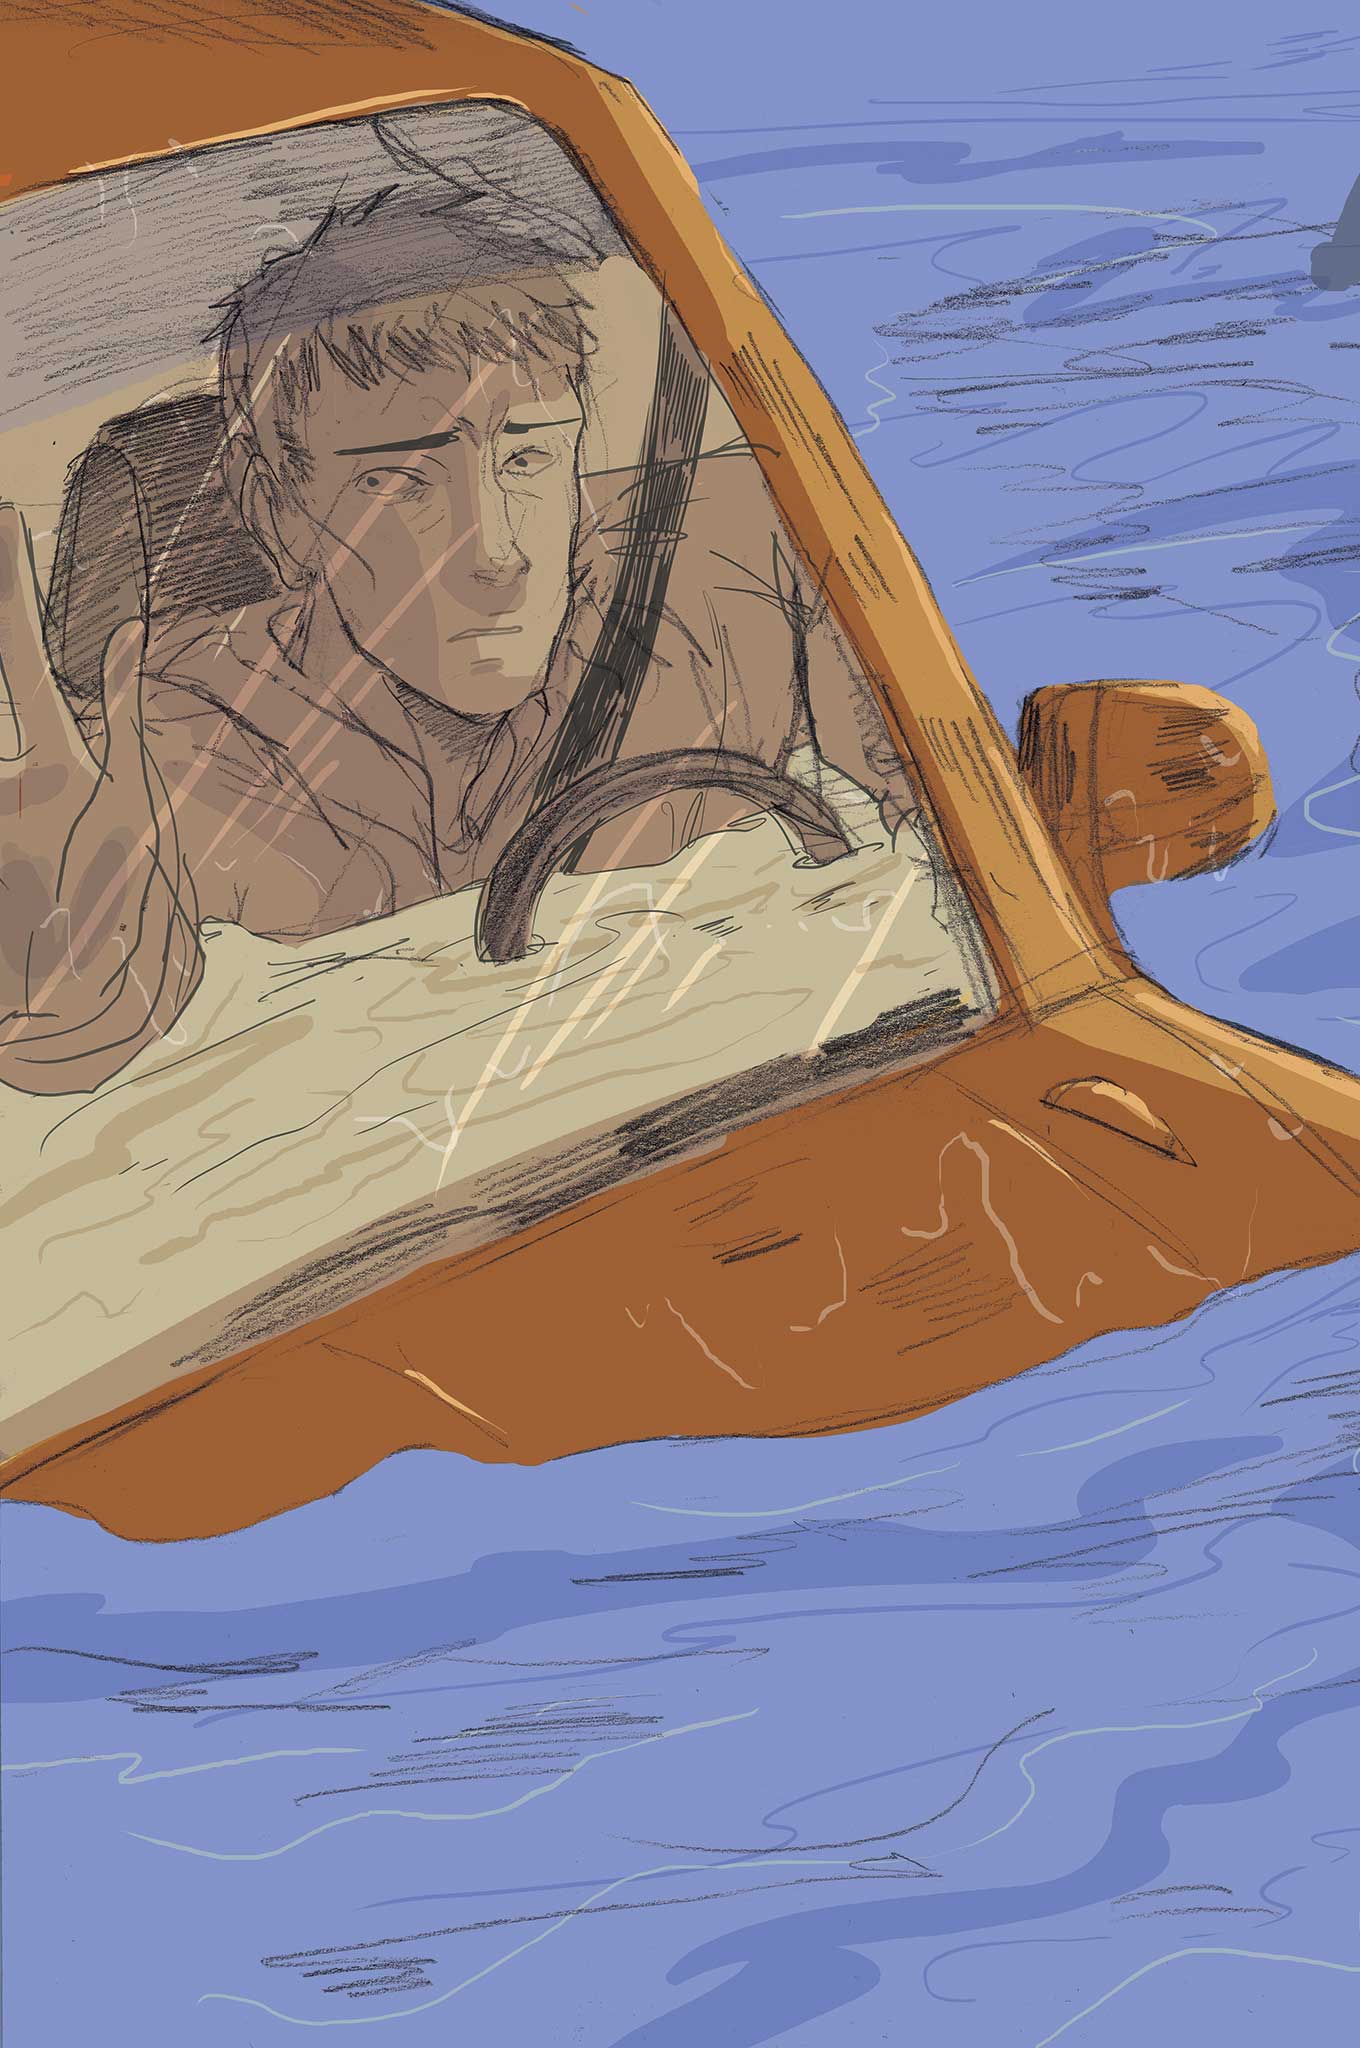
Illustrations by Sarah Watanabe Rocco
I knew I wasn’t supposed to text and drive, especially while I was on the clock delivering packages. But I was on the open road and my wife had already texted me five times in the past two minutes. It must be urgent, I thought. I’ll just see what she needs. Thank God I looked up from the phone when I did. There hadn’t been a lot of cars on the road at that time of day, but there were brake lights and vehicles stopped right in front of me.
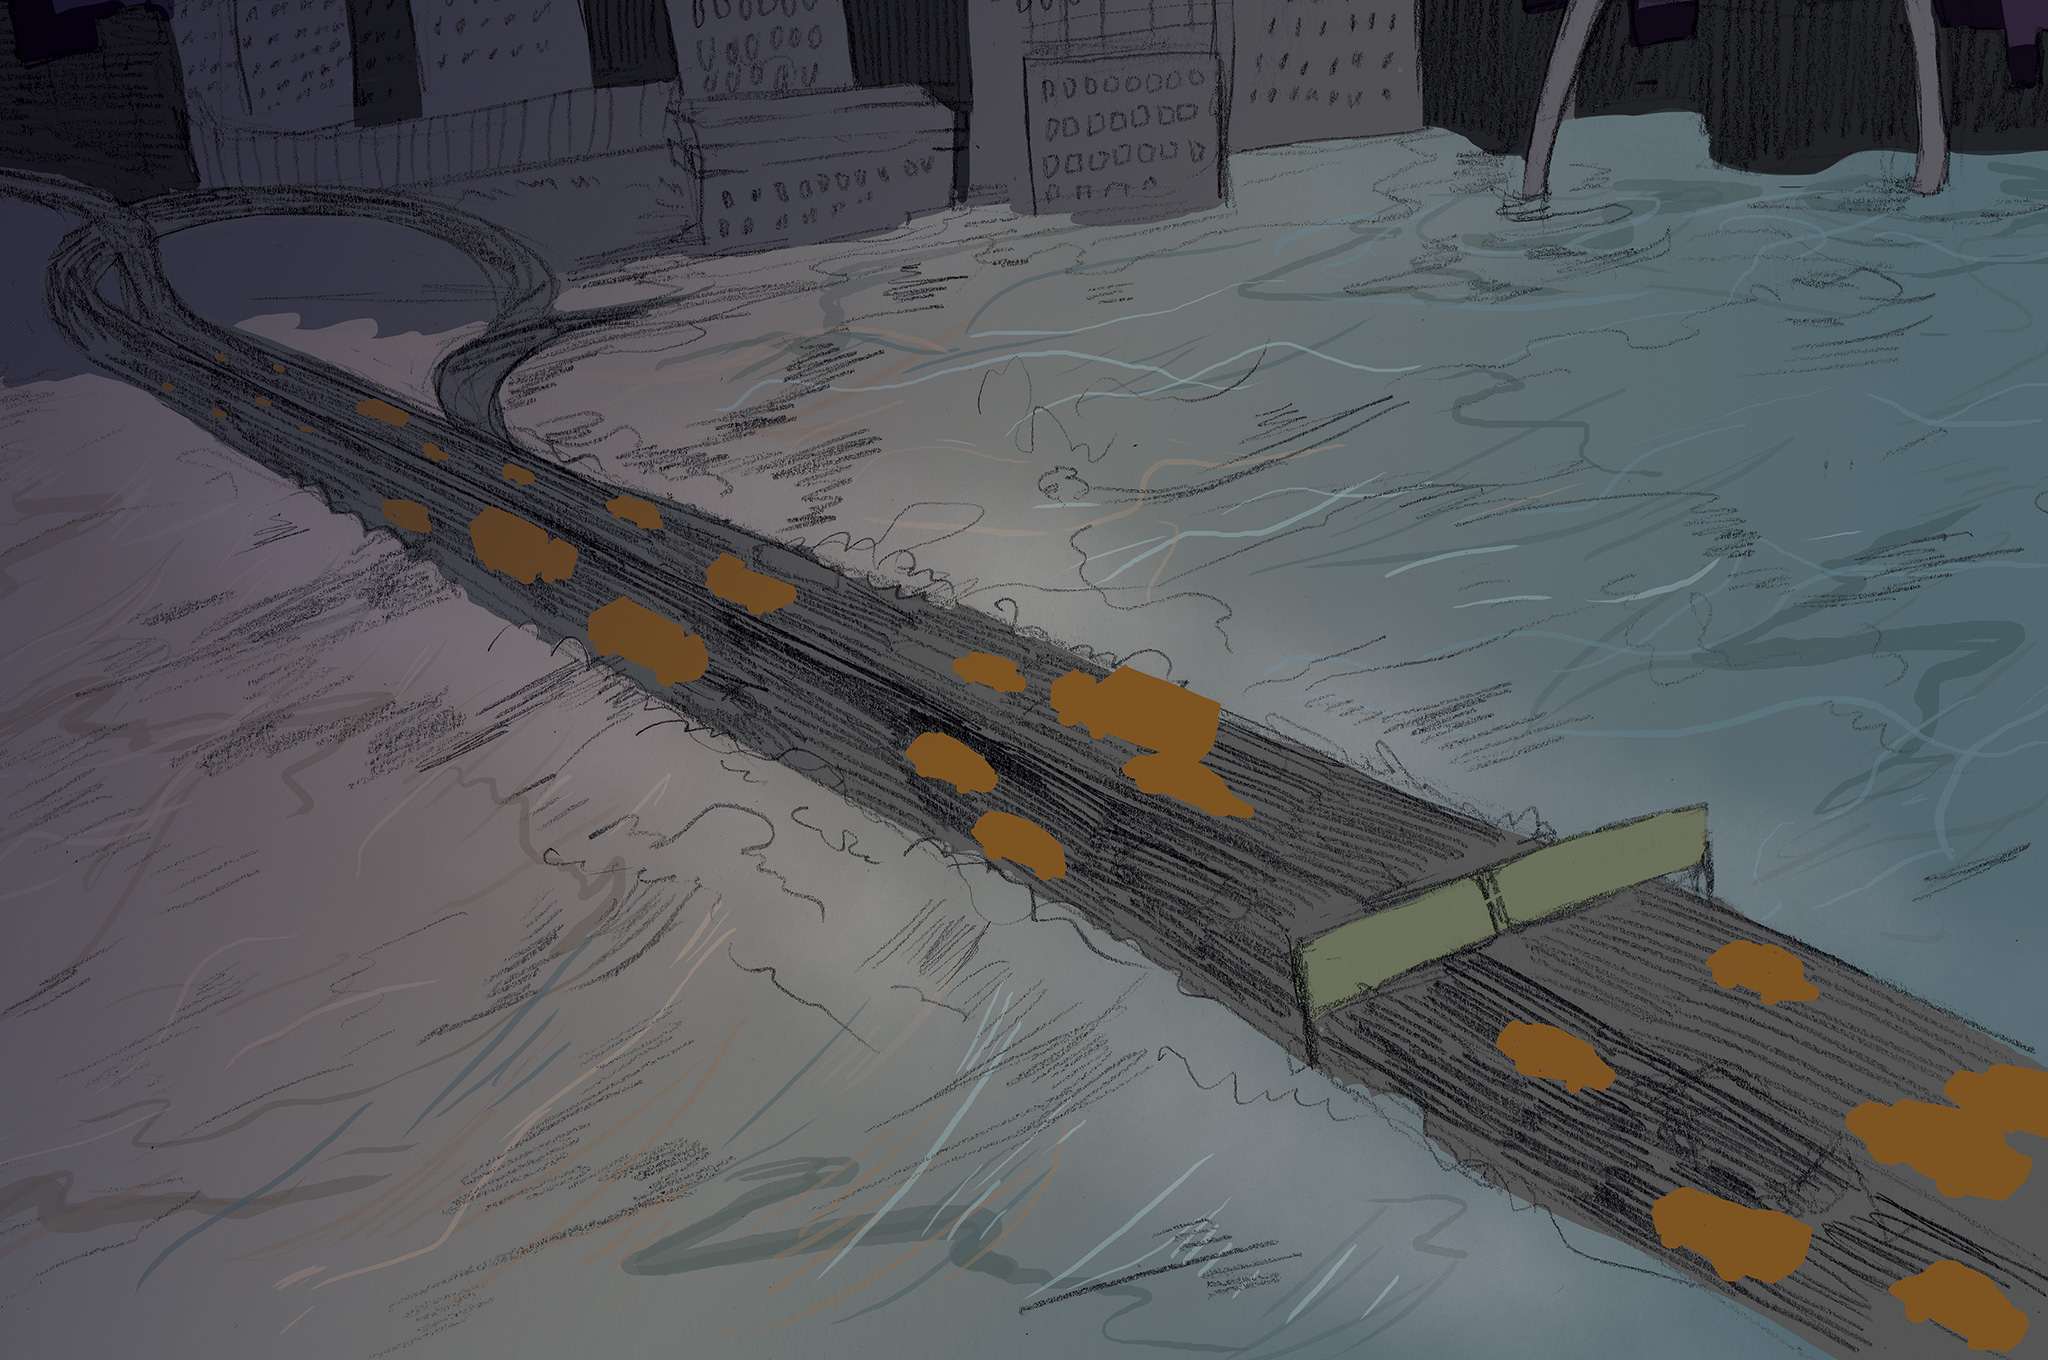
I slammed on the brakes hard and nearly struck the SUV in front of me before coming to a screeching halt. Before I could finish the cursing, I looked beyond the SUV and saw the reason it had stopped. There was muddy water rushing over the roadway — lots of it. And as I sat there stunned by this unexpected sight, I watched the top of the guardrail disappear under the murky surge. The water was rising!
For this edition of “What If?” we’re asking, what if a massive river flood engulfed your path in a blink of an eye? And to see how this story would play out among different experts, OG asked three different survival writers to tell you their tale.
In this installment, we have Erik Lund, a federal law enforcement agent with a bevy of tactical and survival experience. We also have Ryan Lee Price, a freelance journalist and outdoors enthusiast who has contributed to the SHTF column in our sister publication, RECOIL. Finally, I’ll be telling you a story too. I have been a professional survival instructor for the past 20 years, and have written multiple best-selling books on survival.
This is what it would be like to be a modern-day Noah, minus the bombproof ark full of delicious animals.
The Scenario
SITUATION TYPE
Flood
YOUR CREW
Just you
LOCATION
St. Louis, Missouri
SEASON
Spring (mid April)
WEATHER
Raining, 68 degrees F
The Setup: You’re a delivery driver for an international courier service (think UPS) in your early 30s. Little do you know that the warm temperatures and excessive rain of the past two weeks have melted this past winter’s snow pack faster than expected, elevating the Missouri River. While driving on a highway along your usual route, you come around a bend to find a low-lying part of the road blanketed by floodwater — and it’s rising fast.
The Complication: The rush of floodwater causes other drivers to freeze out of panic. You know you can’t drive through the water; you don’t want to stall your engine or, worse yet, have the water sweep your van away and kill you. And you’re certainly not going to sit there like the others and hope the water stops before it gets to you. But there are cars behind you and you can’t exactly reverse your way to freedom. Do you bust a U-turn? Stay in your van and search for supplies or tools to help you? Or do you bail on your van and go on foot … even though there are no tall buildings in sight? Just as you decide to make your move, you realize the SUV stopped in front of you contains a young mother and three kids of grade-school age. You certainly can’t leave them to stall out or drown. What do you do?

AVERAGE JOE: Ryan Lee Price’s Approach
Rain is just rain, right? I always brought my poncho when the weather turned sour, and I kept some all-purpose boots in a bag behind my seat along with some other stuff — some bottled water and a few granola bars. But I wasn’t thinking of ponchos or granola bars or the rain or anything else — except my next stop — that is, until I came around the bend to see that New Halls Ferry Road where it meets Douglas Road seemed to disappear under a torrent of rushing water. It was like someone opened the floodgates.
I slammed on the brakes and nearly rear-ended a cream-colored SUV already hood-deep in the river and getting immersed in the rising tide. Two cars ahead of the SUV were swamped in the middle of the flood. Inside, shadows moved in a panic.
I threw the truck into reverse only to hear the muffled screech of slick tires on wet roads and the sickening sound of metal crunching metal behind me. It looked like I wasn’t going anywhere anytime soon.
Brown eddies of water swirled and stormed across the road, and carried upon the rapids were tree branches, debris, and trash along with it. The water surged closer, and one of the cars in the middle of the flood gently lifted up and slid across the road, slowly rolling onto its roof and under the mucky water. The other swamped car began to move too. The water was only a few inches below the windowsills, when a man in a business suit clamored out of the window and attempted to make his way onto the roof. It happened so fast. His foot slipped, plunging the lower part of his body into the water; his arms clawed at the roof of his car, and only for a small second, the struggling grimace of terror twisted across his face.
Then he was just gone. No bubbles. No yelling for help. No sign of him at all.
Screams came from the SUV, and the water wasn’t stopping. It was well past time to leave, but I couldn’t. These trucks are 24-feet long and made to drive in straight lines; they don’t exactly turn on a dime. I’d have to do a 30-point U-turn to get this rig pointed the other way on this small road. Plus, the three-car pileup presented quite an obstacle I couldn’t just plow through — not with a fully loaded truck and a 215hp engine. I was stuck and could only hope the river crests before it reaches me. The SUV wasn’t so lucky.
The window of the SUV rolled down and a woman’s head jutted out into the rain. She was waving her arms wildly and yelling to be heard over the rushing water and rain. I threw on my poncho, slid open the door, and stepped into the shin-deep water, sloshing the 20 steps to her window. She was frantic, lost, hysterical, saying said she was on her way to Bridgeton and took the wrong road and didn’t know where she was. The SUV’s engine was flooded and wouldn’t start. There were three kids with her, none looked older than 5.
She asked me if I saw the guy get swept away. Of course I did! And we’re next, I thought. “What do we do?” she pleaded, looking to me. Her kids were perched on their seats, either panicked or crying.
“You’ve got to get out of there,” I said without thinking. “Come with me. Leave everything.”
She handed me a Hello Kitty umbrella like she wanted me to open it for her kids. I threw it into the water. Useless. The kids piled out through the windows, and between the two of us, we carried them back to my truck. They were safe in the back, but it wouldn’t do us any good if we couldn’t get away from the rising flood. I kept a couple of packing blankets for fragile cargo, and they wrapped themselves in them. Behind my truck, one car had already turned around and left, while the people from the other two were pushing one of the wrecked cars from the road. I joined them in the rain.
The front end of the red car was completely caved in, and the force of the collision had spun the silver car sideways across the road. Its engine belched steam through the downpour. It wasn’t going anywhere under its own power and was difficult to push into the grassy shoulder that was nearly underwater.
“This water is still rising,” I shouted to the other two drivers over the din of the rain. “Once these cars are out of the way, we can take my truck!”
The second car was easier to move. The water level near the truck was up to my thighs, and, out into the middle of the swelling river, only the rear of the SUV could be seen poking up from the torrid waters. It was difficult to walk in the rushing river without holding on to something, but the three of us joined the woman and her kids in the back of the truck.
The water had reached the top of my hood, but I knew these Cummins diesels could take a beating. I turned the key and … nothing. Click and nothing. It wouldn’t start. My heart sank. I tried a third time, and the engine roared to life. As water poured in and around my feet, I stabbed the gas pedal, and we lurched rearward and out of the surging flood. All was saved with only moments to spare.
Just as the woman and I shared a small smile thanks to our good fortune, a grumbling thunder filled our ears. The woman’s eyes grew wide as I looked at her. She screamed and pointed just as a wall of water slammed into the left side of the truck. Everything jolted sideways. Boxes, paper, and people were flung around the cargo area, and everything began to spill out a gaping tear in the thin sheetmetal side of the truck. Gurgling screams and the crashing of debris drowned out all sounds. Freezing water surrounded me, and darkness filled my eyes.
I was swept from the truck, as if yanked through the sliding door by the hand of God and pitched into the thrashing waters. The lumbering truck tumbled under the whitecaps, hemorrhaging cardboard boxes, and parcels, while I was tossed farther downstream, alone. The two men. The three kids. The woman. All gone.
I was roughly carried down the swelling torrent like a pinball, but I was able to have enough wherewithal to put my feet forward in the classic white-water rapids position. The water, as it swelled over the undulating landscape, dragged me under and spun me around time and again. I bounced off of debris in the flood, boxes full of who knows what, and was caught up on fences and trees, but always torn free.
If I had time, I could make a life preserver from my pants, but instead I clamored for anything that would float. Of the boxes tumbling through the flood with me, I was able to tuck one under each arm to keep me upright.
Water filled my lungs, and I coughed and sputtered. Light, dark, air, water … Dead ahead was a small house or a barn. It was taking the brunt of the flood, but most of it was still standing. My truck had already careened off its side and spun around behind it, and I was approaching quickly.
A small stand of trees loomed large in front of me, part of a small spit of high ground. I reached for them, kicking my feet in the rapids to edge closer. I strained my arm, my fingernails digging into the bark. The water thundered past me as I shimmied up the drenched embankment. I took off my belt and tied myself to the tree. How long could I hold on here, and what had happened to everyone else? Was this the end?

FEDERAL AGENT: Erik Lund’s Approach
The rear tires locked up at the same time I felt the seatbelt tighten across my chest. My truck was rapidly bleeding off speed, but it was going to be close. The SUV in front of me had come to a complete stop. I got on the brakes quick enough, but would there be enough real estate between us to prevent a collision? The truck shuddered and skidded, audibly protesting the demands I had put on the brakes. Packages broke free from their shelves and started flying into the cab. I felt something smash into my calf, but I didn’t notice any pain.
As fast as it had started, the shuddering subsided as the truck came to a stop. I looked at the SUV just a few feet in front of me and noticed three wide-eyed children looking at me. I smiled at them and gave them a thumbs-up. The youngest one smiled at my gesture and hid her face in the seat. Looking up from the SUV, the smile on my face quickly disappeared. The reason for the sudden stop became readily apparent. Mother Nature had decided this part of the highway would make an excellent location for a new river and she wasn’t wasting any time filling it up.
At the current rate of flooding, the rising waters would be to my truck in minutes. My gaze was broken when I noticed the woman from the SUV in front of me get out and look around. I got down out of my truck and walked to her. She was looking at the growing river as I walked up to her, “When do you think it’ll stop?” she said. I looked her directly in her eyes and said, “It’s not! And if we don’t leave right now, we are going to get swept away!”
A look of disbelief came across her face as a pickup truck blasted by us barreling toward the flooding river. The truck slowed slightly as it entered the rushing water. Just as it looked like the truck was about to make it across, the rear of the truck suddenly swung around with the current. The river was flowing too fast and as soon as the truck tires lost traction, it was over. Circling out of control, the rushing water soon flipped the truck with the driver still inside. I watched, hoping to see a head pop to the surface, but it never did.
I looked back to the woman and grabbed her arm asking her name. She responded. “Look, Christy. We have to get out of here right now. This entire area is a flood plain and will be underwater very soon. Get in your car and follow my truck across the median.”
Christy seemed to now comprehend the gravity of the situation and nodded her head in agreement. As I turned to get back into my truck, Christy said, “Oh my God, your leg is bleeding!” I looked down at my calf and sure enough, there was a long gash across it and blood was running down my leg. I guess that package hit me harder than I thought. “Don’t worry about me,” I said, heading back to my truck. “Get in your car and follow me across.”
A quick look at the gash confirmed that it would need a few stitches, but that would have to wait. I needed to get the bleeding stopped quickly for now. I grabbed my sling bag and pulled out my travel medical kit. I opened a package of gauze and wiped away the blood. Keeping pressure on the wound, I grabbed a small bottle of hydrogen peroxide and poured it down into the wound. It would kill anything in the wound, including some of the good skin. It wasn’t an ideal solution, but it was a quick clean.
I wiped away the foaming blood and fluids and grabbed a small tube of superglue from the kit. I liberally coated both sides of the wound and squeezed them together. After maintaining pressure for a few seconds, the wound was closed. I was careful to leave just a corner of the wound unsealed to allow the wound to seep fluid. I repacked my kit back into my sling bag and looked up. Christy was ready to go, but it was already too late.
The flowing river had already started to flow up the grass median separating the highway. I would never get the truck across without getting stuck. I only had one option left.
Climbing out of the truck, I threw on my sling bag while running up to Christy’s car. I opened her door and said, “Grab whatever you need and get the children. We have to run.” I helped the children out of the car and picked up the youngest one. Christy screamed, “Where do we go?” I pointed to an 18-wheel tractor trailer, “Run to the truck!” The quick 50-yard run to the truck seemed to take forever. Getting to the cab, the truck driver climbed down from the cab and said, “Get in.”
In between my heavy breaths I asked him how much weight he was hauling. He responded that he was fully loaded, 78,000 pounds. Perfect! The weight of the truck will help keep it from drifting away in the current, I thought. I told the driver that we needed to get onto the top of the trailer. It sits up higher than the cab of the truck and it’ll be easier to spot us when the rescuers arrive. He agreed and started climbing onto the top of the trailer.
Climbing up onto the trailer, all eyes seemed to be on me. Everyone was safely on top of the trailer and I finally had a moment to mentally catch my breath. I looked toward the river to survey the scene and froze in astonishment. The flooding had already reached Christy’s SUV and its roof was barely visible. Water was flowing into the open side of my truck, flooding the storage area. Christy walked up and touched my arm, breaking my gaze on the horizon. “Thank you,” she said. I smiled back sheepishly and walked over to the truck driver who introduced himself as Karl.
I asked Karl if he had any blankets in the truck as it would be dark soon and it was sure to get colder. Karl agreed and I helped him retrieve them from the cab of the truck. When we got back onto the trailer with the blankets, Christy told us she had called 911 and that the locals were aware of the flooding and were sending help. All of us settled down and watched the sun slowly set, while the river continued to rise and sweep away everything in its path.
Shortly after darkness had fallen, the emergency lights from the first responders could be seen off in the distance, but they weren’t getting any closer. I peered over the edge of the truck. The flooding was up over the tires of the tractor trailer. There’s only one way they can reach us now, I thought. I grabbed my sling bag and pulled out two glow-in-the-dark chem-sticks. I gave one each to Christy and Karl: “Tie the string to the sticks and when I tell you, activate the lights and swing them in circles over your heads.” I pulled out my EDC flashlight and started scanning the dark sky.
About 30 minutes later, I heard the muffled sound I was expecting. “OK, activate the lights and start swinging them,” I told Christy and Karl. I turned and located the navigation lights of the helicopter. I pointed my flashlight in its direction and activated the strobe function. Instantly the helicopter turned directly toward us. As it got close, the powerful searchlight activated and illuminated our entire area. I turned back to Christy and Karl with a smile and said, “They’ve got us now.” Looking down at Christy’s children I asked, “Who wants to go for a ride in a helicopter?” All three hands shot into the air instantly accompanied by big smiles. Yep, me too.

SURVIVAL EXPERT: Tim MacWelch’s Approach
My first thought was the same as everyone’s first thought when faced with a crisis. How do “I” get out of this? I wasn’t thinking about the other drivers around me, or any passengers they may have. My first thought was selfish, and just about me. It was human nature I suppose, but as I looked around I wasn’t proud of my knee-jerk response. There were lots of people around me, stopped and stuck in their vehicles too.
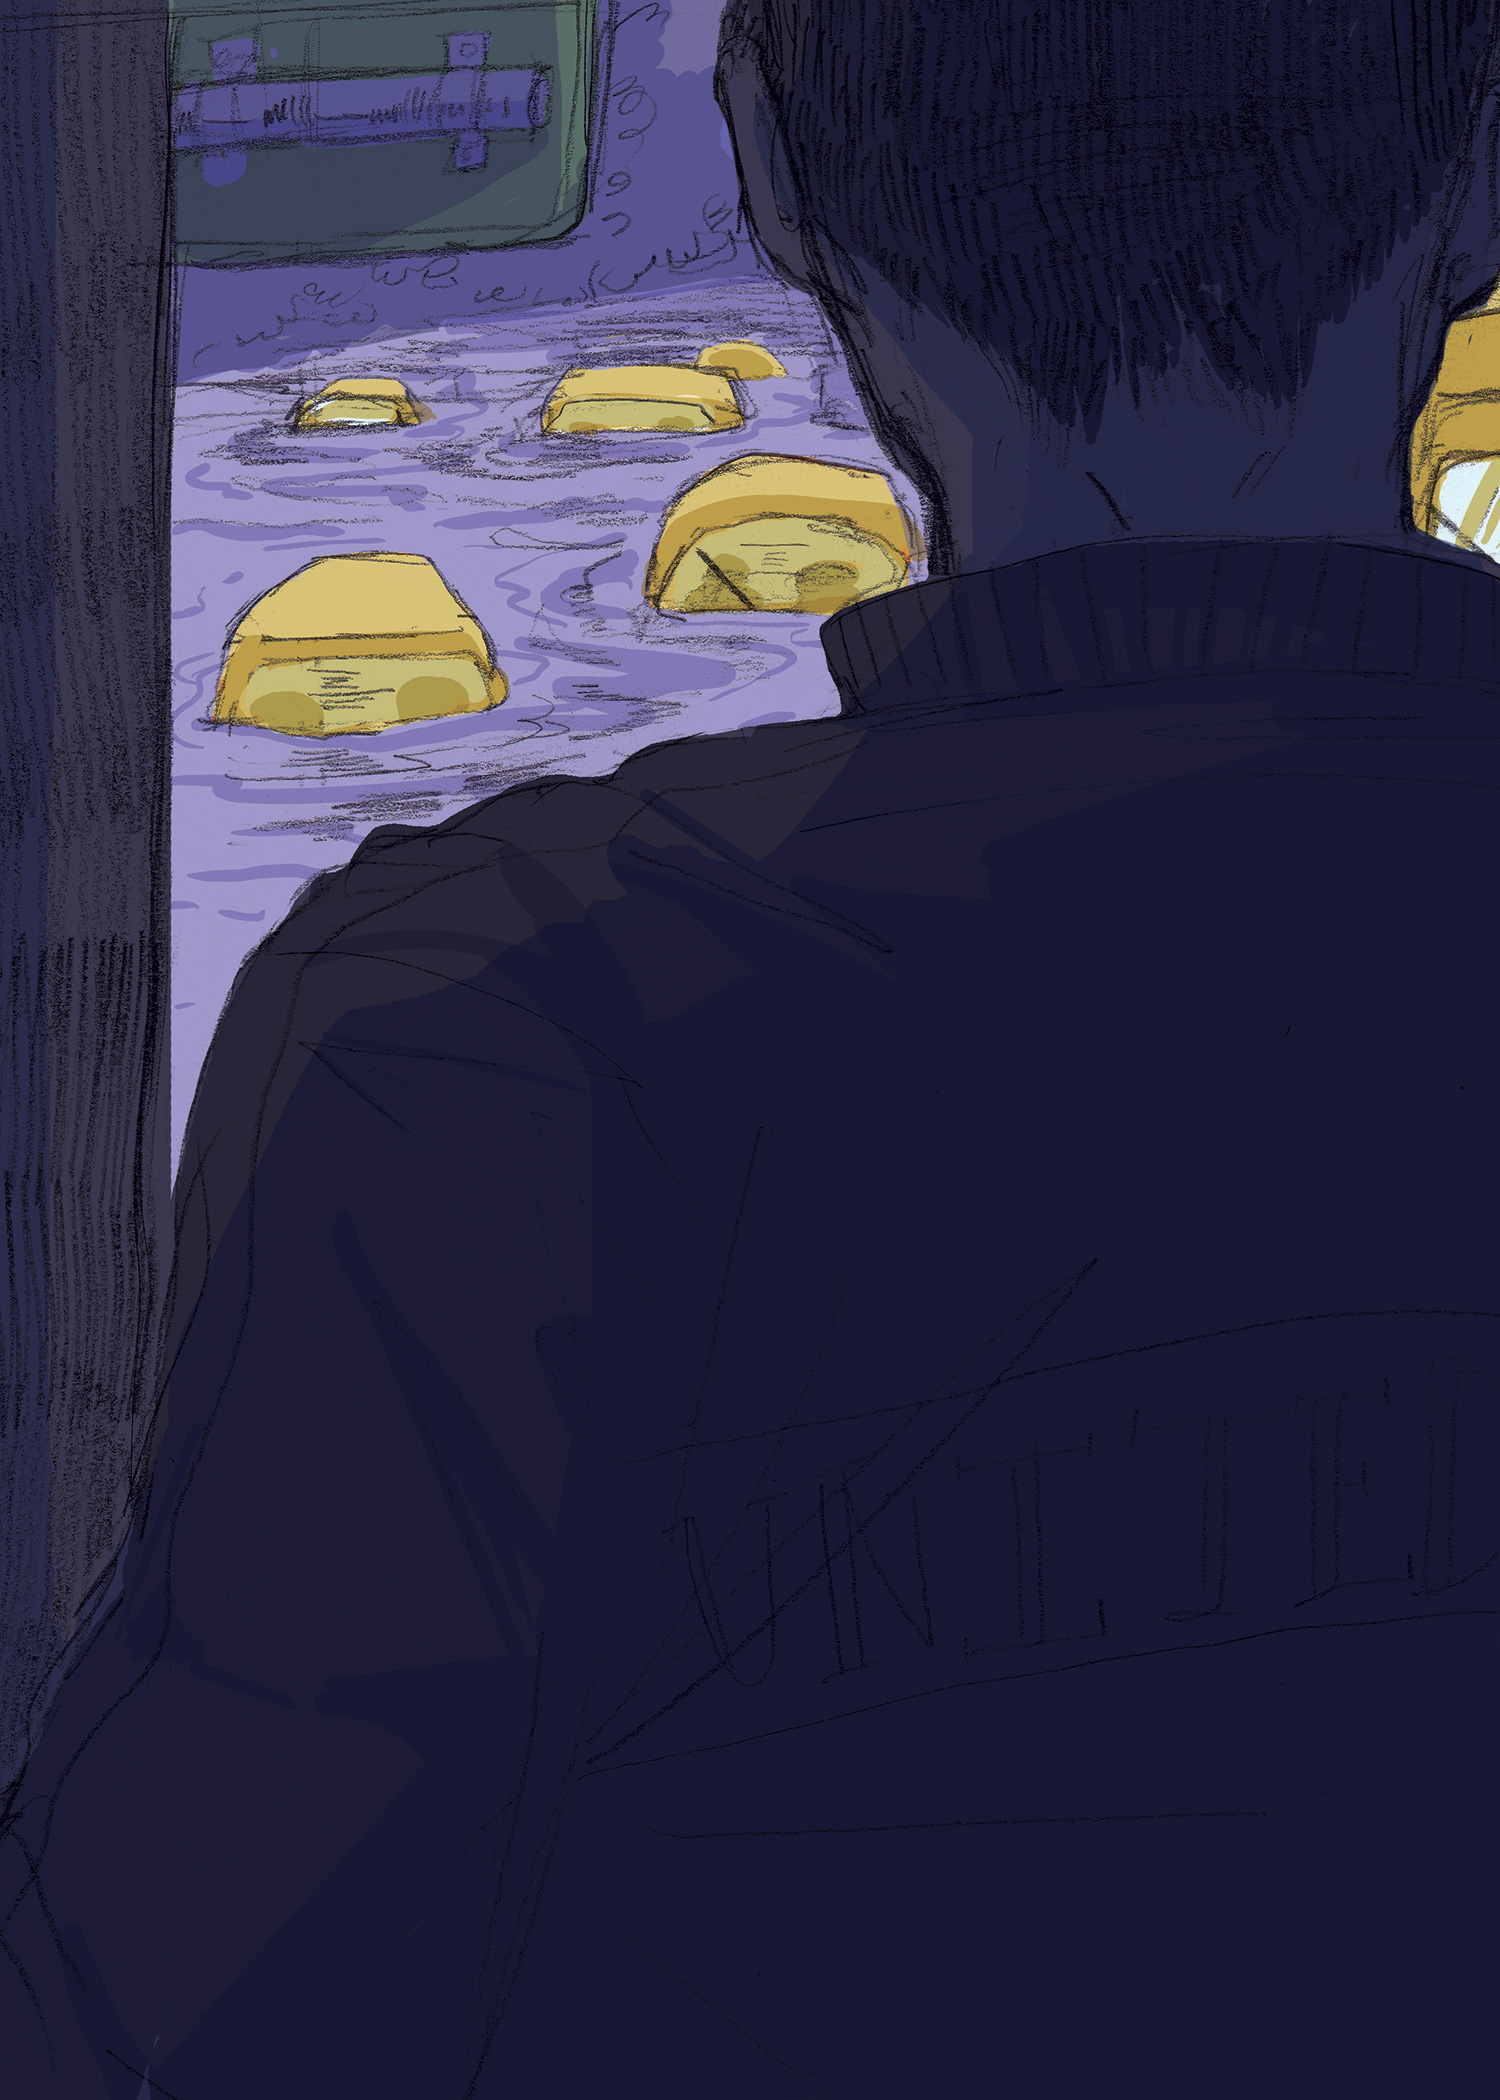
I thought of making a U-turn and driving down the side of the road, but I had nowhere to maneuver my big delivery van. I looked out my window and saw that the water had reached my tires. I tried calling 911 many times, but the call wouldn’t go through. I set the phone on my dash and looked out my windows to see if there was anything I could spot that would help me. That’s when I saw the little girl looking at me through the rear window of the SUV in front of me. I could see her shaking. As I thought I have to do something, I felt a sudden cold wet feeling on my feet. The water was coming inside my van.
I had reached the point where I had to do something. But I wasn’t the only one. I noticed that the driver of a pickup truck to my left was growing very agitated. He was clearly angry, pounding his fists on the steering wheel and moving his mouth as if shouting. I couldn’t hear his words over the sound of the water or through the glass, but clearly he had reached his breaking point. He pulled out of the fast lane to cut in front of the last vehicle before the moving water. He then pulled forward into the water. The idiot was trying to drive through it!
He made it a few car lengths out into the muddy torrent, but when the water was halfway up his doors — the truck’s bed lurched sideways and then the rest of the vehicle followed it downstream. As it slid off the roadway, the driver tried to emerge from the window. But with the window open, the water rushed in and the truck sank completely. In a matter of seconds, the vehicle and its brash driver were simply gone. Wherever he was trying to go in such a hurry, it cost him his life.
Then I heard a sound from outside, over the water’s roar. It was a high-pitched sound in front of me. I realized it was the children screaming.
I couldn’t leave that family to the same fate as the impatient driver, and time was not on my side. I opened the van door and stood up to survey the scene behind me. Numerous tractor trailers were stopped on the road behind us. There was no way they could turn around. The cars and trucks that tried to turn around in the rain-soaked median were hopelessly mired in the muddy riverine soil. I could also see that there was no higher ground or climbable trees nearby, and the flood waters were quickly filling the several square miles around us.
In the distance behind me, I saw a tractor trailer with a flatbed. I decided that would be my high ground. The water was still rising, so it was past time to move. I took off my webbing belt, one of my everyday-carry items and tied a slip knot in each end. Then I trudged through the knee-deep water to the family in front of me. As I reached the driver, I could tell that she and her kids were at their wits’ end. At first, she didn’t roll down the window, she just looked at me. Through the glass I called, “I’m here to help you!” This finally spurred her into action.
She rolled down her window and asked what I was going to do, as if still suspicious of my intent. I told her that I would take her and the kids to higher ground. With that, she was out of the car. I told her that I would carry the smallest child, a terrified little girl with braids in her hair. And that the other two kids would be tethered with my belt and we’d both hold onto that. I asked the older boy and girl to give me their hands and I secured the belt tightly around their wrists. Then I hoisted the little girl onto my back and we began to trudge through the water. The mother and I both held tightly to the center of the belt, and each kid clung to the ends of the belt. The little one held me as tightly as she could, nearly choking me until I asked her to move her arms down a bit.
The water was at my knees and the children’s waists. As it flowed past us, I felt small things hitting me. No doubt, they were bits of debris, sticks, and other junk stirred up by the water. After a few minutes, we had reached the tractor trailer I had seen, a flatbed covered in lumber. I had to smile a little. It was brand-new, soaking-wet, pressure-treated wood — some of the heaviest lumber on the market. We might as well be climbing up onto a boulder. I helped the mom and kids onto the stack, and some nearby drivers who caught on quick to this idea.
Once all the nearby flood refugees were atop the lumber pile, I finally felt my breathing return to normal. This load of lumber wasn’t going anywhere, unless the water got really high. I put that nasty thought out of my head and helped another man to climb up onto the top of the lumber stack. It was the truck driver, the steward of our improvised high ground. His unlikely passengers and I thanked him profusely for not kicking us off his load. He graciously accepted our thanks and told us that he had done another good deed.
Before leaving the cab of his truck, he had reached the state police on the CB. He had informed them of the situation and given them an idea of the large number of people in harm’s way. They said that help would be on its way very soon. I didn’t know what kind of help they could give to evacuate scores of people on short notice, but it was the best news I had heard all day. The minutes ticked by and the water rose further, lifting cars and even my delivery van, then sweeping them into the current.
I began to look at my watch and wonder when this would end. As the bed of the trailer was finally covered by water, I heard a pulsing sound in the distance. It was a helicopter, and there were several specks in the sky behind it, more helicopters! I knew they couldn’t see us, they were too far away, but instinct took over. I began to wave my hands, and so did most of my new friends.
Conclusion
Virtually every ancient culture told stories of world-ending floods. They scribed these frightening tales into clay tablets and chiseled them into stone. This was clearly a global fear to our ancestors, and flooding remains a global threat today. Fast-moving water that is only a few inches deep can knock a person off their feet and drag them to their death in deeper water. And a wall of deeper water can knock down homes and leave heavy vehicles bobbing like corks on a wave.
While we need water to live, it can ironically be the death of us as well. Whether you live in a flood-prone area, or not, it’s vital to know that you should never try to drive through a waterlogged road or walk through flowing floodwaters. And if the authorities make emergency announcements about flooding in your area, you’d damn well better listen.
How would you react to the same scenario as played out by our panel?
Share your plan with us on our Facebook page: www.facebook.com/OFFGRIDmag.
[meetourpanel]
More From Issue 13
Don’t miss essential survival insights—sign up for Recoil Offgrid’s free newsletter today.
Read articles from the next issue of Recoil Offgrid: Issue 14
Read articles from the previous issue of Recoil Offgrid: Issue 12
Editor’s Note: This article has been modified from its original print version for the web.