The following article was originally published in Issue 8 of our magazine.
You’ve seen it happen in countless movies and TV shows. The rough and tumble detective needs information on a suspect, so he calls in a favor to his computer geek pal. Said pal — often bespectacled and almost always sitting in a dark room with the only illumination coming from multiple monitors — types furiously on a keyboard for a few seconds. Then, with perhaps a final mouse click flourish, the computer expert begins rattling off everything from the suspect’s current address and full criminal history all the way down to what the thug had for breakfast that morning and the color of his underwear.
I’ve been a licensed private detective for about 15 years now, and I can tell you from practical experience that it isn’t always quite that easy. But, you don’t need a detective license or a hacker sidekick to do some basic background checking.

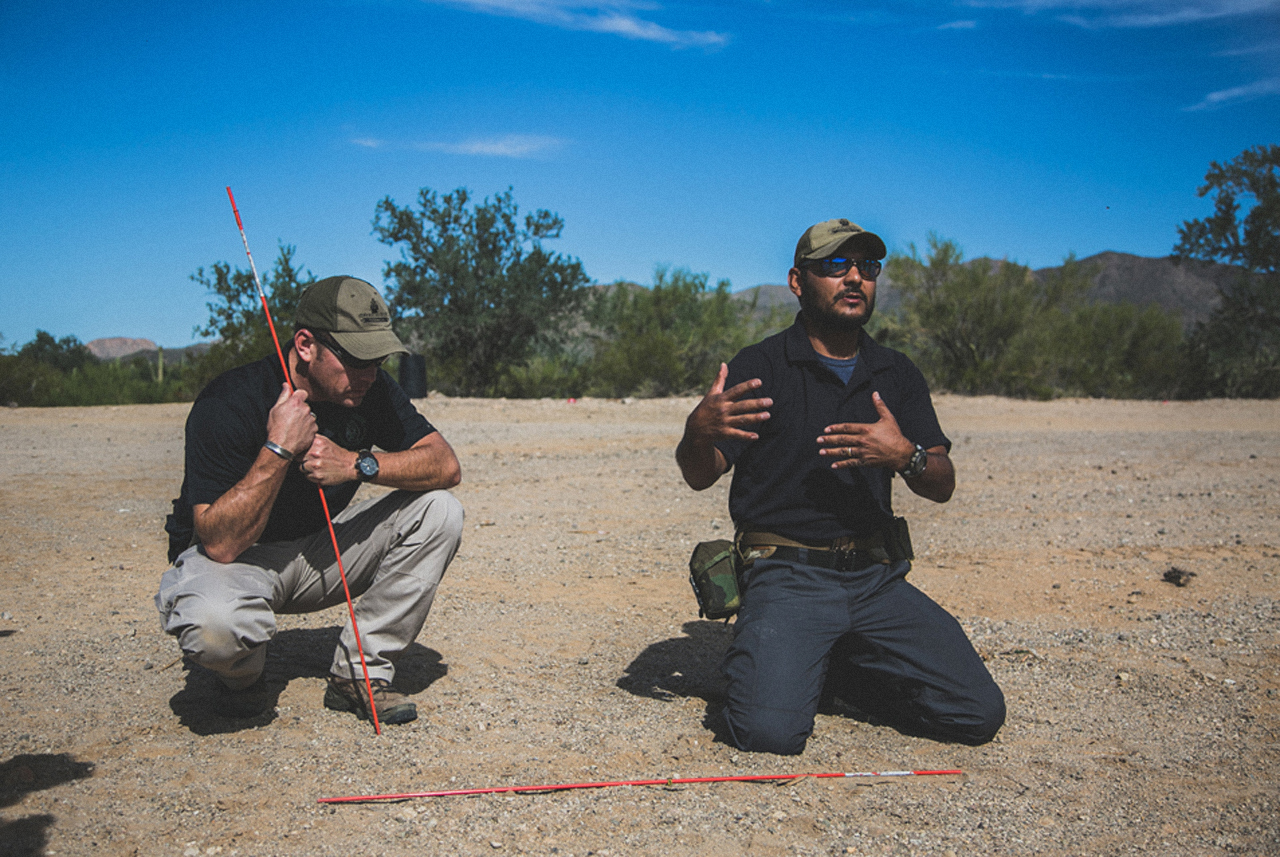
Here’s the thing. If you’re going to allow someone to become a member of your survival group, that’s almost the same as asking them to be part of your family. If you don’t already know them extremely well, it’s wise to do some checking, just in case.
Most survival groups are started by a core group of people who likely have known each other for years. If they aren’t family to one another, they’re probably hunting buddies, co-workers, or just friends since grade school. Generally speaking, no worries with those folks. But, as the group develops, more people may be invited to join from time to time. It’s these new folks who should be thoroughly vetted before becoming full-fledged members of the group. Remember, you may very well be entrusting your life with these people. It only makes sense to be certain they are trustworthy.
Also, there is little to no need to be secretive about this. In fact, it’s prudent to explain to prospective group members that a background check is part of the vetting process. If someone balks at that or becomes offended, odds are they probably wouldn’t have been a great fit for your group anyway.
The information you’ll need to conduct a basic background check includes, at a minimum:
- Full name
- Date of birth
- Current address
- Email address(es)
Again, if they’re reluctant to provide any of that very basic information, that in and of itself should be a red flag.
There are three basic areas involved with doing a background check. All are equally important and none should be overlooked.
Criminal History
Court cases — both criminal and civil (which we’ll get to shortly) — are matters of public record, with few exceptions (i.e. juvenile records, files sealed by court order). We can divide criminal offenses into three categories: felony, misdemeanor, and ordinance violations. Felonies are the most serious, of course, and those facing such offenses are looking at the potential of more than a year in prison if convicted. Misdemeanors are less serious crimes, but still carry the possible penalty of up to one year in jail. Ordinance violations are essentially tickets and involve paying a fine, but no confinement.
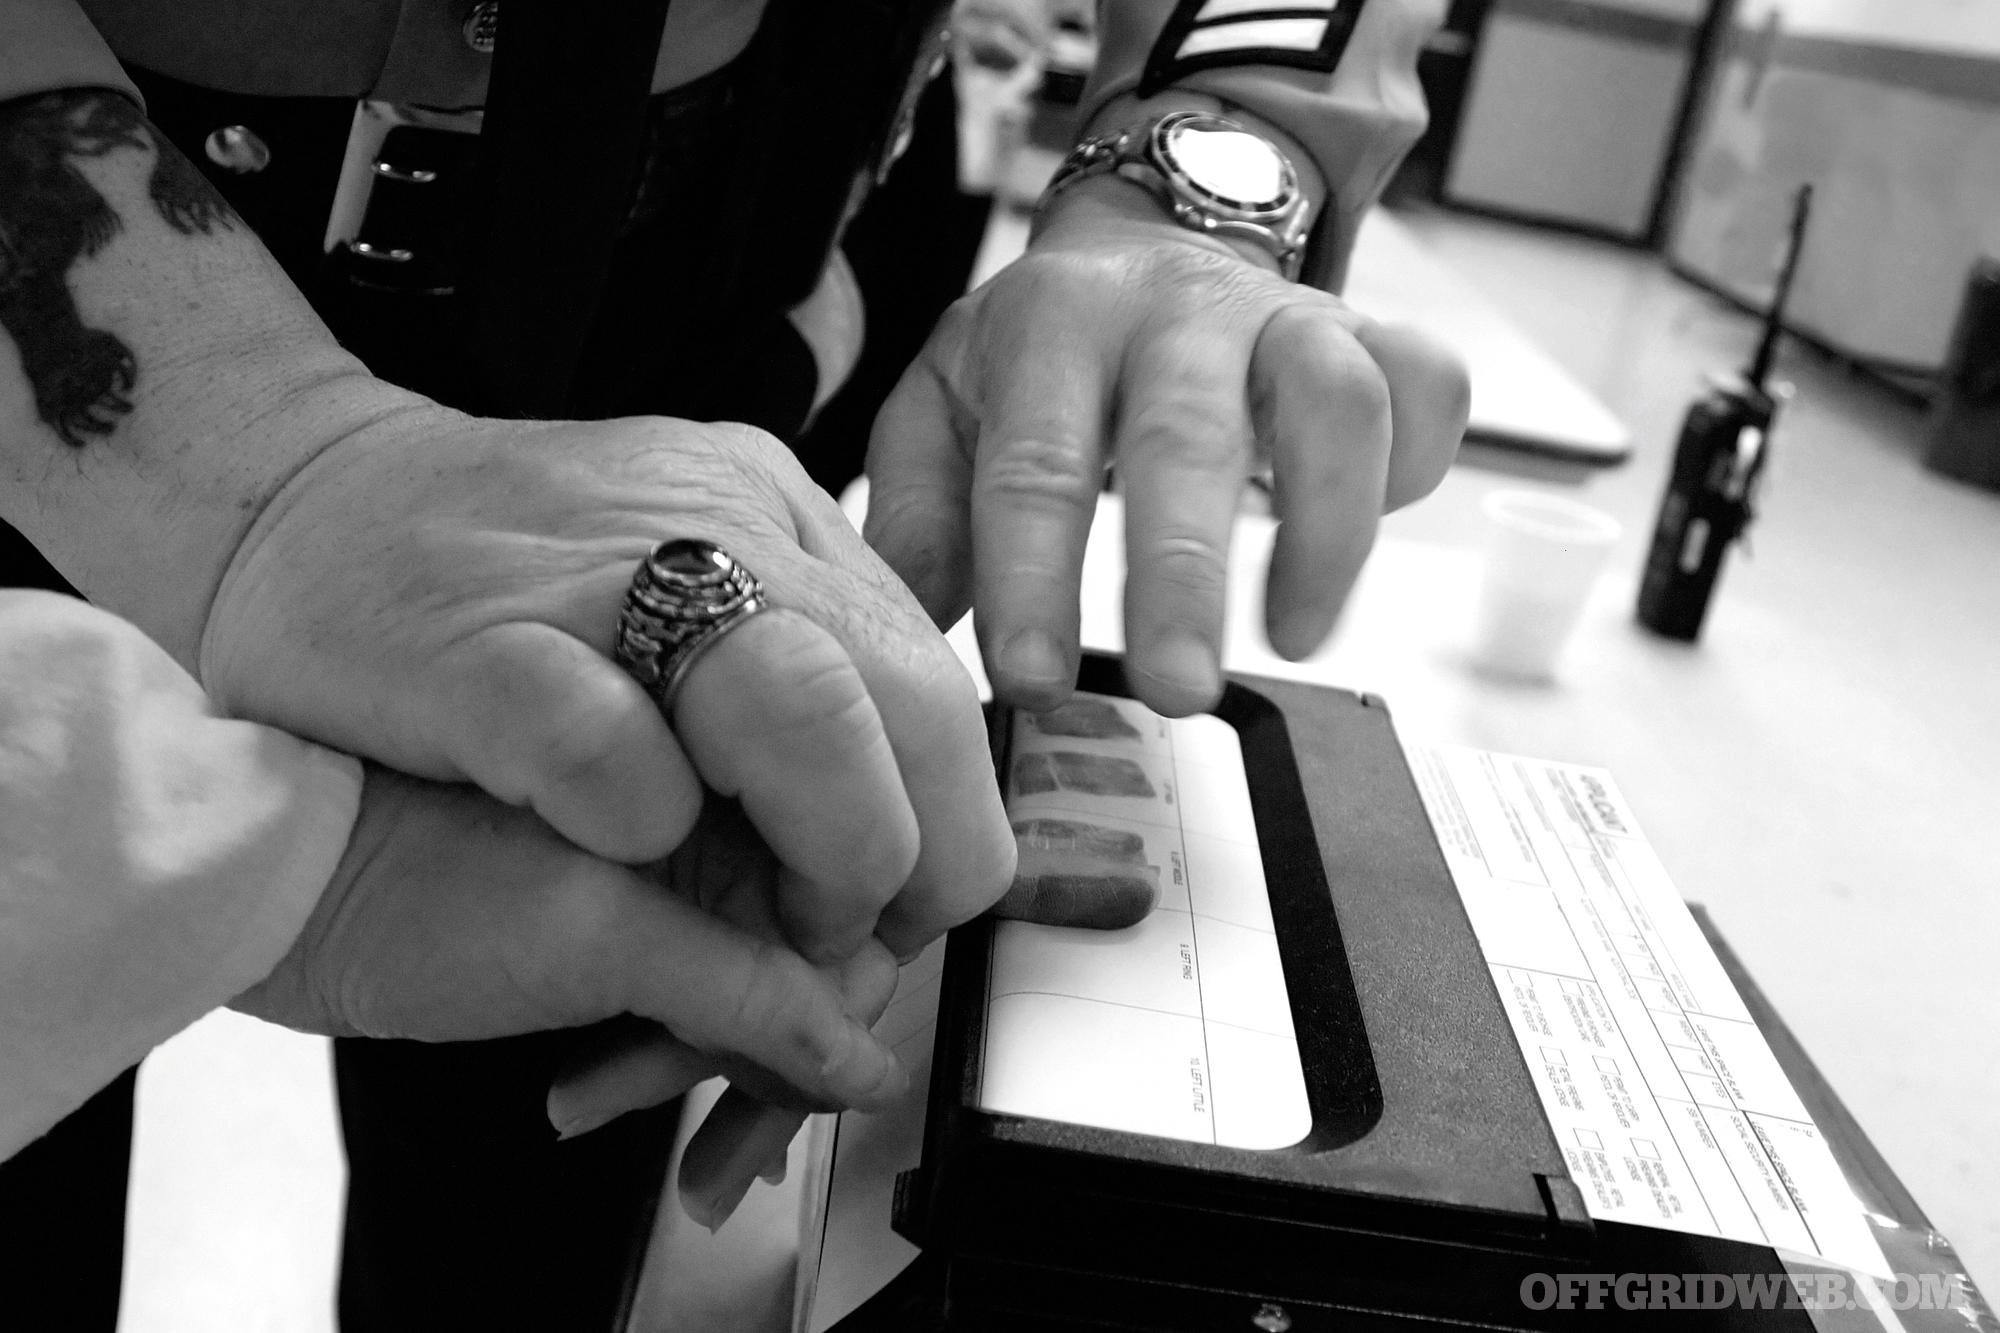
You’ll find the felony and misdemeanor information at the county courthouse. While most states have this information available online, if you’re not already familiar with the computer database system being used, it’s a good idea to drive down to the courthouse and visiting the circuit clerk’s office. While some states use systems that are easy to understand and navigate, others can be complicated, filled with acronyms and abbreviations that make little sense. Provided they aren’t swamped, most clerks are exceptionally friendly and helpful. All they ask in return is that you be polite, patient, and attentive.
Search for your subject by name and see what pops up, if anything. Be sure to search for common nicknames, too, such as both Robert and Bob. If any criminal offenses are found, use the subject’s date of birth as a check to verify whether you’re looking at the right person.
Keep in mind that the database you’re searching will probably list all criminal cases, whether the person was convicted or not. So, you’ll want to check the records and see if the person was indeed found guilty and, if so, what the penalty was, such as a fine, imprisonment, probation, and/or court-ordered counseling. Here in the United States, you’re innocent until proven guilty.
While courthouses will have the full files on felony and misdemeanor cases, they probably won’t have information relating to ordinance violations. Most of those records never leave the municipality where they occurred. For example, if your subject had been caught shoplifting and received a ticket for it, that record stays with the police department. So, you’ll need to file a Freedom of Information Act (FOIA) request. Send it to the police department that handles the area where the subject lives and where he or she works, if it’s a different jurisdiction.

Simply send a letter to the police department asking for any records involving your subject. Identify the subject by full name and date of birth. You’ll need both of those bits of information for them to do the search. State that you are requesting a summary of the records maintained by the police department that involve your subject. This tells them that you’re not requesting copies of entire files, which could be costly. Address your letter to the FOIA officer and send it off. Most departments will respond within a couple of weeks. If any records are found, they will give you a list of them and you can then follow up by requesting full copies of those files if need be.
Be forewarned, some departments may charge you a small fee to run the search, and all departments will certainly charge you for any copy fees. In your FOIA requests, we suggest including your phone number and email address, asking them to please contact you immediately regarding any potential fees so you can take care of them right away. You could, of course, call the police department first and ask about search fees.
Civil Records

While you’re at the courthouse, you can search for civil records involving your person of interest. In fact, many court record databases will search both criminal and civil files at the same time. When we talk about civil records, we’re talking about things like lawsuits and divorce filings.
Civil records may not include the subject’s date of birth, though, so you’ll need to use your head a bit to ascertain whether a particular case truly involves your subject rather than someone else with the same name. A little bit of common sense goes a long way in that regard.
For our purpose of vetting someone prior to admitting them to the survival group, a long history of being sued for bad debts is one red flag. It may be a sign of irresponsibility. Another red flag is finding several files where your subject has sued others. We don’t mean perhaps once or twice, but a half dozen or more recent cases. Take the time to research those files and see what’s being going on. The subject might very well have had valid claims. On the other hand, frivolous suits filed over and over could indicate this person might be a bit…difficult.
Divorce files can provide a treasure trove of information, such as former names and addresses, as well as places of employment. This information could lead you to further searches, uncovering records the subject might rather have stayed hidden. That said, when reading the divorce file, take with a grain of salt any claims of abuse unless you find a corresponding criminal case. In some states, it’s quite common to claim things like, “mental cruelty” as grounds for divorce just as a matter of course.
Internet Profiling

Now we move into the more esoteric and subjective part of doing a background check. Fire up your favorite search engine, start plugging in the information you know about your subject, and see what turns up. Start by searching their email address. Then, search their phone number. Either one may lead you to any number of hits, such as perhaps a classified ad posted online where they were offering to sell something — maybe something illegal.
Search your subject by name, which admittedly will likely lead to thousands of hits. Briefly scroll through the hits and see if anything jumps out at you as involving your subject. This can be time consuming, yes, but it can also be very rewarding. You never know what you might find. Could be your subject has a habit of trolling message boards and other websites. While not a huge deal, this might indicate some deep-seated resentment or hostility that could become a problem later within your group.
Check out the social media accounts used by your subject. Facebook is obviously the most popular, but there are others out there, too, such as Instagram and Pinterest. If need be, ask one of the teenage members of your group to assist with this part of the background check. Read through what the subject has posted to his Facebook wall and such. You might find some serious differences in opinion between the subject and the other members of your group, differences that could lead to heated arguments later.

Scam Alert!
Despite what you’ll see advertised online, there is no central database that you can search for criminal records in every state and county in the country. It just flat out doesn’t exist. There are counties out there that aren’t online at all or whose records aren’t accessible in any way other than a human being standing in the clerk’s office doing a search.
I’ve always found it prudent to get my information from as close to the original source as possible. Therefore, going to the county courthouse where the records are stored is far better than trying to access a database that might contain errors.
The only way you’re ever going to get a reliable nationwide criminal records search is to pay upwards of thousands of dollars for investigators to hit every single county courthouse in the country. Anyone telling you otherwise is simply running some sort of scam.
Sex Offender Registries
One online source you should absolutely not overlook is the sex offender registry. Each state maintains one and is also supposed to pass along the information to the national registry. Check both the national registry as well as the one for each state you know the subject has lived in for any length of time. Better to be safe than sorry, and it really only takes a few minutes to check them all.
The National Sex Offender Public Website is www.NSOPW.gov. You can find the state registries by using your favorite online search engine.
Conclusion

It’s important to keep in mind that you’re not doing the background check as a means of passing judgment on the type of person your subject might be. Instead, all you’re doing is checking to see if they’re likely to be a valuable member of your group, one who will get along with the others and become a contributor rather than a handicap — or worse.
We all have proverbial skeletons in our closets. We’re all human and we’ve all done stupid stuff, but when we’re talking about a survival group, each and every member has to be someone everyone can trust and who won’t intentionally place anyone in danger. That’s important enough to warrant doing some homework on the person.
About the Author
Jim Cobb is a recognized authority on disaster preparedness. He has studied, practiced, and taught survival strategies for about 30 years. Today, he resides in the upper Midwest with his beautiful and patient wife and their three adolescent weapons of mass destruction. His books include Prepper’s Home Defense, Countdown to Preparedness, and Prepper’s Long-Term Survival Guide. Jim’s primary home online is www.survivalweekly.com. He is also active on Facebook at www.facebook.com/jimcobbsurvival. Jim offers a consulting service as well as educational opportunities at www.disasterprepconsultants.com.