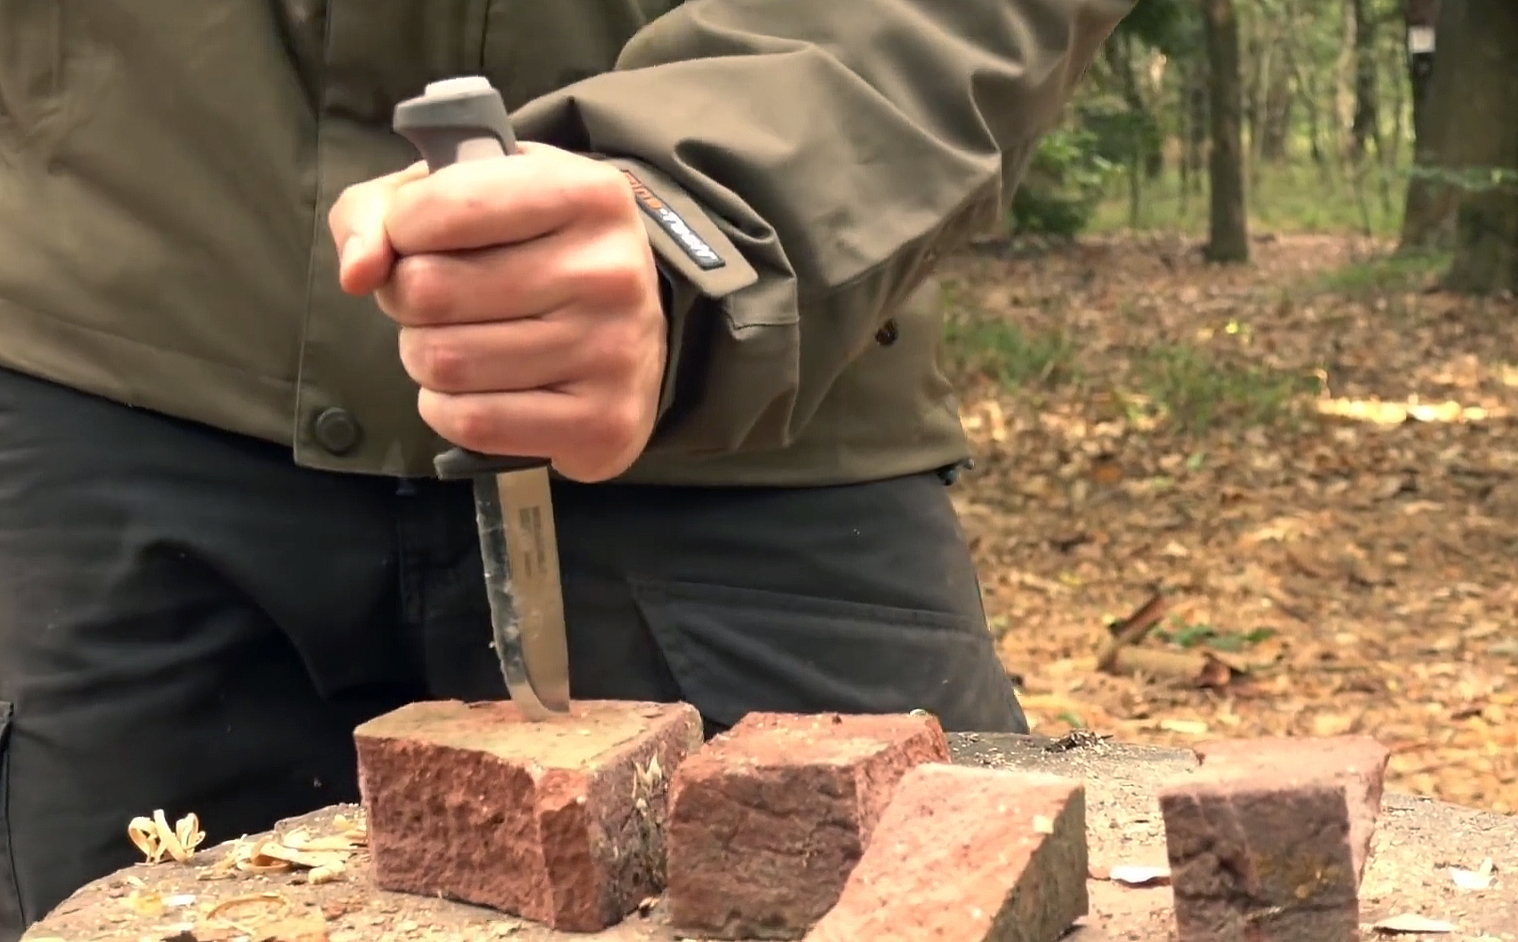
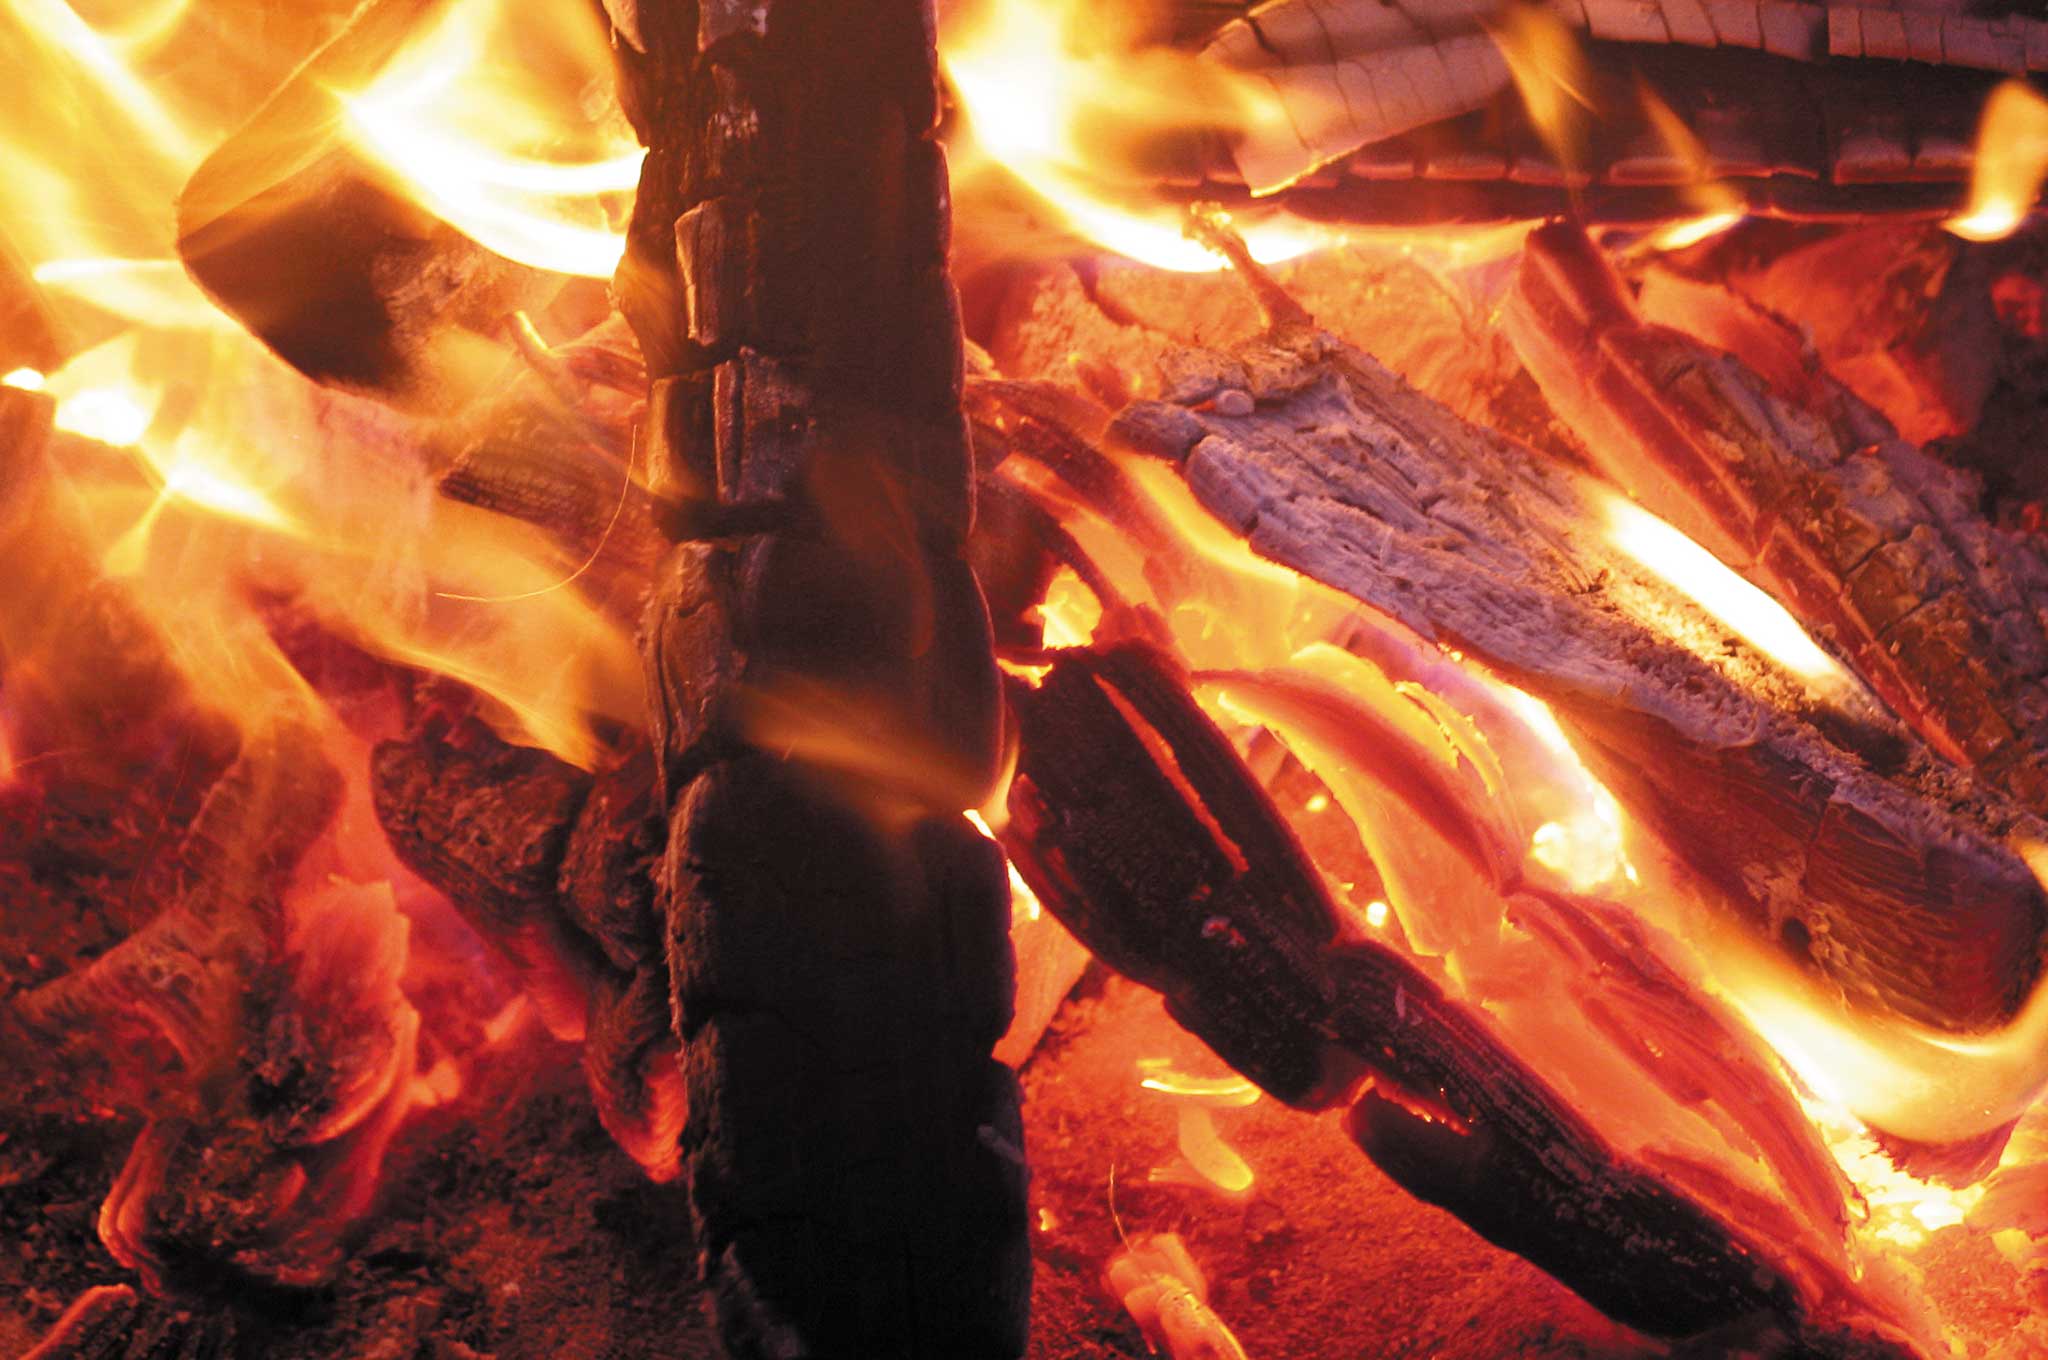
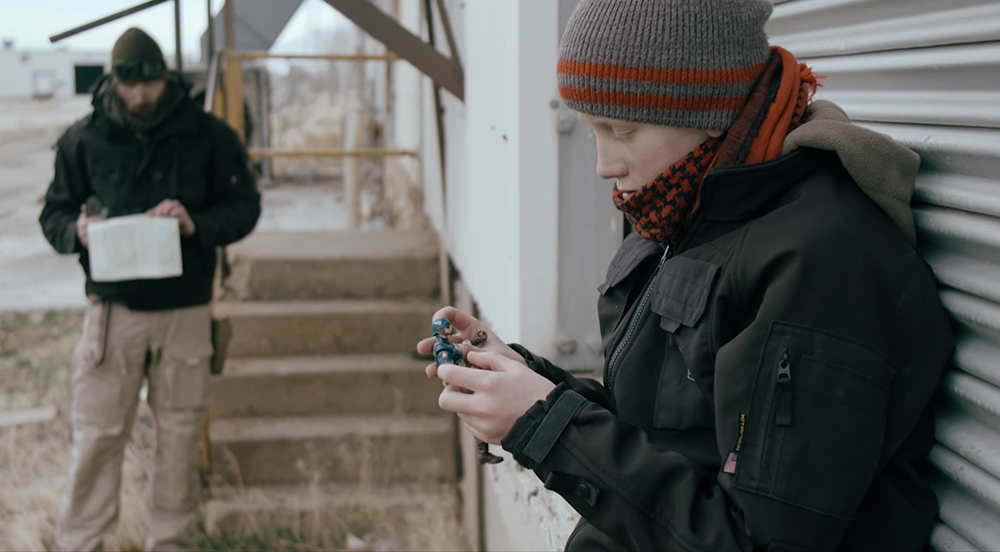
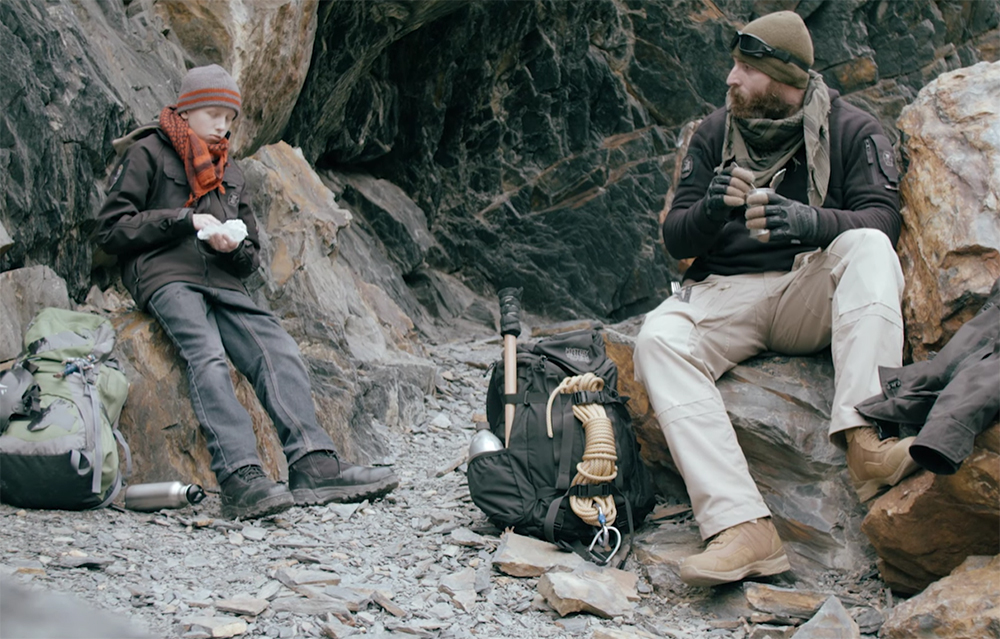
Photos courtesy of Discovery Channel
Yup. You know it’s bad when the least of your worries are the 30 flies on the tip of your dangly bit (aka man part). This was my reality as I stood before a stranger, naked and half a world away from home — 9,000 feet up on the edge of the Himalayan Mountains in India. This was survival at its core. The whole situation was set up for anyone, no less an avid survivalist, to fail. No food. No water. No clothing. No shelter. On foreign soil with nothing but one tool and the help of a person I’d never met before.
If you’re wondering what I’m talking about and why a person would ever be in a situation like this, the simple answer would be that I was on the hit Discovery Channel show, Naked and Afraid.
As an avid outdoorsman and survival enthusiast, I naturally jumped at an opportunity to try out for this challenge. As a U.S. Army veteran and a modern-day ninja (no, really, I’m a ninjutsu black belt), it’s a part of my growth plan to continually push myself to discover new aspects of my human potential. That’s why I did the show — twice. Both experiences pushed me beyond previous limits and offered deep lessons in survival and self discovery.
In addition to the personal lessons, I learned much more about survival than ever before, mostly unaddressed in any book I’d read in any class I’d attended. For these reasons RECOIL OFFGRID asked me to give you the top four lessons I learned being on Naked and Afraid. Whether you’re making plans to live completely off the grid or you’re just a casual hiker who wants to prepare for worst-case scenarios, you’ll no doubt find some valuable information below.
Lesson 1: Nothing Matters, But Life and Your Reasons for It
People ask me all the time how it was seeing my partner nude and if there was ever a time I stopped to check her out. The first point I make here is that I’m a married man so that was never going to be an issue. Then I’m quick to explain the reality of why, even if I wasn’t married, this would never be an issue.
It goes back to Maslow’s Hierarchy of Needs. Maslow explains that there are certain things a human needs before they are capable of thinking about procreation — and that includes the thoughts that precede it, such as lust. I learned about this in depth as a psychological-operations sergeant in the Army, as Maslow’s concepts were a big part of our methodology. However, once I was naked in the wilderness with a person I’d never met, these concepts took on a whole new meaning.
It was around 2 p.m. in India when my partner and I met for the first time. We had six hours before nightfall, when it would become extremely cold. We had to move further up the mountain, find a far-off location, build a shelter, gather materials for a fire, and start that fire.
There was no time to think of anything other than what the heck I got myself into, how the heck to survive, and what skills my partner had. In each question, the root was all about staying alive. It’s easy for a person watching to think of the sexual side of things, as they have all the basic comforts met (hence, why they’re even watching television). But for us it was only about survival.
The Takeaway: If you ever find yourself in a survival scenario, you’ll go through an overwhelming amount of emotions. However, also know that your body will eventually unify with your mind toward taking steps to get what it needs. You’ll find that the only things that occupy your thoughts are what you need, how to get it, and why you need it. This is of some comfort to know when you’re lost. However, it’s also important to understand that without training and proven solutions for gaining the things you need to survive, you’ll fall short and your natural, programed instincts may not be enough. So, start learning, prepping, and practicing now.
Lesson 2: Game Plans Are for Losers
When in a real survival situation, it’s important to know that books can’t help you, opinions don’t matter, and the rules are flexible. There’s no real strategy when dealing with nature, because natural laws are beyond logic.
I went into my first Naked and Afraid challenge with a whole lot of plans. I had a foolproof strategy that I practiced. On the first day I was going to make shoes and a fire. On the second I would make a shelter. On all days I would keep an eye out for a good water source, but on the second and third I would dedicate most of my time to finding it. This of course sounded good and tested well on my home turf where I was fully fed, mostly clothed and acclimated, but in a foreign land at an elevation I wasn’t used to, nothing went as planned.
There was no preparation for how Mother Nature responded. With only hours to spare after meeting my partner, there was no time to make shoes. I could feel how cold it was getting, and we knew we would need a fire. Furthermore, I could see the clouds moving in and thought it might rain. Therefore my partner and I not only knew we needed water but also to keep dry and warm, so we needed a shelter.
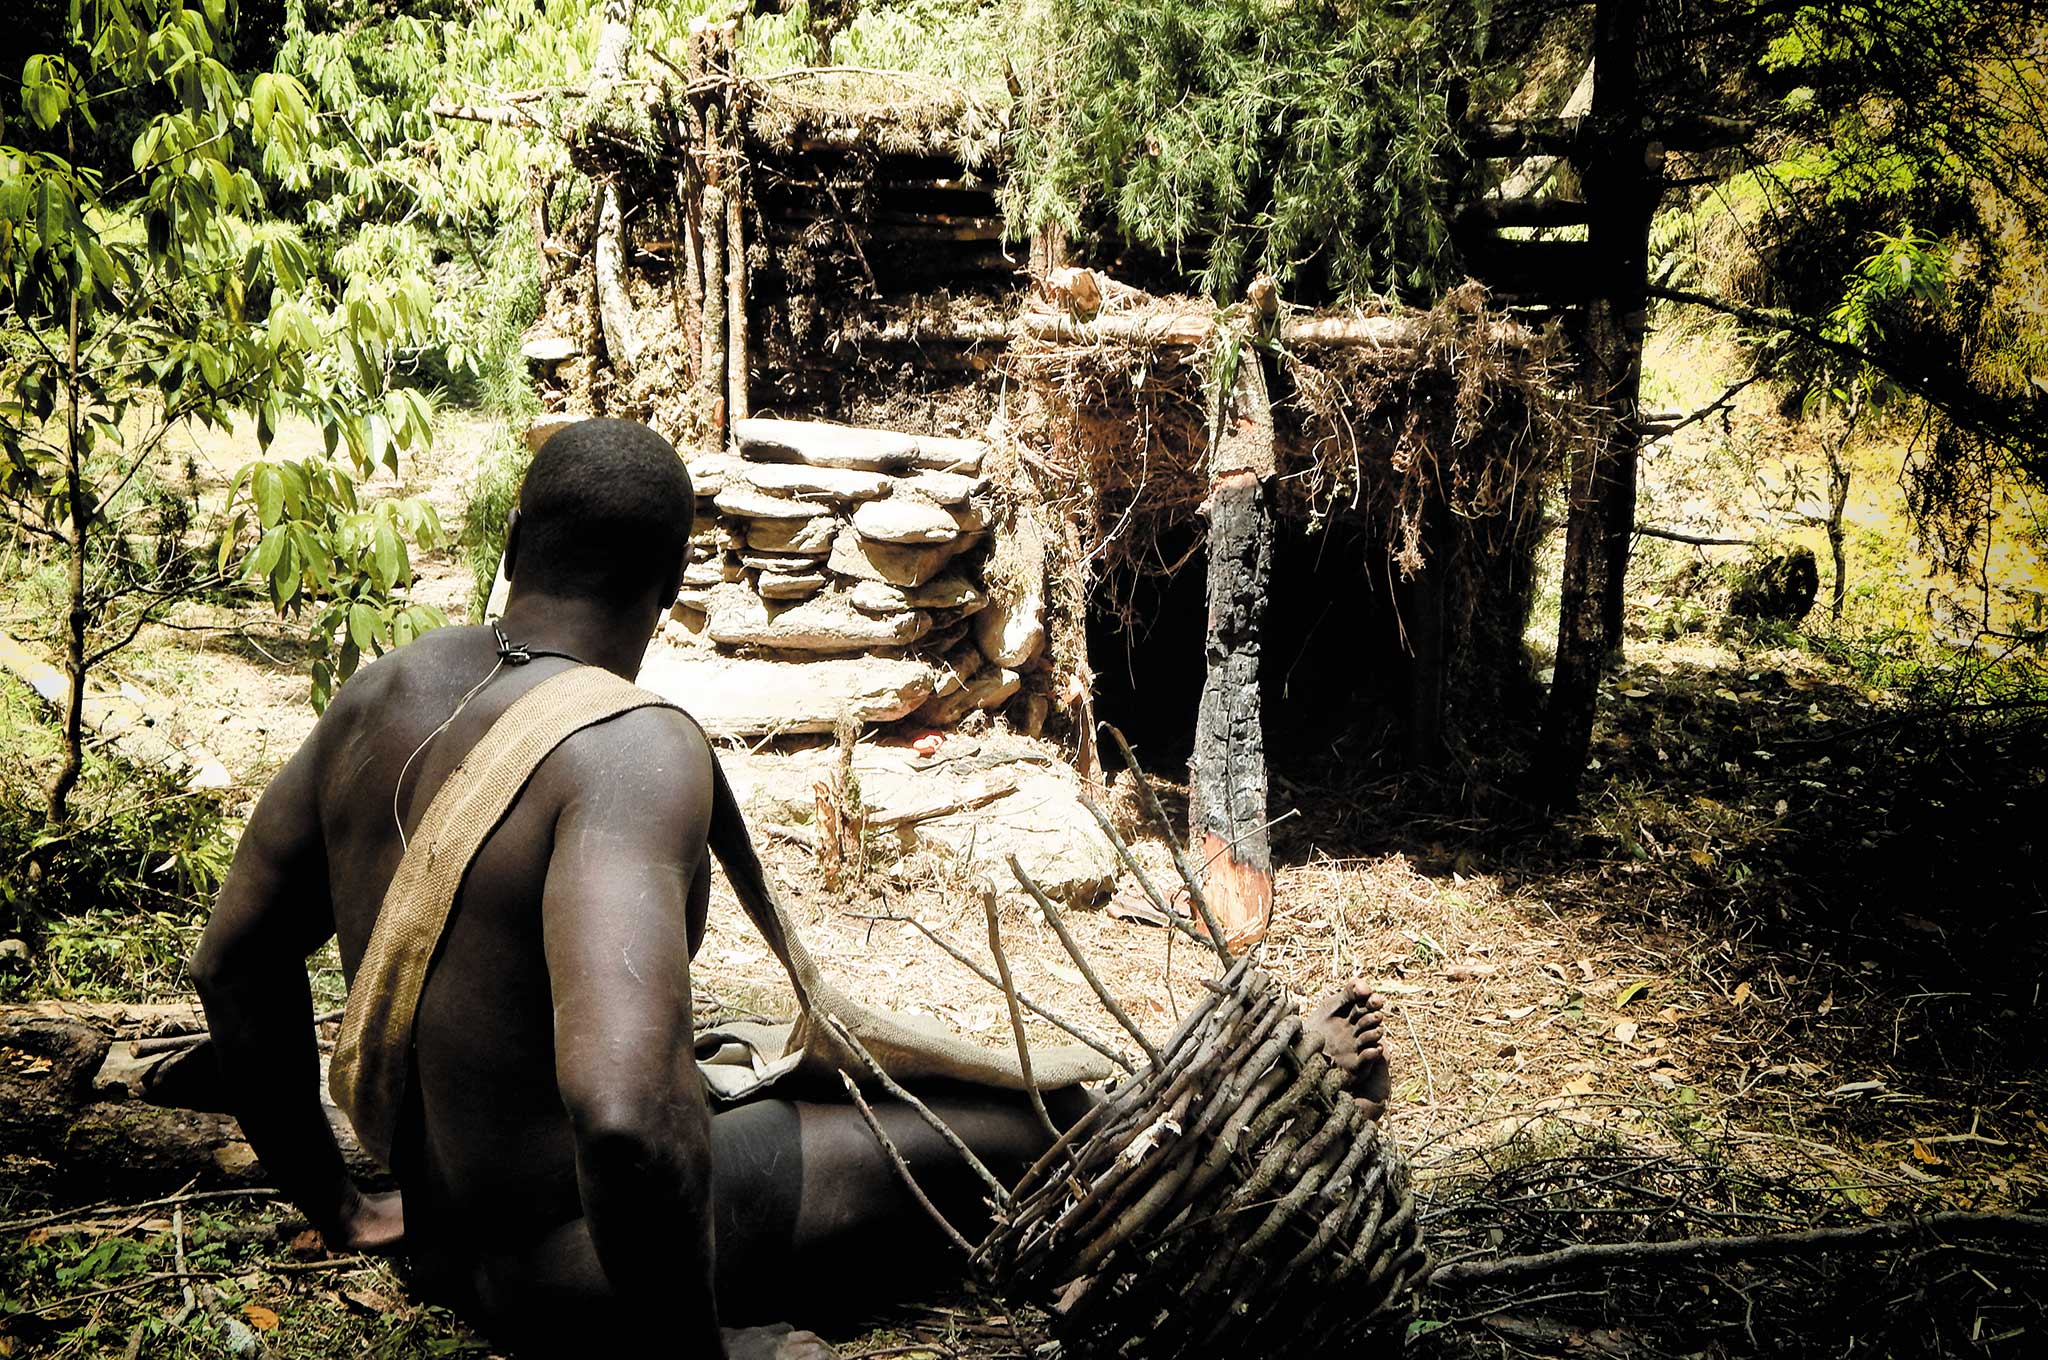
So let’s recap: Six hours to do a major trek without shoes and clothes, collect firewood, collect shelter material, build a shelter, and then start a fire and keep it going through the dead of night so we didn’t freeze — I never dreamed it would be like this. I hadn’t adequately studied or trained for the situation we faced, and I had few people in my life who could’ve warned me. I was in the worst-of-the-worst scenarios. Needless to say shoes never came up in those first three days.
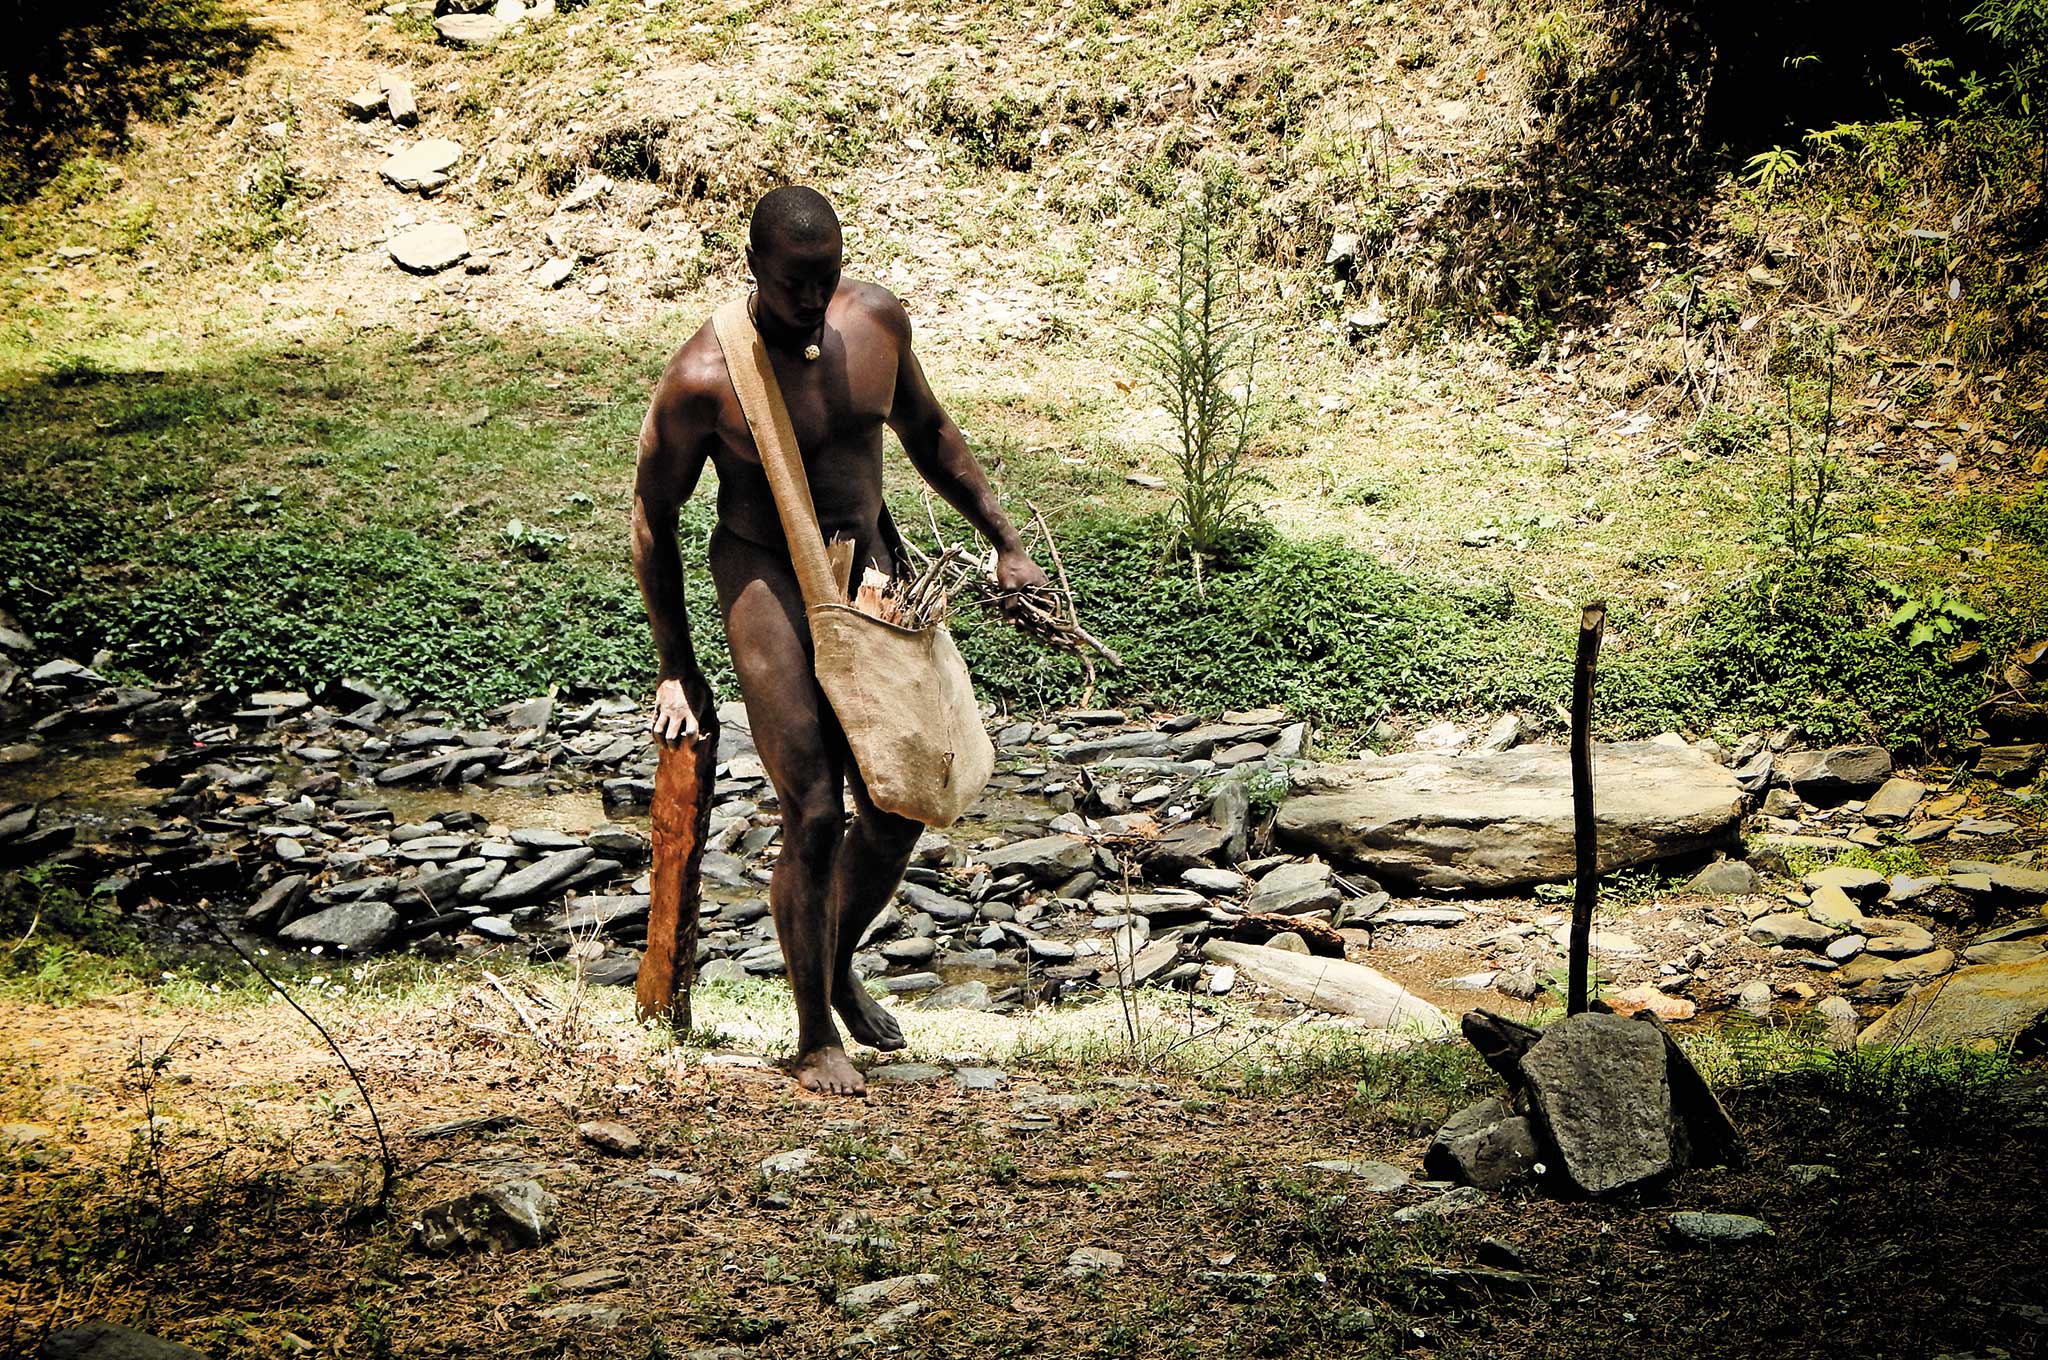
As a matter of fact, we stayed behind the curve and spent most days gathering firewood, improving our shelter, rehydrating, and looking for food.
Clothing and shoes seemed so unimportant when we had little physical and mental energy to allocate. We focused on the things that helped us stay alive, not the things that brought us extra comfort or ease. Again, this was a strategy born out of necessity, and the reality of the situation wasn’t based on preformed strategies from others or principles existing outside of the there and then.
The Takeaway: Like a scientist or an engineer, you learn good principles and textbook knowledge in school, but when you go out into the real world, the principles act as guides not gospel. The actions you take often transcend book knowledge, relying only upon aspects of the principles for adaptive and creative problem solving. This is what you need to truly survive.
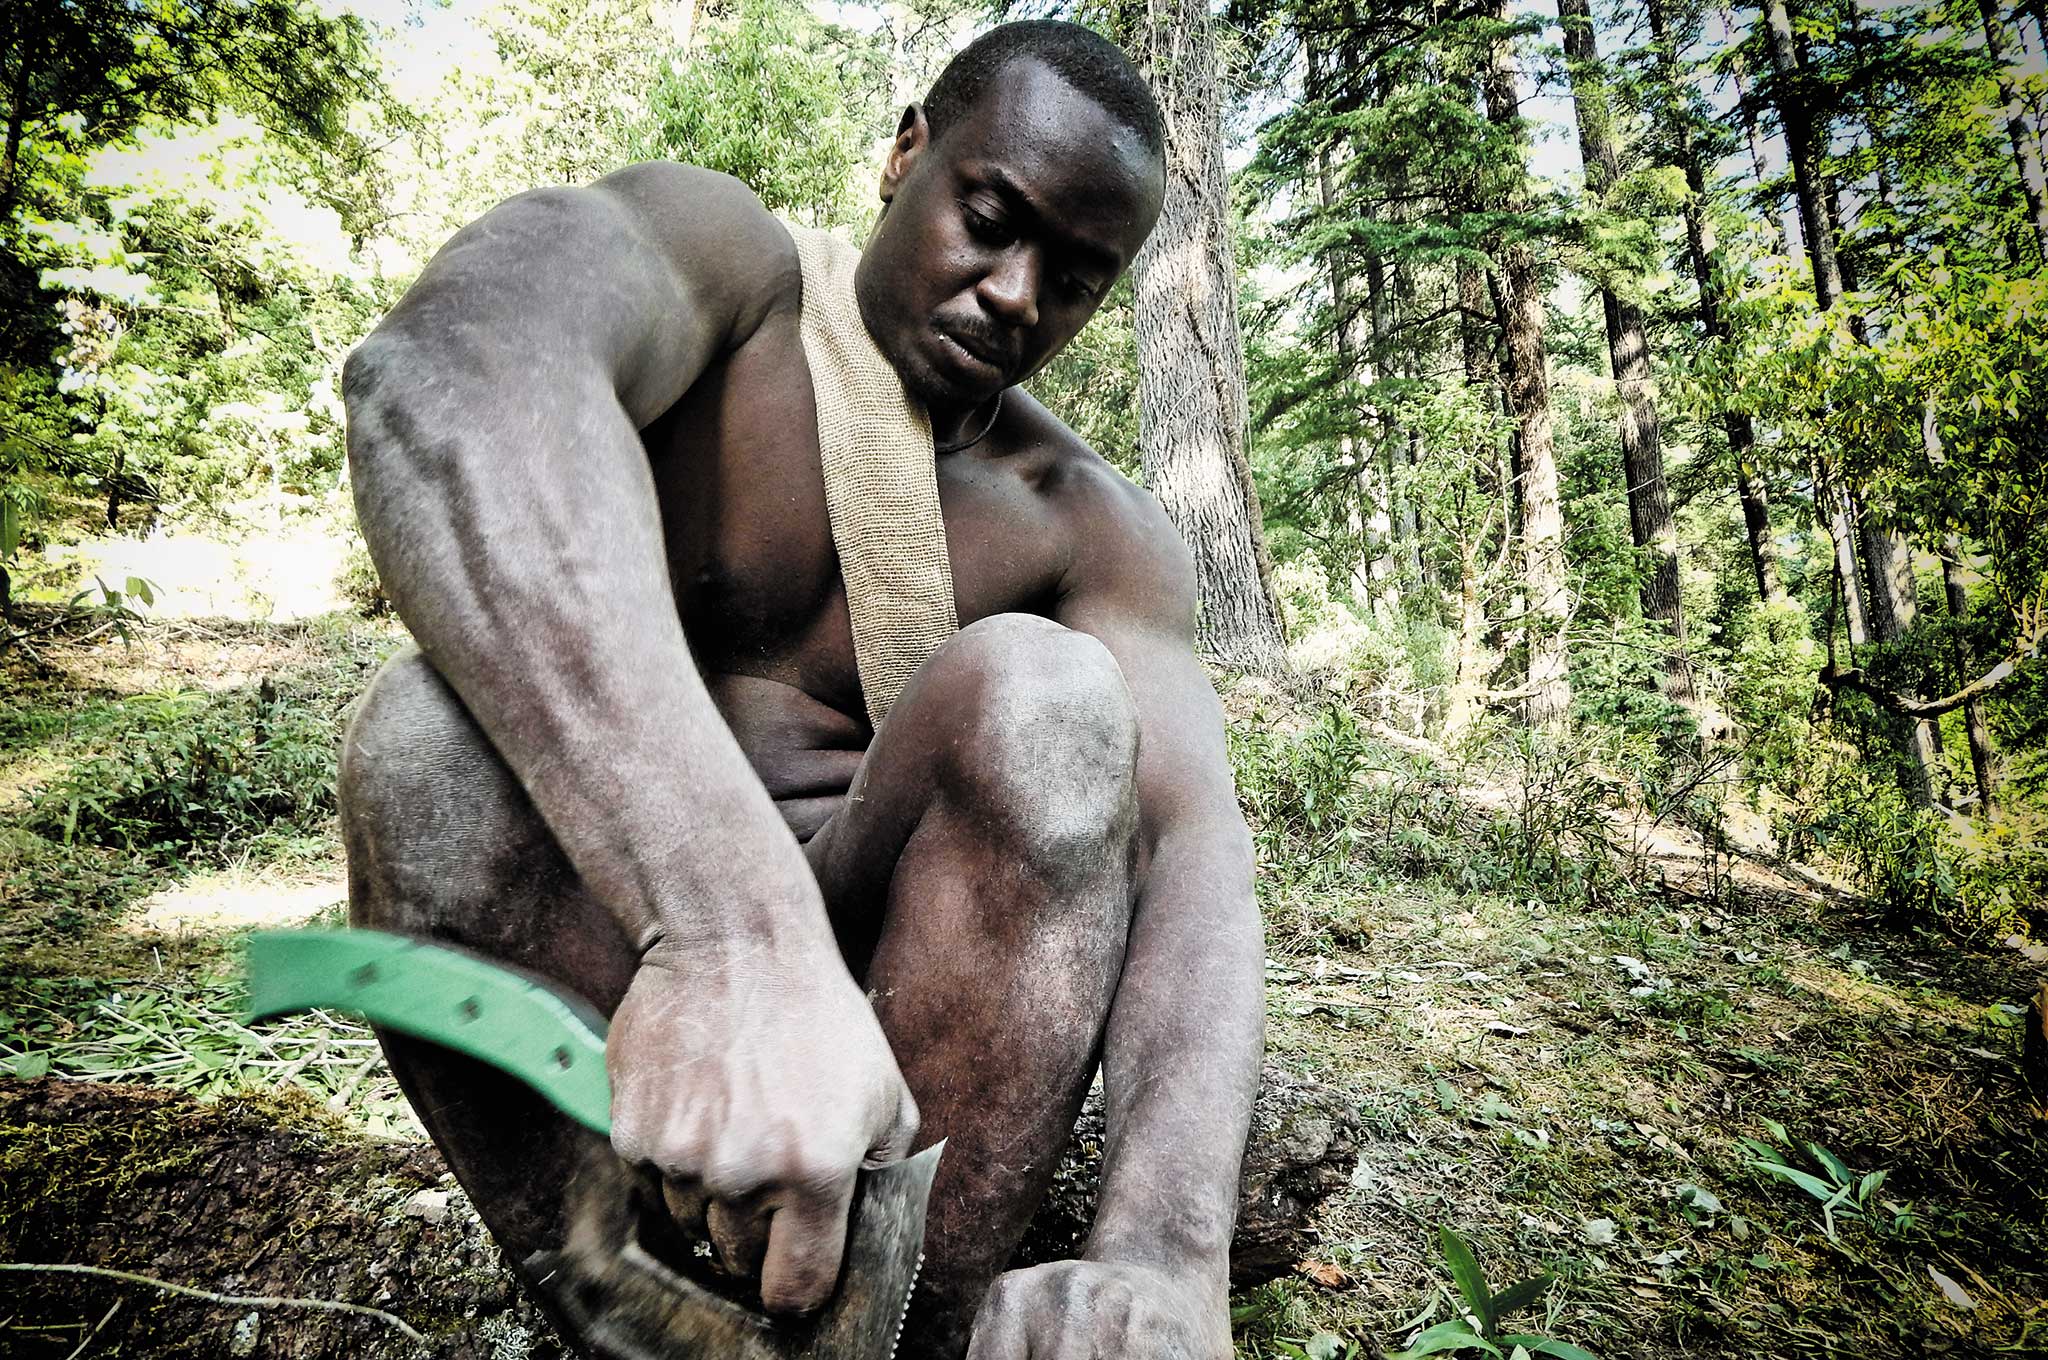
Lesson 3: Shoes Are Like Time Machines and Bare Feet Are Like Microscopes
The “Why didn’t you make shoes?” question is one I hear a lot. I mostly covered why I didn’t make shoes in Lesson 2, but just to make another point — shoes are awesome! Hear me clearly: If you can have shoes, have them. Shoes are truly like time machines.
What I mean by this is that everything happens faster when you have them. Because we grow up in a predominately footwear-oriented society, it’s easy to take for granted how much they facilitate comfortable travel. In the wilderness, three minutes of movement with shoes is probably equal to 10 or 15 minutes without them. This is mostly due to pain, and secondly, due to the threat of pain from stepping on thorns or things that could bite you.
There are pros and cons to walking with and without shoes. The pros are that you travel faster and your feet are protected from bugs, reptiles, and the elements. This, of course, allows you to get more done in less time. On the contrary, because you can move so fast, it’s easy to miss things. You tend to not move as carefully, making you more vulnerable to other potential injuries and also creating the potential to overlook important opportunities in your surroundings.
When you’re barefoot, you have no choice but to slow down. Your movements are strategic and methodical. This is a time suck in a situation where you’re fighting the clock; however, it’s a potential gift when learning your landscape and how to survive in it. Your whole being becomes like a microscope, forcing you to survey the ground in your immediate vicinity as well as several feet ahead.
This, of course, helps with gathering and hunting. With every step, your feet connect you with the earth, giving you bio feedback that speaks to your primal side. That part could sound a little hokey, and, in truth, it’s hard to understand, much less believe, until you experience it.
The Takeaway: The lesson here is, if you can help it, wear shoes, but slow down unless you have to hurry. Pretend your feet are bare and absorb your environment. You’ll learn and see things you wouldn’t otherwise.
Lesson 4: Dirty Is the Same as Clean in the Natural World
In my first few days in the Himalayan wilderness, I tried to stay clean. I understand the importance of hygiene in a survival situation. After several days of looking for food and living in wild with no real success, I had an epiphany. I realized that my partner and I were unnatural invaders in this natural landscape. Although we tried hard to blend with the environment, our own desires for cleanliness worked against us.
It was similar to a hobo coming into a pristine mansion and setting up in the living room, never showering and never cleaning up after himself. The level of disruption created would not be overlooked or accepted. This was what we were doing in the wilderness.
The chemicals in and on our bodies flooded the environment. The lack of subtlety in our movements rippled like mini earthquakes. Everything knew we were there. In the wilderness, dirty is clean and clean is dirty. We failed to understand this, and it made it hard to find real food. I found that, as time went on, there was a reawakening of my natural primal understanding. On the second week of the 21-day stint I found that these lessons reacquainted themselves with me.
The Takeaway: The average person understands this concept to some degree, as hunters use scent dampener and camouflage to hide their presence. The environment will do this for you naturally if you let it. The more time you spend outdoors, the more you’ll find that your body will purge itself of the impurities in your system.
You’ll then start to naturally take on the attributes of your environment. You’ll no longer be an individual entity, absorbed by the landscape. Your natural inclination will be to fight it, but this will only waste time and energy and, in the long run, hinder your ability to get what you need to survive. I’m not saying not to clean your teeth or wash yourself at all — just don’t obsess over it like we do in our regular lives.
Conclusion
At the outset of this story, you were probably thinking, What could be worse than having a bunch of flies on your frank and beans? Armchair survivalists might have watched some TV shows or read a book and thought they could critique the performance of a person half a world away on how to survive when they were at the lowest level of Maslow’s Hierarchy. Hopefully with just these few lessons, they’ll learn that there’s more to survival than regurgitating textbook solutions.
There’s the will of nature, the will of a beast, and the discovery that you don’t know sh*t. However, with humble acceptance, trained knowledge, flexibility, and strong determination, you can survive even the worst of conditions.
About the Author
A former psychological-operations sergeant with the U.S. Army, Hakim Isler is the designer of several wilderness survival products and the owner of Elevo Dynamics, the first “Dojym” (a 24-hour gym and martial-arts facility) in the United States. He is also the founder of the SOIL Foundation, a nonprofit that offers off-grid training and excursions to help veterans, law enforcement, and civilians recover from anxiety, depression, and PTSD. Additionally, Isler is a fourth-degree black belt in To-Shin Do under Stephen K. Hayes, an instructor in the Filipino combat system of FCS Kali, and the author of Modern Hand to Hand Combat.
www.TheSoilFoundation.org
www.BlackMacGyver.com
www.ElevoDynamics.com
Naked and Afraid airs on Sundays at 10 p.m. EST on the Discovery Channel. www.discovery.com