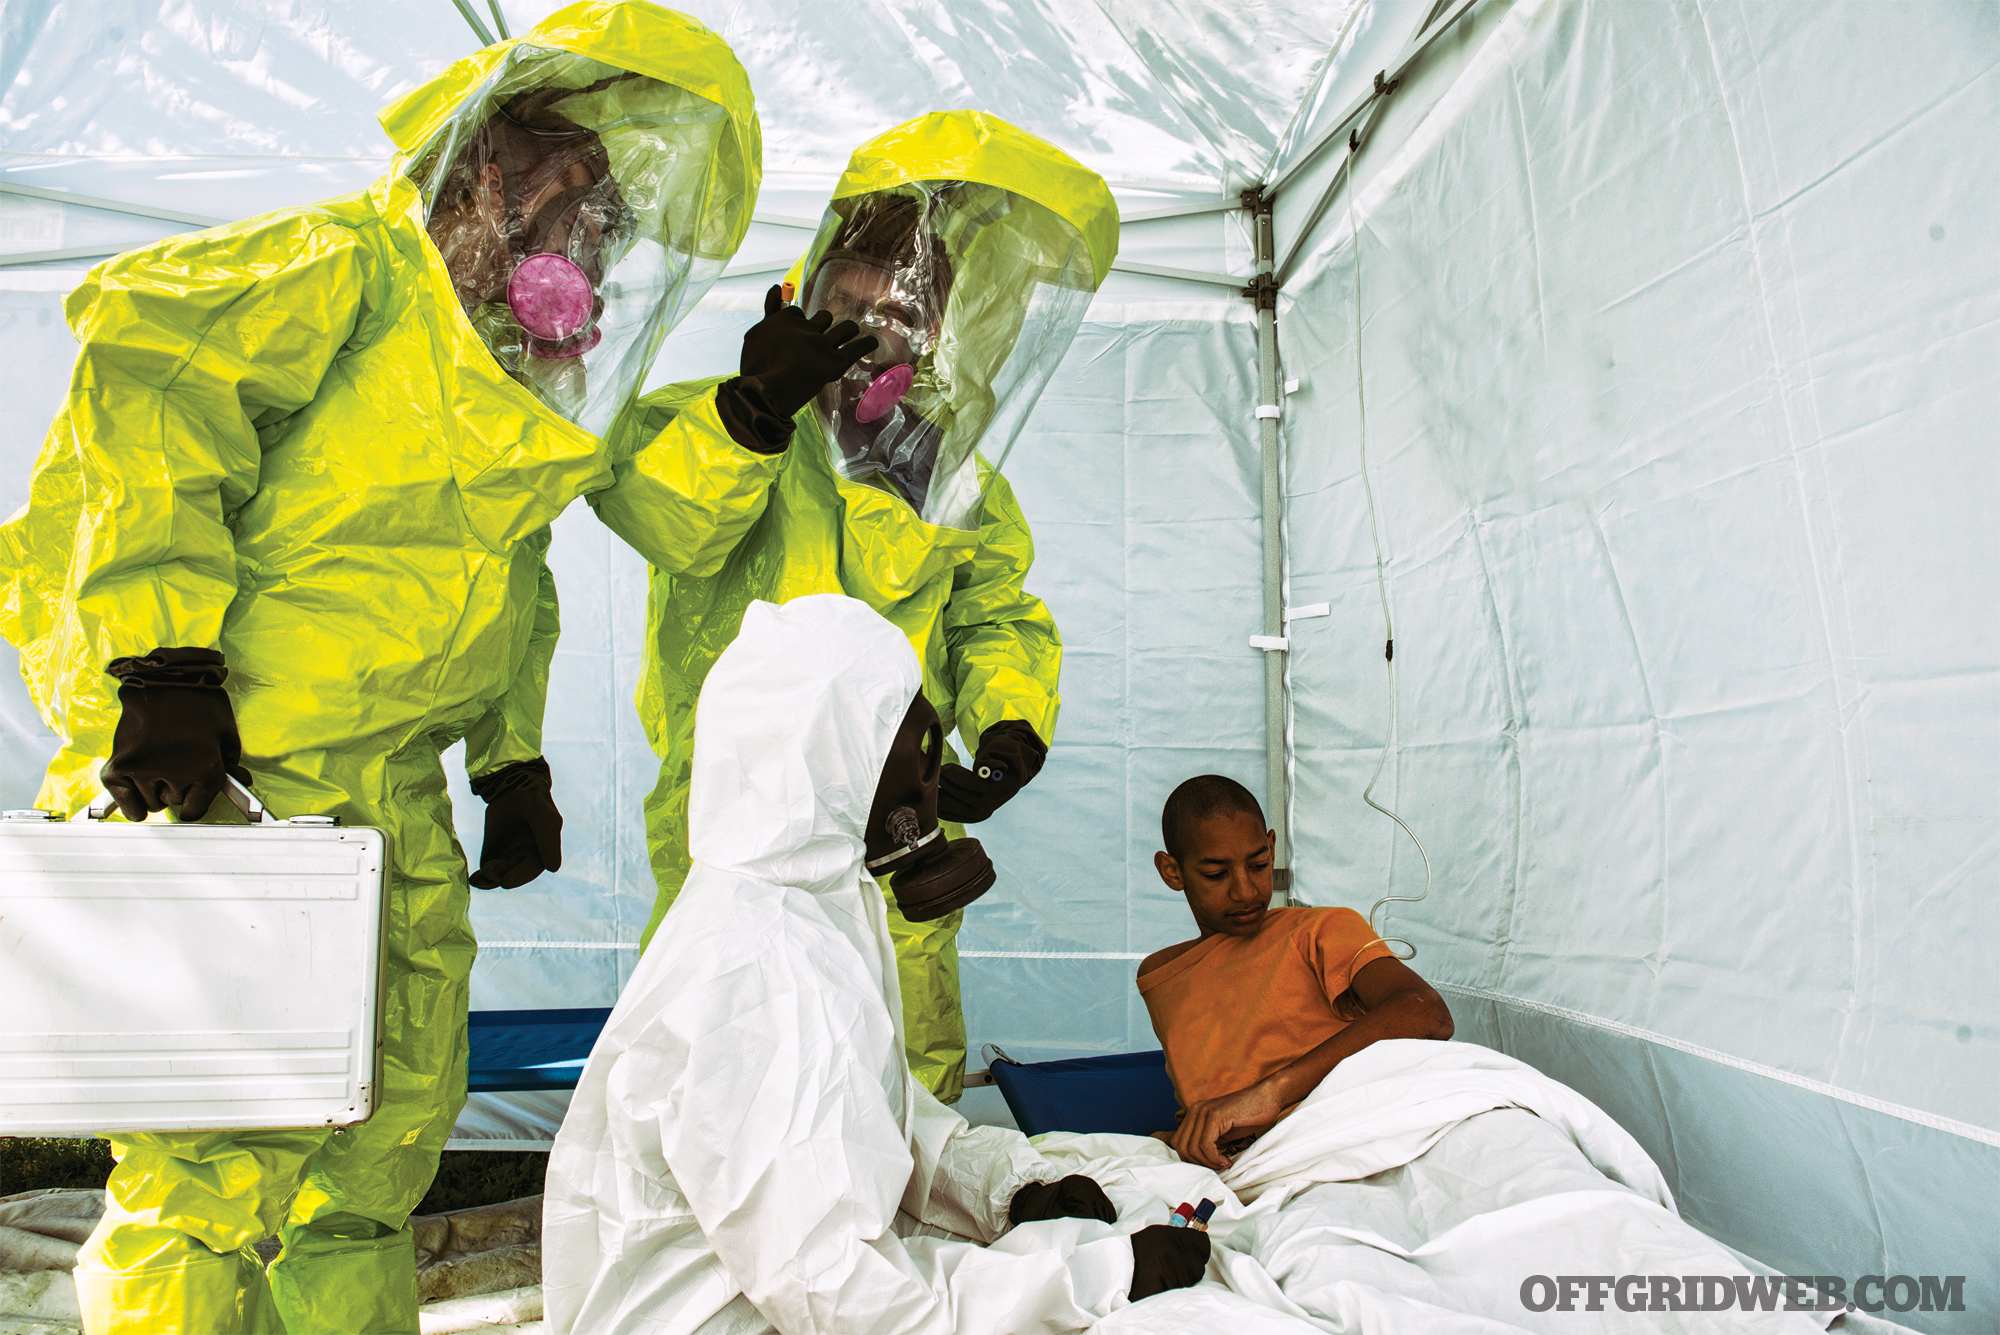
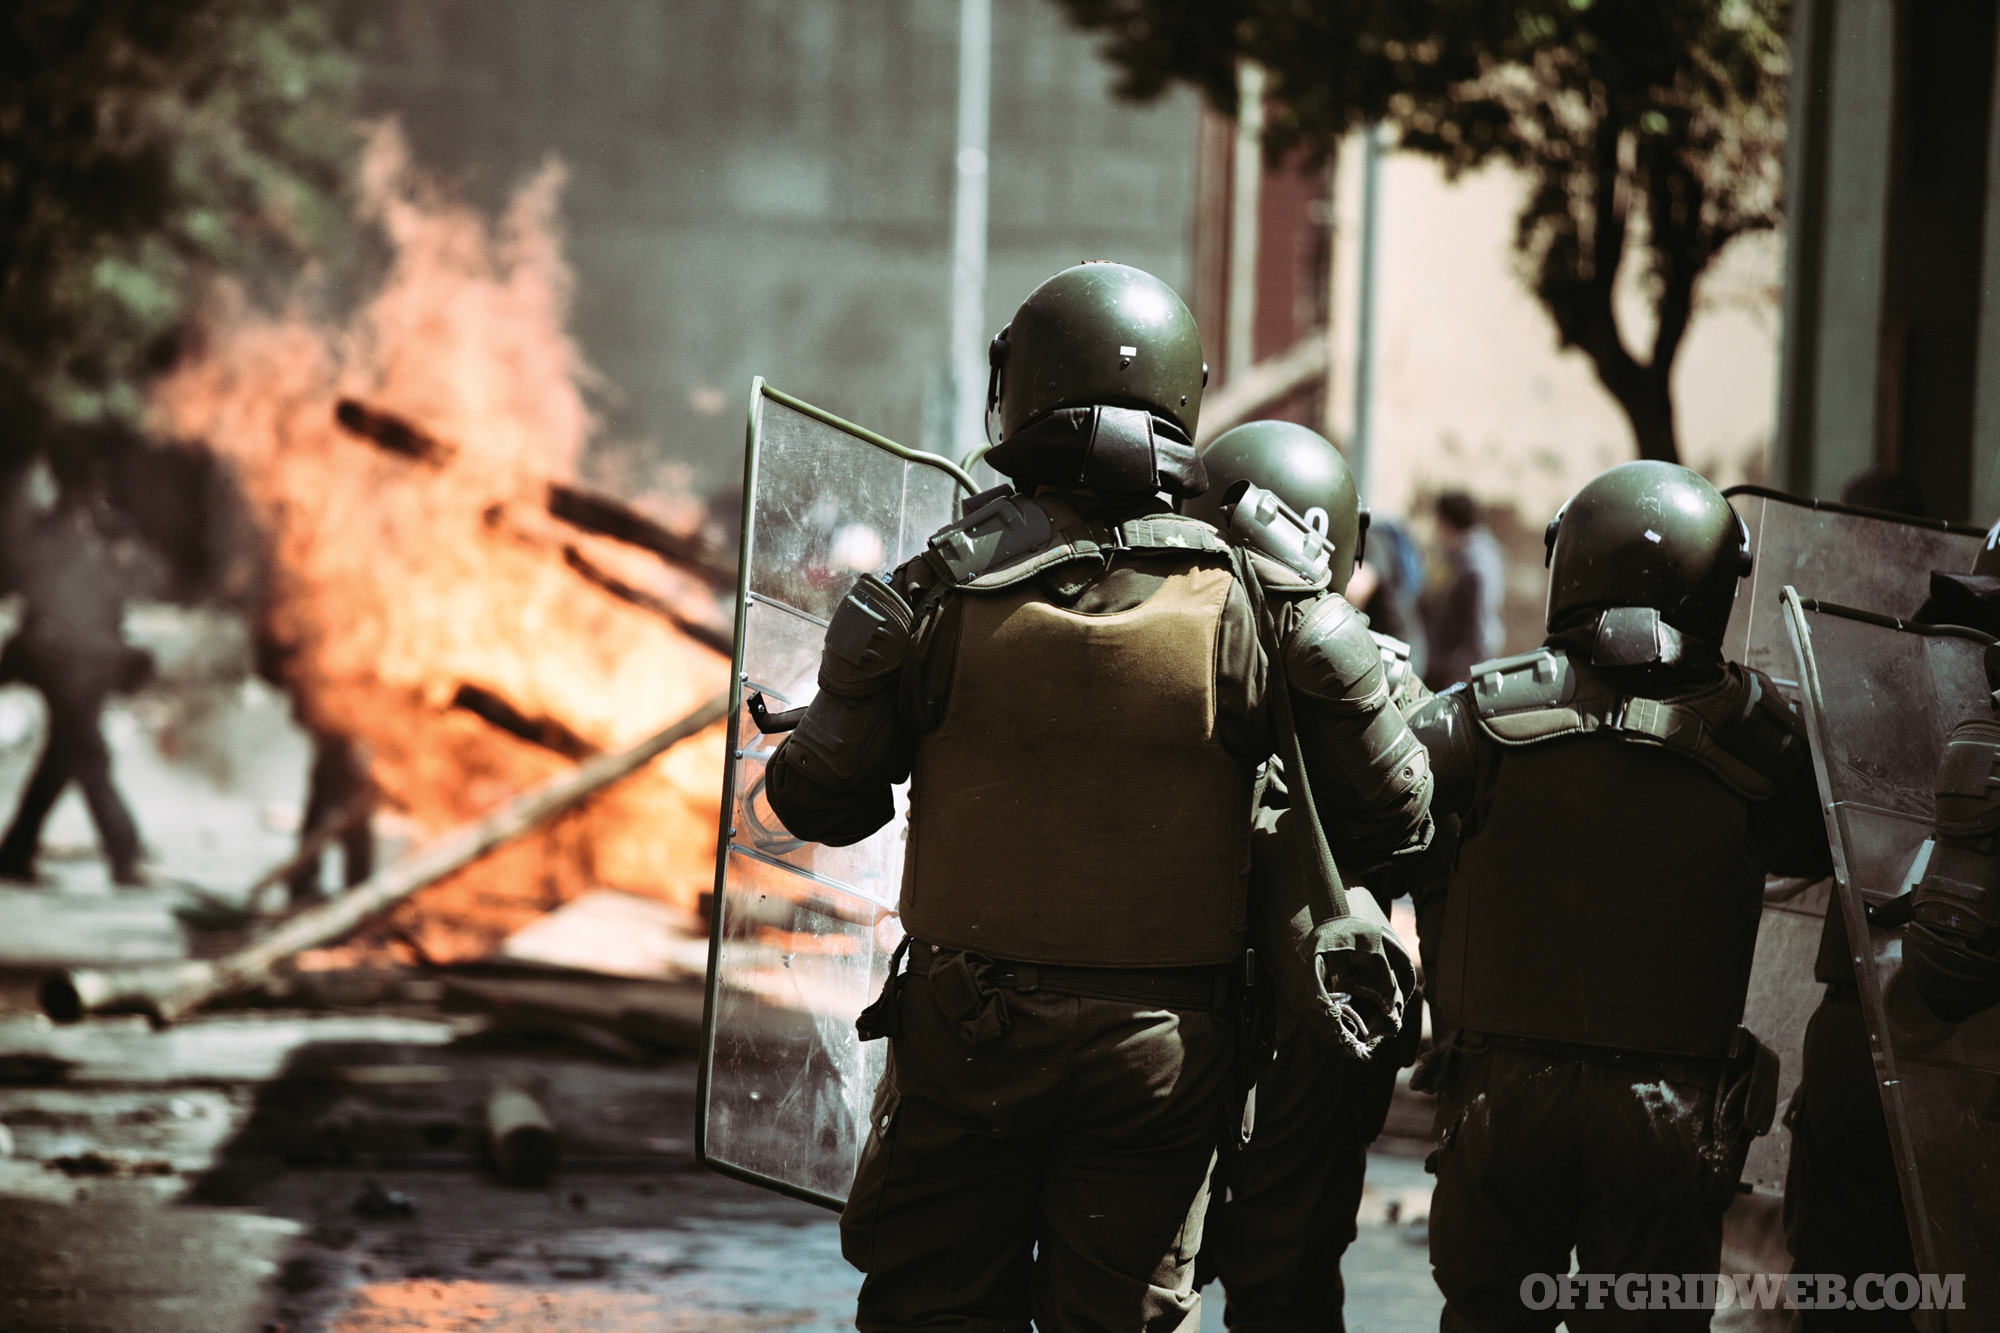
Sometimes our worst fears are often chalked up to personal hysteria. There are times, however, when our dread is based off the horrible possibility of a very real event. The latter is the foundation of Operation: Dark Winter, a senior-level government exercise from June 2001 that simulated a bioterrorism attack in the United States using smallpox as its agent of choice.
Designed and controlled by key members of Johns Hopkins University and a company known as Analytic Services, Operation: Dark Winter (ODW) focused on evaluating the nation’s capabilities to respond to a massive smallpox attack on a major American city, namely Oklahoma City, Oklahoma. From there, the simulation’s scenario only grows worse, looking to test America’s resiliency to stand up to a coordinated attack by international terrorists.
The results of ODW’s efforts revealed a stunning reality that many Americans aren’t aware of — we as a nation are drastically ill-prepared for such an attack. Problems range from a lack of sufficient training, insufficient amounts of vaccine or drugs, or the ability to stop the spread of a potential pandemic in communities. ODW revealed many gaps in the nation’s preparedness levels enveloping a bioterrorism attack.
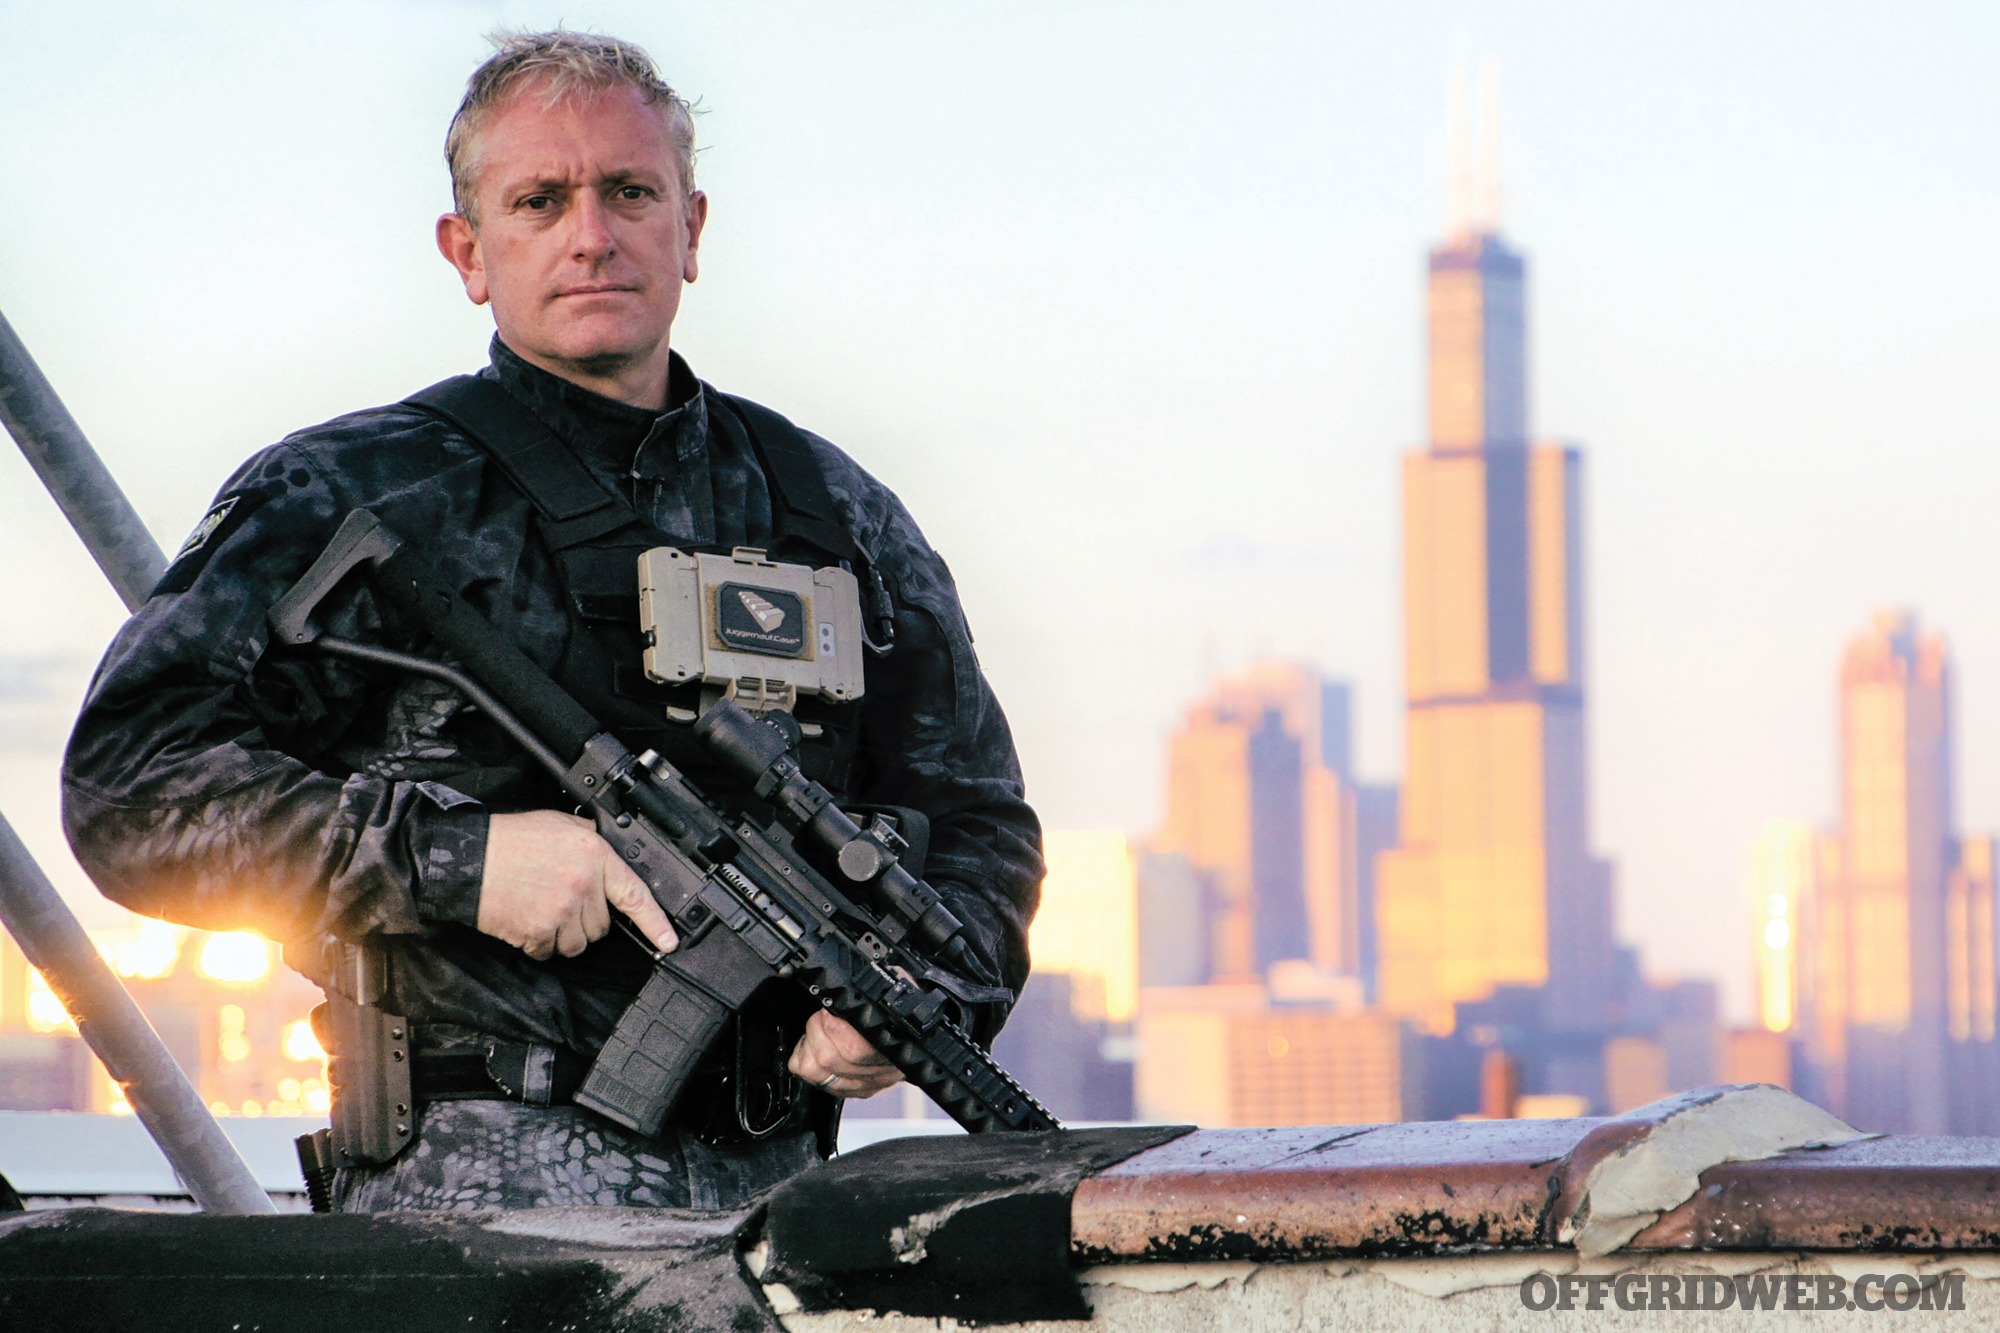
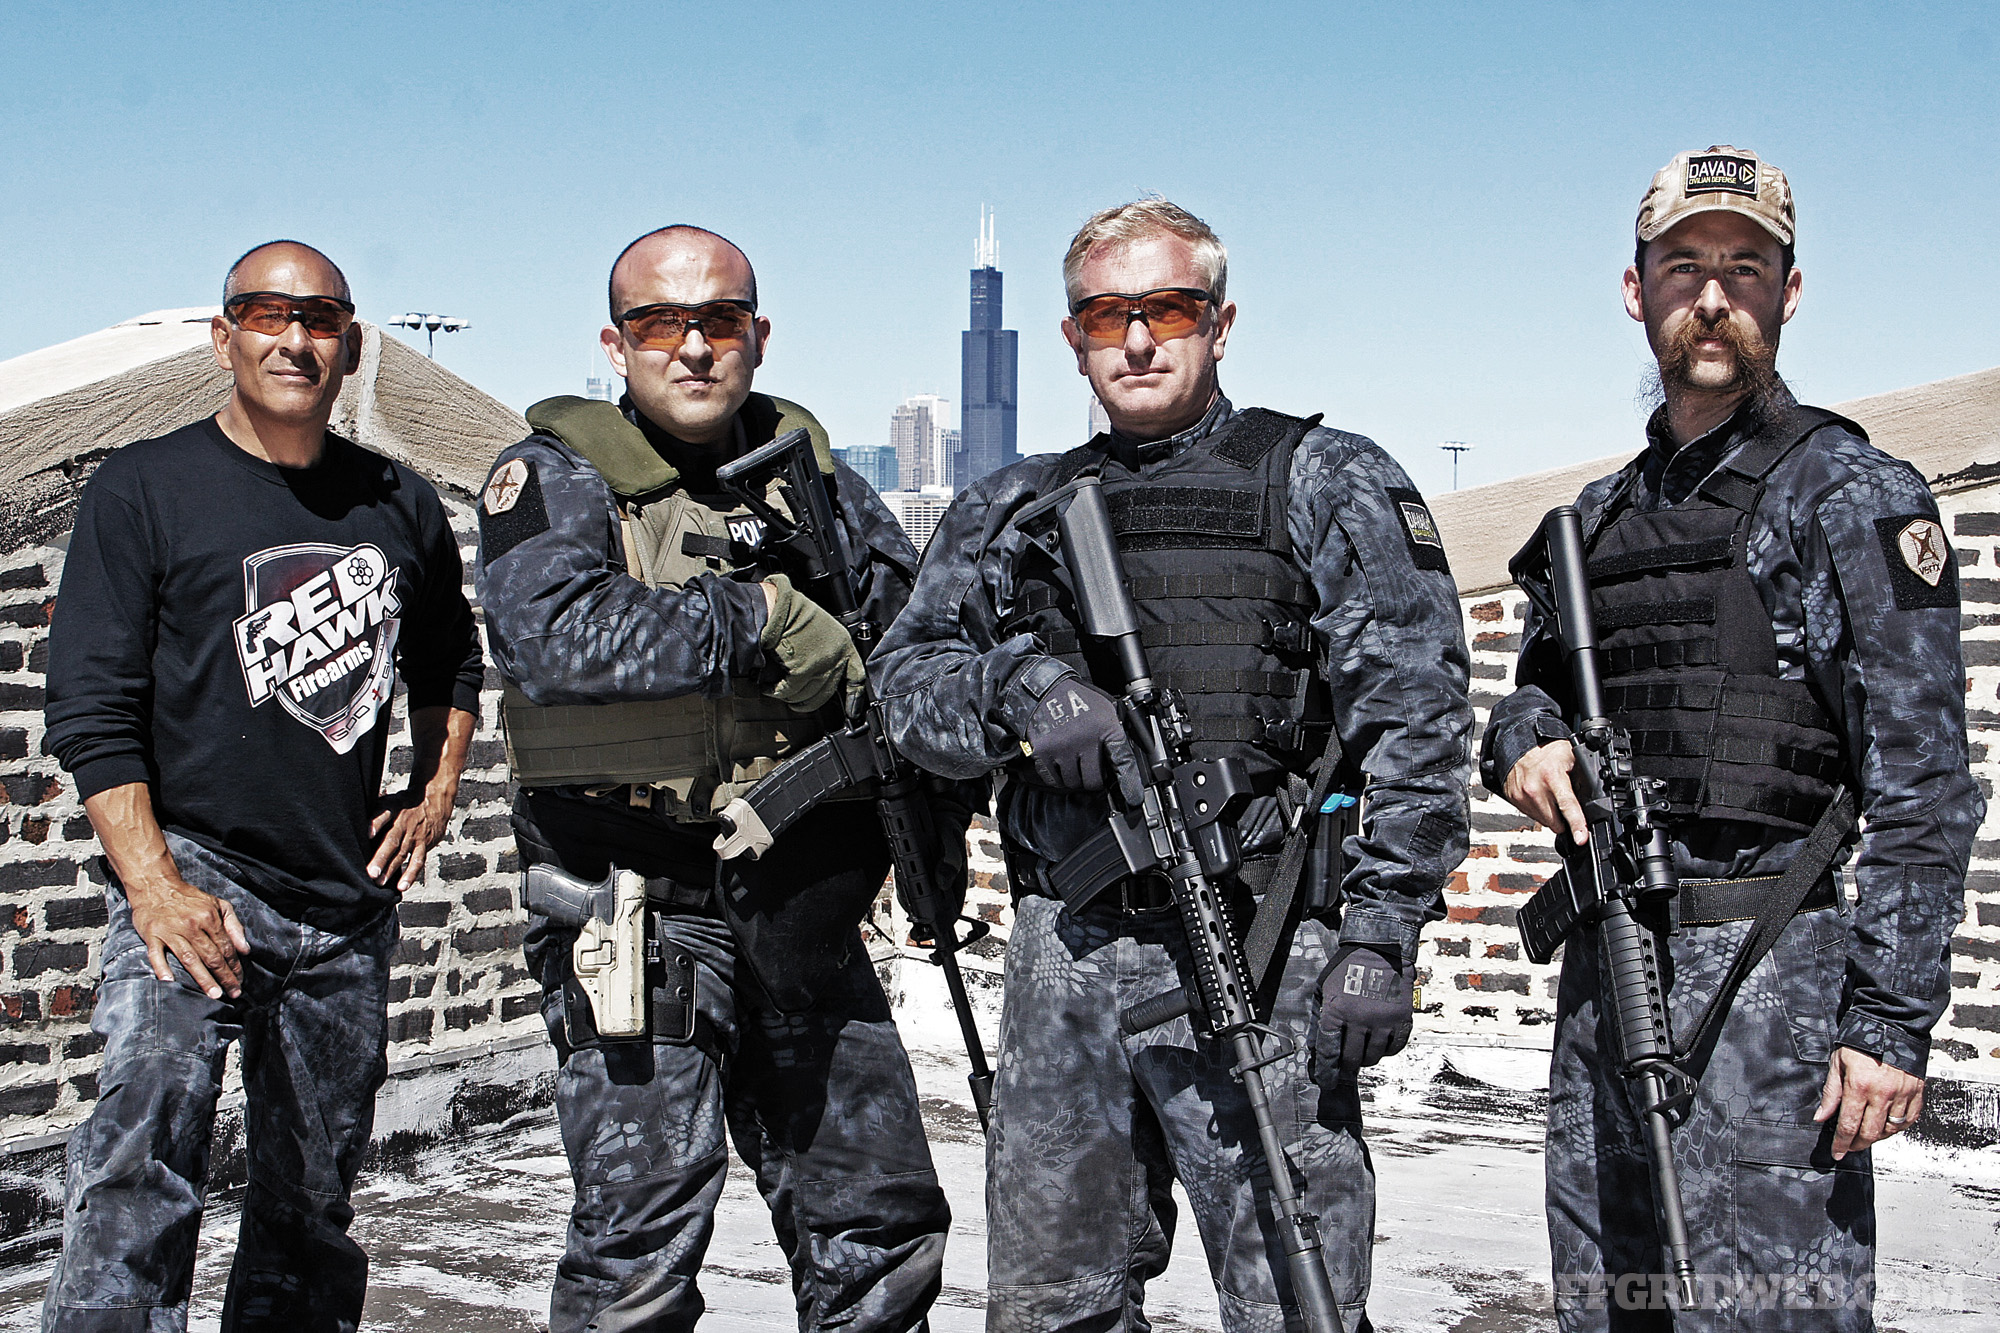
With advances in healthcare and government-sponsored preparedness efforts, America should be able to stand against such an attack today, right? To best answer that question, we’ve assembled a guest-panel of experts. Colonel Randall Larsen, USAF (retired), one of the chief architects of ODW, will be joined by combat psychologist Neal H. Olshan, Ph.D., and Dave Jones, Army Chemical Officer (retired), who has a background in nuclear/chemical/biological warfare (NBC). Here we delve deeper into the current state of affairs with the nation’s healthcare system to determine if we’re better prepared now than we were when the study was originally conducted or if the healthcare infrastructure has continued to deteriorate.
Panel Discussion
RECOIL OFFGRID: What was the intention of Operation: Dark Winter (ODW), and how would that intention look different now if it were to be conducted again?
Randall Larsen: We wanted to look at the United States and how well they were prepared in case a terrorist organization, in this case Al-Qaeda, would launch a biological attack on several U.S. cities. In this particular event, we chose to use smallpox, which is very contagious and kills about one third of the people it infects.
We looked at a lot of different issues for Dark Winter. It made us ask, are we prepared, how would we respond, and if we only have a limited supply of vaccine, who gets the vaccine?
About nine days after Sept. 11, we were asked to give a briefing to the White House to examine if Al-Qaeda, the people who just attacked the World Trade Center and the Pentagon, would be capable of a biological attack? At the time, we didn’t know that Al-Qaeda had developed anthrax labs in Afghanistan and Malaysia, and the CIA clearly believed that they wanted an anthrax attack in the U.S. at the same time as the airplane attacks. They just didn’t get it finished in time. It was several years later, in unclassified sources, that Al-Qaeda’s anthrax laboratory in Malaysia was found to be much closer to success in being operational for that attack. So the possibility of delivering a bioterrorism attack is still very much alive today.
Dave Jones: We knew our butts were hanging out, and that’s why this tabletop exercise was conducted. As the memory of Sept. 11 fades in our collective consciousness, so does the perception of a threat. If there was an actual terrorist attack, they would not release it in one populated city. They would release it in as many as they can. We found out that once that happened, our stockpile would immediately be wiped out (after an attack). The actual number is classified, as is the location. Depending on where you read, we have between 12- and 20-million vaccines stockpiled, which is enough to inoculate for one outbreak.
There’s no good way to alert the public, even medical facilities, that an attack has happened. If you play the scenario out, some people will go to the hospital, many will not. The only way we’d know if something was wrong is in the case of a “hospital divert,” where a hospital cannot take anymore patients, and they notify their county health department, who then notifies the State and Federal governments. This isn’t necessarily a good alert system for the hospitals, because once the alert is activated, the incident has already happened. The hospital is contaminated and the people have already spread the infection.

Neal Olshan: One difference is the internet. You have to add the variable of people going to the internet for information, which may not be valid. If this were to happen there would be more people who could die from a “fear pandemic” than the bioterrorist attack itself. The attack is only the first stage, but the fear pandemic that would follow could kill more. One of the things that happens when your heart rate goes up is that it takes over the primitive part of your brain, which is the fight-or-flight survival instinct that we get in those situations. Once your heart begins beating
at 140 bpm, you begin to lose 33 percent your peripheral vision. When it goes up to 150 bpm, you lose your fine motor control. But when you get up to 160 bpm, you can’t use logic. It shifts you into the primitive part of the brain and it becomes very instinctual. Decision-making goes right out the door. This is what you see during mob mentality. When it comes to things like bioterrorism, I believe that this is one of the things that hasn’t been looked at.
If something like ODW would happen, people could very well resort to this frame of mind and lock themselves and their families in their home in isolation. All of this shifts us into a survival mode, even to the point of violence. If an attack would happen, there will be groups of people who believe that other social groups shouldn’t receive any vaccine or treatment after an attack, or that they themselves should get it first. I think that the potential of violence is very great, especially with groups who have a smoldering anger toward the situation, the government, or others. No one has ever talked about a “fear pandemic,” which is a natural offshoot of an attack or disease pandemic.
Did you see any potential flaws with the exercise?
RL: One of the criticisms that others have written about, and I don’t think has great credibility, is that we used what is called an “R-nought.” In epidemiology terms, it relates to how many people would an infected person make sick. We used an R-nought of three, which means that one infected person would infect three people. Some people said that was too high. I just don’t think that it was. It was also certainly irrelevant. Our whole purpose was to see if the U.S. was prepared to handle something like this, and if not, what could be done to improve that.
We didn’t want to sensationalize this. During the exercise, only a couple of thousand died during the simulation. But as we saw during the Ebola incident in 2015, with only five cases in the U.S., how crazy things got. You can imagine how crazy it would be if 2,000 would die in a smallpox attack. Even with two-thirds of the people who’d survive smallpox, there would be horrible disfigurement and a good percentage would be left blind. It would be a frightful thing.
And you figure that a thinking enemy, if they’re attacking us with a pathogen, they are probably going to be putting out a lot of disinformation through social media and make our response much more difficult. It’s a great concern in terms of how we deal with it.
DJ: The exercise was very good and thorough. They came out with a great list of findings and a great to-do list. The follow-up, however, was not ideal. Priorities change and funding gets diverted. There are a lot of ICUs in this country, but not many isolation units. Take the 2015 Ebola cases in the U.S. — nurses and doctors received training in it, but if they don’t work in it, the training goes by the wayside. It’s very hard to keep that level of proficiency up. Ebola was a very small microcosm of what would happen with smallpox. A normal outbreak is one thing, but a deliberate attack is a whole other level. With a normal outbreak, we’d be able to handle it “well.” If there were a deliberate attack, I don’t see how it can be handled well at all.
NO: If you look at the major participants of the ODW program, I did not see any doctors or psychologists. I think that it is an inherent flaw that you don’t have frontline people in the first-tier of decision makers, especially in the role of mental health.
If someone wanted to destroy the U.S., all they would have to do is release a couple of infestations of disease, and the fear pandemic would take over and do the rest. I think that the worst fear is fear of the unknown. If you fear an invasion of another country, in your mind, you can deal with it because you can picture it. The same can be true of even a nuclear attack. But with a bioterrorism attack, the fear pandemic from an unseen disease will be much, much worse. Mental health professionals would play an enormous role in our response to an attack.
Do you think that the healthcare system has improved since the initial study?
RL: When I was the executive director of the WMD Commission, we did a report card that examined how the U.S., in January 2010, is prepared to handle a mushroom cloud over an American city, or respond to a bioterrorism attack. The grade that was given from that commission on our preparedness to respond to a pandemic was an “F.” There is now a bipartisan panel called the Blue-Ribbon Panel on Biodefense, and is co-chaired by Tom Ridge (former secretary of Homeland Security) and Senator Joe Lieberman. Their recent report concluded that preparedness efforts have improved very little, if any at all.
One of the reasons that we haven’t seen a lot of improvement, according to Senator Richard Burr of North Carolina, who is Chairman of the Senate Intelligence Committee, is that about only five members of the 535 members of the U.S. Congress really understand the biological threat. And this is one of the problems. If the members of Congress really understood how serious this threat was, there would be a lot more done. But they don’t. And there’s no real lobbying effort for it being done. Unfortunately, there is no public health industrial complex that pushes Congress to spend a lot of money on this to get us prepared.
NO: I do not see it as doing any better. I actually think that it has the potential of being much worse. I also think that disaster information is often ignored because we haven’t found a good solution to dispensing it. The solution, in my opinion, is that we have to take a look at the basic structure of how we alert people that an outbreak has occurred.
When you’re dealing with a basic mistrust of government agencies, and you add in the internet, you fuel a perfect storm of misinformation and distrust. The internet may actually be the demon in all of this, and you may have internet-based organizations that may have certain agendas. That’s why I believe that in a few days after the attack, the government may have to shut the internet down or limit internet information that comes directly from them to help mitigate the spread of misinformation. When you read about the Black Death Plague, the fear that was generated (due to the combination of bad information and an atmosphere of fear) actually caused people to murder others and burn down homes with people in them. They thought those families might be infected with the plague, and they may not have actually had it. We haven’t grown much since then. It adds a whole new component to the fear pandemic that hasn’t really been thoroughly studied.
If you could implement a series of changes to improve the healthcare system to prepare for a pandemic, what would they be?
RL: What we need in this country to be better prepared to respond to a pandemic, whether natural or manmade are three things:
Rapid diagnostic capability: This is critically important! As with any disease, the sooner it’s diagnosed, the better the prognosis. Whether you’re talking about lung cancer or bioterrorism, if we can’t figure out what the disease is and quickly, a lot of people will get sick and possibly die.
Better medical countermeasures (vaccines and therapeutics): This needs to be one of the highest priorities of the country, much like the scale of the Manhattan Project. We need that level of attention. The government needs to work with industry to come up with medical countermeasures and therapeutics much faster and much more affordably than we do right now for a bioterrorism attack or pandemic.
Better surge capacity in our hospitals: If you went to any hospital during this year’s flu season, you could see how overwhelmed they were. This year’s flu season was worse than normal, and we saw flu tents in the parking lots of California hospitals, but it was nowhere near catastrophic levels. Imagine how we’d be today if it was the winter of 1918 where we saw thousands of Americans die from the Spanish Flu pandemic. More soldiers died from that influenza than did in WWI. We need to do better in hospital surge capacity, because they are just not at the level to handle that capacity of patients.
These are good investments in public health, national security, the safety of our citizens, and so there are great dual benefits, whether you are talking about bioterrorism or a naturally occurring pandemic.
JD: Each hospital and healthcare facility needs to have a surge-capacity force with a plan to handle a large-scale incident and exercise the plan to ensure they are ready for the surge of people. They also need a three-day supply of equipment and a realistic refill plan, and think outside the box to secure the needed equipment wherever they can.
NO: I think that it’s going to have to come from the top, and it’s going to take certain people in the government to not feel that they have to have their name on something, and go through committee meeting after committee meetings. Someone would need to say, “This needs to be done.”
As far as the average citizen is concerned, what do you think we can do to bolster our preparation for an event that could overwhelm our healthcare infrastructure?
RL: The preparation that we do beforehand is key to surviving a pandemic, especially when it comes to having a supply of important medications. The most important thing to be prepared for any type of natural disaster or manmade disaster is to have enough prescription medications. Make sure that you have an adequate supply of it to last you several days or weeks.
I also think that it’s good to have a transportation plan. How do you plan to get out of your community if several roads are closed? If your kids are in school, and your wife works on the north side of town and you work on the south side, how do you plan to meet and evacuate your town?
Do you have a good communications plan? One of the things that we noticed on Sept. 11 is that all of the cell phones stopped working because everyone was trying to use them. How would you get in touch with your family if your cell phone service was down? It’s a good idea to sit down with your family to discuss how you would get a hold of one another during a disaster.
DJ: In this type of a scenario, isolation is going to be the answer for the average person. If they can pull off 2 to 12 weeks of isolation, it would do them well. You could start with three to four days and build from there. Do you want to have just enough to hold you over, or do you want to survive? If you’re depending on the government during a massive pandemic, your plan might be lacking. Hope is not a strategy. You may be on your own.
NO: I think that one of the things that’s imperative is that people have a plan, and one that involves their family, and wherever they’re at. No matter if it’s a natural disaster or a bioterrorism attack, one of the first things that people can do is address their basic survival concerns: food, water, and shelter. And as part of that, if you’re including a family, you’ve got to have a family plan. I think that anything that you can do, in terms of gaining knowledge and preparing needed survival supplies, will greatly reduce anxiety when an event like a bioterrorism attack or pandemic happens.
Part of the psychological aspects of off-grid preparedness is that you feel you haven’t given up control. You are trying to prepare, and that has a significant psychological impact.
About Operation: Dark Winter
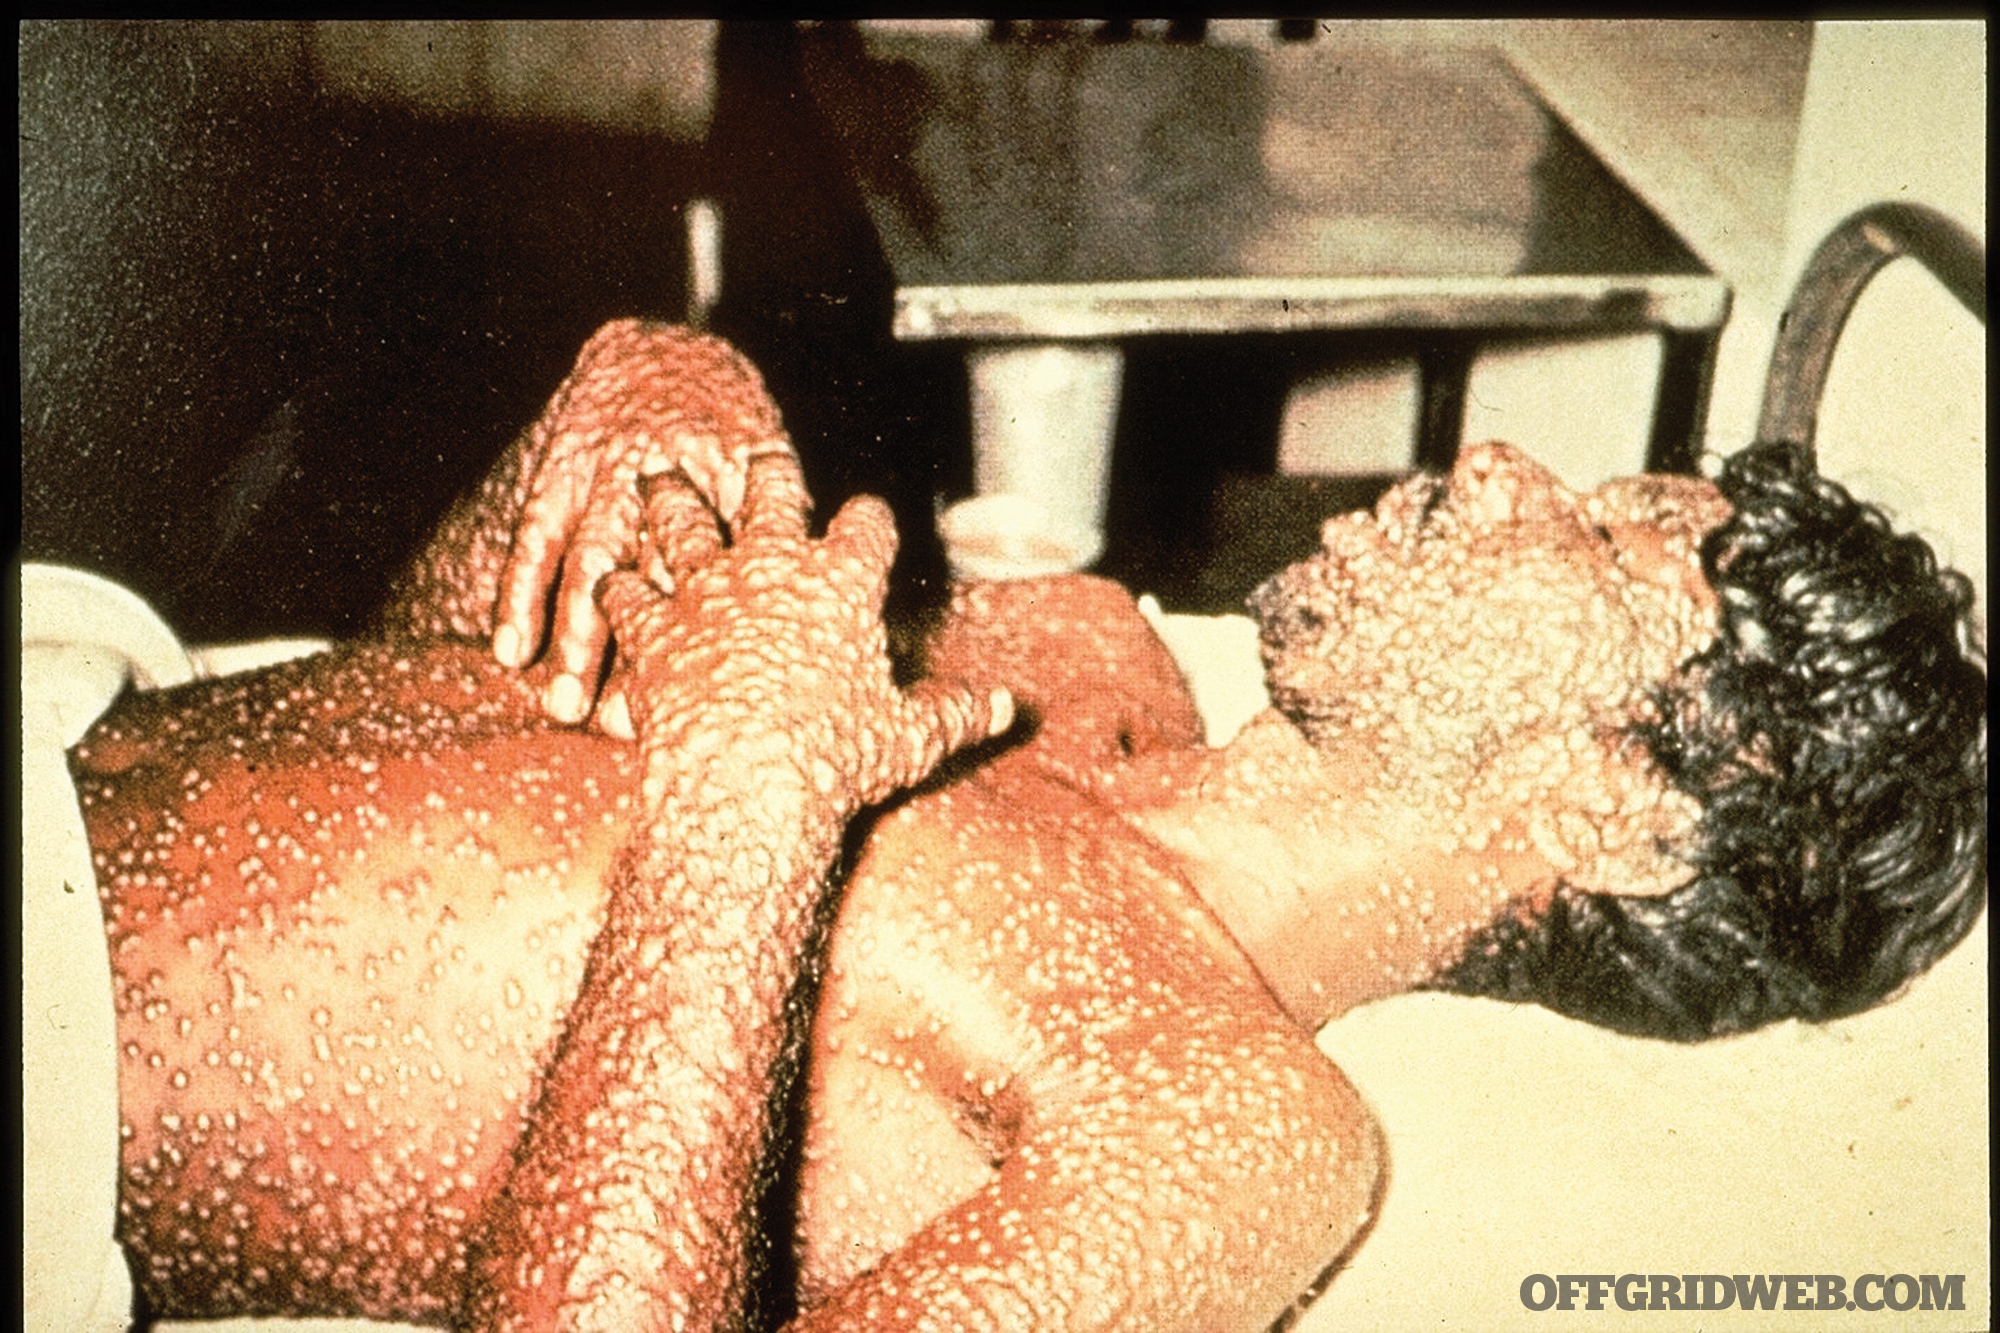
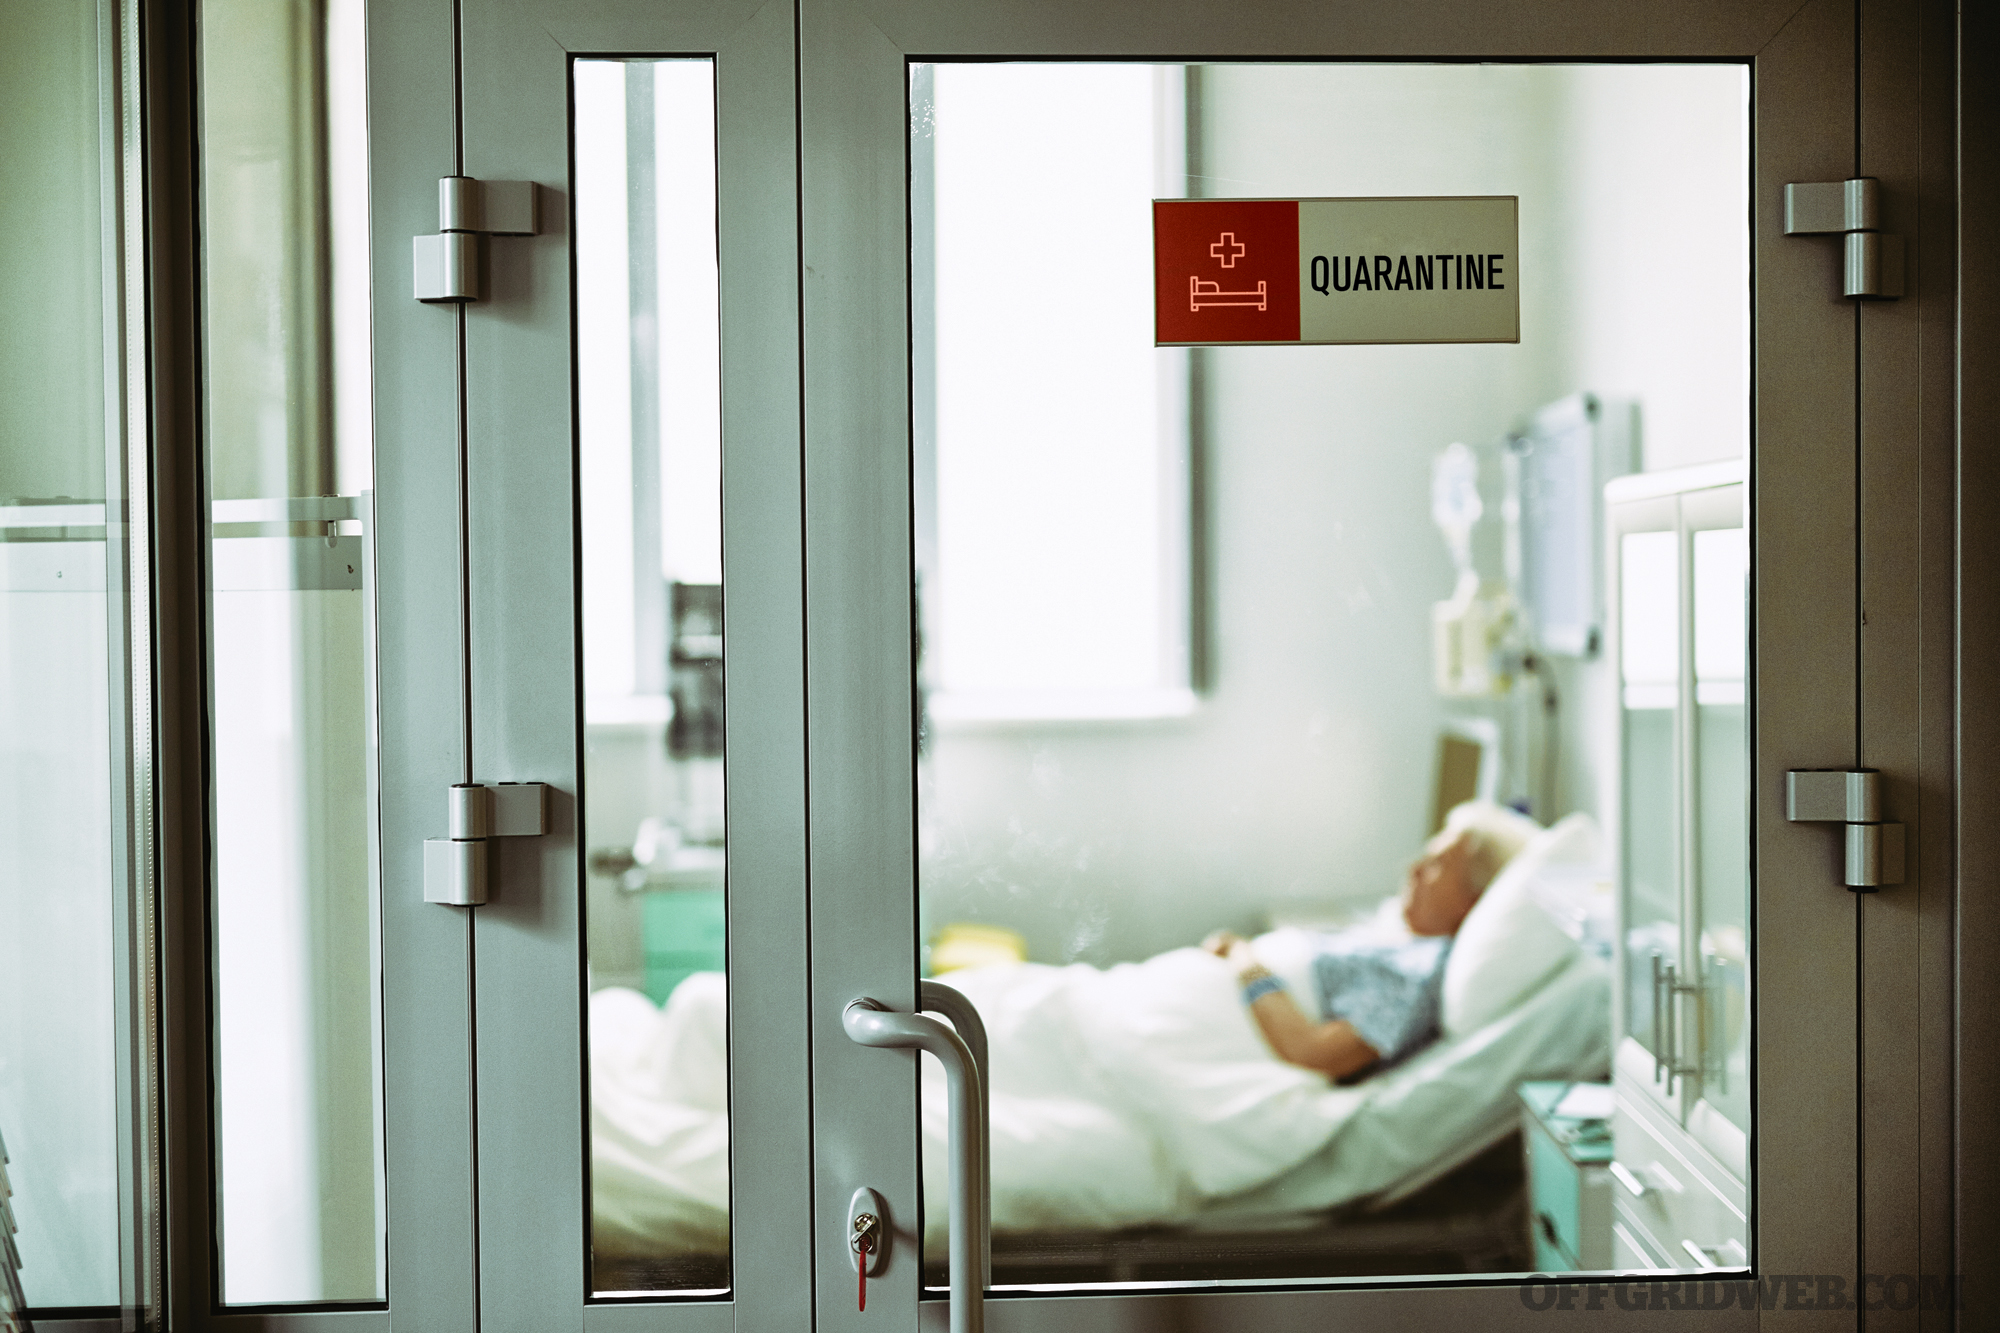
Smallpox is one of the deadliest diseases known to man. Although considered eradicated, it’s still possible for pockets to display themselves in the world. Smallpox symptoms include fever and a distinctive, progressive skin rash. Most people with smallpox recovered, but about three out of every 10 people with the disease died. Many smallpox survivors have permanent scars over large areas of their body, especially their faces. Some are left blind. Picture courtesy Centers for Disease Control and Prevention.
Interested in reading the Operation: Dark Winter study in its entirety? You can check it out here: http://www.centerforhealthsecurity.org/our-work/events/2001_dark-winter/Dark%20Winter%20Script.pdf
More info here: www.centerforhealthsecurity.org/our-work/events/2001_dark-winter/about.html
Visit this link to learn more about smallpox: www.cdc.gov/smallpox
Conclusion
The goal of terrorism is to exploit areas of vulnerability. Operation: Dark Winter serves as a stark reminder that our nation will always be under attack, be it with bioterrorism agents, explosives, or mass shootings. It also serves as a wakeup call to those who are charged with protecting the homeland and its citizens.
The question is, in the absence of an improved healthcare infrastructure, how can you better prepare yourself for an incident of this nature? Check out our piece “Outbreaking News” in Issue 12 to learn more about the government’s framework for outbreaks as well as how to vet reliable information and prevent spreading the disease.
[meetourpanel]
More From Issue 28
Don’t miss essential survival insights—sign up for Recoil Offgrid’s free newsletter today!
- Debunked: The Myth of Water Divining
- Review: Wound Cube Medical Training Tool
- Book Review: “Cyber Mercenaries: The State, Hackers, and Power”
- Managing Dehydration: A Thirst for Knowledge
- Watch Your Back: Backpack Armor Buyer’s Guide
- Sticking Points: Creating Improvised Spear Heads
- Prep Your Pup: Readying Your Dog for Survival
- How to Survive a Financial Crisis
- Operation Dark Winter: Weaponized Smallpox
- Daniel Lombard Spotlight – True Grit
- Issue 28 Gear Up
- Review: PWS MK107 MOD 2-M 7.62×39 Pistol
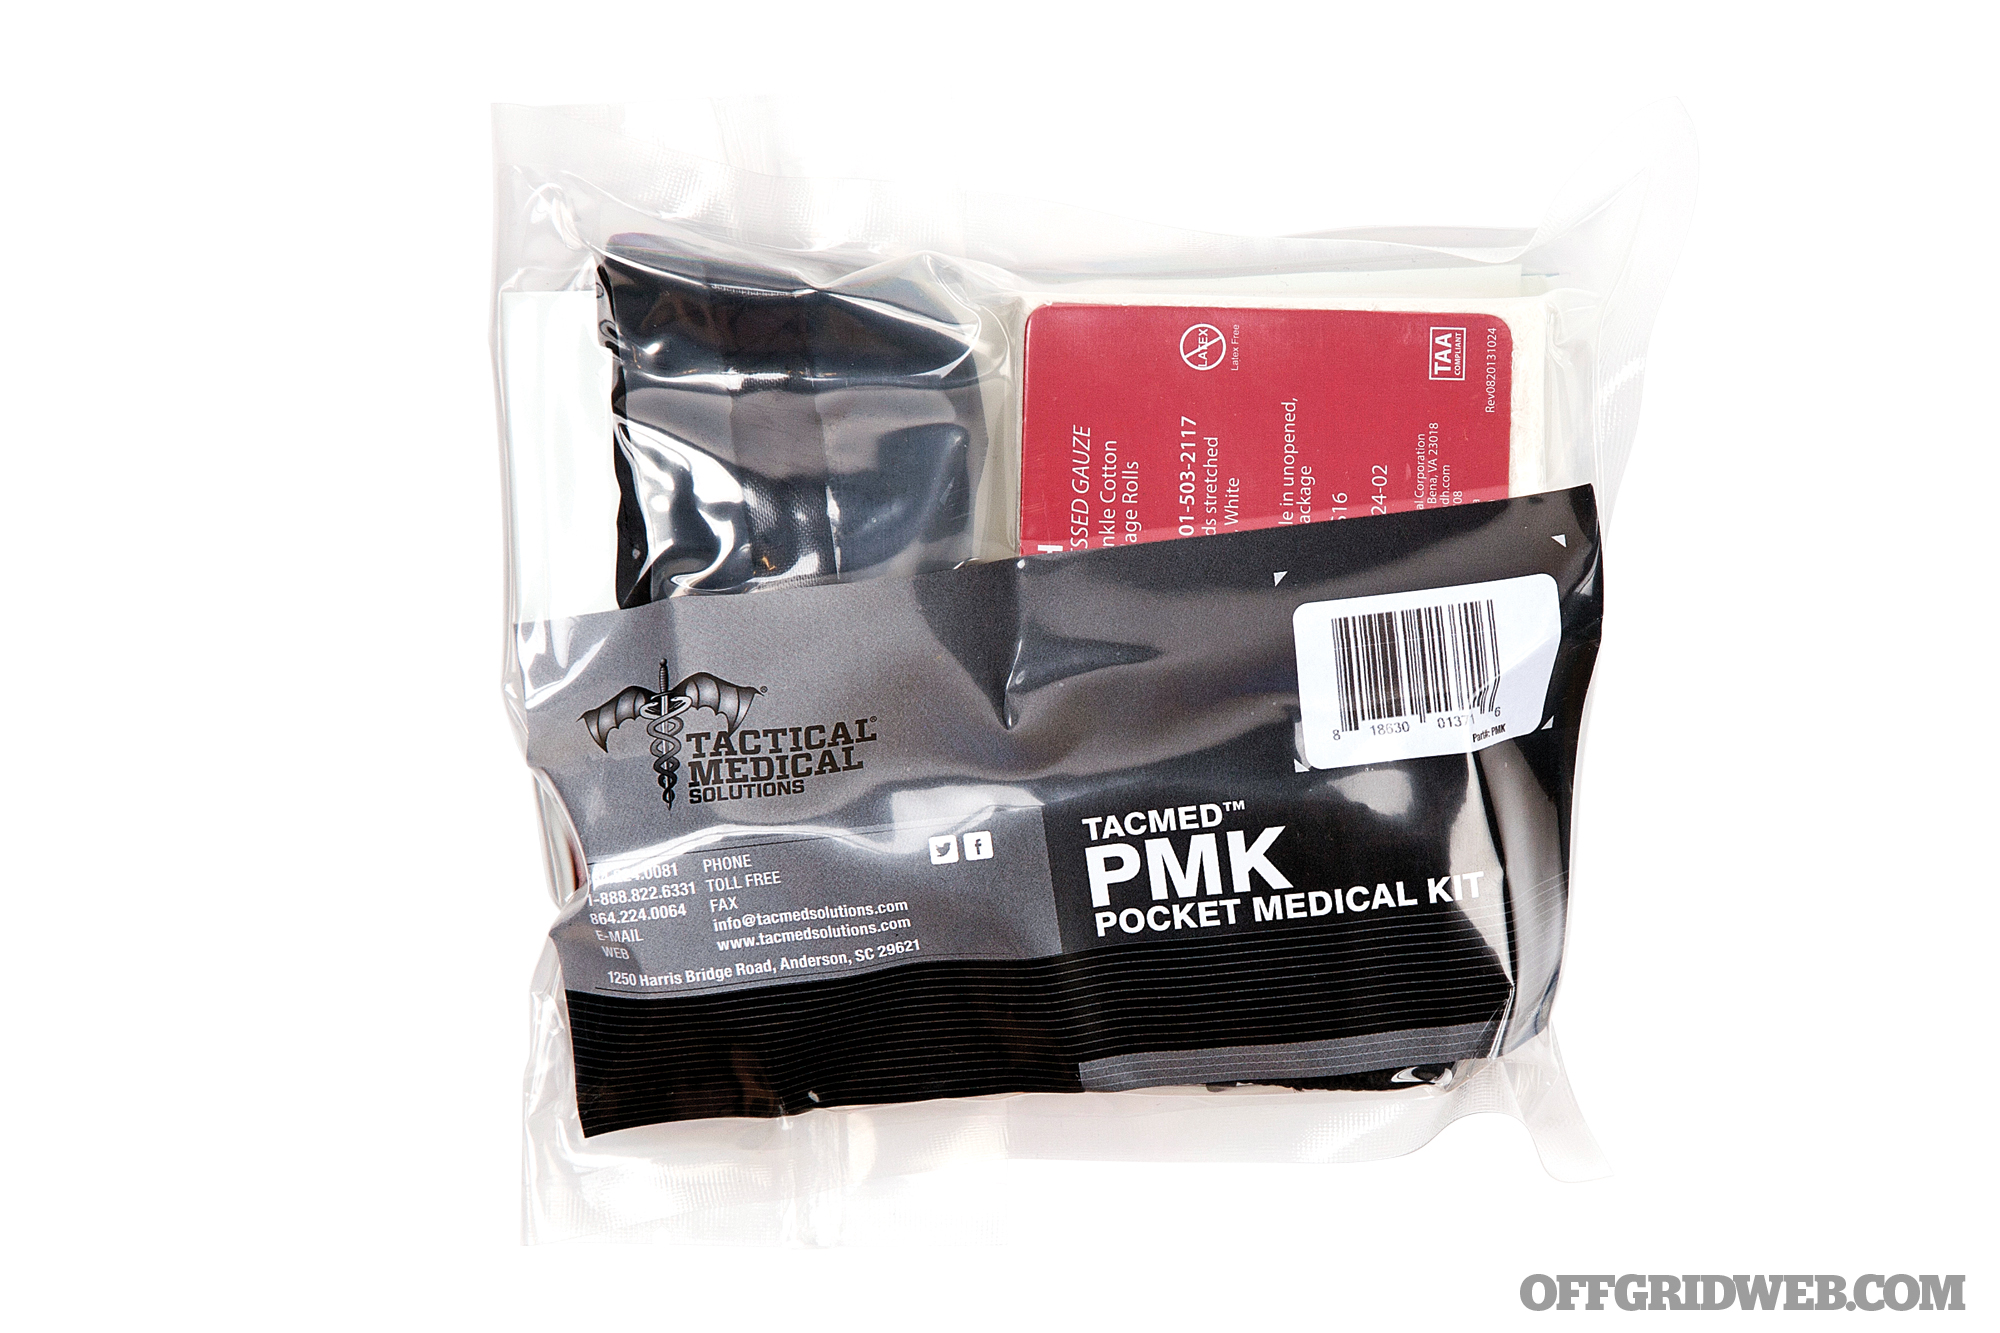
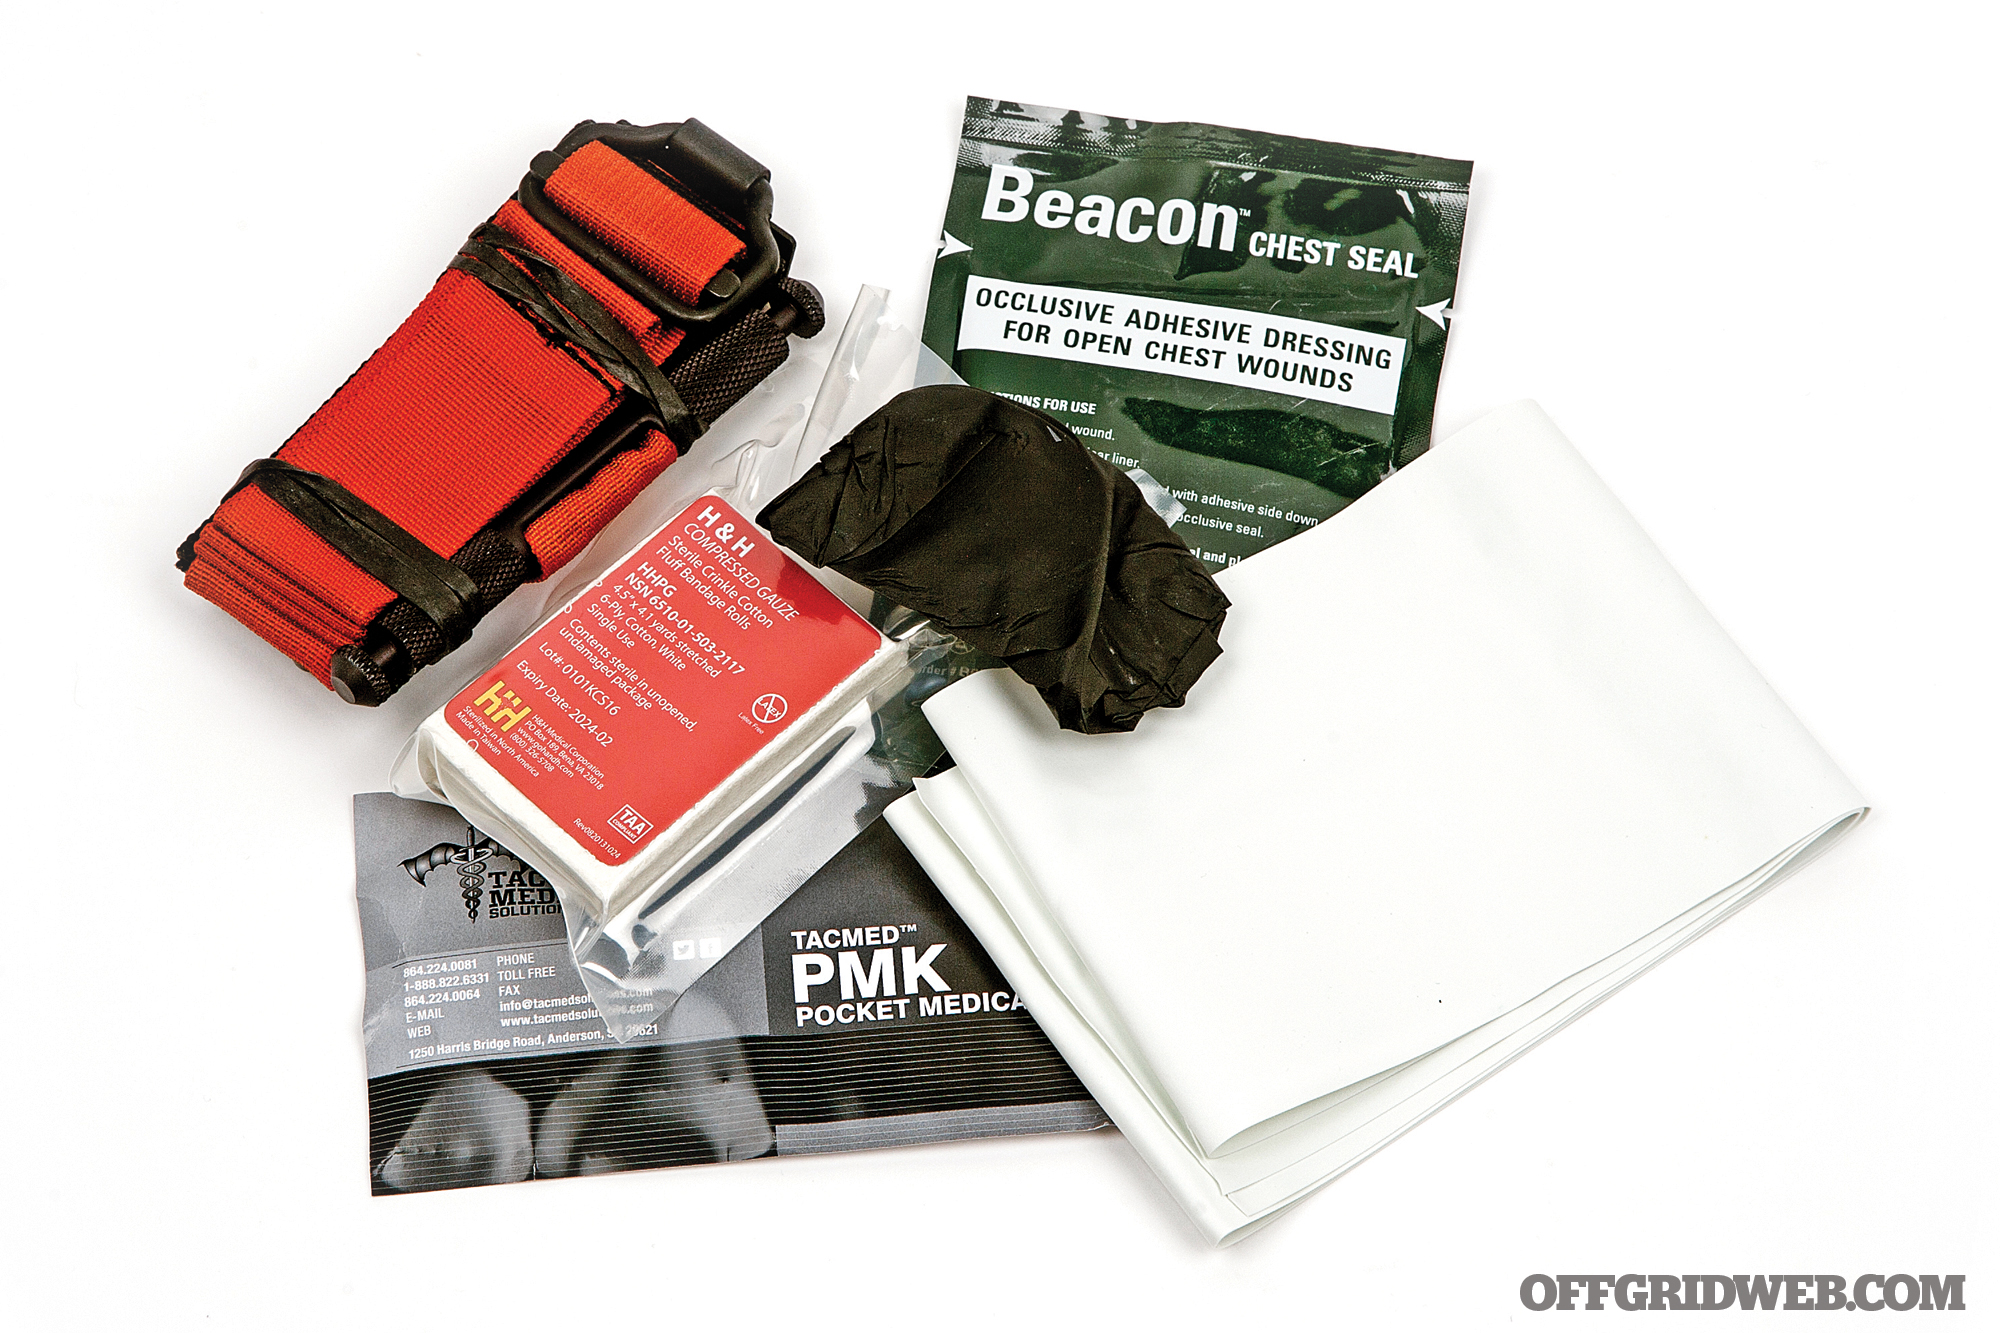
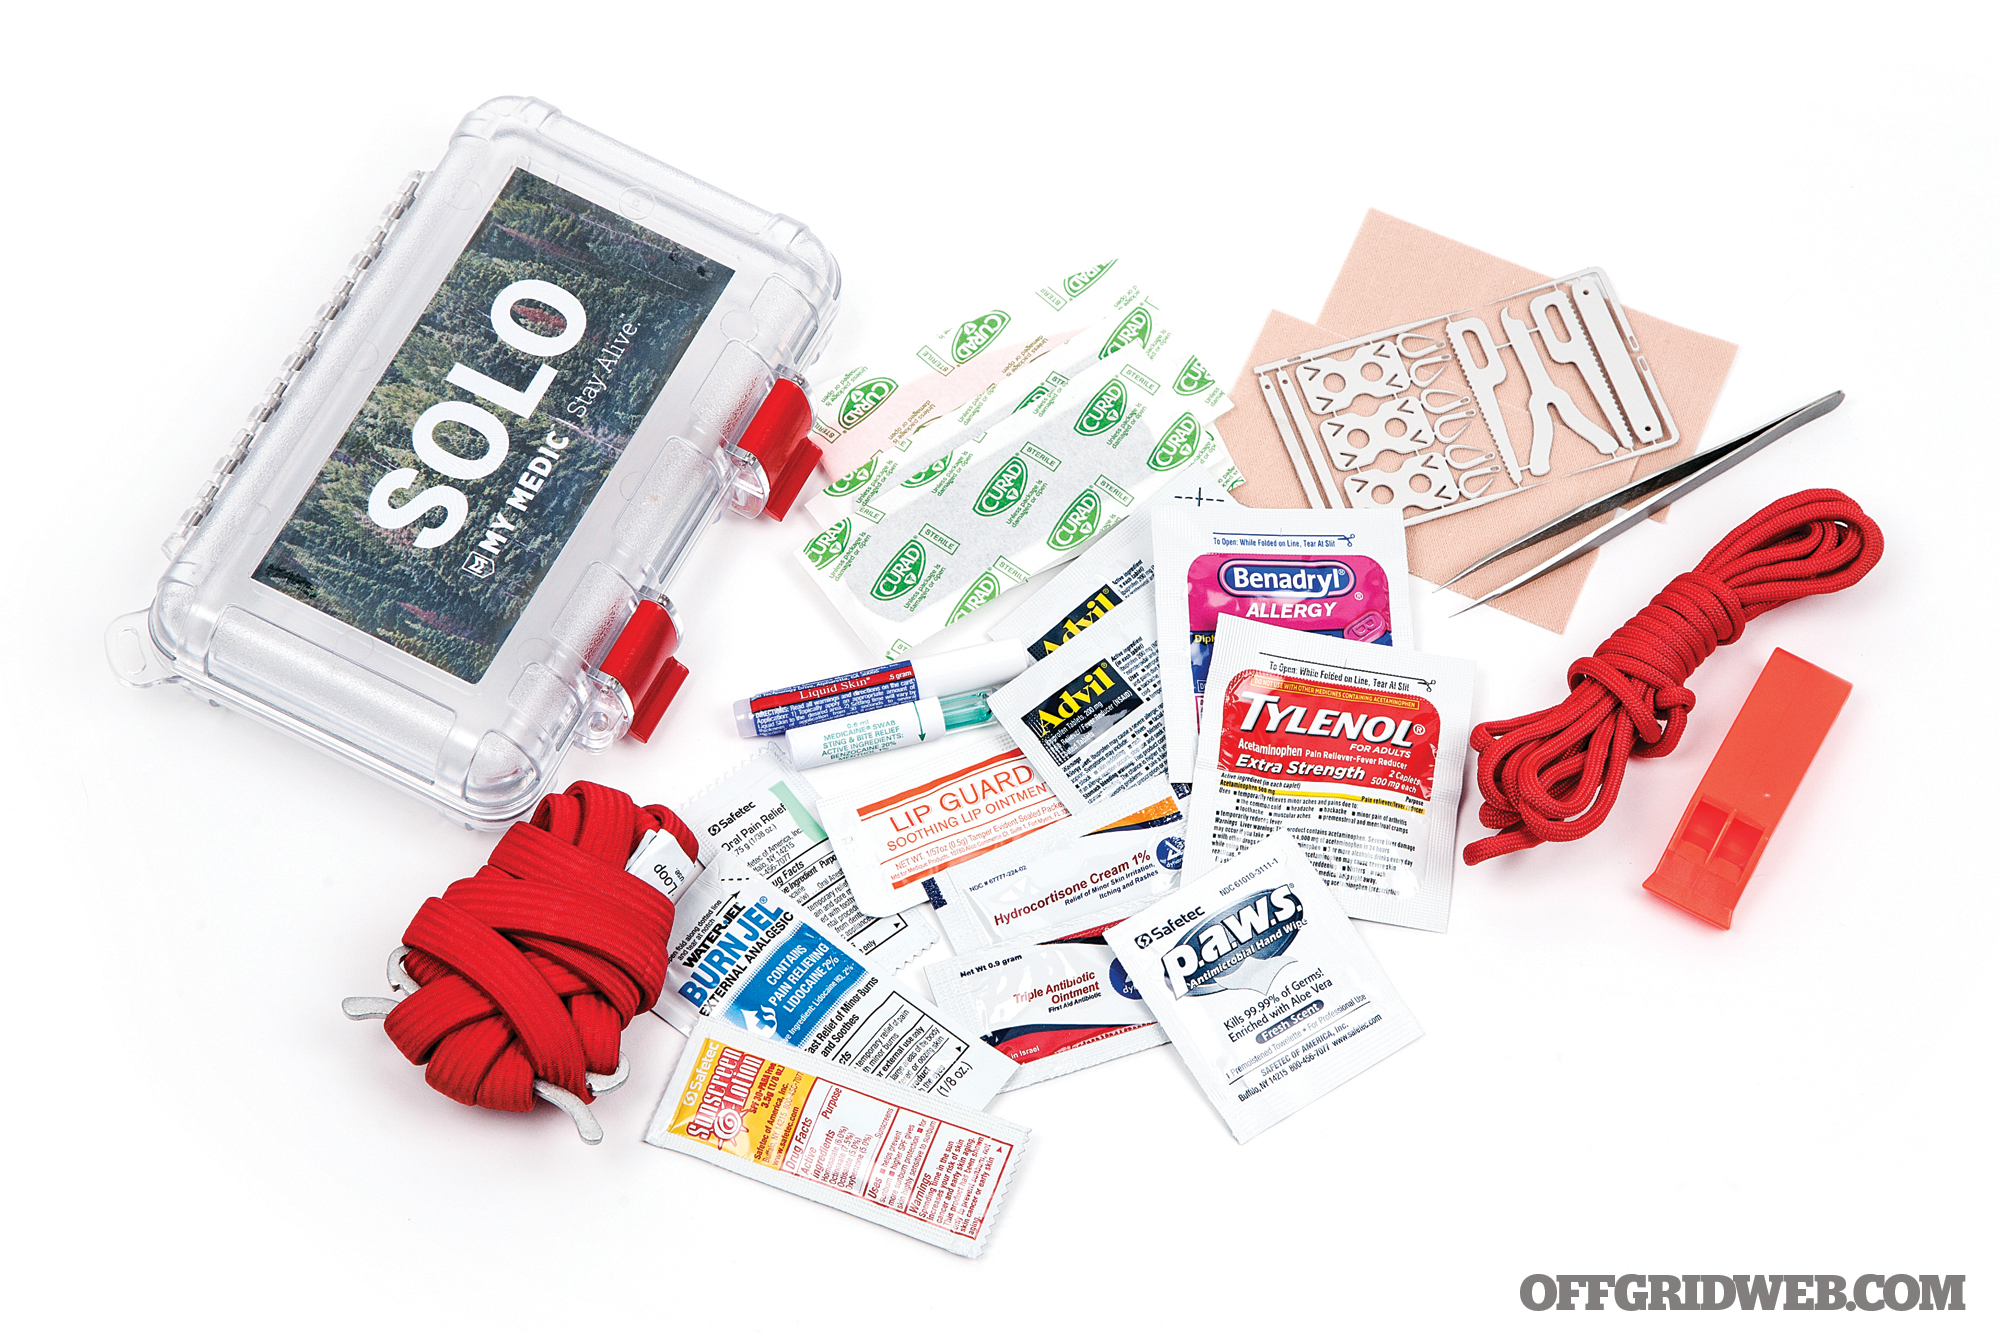
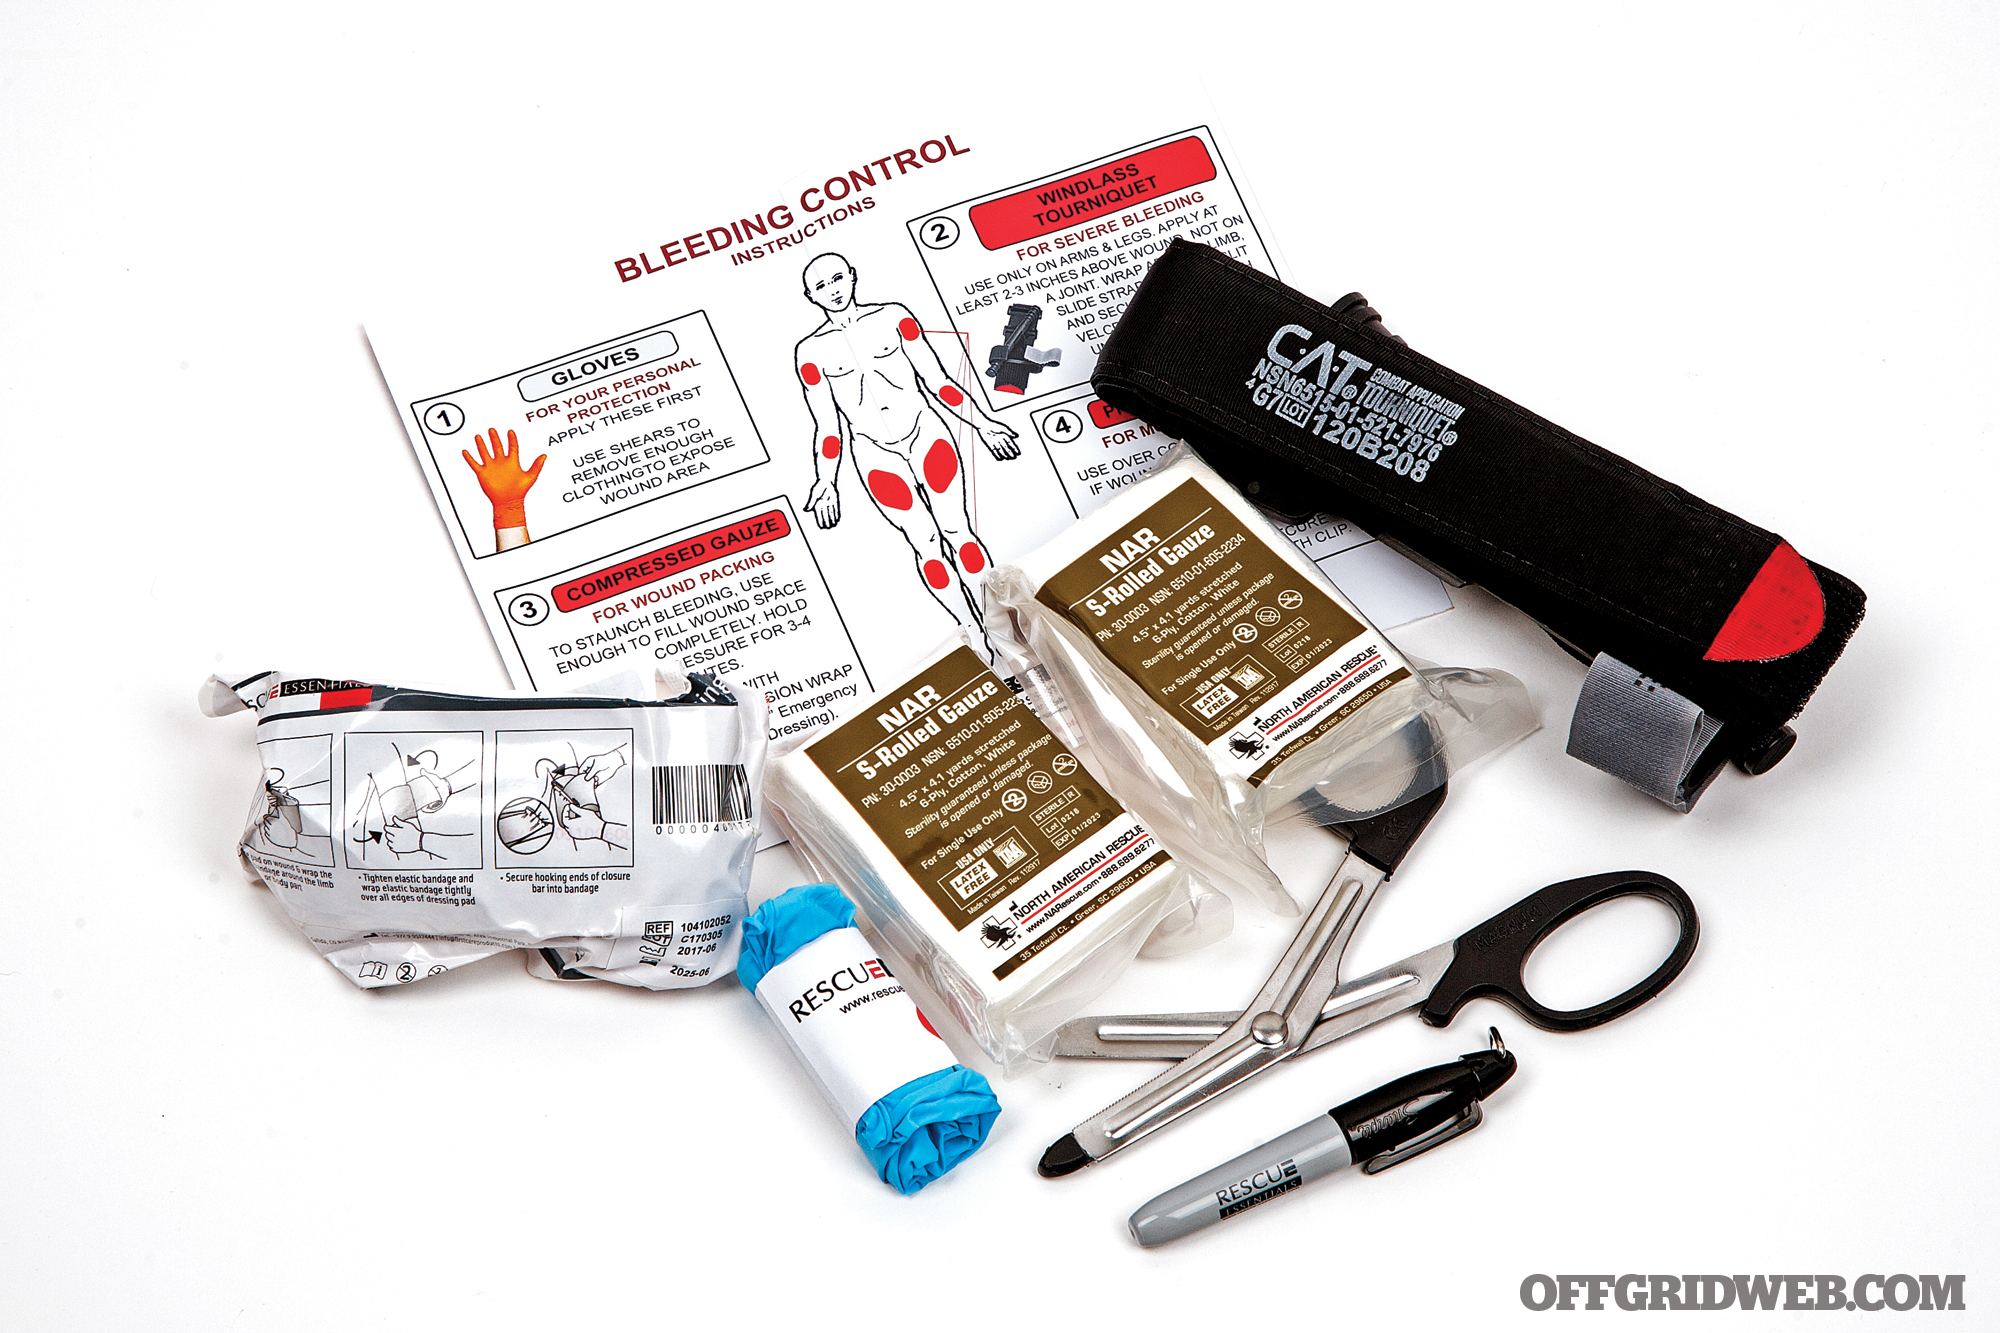
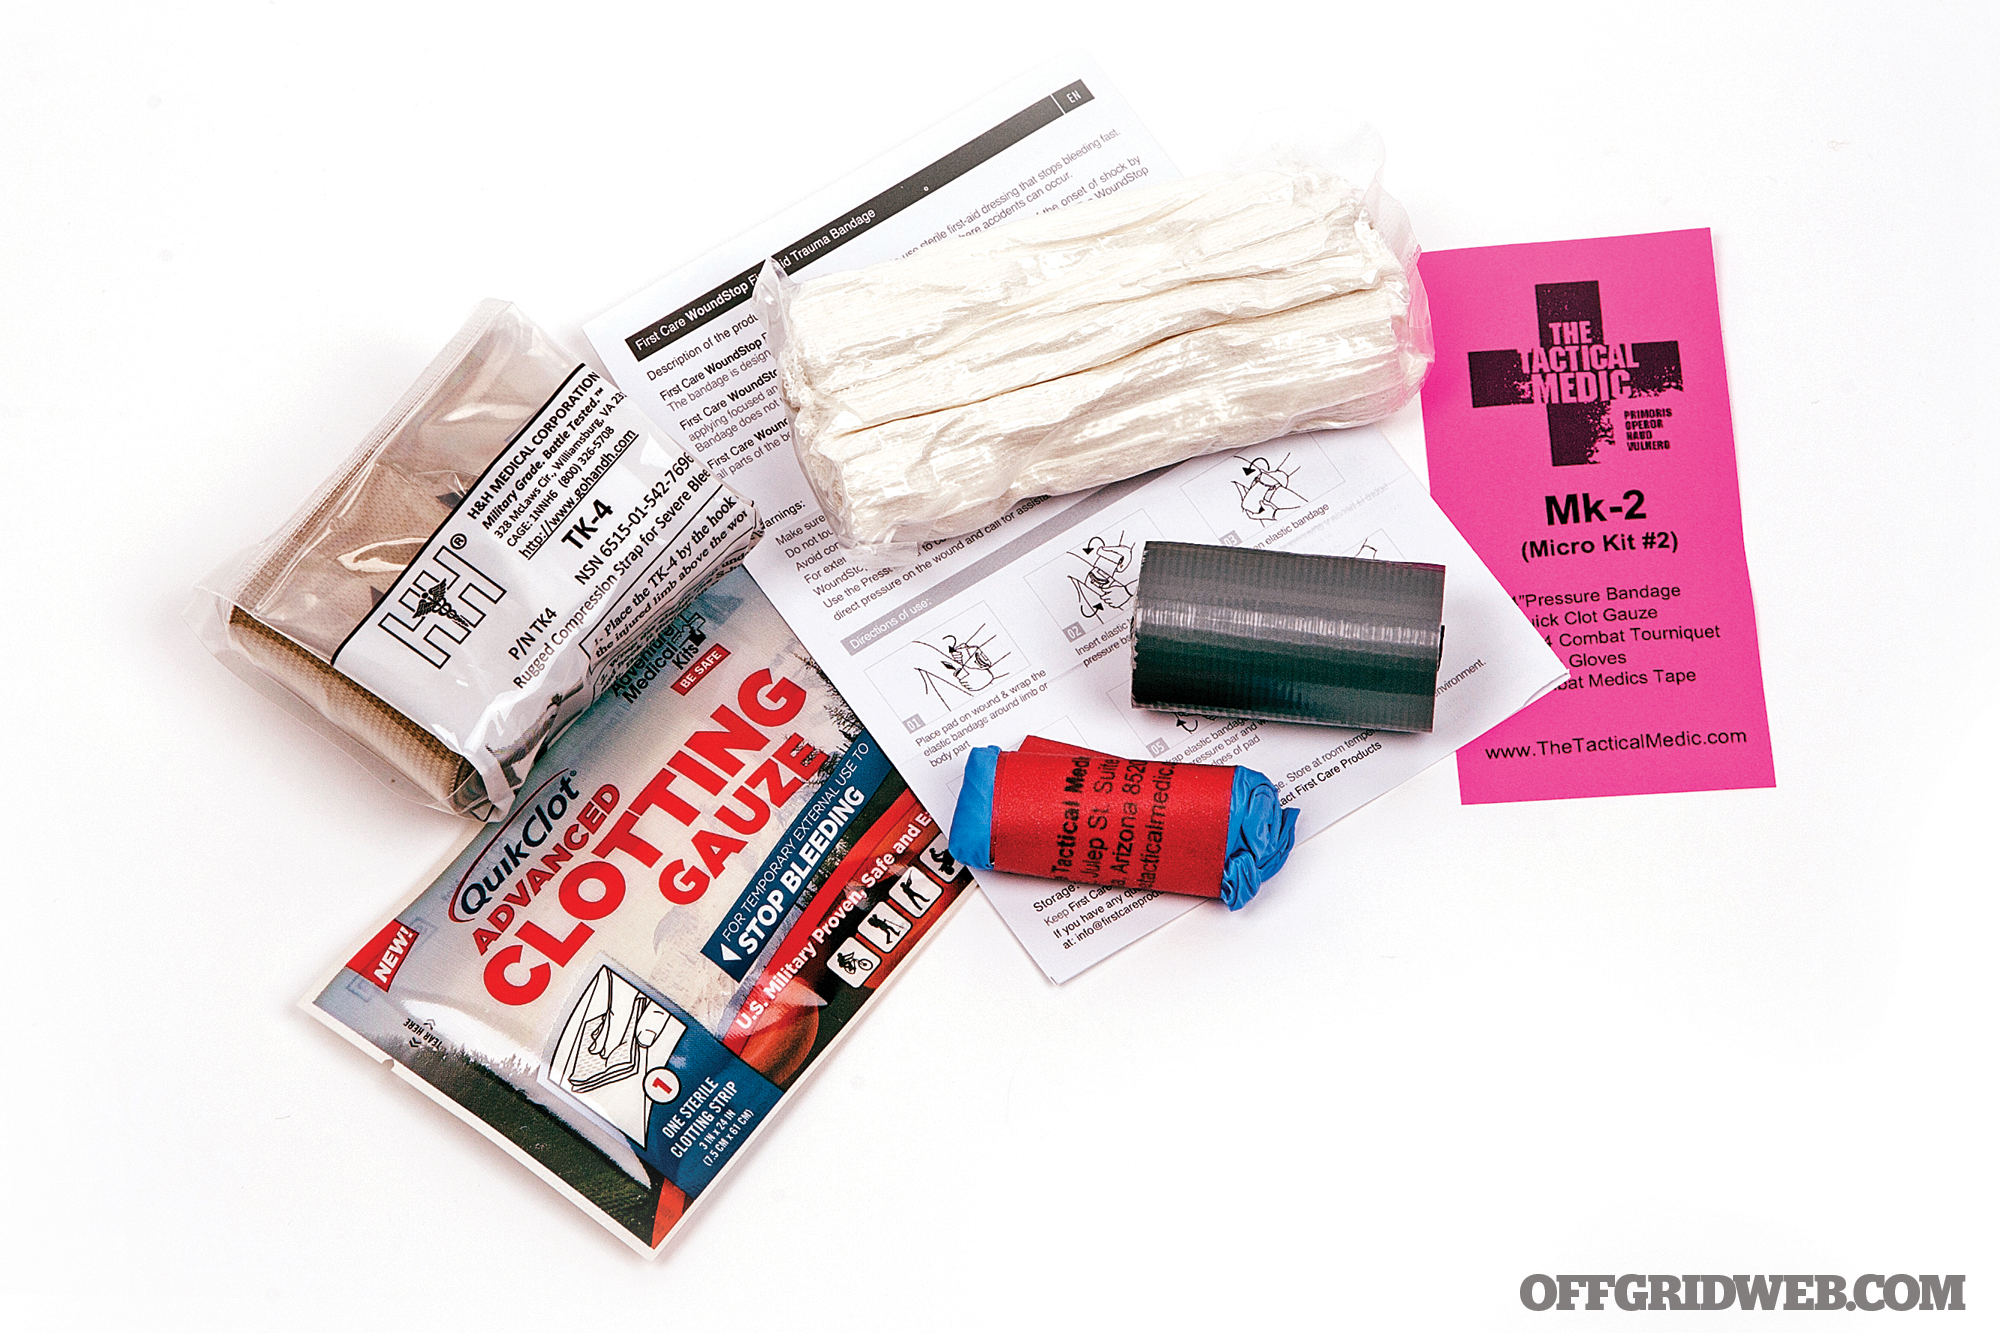
- Pocket Preps: Individual First Aid Kits (IFAK)
- Fluid Thinking: Long-Term Water Storage for Survival
Read articles from the next issue of Recoil Offgrid: Issue 29
Read articles from the previous issue of Recoil Offgrid: Issue 27
Check out our other publications on the web: Recoil | Gun Digest | Blade | RecoilTV | RECOILtv (YouTube)
Editor’s Note: This article has been modified from its original version for the web.