In the upcoming Issue 18 of our print magazine, our recurring “What If?” feature addresses a topic that has become tragically relevant of late — mass shootings. The hypothetical scenario in this issue addresses how to cope with a deranged and unstable individual firing indiscriminately into a crowd. While this situation may be frightening to consider, thinking seriously about how you’d handle an active shooter can help you mentally prepare in case that horrifying day ever comes.
Issue 18 shares the thoughts and reactions of three experienced individuals: U.S. Marine veteran Candice Horner, federal agent Erik Lund, and survival instructor Tim MacWelch. To read the entirety of these three perspectives on how to deal with a mass shooting event, pick up a copy of Issue 18 on sale January 27th, 2017. As a web-exclusive supplement to this print article, we’ll be sharing a fourth perspective with you today. Ryan Lee Price is a freelance journalist and outdoor adventurer who resides in southern California. He wrote the following approach from his “average joe’s” mindset.
What If?
Before we share Ryan’s approach to dealing with a mass shooting, here are the key details of the hypothetical scenario he’ll be writing about.
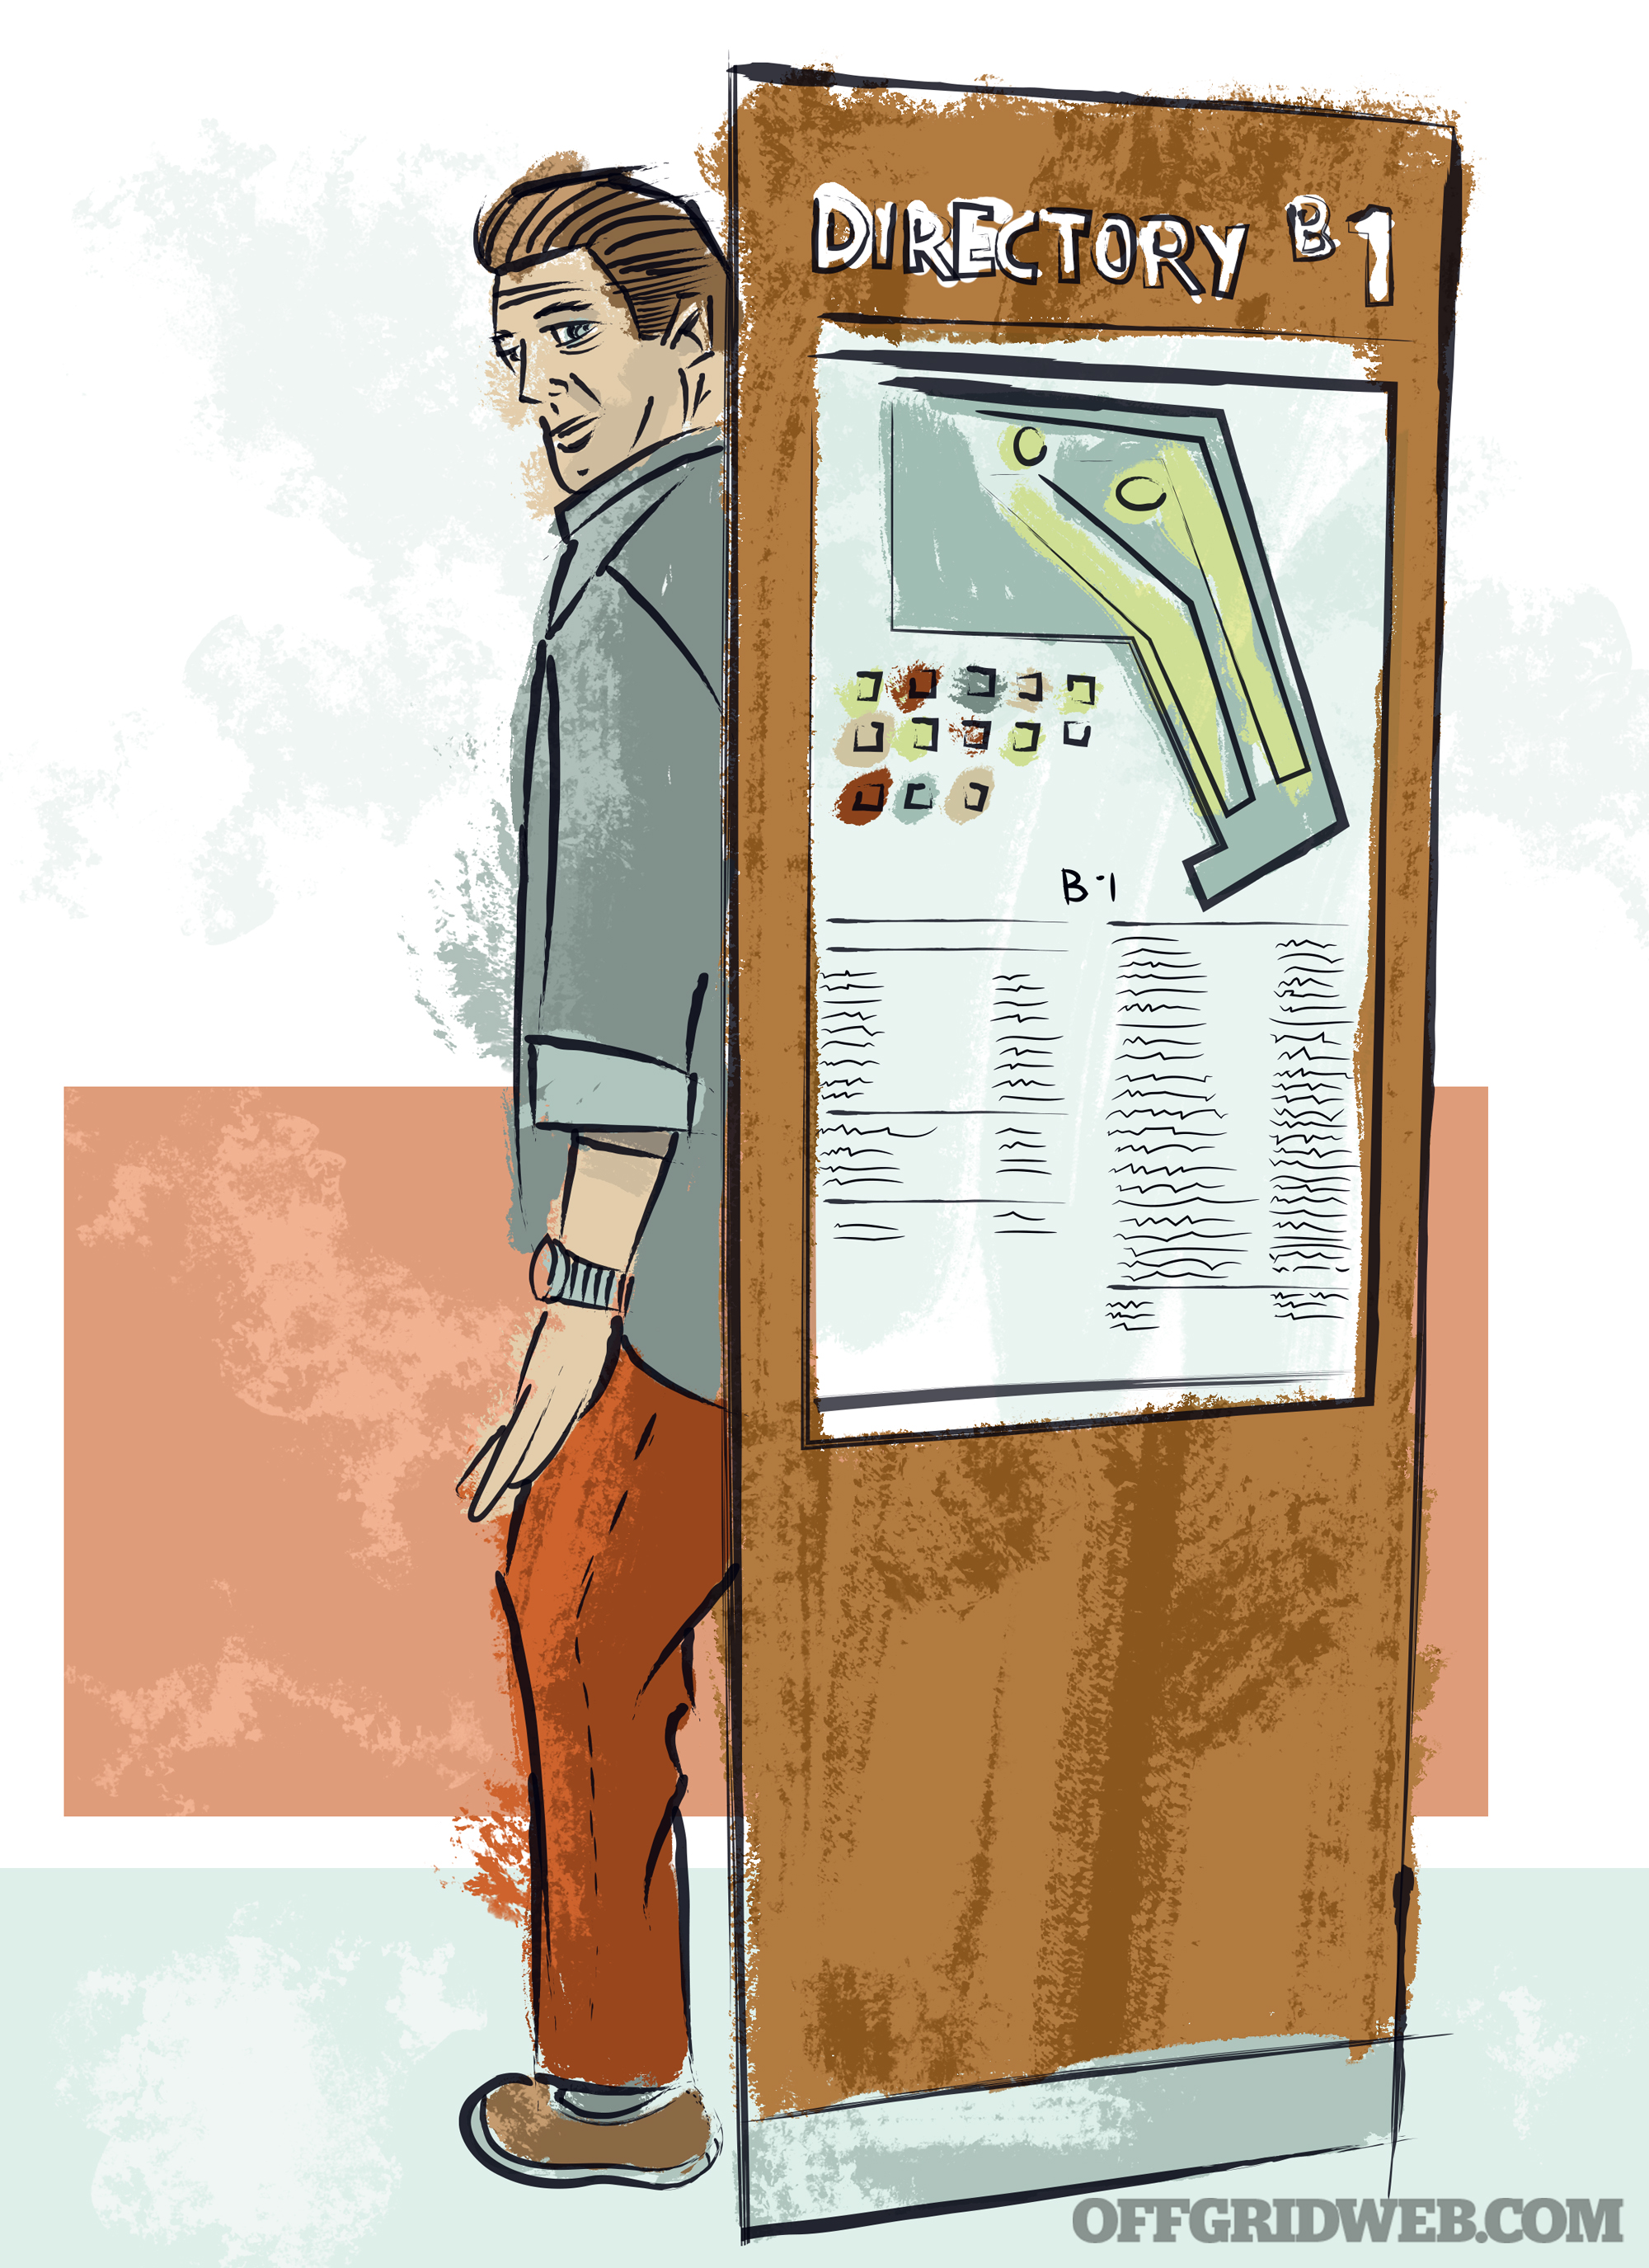
The Setup: You’re visiting the Windy City and decide to have your last lunch in Illinois at Water Tower Place, the eight-level mall located inside a 74-story skyscraper. You figure you can hang out there for a few hours, buy some souvenirs, and still have plenty of time to catch an Uber to O’Hare International Airport. More importantly, you’ll be out of the bitter cold!
The Complication: You’re about to enter the Oakley store when a loud noise echoes throughout the mall. Everyone flinches, then freezes. Suddenly, several more bangs ring out. It’s gunfire! Immediately, people scream and sprint in every direction. You instinctively duck behind cover and carefully scan for the safest way out — instead of seeing an exit you spot a gunman who fires randomly into a crowd of people then heads in your direction. He didn’t see you, but he’s about 35 yards away and approaching. What do you do?
The New Plan: With this bad guy shooting at people indiscriminately, you’ll have to formulate a plan (and fast) for what to do. You need to deal with the environment (the store and mall), the gear you happen to be carrying, and the reaction (if any) of other shoppers, security guards, or police.
Average Joe: Ryan Lee Price’s Approach
Chicago had never really been on the list of places I wanted to visit, as the idea of going from one crime-ridden, filthy, overcrowded metropolis (Los Angeles) to another isn’t very appealing. The only thing that even remotely interested me was Wrigley Field and perhaps the view from Sears Tower — er, I mean, Willis Tower. To me, vacations should be filled with relaxing activities, like dropping a hook into the Snake River with a backdrop of the spiky Grand Tetons cutting into a crisp autumn morning, or trekking through the serene Sierra Nevadas during deer season with little more than a pack and my .30-06.
However, opposites attract, right? My wife, Kara, would rather dial 9 for room service or drop her credit card at Bloomingdale’s with a backdrop of a spiky city skyline cutting into … well, you get the idea. Plus, as she pointed out to me months ago, we did the caveman thing last year, and it was her turn this time. Thus, the four of us hopped on an expensive flight to stay in an expensive hotel and drive around in an expensive rental car to eat expensive food or a week. Fish from the Snake River are free; just saying.
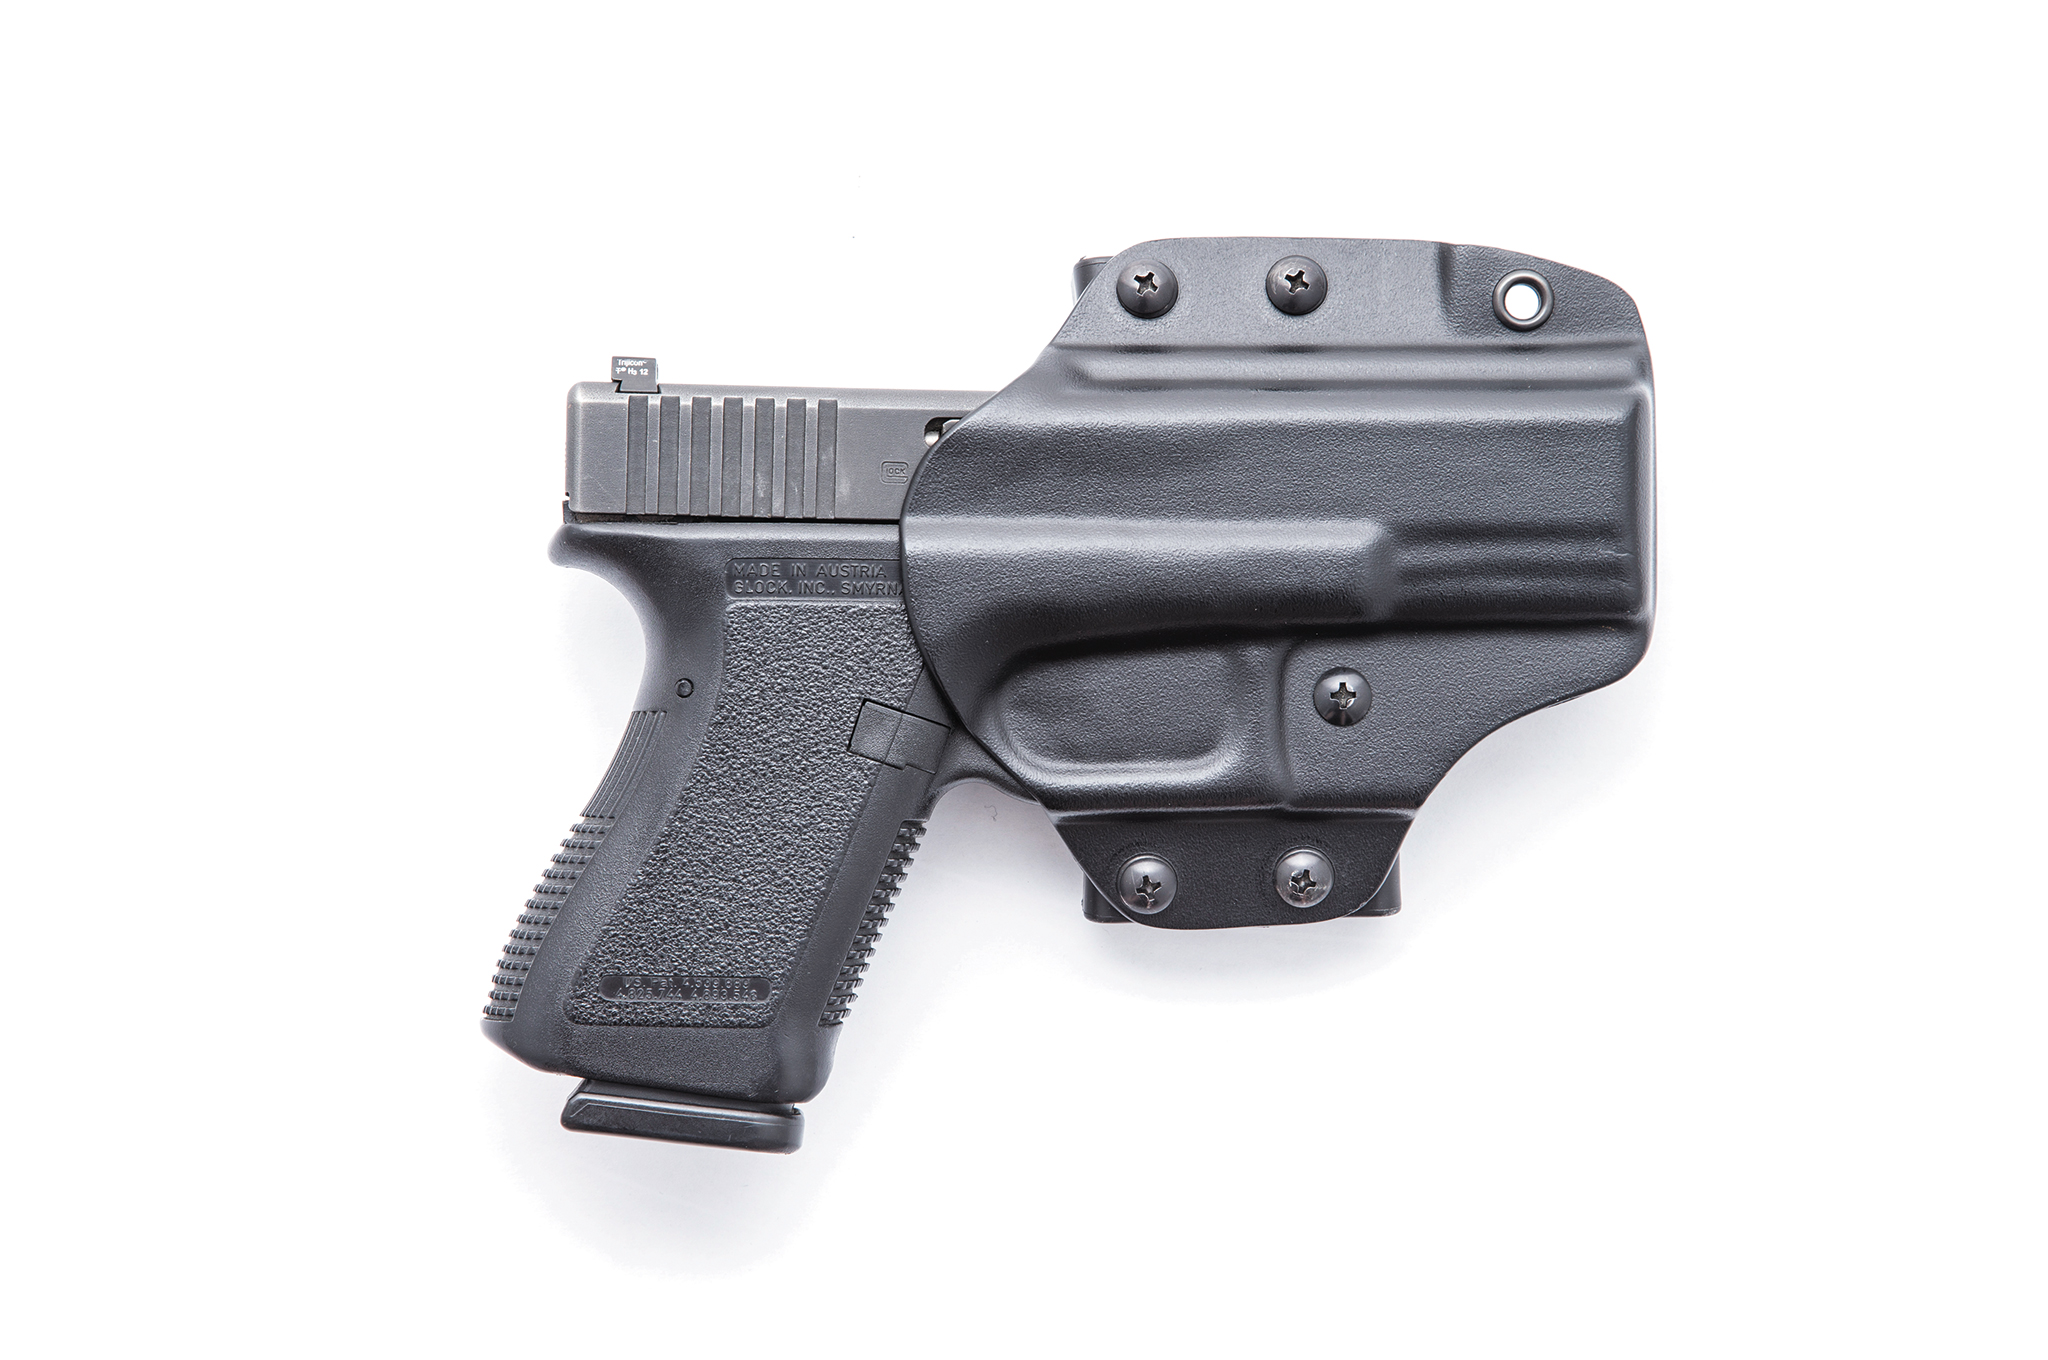
Because of work and my staunch appreciation for the Second Amendment, I have a concealed-carry permit … and obtaining one in California isn’t an easy feat. But Illinois law is different than California’s. The state, which just recently passed its own concealed-carry law in 2014, doesn’t recognize permits from other states, and Chicago is most undoubtedly unfriendly to gun owners, especially those from out of state.
Taking a firearm with me and having to declare, transport, and worry about the TSA stealing it at the airport didn’t seem worth the hassle, especially since Illinois law stipulated that I had to keep it secured (aka locked up and useless) in my rental car. Before traveling, I always read the laws of my destination to determine what would be best for my situation.
That being said, I would have given almost anything to have my Smith & Wesson with me when I walked into the Oakley Shop four days into our trip.
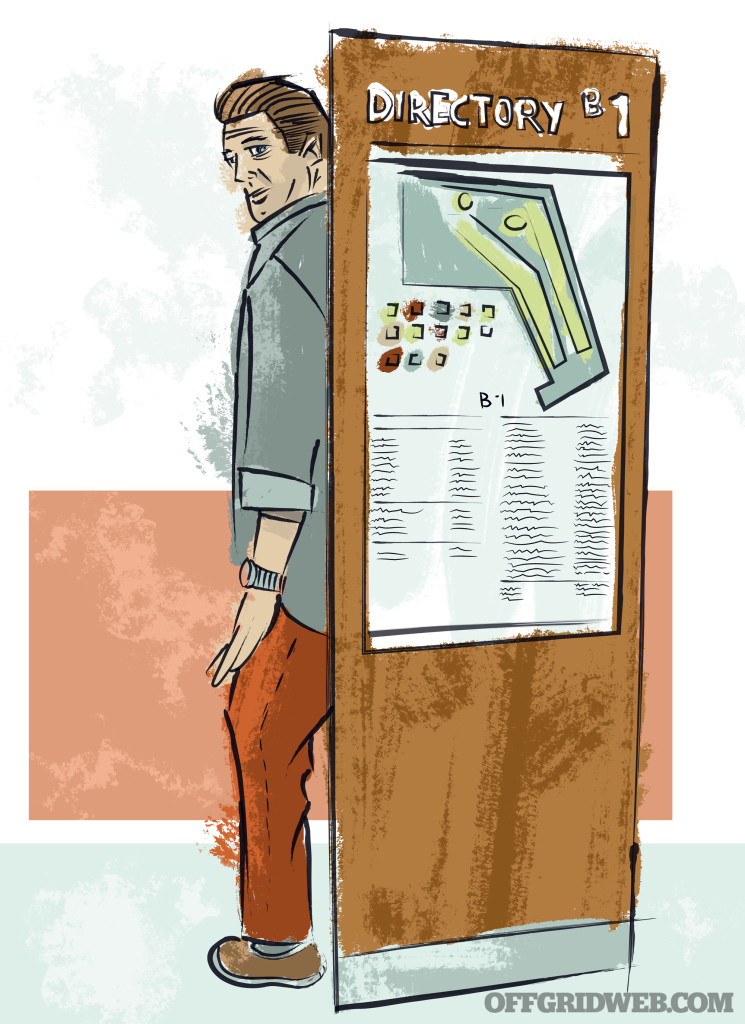
By then, we’d been to nearly every museum within 20 miles of our hotel. The family voted for a day of relaxing shopping at Chicago’s biggest indoor mall, Water Tower Place, part of the Ritz Carlton on famous Michigan Avenue. I relented, if only to have a chance for a day out of the cold — if you have to go to Chicago, by God, don’t go in the winter. It was probably 25 degrees out, with a windchill factor of 0. The mall was heated, at least, and with eight levels and a glass-enclosed elevator cascading down a center atrium, it was like hiking a waterfall in a concrete wilderness of commercialism.
Kara and the kids bee-lined to the American Girl store on the first floor. I graciously bowed out, saying I was going to wander around and find some souvenirs for my brother, an avid Cubs fan who’s back home and probably still celebrating the World Series win.
My wandering took me up to the sixth floor, where there was very little for me: A whole slew of stores geared for millennials who don’t get their clothes dirty for a living. The only bright spot to the L6 (no pun intended) was the Oakley store, as I wanted some new sunglasses.
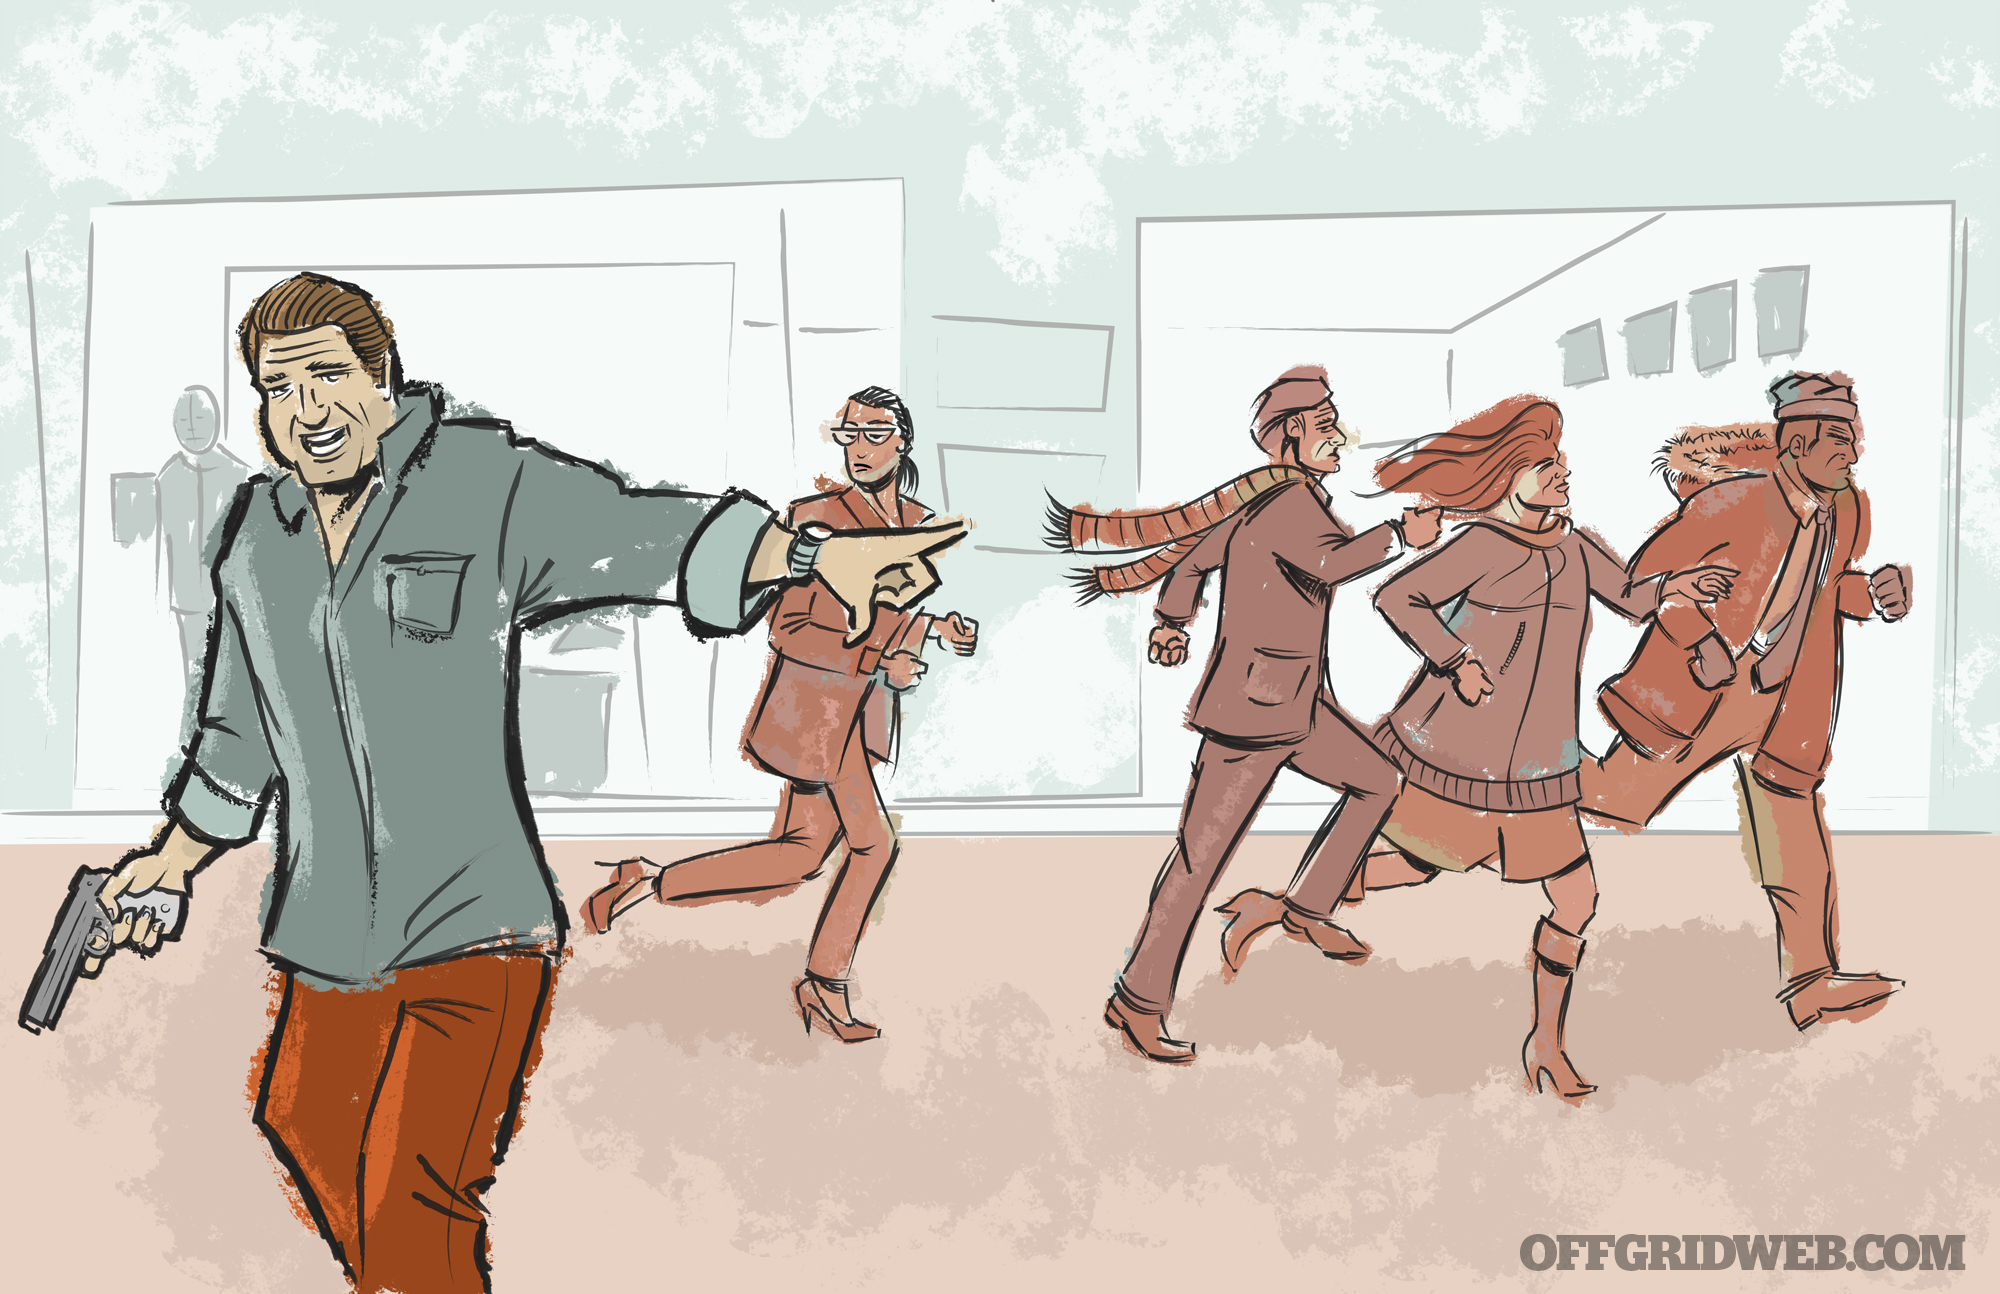
As I stepped into the store, behind me, I heard a tremendous blast. My first thought was someone dropped a pallet of something, as the sound echoed across the marble flooring. Immediately, there was a panicked scream, then several — what seemed like far off wailing like that of gleeful children. A pallet, fireworks, backfire from the street, six floors up? Everyone around me turned to look, speechless, and struck dumb at the sight. Before I could join them, another boom exploded across the atrium, this time closer, and there was no mistaking what it was. Gunfire. Shotgun? Rifle? Pistol?
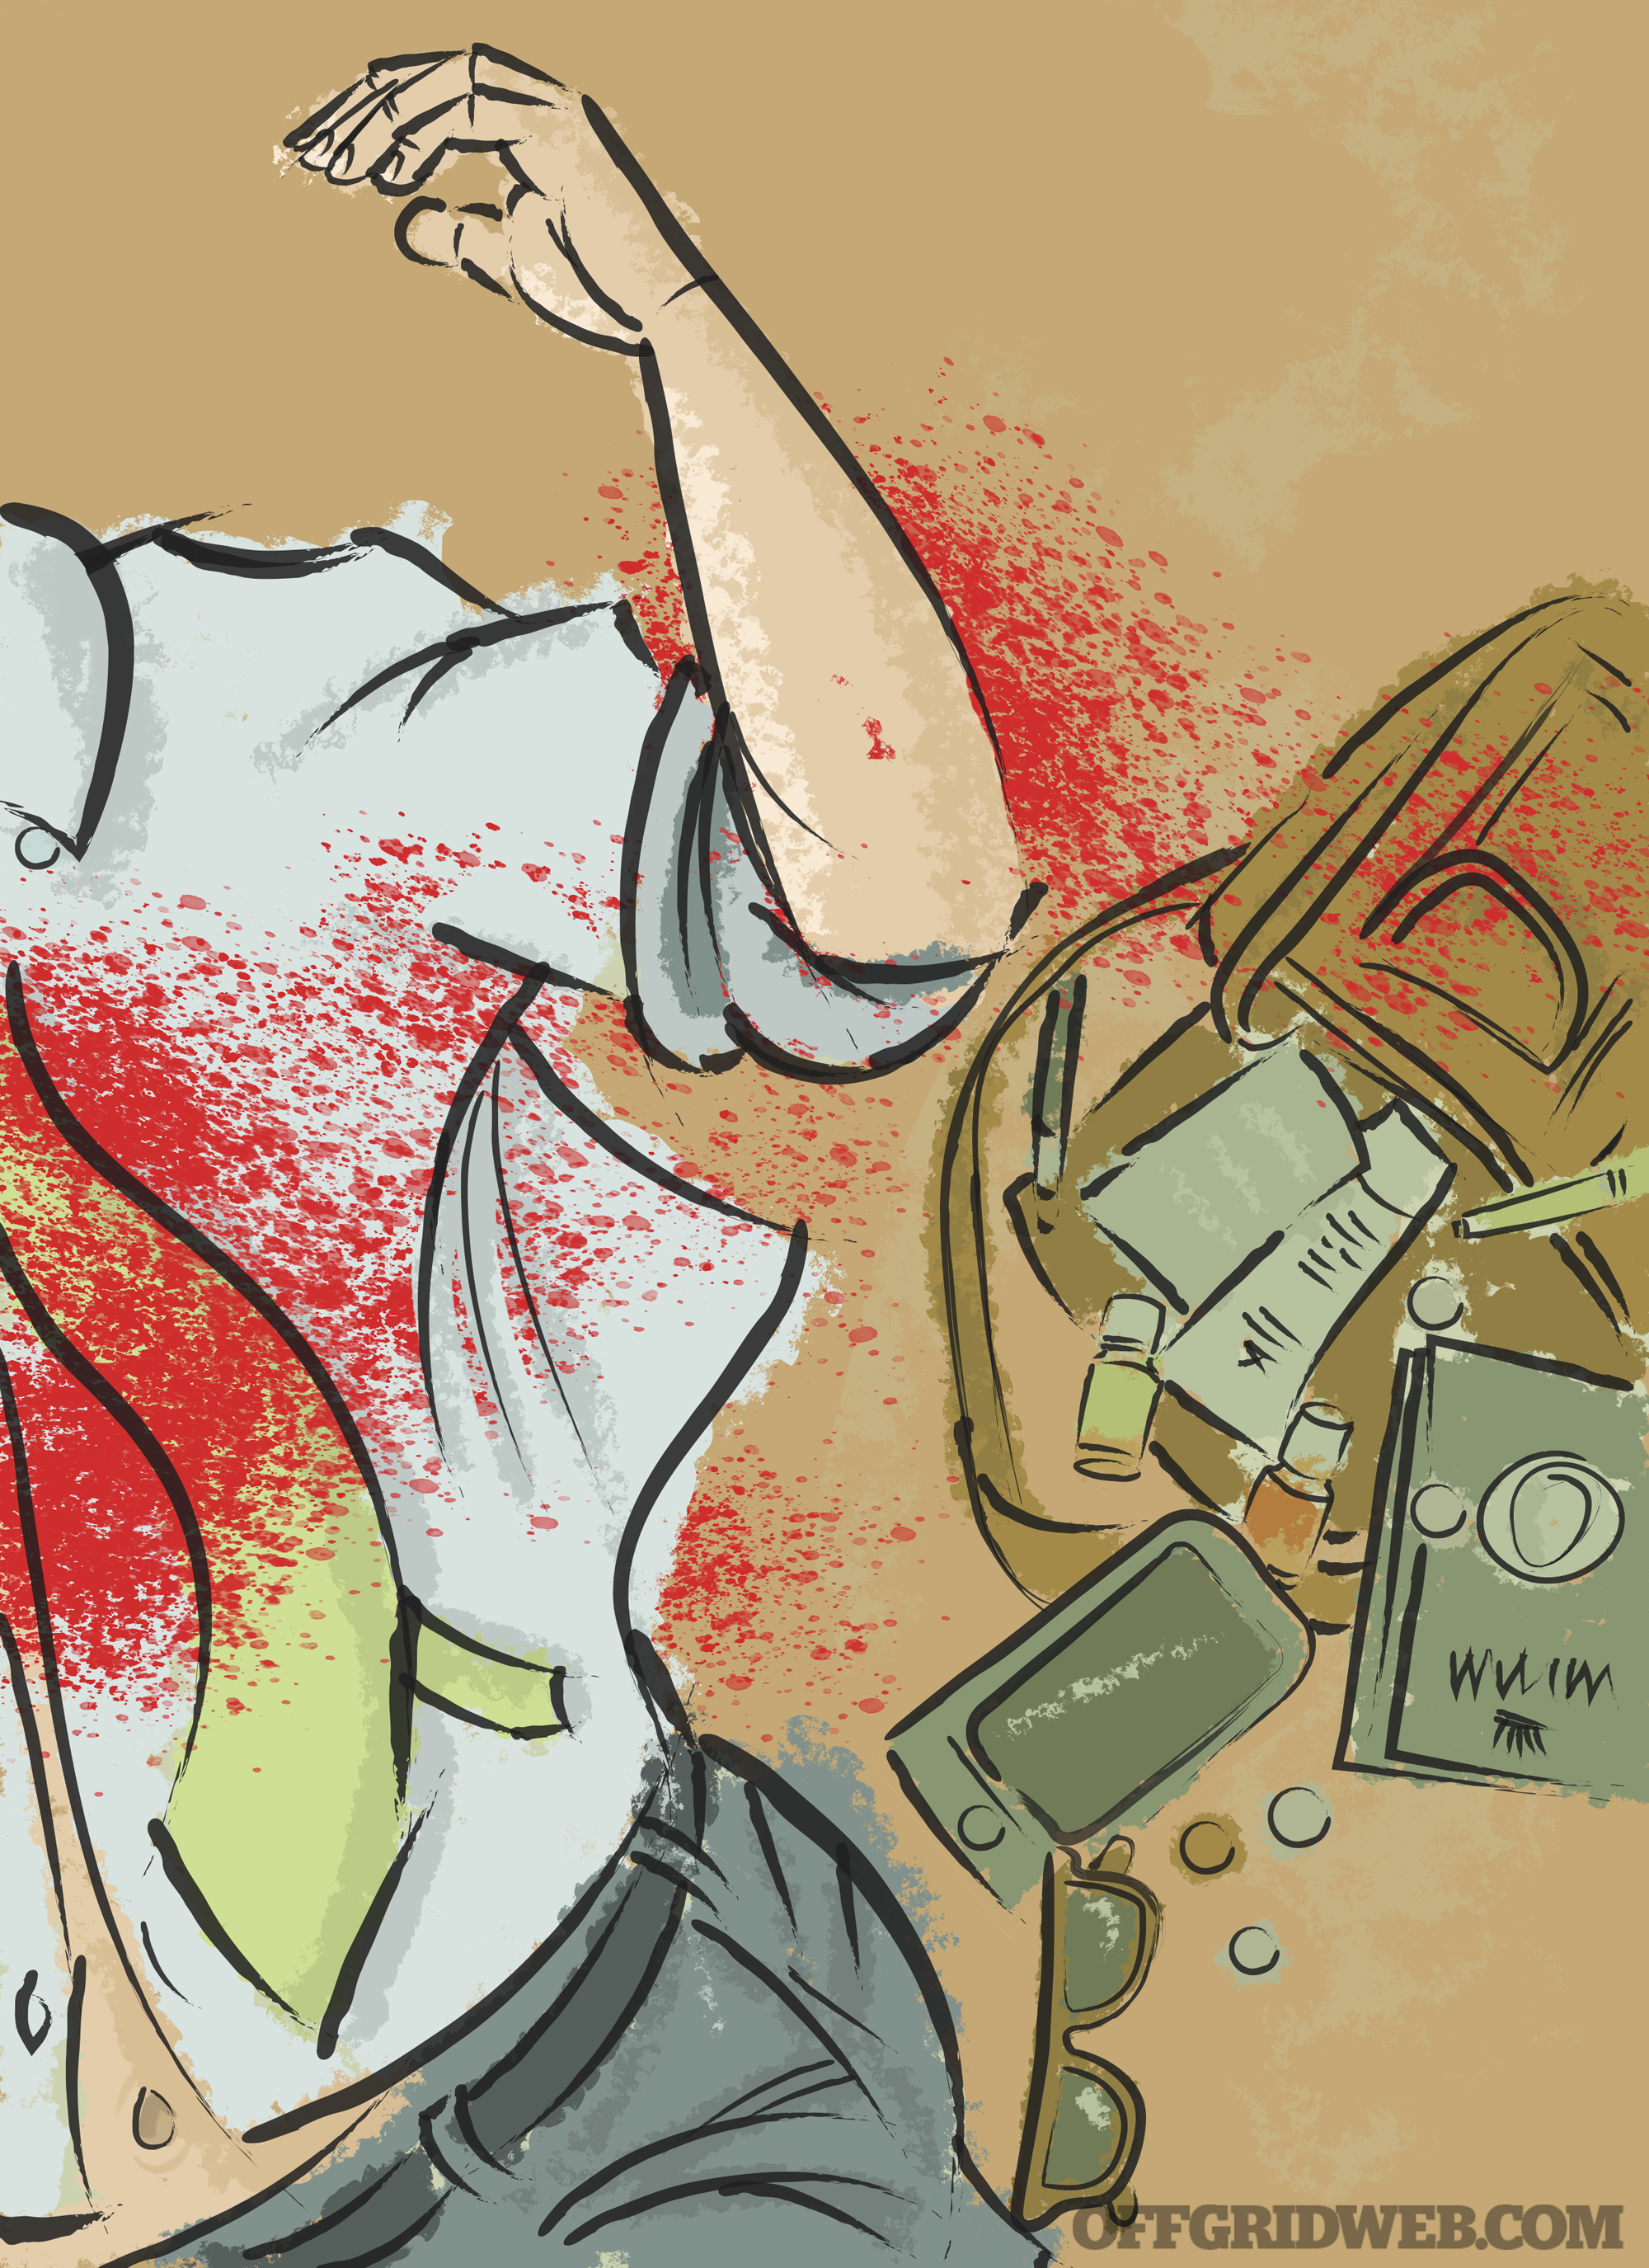
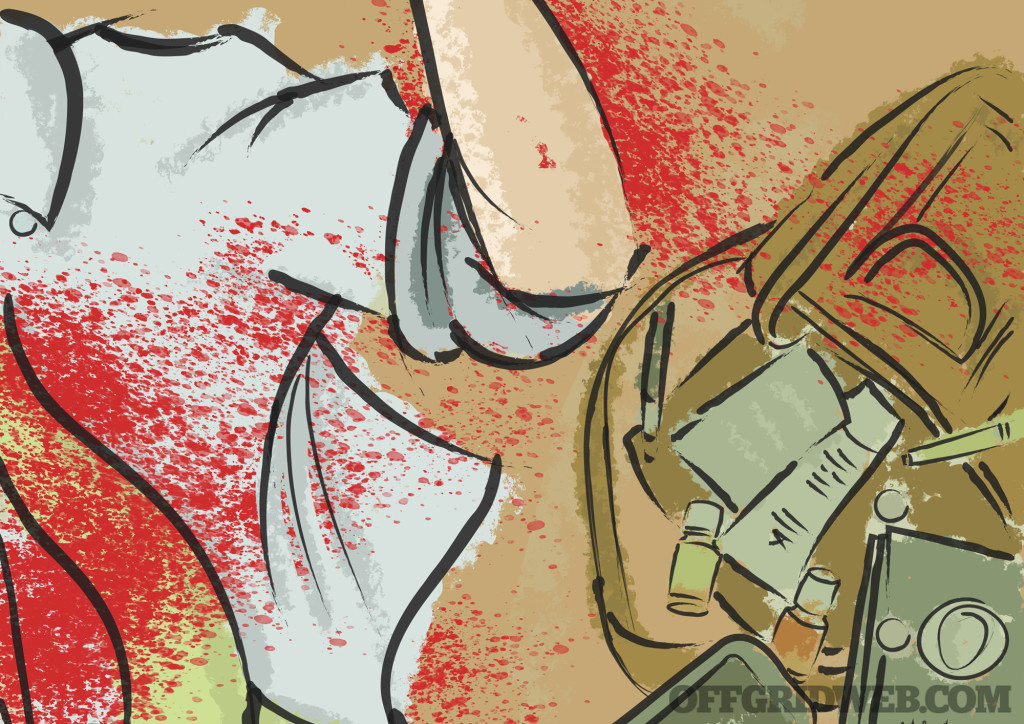
My heart stopped, and I hit the deck just inside the store along with three or four other people. Beyond the threshold of the doorway, the tan parquet floor filled with people tumbling over themselves to escape, like panicked buffalo. Screams were pitched and piercing. Three blasts reported from directly in front of us, each punctuated by a distinct racking of a weapon and the crumpled slump of a victim. The parquet floor turned red. Flat on my face, I peered out from behind the store’s folded open doors. A bank of escalators to my right blocked most of my view, but I could make out the silhouetted profile of the gunman through the glass elevator enclosure across the atrium.
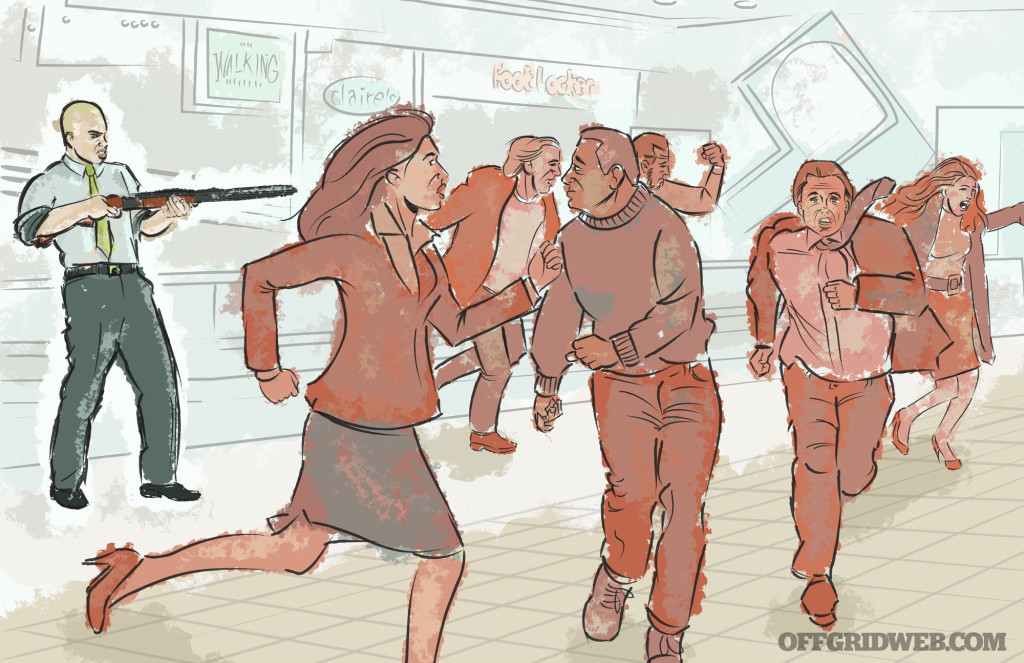
He was walking my way, calmly, slowly, indiscriminately leveling his shotgun at anything that moved or caught his eye. Three more people were cut down before my eyes, and I could do nothing about it. My heart raced, and my body jittered with adrenaline.
He was closer now, and I hadn’t moved from my spot. I could see him clearly, standing about 15 feet from the escalator. My thoughts snapped to my family, five levels below, undoubtedly aware of what was going on. A fire alarm rang out, but beyond, it was eerily quiet. He stood there, looking for an opportunity. The time for me to run had passed, and I was in prime position to engage him if I had something to fight back with.
For one reason or another, I remembered a quote I saw on Facebook earlier in the week: “If violent crime is to be curbed, it is only the intended victim who can do it. The felon does not fear the police, and he fears neither judge nor jury. Therefore, what he must be taught is to fear the victim.”
The gunman’s head twitched in my direction. Several customers of the sunglass shop were attempting to scurry to the back room and to the safety of the maintenance hallway, and the scuffling noise caught his attention. As he turned to the entrance of the store, he volleyed a shell through the door, destroying a display case just over my head. Maybe he saw me, maybe not, but in a few short seconds — just the span of time it takes a man to walk 15 feet — I would become a victim, a line item in the newspaper that would forever change the lives of only a few people, my friends, family, coworkers. In those few short seconds, everything I am and everything I’d ever be would be taken from me.

We’d all like to see ourselves as heroes, John Wayne or Clint Eastwood, calmly entering the fray. With a quick retort, determined grit, and great hair, we’d educate the perp on the error of his ways before dispatching him to hell. But the truth of the matter is that self-preservation is a strong obstacle, and the brave, the scared, the fearful charge in with reckless abandon to defend ideals and beliefs bigger than themselves.
I couldn’t die in a room with lime-green walls.
The barrel of the shotgun slowly poked in through the door. When I saw a dirty hand on its fore-end, I knew he had a pump shotgun with enough room for about five shells. Had he spent them all or did he have one more round? Did he reload at some point? Where’s my .45 when I needed it? Locked up safely at home, not doing anyone any good.
I didn’t have time to go back in my head to do a round count. I pounced. With a violent and blinding upward motion, I grabbed the barrel of the shotgun with my left hand and his jacket collar with my right. The force lifted him off the ground and back out into the walkway. He let go of the shotgun, and his arms flung behind him as if he was falling backwards. I struck with my fists, feet, knees, and head. His coat flew open, revealing a pistol in his waistband. Before he could reach for it, I fell on him with a bear hug, grasping my arms around his scrawny body. He clawed, kicked, and thrashed his head around.
The struggle brought us to the railing of the atrium; there was no way I could let go of him. Neither of us could reach his handgun, and I couldn’t let go of him. It was as if I were holding the tail of a rattlesnake.
In our struggling, we slammed against the railing, and there was my solution: gravity. I pushed his body, his head with my head. I tangled my legs around his, and I lifted, I strained, I twisted. He had a hold of my coat, and his feet, off the ground now, were kicking at my knees. He began to scream, and my grunts and muffled swears punctuated our struggling. He’s going over, or we’re both going over. There was no third choice in my mind, until something huge slammed into both of us, like a battering ram in human form.
I found myself on the bottom of a growing pile of Chicago Police SWAT team members bristling with gear and guns. I let go of everything as something powerful dragged me free by my legs.
As it turns out, Chicago’s Northwestern Police Department is on Michigan and Superior avenues, only two blocks to the south, and my life and maybe those of many others were saved by a phone call. However, the stringent gun laws of Chicago, Illinois, and the Federal government allowed 13 people to die because they disarmed its people, leaving us as soft targets.

Change the laws. Votes count. People count. Freedom counts.
About the Author
Ryan Lee Price is a freelance journalist who specializes in outdoor adventuring, emergency preparedness, and the automotive industry. He has contributed to the SHTF survival column in our sister publication RECOIL and is a long-time hiking and camping enthusiast. He currently resides in Corona, California, with his wife, Kara, and their two children.