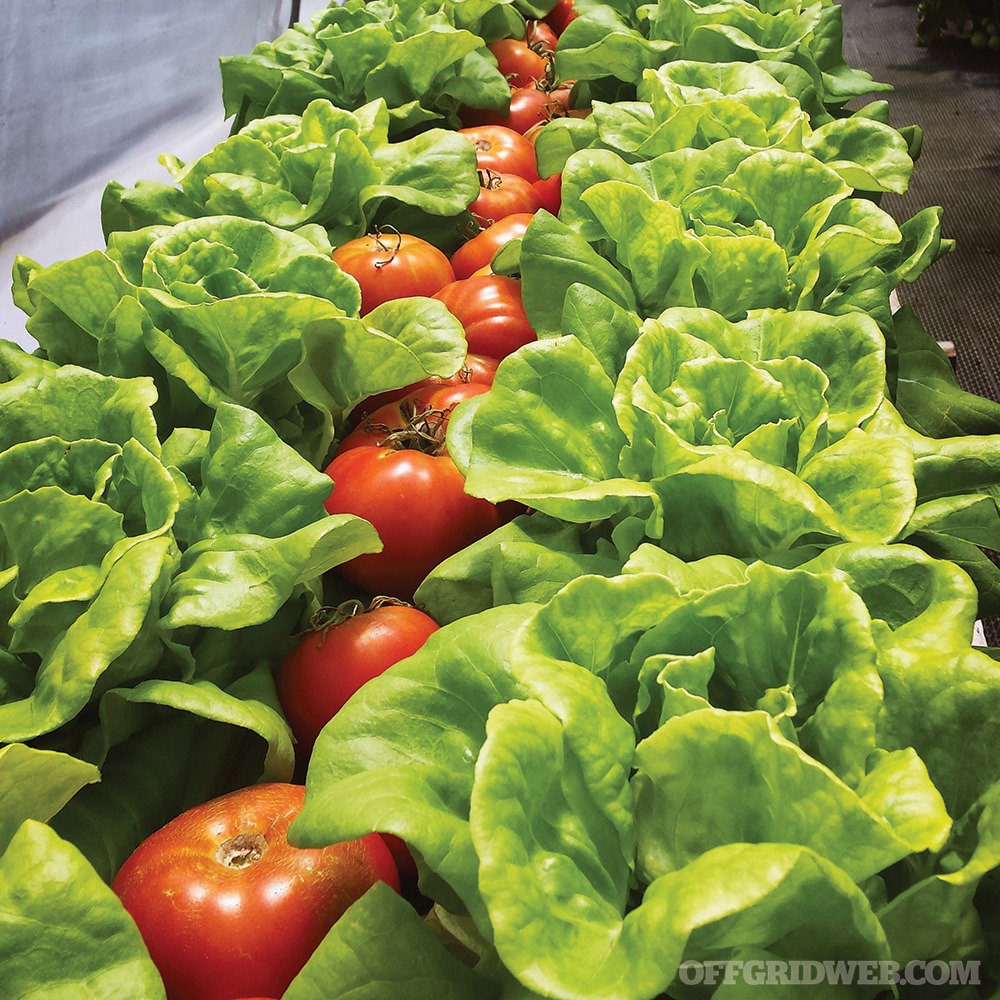
As we’ve said countless times in the past, gardening is a great way to build self-sufficiency and ensure a healthy food supply for times of crisis. This might range from a few small planters on an apartment balcony to a backyard garden with several large plots — either way, the goal is to have a renewable source of calories in case a disaster impacts the supply chain. In a recent press release, the U.S. Department of Agriculture announced an expanding initiative for registration of “People’s Gardens” which meet criteria that include “benefitting the community, working collaboratively, incorporating conservation practices, and educating the public.” Although joining the program is voluntary, some members of the preparedness community have expressed concern that this national garden database might lead to redistribution of privately-grown food resources in the future.
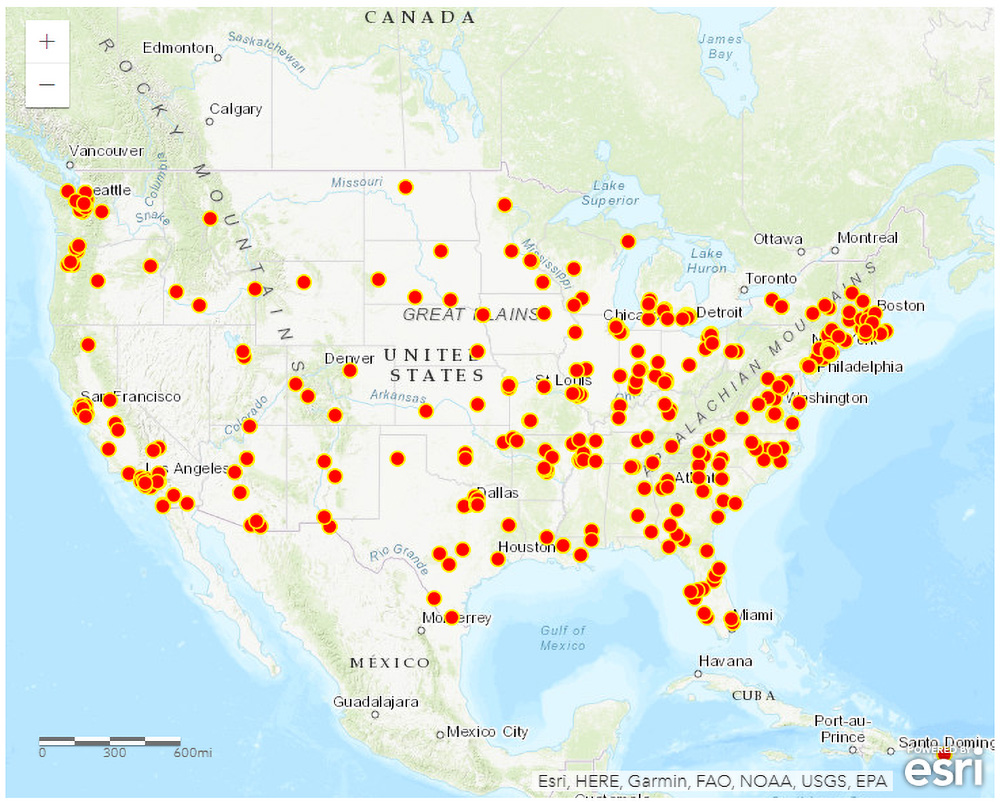
Above: A map showing the current locations of registered People’s Gardens in the United States.
What are People’s Gardens?
The USDA press release, published September 9th, 2022, summarizes as follows:
“We welcome gardens nationwide to join us in the People’s Garden effort and all it represents,” said Secretary of Agriculture Tom Vilsack, “Local gardens across the country share USDA’s goals of building more diversified and resilient local food systems, empowering communities to come together around expanding access to healthy food, addressing climate change and advancing equity.” Vilsack continued, “We encourage existing gardens and new gardens to join the movement. Growing local food benefits local communities in so many ways, and we offer technical resources to help. Also, it’s a great way to connect with your local USDA team members.”
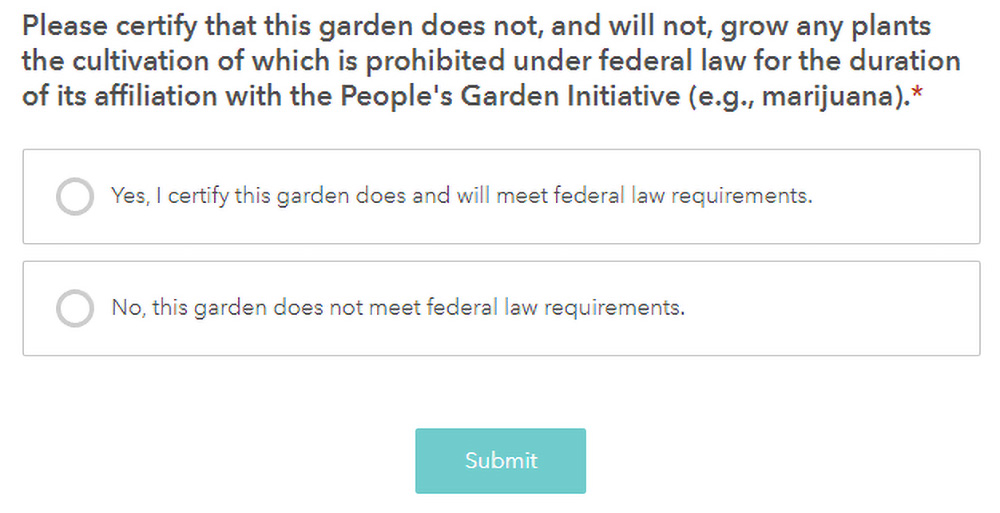
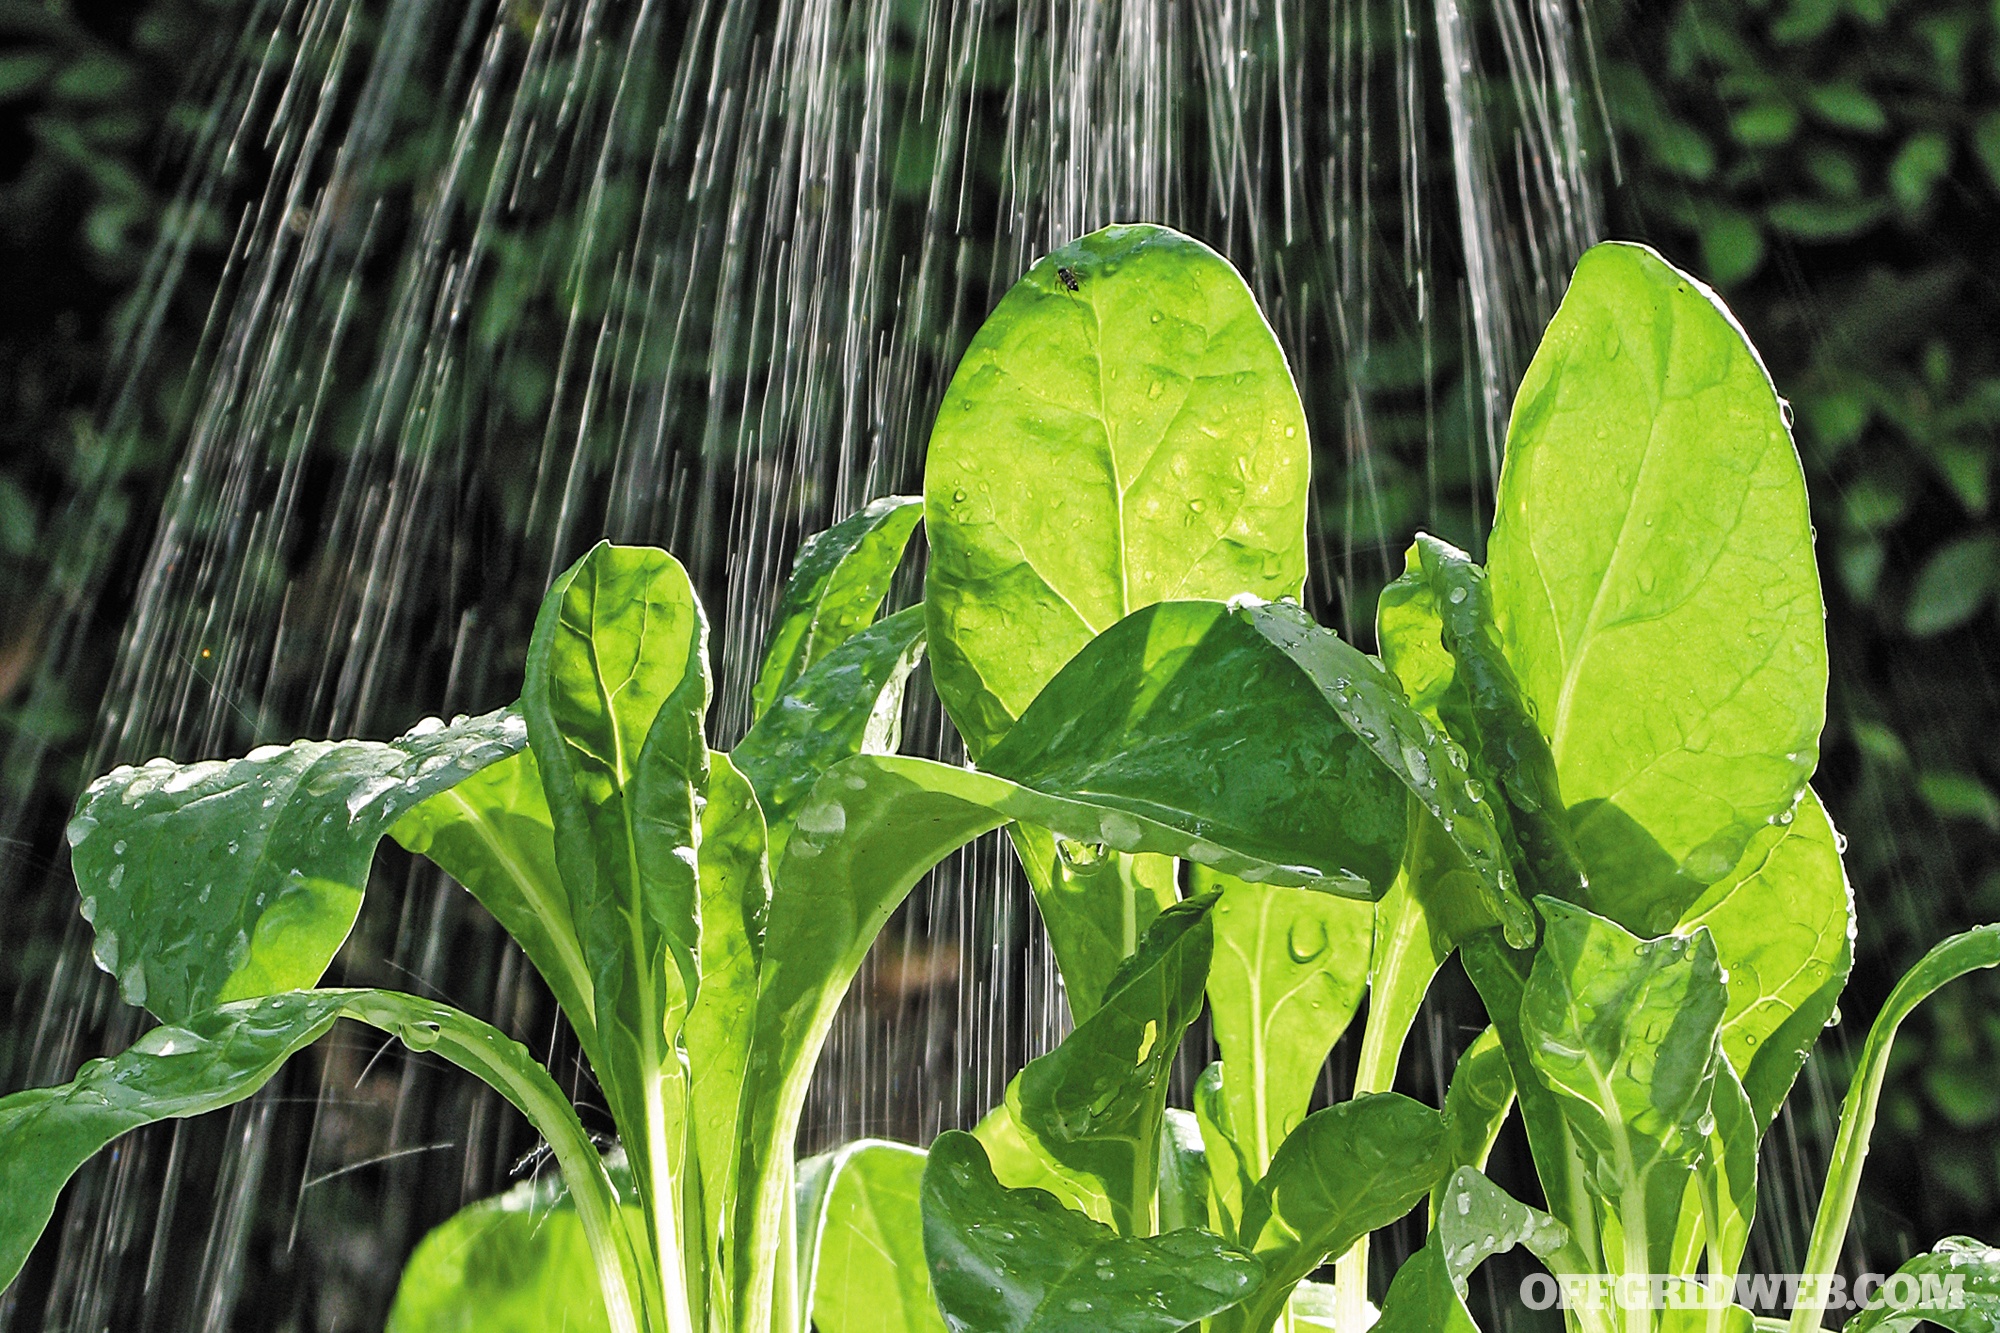
Above: Registered People’s Gardens will be required to submit information regarding the type of growing methods used.
Launched in 2009, the People’s Garden initiative is named after President Lincoln’s nickname for the USDA, “the People’s Department.” Currently, 18 flagship “urban hub” People’s Gardens have been established by the department, with the first being located at USDA headquarters in Washington, D.C. The initiative is now being expanded to include gardens on private property, such as “school gardens, community gardens, urban farms, and small-scale agriculture projects in rural, suburban and urban areas.”
To participate in the program, garden owners must go to usda.gov/peoples-garden to fill out a form that requests details such as the garden’s address, type of organization managing the garden, purpose of the garden, estimated size, and type of growing medium (e.g. raised beds, hydroponics, and/or greenhouses). The form also requires photos of the garden, and a certification that no federally-prohibited plants will be grown by garden administrators:
What’s the Incentive?
USDA’s press release states that those who register for the People’s Garden initiative will receive the following:
- Location and information displayed on USDA’s interactive map (as seen at the beginning of this article)
- A free People’s Garden sign with the logo above
- “Continued engagement through photos and information sharing”
Purpose and Implications
There’s no clear explanation of the purpose of this voluntary garden database, beyond a blanket statement about “efforts to advance equity, support local and regional food systems and access to food, and encourage use of conservation and climate-smart practices.”
The press release points out that gardens on federal land will be required to donate produce: “Gardens on federal property, such as USDA offices, are required to donate produce. We invite these gardens to report how much is being donated.” There appears to be no such requirement for privately-owned gardens at this time.
Again, enrollment in this program is voluntary, but we can see the reasons why many in our community are concerned about its future implications.
Historically, federal registration of a resource has often been one of the first steps toward increased restriction, increased taxation, or all-out confiscation of that resource (see also: the National Firearms Act of 1934). The federal government also has a long track record of seizing privately-owned assets (see also: eminent domain, civil asset forfeiture), especially during times of crisis or declared states of emergency. And we view government data collection programs (such as the NSA’s use of PRISM to spy on internet traffic and various agencies’ use of Stingray devices to spy on cell phone conversations — both frequently without warrants) with a similar level of suspicion to emails from Nigerian princes looking to divest their fortunes. Of course, you should always read up on these subjects and draw your own conclusions.
We’ll leave you with the USDA’s own summary of its goals for the future:
USDA touches the lives of all Americans each day in so many positive ways. Under the Biden-Harris administration, USDA is transforming America’s food system with a greater focus on more resilient local and regional food production, fairer markets for all producers, ensuring access to safe, healthy and nutritious food in all communities, building new markets and streams of income for farmers and producers using climate smart food and forestry practices, making historic investments in infrastructure and clean energy capabilities in rural America, and committing to equity across the Department by removing systemic barriers and building a workforce more representative of America.