It finally happened. The sh!t hit the fan. And as you and your friends in the preparedness community shake your collective fingers and say, “I told you so” to the woefully unprepared, that old familiar pressure in your gut begins to build. You realize that it’s time to make a sacrifice at the porcelain altar. But if the power is out and the water has stopped running, where will you make your “deposit” — and how can you clean up afterward? What about everybody else? You can’t just start digging holes in your backyard behind the shrubbery…or can you?
In this semi-tastefully written article, we will discuss how to handle pee, poop, and trash in three SHTF scenarios: 1) bugging in, 2) bugging out, and 3) at your bug-out location. When your bowels start to growl, you have to pee like a race horse, or you have an armload of garbage, follow these easy procedures and you’ll have one less thing to worry about in the middle of mayhem.
Bugging in at Home
Despite being embroiled in the struggles of a post-apocalyptic wasteland, we can’t just pile up waste wherever we like — especially at home. Trash and human waste need to be dealt with in a safe and timely manner. The type of sewage system at your home will have a great bearing on your human waste disposal after a disaster.
If you’re on a municipal water and sewage system, the water will flow until the source breaks down. Likewise, the sewage will continue to flow away until that facility fails.
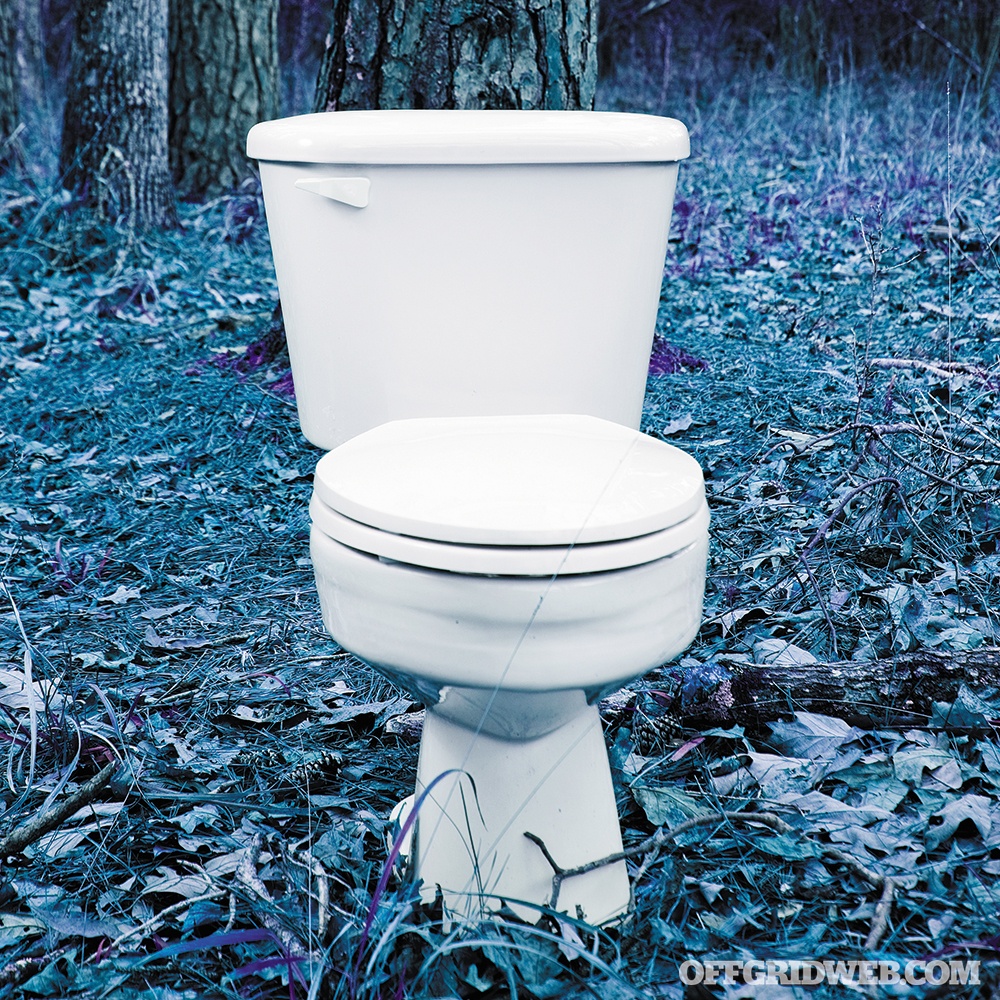
If you’re in a more rural setting, your water usually comes from an electrically powered pump in a well on your own land. You also have a septic system that is usually gravity fed and drains your household sewage into a septic tank — then the liquid overflows into a buried drain field. If your sewage system is on-site and gravity fed, all you need is a bucket of water to pour into the toilet tank or directly into the bowl to keep flushing your toilet for years to come.
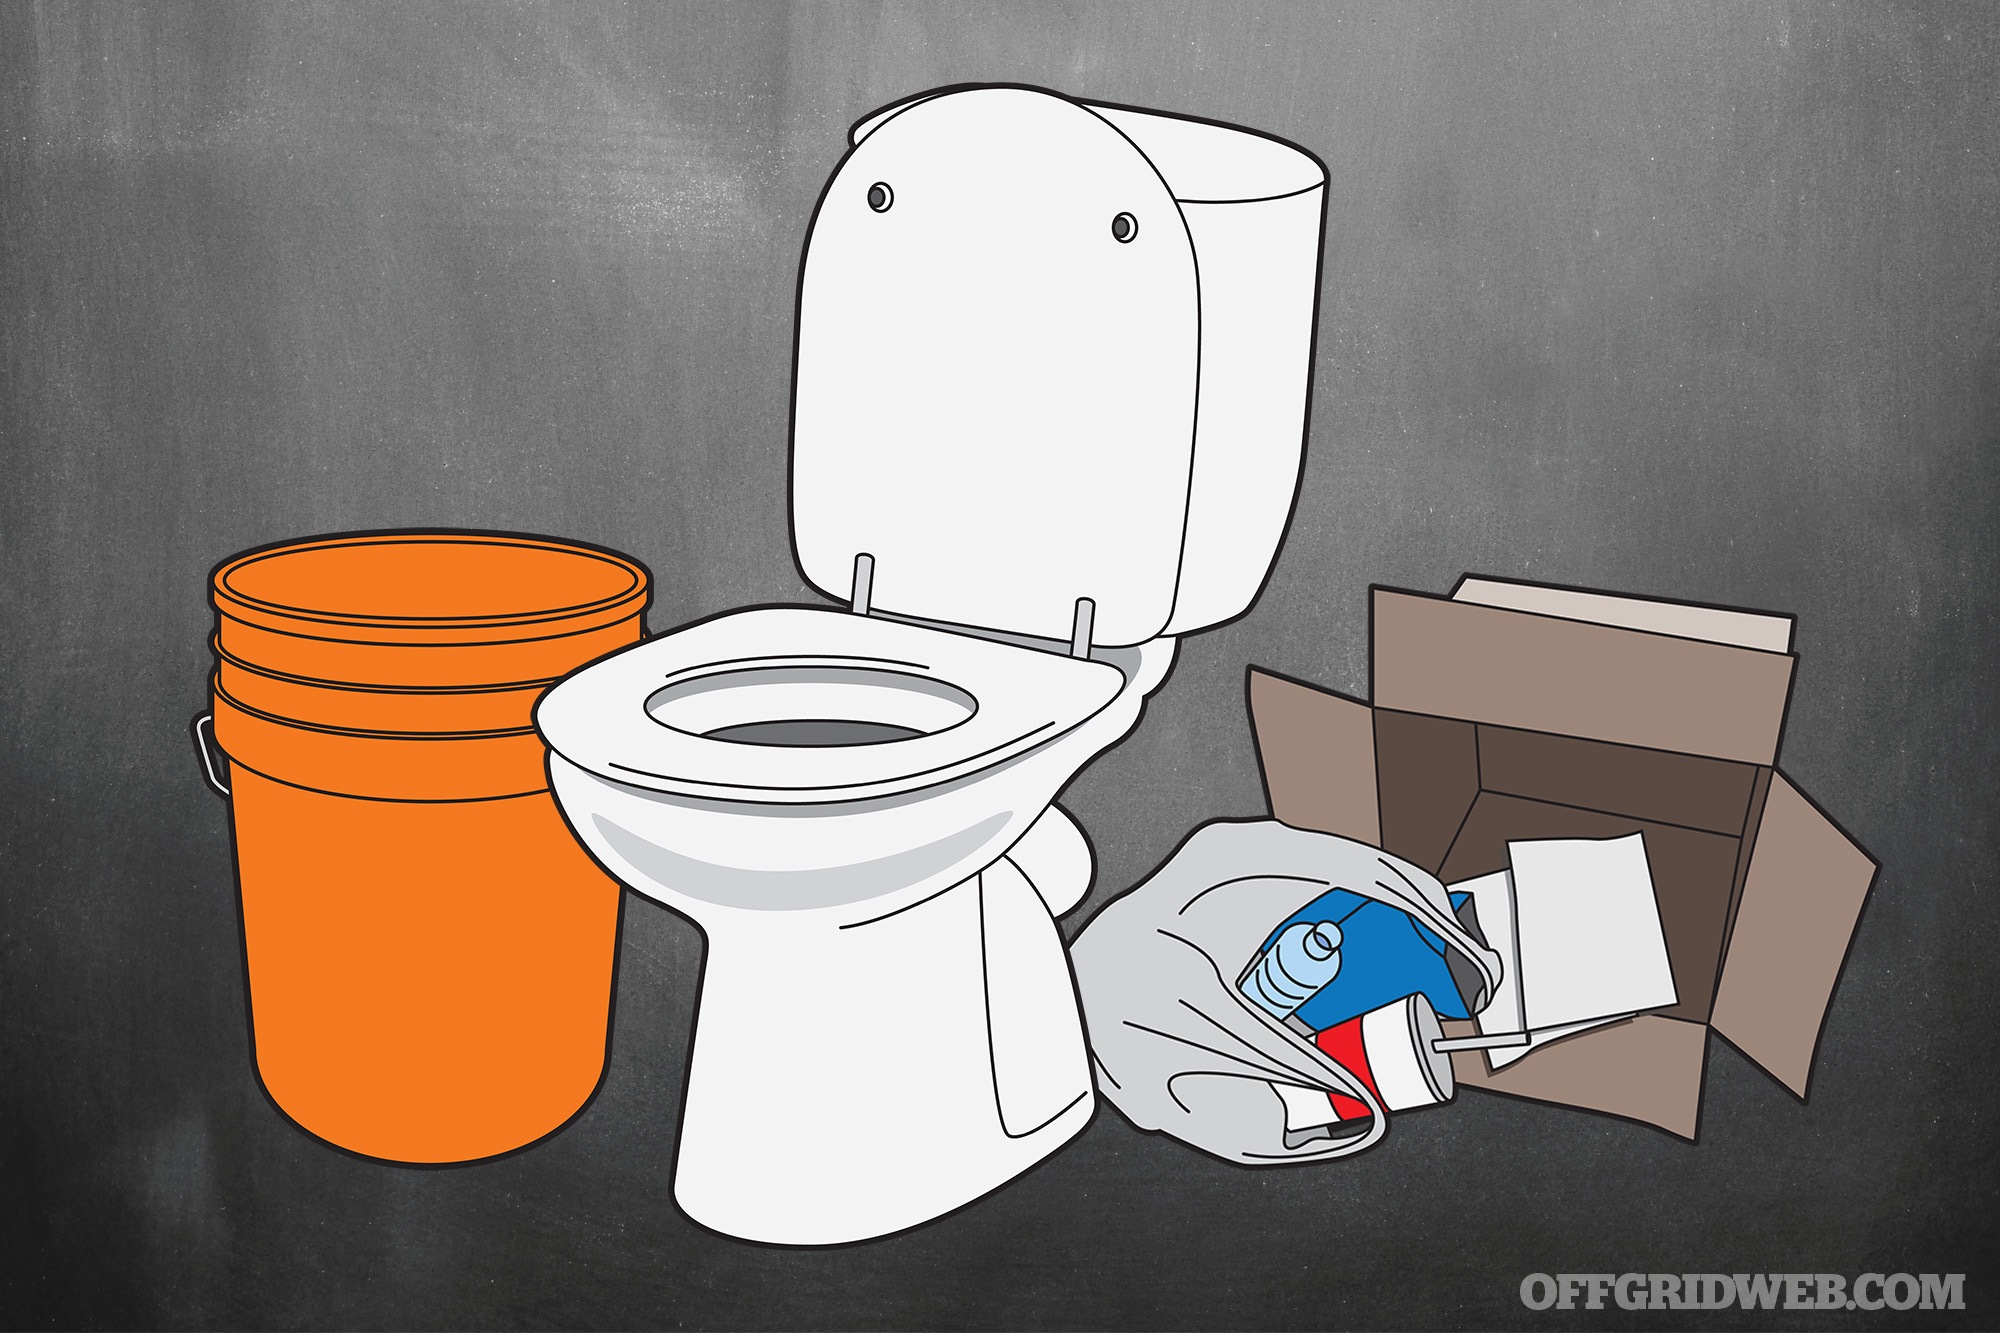
Urine: If your toilet is still working, a simple bucket of water from a nearby source will allow you to continue using it. To save on labor and valuable H2O, follow the time-worn adage, “If it’s yellow, let it mellow,” and leave urine in the bowl through multiple uses. When someone drops the inevitable No. 2, use your bucket of water to flush it all away. If your toilet is not functional, it’s usually helpful to keep urine separate from solid human waste to assist in disposal.
A bucket with a tight-fitting lid can make a fine urinal for both genders. It will begin to generate a strong odor after a few days; this is ammonia coming from the breakdown of waste products in the urine. This should be dumped outdoors, preferably in a pit or gravel bed — because the ammonia-rich urine will kill grass, trees, crops, and other vegetation, as any readers with dogs and dead patches in their lawn know quite well.
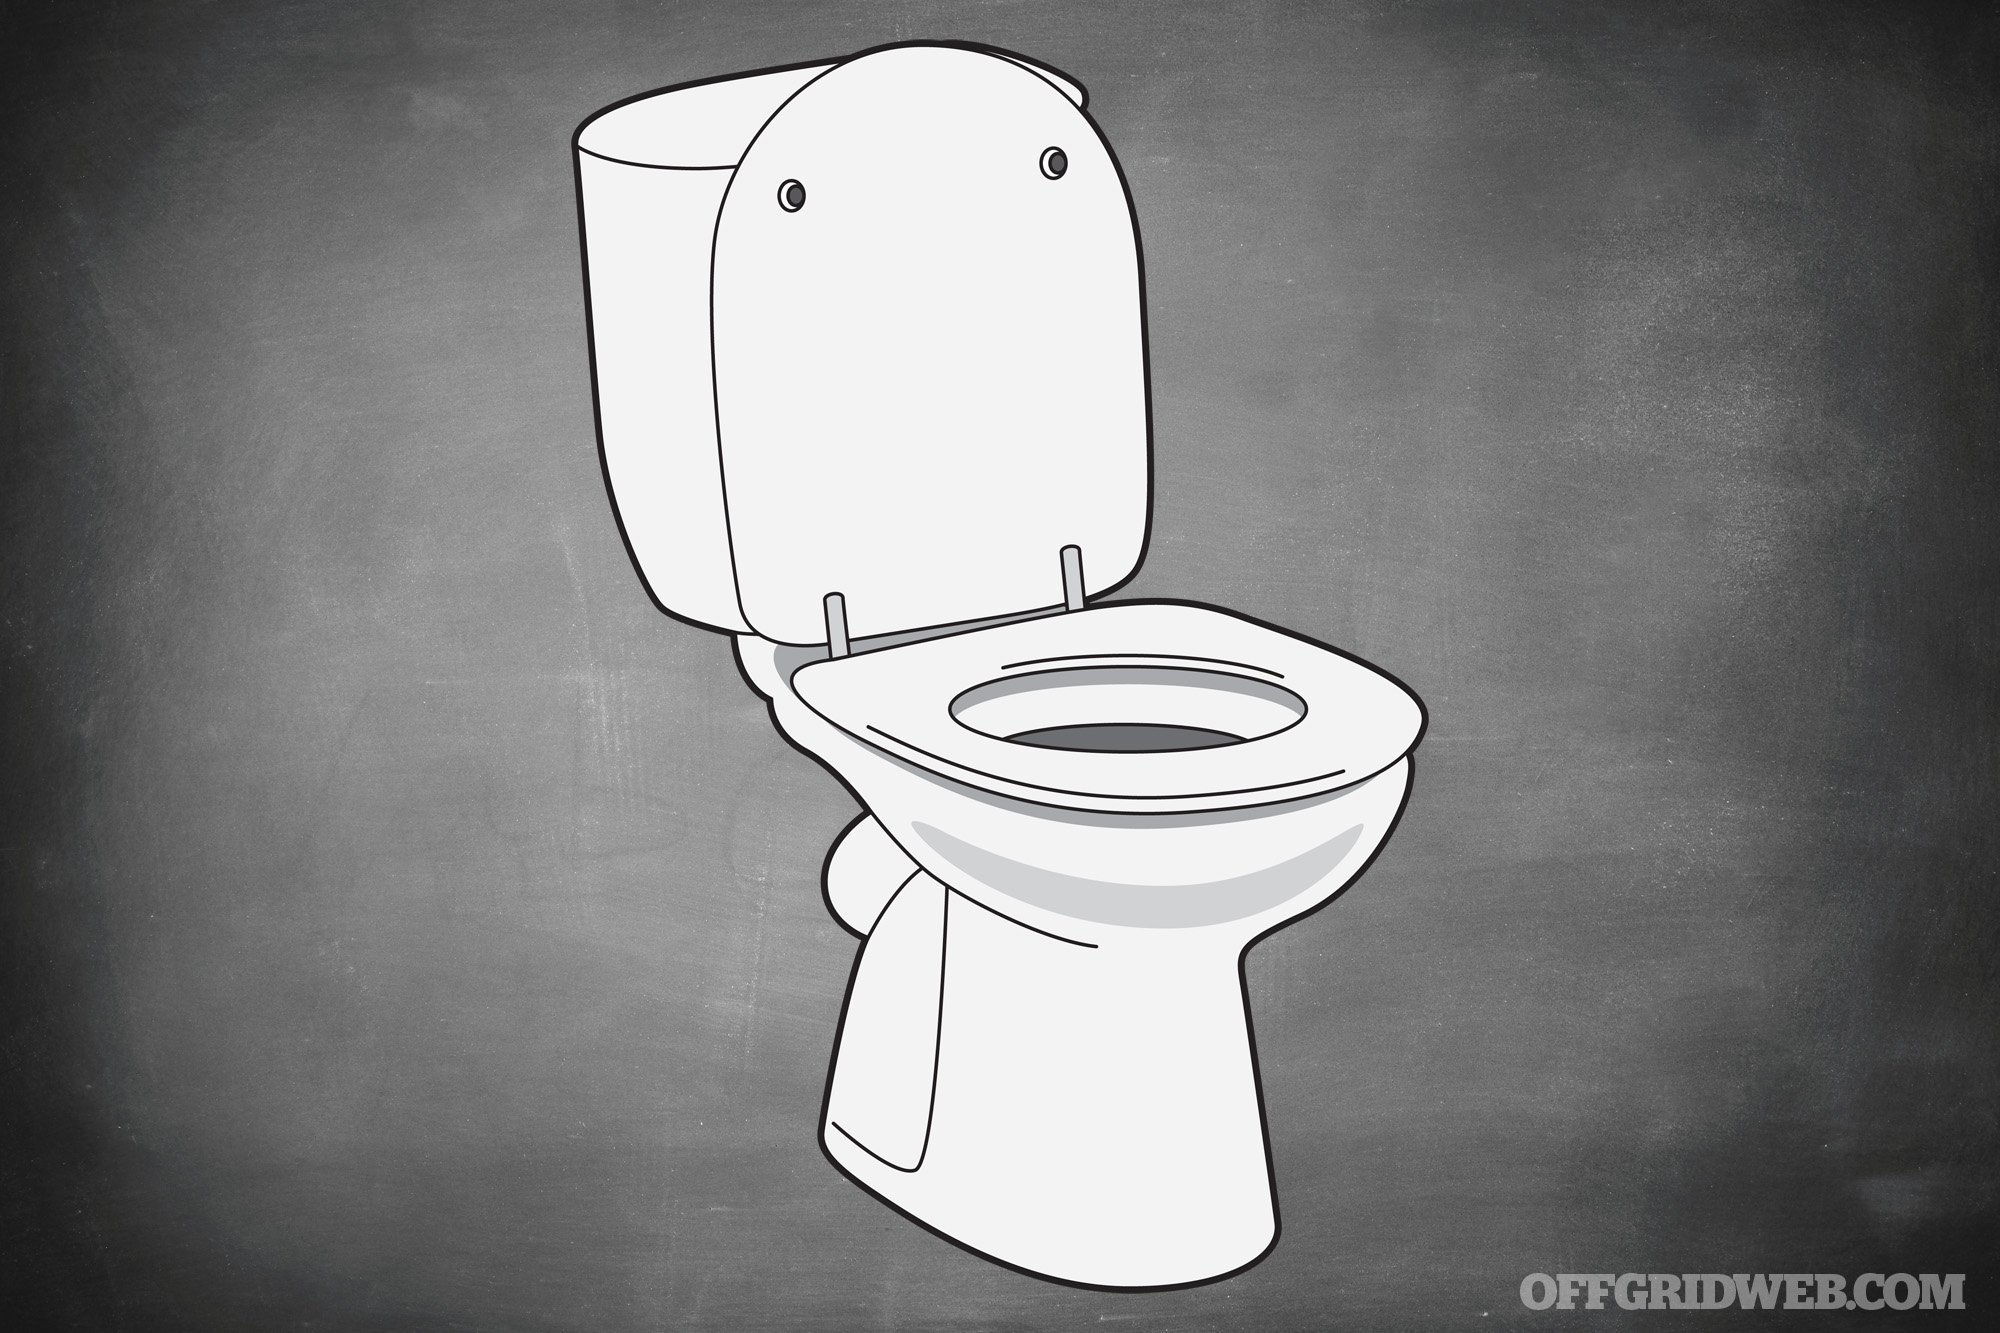
Feces: Again, a working toilet flushed with buckets of water will spare you some rather unsavory work. But if this isn’t an option, another bucket and lid can save the day. Throw used toilet paper and feminine hygiene products in there as well, since you don’t want to mix this with your trash. Add a little dry material after each use too. This can be a sprinkle of wood ashes, sawdust, dried grass, or shredded newspaper. Dry material helps mitigate the smell, as will a splash of chlorine bleach. It’s OK if some pee ends up in the bucket, but try to keep it separate.
When the bucket nears full (or sooner if you can’t stand the stench), dump the contents in a compost pit and bury it. You could also seal the lid with duct tape and set the bucket outside, hoping that waste management eventually resumes and they’ll know what to do with the biohazard you created.
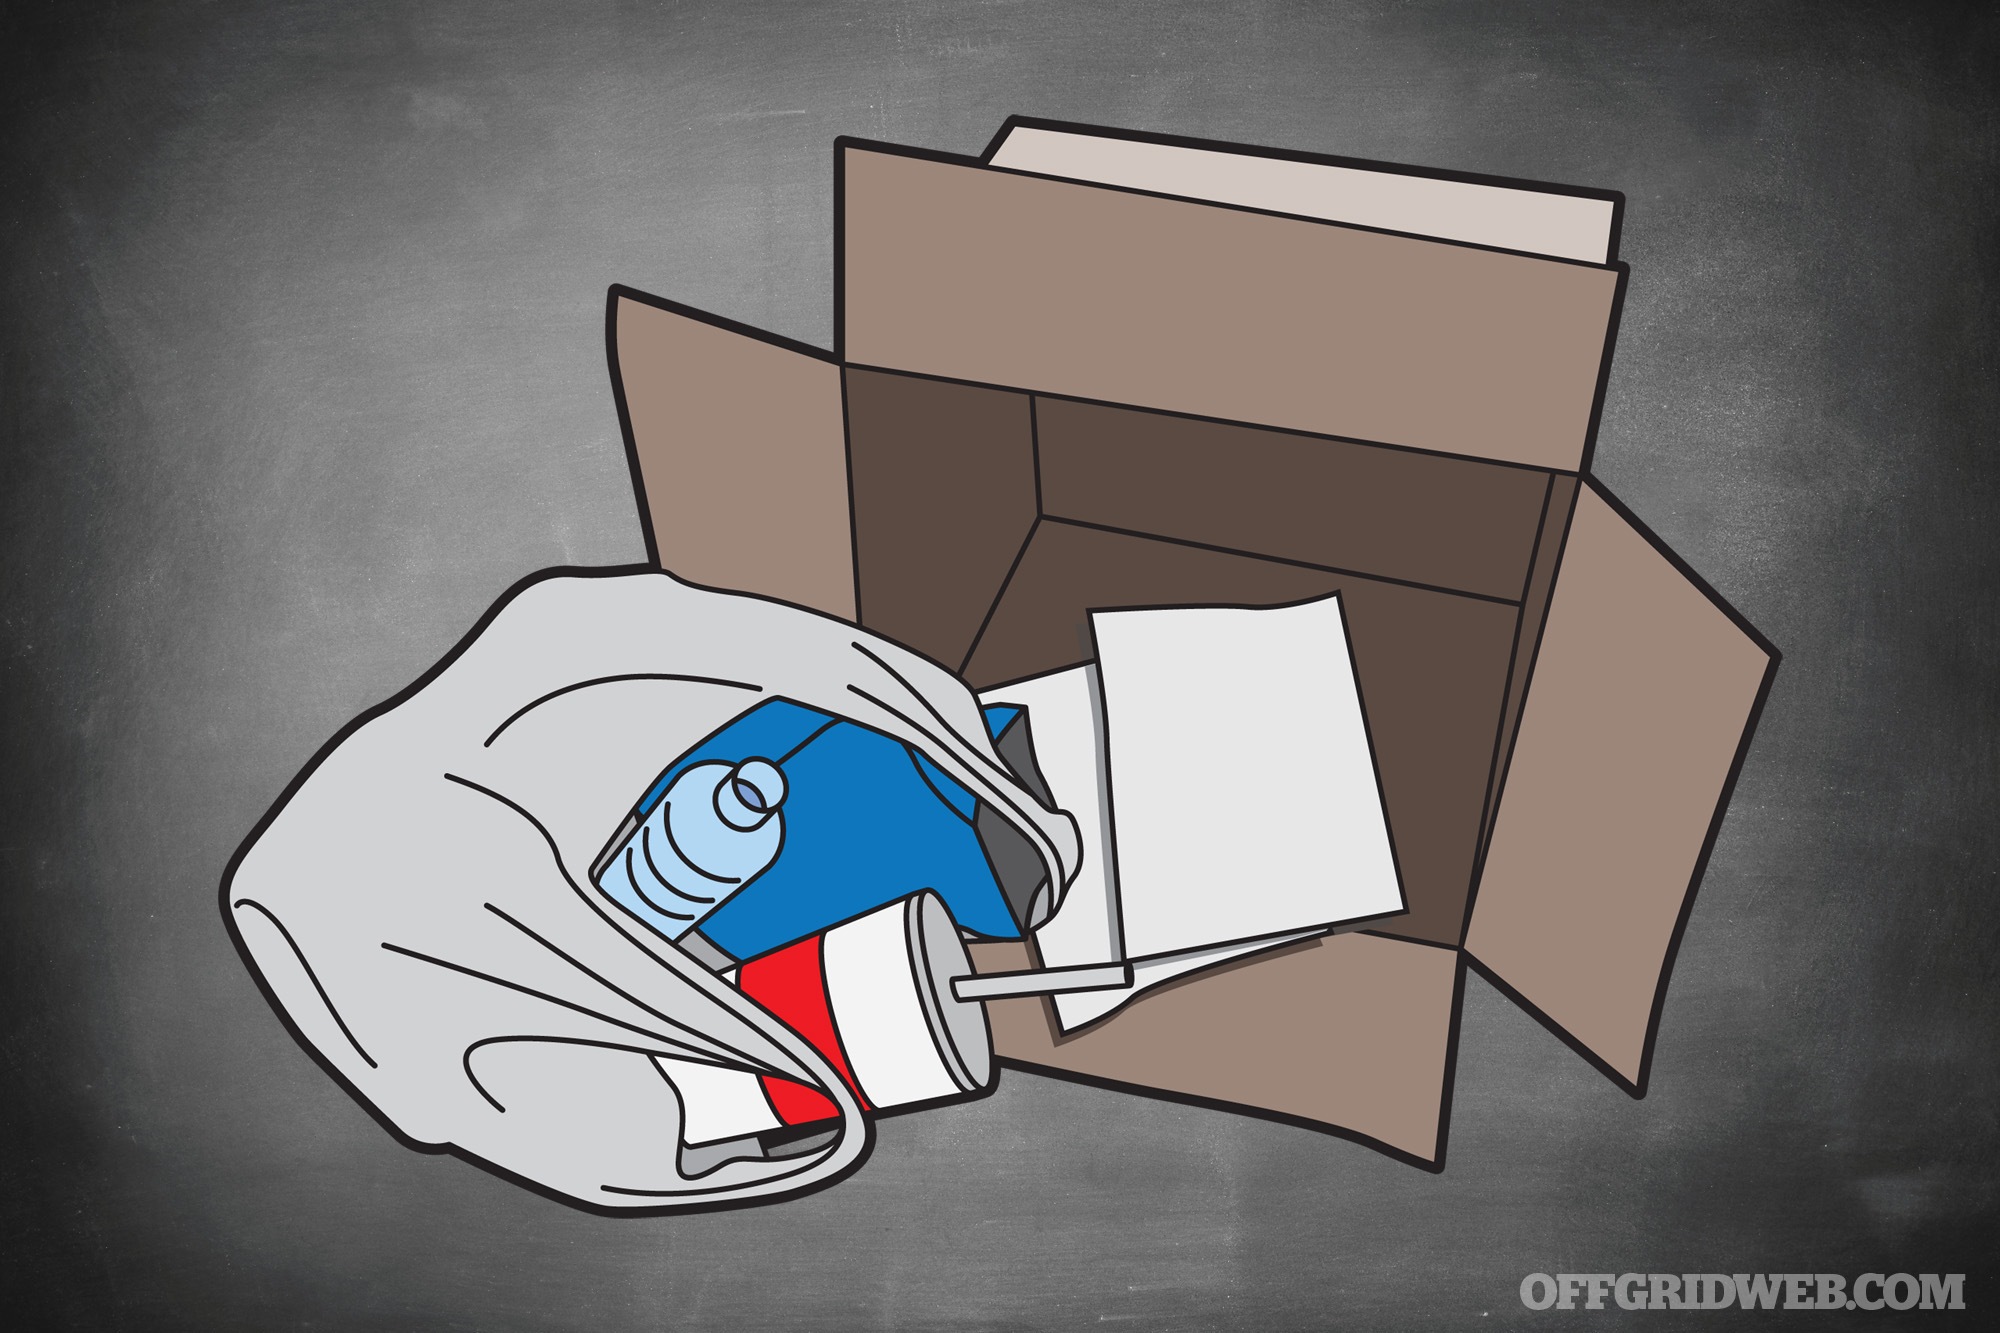
Trash: Garbage can be treasure when situations become dire. Jars can make drinking glasses. Metal cans could be used as cooking vessels. Paper waste can be crumpled and fluffed into toilet paper. (Don’t believe us? Take a piece of used copy paper or loose-leaf and continually crumble it up. Eventually, it’ll be almost as smooth as tissue.)
Sort your trash and pull out anything that could be useful. Clean or disinfect it somehow, and find a use for it. If it’s just too nasty to save, place it in a bin or bucket with a sprinkle of bleach and a lid. It’s generally not very safe to burn trash in a situation without a functional fire department, so your last resort with particularly vile garbage should be burial rather than flames. Last thing you need in a long-term survival situation is a house fire.
Bugging Out and On the Move
Going while you’re on the go is much simpler than you might expect. And dealing with trash isn’t rocket science either. Since we’re not faced with the issue of fouling our home base, the rules are quite a bit looser. Here’s how you can relieve yourself of burdens while you’re on the move — and even be stealthy about it.
Urine: This one is the simplest of all, pee wherever you like. Since you’re just passing through, it doesn’t matter if you leave behind a urine-scented wet spot in a back alley, the deep forest, or a sandy desert. But if you’re trying to remain off the radar and enjoy some privacy, step off the beaten path and try not to make a disturbance. If you’re being tracked, for example, a gentleman peeing on a tree trunk could leave a visible wet spot for hours. And ladies may leave two deep footprints as they straddle the ground and a toilet paper flag when they’re done, if they’re not careful.
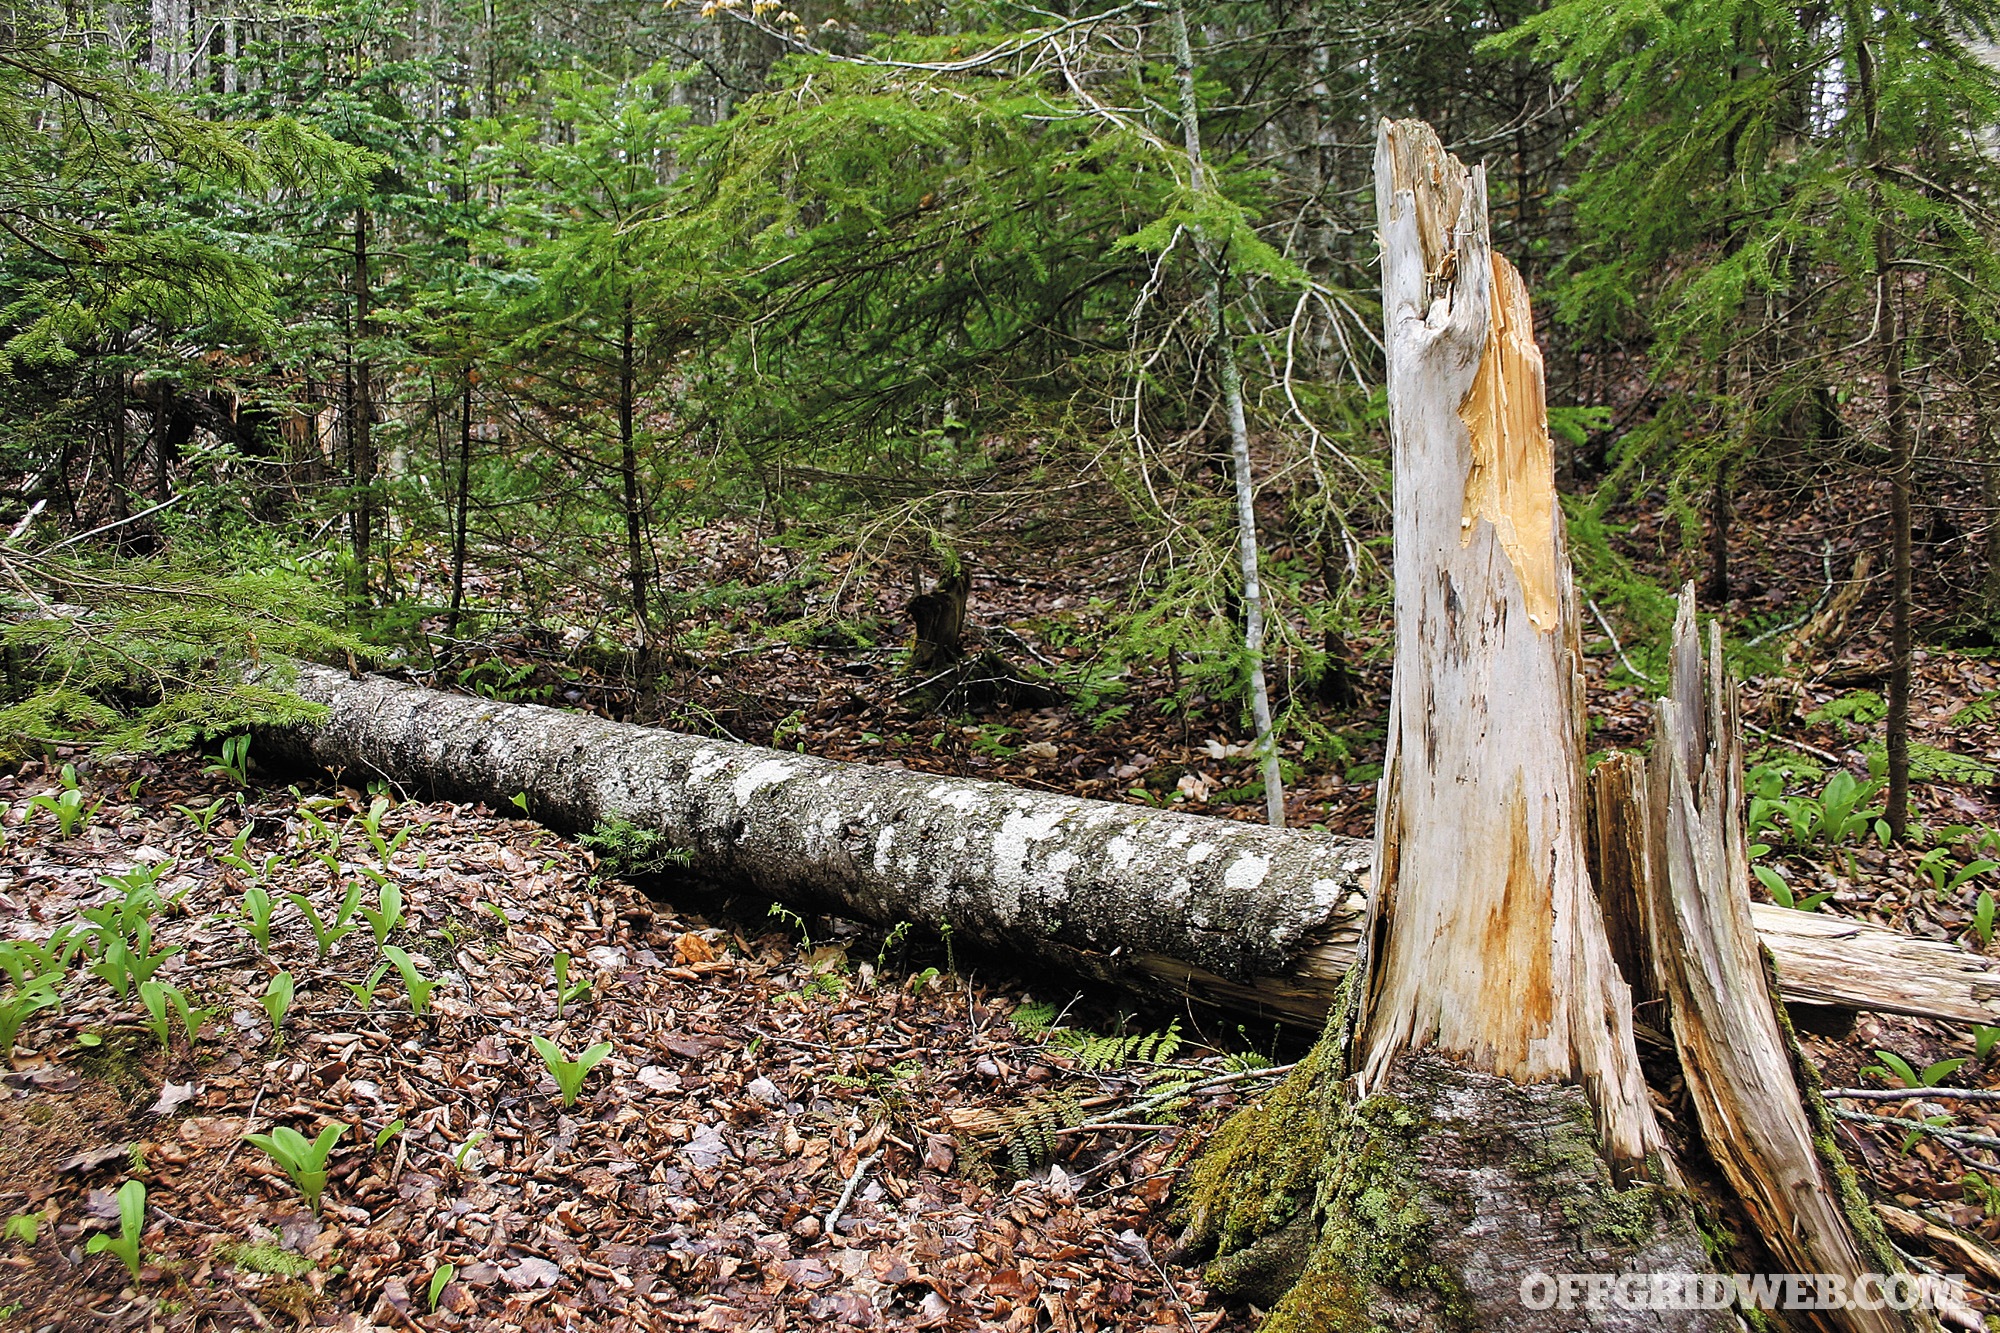
Feces: A “cat hole” is the best way to do the doo in the great outdoors. Use a stick, a shovel, or a trowel to dig a hole 6 to 8 inches deep. Make yourself a bit lighter, wipe up, and bury the evidence. Use your best camouflaging skills to blend in the disturbed soil, and no one should be the wiser. For insurance, throw some sticks or a small log on top to prevent people from stepping in your land mine. If you forgot the toilet paper in your bug-out bag, you can wipe with a stack of dead dry leaves, a stray piece of paper, or anything else with some absorbency — though your nether regions will be non too pleased. (Hence, it’s a good idea to pack a roll of TP in your bug-out bag.)
Trash: There are really only two choices to deal with trash while you’re on the go — bring it with you or hide it. If you think you’re being followed, you can’t exactly litter as you walk. That trail of PowerBar wrappers could lead people right to your bug-out location. You could bury the trash as you go, assuming you’re good at camo techniques, but the best bet is to bring it all with you.
When You’re Off the Grid
Since you don’t know how long you’ll be at your bug-out spot, it’s best to treat it like your home and handle things similarly to the home sanitation procedures. There are a few exceptions, however. If your bug-out location (BOL) is a camp in the remote wilderness, there won’t be a toilet to flush with a bucket of water. In an arid climate, you may not have the water to spare even if you do have a toilet on a home septic system. And as we’ll discuss, burning your trash is usually not the best course of action. It’s time to think about a trash pit and a latrine.
Urine: This will end up where the poop ends up, hopefully in a deep latrine hole. That is, unless you decide to do something else with it (see the sidebar to the right).
Feces: Whether your BOL is a campsite, cave, or shack, you’ll most likely need a latrine. This should be a fairly deep but narrow hole, situated both downwind and downhill from your shelter. It should also be at least 50 yards away from your water source, whether it’s a spring, a stream, or a well. The bottom of the latrine should also be at least 6 feet above the water table.
If camouflage is not a concern, you can build a privacy screen with tarps or whatever materials are available. To keep your latrine stealthy, situate it in a cluster of existing bushes or boulders. Keep the hole covered when not in use. Stock some toilet paper in a waterproof container at the latrine (coffee cans are great). A pile of dirt and a small spade allow you to cover the waste after each latrine use. Also, keep some hand sanitizer nearby, or at least soap and water.
Trash: It may be a little tricky figuring out how to handle trash at your hideout. Trash that cannot be repurposed could be burnt, but the smoke may be seen or sniffed by unwelcome guests. Starting a wildfire is also more of a possibility when you start burning trash. For best results, create a trash pit near the latrine and use it for unwanted refuse. A thin, flat rock can hide the pit and help to keep scavenging animals out of the trash.
Pet Pooper
If we’ve learned anything from the classic children’s book Everybody Poops, it’s that your companion animals have to go too. In a crisis event that forces you to stay holed up at home, housebroken dogs and outdoor cats probably won’t change their deuce-dropping style. It really doesn’t matter where they pee, as long as it’s outside.
You should make an effort to clean up their poop, though. This will prevent the spread of bacteria (e.g. when you step in it and track it all over the house), and thereby prevent the spread of potential illness. When your furry pal is done, use a bag over your hand to pick up their poop and drop it in your latrine hole. You’ll have to get creative when you run out of litter for your indoor cat. Try a pan of gravel, mulch, or better yet, sand. Cats are desert creatures, and it’s hard for them to resist burying treasures for you in the sand. Dump the litter box and refill it periodically, pouring the whole thing into your latrine hole.
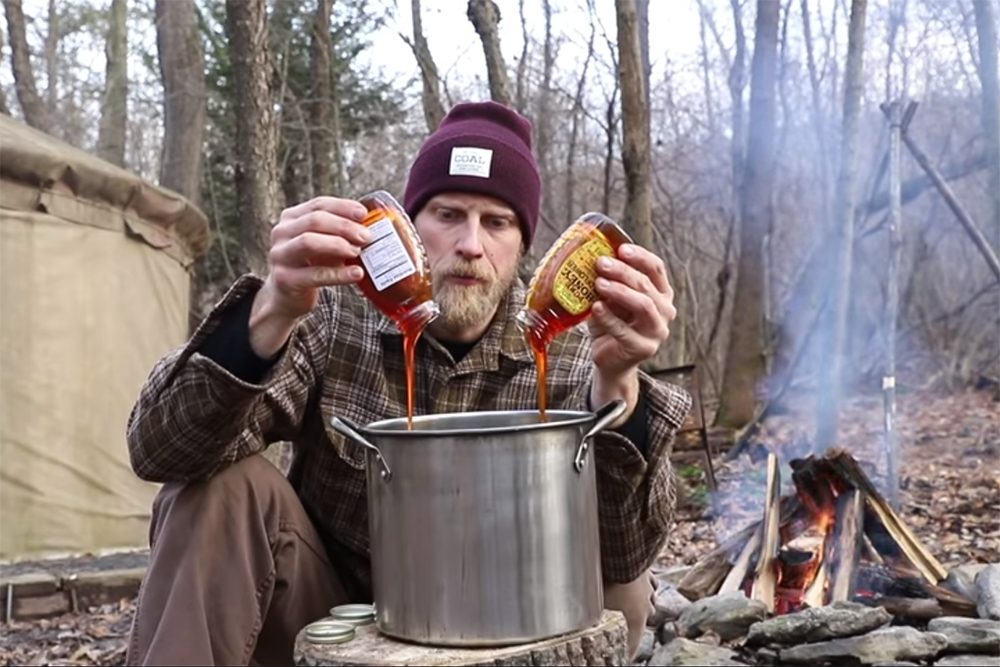
Making Fertilizer
If your mail is being delivered by Kevin Costner on horseback, then things are pretty grim — all the more reason to make use of every commodity at your disposal. “Nicer” waste, like trash, can have a myriad of uses. Paper products can be used to start fires. Bottles and cans are useful as containers.
As for other forms of waste, urine can be collected and sealed in bottles. Add a bit of dirt before sealing and leave them in the sun until they turn almost black. You’ve now created a nitrogen-rich fertilizer which can be poured sparingly around your crops. Your “hu-manure” can be used similarly. After a year-long composting, most (if not all) of the dangerous pathogens are gone, and this rich compost can be used in the soil before planting.
Don’t believe it will work? This technique of extreme recycling has allowed some areas in Asia to continuously grow food in the same soil for more than 4,000 consecutive years without depleting the land.
3 Handy Cleaning Items
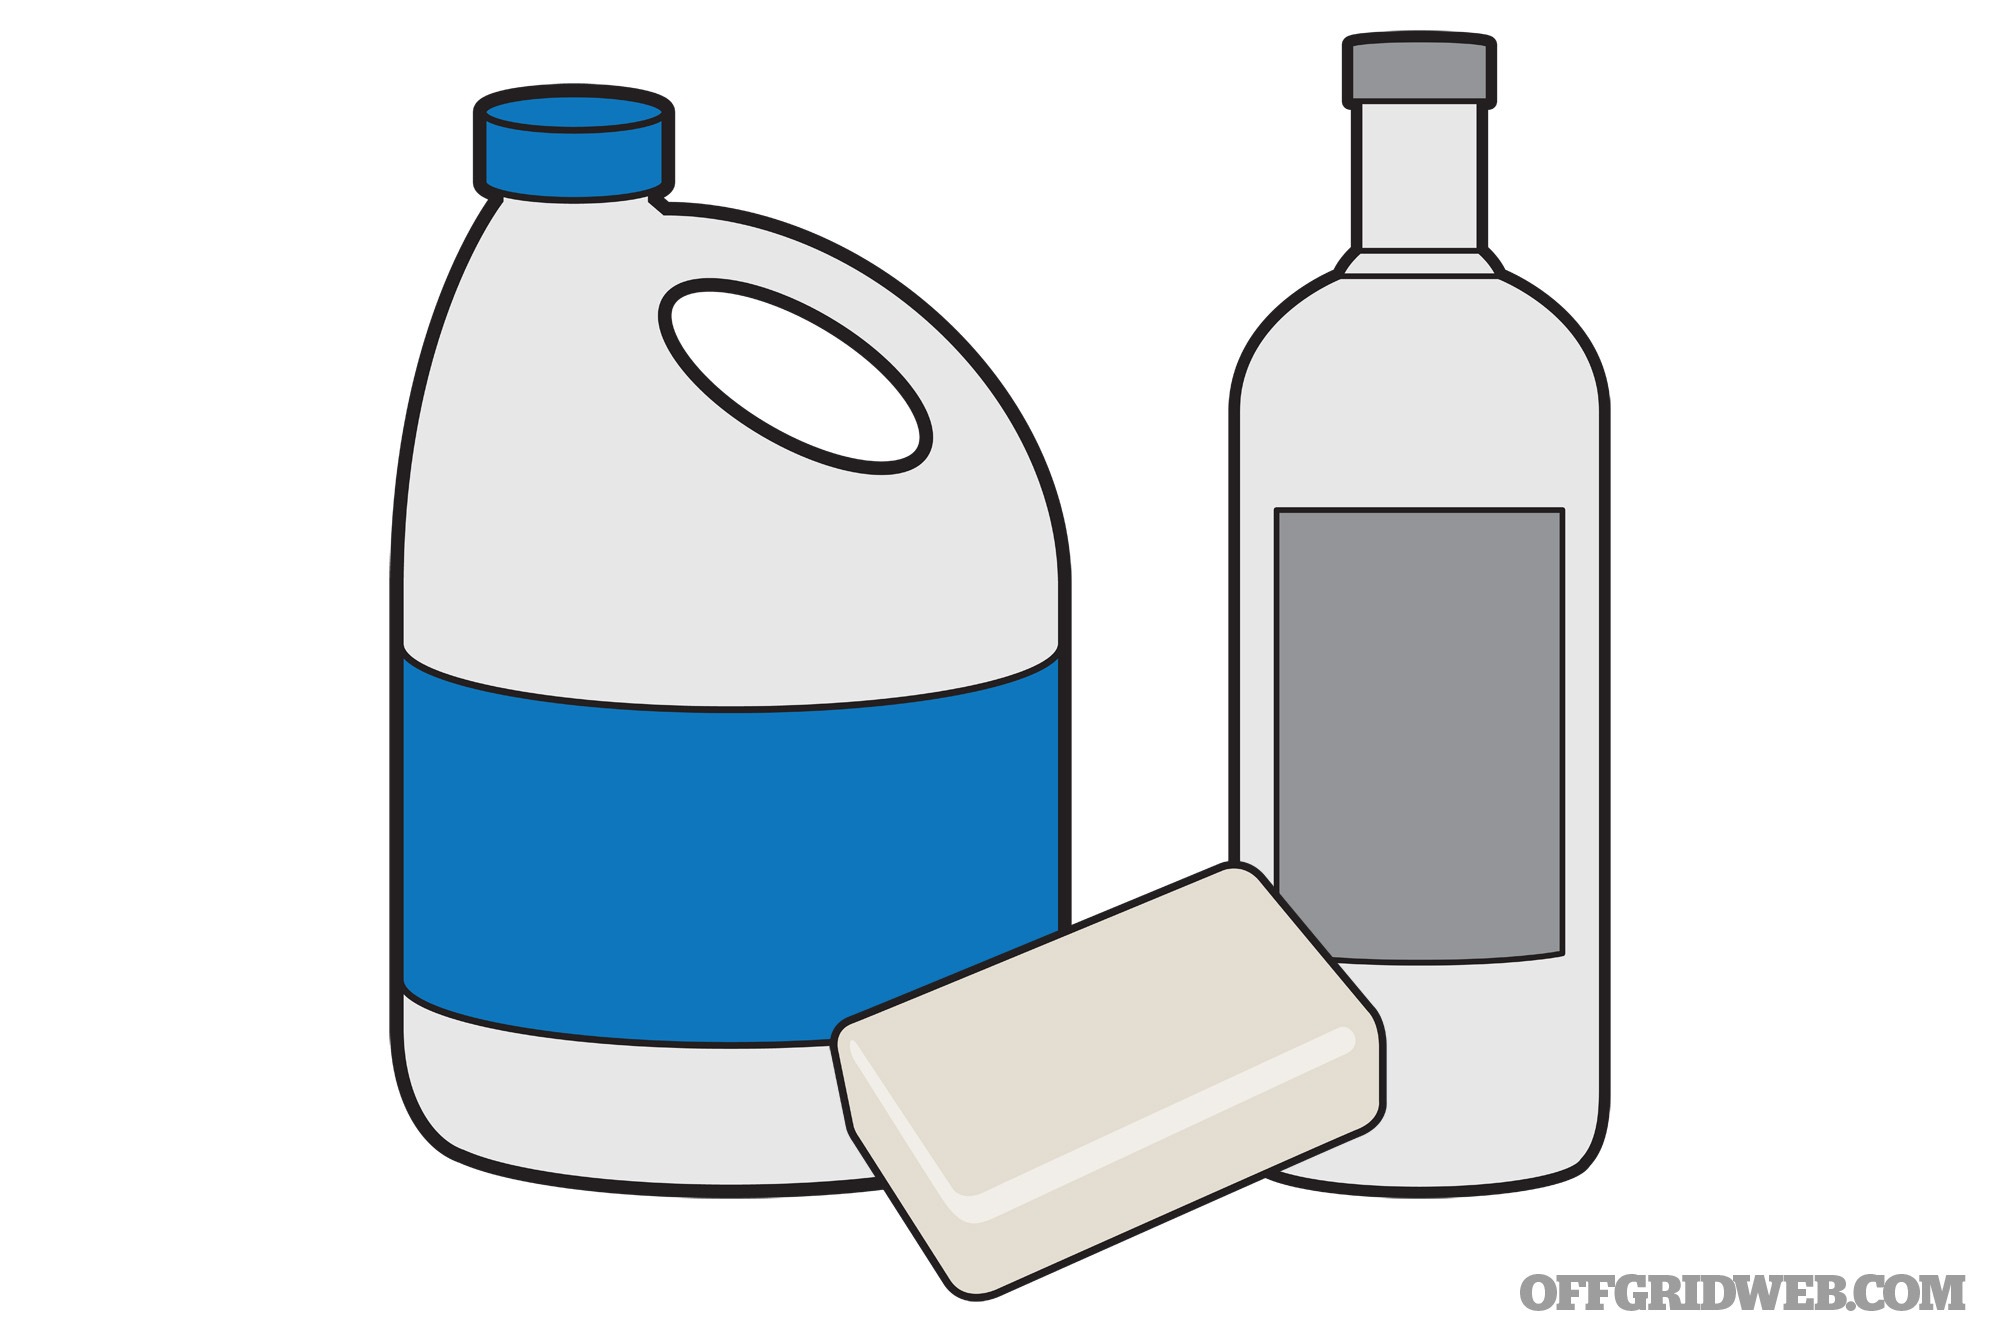
Whether your bathroom is a bucket or a ditch in the woods, it’s crucial to maintain high standards of hygiene. In small units and in close quarters, gastrointestinal bugs can often run wild and play havoc within your survival group. Thankfully, a few household items can prove invaluable when used to clean things up.
Bleach is the king of the cleaning products. You can make a quick disinfecting solution by adding ¼ cup of ordinary bleach to 2¼ cups of water. Used in a spray bottle, this can mist any “dirty” surfaces as a disinfectant.
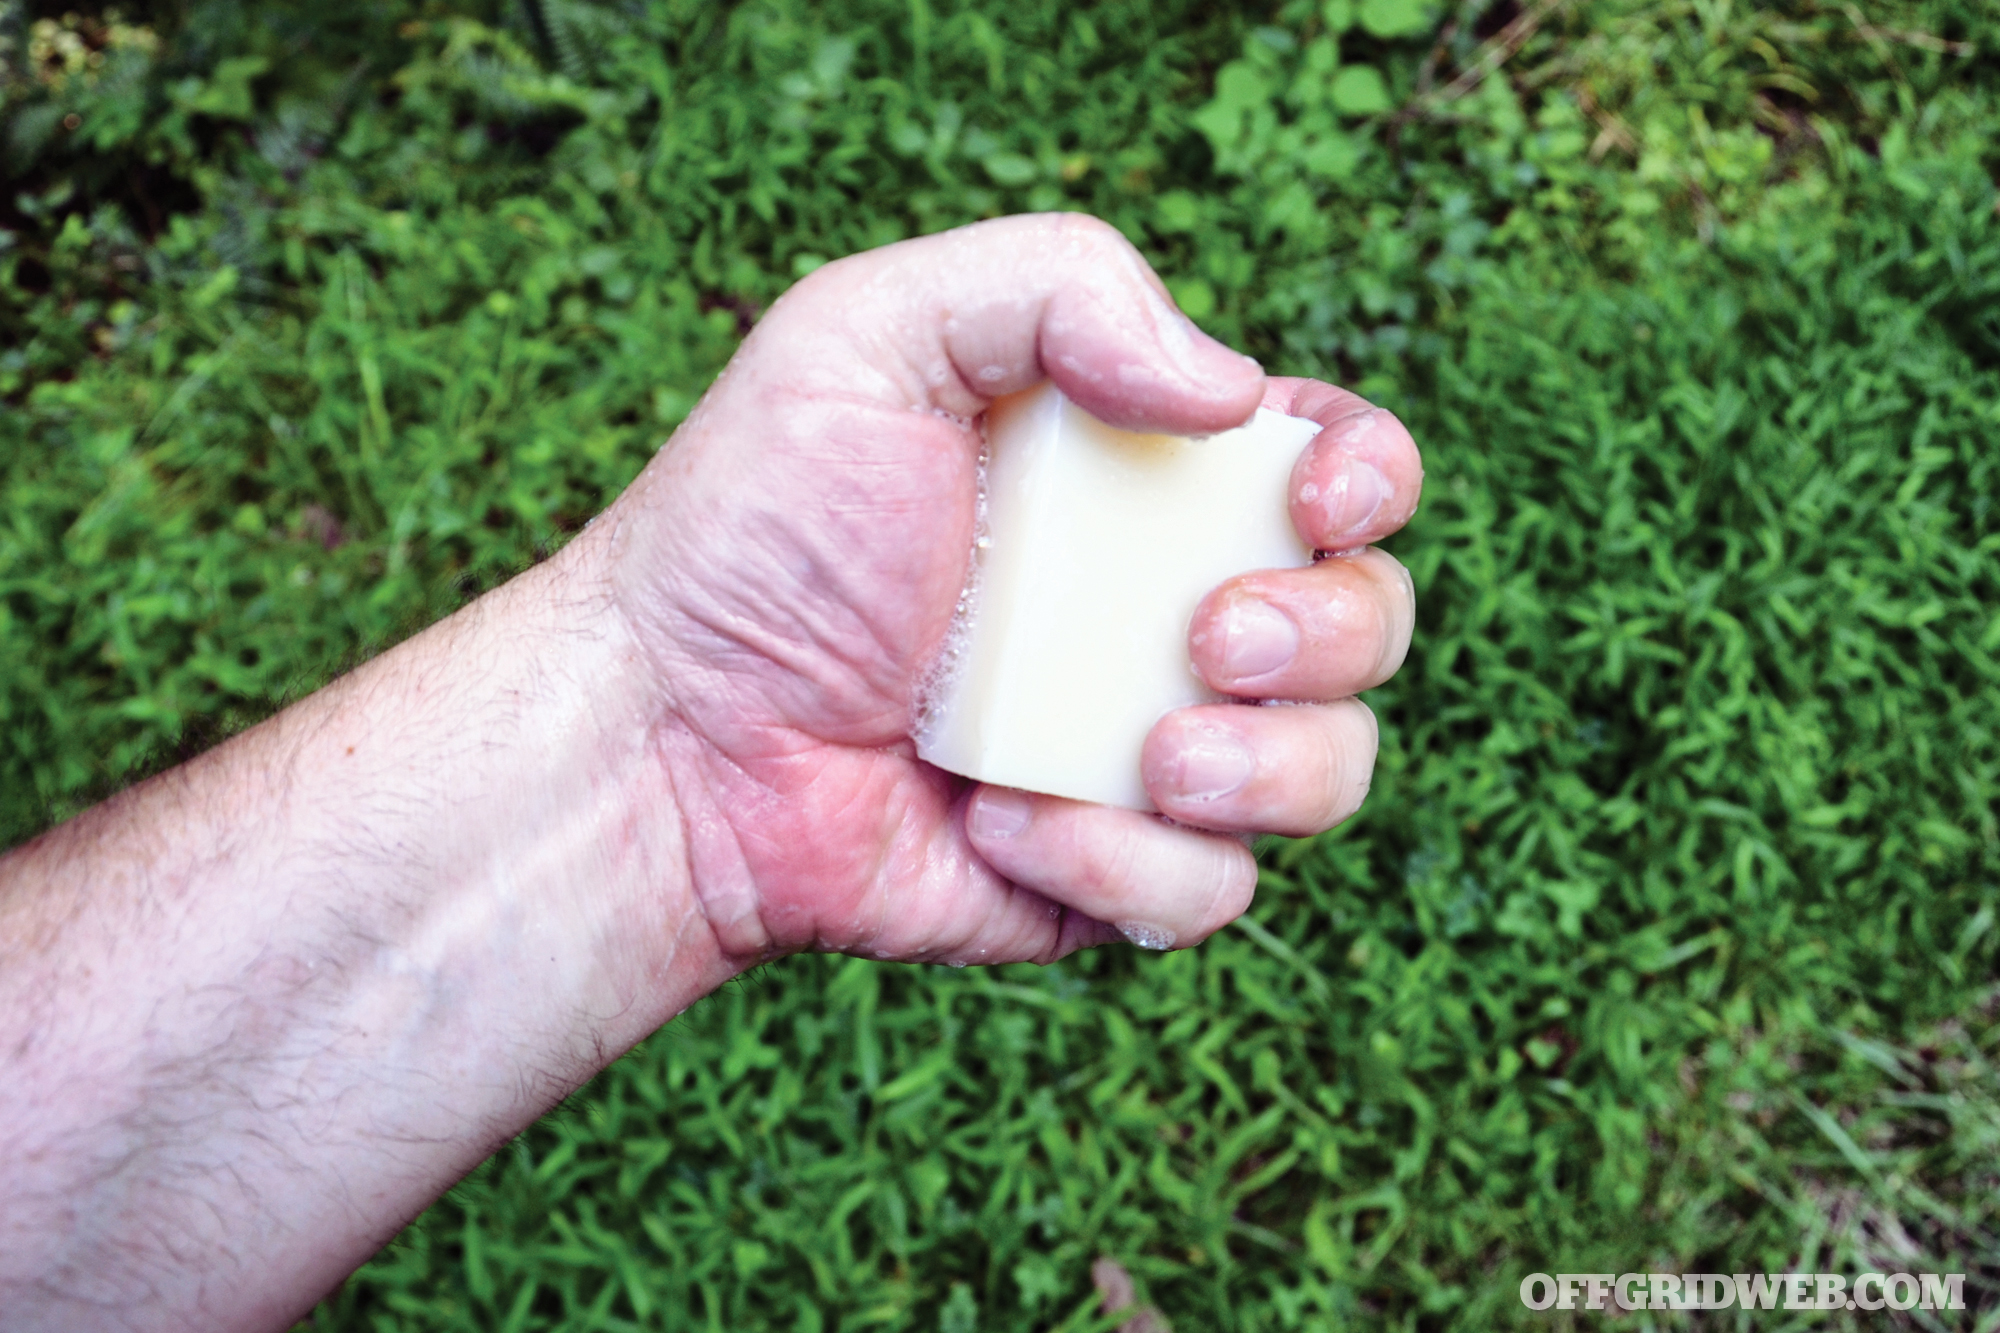
Anti-bacterial soap is another great cleaning item. Use it to wash your hands, your body, even your hair and clothes.
High-proof clear liquor can be used as a gentle disinfectant or deodorizer for skin, clothing, your mouth, and lots of other dirty surfaces.
4 “Oh Sh!t” Mistakes to Avoid
There’s just no coming back from certain potential events. These are some common mistakes that could pop up when providing your own sanitation, and how to avoid them.
1. Make sure there’s stable footing around outdoor latrines. In wet weather, or by heavy usage, the rim around a pit privy can become slippery. Fix this by using a few boards around the perimeter and nailing them together for stability. Trust us, you don’t want to slip and step in the hole.
2. Check for paper before you go. Even in pre-apocalypse times, this one can get the best of us. Make sure there’s a stock of wiping material before you begin.
3. Sanitize those hands. A quick squirt of sanitizer or diluted-bleach water can take the place of hand washing in austere environments. Don’t skip this step. You could literally sicken your entire group by touching things with your dirty hands.
4. Be vigilant for vermin. In a grid-down situation, pests could run rampant. Cover your latrine hole when not in use. Keep all trash out of the reach of animals. Bury garbage that is particularly stinky. Get familiar with many methods of catching rats and mice, as their populations may swell after a crisis.
Conclusion
It’s easy for this topic to be humorous, and we didn’t shy away from plucking some low-hanging fruit while writing this article. But what’s not a joke is the danger of ignoring sanitation during an emergency.
It’s not uncommon for people to contract bacterial illnesses when living in camps or off the grid. Fecal bacteria can cause diarrhea and vomiting, leading to even nastier messes to clean up. Fever, weakness, and dysentery (bloody diarrhea) can follow if medical treatment is unavailable. If the body’s immune system cannot win the fight, then the ill person might even die. That means a preventable death happened, just because somebody was behaving like an animal and failed to clean up after themselves. So let’s keep things tidy, folks.
About the Author
A frequent OFFGRID contributor, Tim MacWelch has been a survival instructor for the past 19 years and has trained people from all walks of life, including members from all branches of U.S. Armed Forces, the State Department, and the Department of Defense, among other federal agencies. He’s a frequent public speaker for preparedness groups and events. He’s also the author of the survival books, Prepare For Anything and Hunting And Gathering Survival Manual. When he’s not teaching survival or writing about it, MacWelch lives a self-reliant lifestyle with his family in Virginia. Follow him on Twitter @timmacwelch for daily survival skills and tips. www.advancedsurvivaltraining.com