Fear of flying is a relatively common phobia, but in most cases, air travel is actually quite safe. Each year, commercial airline travel accounts for less than 0.001 passenger fatalities per 100 million vehicle miles traveled, vastly lower than passenger trains (0.05) and cars (0.57). The likelihood that you’ll ever experience anything beyond an uncomfortably hard landing on a commercial aircraft is extremely low. However, there’s an exception to this comforting statistic: small private planes, such as an Alaskan bush plane.
According to the National Transportation Safety Board’s 2022 report, scheduled commercial airline flights experienced only 20 accidents and one fatality (a ramp worker, not a passenger) over the course of 17 million flight hours. That equates to an accident rate of 0.117 and death rate of 0.006 per 100,000 hours. In comparison, general aviation — the category which includes private planes — experienced 1,205 accidents and 358 fatalities in 22 million flight hours. That’s 5.336 accidents and 0.945 deaths per 100,000 hours. In other words, you’re 45 times more likely to experience a crash in a private plane, and the likelihood of a fatality is 157 times greater.
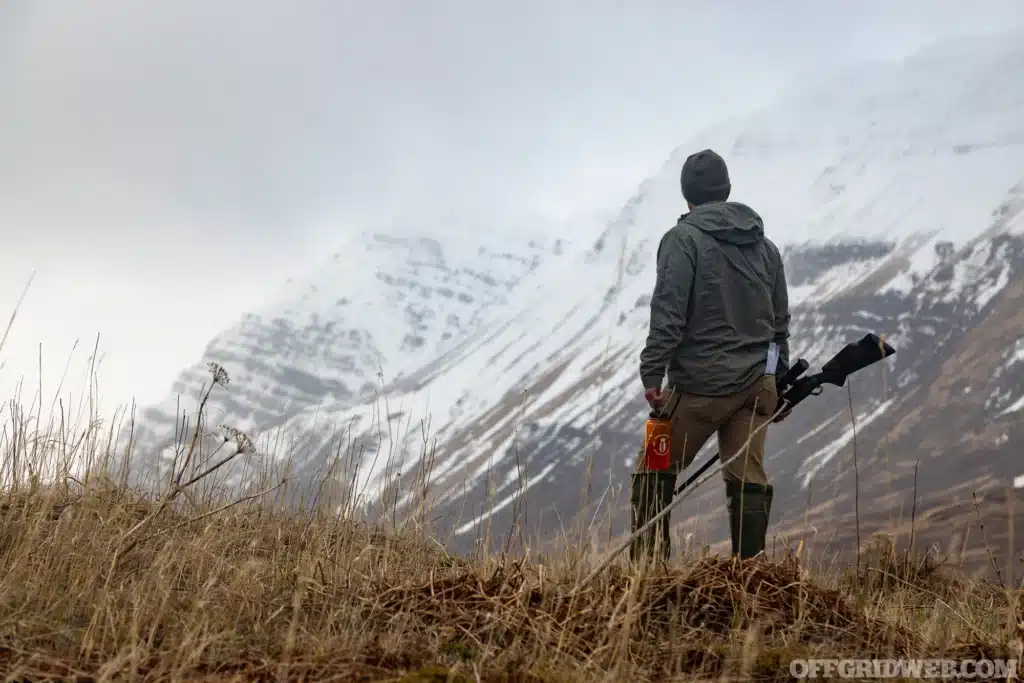
The vast wilderness of Alaska is one of the most remote and inhospitable regions in North America, and those who travel there to hunt and fish often rely on small bush planes to reach their destinations. The frequency of these flights, combined with the rugged terrain and challenging weather conditions, also makes Alaska a common location for small plane crashes.
In 2022, there were 83 general aviation accidents in Alaska, including 7 fatalities. These fatalities aren’t always the result of inexperienced pilots — last year, Jim Tweto, one of the stars of Discovery’s Flying Wild Alaska, died after his Cessna 180 crashed near a remote airstrip. Initial reports indicate it may have been the result of unusually strong winds.
If you experienced a small plane crash and found yourself isolated in the Alaskan bush, what would you do to survive? Would you be able to treat your injuries, withstand the elements, and signal for rescue? If electronic methods of communication failed, how would you indicate distress to nearby aircraft?
The Scenario
- The Scenario: Bush plane crash
- Your Crew: Yourself
- Location: Central Alaska
- Season: Late summer
- Weather: Light winds, and scattered showers; high 58 degrees F, low 42 degrees F
The Setup
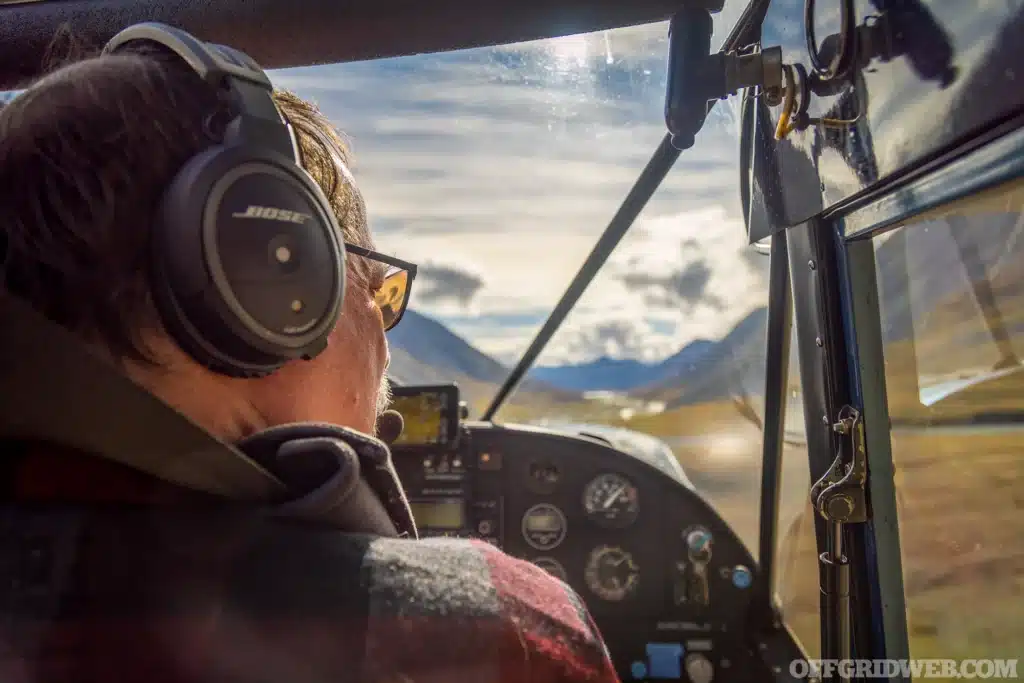
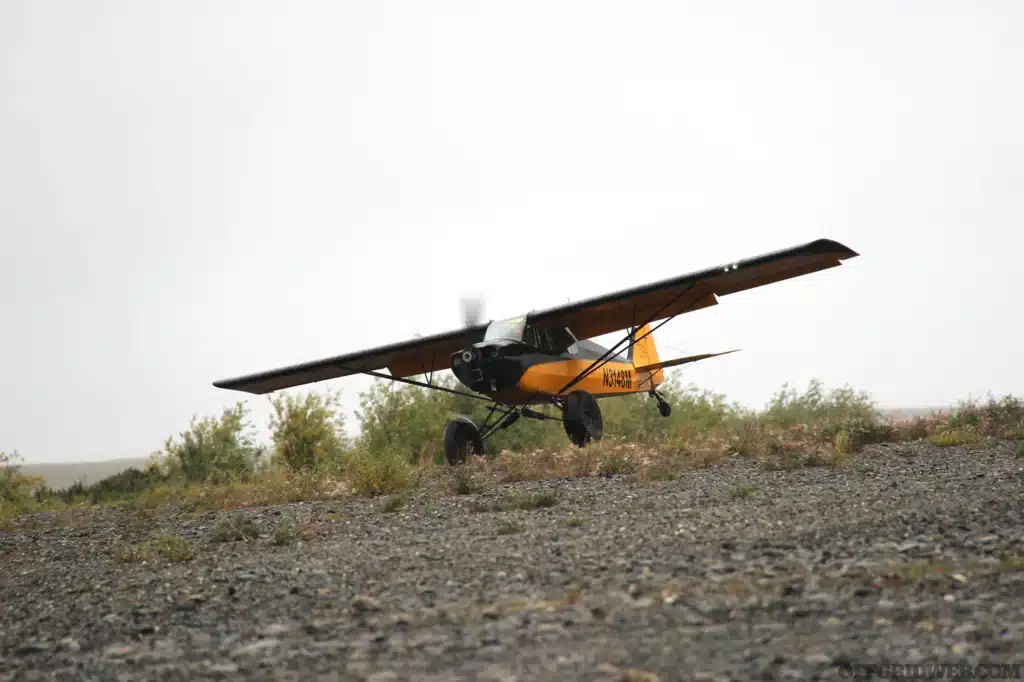
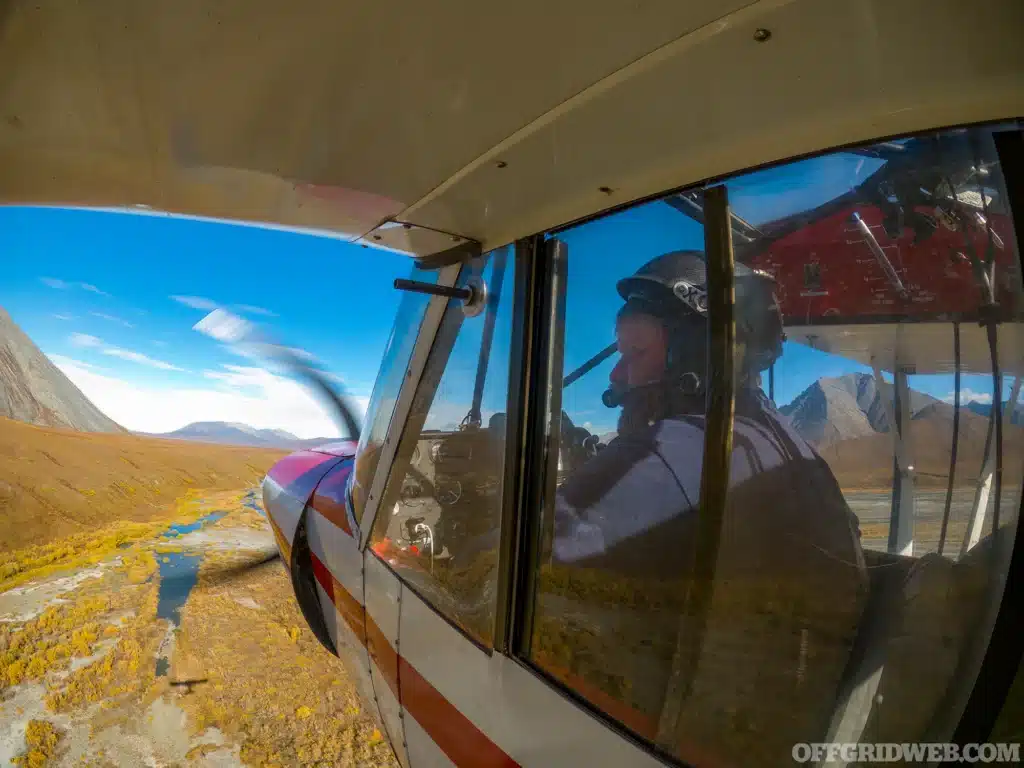
Your brother-in-law Nick lives in Alaska and has worked as a bush pilot for as long as you’ve known him. At a recent family gathering, he convinced you to come visit and go on a fishing trip in the backcountry. Excited for a fun weekend off the grid, you packed up your tent, clothes, freeze-dried food, emergency survival gear, and a few guns before flying to Fairbanks to meet him. At the airport, he showed you around his pride and joy, a Piper Super Cub. He conducted the usual pre-flight checks, got clearance for takeoff from the tower, and the two of you roared down the runway before rising into the cloudy blue sky.
The Complication
During the flight, you were enraptured by the beauty of the landscape below. After a while, Nick checked his charts and began descending toward the remote landing site he chose. However, as the plane passed 2,000 feet of elevation, a shrill alarm rang out through the cabin. Nick immediately went to work diagnosing the problem, but you felt the plane start to shudder. Then, to your horror, there was a loud clunk and the roar of the engine was replaced by a deafening silence. The propeller began free-spinning in the wind, and Nick simply said “oh sh*t.”
As precious seconds ticked by, Nick did everything he possibly could to restart the engine and maintain enough altitude to glide to a safe landing, but it was impossible. He attempted to declare a hurried Mayday over the radio, then shouted “Hold on!” and you braced for impact as the plane swung low over the rocky terrain. The landing gear made contact with a boulder, slamming the fuselage forward into the ground. Dazed from the impact, you looked at Nick in the front seat and realized his half of the cockpit had taken the hardest hit — then you saw his leg was crumpled and spurting arterial blood onto the shattered instruments.
Before you could find or apply a tourniquet, Nick died from blood loss. You’re on your own now.
After managing to pry open the door, you crawl out and attempt to stand up. You’ve got several deep lacerations, a concussion, and what feels like a badly sprained ankle, but you’re alive. Gear and pieces of fuselage are strewn everywhere. You manage to recover a Pelican case with your fishing gear and a gun, plus a backpack full of clothes, a handful of snacks, and a Nalgene water bottle. The tent and the rest of your food are nowhere to be found, and rain is starting to fall.
Assuming someone heard Nick’s Mayday call, it seems likely that help is on the way, but you’re not certain they’ll arrive anytime soon. How will you stay warm, dry, and safe from predators until the cavalry shows up? What can you do to make yourself easier to find from the air? And if authorities didn’t actually receive the rushed Mayday call, what’s your backup plan to call for rescue?
Survival Instructor Kevin Estela’s Approach
Preparation
This time of year, the salmon run is in full swing. Depending on where and when you go, some stretches of water are teeming with fish, making it easy to limit out in a short time. Outfitters have spent months scrambling to match clients with pilots and pilots are getting plenty of flying hours. It’s easy to say, “Look for the most reputable aviation company,” but the reality is, all those companies are booked and extra help is brought in. Bush plane travel is what it is, and despite the stress and work requirements, the pilots get it done.
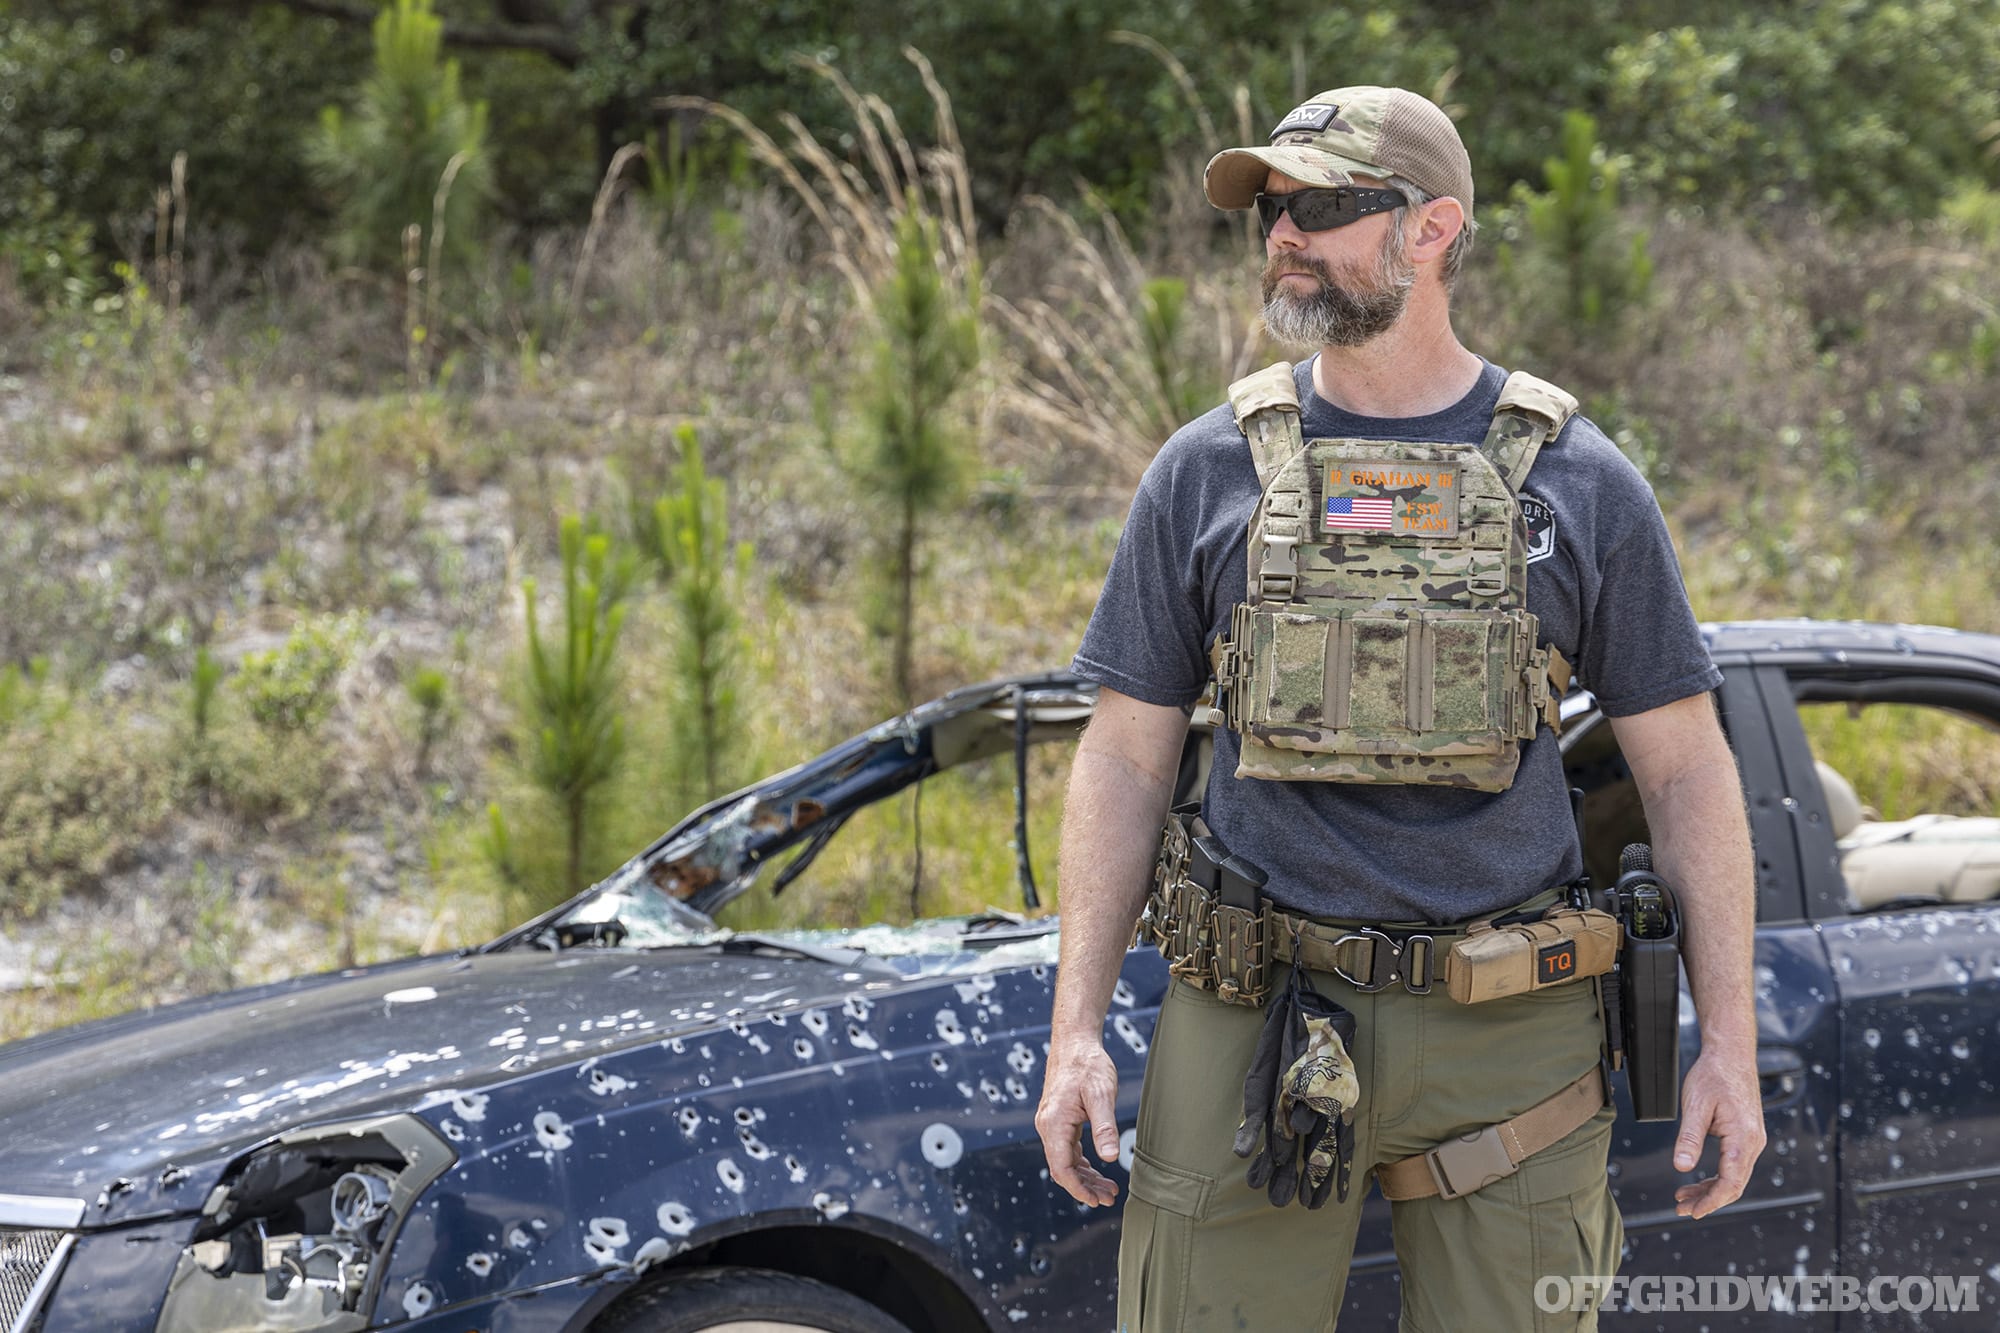
As a passenger, all I can do is have faith that the planes are kept in good order, and the pilots are up to the task. Prior to this trip, I set up a shared document both Nick and I could edit with our packing list. In this list, we could keep track of the gear weights since we will be weighed in addition to our bags prior to departure. Much like my previous trips to Alaska, I like to carry the bare-bones survival gear in my well-worn Kifaru Koala Lite chest pack.
Not only will this hold a 10mm pistol, it carries my Garmin inReach, heavy-duty Ziploc bag with purification tablets, firestarter, knife, small flashlight, whistle, mirror, basic med kit with a tourniquet, and some other essentials. My waders and rain jacket create a practically water-resistant shell that will keep me dry as long as I stay hairy-side up. Anything that can’t be comfortably worn on my person gets tucked in an Ocoee shoulder bag from Watershed Bags. This dry bag is my “bailout bag,” and it contains additional supplies like a Grayl water filter, high-calorie Range Meal Bars, a small sil-nylon tarp, and larger survival equipment including a folding Silky Saw.
Gear isn’t the only thing I’ve prepared prior to this trip. I like to print out 1:50,000 scale maps of the general area I’ll be in. These maps provide a significantly greater visual representation of the surrounding area. While my plan is to stay with Nick, I’ll never forget the advice of my friend and former Navy SEAL Kodiak Island Survival Instructor, Todd Peters. He told me, “Plan to self-rescue if your guide goes down.”
Those words have never escaped me, and I always prepare to walk to safety alone. Prior to any trip, I always leave a detailed travel plan with at least two responsible parties, and I use Gaia GPS online to include UTM coordinates of where I’m leaving from and where I’m headed.
On Site
I don’t like waiting until the last minute or when it’s too late to discuss emergency plans. My closest group of friends knows exactly what I carry because we travel and train the most. For strangers — and yes, I consider Nick a stranger since we don’t see one another often — I give the 30-second rundown of what I have and where it is on me. I also play extremely curious and ask Nick about his plane, what kind of “cool stuff” he carries for emergencies, and ask him about his plane in depth. Once I get an idea of the orientation of the plane, I start staging my equipment where it makes the most sense.
The bulk of my gear that isn’t necessarily for emergencies goes in the back and is secured with a cargo net. Space is extremely limited so I make sure my grab-and-go or bailout bag will fit in the natural gap I have between my legs.
Since bush plane travel is so common in Alaska, you don’t give too much thought to your pilot’s ability when you get in the backseat. As an outsider from the lower 48, I can only get in the way as Nick performs preflight checks and gets the plane airborne. I would love to say I did all I could prior to the accident, but I trust the process like the majority of the population does.
During the emergency, I sat back and listened to the pilot’s orders. His Mayday pierced the air when the alarm went silent and the only other thing I could hear was the wind rushing around the fuselage. In that short time, we descended rapidly — it felt like hours but my memory of the event is crystal clear. I didn’t hear anyone on the other end of that radio transmission, and here we are now.
Crisis
I woke up on the ground with my face buried in the mud with an odd combination of blueberry and metallic scents. The Alaskan bush is filled with blueberries and bear berries easily harvested, but that other odor caught my attention. When I stood up on rickety legs, I caught a glimpse of my face and immediately understood that metallic smell was my own blood. Concerned about other cuts, I ran my fingers over my entire body doing a blood sweep. Using my mirrored compass and the reflection in the unbroken glass, I didn’t see any cuts to the back of my head. I did, however, have some deep lacerations that direct pressure addressed.
I could deal with avulsions — flaps of skin in layman’s terms. I prefer not to deal with arterial bleeding and luckily, I didn’t have to. One thing that was driving me crazy was my head. I hit it hard and I knew I had a concussion because the bright light of the land of the endless sun is killing me. I rifled through the med kit that littered the area around the plane and found a cheap mylar blanket. While not great for durability, they can be cut to form protective eyeglasses you can tie around your head to limit light transmission.
Once I addressed myself, I moved on to Nick. I braced myself for the worst and that helped dull the grief and pain of finding his lifeless body. Nothing hits quite like seeing a person recently passed, and after a brief prayer, I looked through his pockets and removed his outerwear, leaving him with his undergarments to protect his dignity. These were largely soaked in blood anyhow. The emotional side of me said, “Don’t take a dead man’s belongings,” while the practical side of me said, “He would want me to have them.”
It gets cold at night and I knew I’d need all the warmth I can find. Even though the nights are extremely short, I wanted to close my eyes when I could to rest from the sheer mental and physical exhaustion. I could get to my survival priorities tomorrow. For the first night, I slept inside the damaged Piper Cub body and plugged up the holes with whatever I could find to keep the cold out.
After a sleep cycle, my head felt somewhat better, but it was far from recovered. I thought I’d have an easy self-rescue hitting the “S.O.S.” feature on my inReach device. Somehow in the crash, my inReach shattered. The device that I planned on using to save my life with an electronic signal saved it by preventing a piece of the fuselage from piercing my chest at the expense of the communicator body. I would have to signal another way. Rather than obsess over a signal, I started with the basics of survival. I couldn’t find my ditch bag and assumed it is under the wreckage I can’t lift. Walking around the area hurt, but hobbling was doable.
We could have hit the nearby tributary to the river, and I never would’ve woken up due to drowning upon impact. That tributary could provide me with plenty of water to treat with my Ziploc and Aquatabs. There was plenty of willow driftwood I could burn at night to stay warm, and I wouldn’t need to burn much as the days are so long. Food was low on my priority list, but I knew the longer I went without it, the weaker I would become.
At the riverside, I noticed some bear ground sign, but I couldn’t pinpoint the age of it beyond saying it was older than a day. I didn’t know how frequently to expect them, but I knew they could be back. I wasn’t in any condition to dig a deep enough hole to bury Nick’s body or even his bloody undergarments, and I’ve seen bears flip over rocks like they were toy blocks. I also wasn’t able to remove the plane’s seat cushions that were soaked with blood.
A bear’s sense of smell is pretty powerful, and I felt like I couldn’t do enough to eliminate the scent with a cleansing fire in the burn pile. Since I couldn’t remove the attractants from my environment, I began thinking about removing myself from the environment.
Contrary to popular belief, there are a lot of backcountry fires in Alaska and I wouldn’t be able to build one large enough to signal for help. I also couldn’t maintain my energy to gather wood and wait around with limited rations. Gunfire from my Glock 20 also wasn’t a viable audible signal method. Even though we left a detailed plan of where we were headed, I haven’t seen a single plane fly overhead. With hope dwindling, I made the decision to walk to safety. Using pre-trip planning knowledge, I knew a southwesterly emergency azimuth will get me to the Dalton Highway.
I made a makeshift crutch from pieces of the fuselage and created an arrow in the ground with debris to indicate my direction of travel. I packed my gear to cover the basics and focused on traveling light. I slept one more night by the plane before departing in the morning. Prior to leaving, I took Nick’s wedding ring for safekeeping should an animal desecrate his body before a recovery team returns. I want his wife to have it.
The walk out was slow but I made progress. Walking in the tundra is unpredictable. When I got thirsty, I stopped to tank up on water. I foraged for berries along the way and the sugar kept me going. Instead of sleeping for 8 hours, I took naps for 30 minutes here and there. My waders and rain jacket were my shelter and I blocked out the rain with them. I had to travel slowly to avoid overheating and sweating.
On the horizon, I saw white and silver specks moving along a line and knew I was looking at a road. That’s it! I kept my hopes measured though, as I knew it is hard to gauge distance in the tundra. That road could still be a day’s walk away. Far from the river and the food, the bears weren’t present and the only animal wildlife I saw are musk ox and the occasional curious fox. I pressed on knowing this ordeal would be over soon.
I reached the road by 11:30 p.m. and stumbled into the Happy Valley Landing Strip. I was helped by the seasonal oil workers who gave me a warm meal, a bed to sleep in, and medical attention. They plan to drive me to Fairbanks, and I’ll gladly take that mode of transportation before I take another bush plane flight anytime soon.
Hunting Guide Caleb Stillians’ Approach
Preparation
The first thing that I do to prepare for a bush plane crash in the Alaskan wilderness is to always try flying with experienced pilots who prioritize safety and proper maintenance of their aircraft. It’s crucial to know the capabilities of the plane I’m boarding, including its weight limits, and to avoid flying in adverse weather conditions. As they say in Alaska, “There are old pilots and bold pilots, but no old, bold pilots.” I understand that second chances are rare when it comes to plane crashes.
Whenever I fly into the backcountry, I ensure I have everything I need for survival in my backpack. This includes a tent, sleeping bag, extra clothes, sleeping pad, lightweight tarp, firearm with extra ammunition, stove, lighters, rain gear, knife, a Garmin inReach device with SOS capability, tourniquet, and a first aid kit with wound-stopping capability (something that helps your body’s natural ability to clot blood). I also carry an extra roll of electrical tape. Electrical tape comes in handy to tape up cut fingers. This kind of tape is also great to put on the end of gun barrels to keep debris from getting inside.
Before the flight, I would coordinate with Nick in person. Together, we would empty out our backpacks, and decide together what essentials need to be brought along. There’s no substitute for face-to-face communication when planning for a trip like this.
To study the region we’ll be flying through or into, I use apps like OnX to download maps, and also save hard copies of the maps by taking screenshots as an extra precaution. During the flight, I pay attention to the landscape and take photos of notable landmarks. Dropping GPS pins on interesting features along the way, such as remote cabins, is a handy thing to have for future reference.
Preparing for and dealing with inclement weather is essential, and I begin by knowing my gear inside and out. I never bring anything into the field that I haven’t tested beforehand. Leading up to the flight, I try to stay updated on weather reports and adjust my loadout accordingly. No matter what, I bring things like puffy jackets and rain gear, considering Alaska’s unpredictable climate.
Back at home or at basecamp, I have trusted individuals who I inform of my plans. During the trip, I keep in touch with them via text on my inReach device. That way, if they don’t hear from me within a couple of days, they know to start reaching out to others or the proper authorities to get a search started. I also make sure they have the right contact information for people in the area for quick access to rescue resources.
Ideally, Nick would connect me with trusted pilot buddies and outline a flight path. This collective effort would not only ensure that we are taking the best route, but it would also keep more people looped in to where we are going, and for how long. We’d also inform friends of our plans before we leave so they can initiate a search if necessary. If we did this the right way, it should minimize the time it takes for help to arrive.
On Site
Understanding how to exit the airplane safely is crucial. In a tight plane like the Super Cub, I need to know how to crawl forward over the pilot and exit efficiently. You’ve got to get your body as far forward up toward the front of the plane as possible, then move your legs up. Trying to egress the opposite way will get you fighting a losing battle, and you’ll be unable to get out as quickly as possible. In a crash, the priority is to move away from the plane fast, just in case of fuel leakage. Grab your gear if you are able, but avoid lingering around the wreckage in case it decides to go up in flames.
Since I may have to leave my pack behind in an emergency, I wear a chest rig containing life-saving essentials like a knife, tourniquet, extra ammunition, a lighter, and my binoculars. I like to have this stuff on my chest as it helps ensure I have everything that I need extremely accessible. For example, if I need to cut seatbelts, I have a knife handy. If I need to apply a life-saving tourniquet, I have it right on my chest. The rest of the gear is in the back of the plane, with the lighter items stowed as close to the back of the tail, and the heavier gear placed directly behind my seat.
During the flight — especially in a Cub — there’s usually little I can do to assist Nick besides engaging in conversation. During takeoff and landing, or in an emergency situation, it’s best to remain silent so that he can focus on vital piloting tasks. When an emergency occurs in a Super Cub, I’m relatively helpless in the backseat. The best thing I can do is keep quiet, try to remain calm, and ensure my feet aren’t obstructing any of the aircraft controls. Without a response through a connected headset, there’s little I can do to know if a Mayday call was received.
Crisis
After crawling out of the wreckage and getting a safe distance away, I prioritize stopping heavy bleeding. If necessary, I apply a tourniquet and bandage wounds. It’s advisable to get some medical training, like Stop the Bleed, or Wilderness First Aid just for a potential scenario like this. Once any major bleeding is stable, I tend to any other less severe injuries, and gather any gear that managed to survive the impact.
Because exposure and hypothermia are a concern, I’d use rain gear and a tarp to improvise a shelter if I couldn’t salvage my tent. If the plane’s wings are intact and safe from fire, I might use them for cover as well. There may be other pieces of wreckage or gear that could make useful shelter materials. It’s important to stay dry and reduce the amount of wind blowing against you.
Securing a firearm would be an immediate concern. In Alaska, I’ve made a handy rule to help prioritize actions, which is a spin on the rule of threes: the 4-4 Rule. Four seconds before a predatory animal kills you, four hours before hypothermia kills you, four days before dehydration kills you, and four weeks before succumbing to starvation. Since apex predators present the first immediate danger after stabilizing life-threatening injuries, I need to make sure my firearm is on my person and operational.
Getting rescued is my next priority. To make my location more visible, I scatter shiny objects from the plane and use orange flag tape to mark my position. Colorful gear can also be laid out to enhance visibility. Use anything available to make your position stand out against the terrain. If there is snow, white wood smoke might blend into environment, and burning petroleum-based objects to create black smoke might stand out better. The reverse is true for wooded areas without snow.
If for some reason the Mayday call was not received before the crash, staying by the plane, and focusing on survival priorities becomes even more crucial. At this point, patience is key, especially if injured and far from civilization.
A SOS device, like a Personal Locator Beacon (PLB) or Garmin inReach, is a great backup emergency communication option. If for some reason I’m having a really bad day and those fail to work, I focus on signaling by whatever means available, and relying on trusted contacts to initiate a search if I haven’t responded within a few days.
When it comes to dealing with curious apex predators like bears, it’s important to keep in mind that you are the boss, not the bear. As long as you’ve taken the time to secure your firearm, you should stand a decent chance of surviving an encounter. If the salmon are running, the bear should not be hungry and will probably leave you alone. If a hungry bear decides to show up anyway, you will have to decide if you want to protect Nick’s body from the bears, since they will view it as food.
It’s important to always stand your ground. Make yourself look as big as you can. Yell and throw rocks, and if need be, shoot warning shots at the bear. If the bear does not back down in this situation, be prepared to DLP (Defense of Life and Property) the bear. The absolute most important thing to remember is to stay calm. Panicking has never helped anyone.
People who adhere to the seven P’s — Proper Planning and Preparation Prevents Piss Poor Performance — when they are in the backcountry typically do better when things don’t go their way. Planning and preparation are essential for surviving wilderness emergencies. Having backup communication devices and knowing survival priorities can make all the difference. This aligns with any situation where being stranded in the wilderness is a possibility — preparedness is key to survival.
If you took the time to put the people and systems in place to notify rescue personnel upon the event of no communication, you will be fine in this situation because help will be coming. If you did not establish a plan and were just totally “cowboying it” and you didn’t let anybody know where you are flying to, you may be up a creek without a paddle in this situation. It is always worth it to take the time to lay out a plan to prevent bad things from turning into really bad things.

Conclusion
Flying in a small aircraft over the vast wilderness is awe-inspiring, and in most cases, everything will go smoothly from takeoff to landing. However, as prepared individuals, we shouldn’t rely on that likelihood alone — we should consider the worst-case scenario and be ready for it. While we may not be able to prevent a plane crash as it’s unfolding or ensure the pilot’s distress call is received, we can be ready to react quickly in its aftermath.
Even if the forecast looks good, always bring gear to stay warm and dry in inhospitable conditions. Establish a clear communication plan with loved ones before your trip, including what to do if you go missing, and prepare at least one backup method to reach authorities directly. Injuries in the backcountry can become life-threatening if you’re not able to stabilize them, so get some basic medical training and be sure to pack a trauma kit.
Also, seek training on how to deal with grizzly bears and other predators that may be present near your destination. These steps, along with developing the mental fortitude to stay calm and focused when things go wrong, will greatly increase your chances of survival in America’s last frontier.
[meetourpanel]
Read More
Subscribe to Recoil Offgrid’s free newsletter for more content like this.
Editor’s Note: This article has been modified from its original version for the web.