In the turbulent world we all experience these days, too many people are finding themselves in survival situations that require knowledge or a skill that they haven’t yet acquired. Disrupted supply chains, extreme weather events occurring with increased frequency, and violent civil unrest have pushed millions of humans into scenarios where they discover a startling gap in their knowledge. Unfortunately, that realization may come too late, and the knowledge gap may lead to injury or even death. However, if you know where to look, there are instructors who have extensive training and experience in survival situations who are happy to pass along that lifesaving wisdom. Jerry Saunders — Marine veteran, bladesmith, and founder of Corvus Survival — is one such individual.
Jerry has an extensive background in a myriad of survival situations and is responsible for implementing the most comprehensive survival training course in the U.S. Marine Corps. When RECOIL OFFGRID connected with him, the opportunity to pick the brain of someone with such a distinguished background on the topic of staying alive was too fortuitous to pass up. Upon arrival to an undisclosed location in a nondescript building, we captured a glimpse of Jerry’s extraordinary accomplishments.
Interview with Jerry Saunders of Corvus Survival
RECOIL OFFGRID: Tell us about your time in the service and what you did.
Jerry Saunders: My time in the military as a Marine was very eventful. I foolishly wanted to get right to the war part, but I didn’t know any better, so I got sold into Security Forces — fortunately as part of the Fleet Anti-terrorism Security Team. Its acronym was F.A.S.T, so naturally we referred to it as the Fake Ass Seal Teams. You get a lot of good gear and damn good training, but at the end of the day, you’re doing expeditionary security anywhere in the world in 48 hours. I got shipped down to Cuba and did the famous fence line mission from A Few Good Men.
Our team was sent to Bahrain then into Turkey, where we were keeping an eye on Hezbollah. We ultimately ended up performing non-combatant evacuation operations with cruise ships and decommissioned ferries to help evacuate Americans from Lebanon in the early 2000s when they were getting into it with Israel. We sailed and cross-trained in Ireland, Spain, Jordan, Egypt, and provided security for ships in the Suez several times. In 2010, when the earthquakes decimated Haiti, our sniper team spent three months living on the beach and backpacking daily MREs drops to the affected mountain villages. I spent time in Iraq as a machine gunner working closely — sometimes too closely — with EOD. The last deployment I did was to Helmand province of Afghanistan as a Scout Sniper with the infamous 3/2 Scout Snipers. After deployment, they were looking for guys with fresh battlefield experience to fill instructor roles, and I got sent out to the Marine Corps Mountain Warfare Training Center in Bridgeport, California. I was there to instruct the Mountain Scout Sniper Course, but also realized that the USMC Survival program was no more. After months of pestering and a phone call from the other side of the world, they agreed to let me use the Sniper cadre to revamp and reinstate the survival program. Through this, many of us were able to go to courses all over the world, become internationally certified, and bring back that knowledge to produce the best product we could for the United States Marine Corps.
What were some of the most valuable lessons you took from your military experiences?
JS: Boiling it down to just a few is a tough one. The mind controls the body, and the body is a hell of a lot tougher than you think. Some people think you have to be old to have a ton of experience. A firefight can feel like its lasting a lifetime, but you just learned a thousand lessons in 4 seconds.
Put effort into the people beside you so that you can trust them when your life is at stake. The military offers you something that civilian life doesn’t typically, which is the opportunity for friends to prove themselves in some really sh*tty situations. You don’t normally see people’s loyalty displayed like that anywhere else. I think finding those people in your close community that are loyal and that you can network with is one of the most important things you can do. Invest in the people around you.
What led you to transition to teaching the general public?
JS: Nobody was teaching it quite like I was, and once I tried it, I was kind of blown away at the lack of knowledge the general public had. I had to dial things way back. In one class, a student actually asked me what part of the tree was the bark. So, I’ve developed my own blend of primitive/modern/military survival, and I’ve made it so that everything is quantifiable. If you can quantify something, you can then replicate it, and replicating survival skills when you need them is the whole point. A huge thing for me was that it was a way to give back to a nation that supported me while I was in the military. Now I get to empower somebody to be self-reliant, and you always get the good feels when you do something like that. That alone is its own reward.
Above: End of course photo, Yellowstone National Park SRT, Helena, Montana.
How did your military experience influence your approach to survival instruction?
JS: I have to say I’m incredibly fortunate. I’ve had a lot of training and many opportunities to get it right. I’ve also had a lot of opportunities to mess it up. Having such a large number of students means you get to learn a sh*tload of mistakes at once without even having to make them yourself. The military also gave me a good sense of organization. I’ve yet to experience any survival event, school, or bushcraft event where I thought the instructors had their skills down and could control the students. Managing people and holding their interest is an art. The military training I went through gave me a strong platform to base my instruction on. You’re being taught how to professionally stand in front of and transmit information to a large crowd of people, and the military trainers don’t take it easy because they want to produce a new generation of instructors that transmit the instruction well.
I was able to travel all over the world, and one of the most important lessons I learned was to pay attention to the locals in whichever region I was in. Food is the key. I used to dive for lobster in Cuba, and I would take them to the Jamaicans that worked there. Food works miracles (and a bottle of rum). But they showed me how they were cooked, and we ate, drank, and danced. After spending time in over 48 different countries and learning the various methods of how people went about living their lives, it has given me a wealth of knowledge and skills to draw from. A lot of people think that making a fire with a bow drill or killing rabbit for food by hitting it on the back of the head is the pinnacle of survival, but there is so much more to it than that.
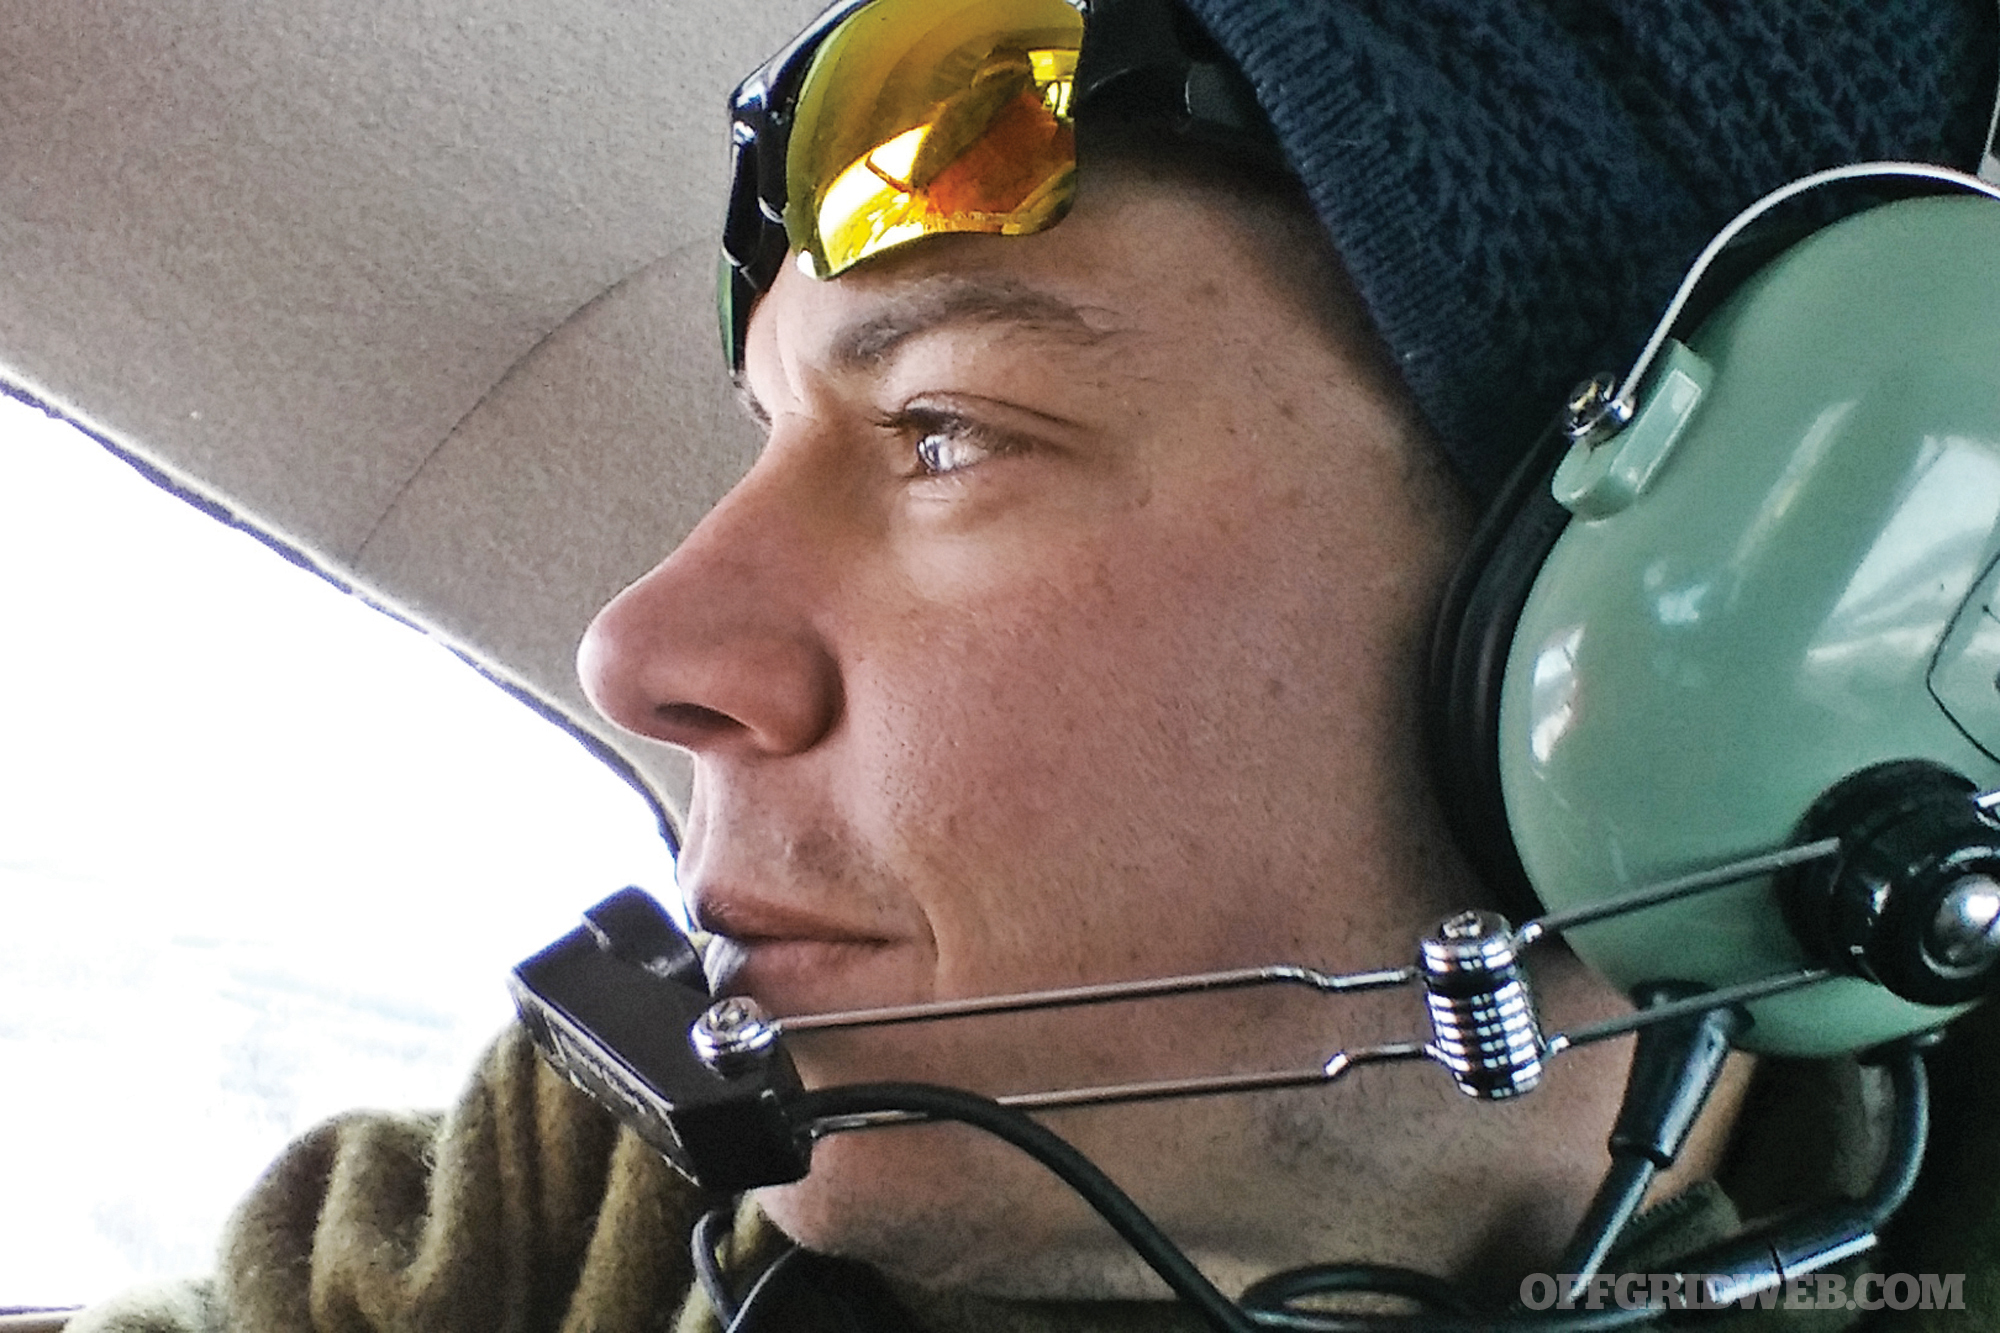
Above: Jerry on a flight to the South East side of Denali to teach Japanese film crews about avalanche safety.
How do you convince the average urbanite of the value of survival skills?
JS: They have to have an interest in the first place. There are a lot of movies and YouTube videos that often spark somebody’s interest. But for someone who doesn’t look into that sort of thing, all you can really do is bring up news stories for references, things that happen, just to get them thinking about potential scenarios where they would benefit from having basic survival skills. Many times, people show up to a class who have had an accident or a close call and realized their lives could depend on knowing a little bit more. When I was teaching in California, I was actually seeing a lot of successful people attending my courses — doctors, lawyers, and personal trainers from the bigger cities. A common misconception in urban centers is that if something happens, you always need to get out of the city. People would attend training because they realized they needed a new skill set to hopefully be successful in those situations. I would do my best to manage their expectations and teach them valuable skills that work in the urban/rural interface.
Define the Corvus approach to survival instruction. What’s your specialty?
JS: I take a skill and break it down, quantify its parts, and by doing this, make it easier for almost anyone to replicate it. I also tailor my training to my audience. What works for a Special Forces team in the mountains, will be much different from a family just looking for skills to make their Yosemite camping experience a little comfier. Many people come with the attitude that to survive, you have to suffer. But I always reassure my classes that I’m not just going to send them out to be miserable — who pays for that?
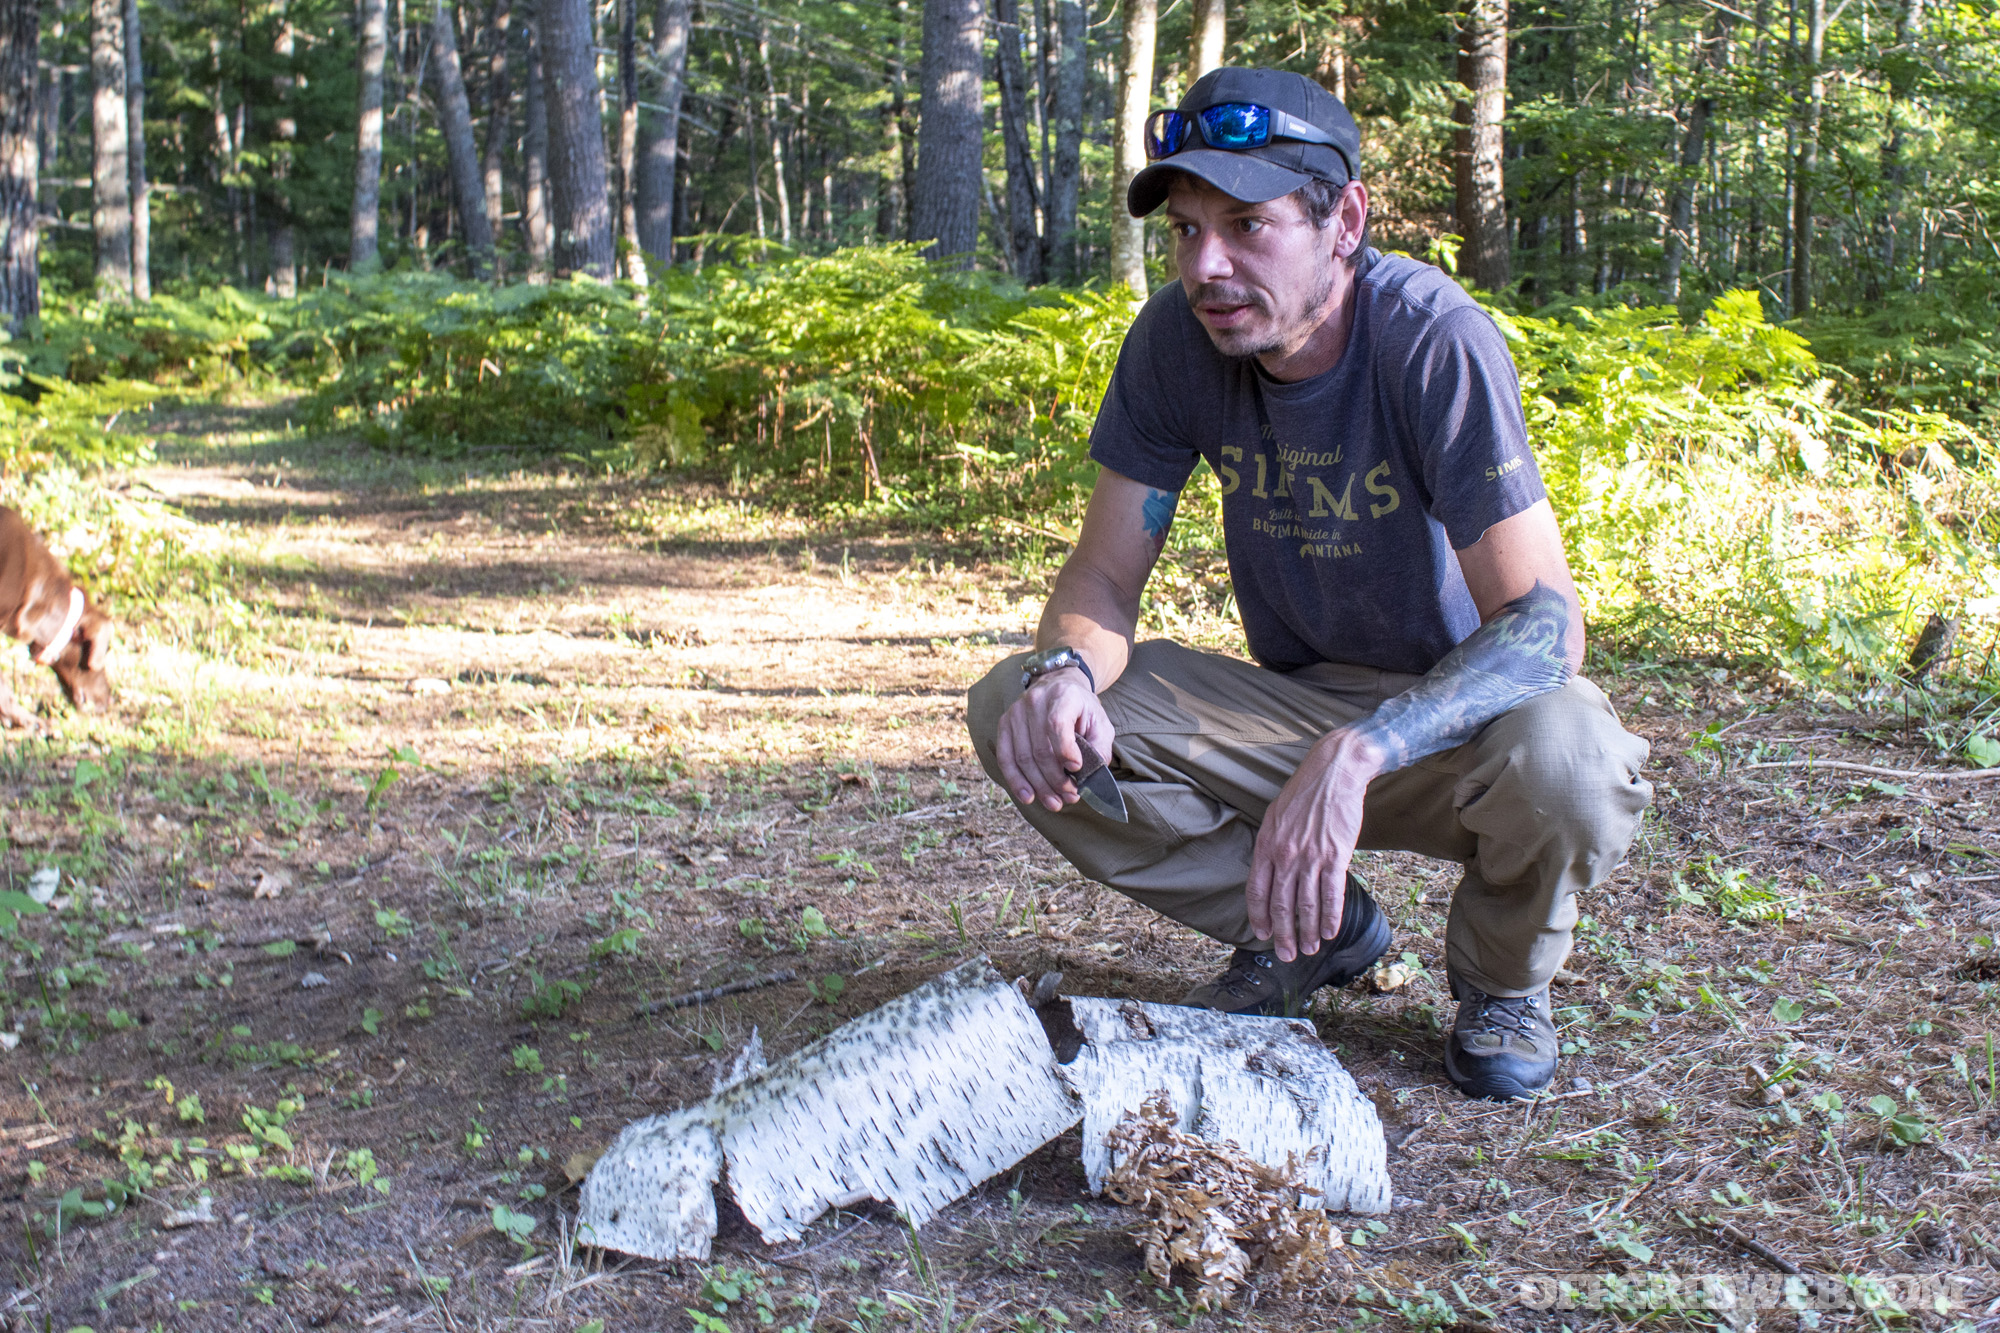
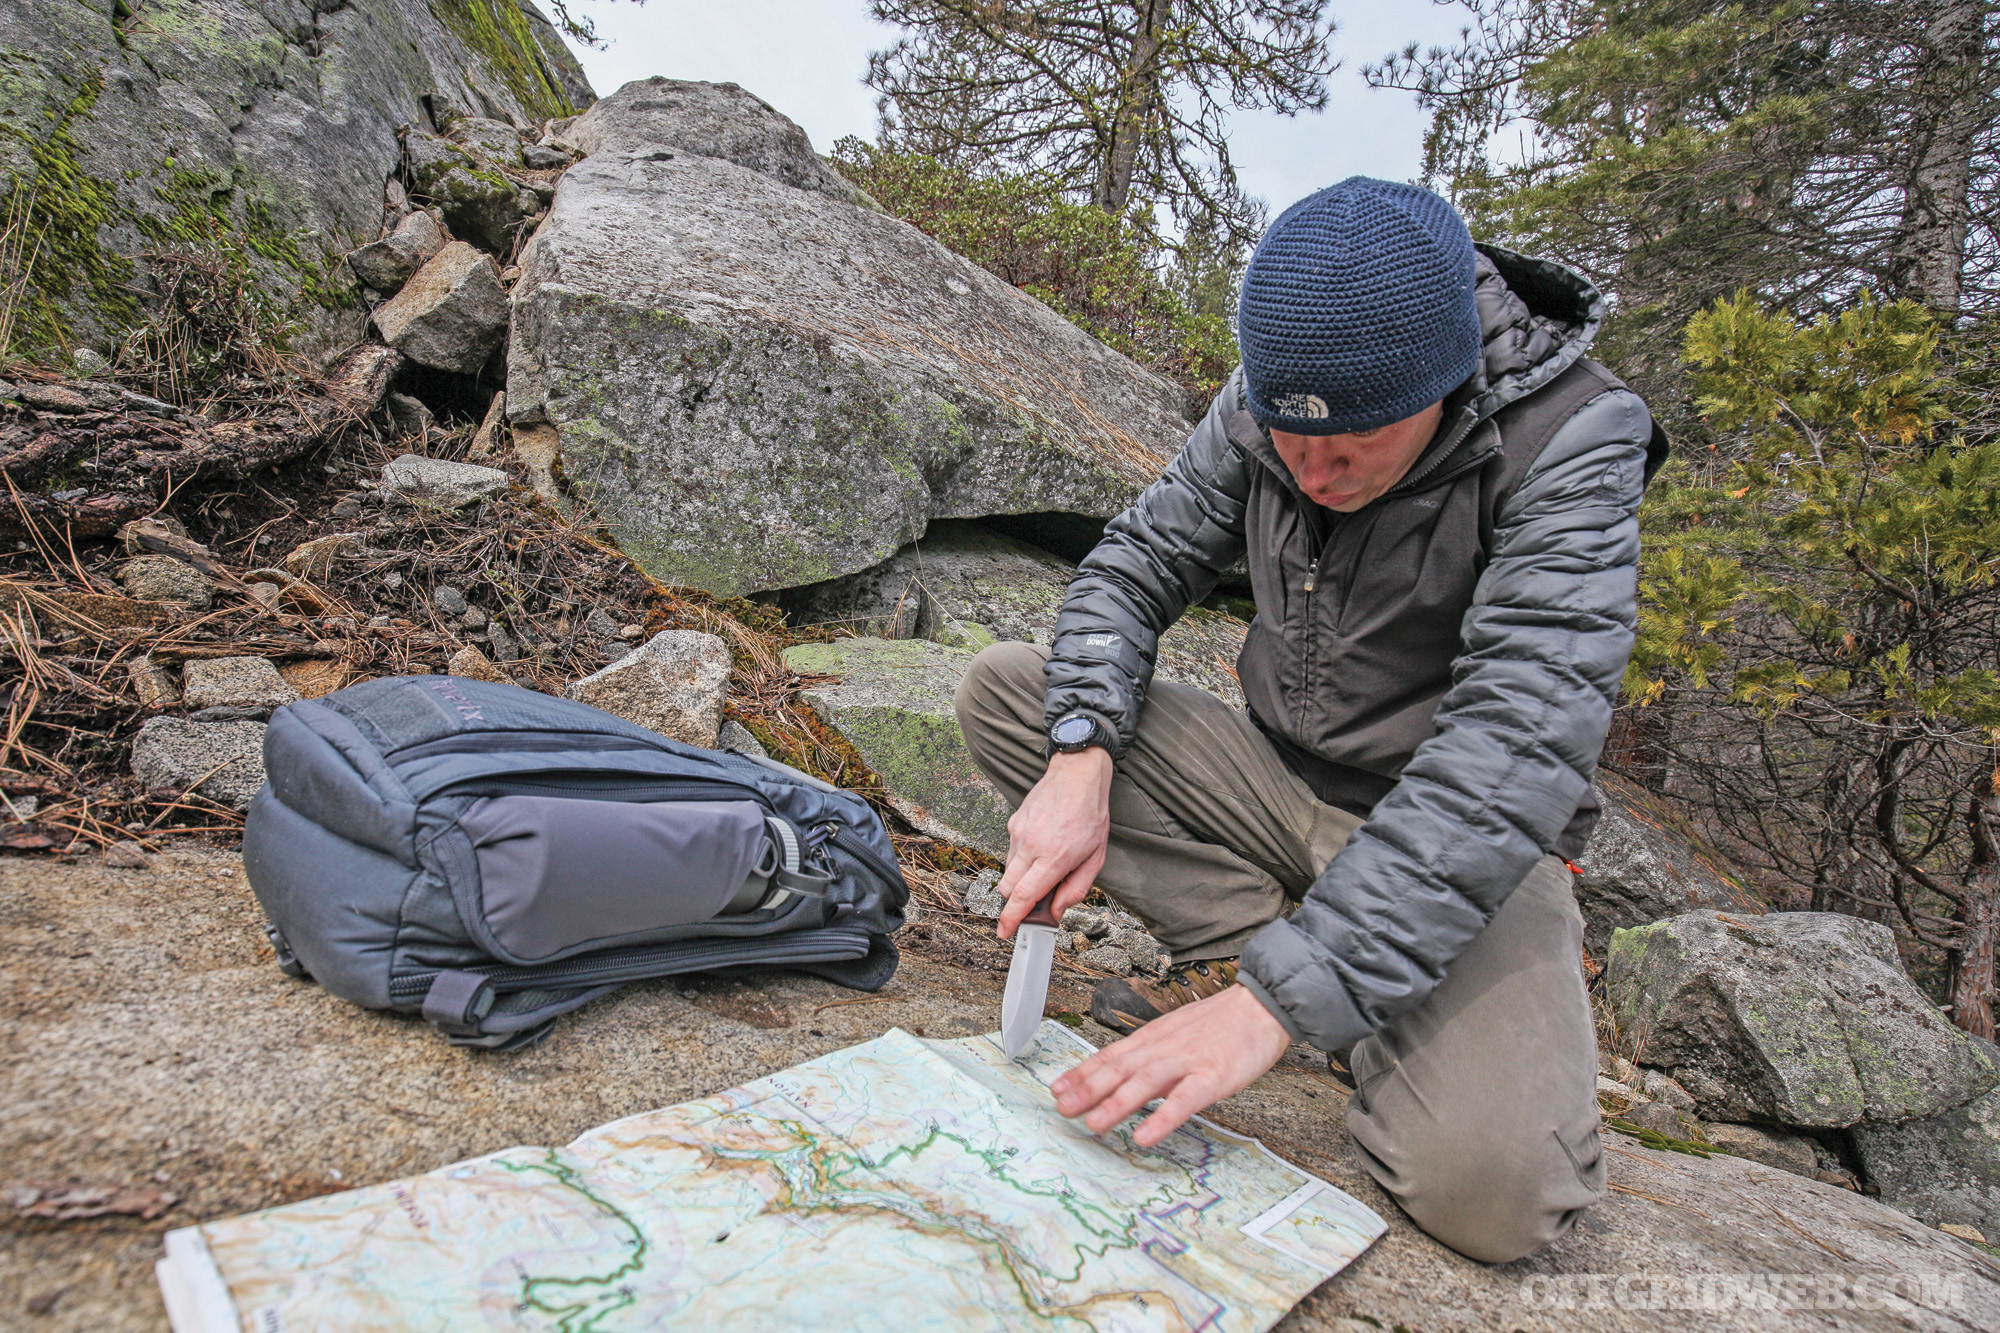
Above: Jerry discusses with the author natural tinders available in the Great Lakes Region.
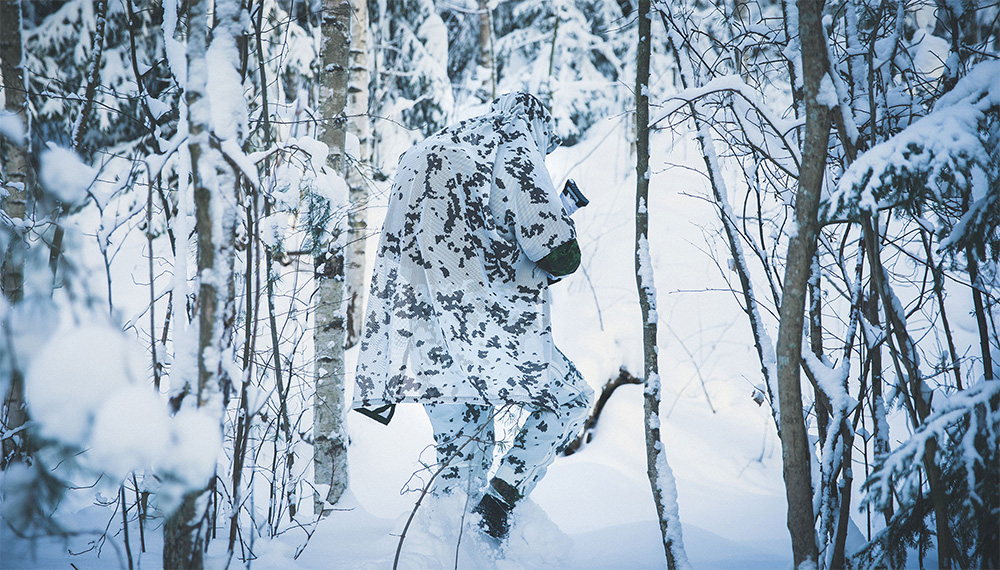
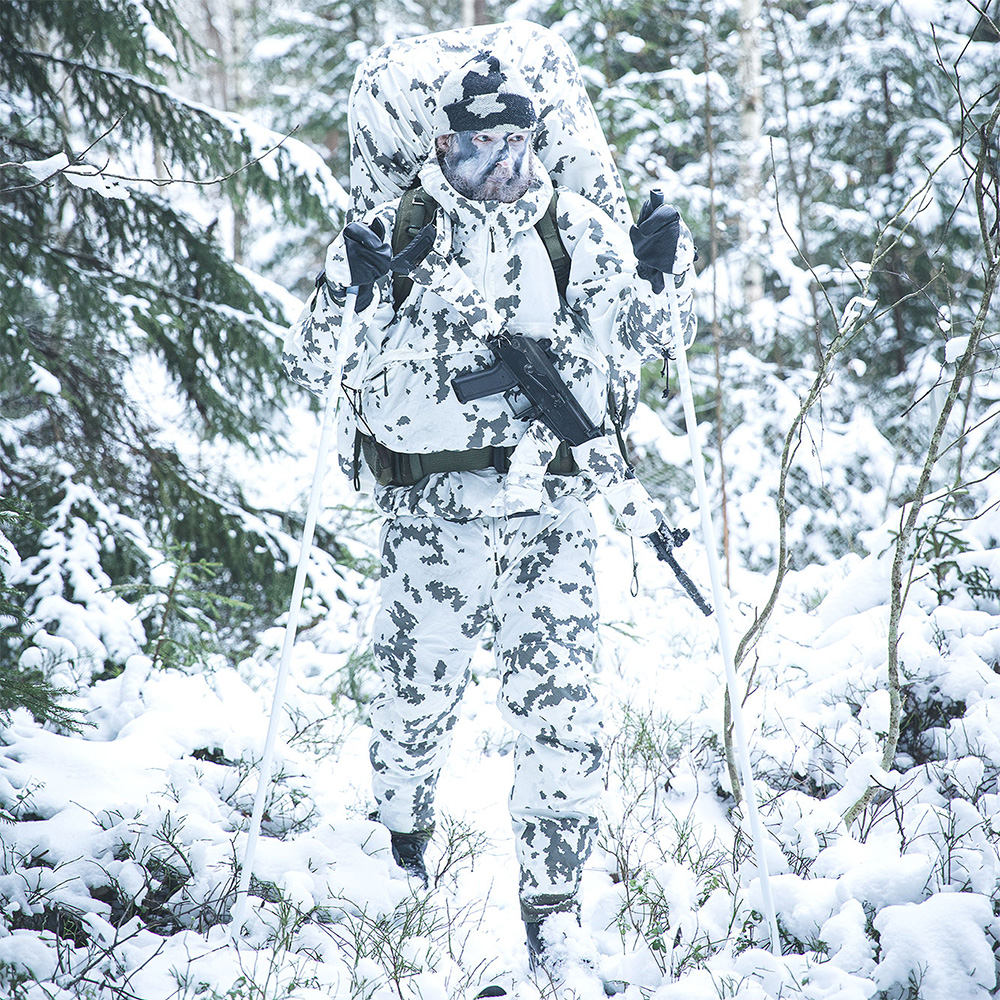
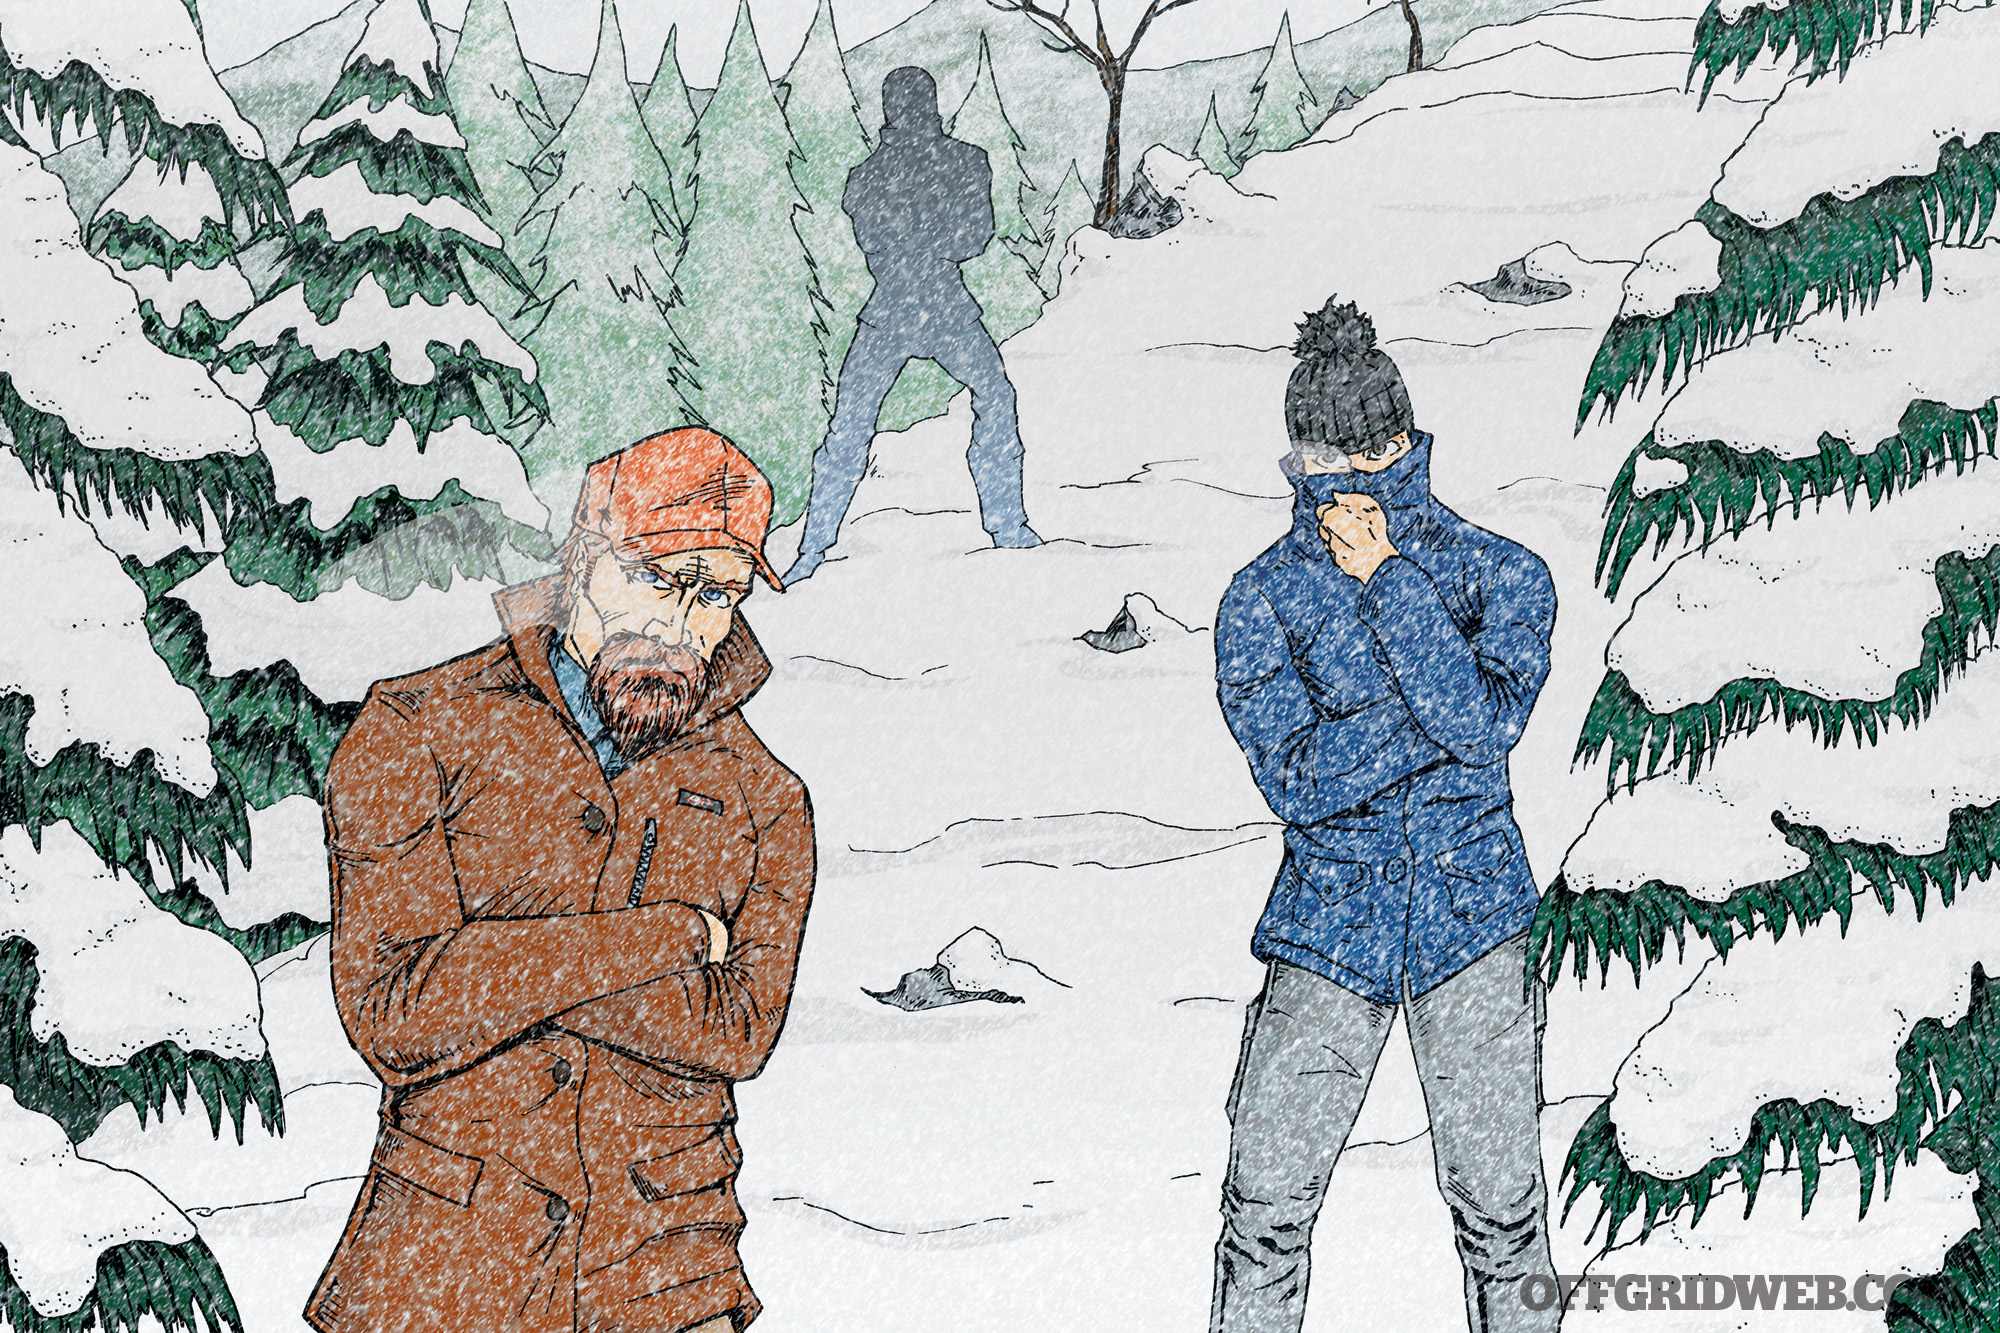
As long as my students can understand a few key concepts and don’t mess up too bad, that’s the biggest thing. I always get asked on the second day of training, “What are we going to do today?” My reply is always, “First, we are going to fix whatever you hated about your shelter or skills you messed up on day one.” As for my specialty, being a winter survival expert, I have gone through the most extreme winter survival courses on the planet. So, I would have to say surviving in freezing conditions is something I have a lot of experience with.
What do you think are the most typical survival situations that people will face in their lifetime?
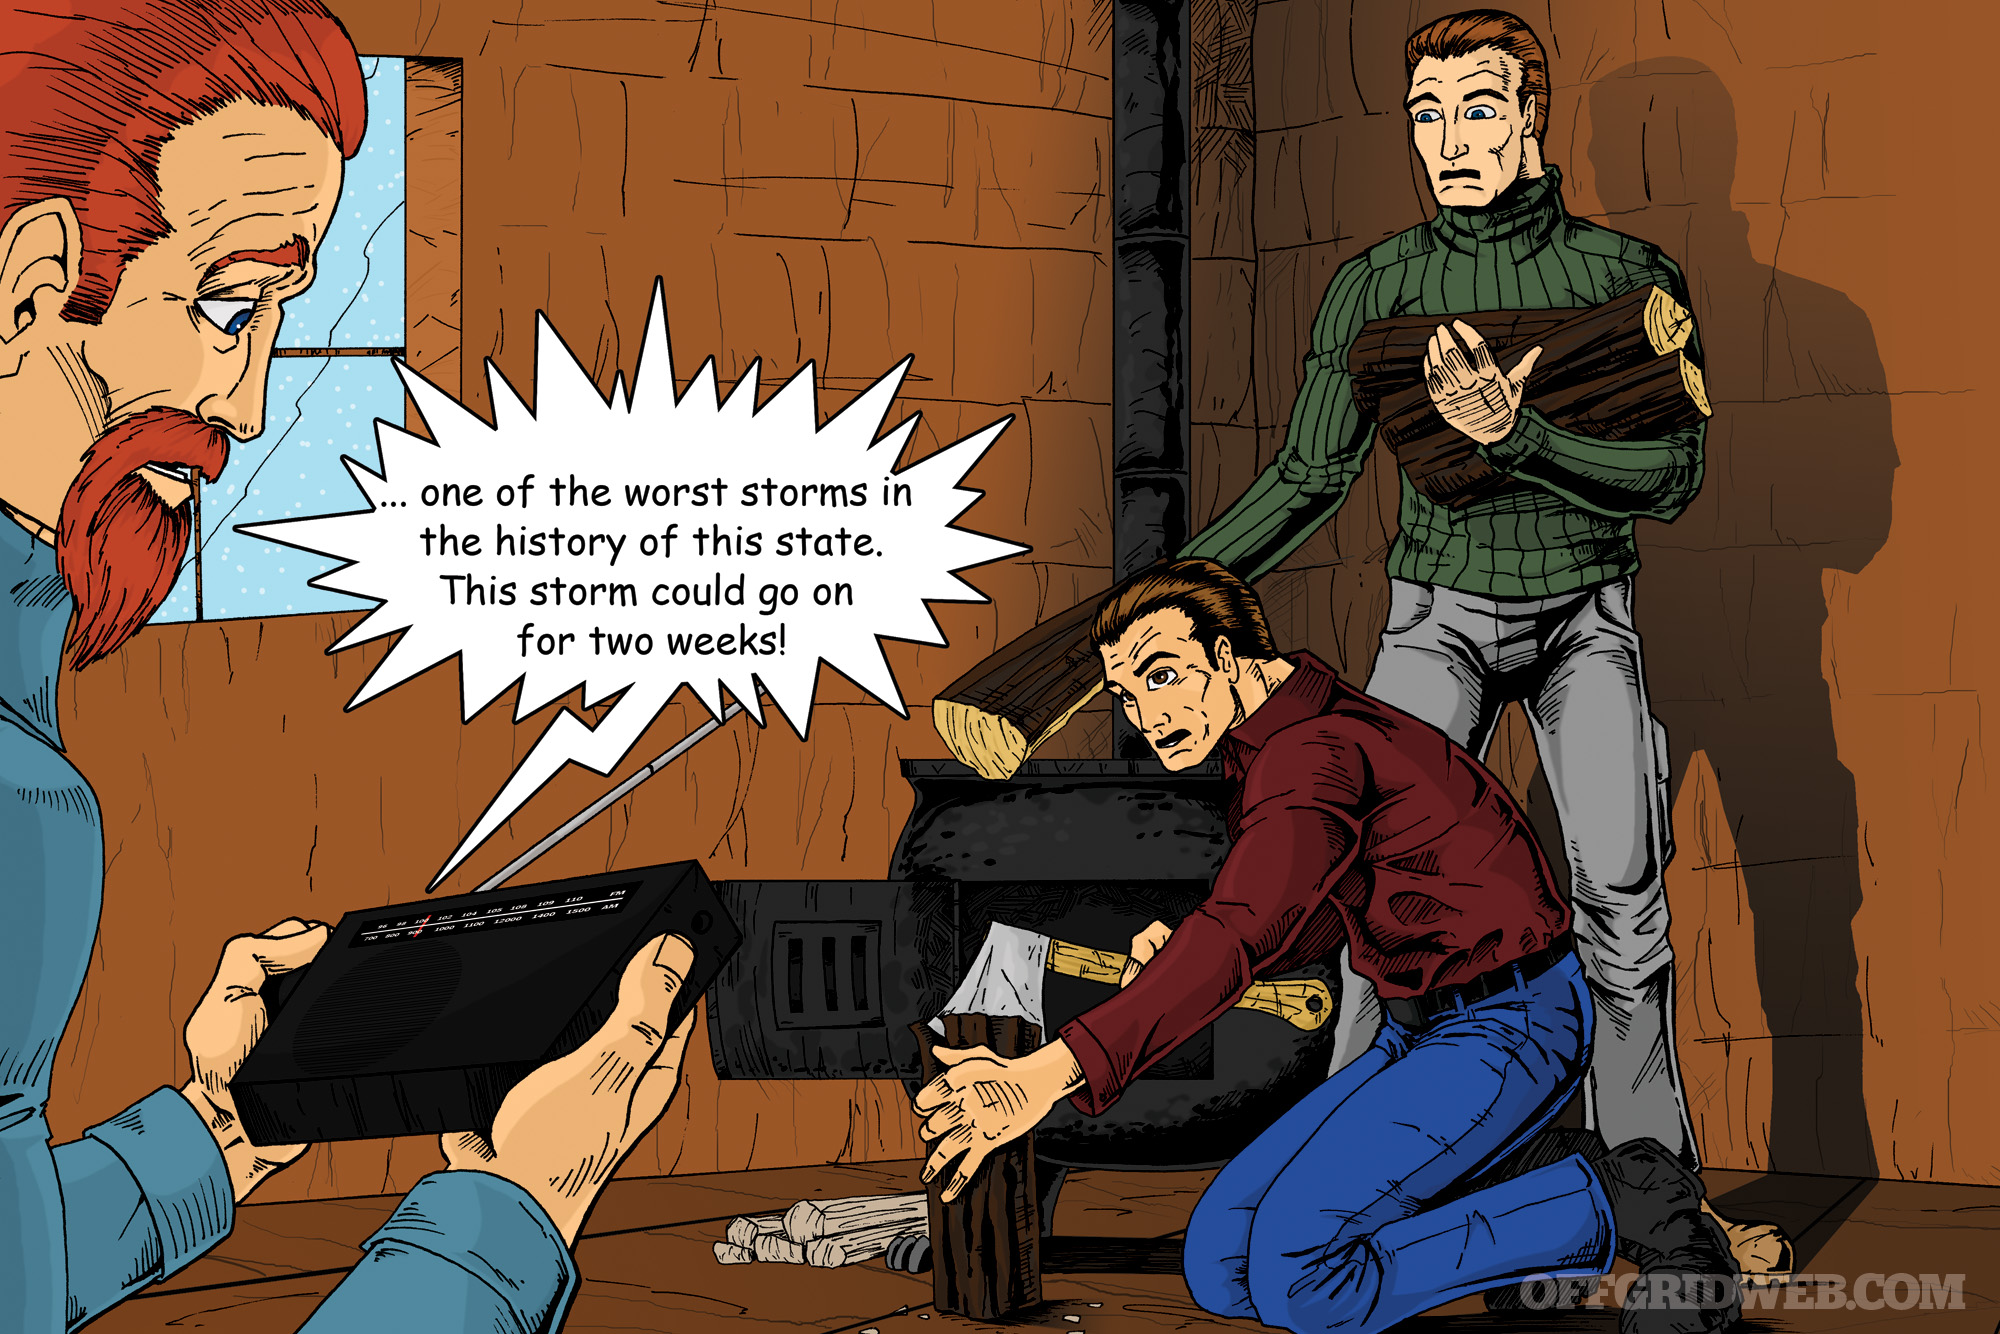
JS: First off, don’t do shrooms in parking lots, I’ve seen that more than once. But really, I see people relying on a cell phone too much. And it is understandable because it is such a useful piece of technology. It’s communication, navigation, your light, your personal synthetic intelligence. It’s just about everything you could need. So, what happens when you’re in a situation and you only have 2-percent battery left? Pretty soon you are going to realize how inadequately prepared you are. It never fails — when those people get rescued, they always hold up their phone to you and say, “I don’t know, it just died.”
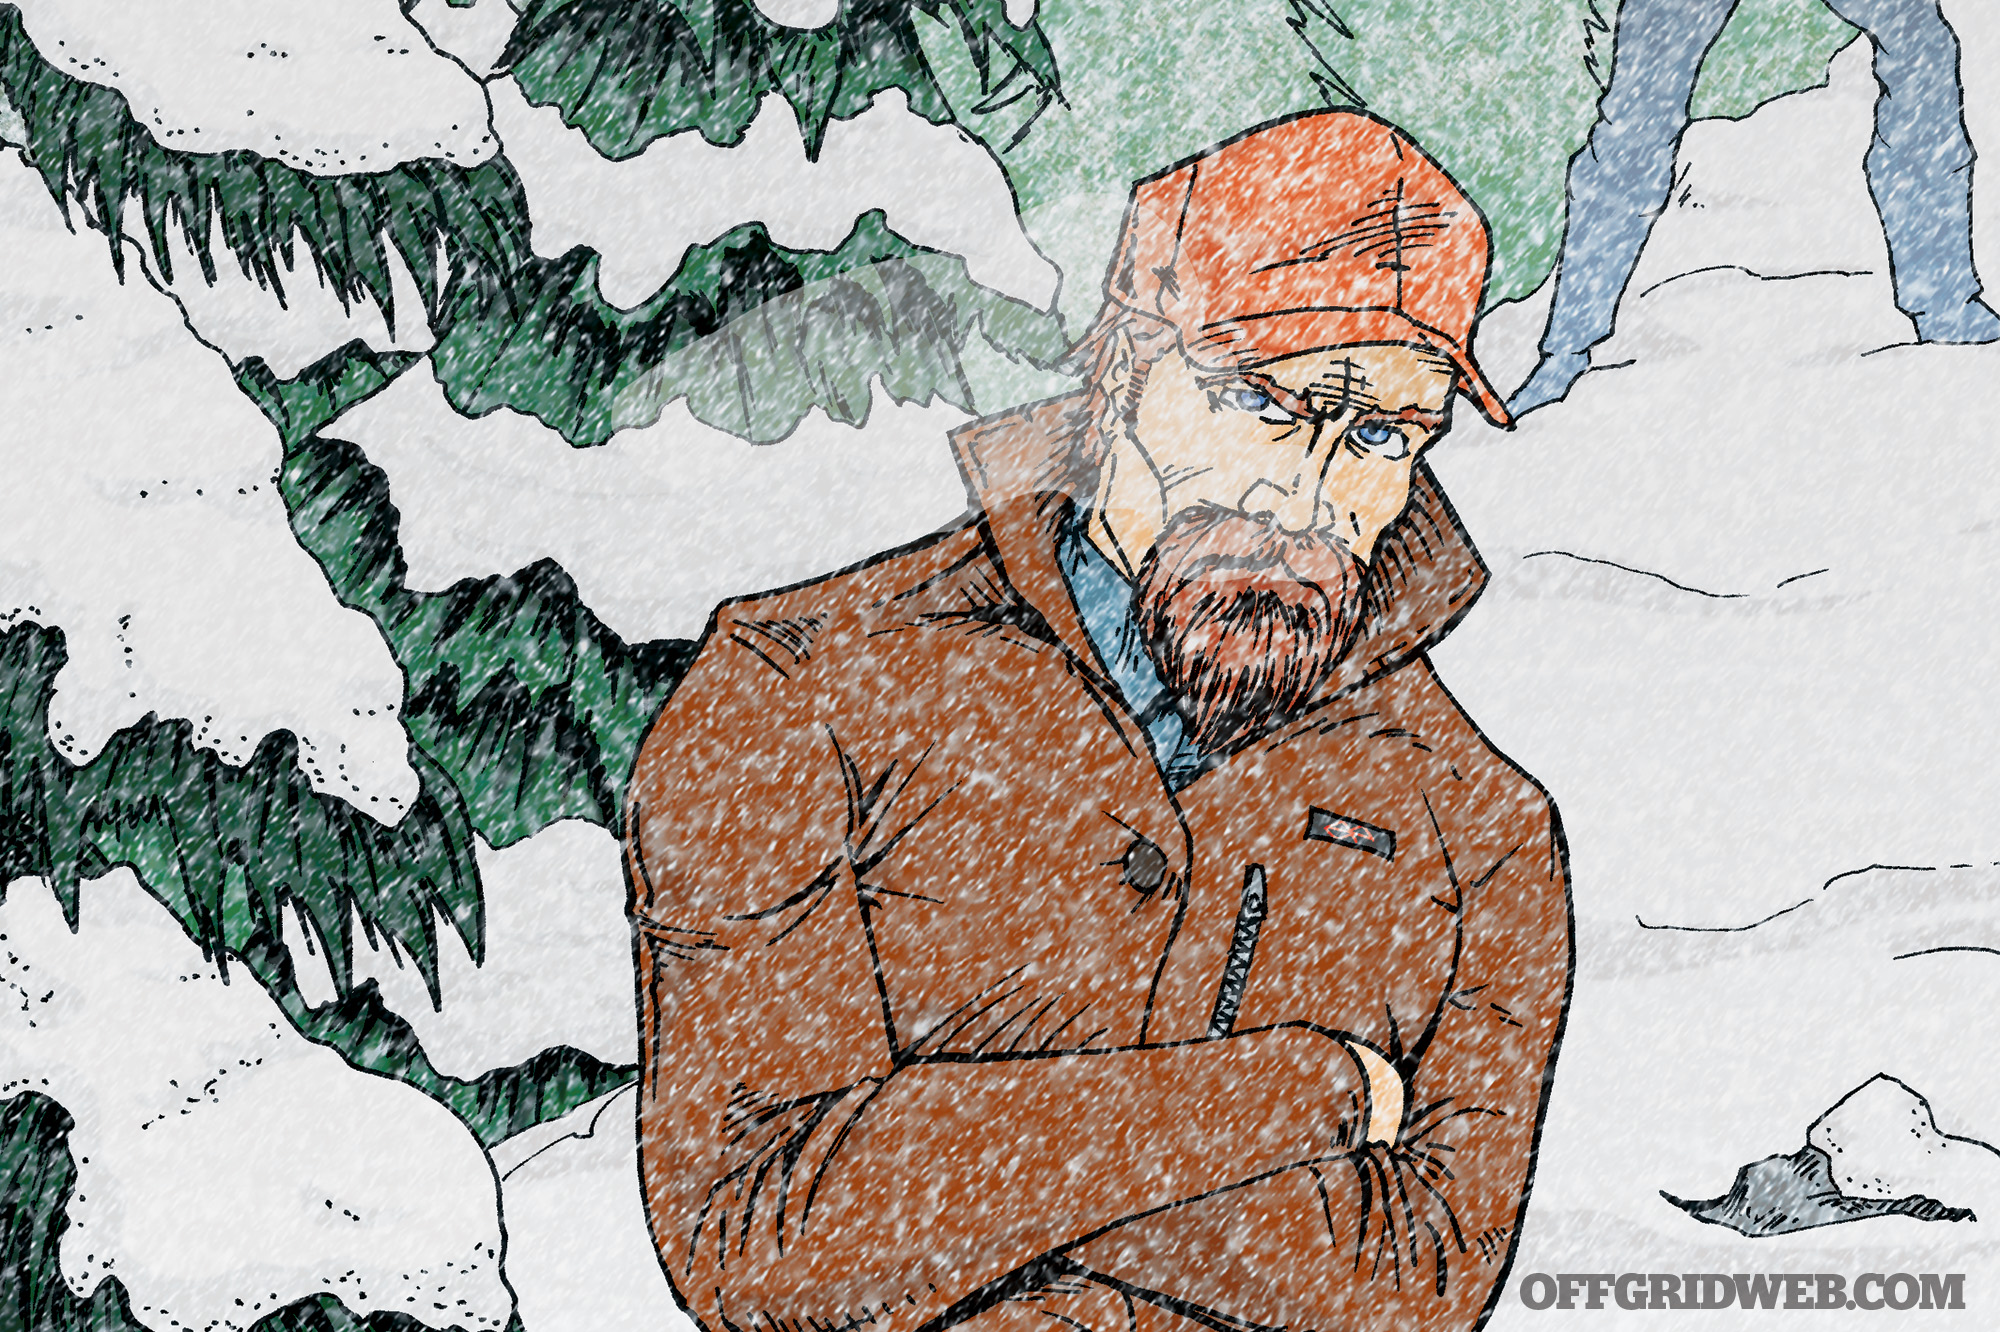
Exposure to cold is another big one most people will encounter. Winter weather kills more people than all other natural disasters combined. If you look at the stats on driving in icy conditions, cold-weather injuries, it’s a huge risk. You have to understand elevation and temperature change in elevation in the mountains out west. When it snows, people from the city go to visit the snowline, and they have very little experience with cold weather. It could be 72 degrees at the bottom of the mountain and 14 at the top. So, they go up there with shorts and a T-shirt and end up getting hypothermia. Exposure is probably the number-one situation people will be affected by. Lack of understanding of your environment and how to adequately dress and prepare for it is huge.
Trail cutting is a mistake many people make, and it’s one of the worst things you can ever do. People think they are heading in a certain direction, and the next thing they know, they are slipping or falling. And depending on the fall or the proximity to help or other people, many times people don’t survive that.
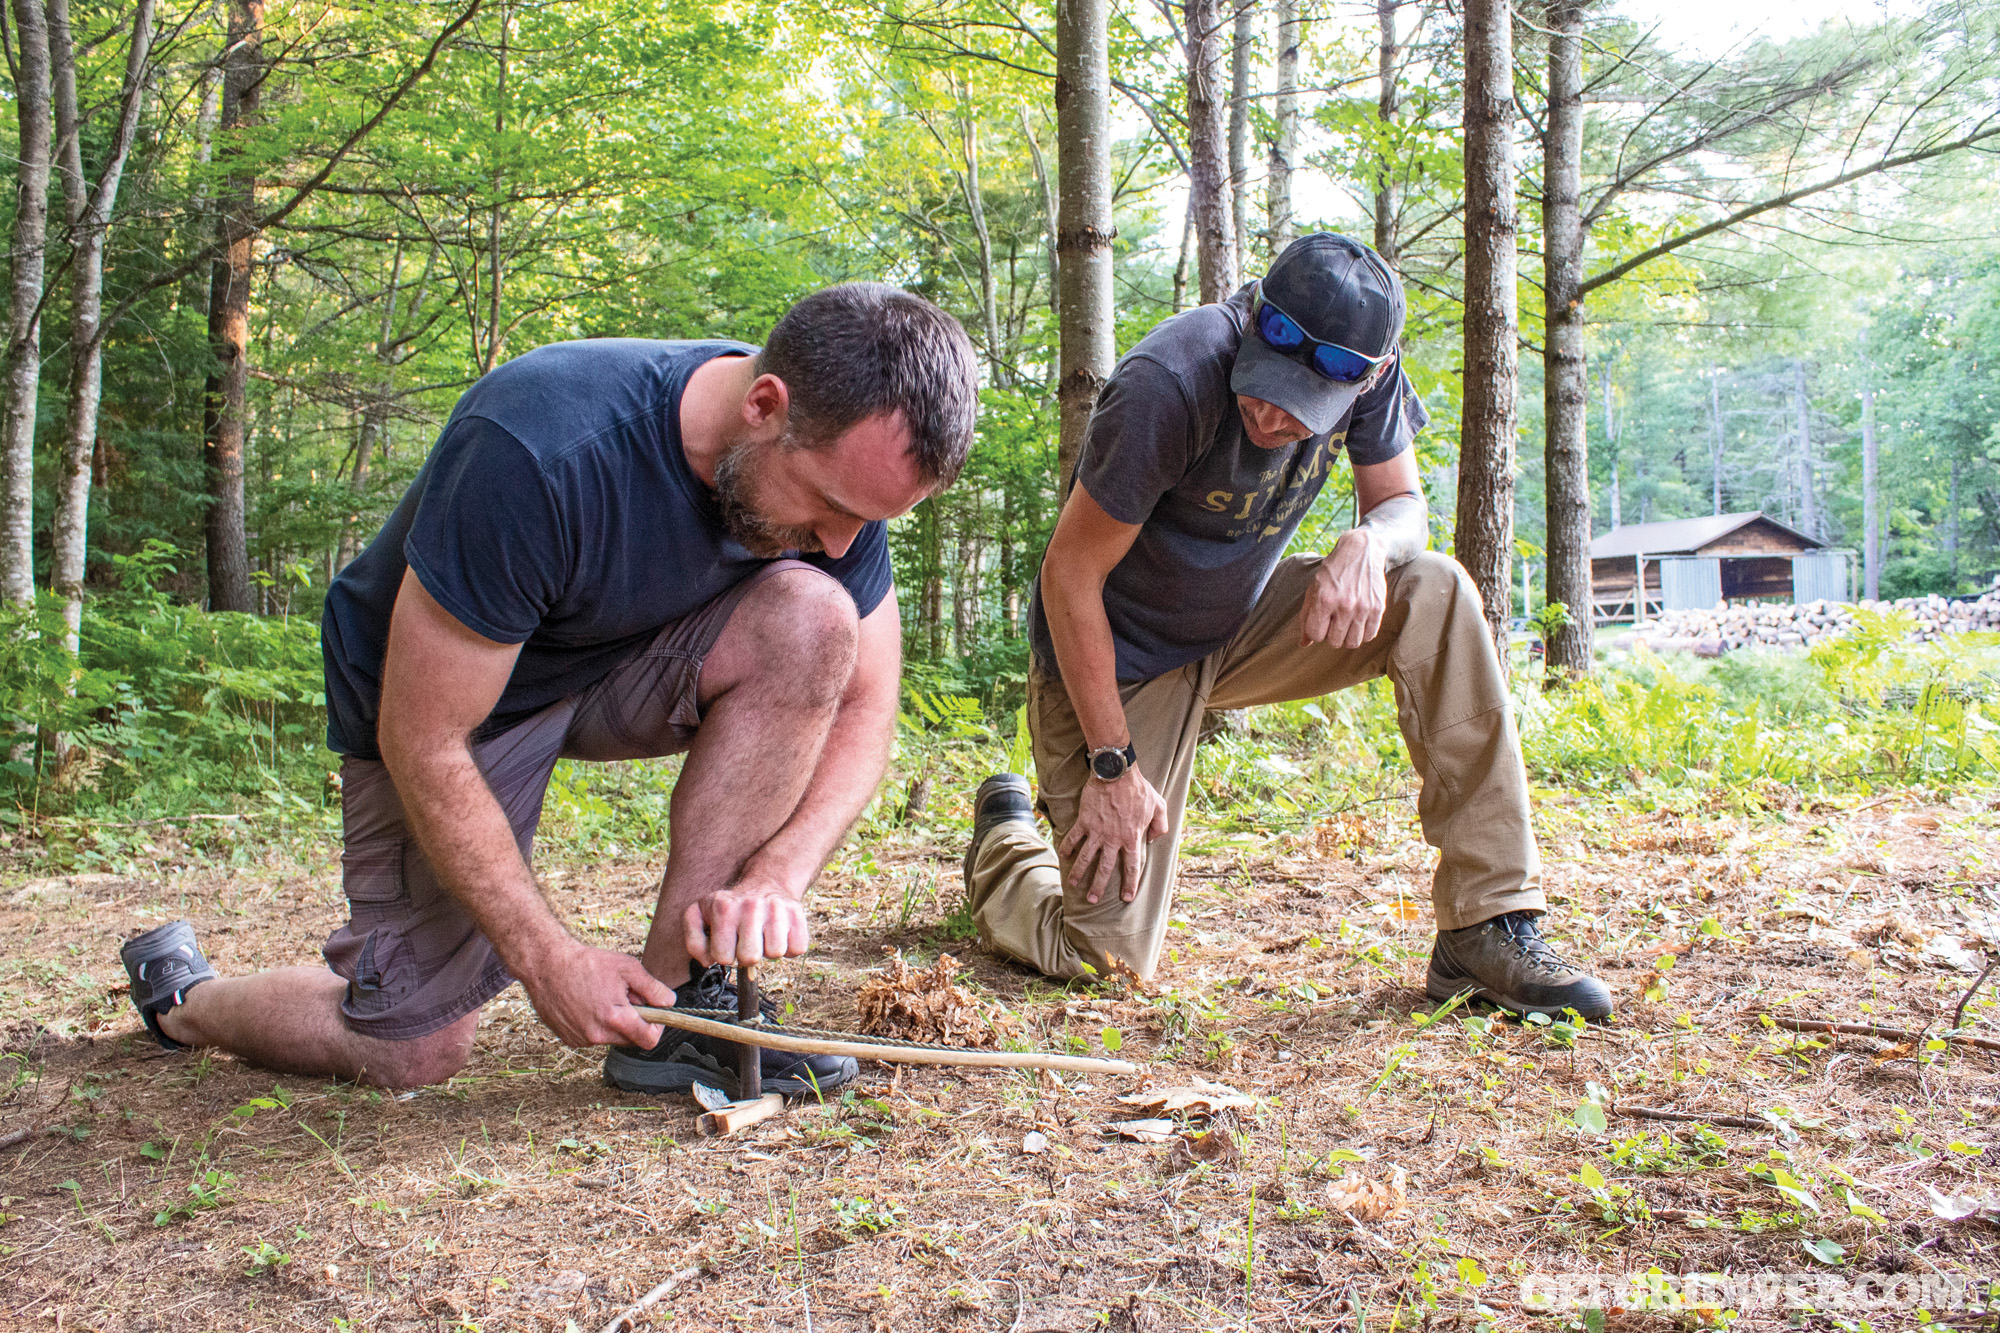
Above: Jerry guides the author through the fundamentals and proper technique of bow and drill friction fire.
If someone only had time to learn two or three survival skills, what should they focus on?
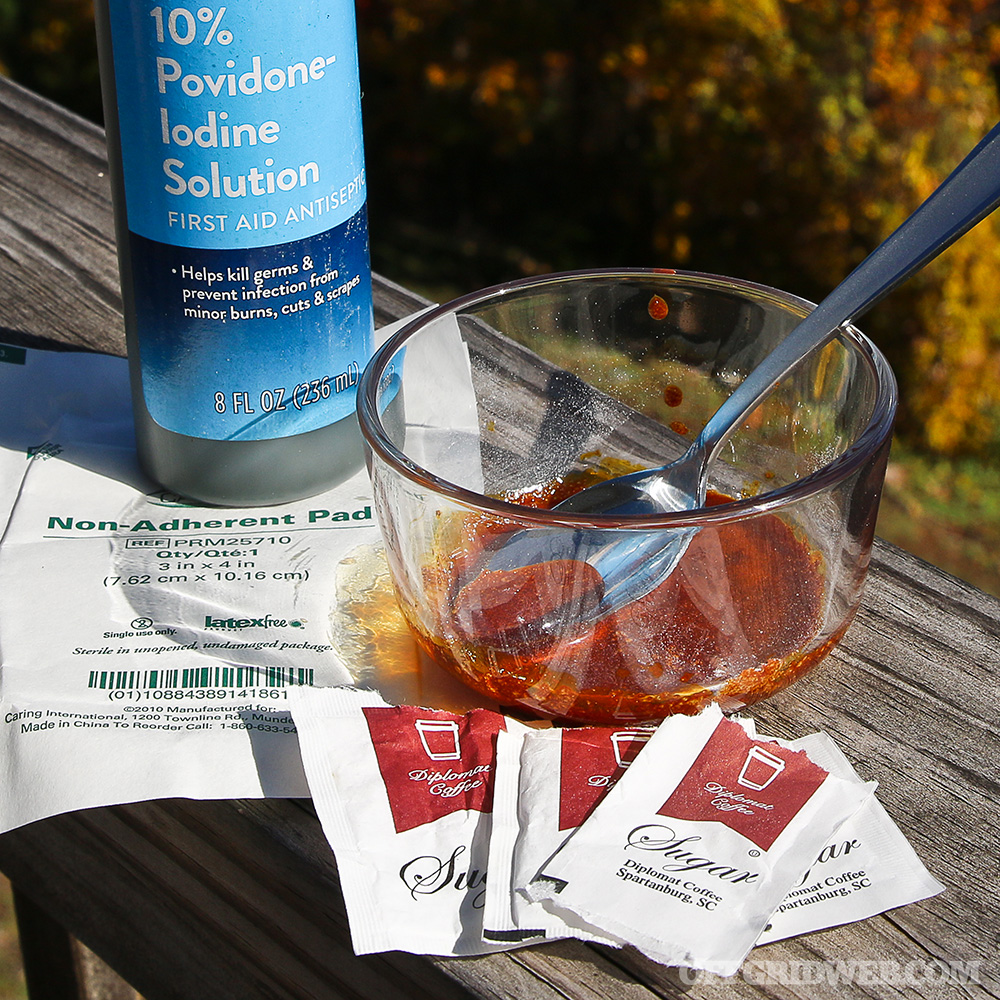
JS: If we ignore soft skills (situational awareness, adaptability, etc.), I feel medical skills are important. You really want to learn those initially in a situation where you can establish a base of knowledge when you are not under duress. Then, tress test the hell out of it — educate, adapt, and then endure.
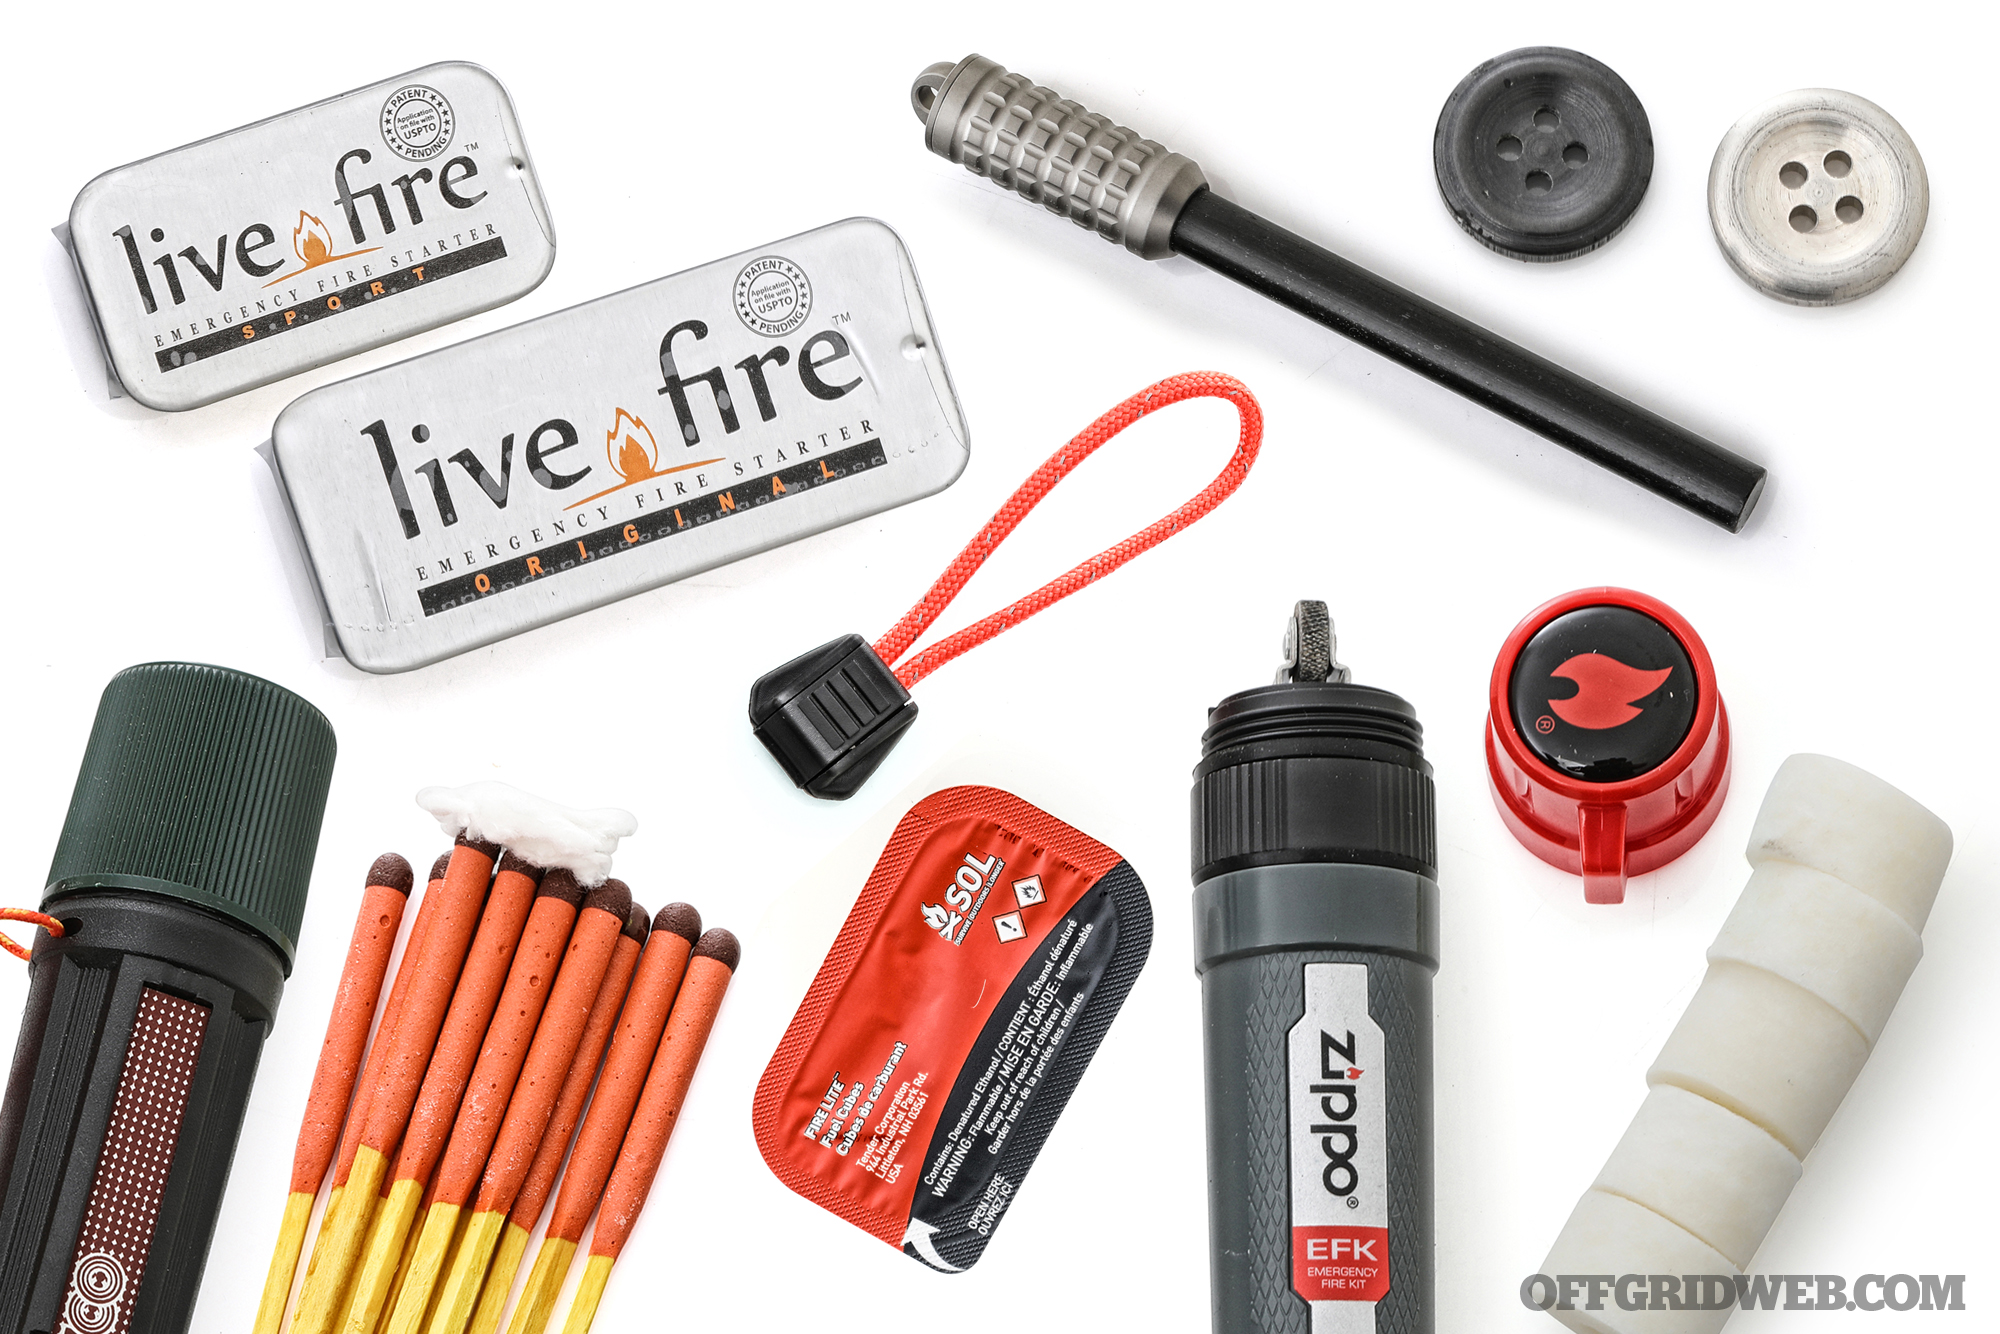
Fire-starting would be next. Building a fire really lends itself to medical, survival, security, and communication. We talked about how serious exposure is, so knowing how to get a fire going is really important. But managing that fire, cooking on it, making water safe to drink, and signaling for rescue makes it almost as useful as your iPhone.
Which wilderness survival skills do you feel could be easily adapted to urban environments?
JS: Shelter and security are important, and not just finding a building to get out of the rain but staying insulated and safe. Fairly recently, Texas comes to mind. I was watching that, and I was blown away. Many people don’t understand how insulation works, or even how to dress properly in cold weather. How many rabbits do you see chilling next to a campfire in winter? It can be done with less than you think. That homeless guy sitting on the corner knows how to stay warm. Many people could benefit from a cup of coffee and a sit down with that fellow.
And I think an awareness of how fire can be beneficial, but also harmful in an urban setting would be good to develop. It helps you understand the dangers. There were a lot of carbon-monoxide-related injuries occurring down there, so clearly understanding proper ventilation is important. It happens up north all the time too.
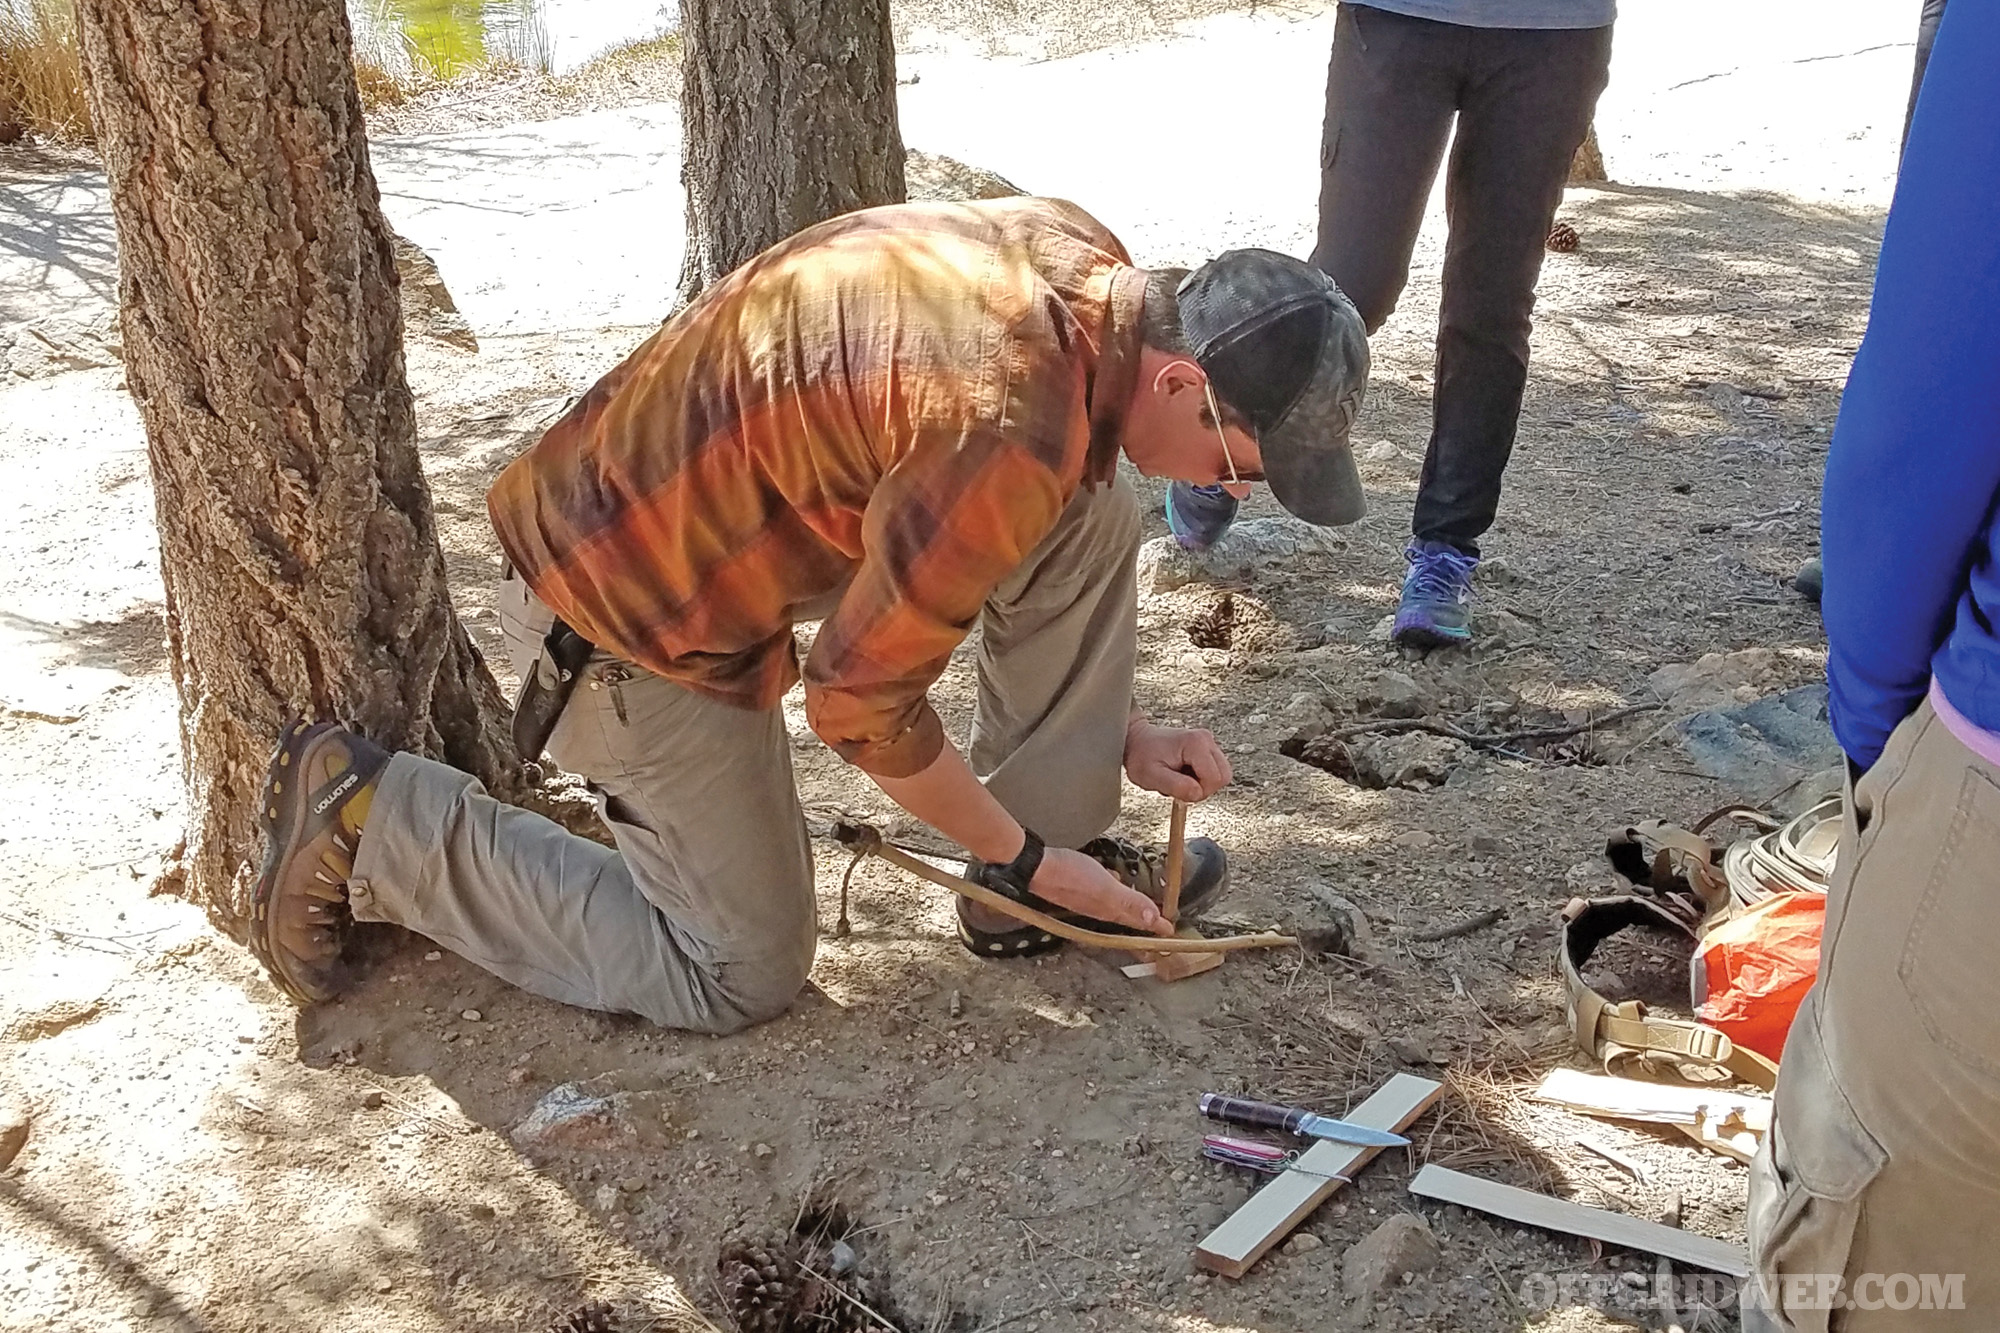
Above: Jerry demonstrating a friction fire to a group of students in Southern California.
What are some common mistakes you see people make during survival training?
JS: I always ask my students the question, “Who’s comfortable using a knife?” And everybody kind of laughs it off. And every time, I get somebody who cuts themselves pretty seriously. Nobody uses knives as much as they think they do, especially in survival applications.
When it comes to building shelters, most people start out making something my dog could barely sleep in. Before they start out on their own, I’ve given them proper instruction and built an example for them. The common adage comes to mind: “There is never enough time to do it right, but always time to do it again.” I always let them start out in their shelter, but they do have the option of popping up a tent when their shelter isn’t working out. The next day, they actually listen and learn what went wrong and have a renewed vigor to improve their shelters for the better.
Lots of students forget my instructions. Add a little fatigue with something as simple as a 1½-mile walk, and you might just forget your name. For example, when we try to start a friction fire with a bow drill, and I tell them they need a stick that is perfectly straight and 10 inches long, some will bring back something with a near perfect zigzag.
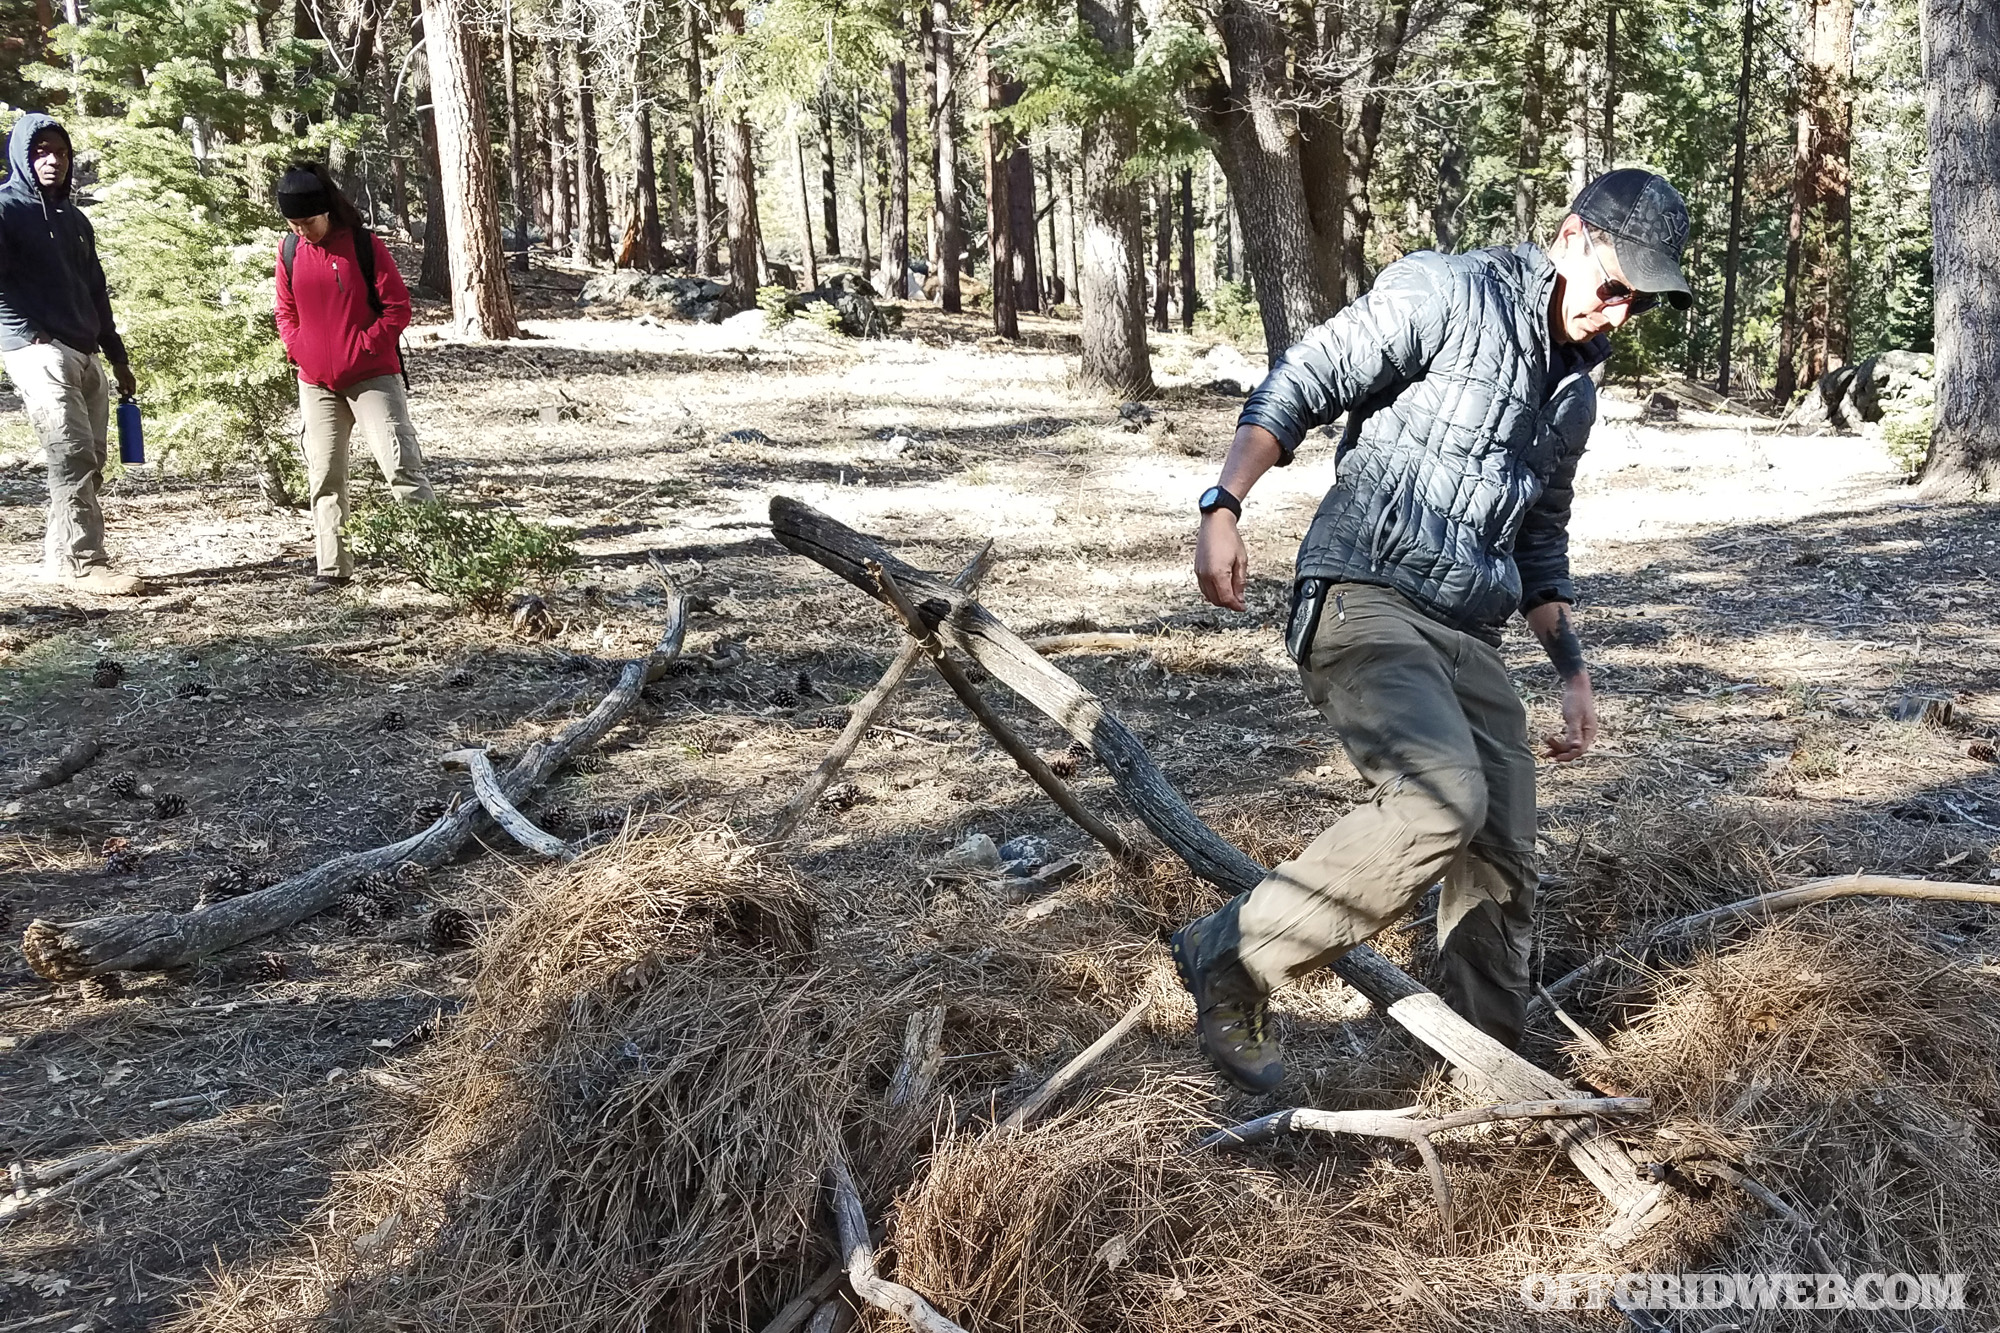
Above: Sometimes when learning a new task, someone has to step in and say, “Start over and try again.”
What are the biggest misconceptions beginner survivalists have before training?
JS: Having talked to my students before the course begins, many think that they’re going to starve, go hungry, or that it’s going to hurt or be painfully fatiguing. If you’re not used to the feeling of hunger, it can cause some people to panic. Even if they eat the day prior, and know they will eat the day after, it’s the number-one thing they fear. You need to learn and acquire skills before you can use them.
How often would you recommend the average person to practice survival training?
JS: I think at least once a season in an environment you are familiar with. And if you’re unfamiliar, train with a reputable instructor the first year. Not just some guy who just dresses like a character, has a huge following on social media, and will leave you with zero retainable assets. If you live an outdoor life and even if you don’t, incorporate those skills into your daily routine. Light your grill with a ferro rod, use your gear, check your kits, and don’t let your adaptable mindset get lazy. Skill fade is a real thing, and if you are noticing that your memory of your survival skill is growing hazy, that’s probably a good time to go and practice it again.
What survival tools do you think people should carry on them at all times?
JS: Something as simple as a lighter, a good pocketknife, and knowledge of how to use them could help most people endure many short-term survival situations, or avoid them altogether.
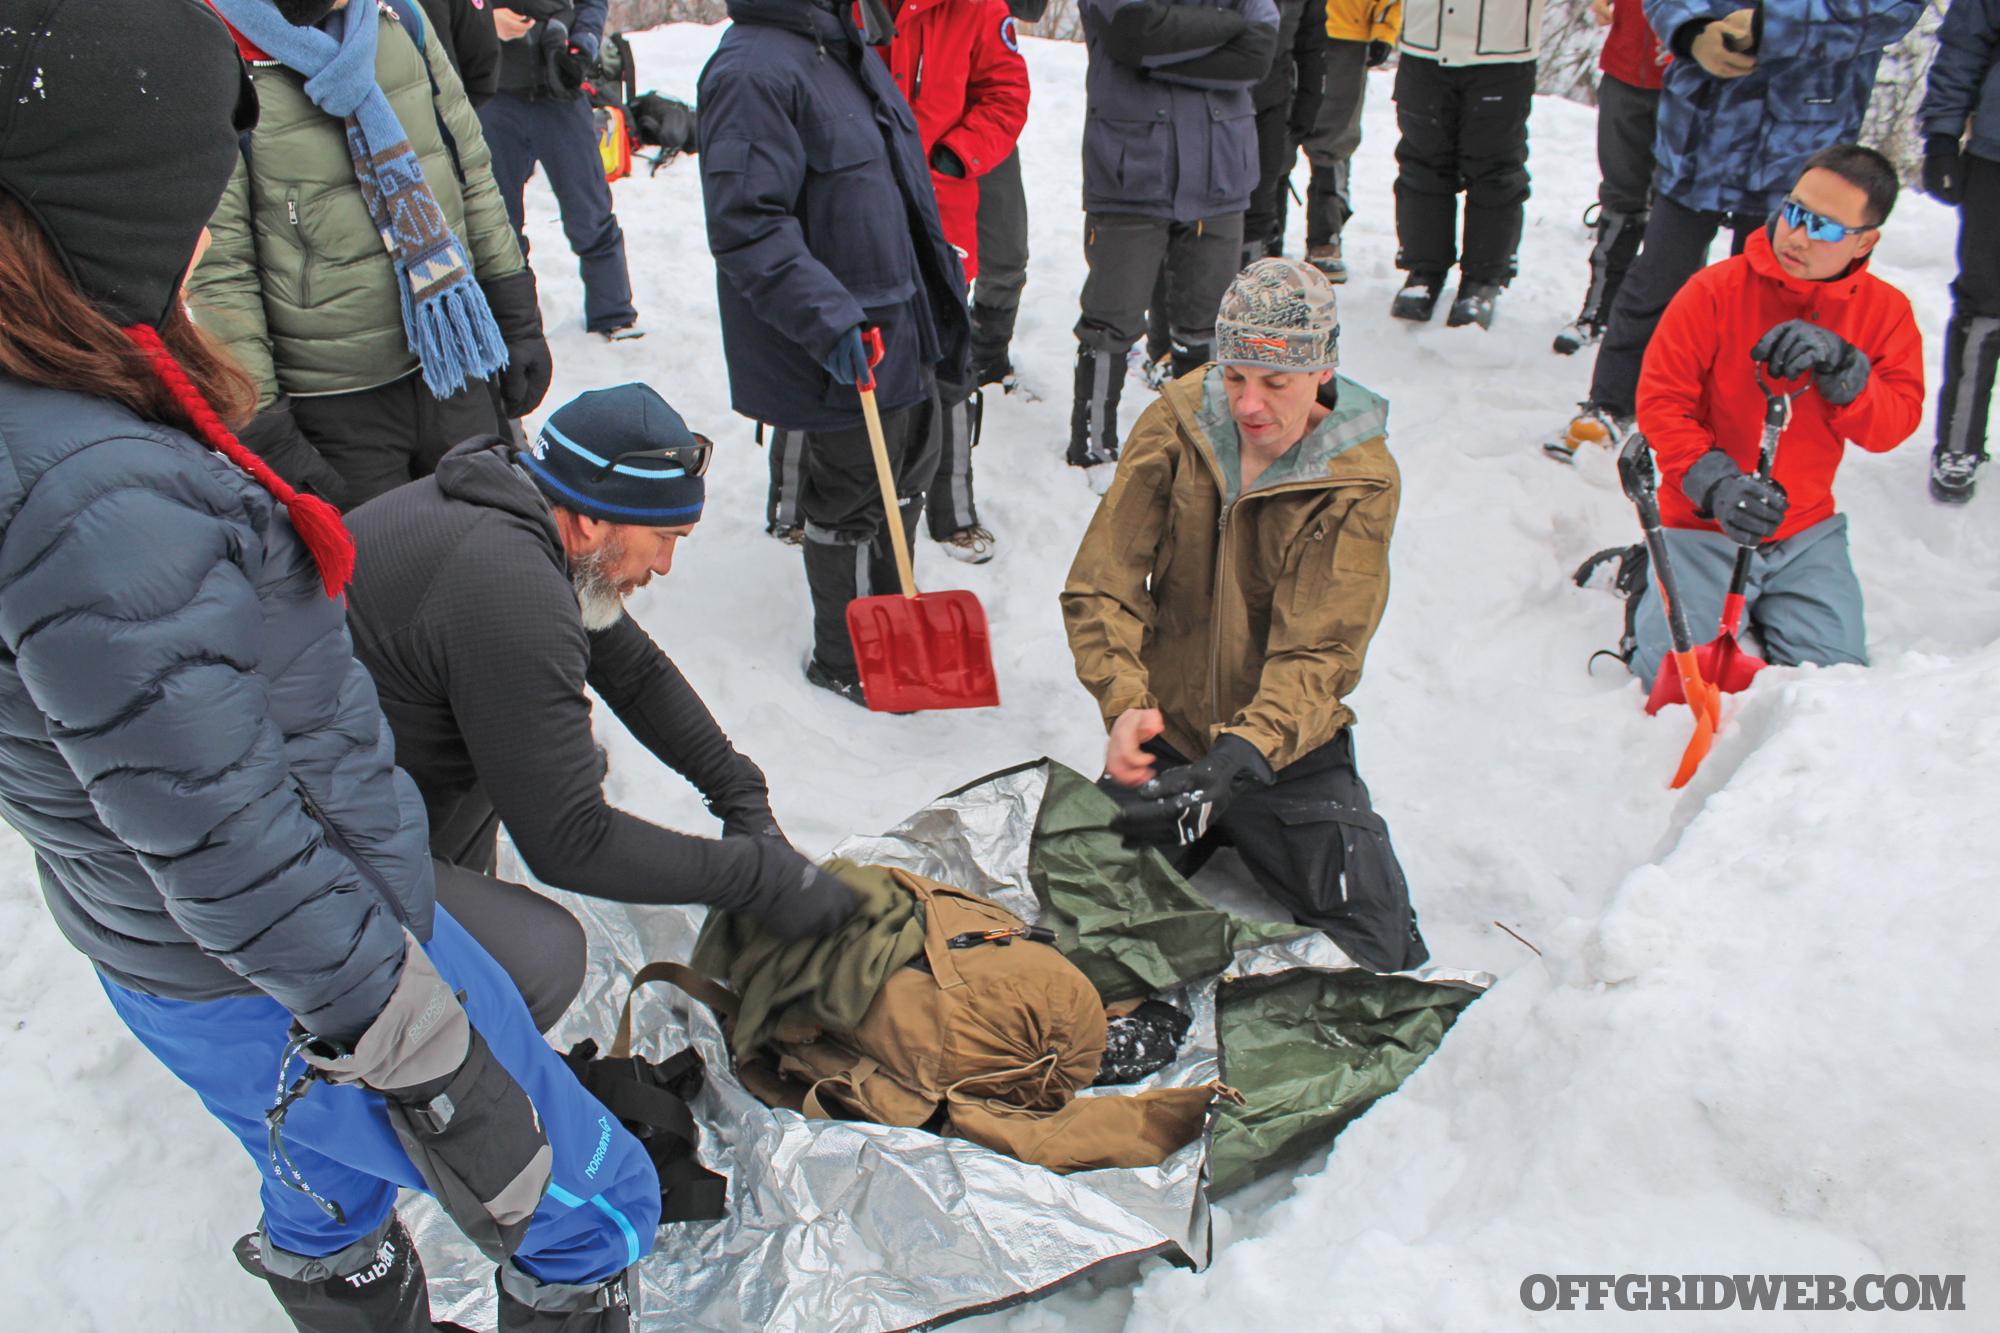
Above: Jerry strips down, piling his belongings in a tarp, before using it in a quinzhee snow shelter demonstration.
Have you noticed any trends in people’s attitudes about survival?
JS: Yes. 2020 pushed a lot of people outdoors. People want adventure, travel, excitement, and the perfect Instagram pic. As a result, search-and-rescue teams have been busy. When the influx of people not used to how to conduct a multi-day hike or even a strenuous day hike has risen, so do the number of injuries or worse, perceived injuries. The off-road/overland industry is also booming right now. Not everyone gets it right the first time.
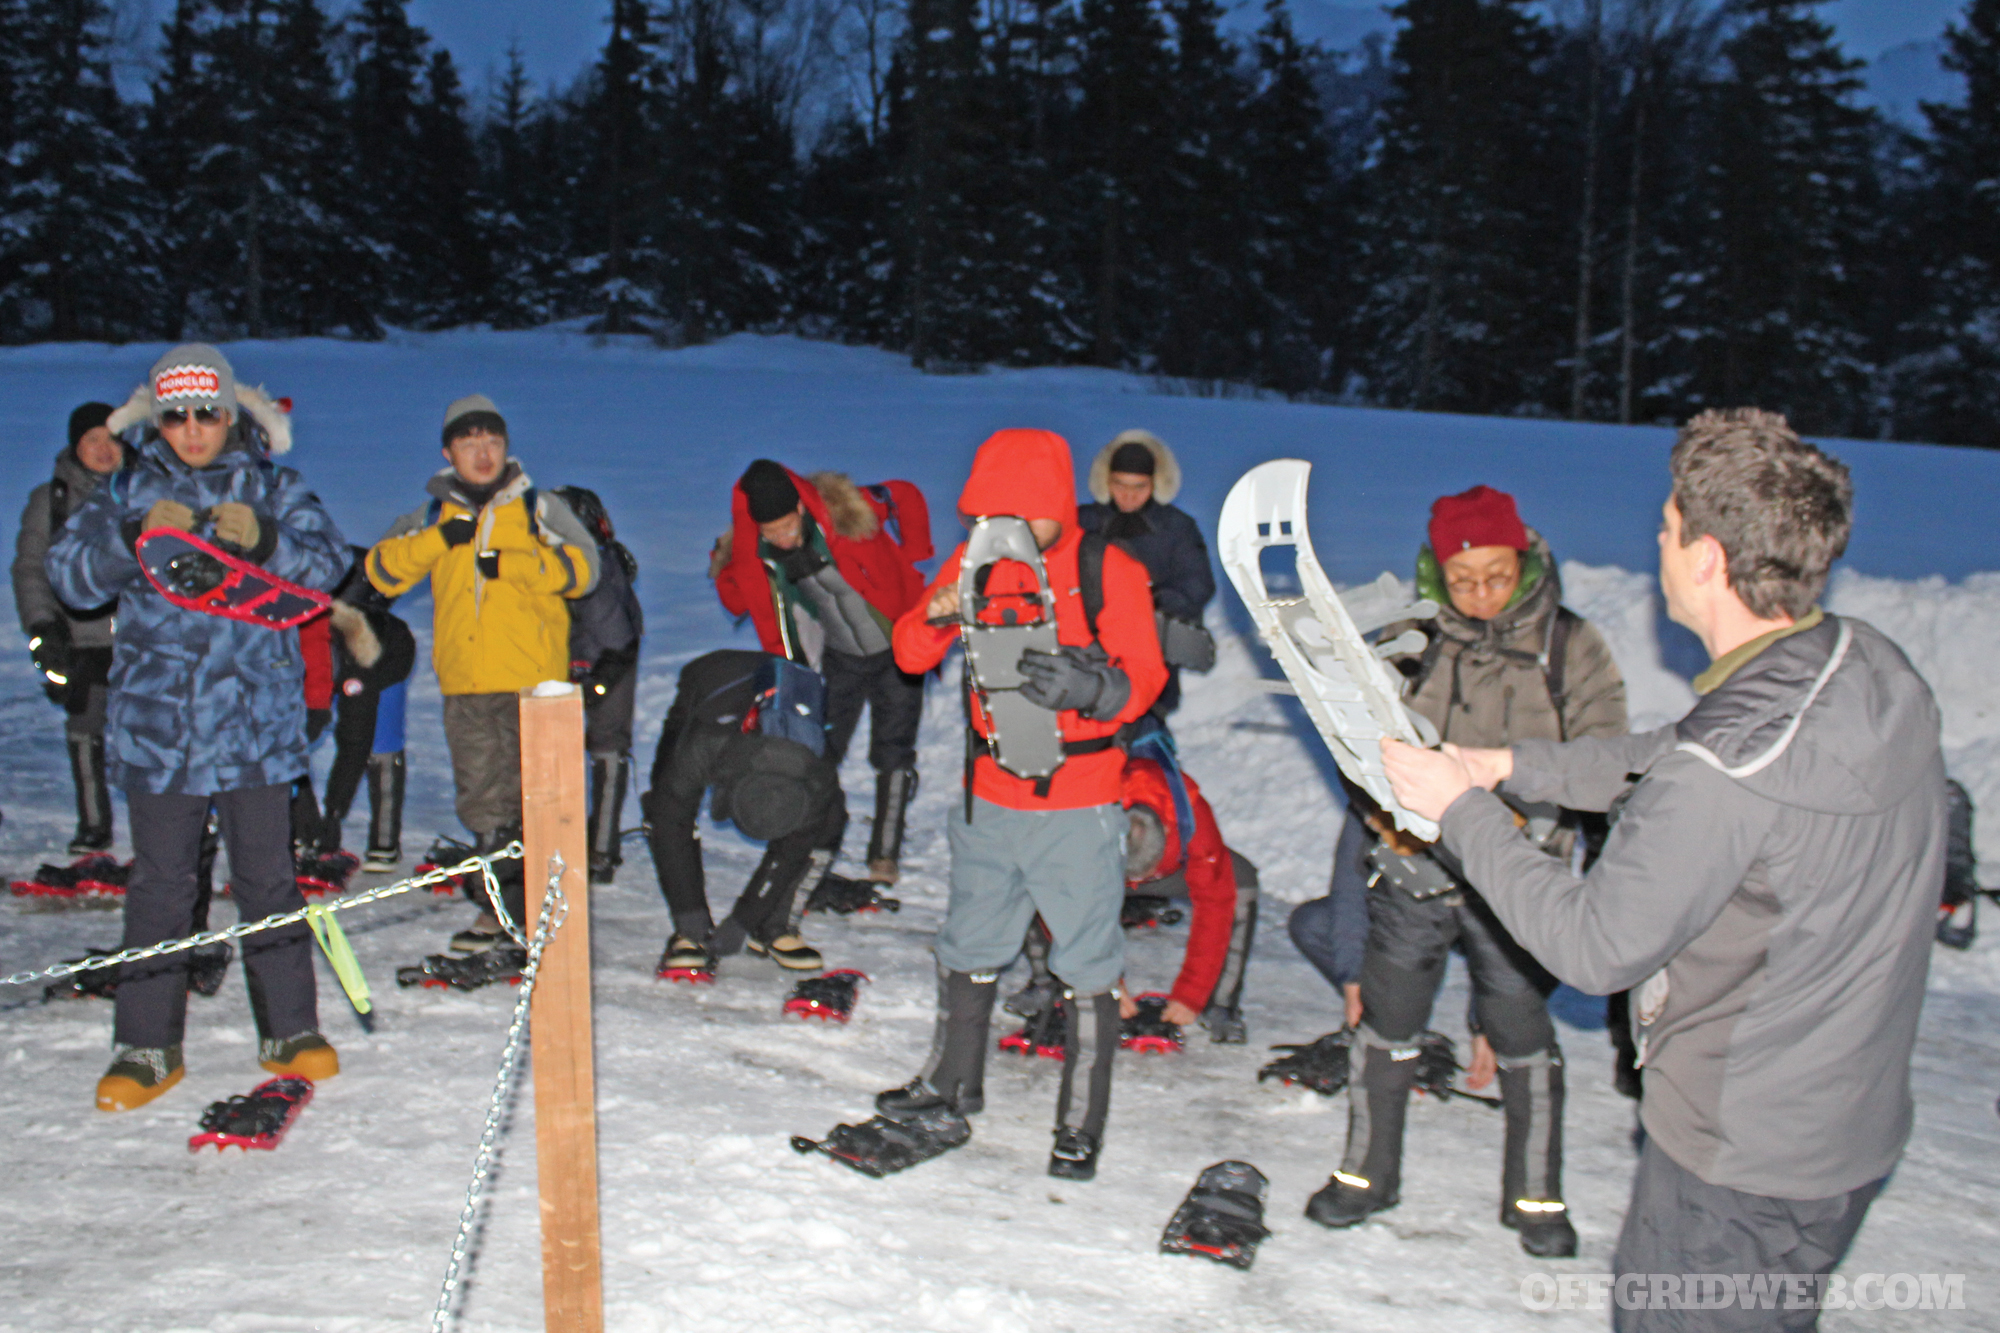
Above: Jerry teaching proper fitment of snowshoes at the start of a weekend survival class. Talkeetna, Alaska.
We heard you recently moved cross-country and started restoring an old homestead. What lessons have you learned from that transition?
JS: I loved living in Yosemite National Park, but the wildfires, earthquakes, rolling blackouts, landslides, and houses crushed by massive tree failure due to 15 years of drought can get old. Moving up to the Great Lakes Area was a strategic decision and largely based around the availability of fresh water, healthy forests, and lack of wildfires. I drove a sand-point well by hand last week. I hit water at 8 feet, and when it started flowing, I couldn’t help but smile because it means so much more after the drought.
Having worked and lived in extreme cold weather, I didn’t think twice about moving in the dead of winter. But it was -41 degrees F the day I moved in. No packing tape or Rubbermaid on the planet stands up to that temp when you’re trying to move. It was just me moving things back and forth, and I ended up getting frostbite on one of my fingers again, constantly shoveling snow to get things where they needed to be. We did move in the dead of winter, but something I repeat to myself often is just because you’re a badass somewhere, doesn’t mean you’re a badass everywhere.
Moving in the blind to a new town really forces you to build reliable connections with the people around you. Social media isn’t a thing here. It’s just real people. When the snow gets deep, it’s you and the people living next to you who are going to count the most.
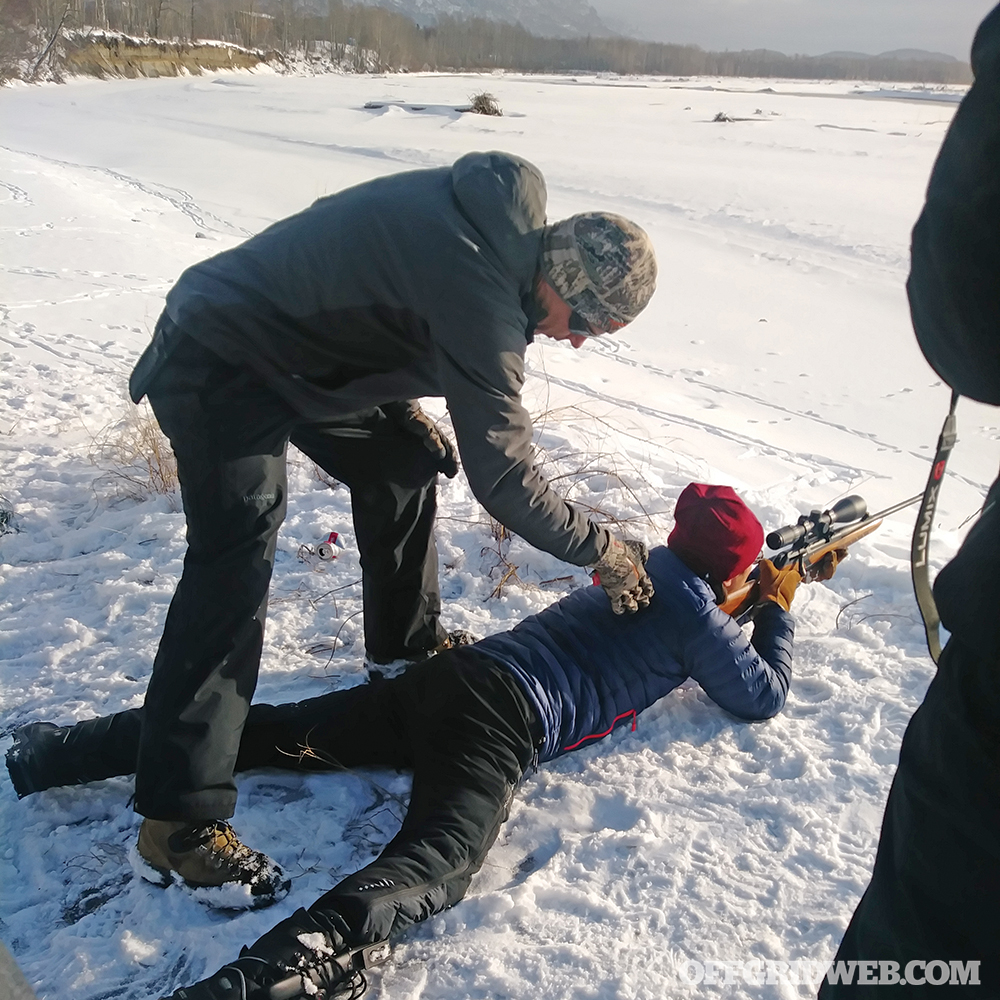
Above: Jerry discussing a proper prone shooting position and recoil management. Matanuska Valley, Alaska.
What are the most valuable lessons you learned from living in those types of situations out west?
JS: The truth behind the old folk tale about stone soup. Don’t wait till the bad times to be good to your neighbors. Helping your neighbors when they need it in the good times and being an active part of the community does nothing but make everyone more resilient when the lights go out. Blackouts were pretty common; an example of how we pulled together as a community is stone soup. I forget if the highway was out, or if it was another blackout, but everyone’s food was going bad, and no one could get groceries without an eight-hour round-trip drive.
One of the Park Rangers organized a food-sharing program, and it was huge for the community. That might seem dorky or not grayman cool, but it’s real life. I forget the exact verbiage of the African quote, but I think it applies to a small town as well, “If you want to go fast, go alone; if you want to go far, go together.” In that region, it was a huge blow to the community if someone moved because we all relied on each other so much. Everybody has a “survival” skill that can be useful, even if they don’t know it. Being an AC repair mechanic in the middle of BFE desert during the middle of a heatwave might be just as useful as knowing how to start a fire when it’s cold.
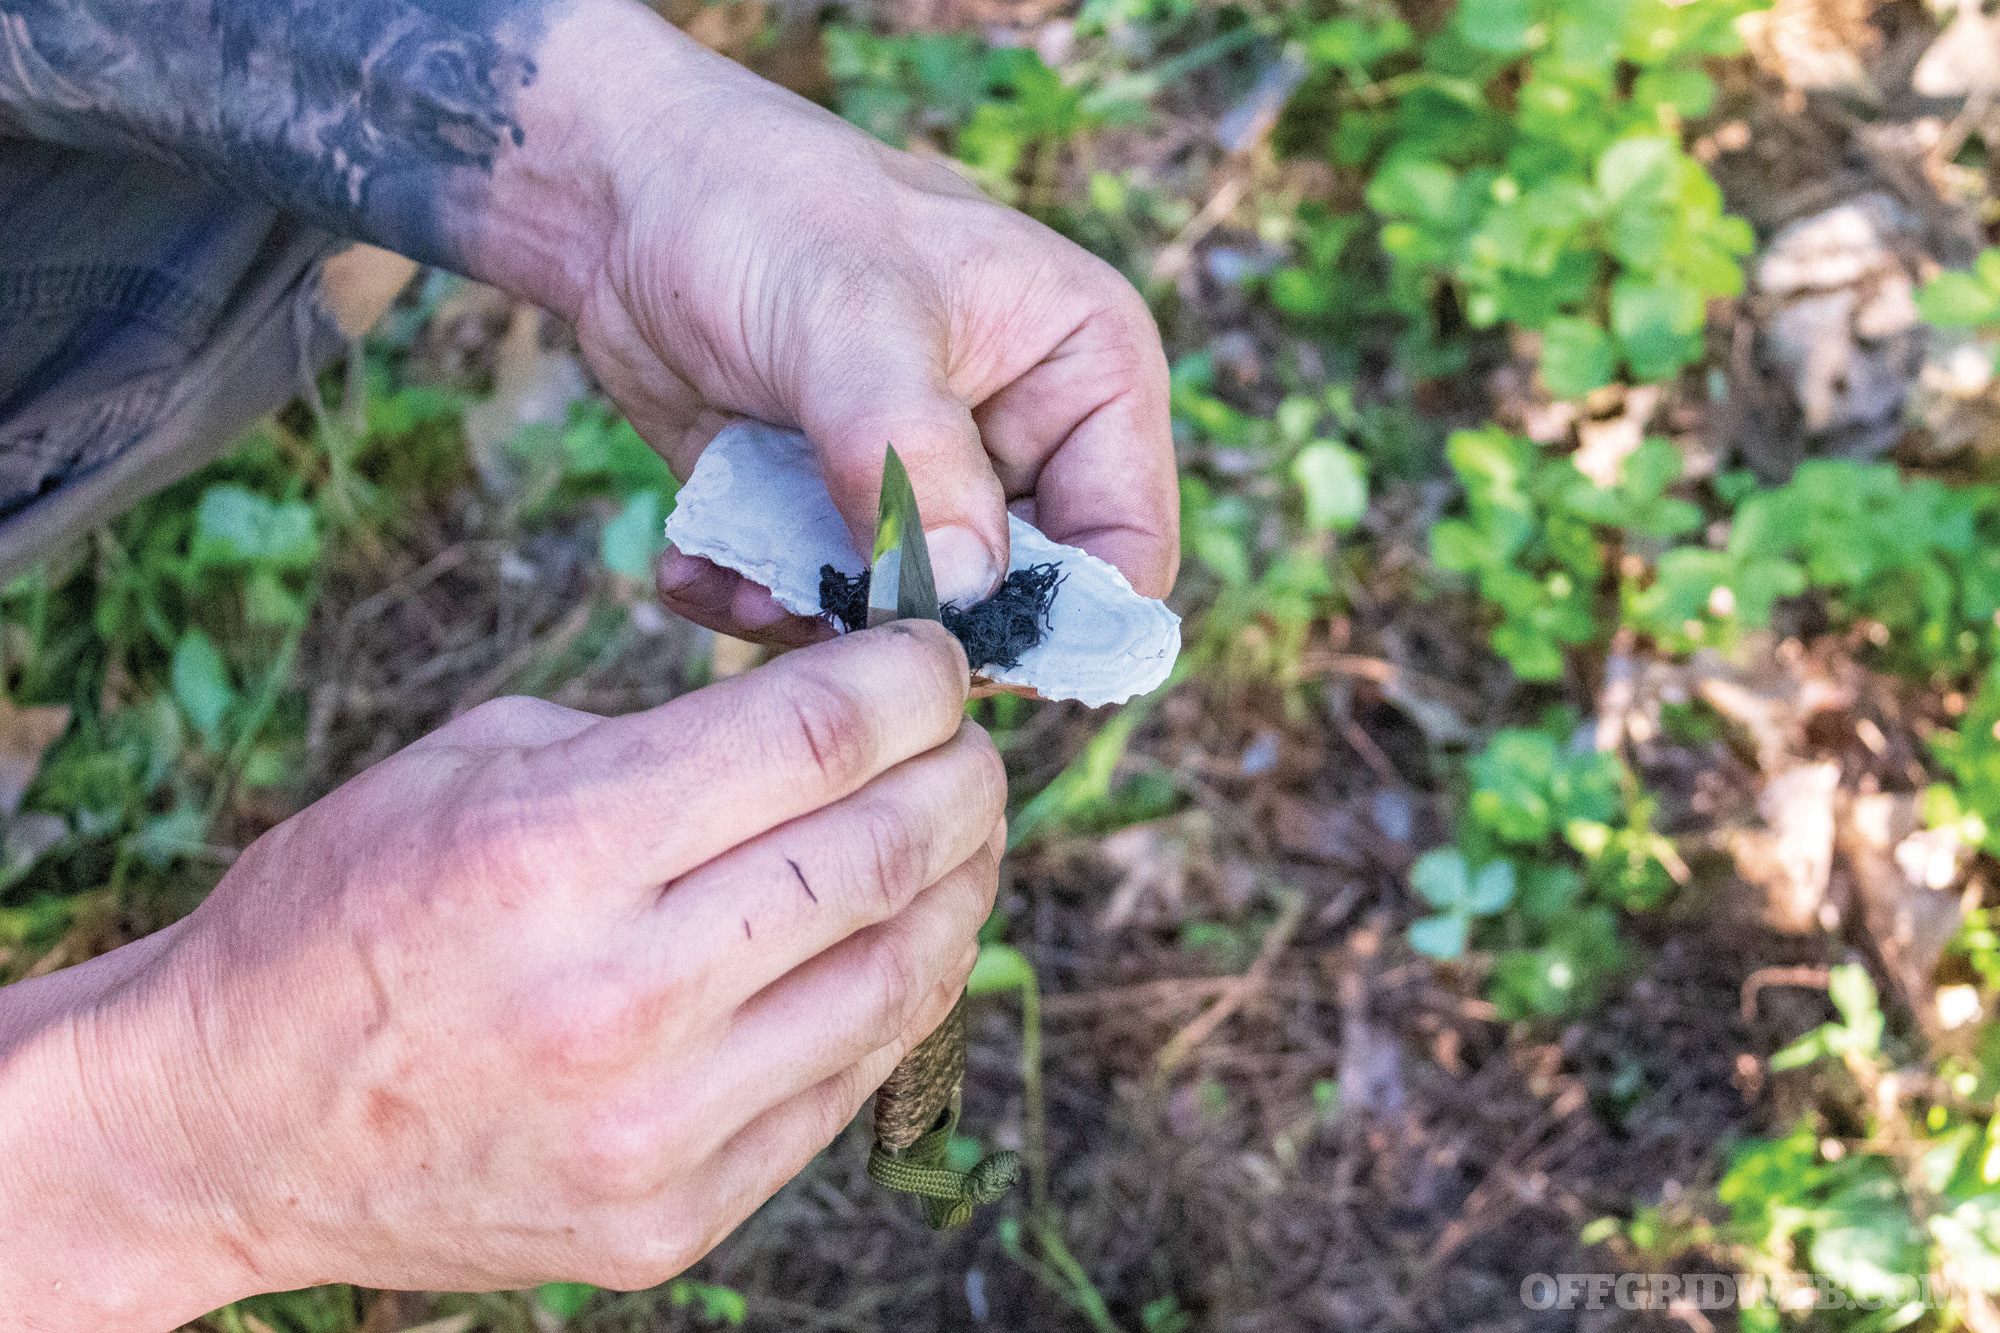
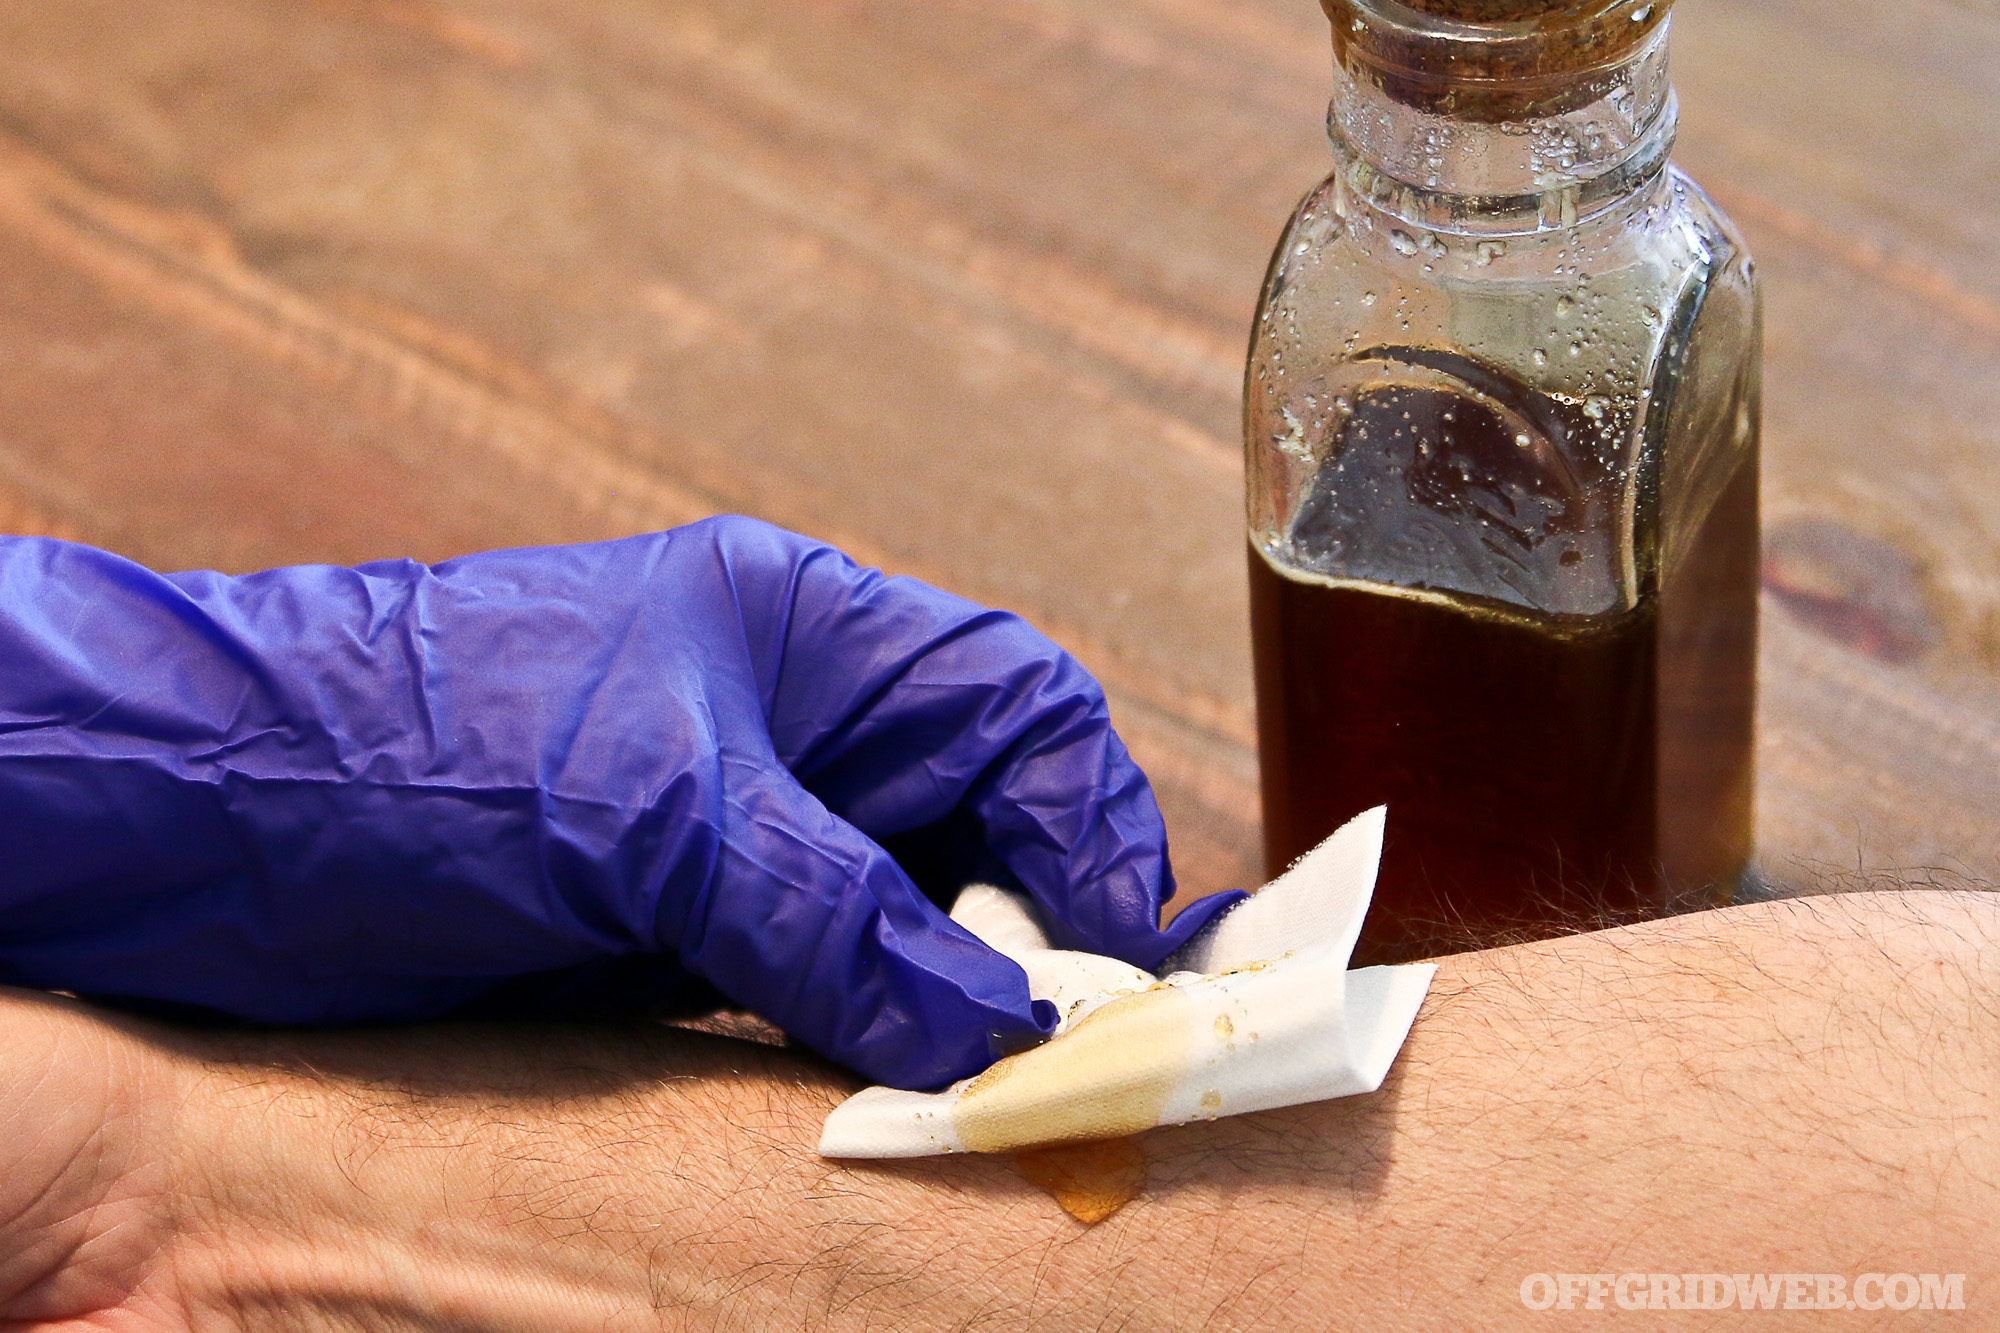
Above: Jerry holds a piece of chert, char cloth, and a Corvus Carrion knife while showing one method for using a carbon steel knife to start a fire.
How did you get into knifemaking, and how have your designs evolved over the years?
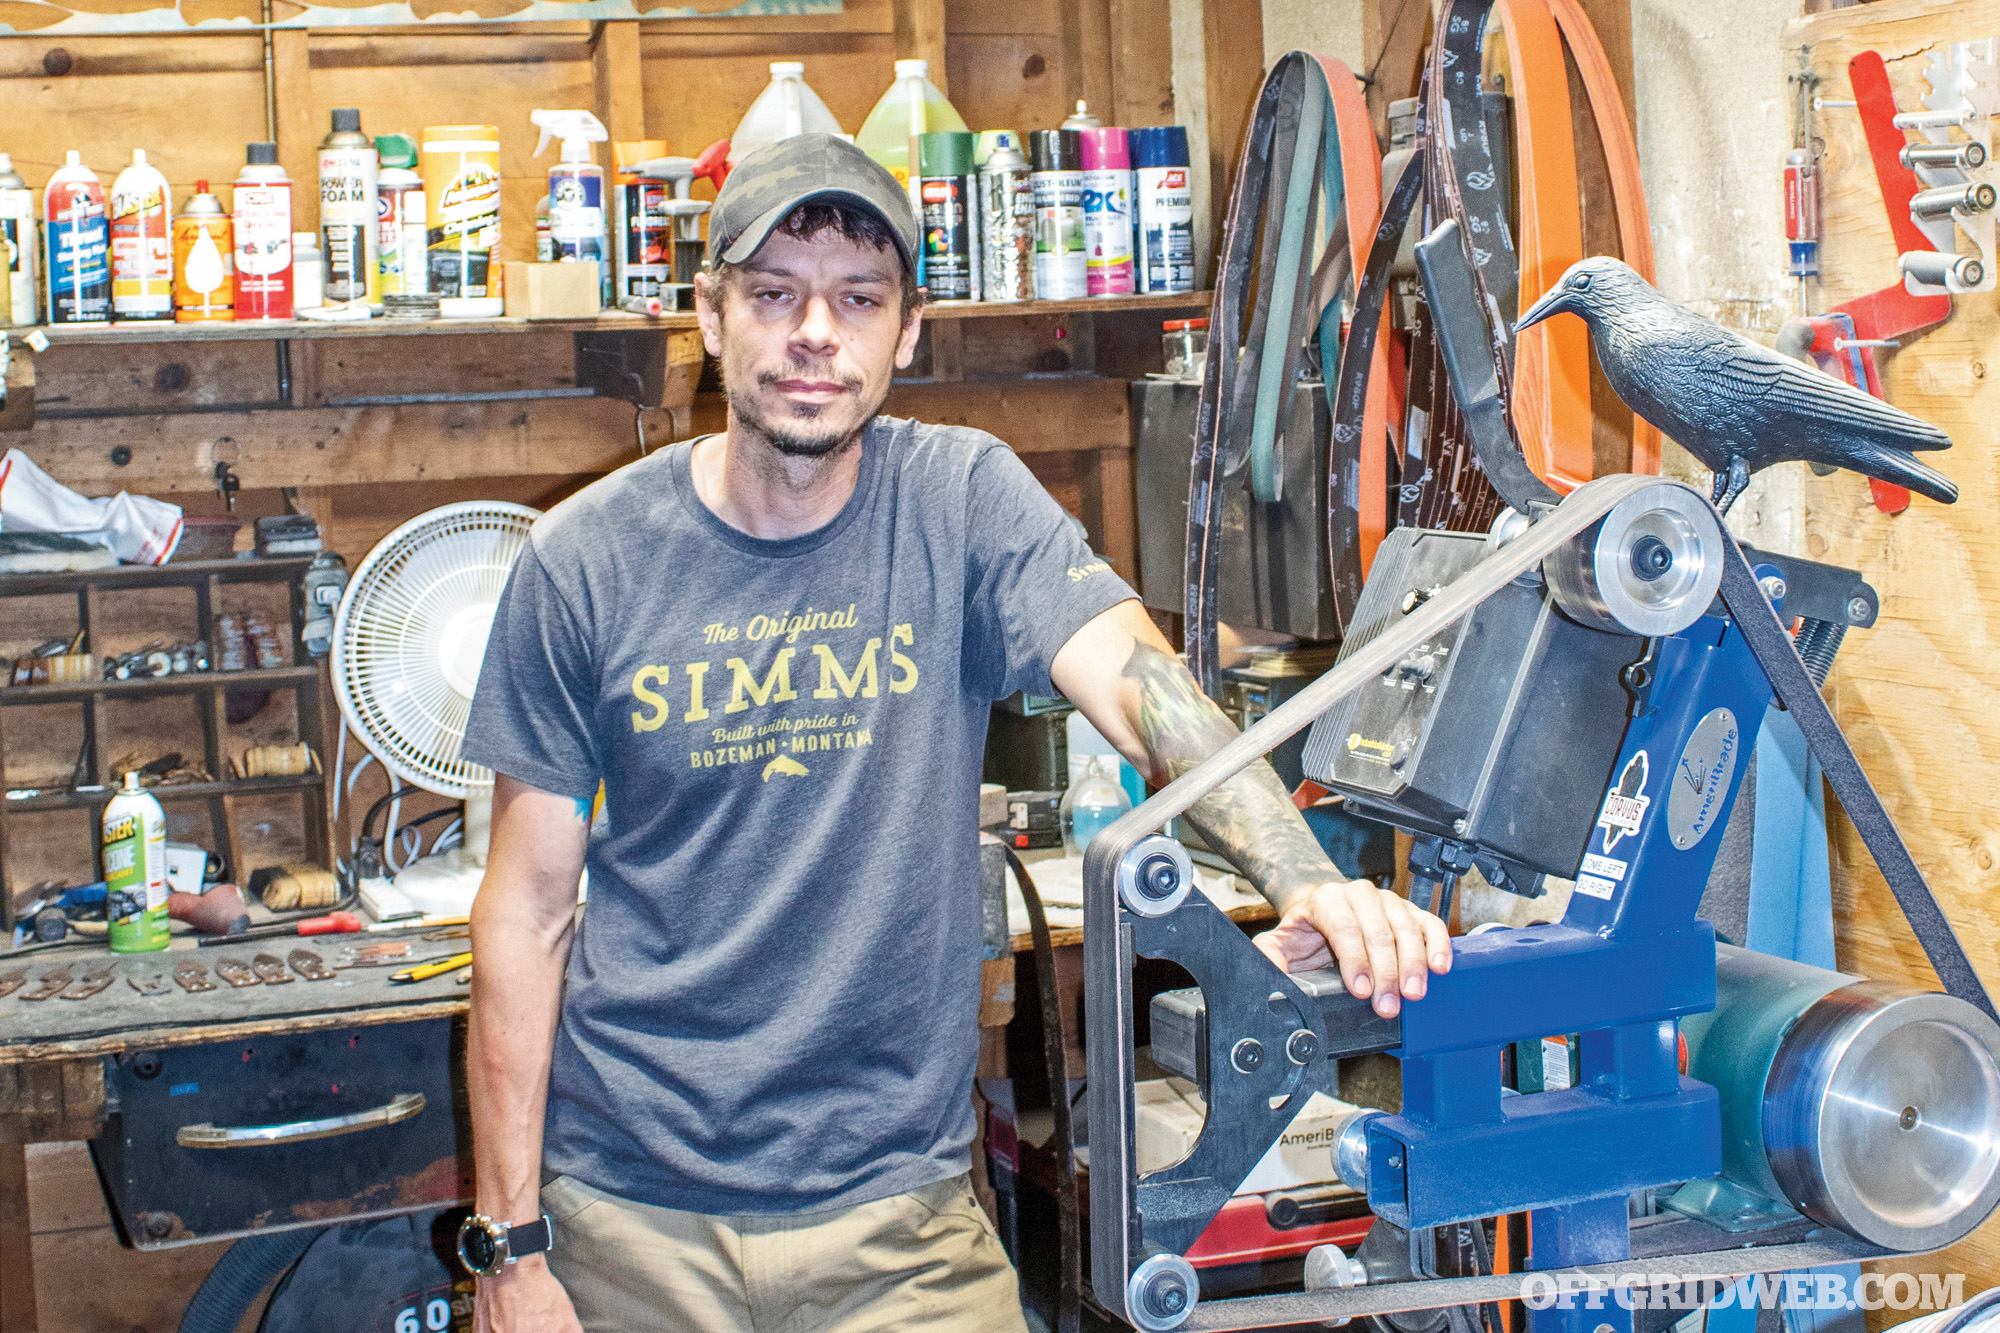
JS: There are several reasons that I decided to start making knives. Sometimes I would find myself in situations thinking that a different knife design would be much more efficient than the style I had. I also think there is something cathartic about forging and bladesmithing that calls to many veterans. Initially, I started small — the minimal amount of tools in what was just a closet on the back of the house. As my skills improved, I upgraded to one of those portable tent-shed things, and when we moved, I had the entire basement to myself. Now I have a dedicated out-building with many tools and machines. So, it has just grown incrementally over time. When I make a design I think I will like, more often it turns out that others feel the same way. The designs themselves come from a culmination of experience. I’ve put so much time into researching and building them to be the best I know how to make them.

Above: After placing an ember into a bird’s nest of dead fern leaves, Jerry blows on it to coax it to flame.
Do you have any memorable stories from your work as a survival consultant for film and TV projects?
JS: Japan has this survival show where they take a pop-star celebrity, give them 24 hours to train, put them in a survival situation, and see how well they do. The show hired me to do the training, off-camera consulting, and act as the medic for the crew. One night in Canada, the temperature dropped past 80 below zero and it turned into me keeping the entire production crew (10 people) alive. At one point I had one cameraman’s feet in my armpits and the other’s feet around my waist trying to rewarm their toes in the tent.
One day, the celebrity I was helping tried to harpoon a seal by attaching his knife to a snow shovel handle to act as the harpoon. Basically, he had to wait by this hole where the seal would come up for air, and when it did, spear it and drag it on top of the ice. But the guy couldn’t stand still longer than a few minutes and gave up. I think the show paid $2,000 for the license to harvest the seal, so I asked if I could try.
One of the local Inuit elders we were working with gave me permission, and I spent the next two hours waiting for that seal to come up. It finally surfaced and I sent the harpoon into it. Once it was in, I now had this big rope in one hand that I needed to use to pull it up onto the ice and a big ice pick in the other to chisel it out of the ice. The thing weighed over 100 pounds. It was icy, bloody, and just a mess, but I finally got it up onto the ice. When it was over, the Inuit elder walked up with a huge grin, told me he has never done that with a harpoon, and held up his 303 Enfield rifle. But the meat was very rich, and everyone enjoyed the meal.
Final Thoughts
A wise man once told me, “You never know where the road of life is going to take you.” Whatever your age, geographical location or system of belief, there will come a time when you must rely on what you know to adapt to a situation. Jerry’s insight into the human condition and his experience in a multitude of life-or-death scenarios give him an advantage that most of us don’t have. But if we follow his advice, learn a few critical skills, and develop friendships with the individuals living around us, we might just have enough collective wisdom to comfortably weather the next hardship that comes our way.
About Jerry Saunders
Hometown
Winston-Salem, NC (currently living in Michigan’s Upper Peninsula)
Education
USMC Scout Sniper
Federal Law Enforcement Officer
EMT
Firefighter
SAR Technician
Childhood Idols
“Flint” from Louis L’Amour novels; Albert Johnson aka “Mad Trapper of Rat River”
Recommended Reading List
Deep Survival by Lawrence Gonzales
Anything by Jack Carr
Hard copies of DIY books on just about anything
Favorite Movie
The Secret Life of Walter Mitty. Somehow it perfectly captures the feeling of traveling and experiencing things for the first time.
Favorite Drink
Nonalcoholic: “Bullfrog” Red Bull mixed with Blue Cherry Gatorade
Alcoholic: Old Fashioned, whiskey, sweet
Favorite Quote
“Sometimes you just got to pee in the sink” — hugely debated but usually attributed to Charles Bukowski
Military Experience
Fleet Anti-Terrorism Security Team Leader (operations in Cuba, Bahrain, Lebanon)
QRF Team Leader for 3rd Battalion 2nd Marines (Iraq)
Scout Sniper Team Leader & Platoon Sgt.
USMC Chief Instructor of Survival at Mountain Warfare Training Center, Bridgeport
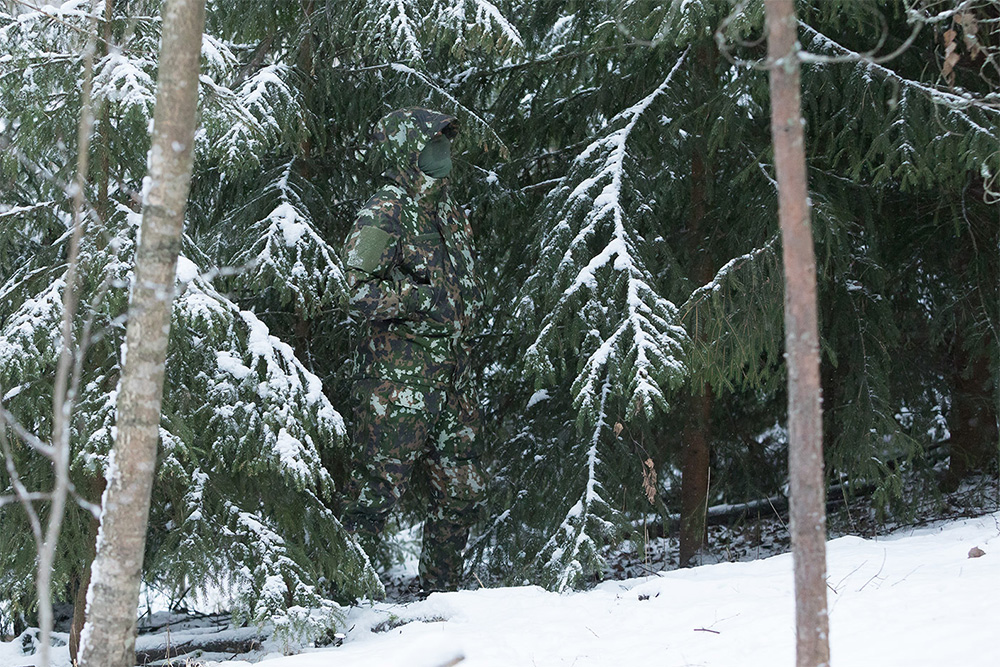
Honorary Estonian SERE Instructor
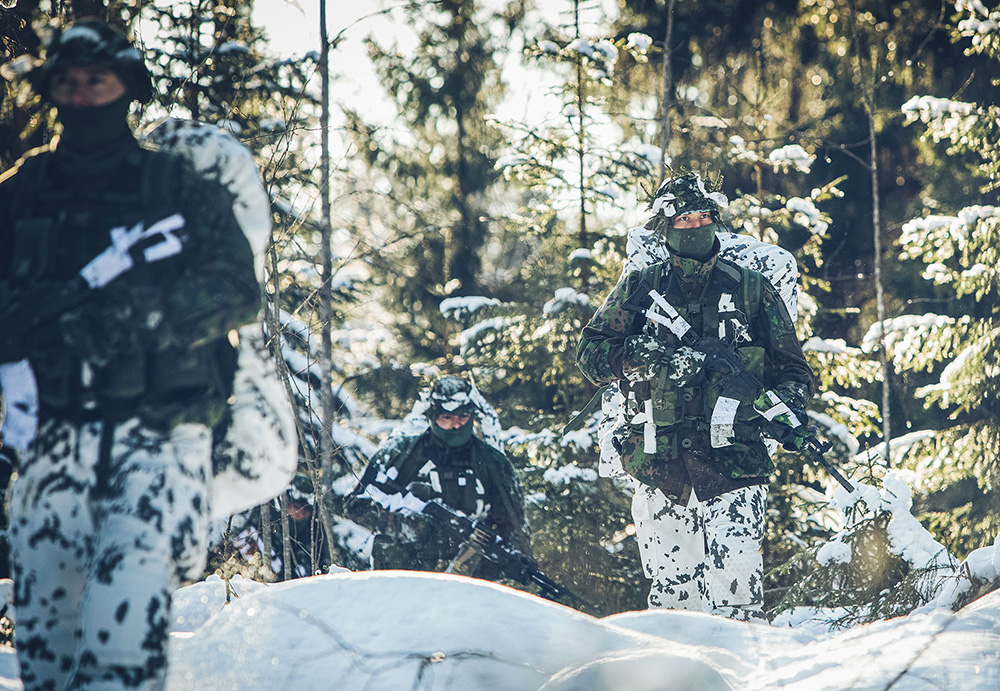
Lead Survival Instructor for the Warsaw Initiative Fund information exchange
URL / Social Media
www.corvussurvival.com, Instagram: @corvus_survival
Jerry’s EDC Gear
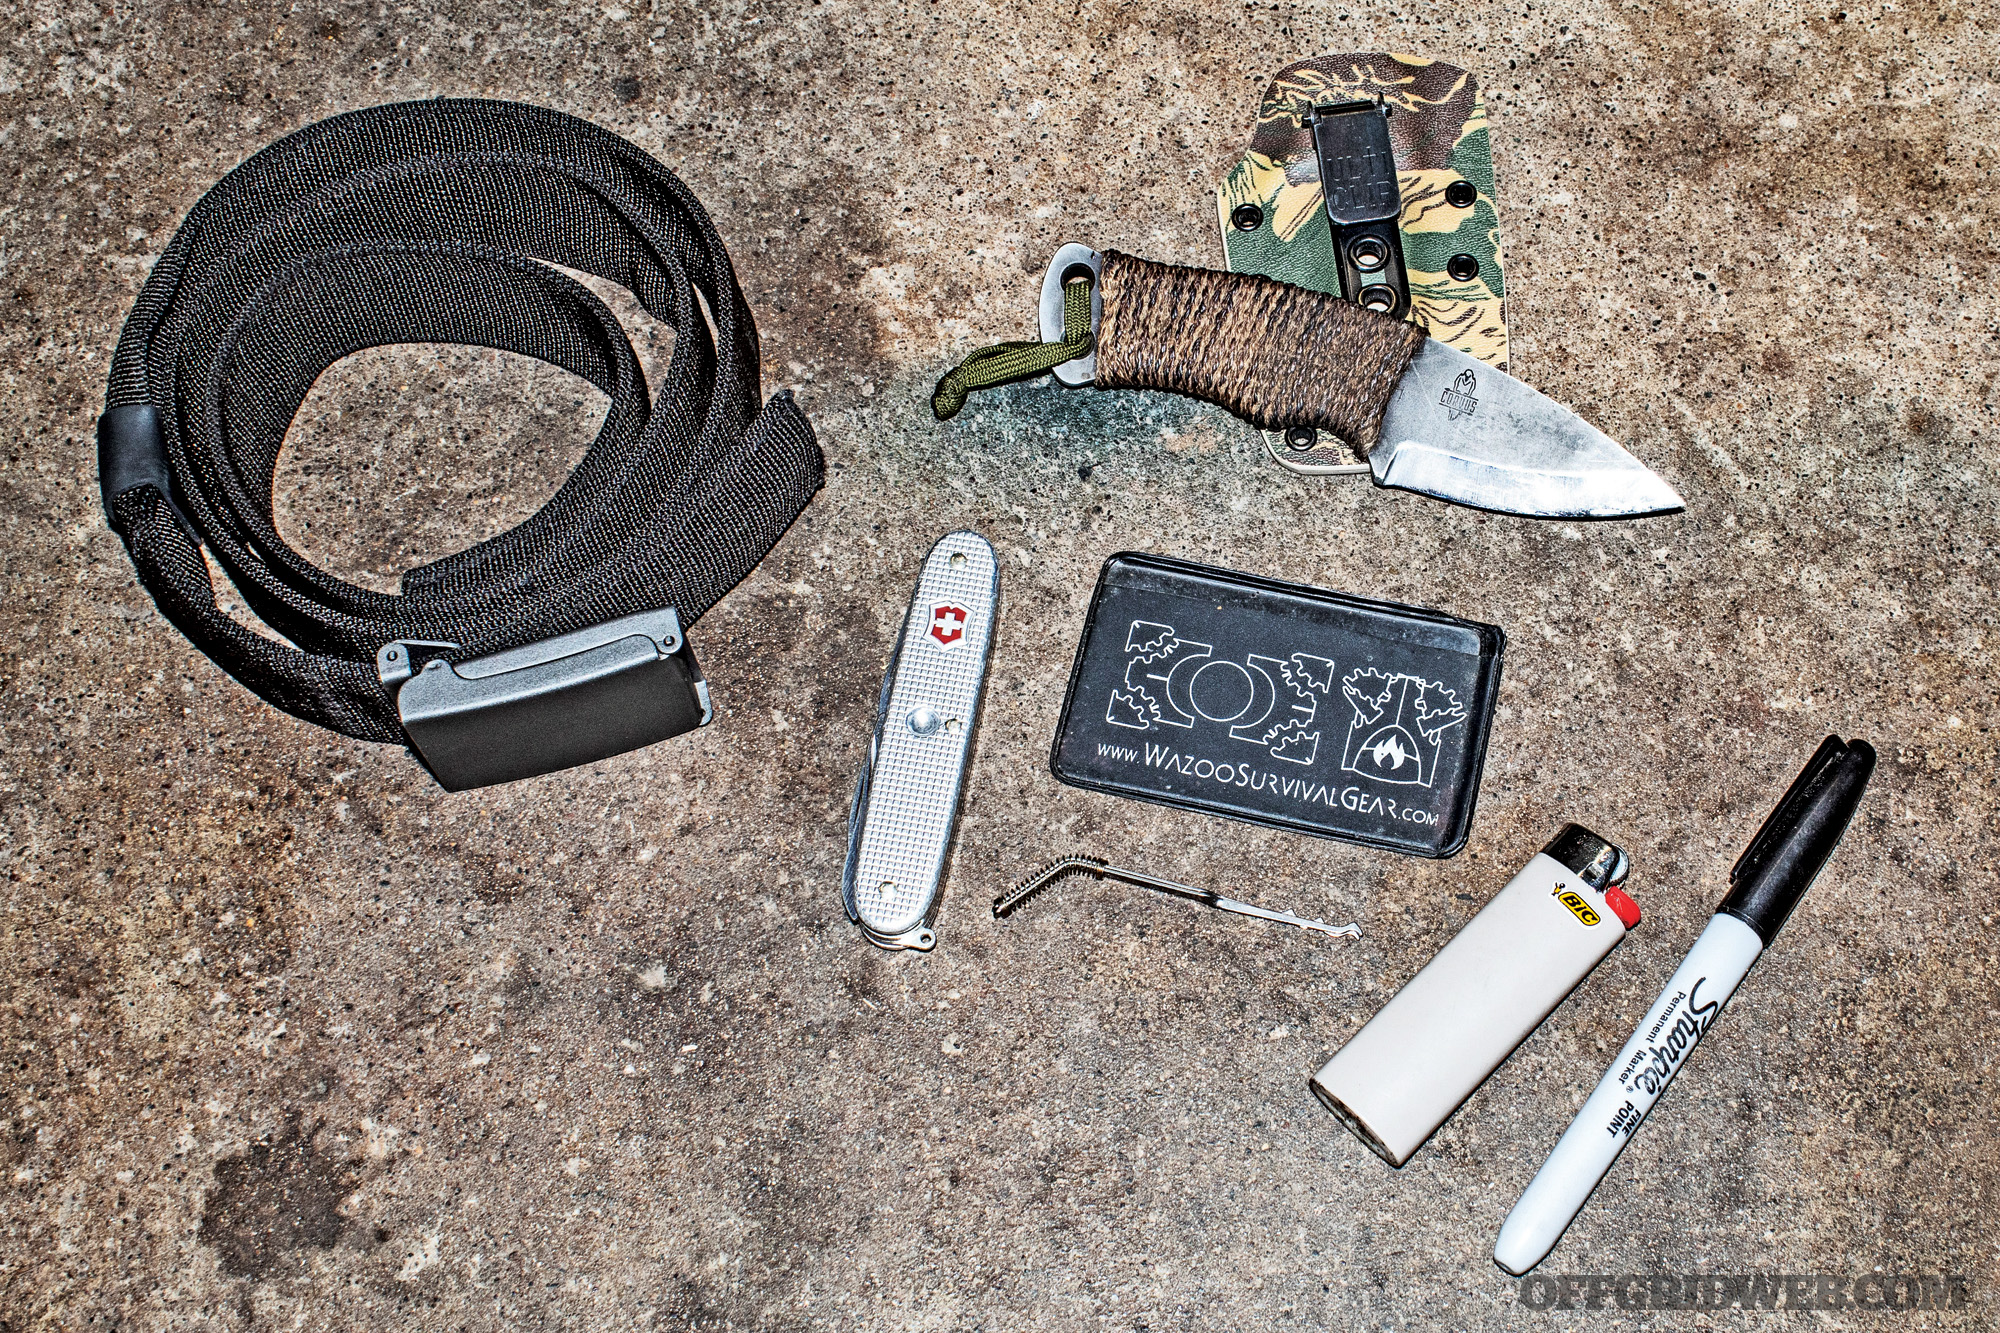
Wazoo Survival Cache Belt, includes:
– Signaling mirror
– Fishing kit (line, hooks, weights)
– Snare wire
– Backup mini ferro rod and ceramic knife
– Procamptek Fire Plug
– 4 mini chem lights
– Serepick Bogota picks
– Waterpro tabs and waterbag
– Dime light (white)
– Mini waterproof compass
– Wazoo Fresnel Lens
Corvus Carrion (Burnt Hemp wrap handle with a divot for bow and drill; Rhodesian IWB Kydex sheath with Ulti-Clip Slim 2.2). Made by me.
Victorinox Farmer with Alox scales (modified with a divot for bow and drill).
Gray BIC lighter with child safety removed.
Plain Sharpie. Not an NPE tool. (Became a habit from being an EMT and writing on medical tape all the time. Transferred to marking on knives all the time).