Illustrations by Cassandra Dale
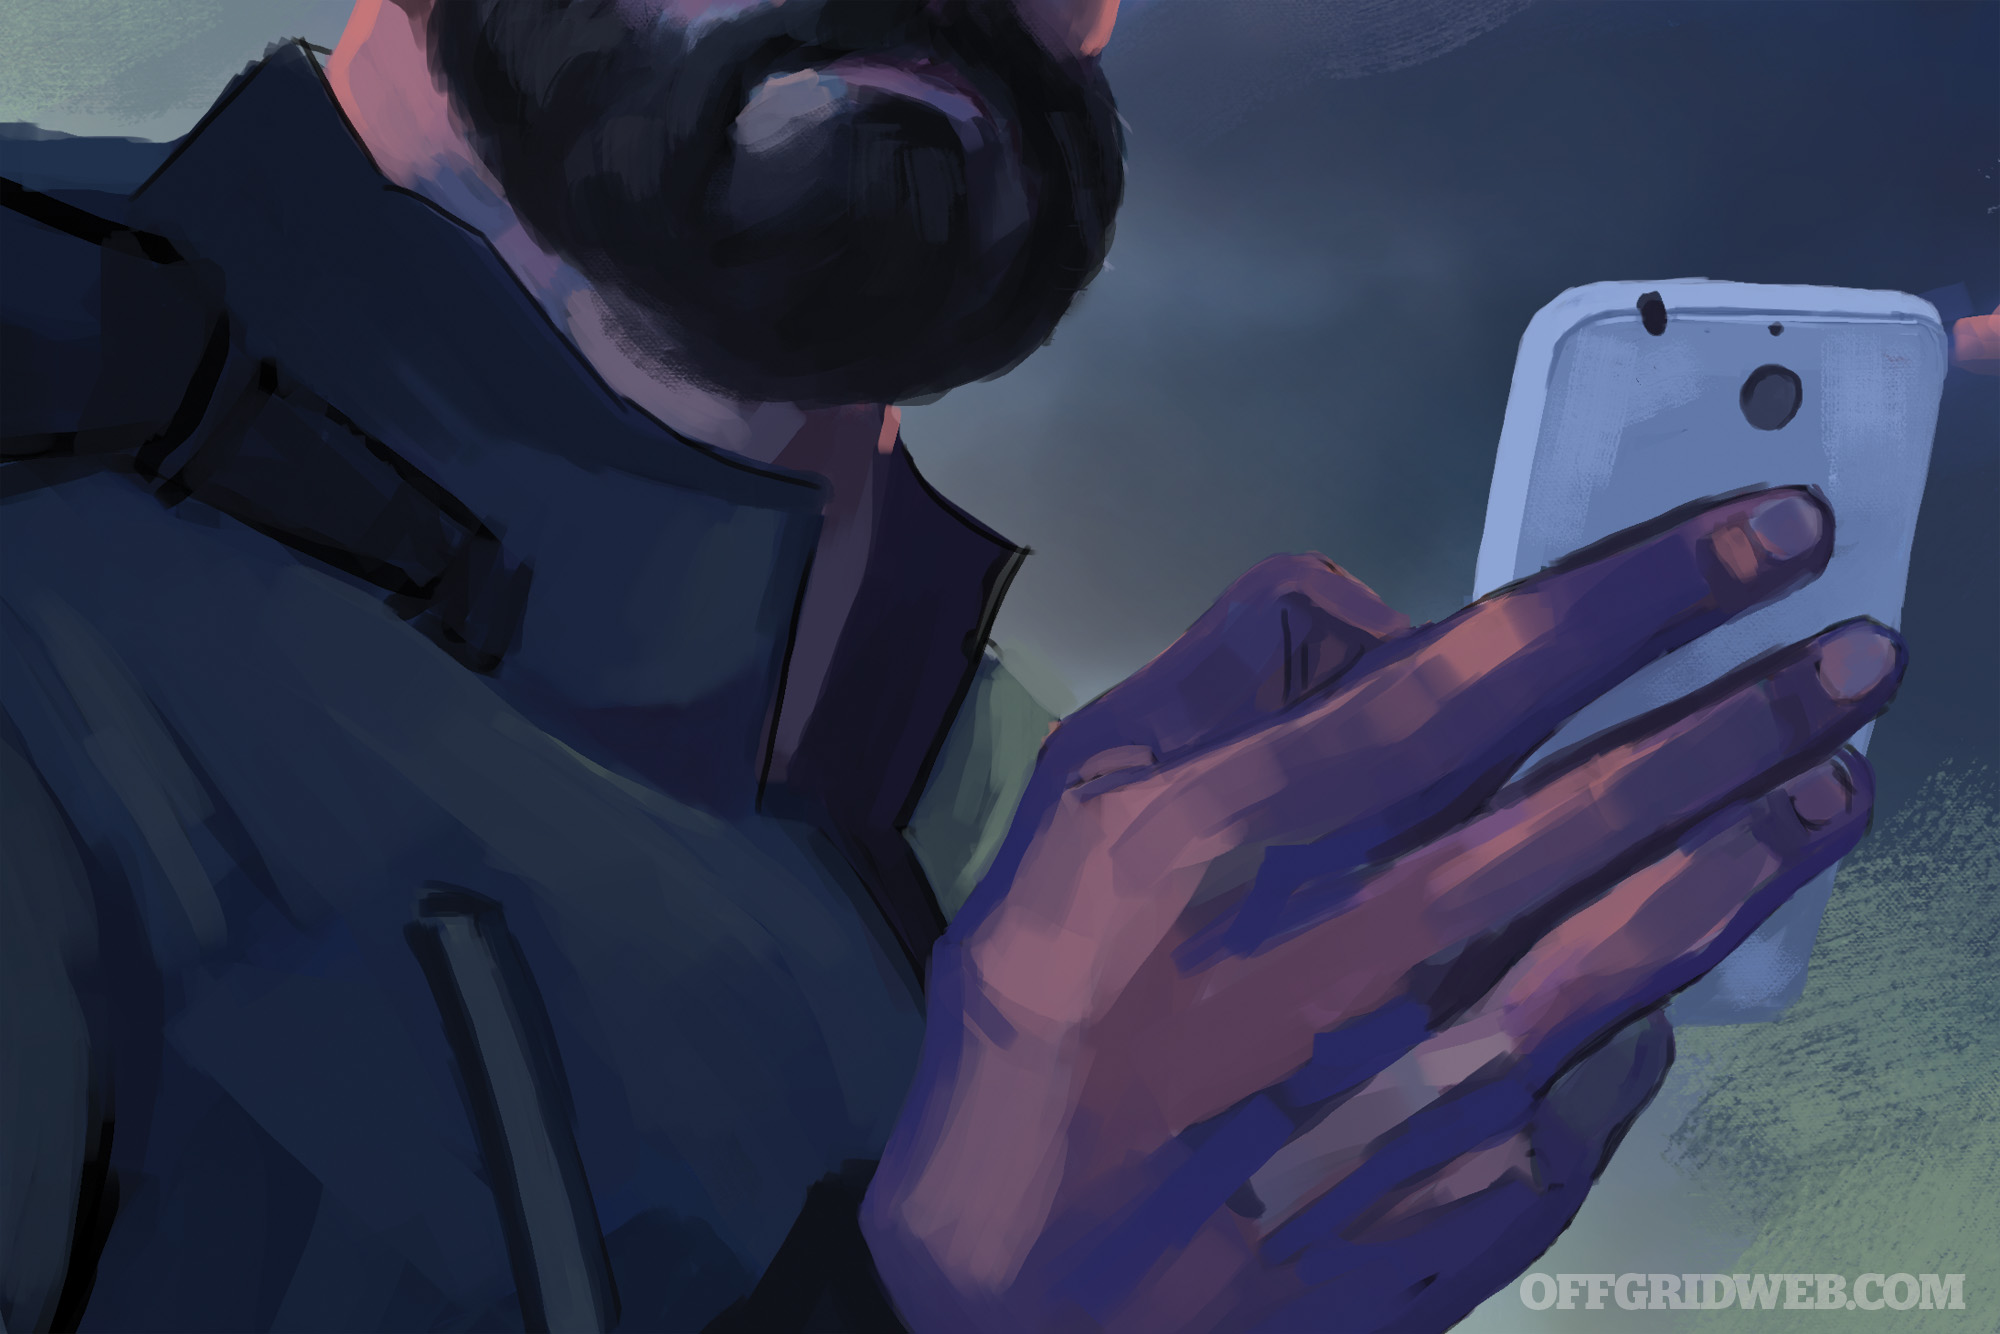
Good Lord, no! I thought to myself. It must be something else, anything other than this. My head reeled with the information overloading my senses. My smartphone screen was black. The intersection stoplights were out. The lights in the street side businesses weren’t working. Cars were rolling to a stop or crashing into each other. Then I heard the plane. I looked up just in time to catch a glimpse of the underbelly of a small commuter jet as it roared overhead, hurtling toward the ground.
It disappeared behind the skyline of buildings and the distant “boom” of a great explosion followed. The stalled-out cars, my dead phone, no lights, and a crashing plane — this was no power outage, or even a cyberattack on the power grid. There was only one thing that could cause so much damage like this and affect so many different systems. In my mind, there were just three letters: EMP.
In this edition of What If? we pose the question: What if an electromagnetic pulse (EMP) attack occurs while you’re out of state and traveling through a city with a high crime rate? For three separate versions of this alarming scenario, RECOIL OFFGRID asked three subject-matter experts to craft a realistic tale explaining how they’d endure.
For this installment, we have Kevin Reeve, a fellow survival school owner who specializes in tracking and urban survival. Next, there’s Richard Duarte, a practicing attorney, published author, and disaster prep consultant. And for a third horseman in this apocalyptic setting, RECOIL OFFGRID asked me to write a story too. I’ve been a professional survival instructor for more than 20 years, and written multiple New York Times-bestselling survival manuals. And this type of What If? scenario is one that I truly dread.
Note: If you think an EMP or some other catastrophic power outage is impossible or extremely improbable in the United States, see our previous post on the December 2018 National Infrastructure Advisory Council (NIAC) report. This report by industry experts makes it crystal clear that such an event “could paralyze entire regions, with grave implications for the nation’s economic and social well-being.”
The Scenario
Situation type
EMP attack
Your Crew
Just you
Location
Birmingham, Alabama
Season
Spring
Weather
Cloudy (possible rain); high 70 degrees F (low 50 degrees F)
The Setup: You’ve been hired by the Birmingham Fire and Rescue Service to teach a two-day survival seminar. Due to various other classes you’ll be teaching in the southeast region of the country that week, you’ve elected to drive your own car there.
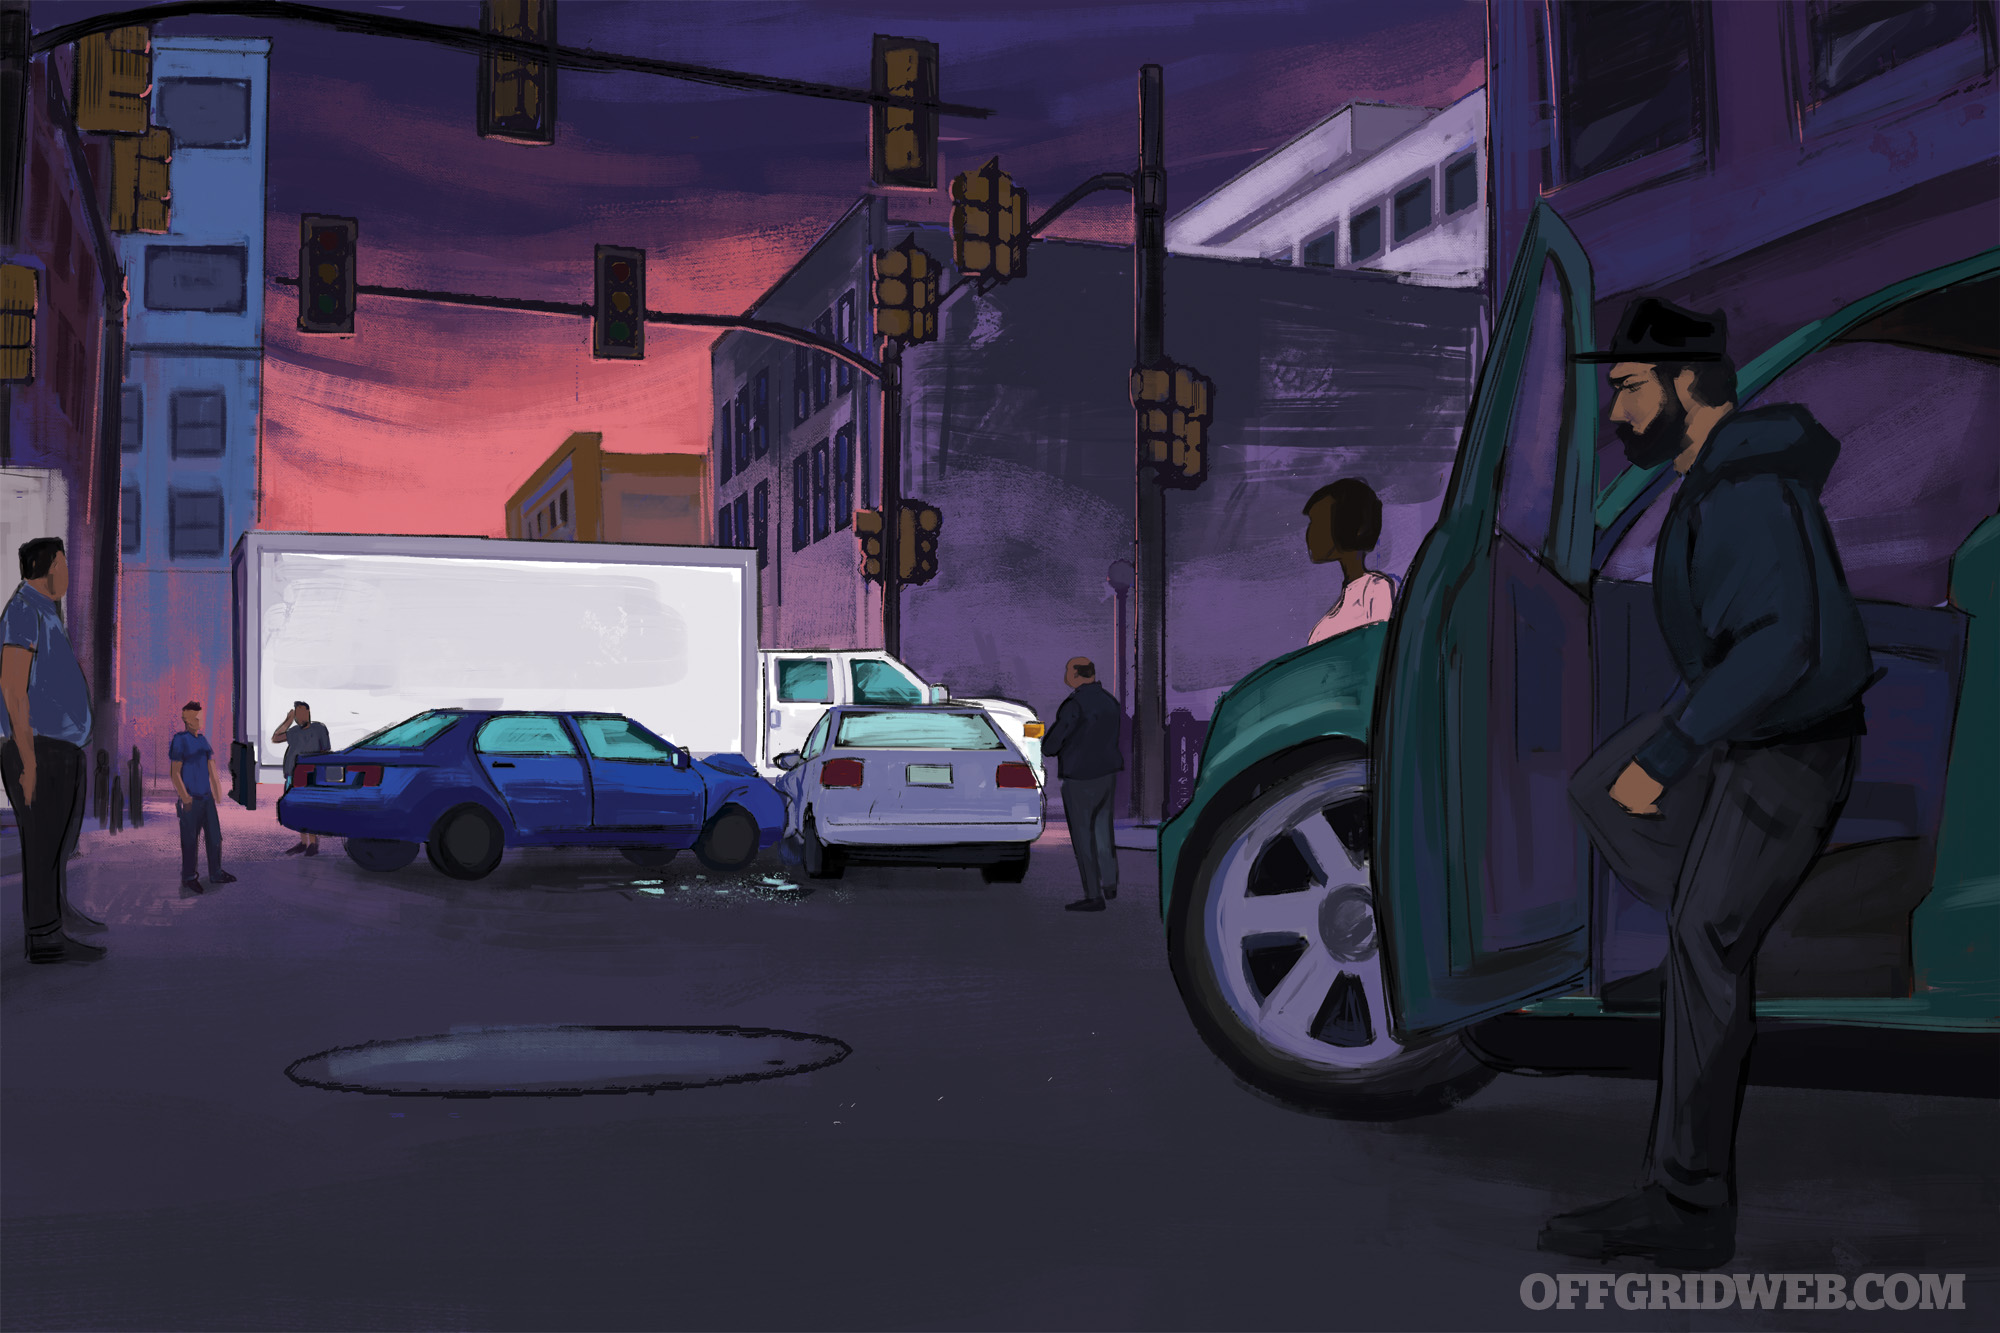
The Complication: After another successful seminar, you decide to spend the rest of the late afternoon and evening seeing the sights, since you’ve never been to Birmingham before. First up, the 33,000-square-foot Alabama Sports Hall of Fame. You approach the intersection just a block away from the facility when you notice all the street lights shut off. Hmm, a blackout? you think as you slow down. Suddenly, a car barrels into the uncontrolled intersection, slamming into the car ahead of you.
You immediately shift into park so you can go help when your car’s dashboard gauges suddenly power down. Something’s clearly not right. You look around and notice that all the other cars on the street have rolled to a stop, too. And the pedestrians are either rubber-necking toward the accident or staring confusedly at their unresponsive mobile phones.
The New Plan: No street lights. No cars running. No cellphones working. This isn’t your usual blackout. You know something seriously wrong is happening — an EMP attack is your first hunch, but could it be something more sinister? With your car knocked out, your smartphone dead, and night falling quickly, you know you can’t stay still. You have to move. But where? And how can you get more info? And most importantly, how can you communicate with your family to find out if they’ve been affected in your home state, too?
Disaster Prep Consultant: Richard Duarte’s Approach
Seeing an accident up close and personal is always shocking, but this was too close for comfort. In a split second, I abandoned all thoughts of a nice, quiet afternoon of sightseeing in Birmingham, as my brain shifted into hyper-vigilance mode. From the severity of the impact, I was convinced that the occupants of the vehicle in front of me were injured. I tried to call 911, but my phone was dead.
I performed a 360-degree scan before jumping out of my car; I didn’t want to be the next person needing an ambulance. Walking up to the driver-side window, I could see that the driver and passenger both needed medical attention. I did my very best to sound confident as I reassured them that everything would be just fine. They appeared to be in shock, and the female passenger was frantically searching through a handbag, probably for her phone.
In a stroke of incredible luck, a police officer sitting in her cruiser just down the street saw the accident and ran over. She quickly assumed control of the scene and asked a bystander to call 911 with instructions to tell the dispatcher that an officer was already on the scene, but with no communications.
Wait, what? The officer’s radio wasn’t working either? That was too much to be coincidence — something was seriously wrong.
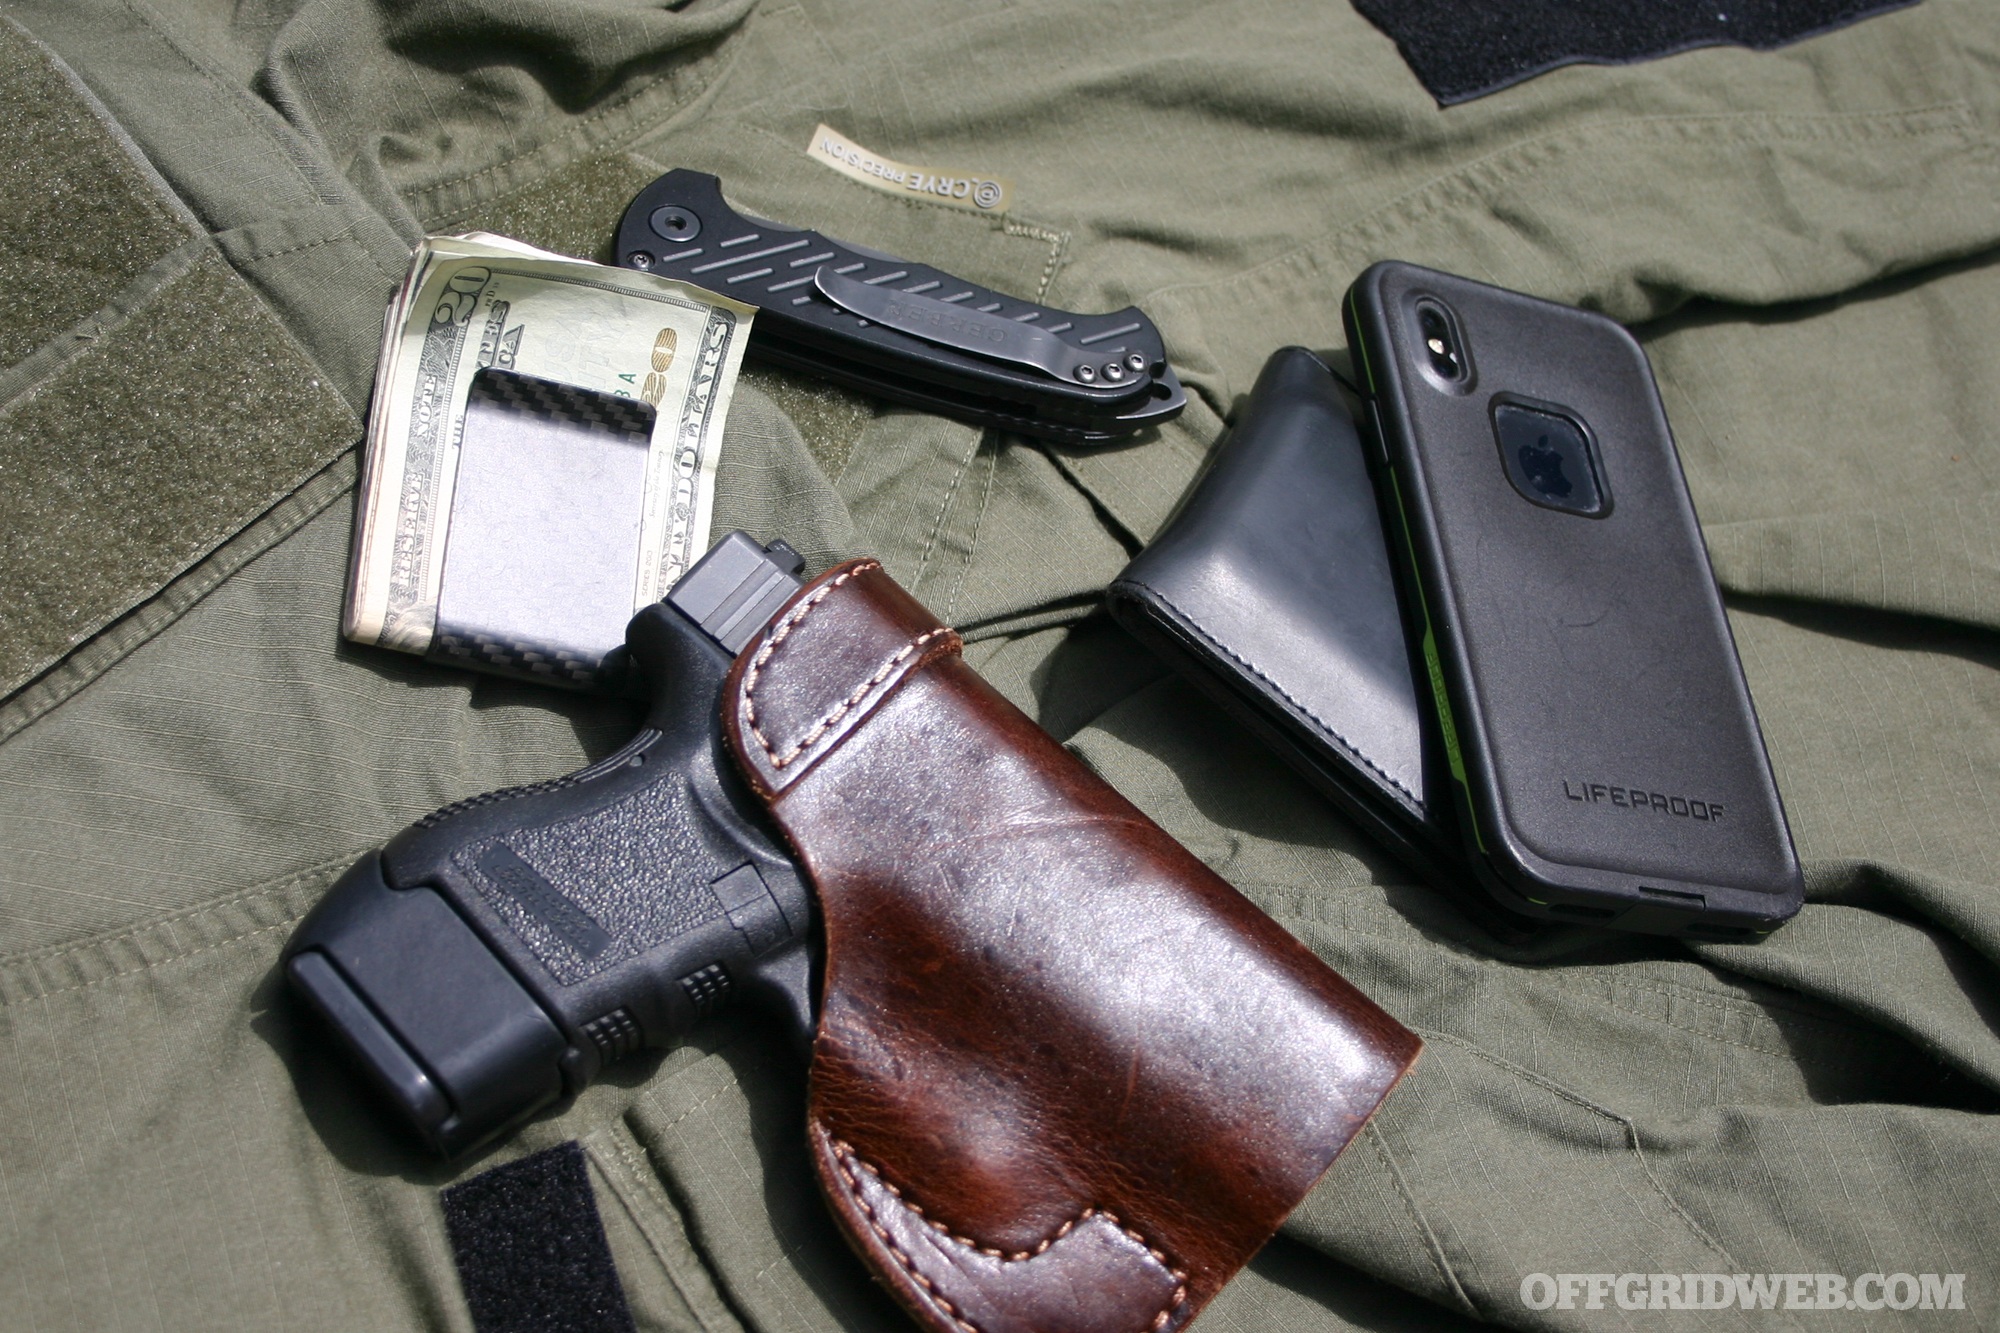
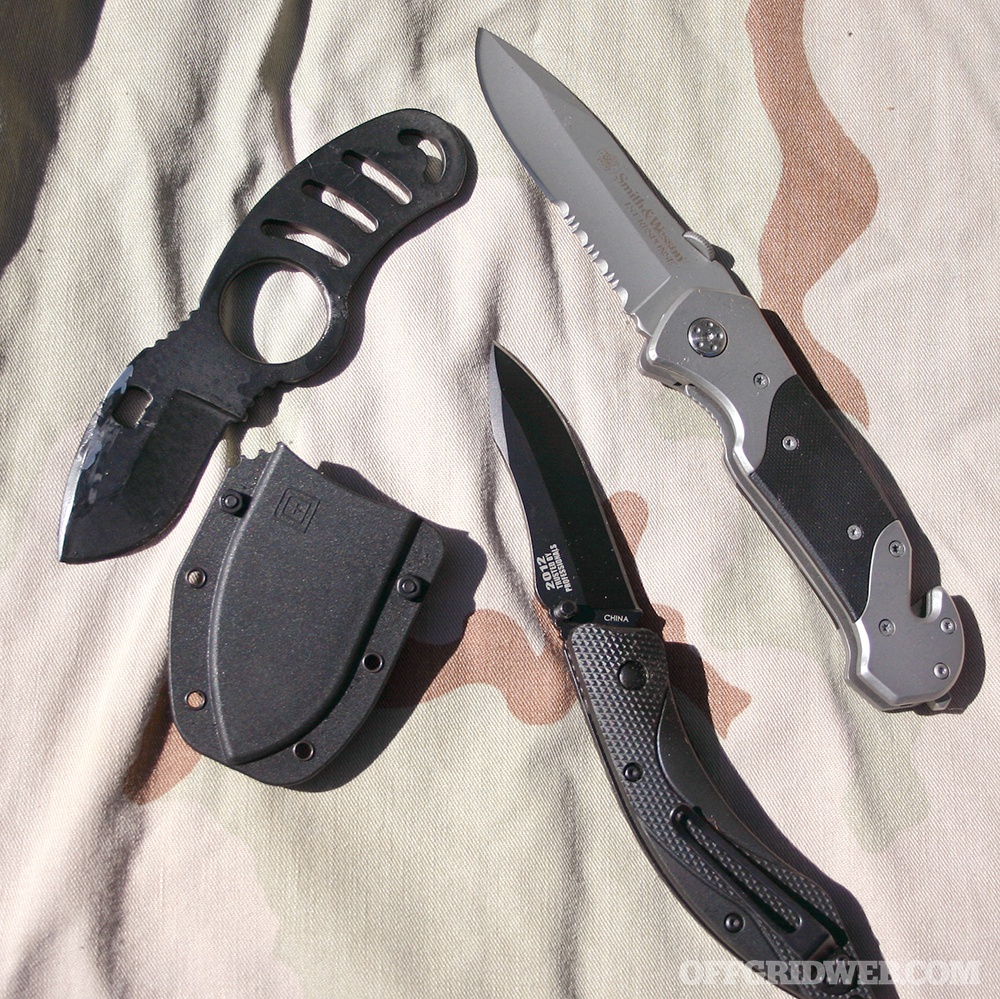
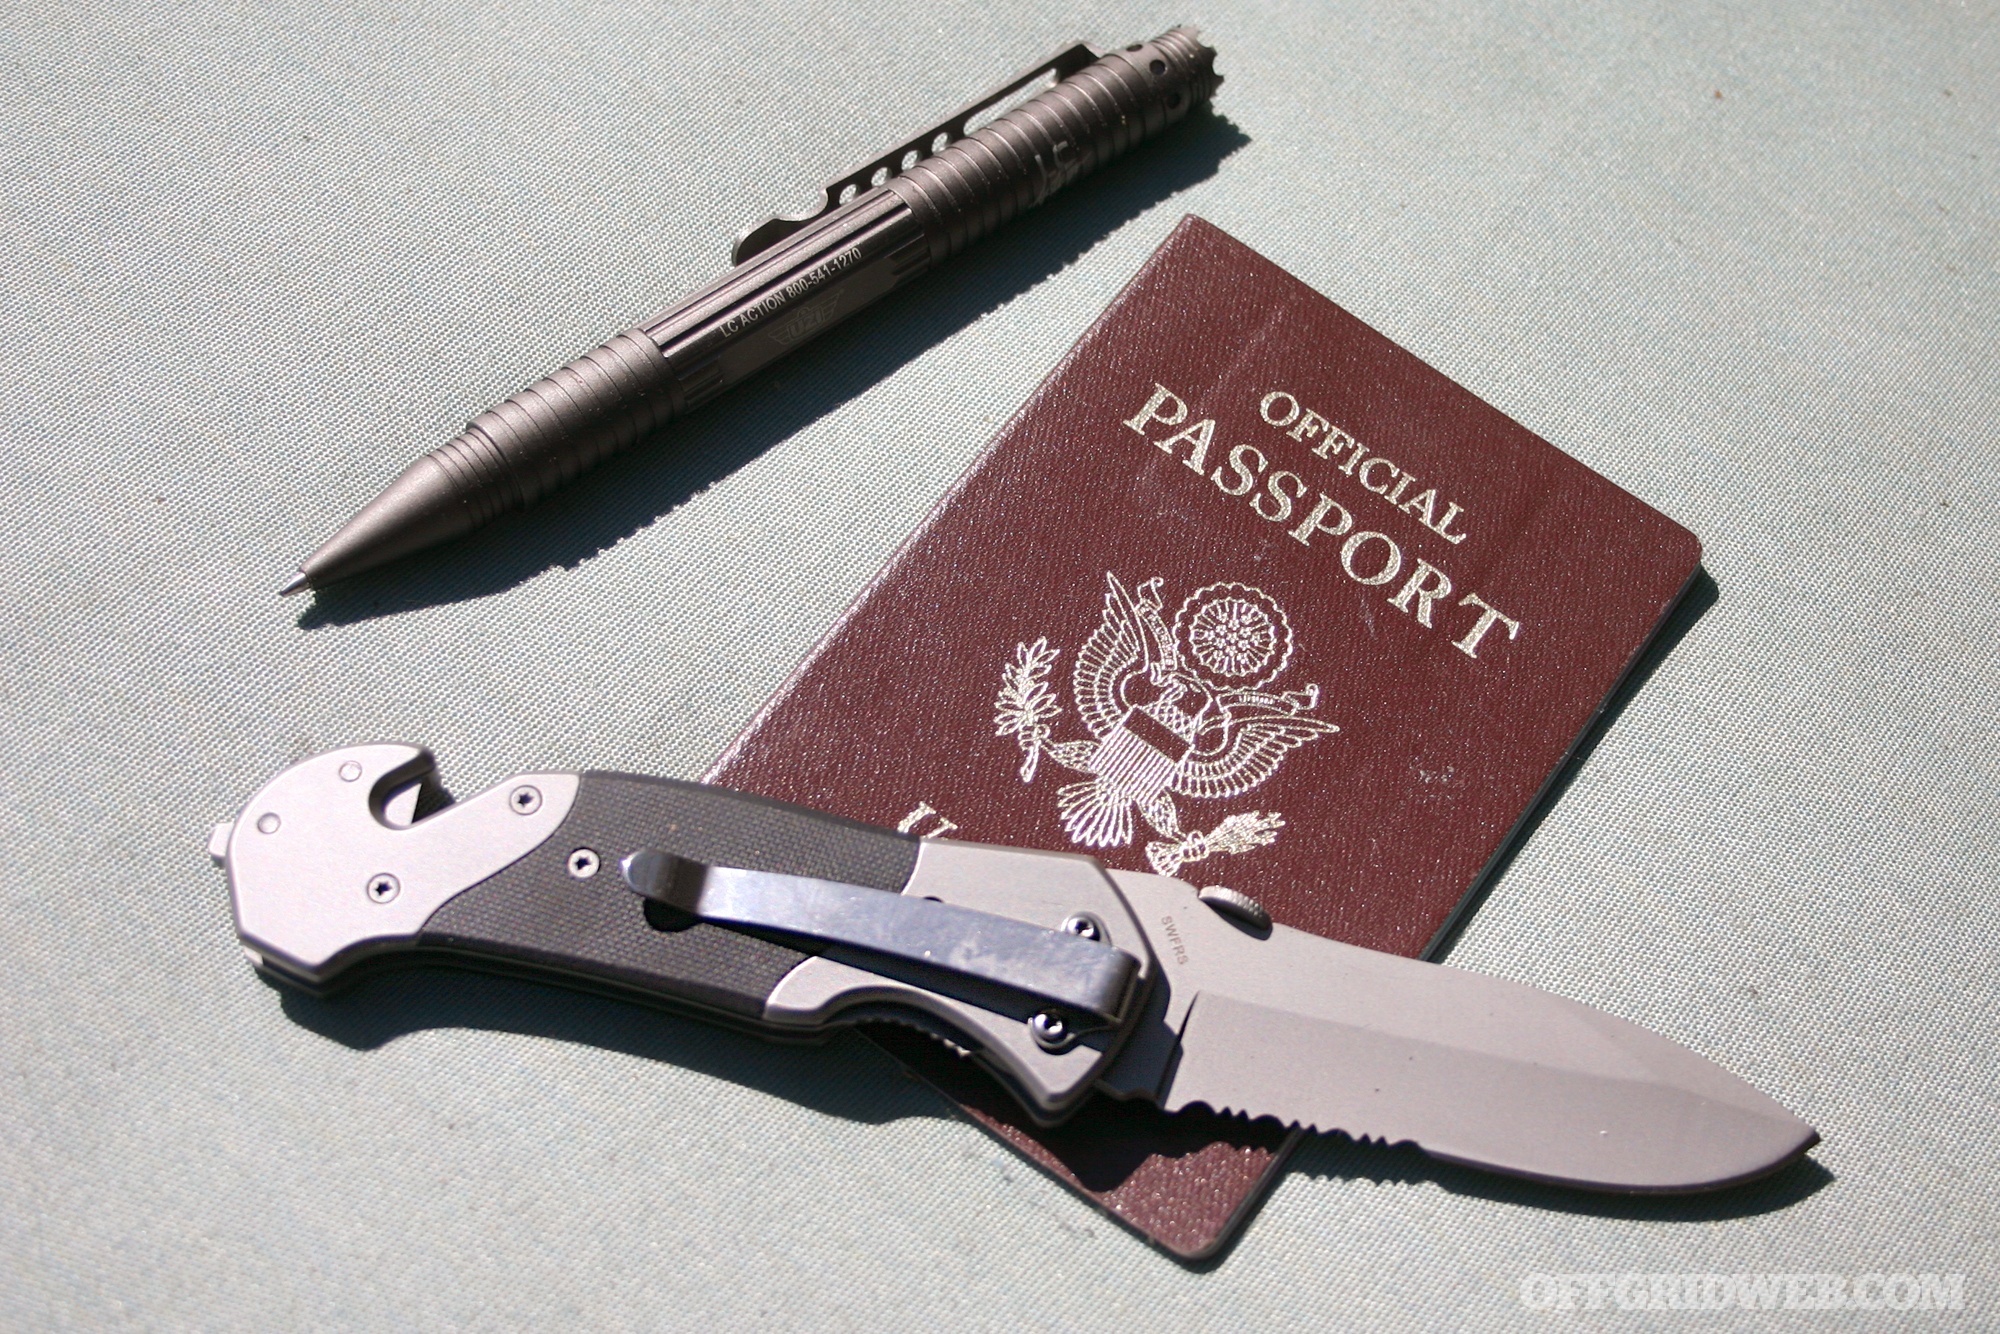
I walked back to my car and tried to start it — nothing. I grabbed my bag and began scouting out the immediate area. I always travel light, but I never leave home without essential gear — far less than my bug-out bag, but definitely more than my everyday carry (EDC). This gear goes with me everywhere I go.
I spotted a Mexican restaurant across the street, walked over, and asked if I could use their phone. The manager, John, said the phone wasn’t working. In fact, according to him everything in the restaurant had just gone dark. John kept talking, but his voice faded into the background as the grim realization finally hit me like a stiff kick to the groin. Was all this the result of an electromagnetic pulse (EMP) event? Nothing else could explain what was happening. But how? Stupid question, since the “how” really didn’t matter.
I needed to get my bearings, and to formulate a plan. I always carry a map of my anticipated travel area, notated with important details, including locations of interest, (i.e., hospitals, fire stations, police headquarters, and potential dangers to avoid). I was clearly in an urban area surrounded by office buildings, restaurants, hotels, and other retail businesses, but with my marked-up map I quickly oriented myself. Good news, a Birmingham police station was only half a mile away.
At that moment, however, it might as well have been on the moon. Gray scattered clouds had given way to a dark ominous sky and heavy rainfall. Considering the circumstances, staying put seemed like the most prudent thing to do.
As the downpour began, about a dozen people rushed into the restaurant asking to use the phone. John quickly put up a hand-written sign that read “PHONE NOT WORKING.” The large crowd outside the restaurant was getting agitated, and many began running for cover from the rain.
Realizing that an ambulance wasn’t coming anytime soon, the police officer decided to move the accident victims. And yes, they also ended up in the restaurant; they were banged-up and bleeding, but thankfully they were conscious and walking.
By now, most of the surrounding buildings had emptied out, as offices and businesses closed early and dismissed their employees. Many of these folks, no doubt initially overjoyed to be going home early, must have gotten quite the shock when their cars didn’t start. Less than an hour into the ordeal, and things were already getting pretty ugly. Hundreds of people were huddling in every nook and cranny that offered any shelter from the weather, as they waited for someone to come and tell them what to do. When help didn’t arrive, the crowds grew more restless. I had no intention of waiting for the cavalry; I needed to get to work.
I wasn’t sure of too many things at that moment, but walking out into the unknown wasn’t an option. From the notes on my map I knew that Birmingham was the most populous city in Alabama — about 212,000 according to the 2010 U.S. Census. In 2011, however, U.S. News & World Report ranked Birmingham as the third most dangerous city in the nation. I didn’t want to be caught alone in the open, in an unfamiliar city, especially once night fell. My map and my notes proved to be very valuable.
The rain was coming down harder and more people ran for cover. Many wanted to come into the restaurant, but John decided that there were already too many people and he locked the doors. Immediately some people inside the restaurant began objecting. “That’s my friend,” an older woman said. “Let her in!” Others joined, demanding he open up.
“It’s for your safety,” John responded. The crowd started shouting. The police officer, Officer Carlton, jumped in — she explained that the restaurant was private property and that anyone who didn’t want to stay could leave. But, staying indoors was the best option for now. After a quiet moment of reflection, and several muffled conversations, about half of the people decided to leave and take their chances on the streets.
I took the opportunity to huddle with John and Officer Carlton. Turns out that the restaurant had received a large delivery of food, bottled water, and other drinks the day before. John also had a comprehensive first-aid/burn kit, as well as flashlights with extra batteries in his office. I looked around and found a few more goodies, including some restaurant uniforms (dry clothes), a basic toolkit, and yes, some kitchen knives to keep nearby, just in case. I was packing (Alabama honors Florida concealed carry permits), but it’s always good to have more than one iron in the fire. After making sure all the entry points were locked down, I returned to the group.
We had food, water, and first aid, but our security and self-defense situation was sketchy at best, and could take a turn for the worse at any moment.
We all settled down toward the rear of the restaurant, away from the expansive glass windows and doors, and we agreed to take turns standing watch. I finally had a chance to talk a bit more with John; turns out he was a U.S. Marine veteran who had served multiple tours in Iraq and Afghanistan; this explained a lot. Our talk was interrupted by three rapid taps on the front glass door, followed by three more taps. Officer Carlton seemed to recognize the knock pattern, and immediately ran toward the door.
Two Birmingham police officers hurried in — both had AR-15s, body armor, and ballistic helmets. They had been at the station when the power went out. Headquarters had quickly dispatched teams to the last known locations to try and find the officers who had been out on patrol when it all went down. None of us had noticed, but Officer Carlton had previously made a mark on the door outside the restaurant, to signal her location to fellow officers who might be looking for her — pretty smart.
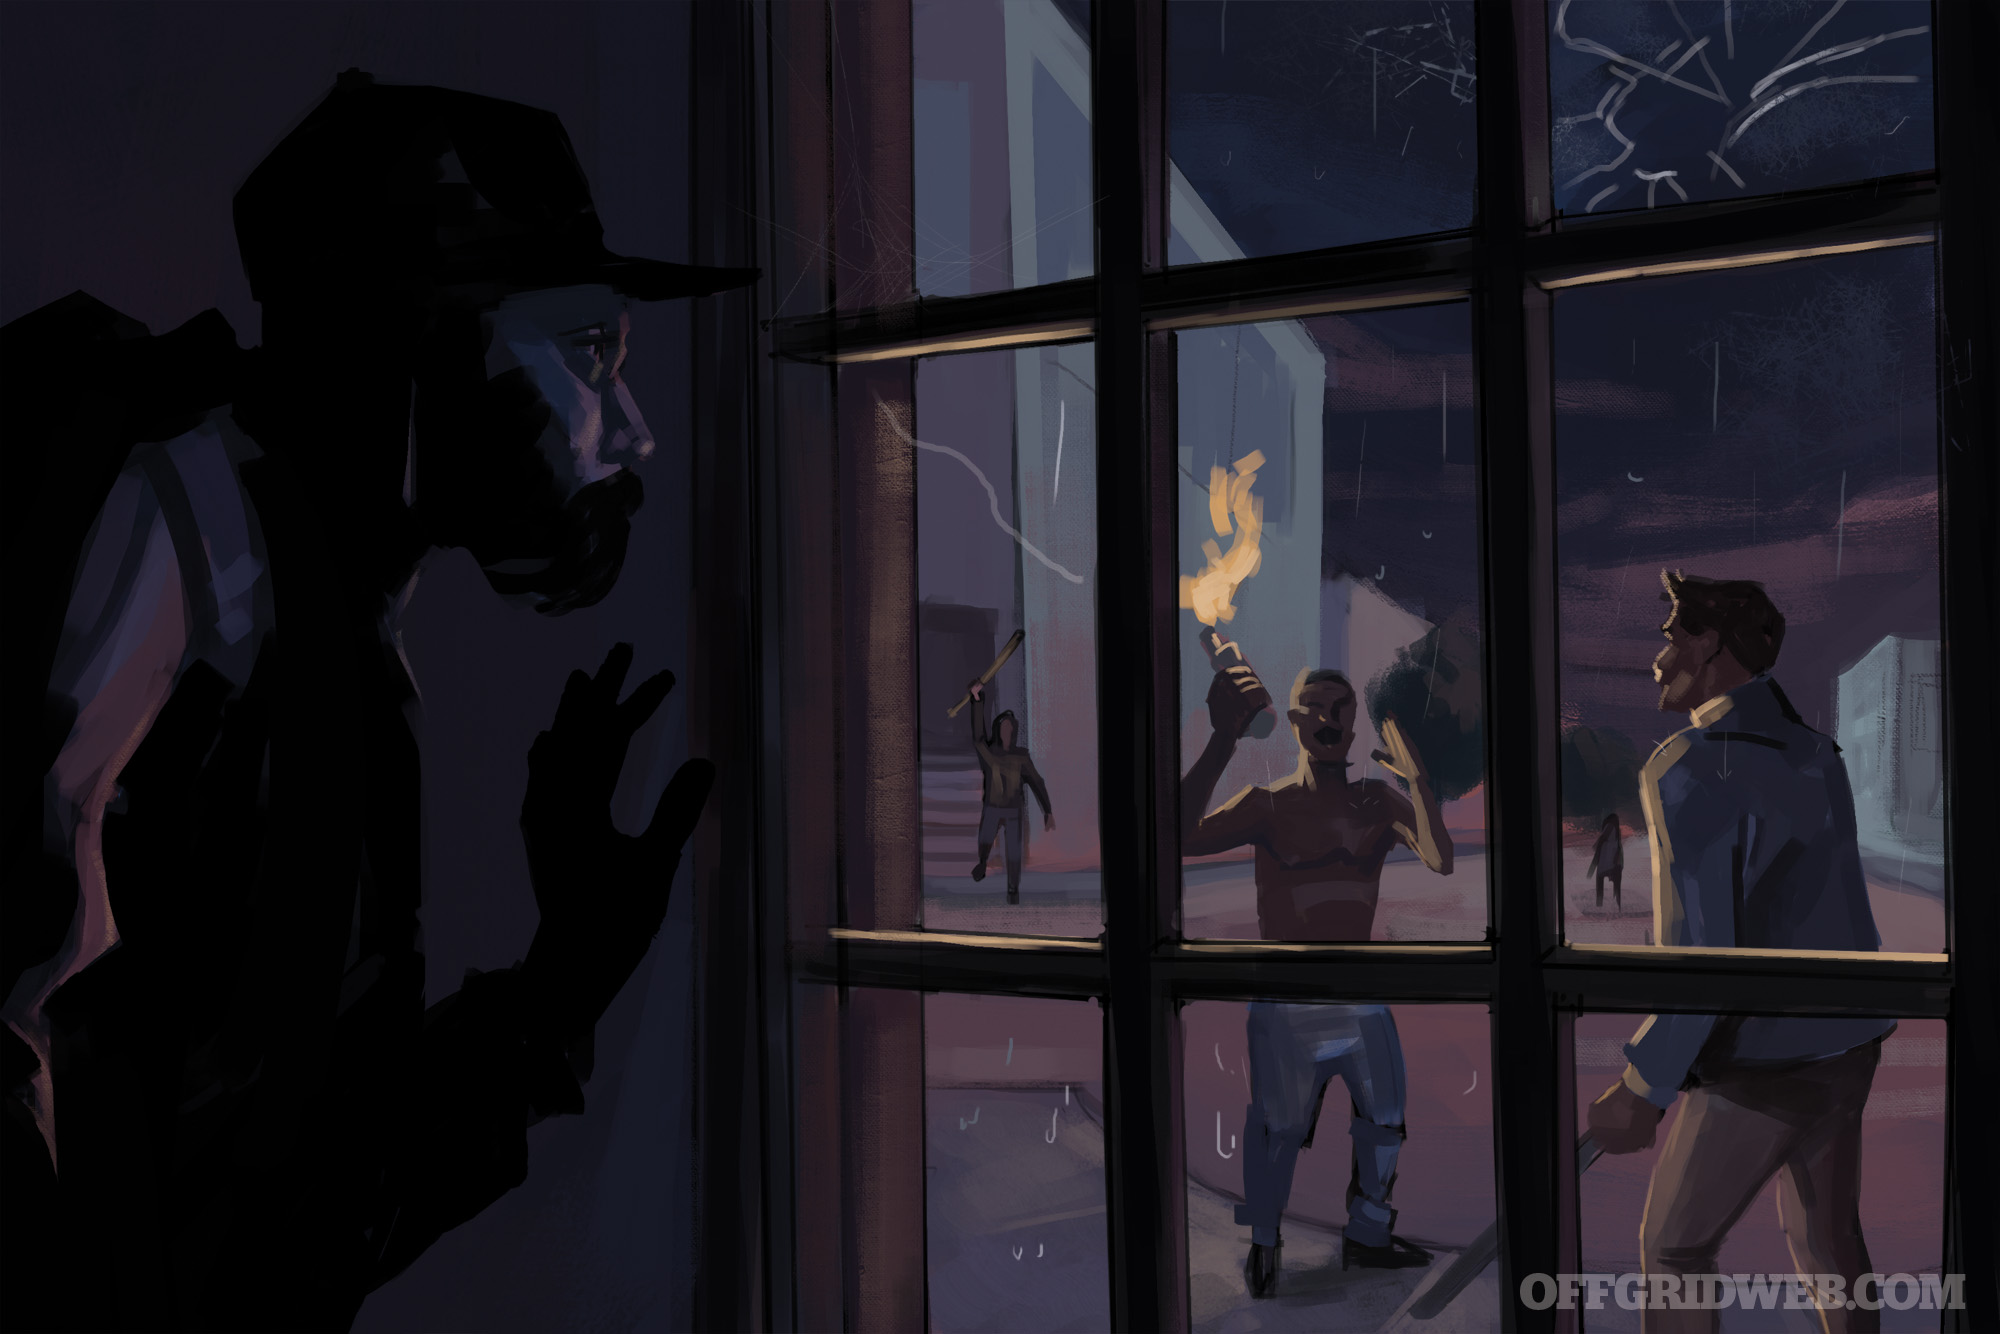
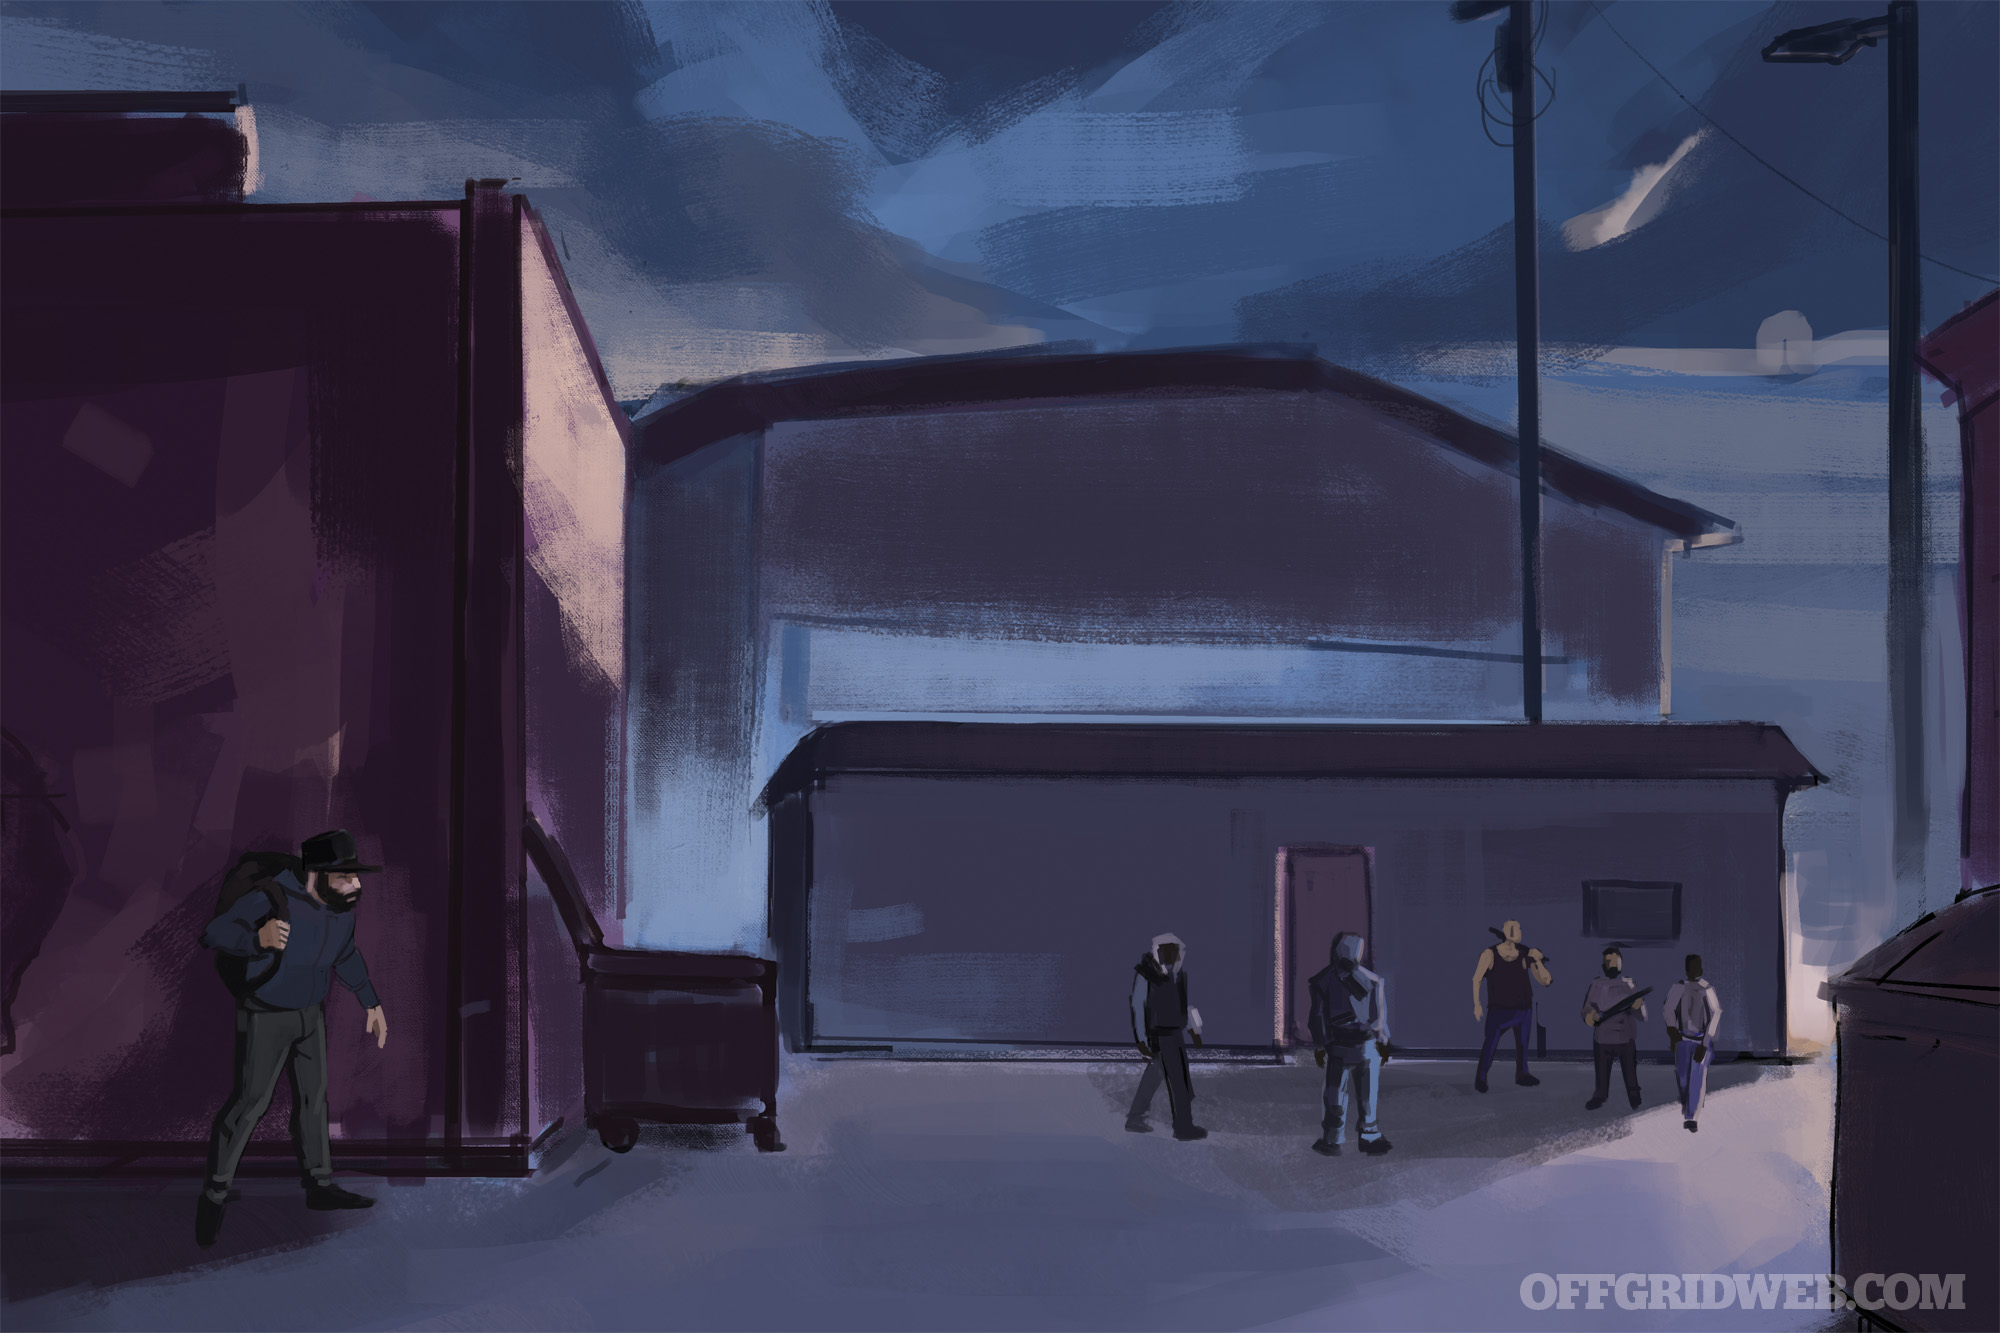
The officers wasted no time letting us know that we had to leave the building. There was a mob about a mile down on 11th Avenue North, and they were headed this way, burning, looting, and destroying everything in their path. To engage such a mob under these conditions was insanity; we decided it was best to get out of their way. They were coming down the street in parade formation, so we would use the back roads and alleys, and other less-direct routes to make a hasty exit.
The Birmingham police station was about a 10-minute walk from our location. The officers told us we would be safer there. We gathered up all the food, water, and supplies we could carry and set off into the night. Not far from the station, a group of young men armed with pipes and baseball bats started running toward us. That is until they found themselves staring down the barrels of three ARs — it’s amazing what a show of force can accomplish. The officers got us all safely inside and then took off again.
I never saw Officer Carlton again. I had no idea how all this would end, but I was certain the path ahead would be dark and very difficult for all of us.
Escape-and-Evasion Expert: Kevin Reeve’s Approach
As I got close to the Alabama Sports Hall of Fame, the stoplights went out. Then a car drifted through the intersection and was hit by a vehicle coming from the side street. Then my own car died and wouldn’t start again. I tried calling 911, but my phone was dead too. That caused a great sucking sound as the air exited my lungs. All the other automobiles in the area were coasting to a stop.
This could mean only one thing: An EMP that causes the immediate destruction of all electronic devices and the electrical grid. It is the absolute worst-case scenario. A return to the Dark Age.
As I looked out on the scene, most people were paralyzed. Some tried incessantly to revive their cars, some looked confused. I explained the situation to some in my immediate vicinity, but even when presented with the facts, most couldn’t accept it.
In the back of my Jeep I had a go-bag with about 65 pounds of gear. I shouldered the pack, grabbed a couple gallon jugs of water, and began walking. I was looking for a safe place to hole up and get myself organized. The ideal place would be an abandoned industrial space or an empty retail store. I walked south on 22nd Street and hit the train tracks. It started to rain, so I got into my poncho and turned southwest.
I walked until I found the perfect place, an abandoned steam plant. I walked around the perimeter, checking the exterior doors. I found a door with a chain and padlock. Using my lockpicks, I opened the lock, went inside, and relocked it with the lock on the inside. My older flashlight seemed unaffected by the EMP, so I could see my way inside.
Once through the door, I sat quietly for a good 10 minutes, listening for sounds of other humans or animals inside the structure. All was quiet.
After a bit of exploration, I found a long abandoned office with a chair and desk. I set my pack on the floor and began to empty the contents of the pack onto the desk. It gave me a chance to gather my thoughts, assess my gear, and make a plan. I learned from an old-school SERE instructor to lay out all your gear — it’ll help you remember what you have and trigger new ideas.
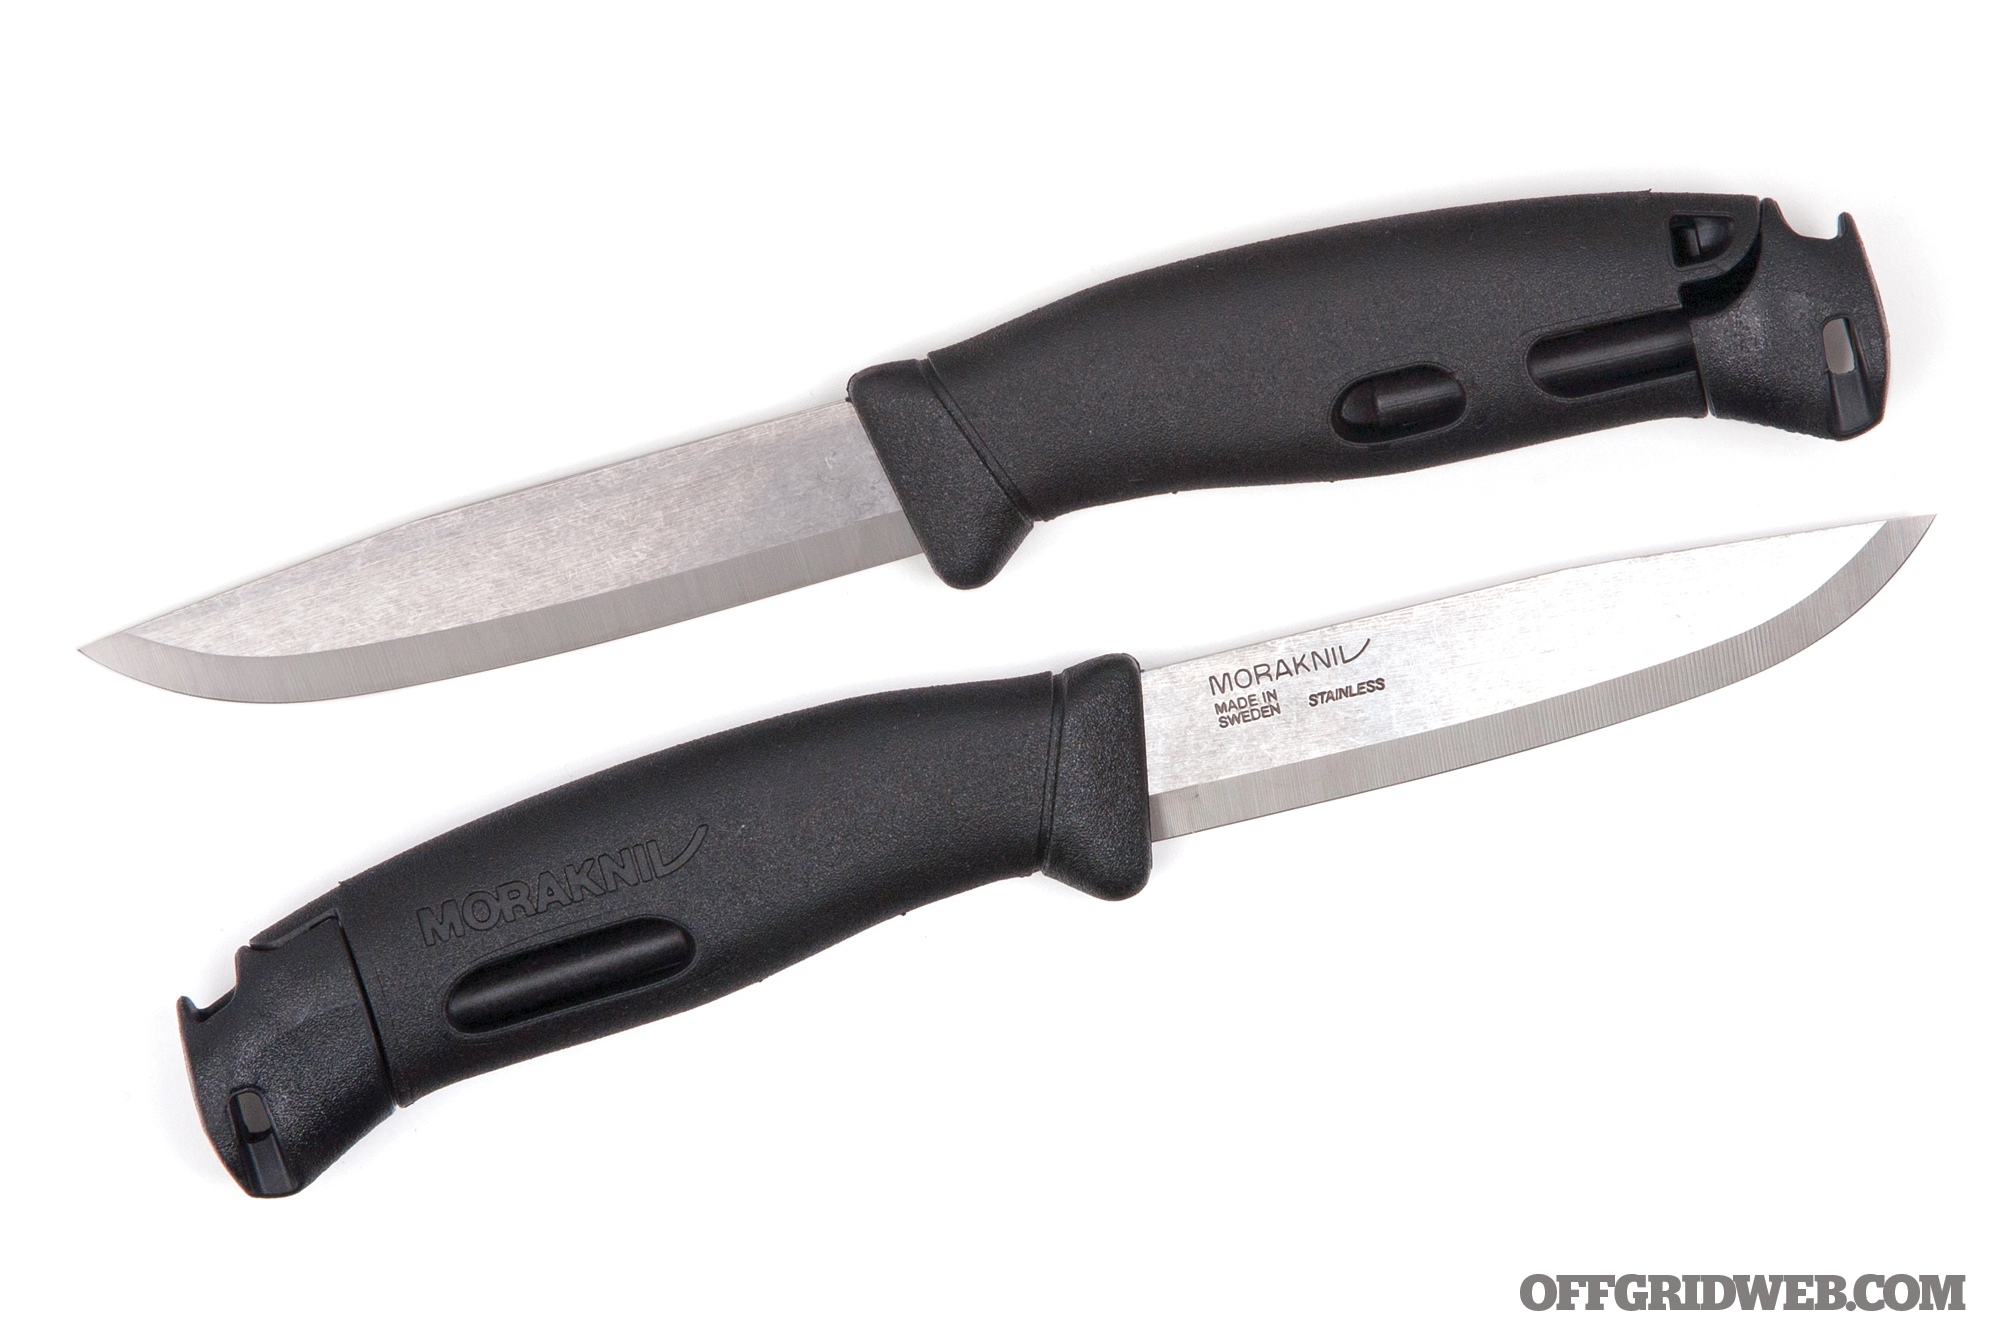
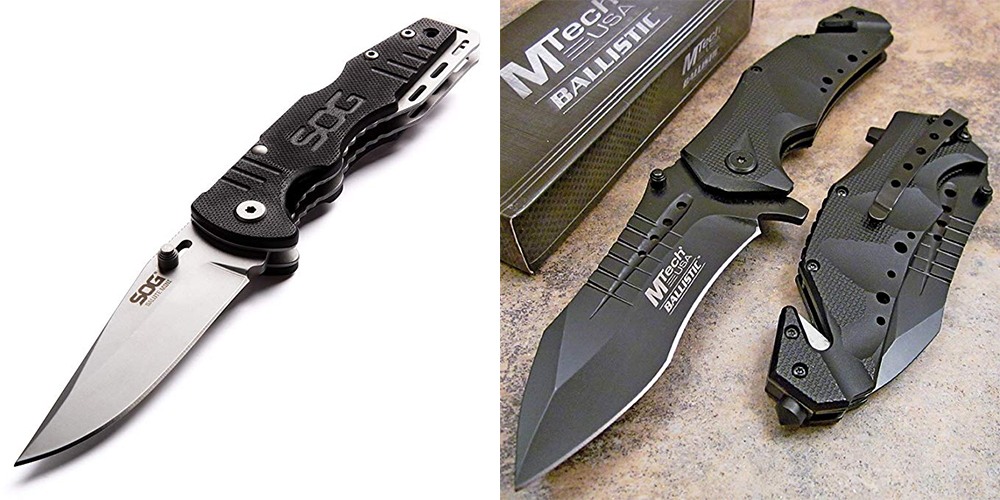
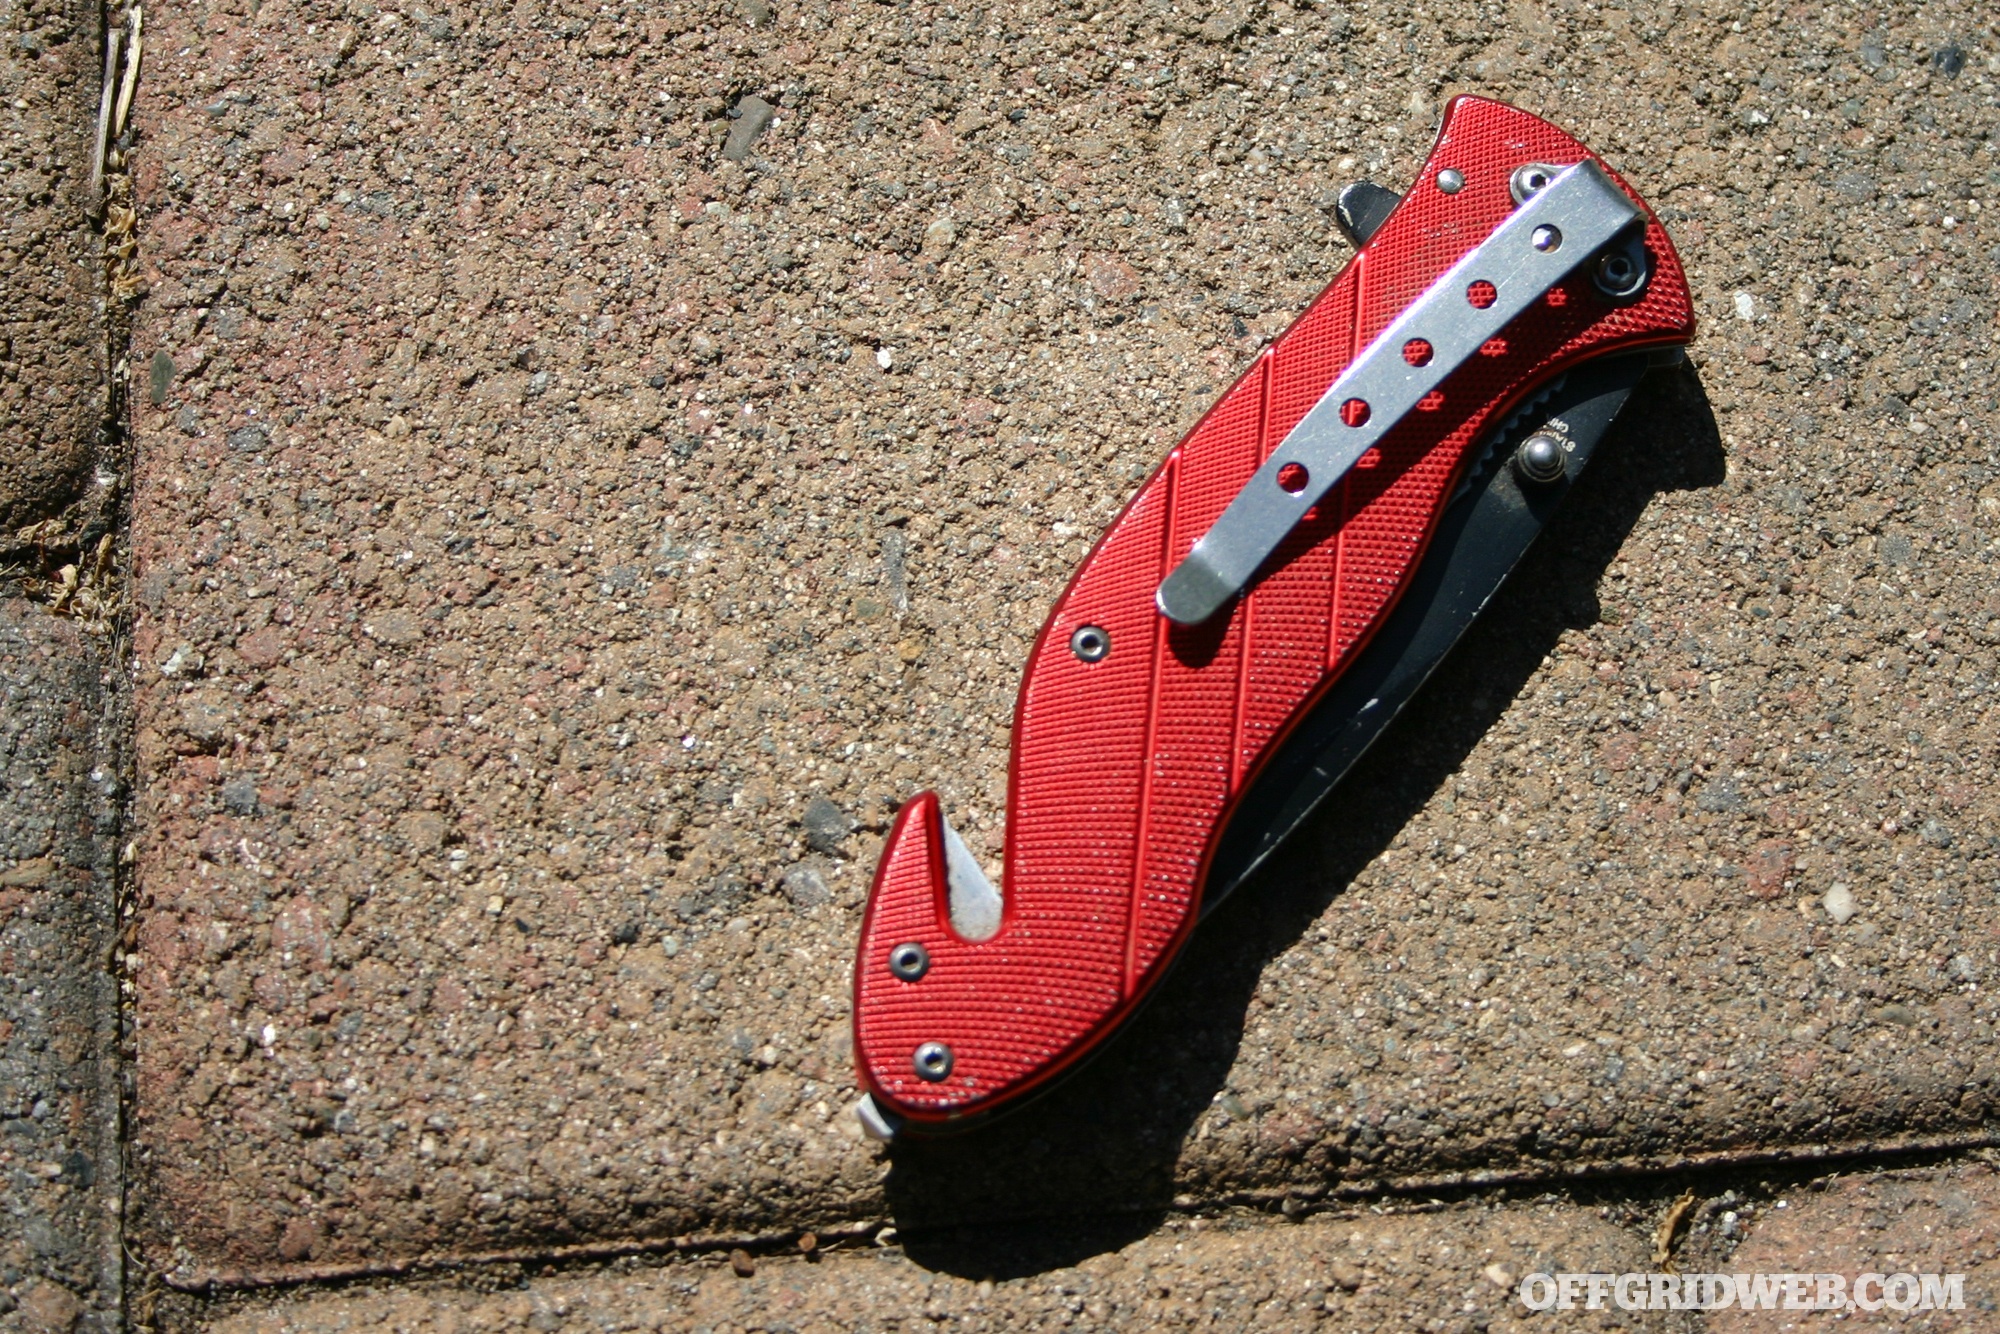
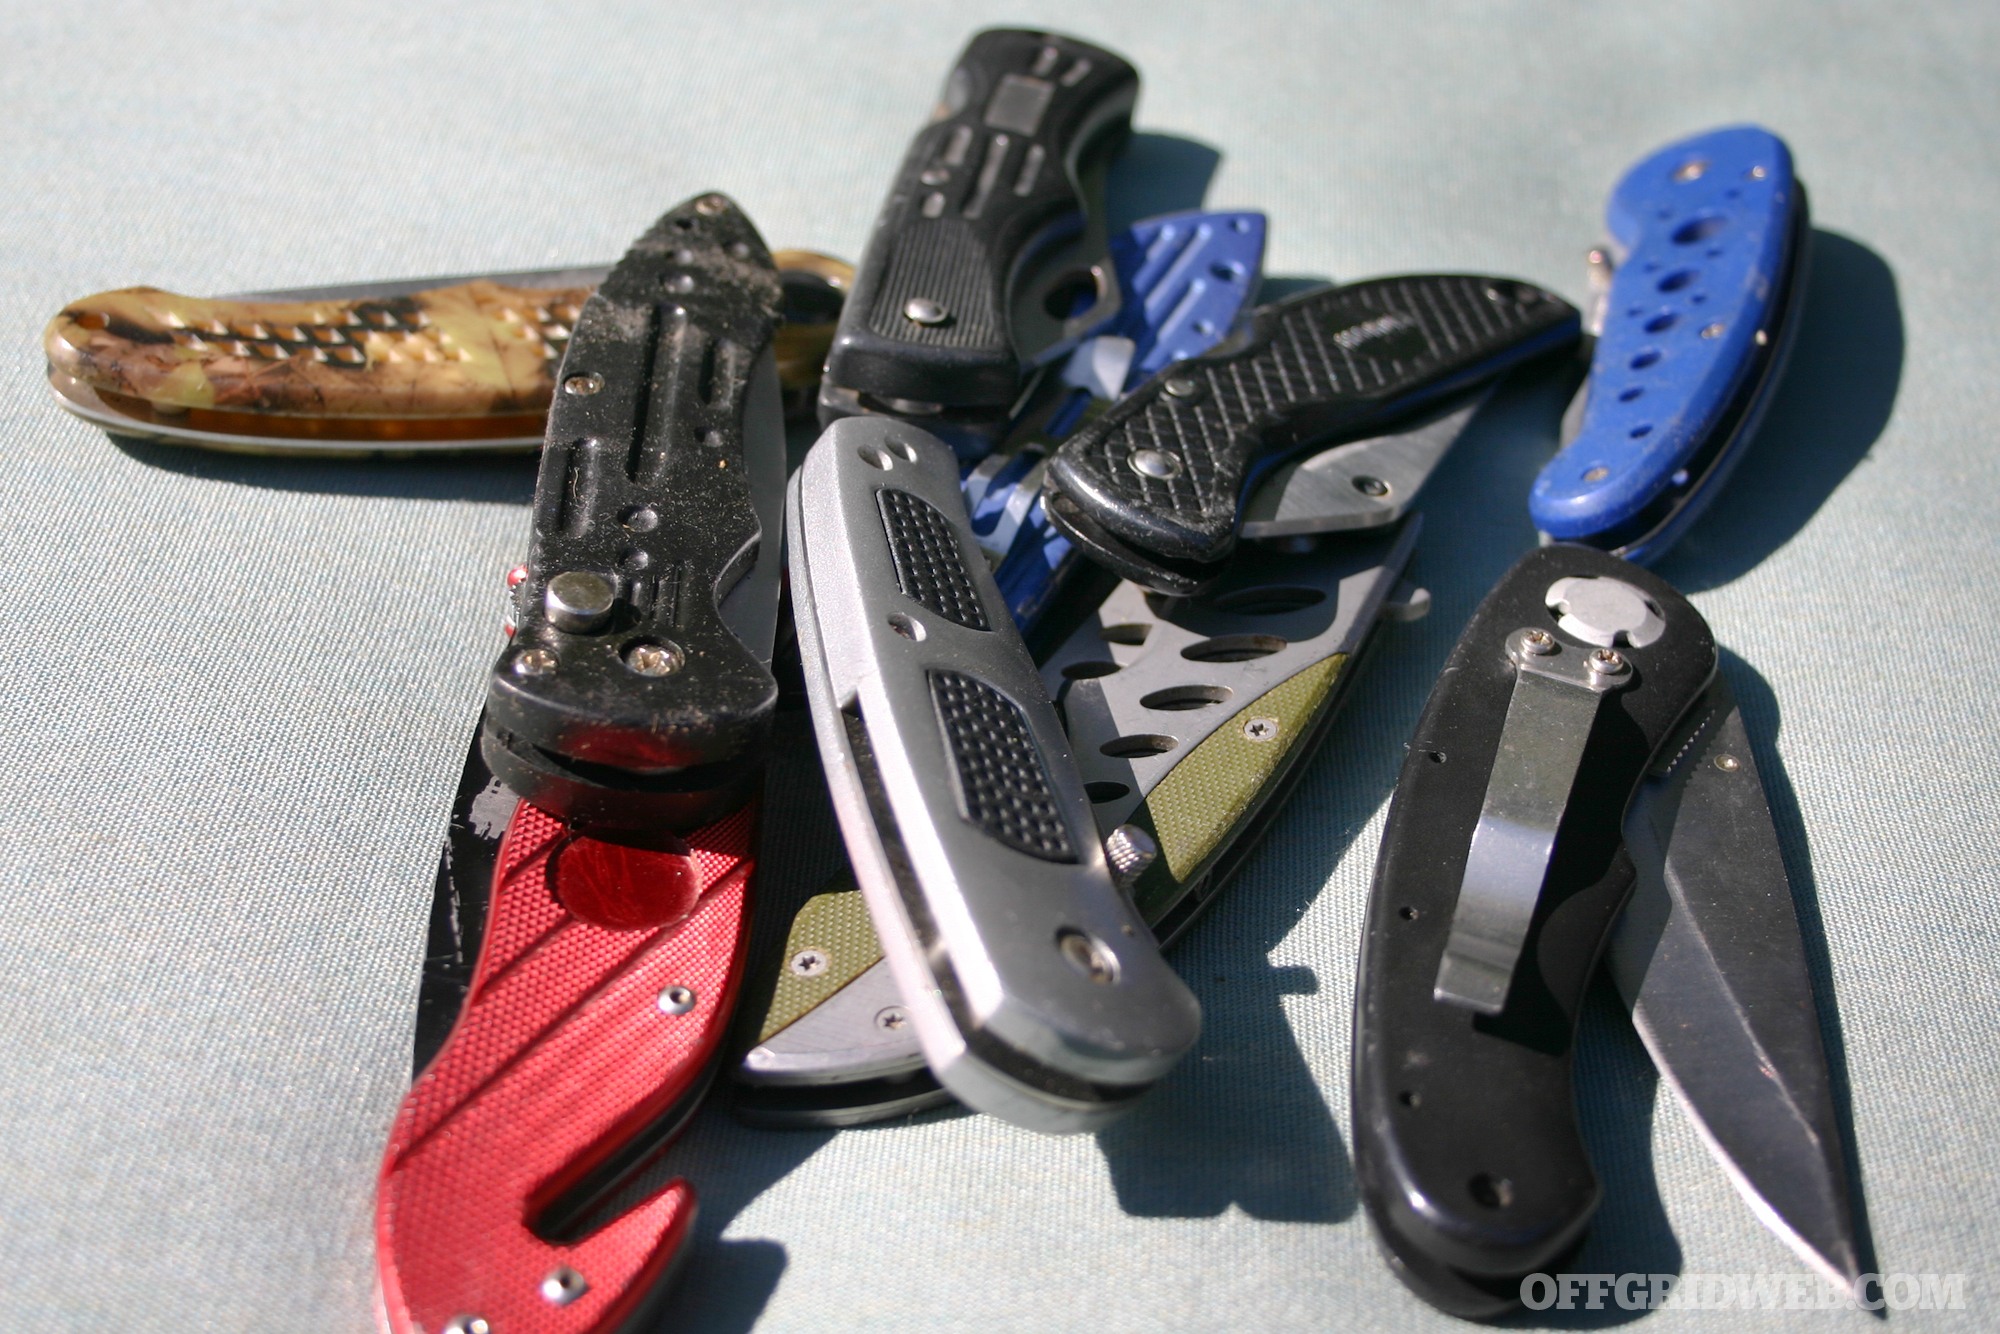
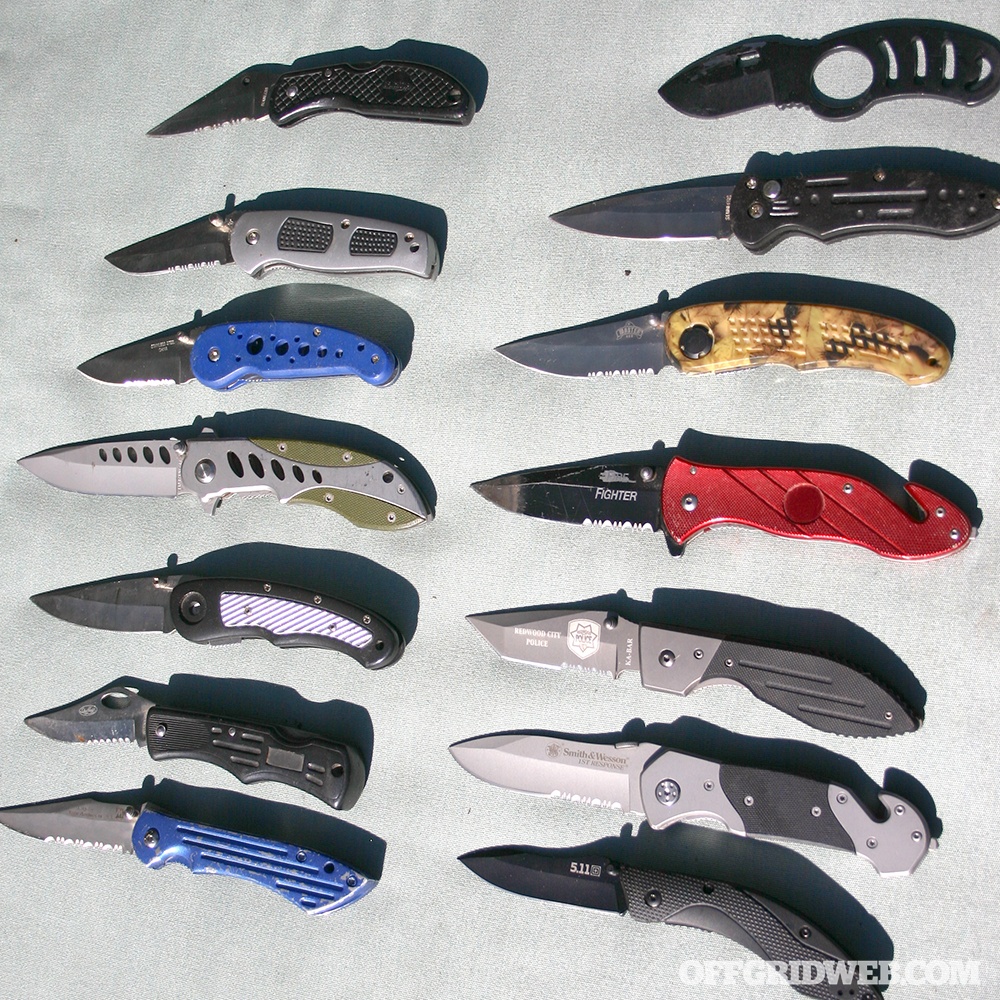
My gear list included some shelter basics, a Katadyn Pocket water filter, several knives of various sizes and purposes, a Gransfors Bruk hand ax, an 8-inch file, a Leatherman Wave, a Glock 19, and five loaded mags plus an extra 100 loose rounds. I had a pair of nice Zeiss binos and an inexpensive gen 2 night-vision goggle (NVG) — which would have been totally useless in this situation had I not had the foresight to wrap it my own homemade Faraday bag. I checked to make sure; the NVG seemed to have been unaffected by the pulse.
I also had a small titanium cook/mug and a Solo Stove, which burns twigs. With the five-day supply of Mountain House food, I also had approximately 2,000 calories a day; I would need to supplement.
My first-aid supplies were limited to a trauma and medical kit I had put together for road trips. I had a folding solar panel for charging my now worthless cellphone, but I also had a Wouxun dual band Ham radio that I carried in a small metal gun case. I bought it expressly to protect the radio from an EMP. I needed to find out if it worked, but not just yet. I was pretty sure the solar panel would still work and could keep the radio charged. I carried a few other odds and ends, including my cherished hygiene bag with toilet paper in it. And a trap bag with 12 commercially made snares.
I sat back in the chair and contemplated my situation.
I was 1,500 miles from home. I had enough water for a couple of days, and enough food for a few more. There were no longer any transportation systems to bring food into the city. No emergency services to provide assistance and protection. Water and sewer systems were no longer functional.
It was inevitable the locals would soon become restless. I am nine meals away from anarchy in the streets. That meant I had a couple of days to figure it out.
The Jeep I left in the street was a ’91 YJ with an electronic engine control module (ECM) that must have been fried by the EMP. Several years prior, I read One Second After about an EMP attack, and it scared me enough to get me prepared. One of the things I did was buy a spare ECM and wrap it in alternating layers of bubble wrap, aluminum foil, and a final wrap of heavy paper. I kept it, along with several tools, in the metal truck box that replaced my backseat.
I located a roll-up door on the railroad track side of the building, unlocked it, and waited for dark. With no manmade lights working and minimal moonlight, it was hard to see more than 20 or 30 feet. The ambient light was enough for the NVG, and I put it on and looked out the window of my office. I could see fires burning across the city, but there was no one out on the tracks that I could make out. I left under cover of darkness to see if I could repair my Jeep. The night-vision gear proved worth the effort. I saw a few people standing around a burn barrel a few blocks down on 6th Avenue. And I diverted over to 19th Street to avoid the county jail.
When I got to my YJ I could see no one else was on the street. I retrieved the ECM from the box in the back and, as quietly as I could, replaced the old ECM with the spare. Now for the moment of truth. With my pistol and spare mags next to me, I turned the key. The engine roared to life. I didn’t use the headlights. I drove north a block and then down 19th again.
I got back to the train tracks and drove them for a bumpy couple hundred yards until I reached the plant, pulled in, and closed the door. Then I went to the window and watched with the night vision for about an hour. I hoped my movement was too fast to allow anyone to follow. Thankfully, it was.
Over the course of the next few nights, I went out gathering gasoline from abandoned cars. I carried three jerry cans on the back of the Jeep. I scrounged another three plastic 5-gallon cans, so that gave me 30 gallons spare.
Now with as much fuel as I could reasonably carry, I set about procuring food. I set out a trap line one night along the tracks, bagging two raccoons and a possum on the first night. During the day, I skinned and cut the raccoons and stripped them for jerky. In the basement of the building, during daylight hours, I built a small fire from pallets, and began to smoke/dry the meat into jerky. On the third night I caught a cat and another two raccoons. This would eventually yield a pretty good amount of protein that I started adding to the dehydrated meals. The meat was OK this way.
Across the tracks was another industrial building with a large water tower on the roof. In the dark of the night, I made my way over. I picked the backdoor lock and made my way to the roof where I found a spigot on the water line coming from the tank and replenished my water supplies. This gave me 9 gallons.
Later, I was awakened by the sounds of gunfire. Sporadic at first, then increasing and getting closer. Yep. On the third night, anarchy had begun.
I planned to make contact with family via the Ham radio, but not until at least two weeks had passed in case of a second blast. I did open the box a few times and scanned for traffic on the shortwave freqs, but until I got to Mississippi I wouldn’t transmit. I had established protocols as to time of day and frequency for contacting my family. But they knew I wouldn’t contact them until two weeks had passed.
On day 11, just at dusk, I heard someone outside. I peeked out and saw three men, one with bolt cutters. They made their way to the door I had been using and snapped the chain. I drew the Glock and waited. I shouted a warning as they entered the hall. They laughed and advanced, completely unafraid. I got a round into one, and they all lit out.
It was time to leave. I had cured about 30 pounds of meat, had 10 gallons of water, 30 spare gallons of gas, and 20 in the tank. That gave me a range of about 800 miles. I was as ready as I could be.
I had been studying my Alabama atlas, and figured I’d stick to traveling at night on the railway right-of-way until I got to McCalla. Then, I’d try to get to the Mississippi River on country roads. I wanted to cross the mighty Mississippi at Swiftwater.
And that was how it went. Driving slowly at night with the lights out. Pulling into trails to lay up during the day, gathering gas from abandoned cars, I finally made the river. Now, I still had a long way to go, but I was in a rhythm and at the rate I was going, I could be home by spring. And they knew I was coming.
Survival Expert: Tim MacWelch’s Approach
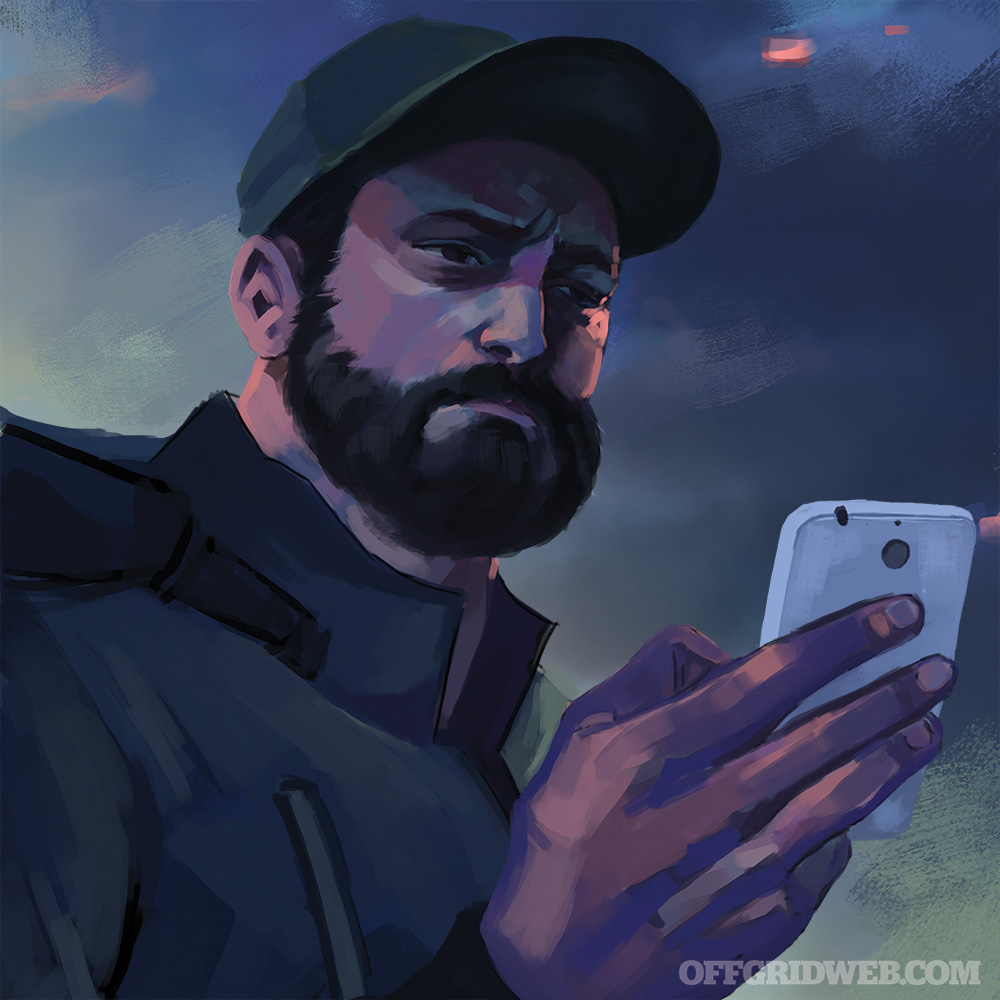
The lights, the plane, the cars — it had to be an EMP. I needed more information to figure out my next move and protect myself as night approached. But after seeing the car crash at the intersection, I knew it would be bad, and there were going to be injuries. Without thinking, I reached for my phone to call 911. Then I remembered that the screen had gone black. I held the button to turn the device on, but nothing happened. Paramedics aren’t coming, I thought, because no one can call them.
Of course, I was worried about my own hide in that situation. And my thoughts jumped to my family next. Did this event hit their area too? I pushed away that line of thinking, because it wasn’t helping me or anyone else right then and there.
I had to consider my survival priorities. Shelter, water, food, and communications would be needed; but I also knew there were two other things that were a higher priority in such situations: personal security and first aid. People would begin to unravel. And in a high-crime city, I didn’t want to be caught out in the open. I needed a defensible shelter and facts, so I decided that I would head back to the facility where I provided the training, the Birmingham Fire Prevention Center. It wasn’t that far.
Maybe I could take shelter there for the night, and EMS might have details about the event. But before that, I needed to do the right thing. I was trained to provide first aid in austere conditions, and it was likely that those crash victims needed medical help more than I needed shelter.
I hit the button to pop the trunk of my car. Nothing happened; the trunk didn’t open. I got out of the car carefully since I didn’t want to step into the path of another careening car. Using the key, I opened the trunk and pulled out my big red medical bag.
The young male driver who hit the stopped car was the first person I saw. He opened his car door and got out, holding his left shoulder. I asked if he needed help, but he simply turned and loped off — half running and half limping, without saying a word. The woman he hit wasn’t so lucky. Going to her broken-out driver-side window, I asked her if she was hurt. She moaned a bit as blood trickled from her nose. Her airbag had deployed, likely saving her life, but she wasn’t looking good or responding well. I knew I shouldn’t move her, in case of spinal injury, so I just kept talking to her as I bound her numerous cuts and scratches caused by the broken glass.
My moral dilemma was reaching a breaking point, when I finally received outside help. I heard him first, before I saw him. A man’s voice was yelling “Molly!” as he ran up the street. It was her husband. She had just dropped him off at work right before everything came unglued. Weeping, he thanked me for helping her, but it was time for me to leave.
Thank God I took the car! I thought. If I had to get caught in a technological apocalypse, this was the vehicle to bring. It was just a beat-up old four-door sedan, the kind of car that no one would want to steal. That’s why I drove it. And beneath that humble exterior, it was loaded to the gills with emergency supplies. Not only did I have all of my “show and tell” gear from my survival class, but I had the med kit, a full bug-out bag (BOB), and lots of random supplies.
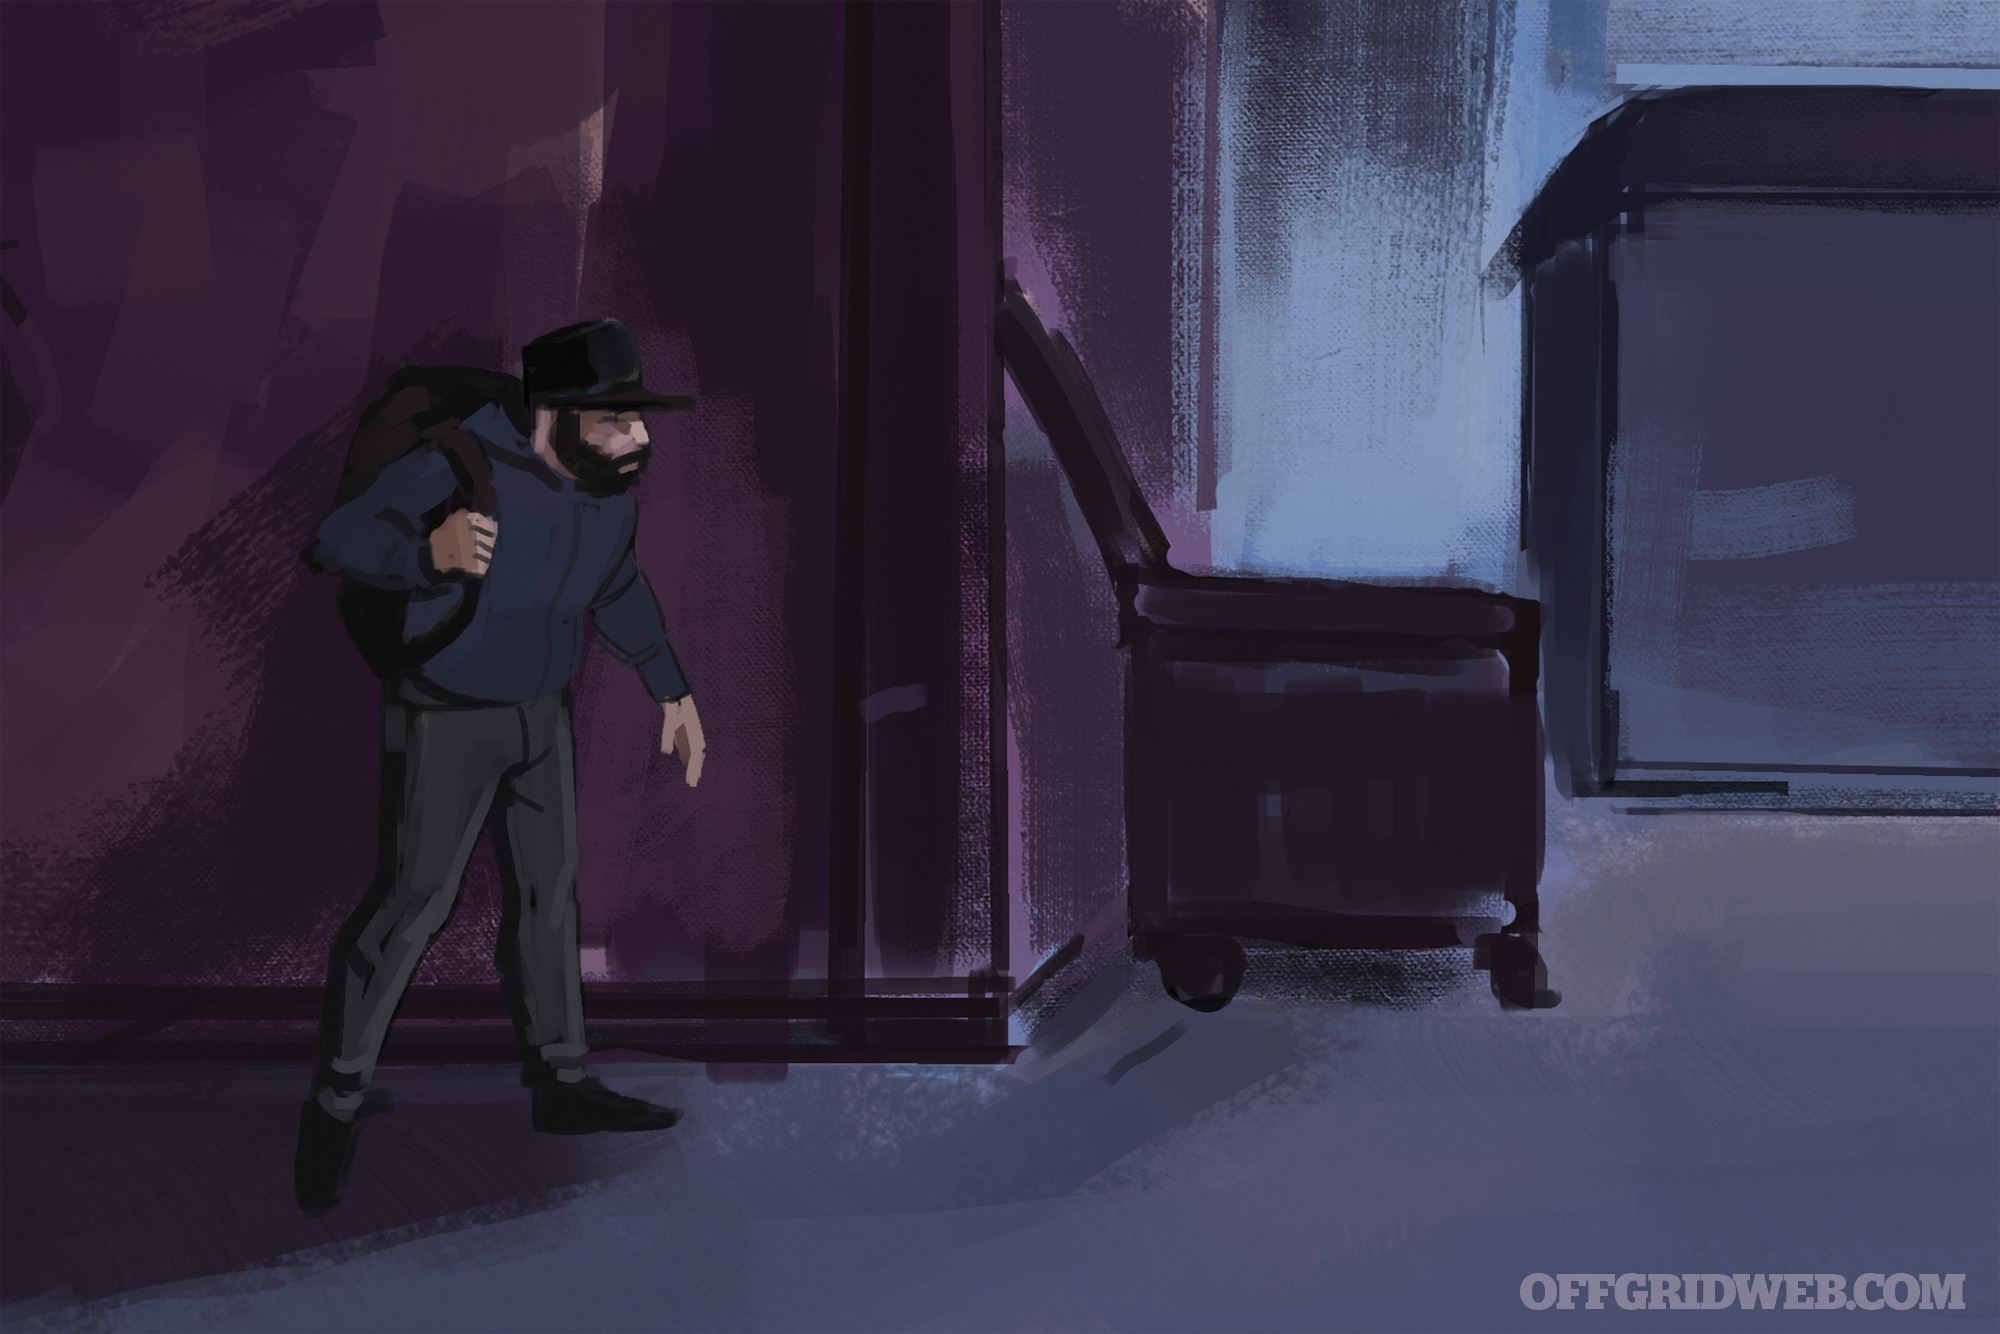
With rain looming, I was tempted to just stay in the car with my hoard. However, so many people were milling about, as if they had just awoken from some trance, staying put made me too much of a target. I loaded all my gear into the backseat of the car and locked myself inside. I quickly dumped my travel suitcase, setting aside one set of nondescript clothing.
I placed my BOB in the wheeled suitcase. I put a trash bag in my pocket, and into another trash bag, I loaded all of my extra food, the med kit, and water bottles that I kept in the car, topped off with the spare set of clothes. It was a heavy load, but I feared it still wasn’t enough. After exiting the car, I slung the trash bag over my shoulder and began pulling my disguised bug-out bag suitcase down the sidewalk to the intersection.
I knew that I was north of the Fire Prevention Center, but I had been using my phone to navigate and that tool no longer worked. With no street map, and most of the area streets being numbered in every direction, it wasn’t that clear which way I should go. With the clouds in place, I couldn’t even use the sun to navigate. I realized that I should have pulled the compass from my BOB before packing it up, but I didn’t want to pull open that treasure trove on the crowded street. I knew that Highway 20 ran northeast/southwest, but it also made some odd twists and turns through the city.
I needed to get my bearings to head south to the center, and that’s when I noticed the first satellite TV dish. Those face south by southeast. And they were everywhere! I could navigate with those.
Crossing underneath 20, I treated the dishes like arrows pointing the way south. After many blocks, and after many people eyeballed me and my load, I was close to the Fire Center. That’s when two young men stepped out of a doorway, blocking my path. I wasn’t shocked, in fact, I’d been expecting it. And I prepared myself to spring one of my favorite psychological traps.
“Whatcha got in the trash bag, mister?” the taller fellow asked. “Yeah, looks heavy. Let’s have a look inside,” his accomplice replied.
I stood perfectly still, shifting my gaze from one man’s eyes to the other. When the taller man reached for the bag, I took a step back and let the bag roll off my shoulder. Before they could lay hands upon it or me, I opened the bag and spoke into it “He wants to see you. Both of you!” I locked eyes with my adversaries again, one then the other, making uncomfortable and awkward eye contact.
They stood still, rather surprised. One man peeked into the bag, seeing only the clothing on top. “You want to meet my cat or my dog first?” I said a little louder. The men looked at each other with a puzzled expression. “You ever eat a cat or a dog?” I queried them as I took a quick step forward with my open bag. They took half a step back, and glanced at each other again.
Then they got hit with the showstopper: “You ever try eating a baby?” I asked them while giving them the crazy eyes again.
As if on cue, the skies opened with heavy raindrops while I launched into my best impression of a Gary Busey laugh. Maniacal and completely off the rails. This was too much for the young duo of thugs. One shouted, “You’re crazy, man! I’m going to get the cops!” as they ran away in the rain. Taking the spare trash bag from my pocket, I ripped a hole in the bottom to create a rain poncho. Then I hoisted the other bag over my shoulder again and found my way to the Fire Prevention Center. One of the firefighters I had trained saw me through the locked glass door and let me in. She showed me a handwritten note from the mayor’s office, brought to the station by a bike messenger.
The entire southeast was down. It was an EMP and all of the electronics in five states were fried. There was my worst fear, hastily scribbled in black and white. And there I stood, 1,000 miles away from my family. I stayed for a few days with my new friends at the fire department, but they knew I had no intention of staying longer.
The fire department gave me all the provisions I could fit in my rolling suitcase, and then I began the long walk home.
Conclusion
Everything today is online, electronic, and interconnected. It’s a convenient system, but it’s also vulnerable. Should a massive solar flare or the high-altitude detonation of a nuclear weapon occur, it could shower the underlying area with electromagnetic energy — potentially destroying the electrical grid, communications, and even our personal electronics. If this were to happen over your area, you’d better be ready to join an 1800s frontier community because your day job (and life as you know it) would be gone. And changing from an IT career to shoeing horses is far from your only problem.
Just because old-fashioned technologies are the only ones still working, don’t expect old-fashioned values and civility to return. We can all imagine the self-centered and criminal behavior of a city full of modern people desperate for supplies and lacking the skills of self-sufficiency. It wouldn’t be pretty on the first day of an EMP attack, and when the masses figure out that their cushy life is over — all we can say is, “Welcome to the Wild Wild West, sucka!”
[meetourpanel]
More From Issue 19
Don’t miss essential survival insights—sign up for Recoil Offgrid’s free newsletter today!
Read articles from the next issue of Recoil Offgrid: Issue 20
Read articles from the previous issue of Recoil Offgrid: Issue 18
Check out our other publications on the web: Recoil | Gun Digest | Blade | RecoilTV | RECOILtv (YouTube)
Editor’s Note: This article has been modified from its original version for the web.