WARNING: The content in this story is provided for illustrative purposes only and not meant to be construed as advice or instruction. Any use of the information contained in this article shall be solely at the reader’s risk. This publication and its contributors are not responsible for any potential injuries.
“The ax is back!” Thanks to rally cries like this from neatly manscaped, mustachioed, flannelled hipsters, the average Joe might believe there’s a resurgence in this classic woodsman’s tool. The reality is the ax never went anywhere and has been used continuously for centuries in the hands of true professionals.
While the idea of the ax being the “latest and greatest” men’s fashion accessory (we’re not joking; there are lumbersexuals who buy “designer axes” now) is considered comical by the modern-day Ragnarok, an actual growing trend in the ax world is the emergence of more lightweight and compact pocket hatchets. Let’s face it, there are times when you can’t swing that full-sized ax, and you need something more practical. The pocket hatchet — and its combat-oriented brother, the pocket tomahawk — is the answer. (For the purpose of this article, the term “pocket hatchet” will be used interchangeably to reference both pocket hatchets and compact tomahawks.)
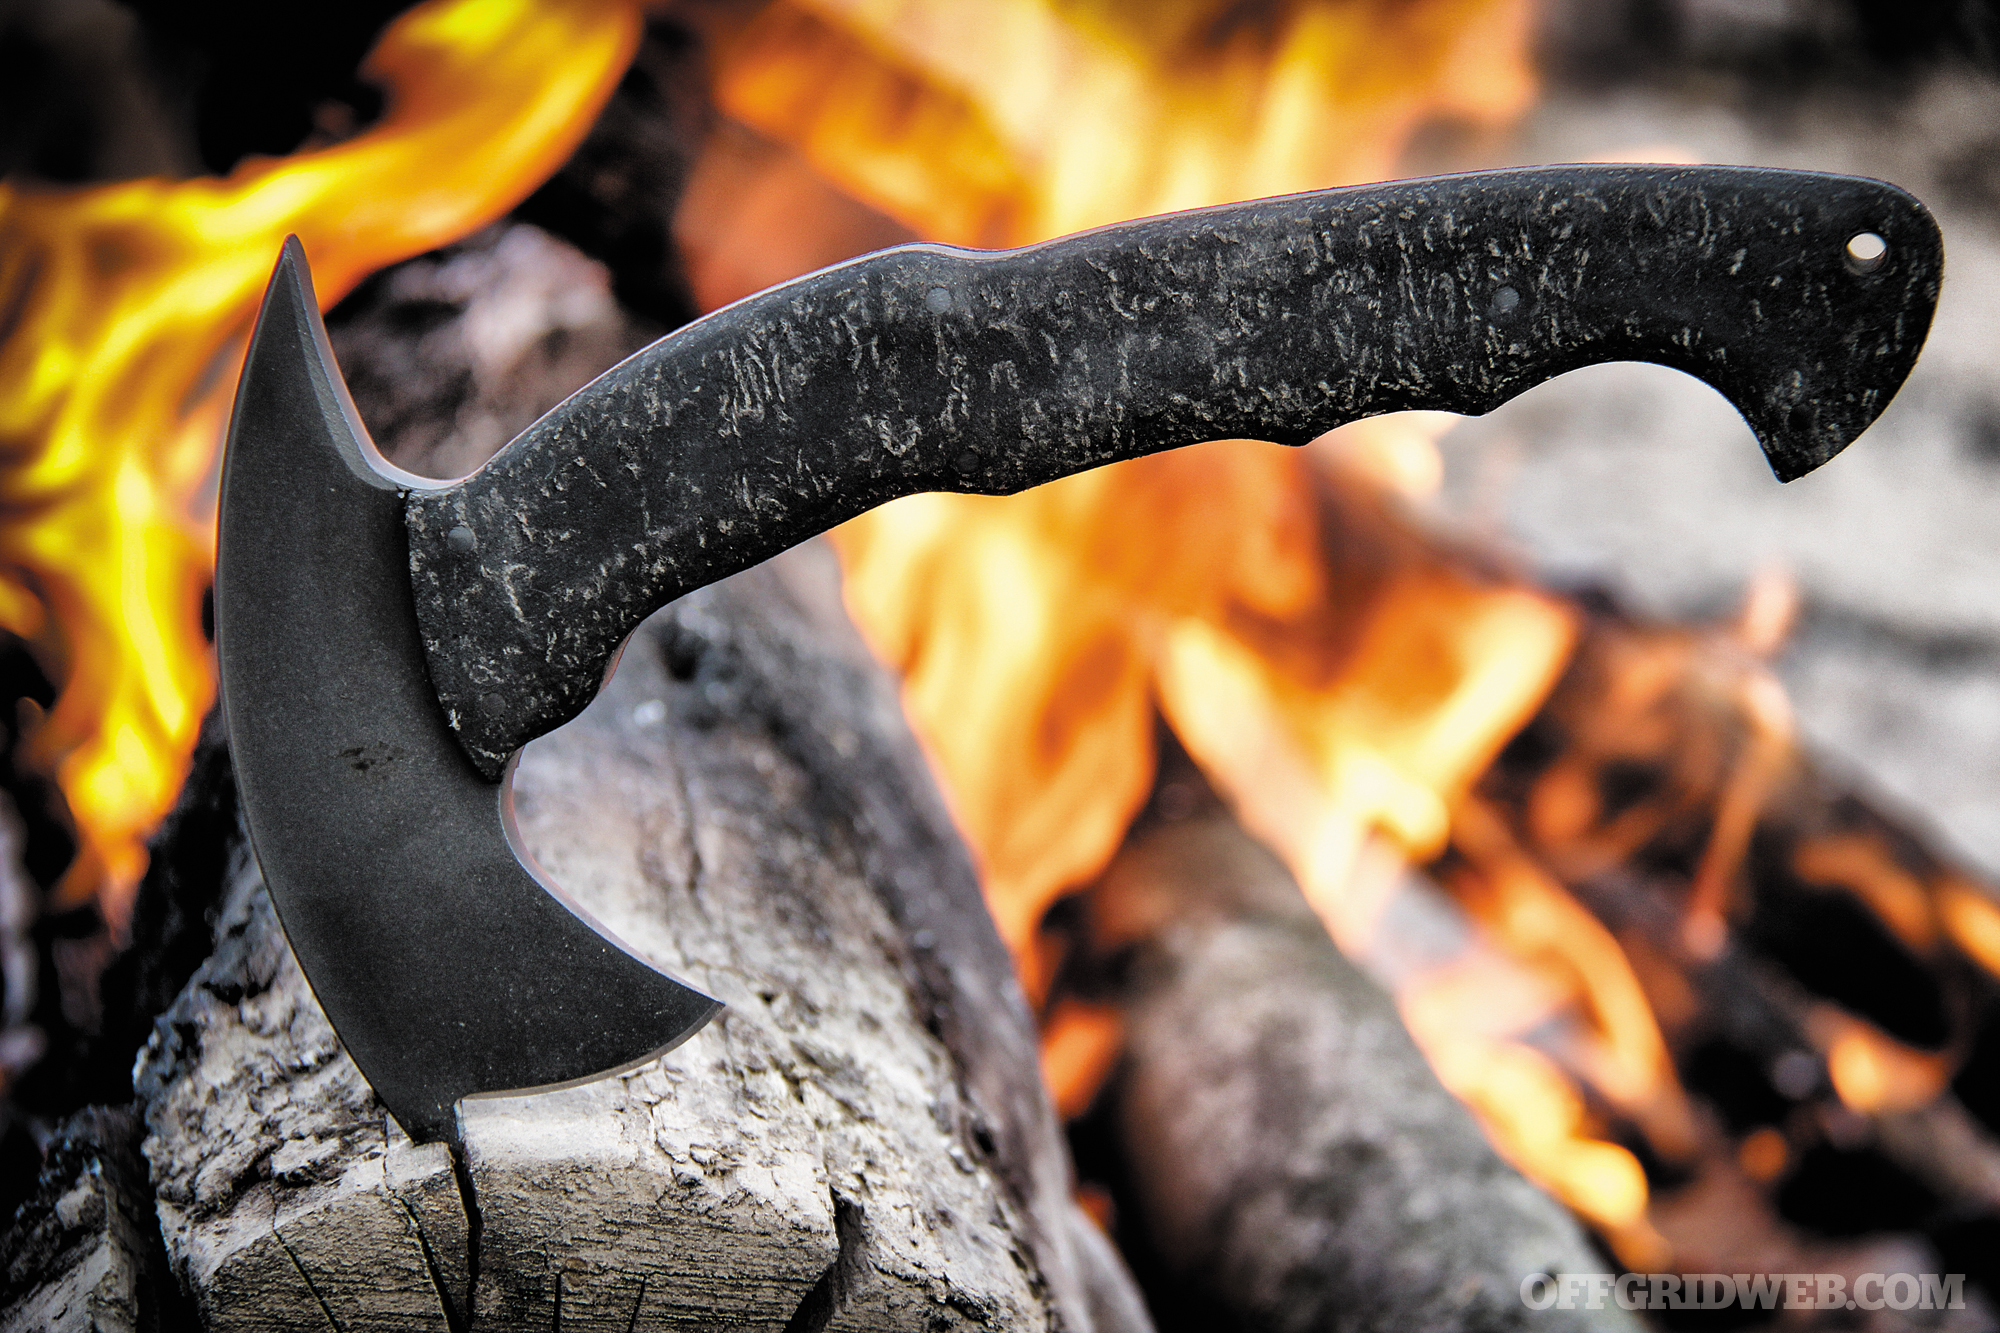
Though easily dismissed by those who think larger hatchets and two-handed axes as the only chopping tools worth a damn, these diminutive hatchets fit into a unique category of cutting tools and shouldn’t be overlooked. Sometimes referred to as sounding hatchets, these little guys are easily carried in a jacket pocket or your pants’ back pocket for light work.
Why carry them? You may not have room in your everyday-carry (EDC) gear for anything larger. And, when the need arises, you’ll certainly be thankful you have a pocket-sized chopper that’s more effective than your tactical folder or Swiss Army Knife.
Log Splitting
A common misconception of log splitting is that the round of wood must stand on one end and an ax must come down on it from the neatly sawn end. When you watch a skilled woodsman, they make it look easy. Assuming you only have a pocket hatchet and must access the dry wood found inside a piece of downed dry wood, there won’t be a cleanly cut stump to prop the log up on, and there won’t be a clean end on the other side to split in half.
How, then, do you access the dry wood when all you have is a baby hatchet?
Above: Small rounds of wood can be split with simple technique. The blade is placed parallel to the grain of the wood and both pocket hatchet and wooden round are pounded on a wooden log simultaneously.
The easiest way is to hold the hatchet in line with the grain of the wood and parallel to it and grasp the round of wood in your other hand. Both hands move the two objects in sync with one another onto a log or wooden stump. The force of the impact drives the blade into the round of wood more safely than swinging the pocket hatchet at the wood. Exercise care to keep your fingers free from the round of wood and make sure there’s clearance for your hand, lest you risk injury.
While on the topic of injuries, remember, the shorter the handle on an ax, the greater the chance of self-cutting from an errant follow-through.
Hatchet wounds are generally found in the quadriceps, while hand-and-a-half and felling axes are found in the shins and feet. Don’t be that guy. Exercise caution. When in doubt, simply kneel low to the ground when using one. If your axe ends up glancing off something, you’ll impact the soil instead of yourself.
Splitting Wedges
Look at a seasoned stack of wood. As it dries, natural cracks begin to separate the grain of the wood. These cracks compromise the strength of the wood and give the outdoorsman a reference point for splitting. The cracks in a log generally run the full-length of the grain and, unless they’re met by a knot in the wood, will split predictably along it.
Splitting mauls and large camp knives are generally swung or pounded through wood — both rely on the extra mass and strength of the tool to handle the stress of this normal use.
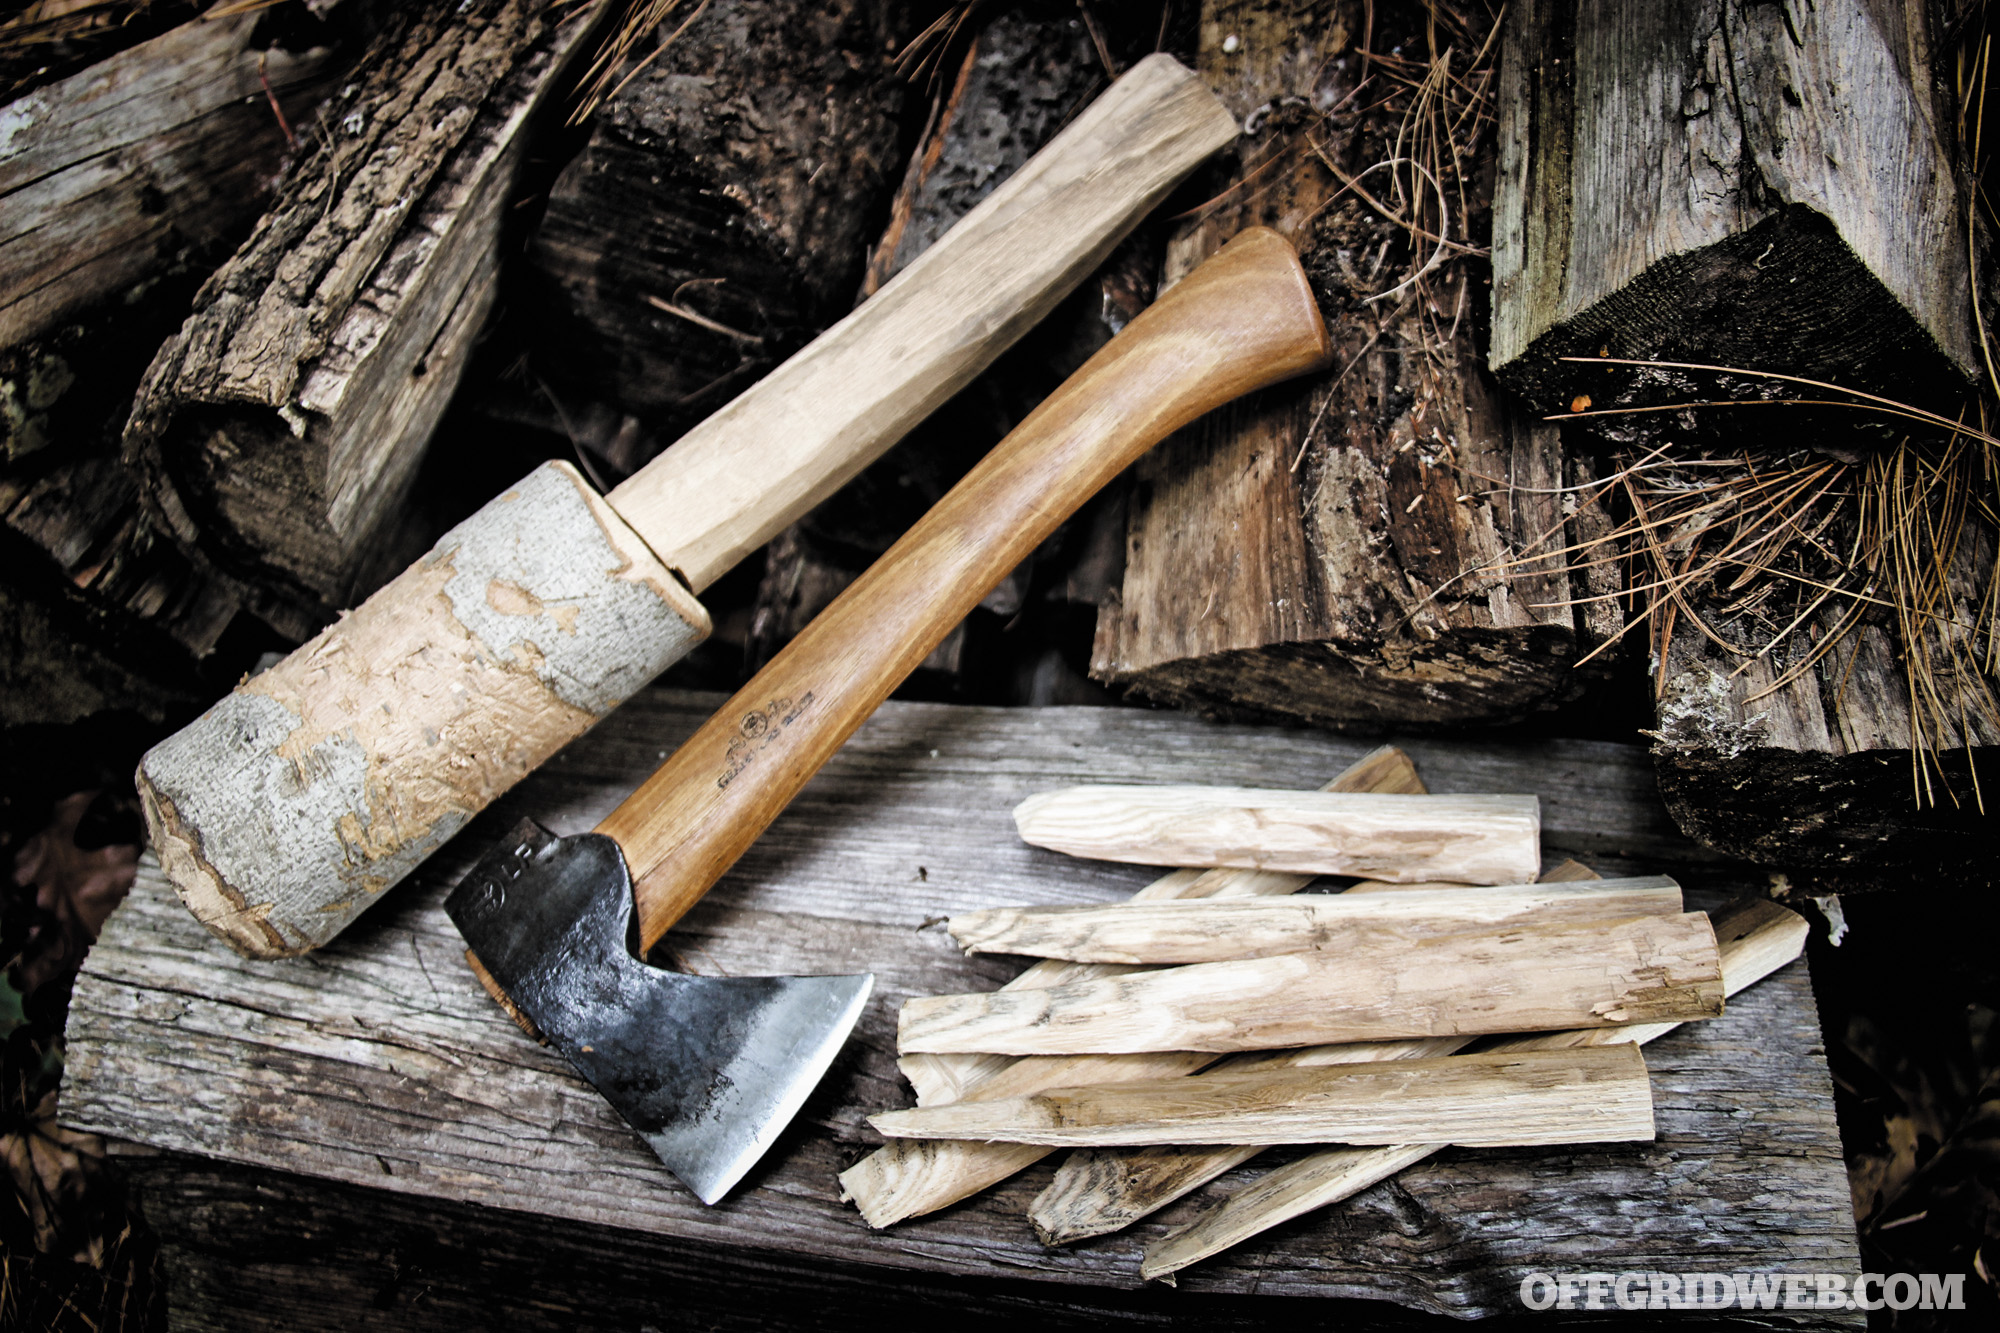
Above: The Gransfors Bruks Small Hatchet next to a wooden baton and hardwood wedges. With these tools, large rounds of wood can be split open exposing dry wood inside.
Batoning is a popular practice to split wood, incorporating a wooden baton to add heft to a smaller blade that lacks it. Pocket hatchets traditionally were never meant for large splitting tasks, but that doesn’t mean they aren’t capable with an application of a little lateral thinking.
Rather than using the hatchet head like a wedge to baton into the wood, exploit the natural cracks by creating wedges. Use hardwood branches to create wedge pegs you can drive into the wood with a wooden baton or rock. To create a baton, either saw or chop away a smaller diameter handle from a wide round of wood. As you pound your wedges into the log, you’ll hear it crack and then settle.
As wedges are added further down a crack, the previous wedges will become loose. You may find you have to create wider wedges depending on how stubborn the wood grain is. With practice, patience, and a decent amount of effort, an extremely large log can be split to the heartwood with a pocket hatchet a fraction of its size.
Choke-Grip and Fine Carving
Watch any seasoned hatchet user around a campfire, and you’ll notice how many times his or her grip changes while processing campfire wood. The most common grip while using a pocket hatchet is at the very bottom of the handle, called the “end knob,” but depending on the amount of force and pressure needed, the user may find his or her hand directly under the head and just behind the cutting edge, called the “shoulder.”
Held this way, you can use the pocket hatchet to finely carve, notch, and push cut with the blade. Since choking up on the blade in this manner puts the edge in line with the index and middle finger (depending on the size of the blade and profile), there’s less leverage placed on the wrist than a conventional knife blade.
This additional mechanical advantage gives the choked-up grip incredible strength.
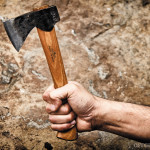
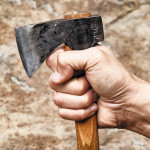
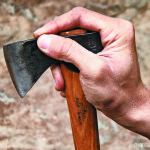
Above: Numerous grips exist for pocket hatchets — the standard grip at the bottom of the handle, underneath the head, and cupping the poll of the pocket hatchet. The lightweight head makes handling easy and less fatiguing than using a much larger hatchet.
A pocket hatchet can be used to carve by holding it directly under the blade, just above the bottom of the end knob, or any point in between. If the pocket hatchet has a spike, it can be driven into a log and the user can move the wood being carved over the edge to create fine shavings for fire starting. If the pocket hatchet’s butt is equipped with a hammer (also called a poll) instead of a spike, you can also hold it by cupping the hammer, letting you use it in the same manner as an Eskimo ulu.
You’ll find that the pocket hatchet responds differently depending on where it’s held. You have a lot of handle (OK, as much as you can get with a pocket ax) to work with, so try it out.
Small-Game Processing
These compact tools can be used for cleaning small game and fish with ease. The upper corner of many pocket hatchet edges comes close to a 90-degree angle. With this “tip,” the user can pierce flesh and hide. A slicing motion is easily accomplished by holding the pocket hatchet in the ulu manner previously mentioned.
While cutting through bone isn’t advised for hunting knives with keen edges, especially hollow-ground edges, a heavier grind found on pocket hatchets can easily cleave a rainbow trout or squirrel head from the day’s catch. Depending on how thinly profiled the edge is, a pocket hatchet can easily gut a fish from vent to gills.
Generally, the poll end of a hunter’s ax can crack bone; with slightly more force, a pocket hatchet can do the same. Once the bone is cracked with the hammer, the sharpened end can cut through the muscle, fat, and flesh around it.
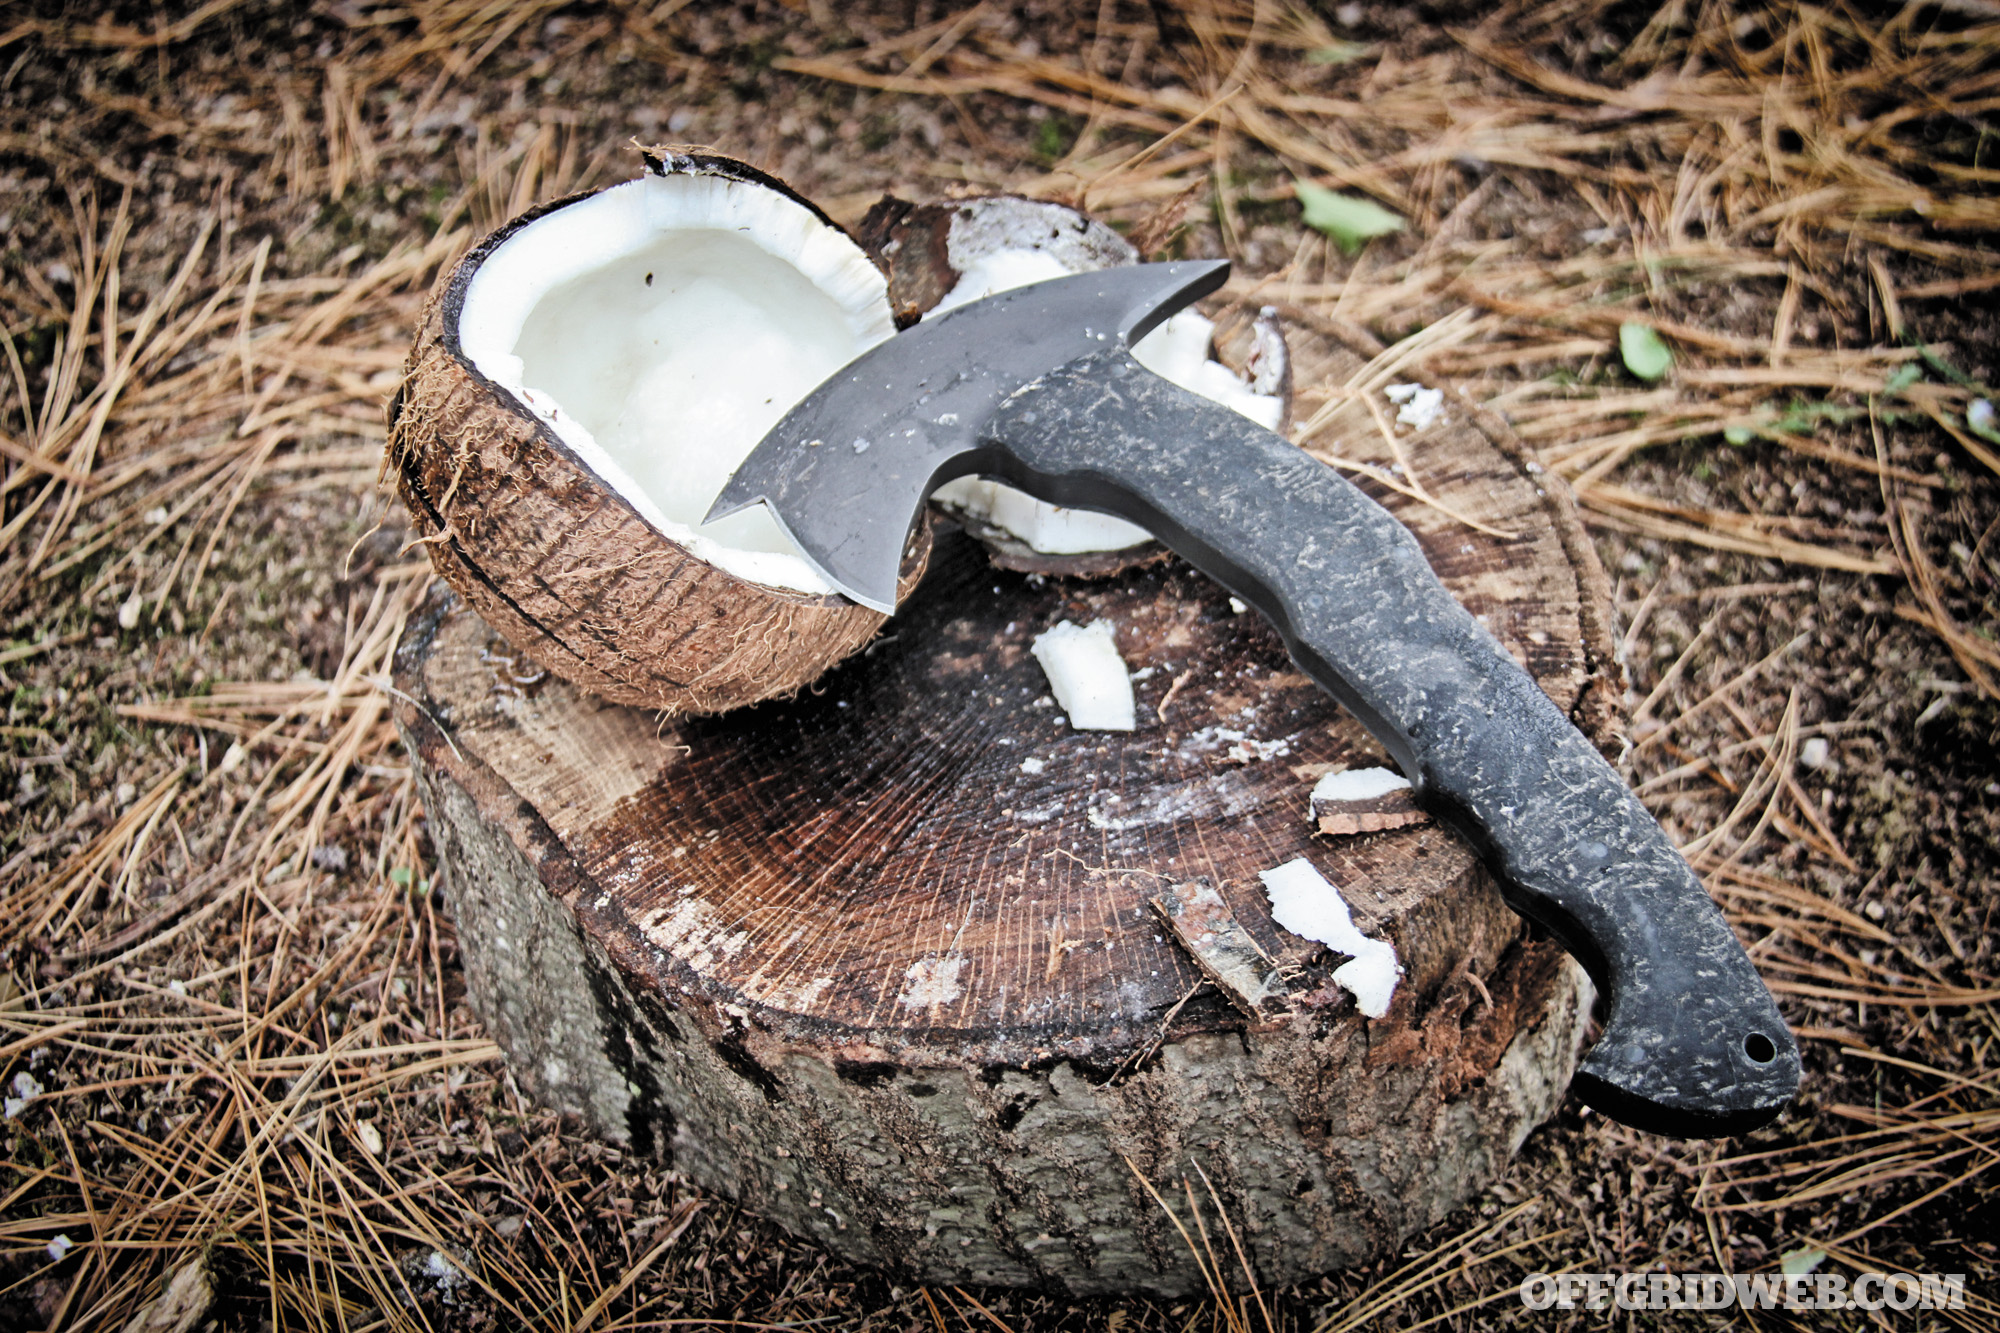
Above: Even a compact tomahawk like the Winkler Blades II RnD Compact Sayoc Tomahawk packs a serious punch. We used it to easily crack open coconuts with no deformation to the spike or edge. The front spike prevented glances on the round surface too.
Rescue
A pocket hatchet has many invaluable characteristics making it ideal for self-rescue or breaching doors and windows. With the correct pocket hatchet (full tang, synthetic handle, stout blade), a person can easily puncture metal without fear of damaging the edge. Axes, including some pocket hatchets, have a thicker profile and are ground to stronger edge geometry than knives of the same blade length. This means they can withstand the force of impact and stress of cutting steel with minimal deformation to the blade.
Historically, crash axes have been carried on aircraft as an emergency tool. A pocket hatchet can be stowed easily in a vehicle and pressed into service to break windows and pry open doors if environmental conditions warrant it.
The rear spike and sharpened beard of some compact ’hawks and pocket hatchets provide new capabilities in the hands of a law-enforcement officer, soldier, or prepared citizen.
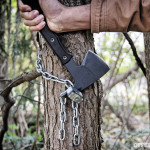
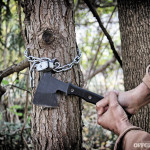
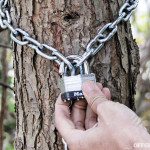
Above: The RMJ Pathfinder spike can split locks. Insert the spike and crank the handle downward. Most locks will either flex or crack and then open under this pressure.
While traditionally used as a weapon, the rear spike (like that found on the RMJ Tactical Pathfinder) can crack open padlocks with the right technique and leverage afforded by its handle. All one needs to do is insert the spike and crank the handle downward. Most padlocks will either fracture at the gate or bend until they open. After testing this on various padlocks and trigger locks, we found no damage on the rear spike. Consider what resources may be chain locked in an emergency and how this breaching ability could come in handy. The Pathfinder’s sharpened beard can be used like a can opener on thin-skinned metal or fabric.
Self-Defense
Anyone who can swing a hammer can learn to swing a pocket hatchet. The power generated by a 1-pound ball-peen hammer is not what an attacker wants to experience, let alone a 1-pound ax with a sharpened edge. Pocket hatchets are highly effective combative tools. With all the ways these puppies can be carried, there’s always a way to access one when SHTF. As a weapon-retention tool or a get-off-me device, no one will deny what can be done with a good pocket hatchet and some skill.
When used to supplement a sidearm or a rifle, the pocket hatchet becomes an effective backup in close quarters.
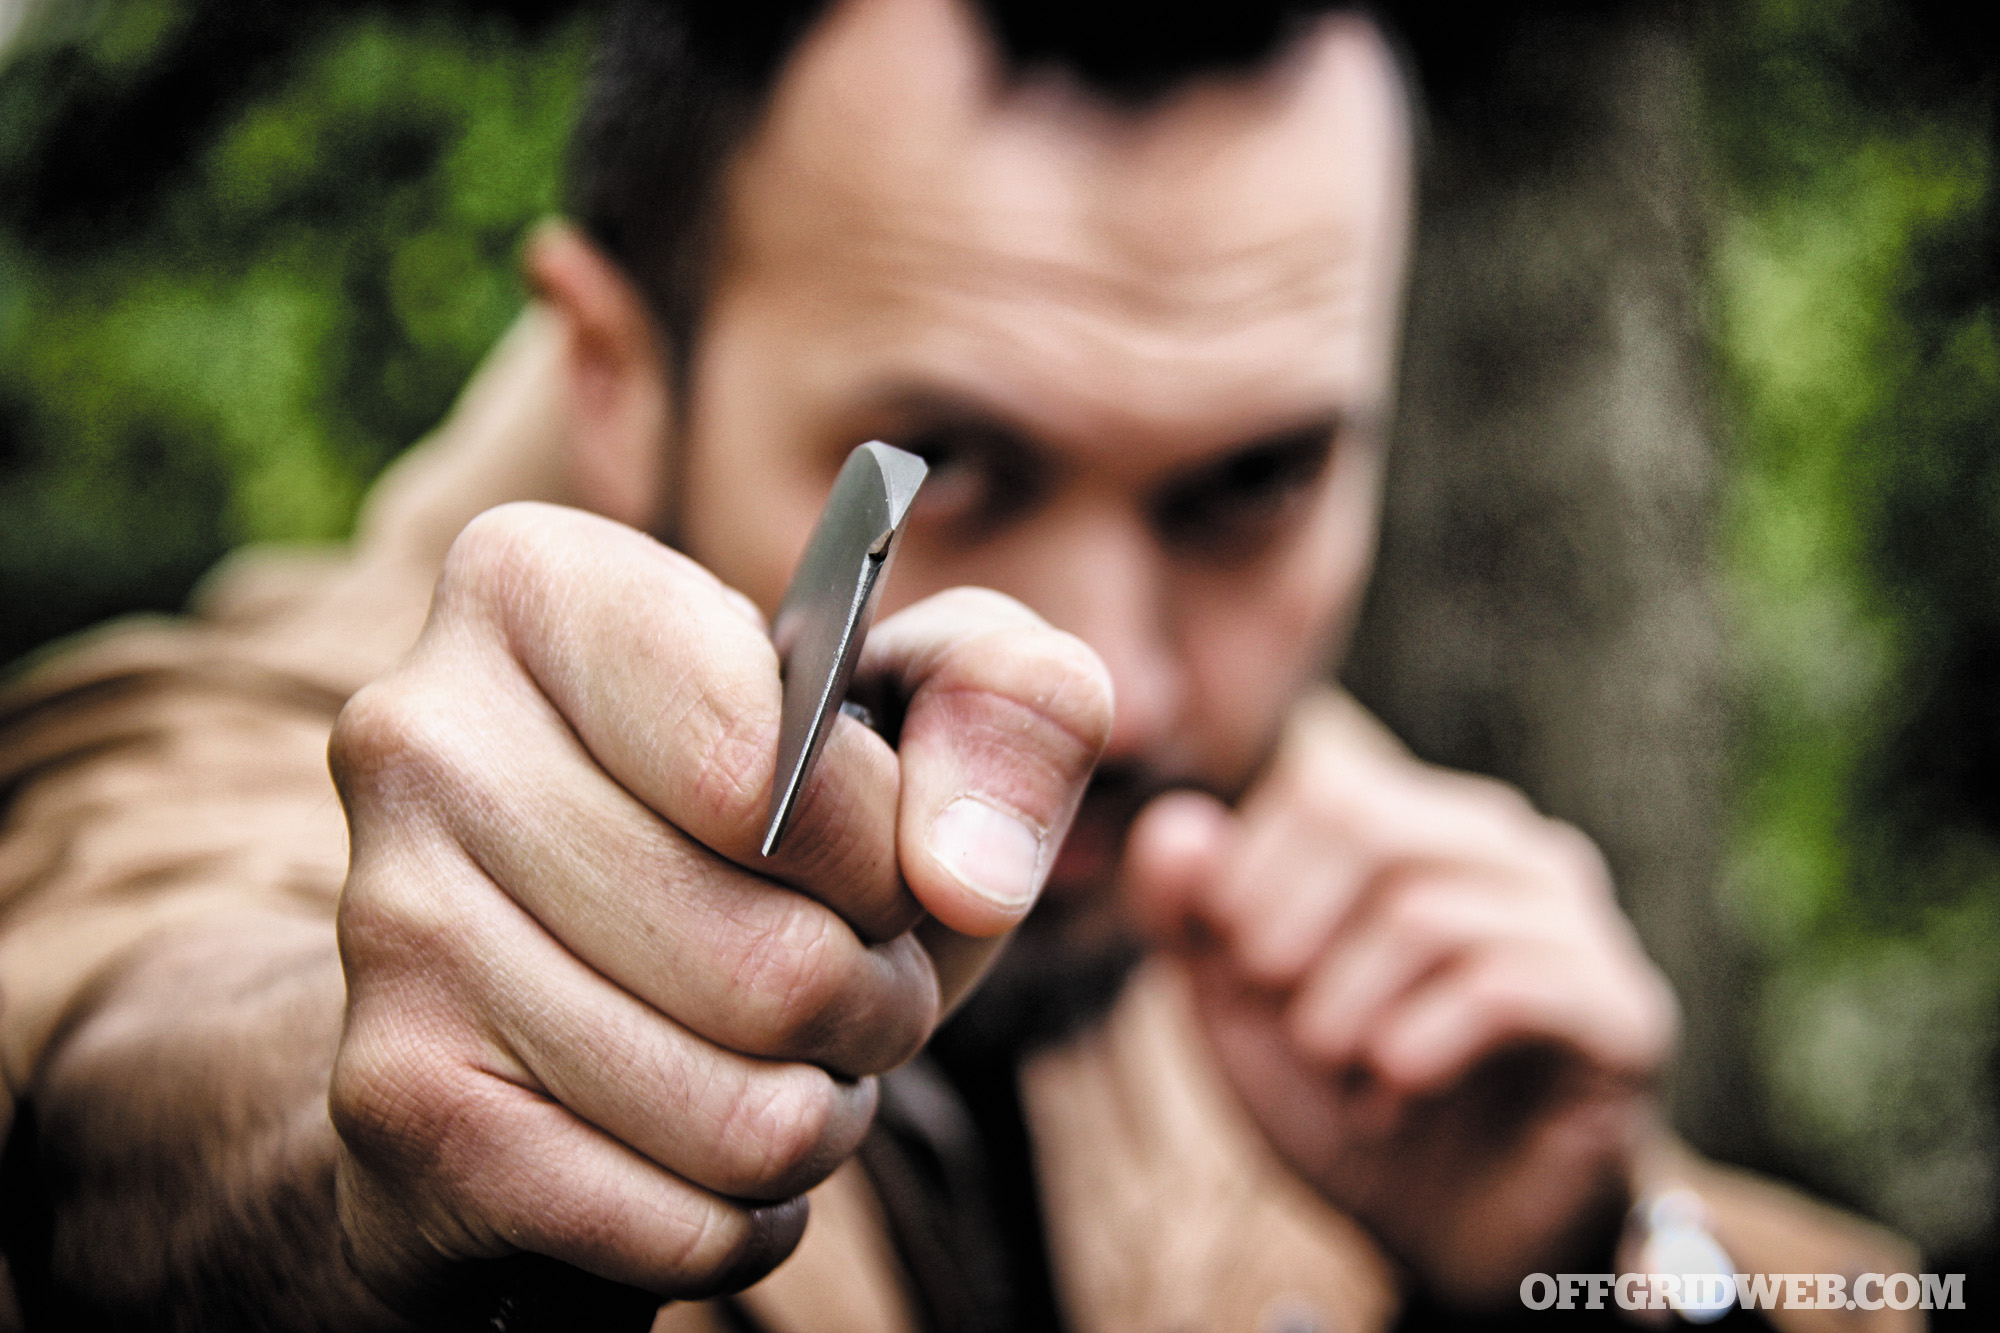
Above: Pistol punching with a front spike on the Winkler Blades II RnD Compact Sayoc Tomahawk puts a lot of force behind the front spike. This is just one of the many ways a pocket ’hawk can be used for defense.
The shape of its head allows the user to punch with it using a choked-up grip. To hook and pull, just hold it lower on the grip. The rear spike or hammer can puncture or crush without the need to flip your wrist over. A pocket ’hawk can parry inbound attacks and redirect energy back at the attacker. Less-lethal attacks can include hitting with the unsharpened top of the hatchet head or the bottom of the handle. The grip of most pocket hatchets makes applying stick grappling and restraint techniques possible too.
A word of warning to anyone using a pocket hatchet for defense — train with your ax while the edge guard is on. An ax carries a lot of momentum and can easily cause injury if the follow-through isn’t respected. In other words, learn to not miss and if you accidentally do, make sure your legs are out of the way.
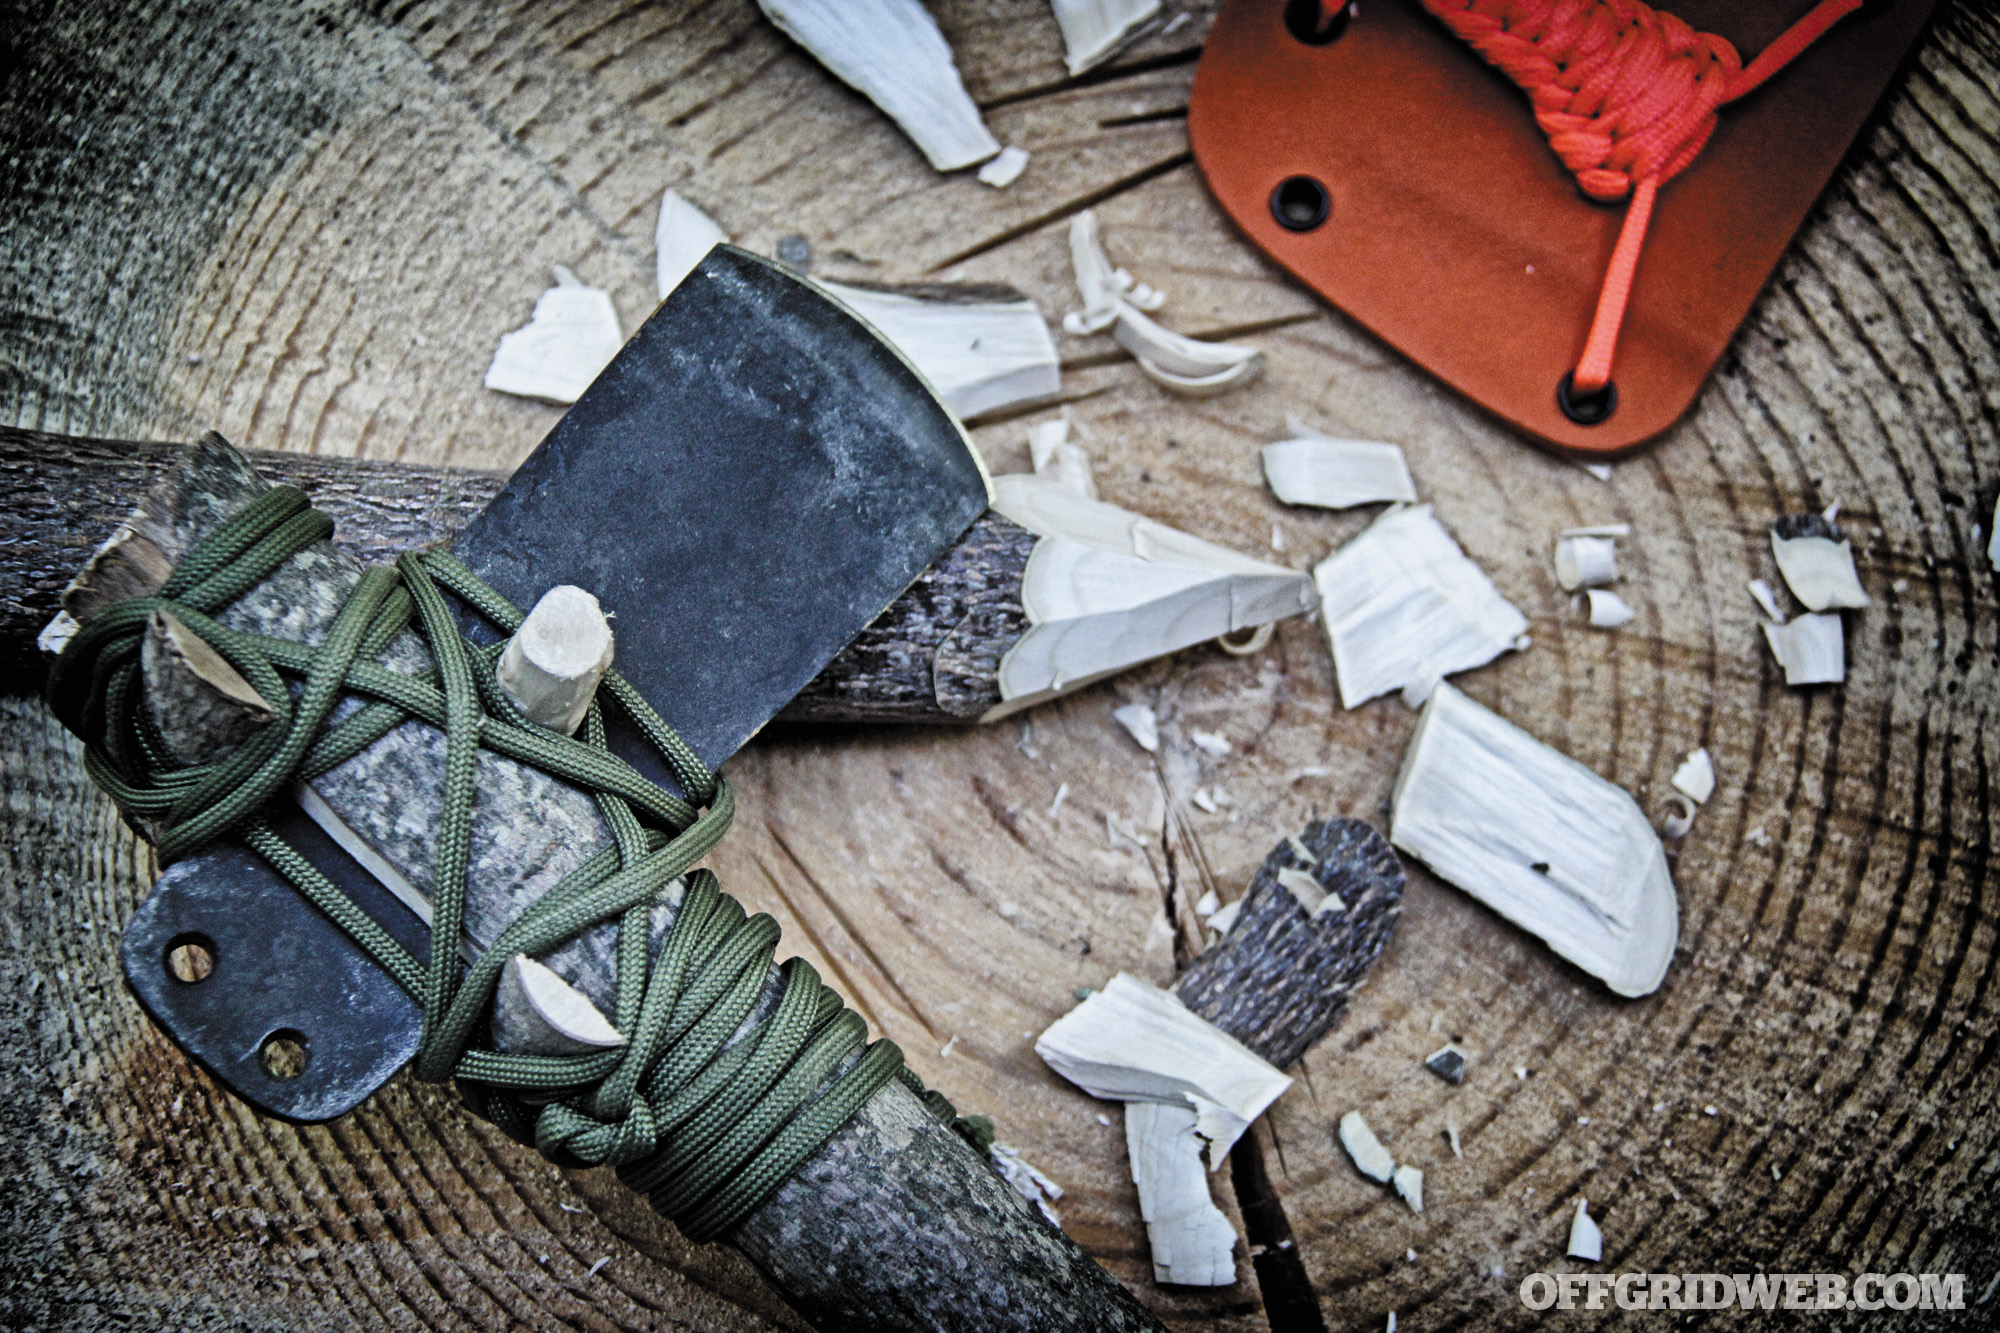
Above: The Chuck Cook Scout Axe can be carried into the woods disassembled in its protective sheath. If a large hatchet is needed, one can be fashioned from the resources at hand.
Also, make sure your buddies aren’t too close as you can hurt them with a wild swing too. If you have some spare paracord around, creating a wrist thong will prevent your pocket hatchet from becoming a projectile if you lose your grip.
Methods of Carry
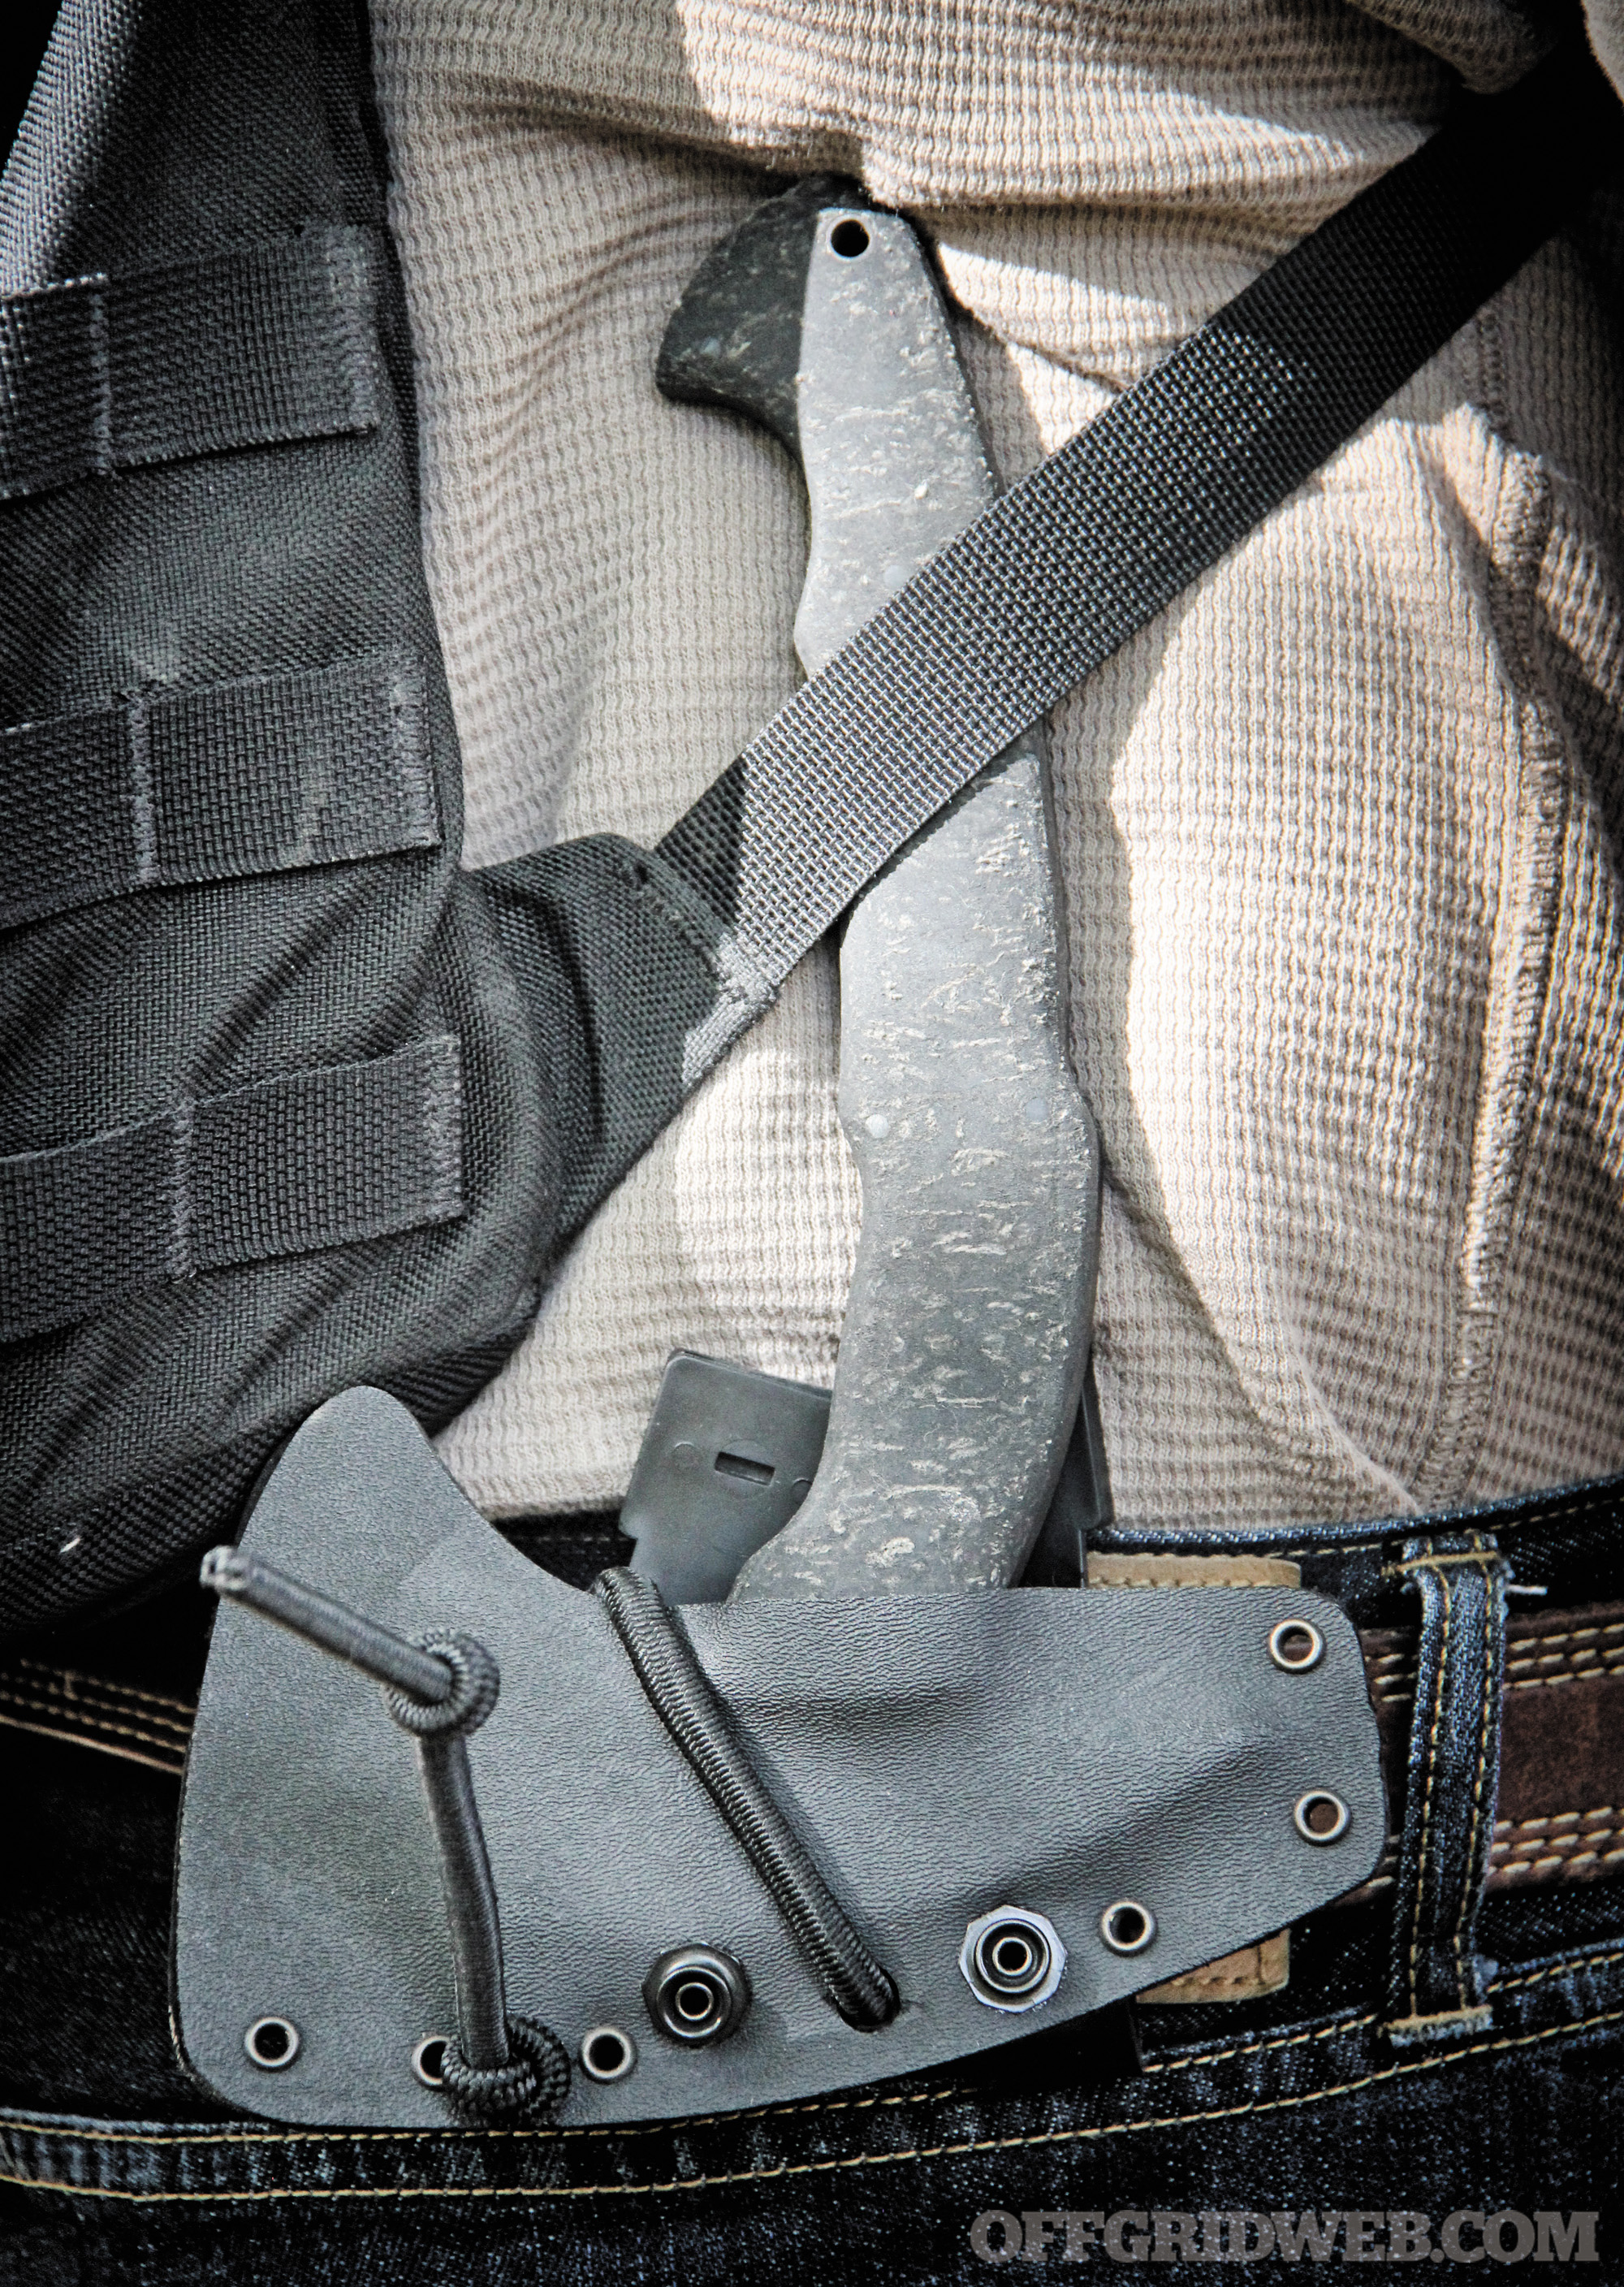
1. Inverted Belt Carry
The problem with wearing a hatchet on your belt is that the handle hangs down your leg and gets in the way. If you’re on the go, it’s a no-go. Since many modern pocket hatchets have “bottom-eject” sheaths, turning the sheath upside down lets you run the handle up under your arm. It’s easy to extract, and the handle can be further held in place by a backpack strap. Want to see it in action? Check out former Navy SEAL Joel Lambert on Discovery’s Lone Target.
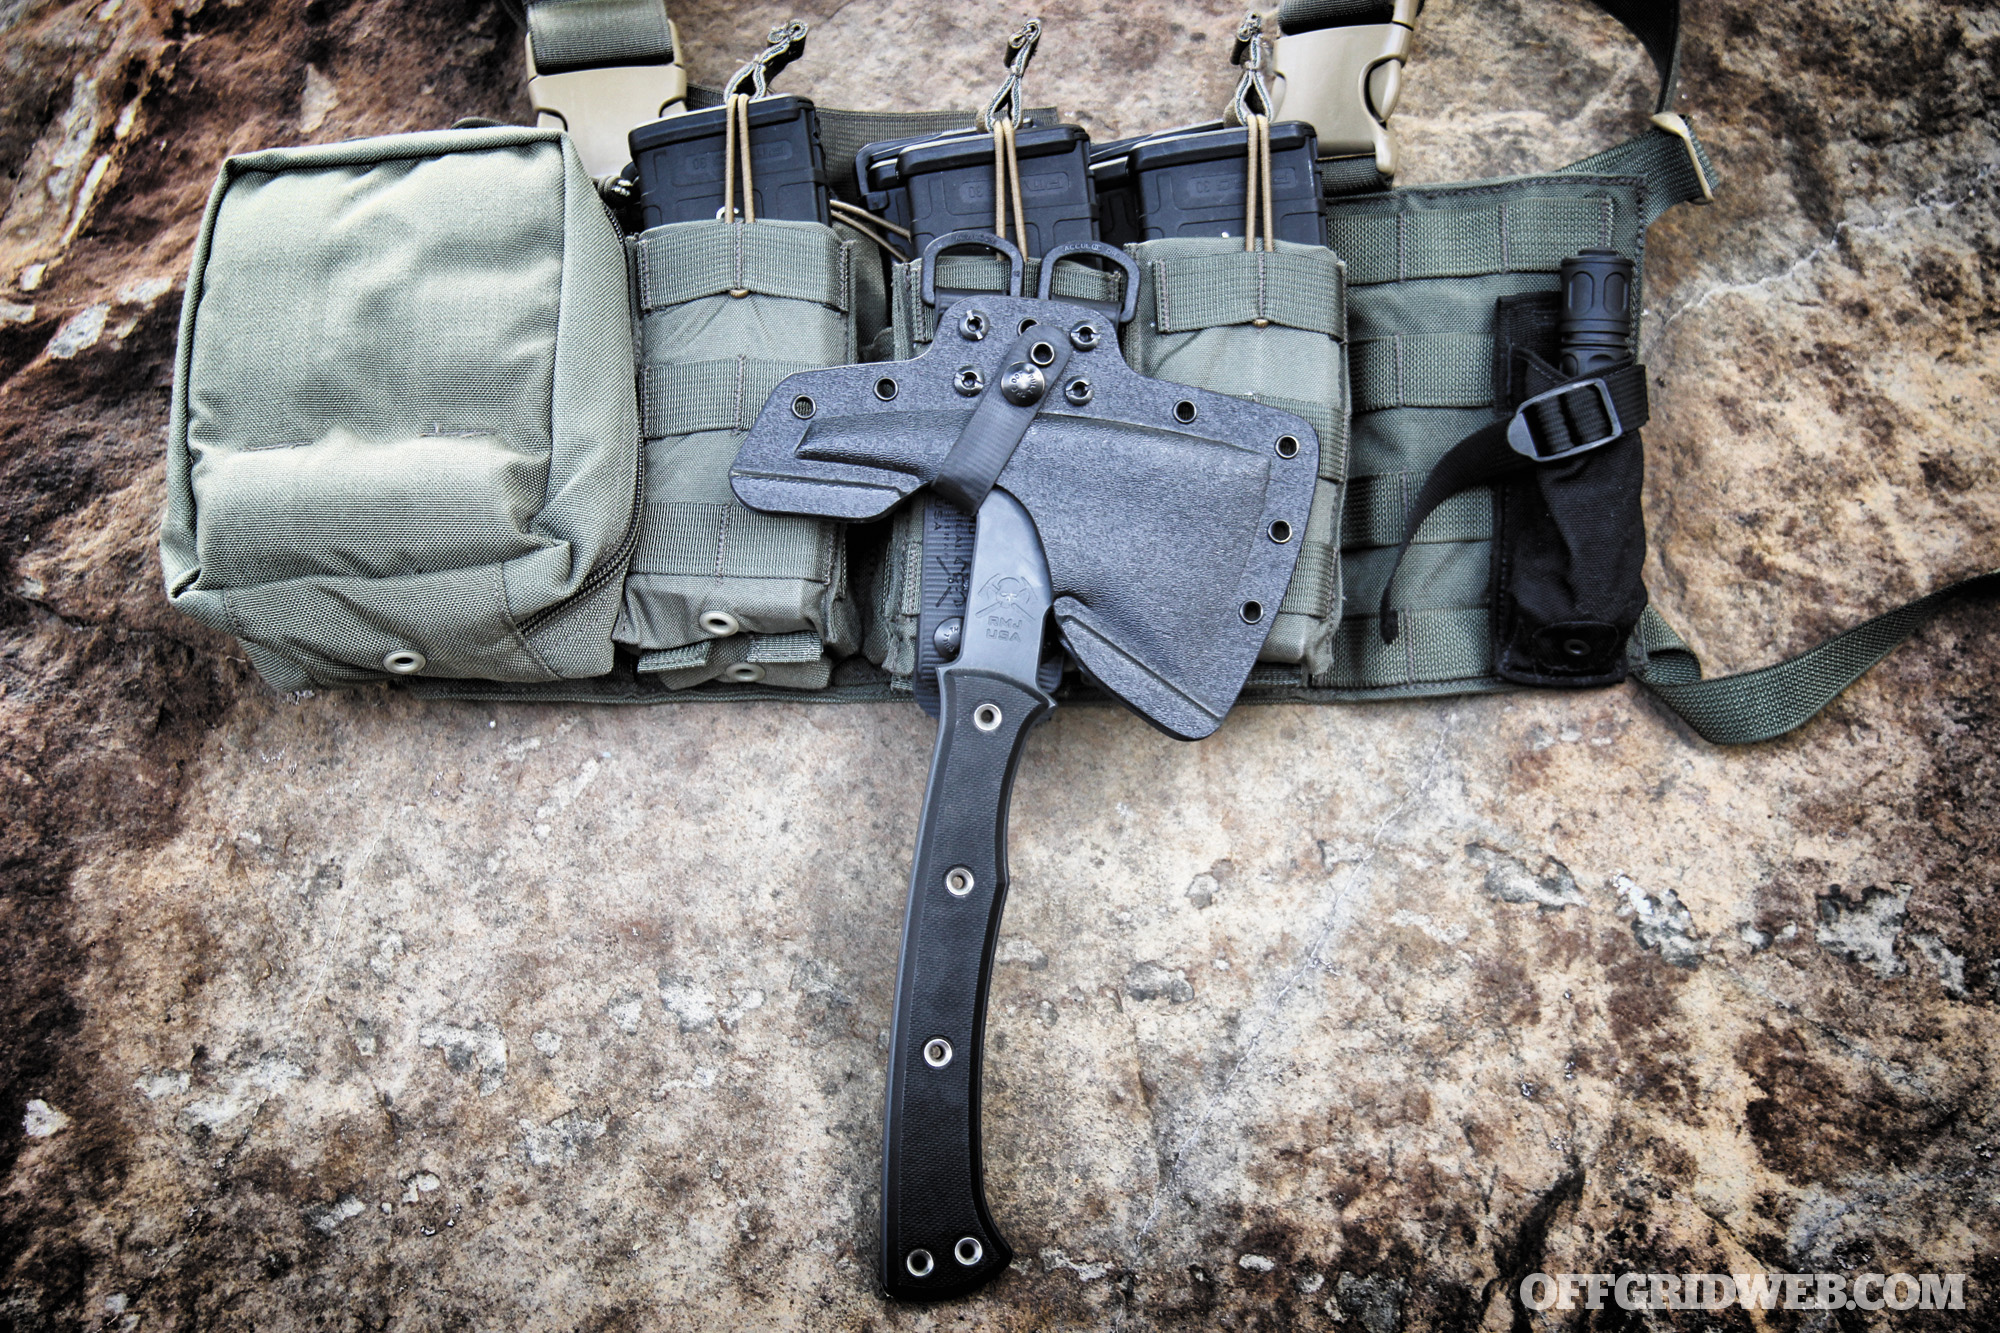
2. Chest Rig or Battle Belt
From pocket hatchet to tactical tomahawk, centerline carry on your chest rig or on your battle belt are good options. Attached on MOLLE mag carriers, the full-length of the pocket hatchet fits within the length of the torso and the handle falls at the belt. The tool is accessible with either hand and won’t get in the way of magazine changes or other weapon manipulations. If you’re worried about the handle smacking you in the chin, pocket hatchet handles are generally short enough to prevent this. Worn on a battle belt, the pocket hatchet handle hangs to your side where it won’t smack your thigh as you run.
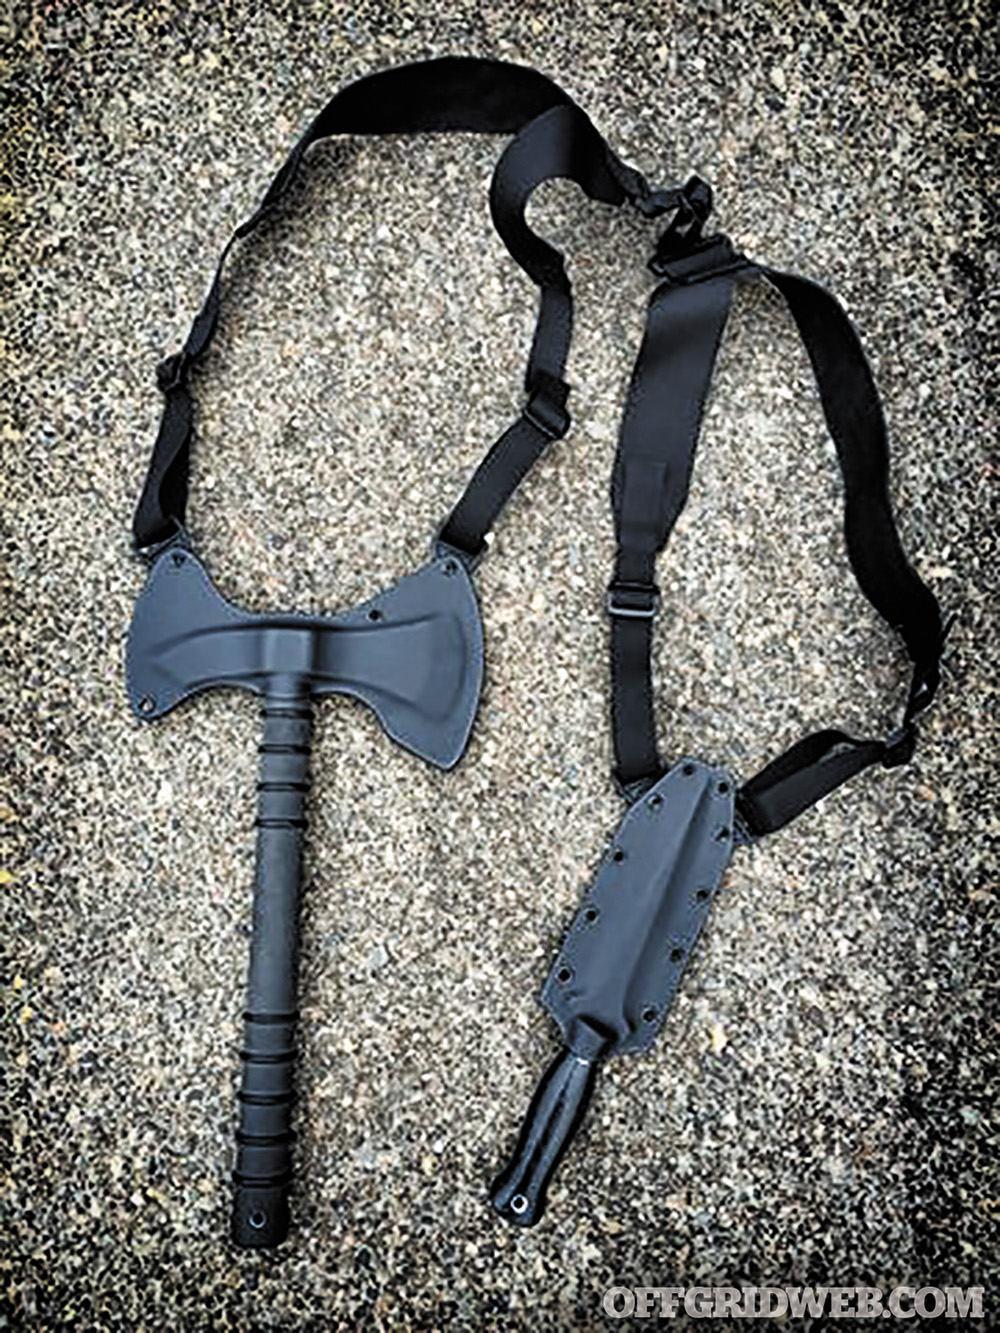
3. Inside-the-Jacket Carry
Old timers will tell you to always warm your ax head before swinging it in the dead of winter. The cold can easily make your edge crack. To prevent this from happening, carry your pocket hatchet “bandoleer style” inside your jacket. That’ll keep it warm.
4. Ice-Ax Style
Ice climbers know where to stash their tools when they’re not in use. The handle is passed through a loop on the bottom of their pack to the base of the pocket hatchet head. The handle is then flipped, on its head, to place it upright, and it’s lashed down. This method allows you to keep the ax’s weight low on the body instead of high up near the shoulders.
5. Vehicle Carry
The pocket hatchet can fit easily in a glovebox, between or under the seat, or tucked in a seatback pocket. Should you need to cut yourself out of a wrecked car or access a trunk that’s crushed and locked closed, you’ll have the right tool in place. You’ll also be ready to help someone else if you stumble upon an emergency.
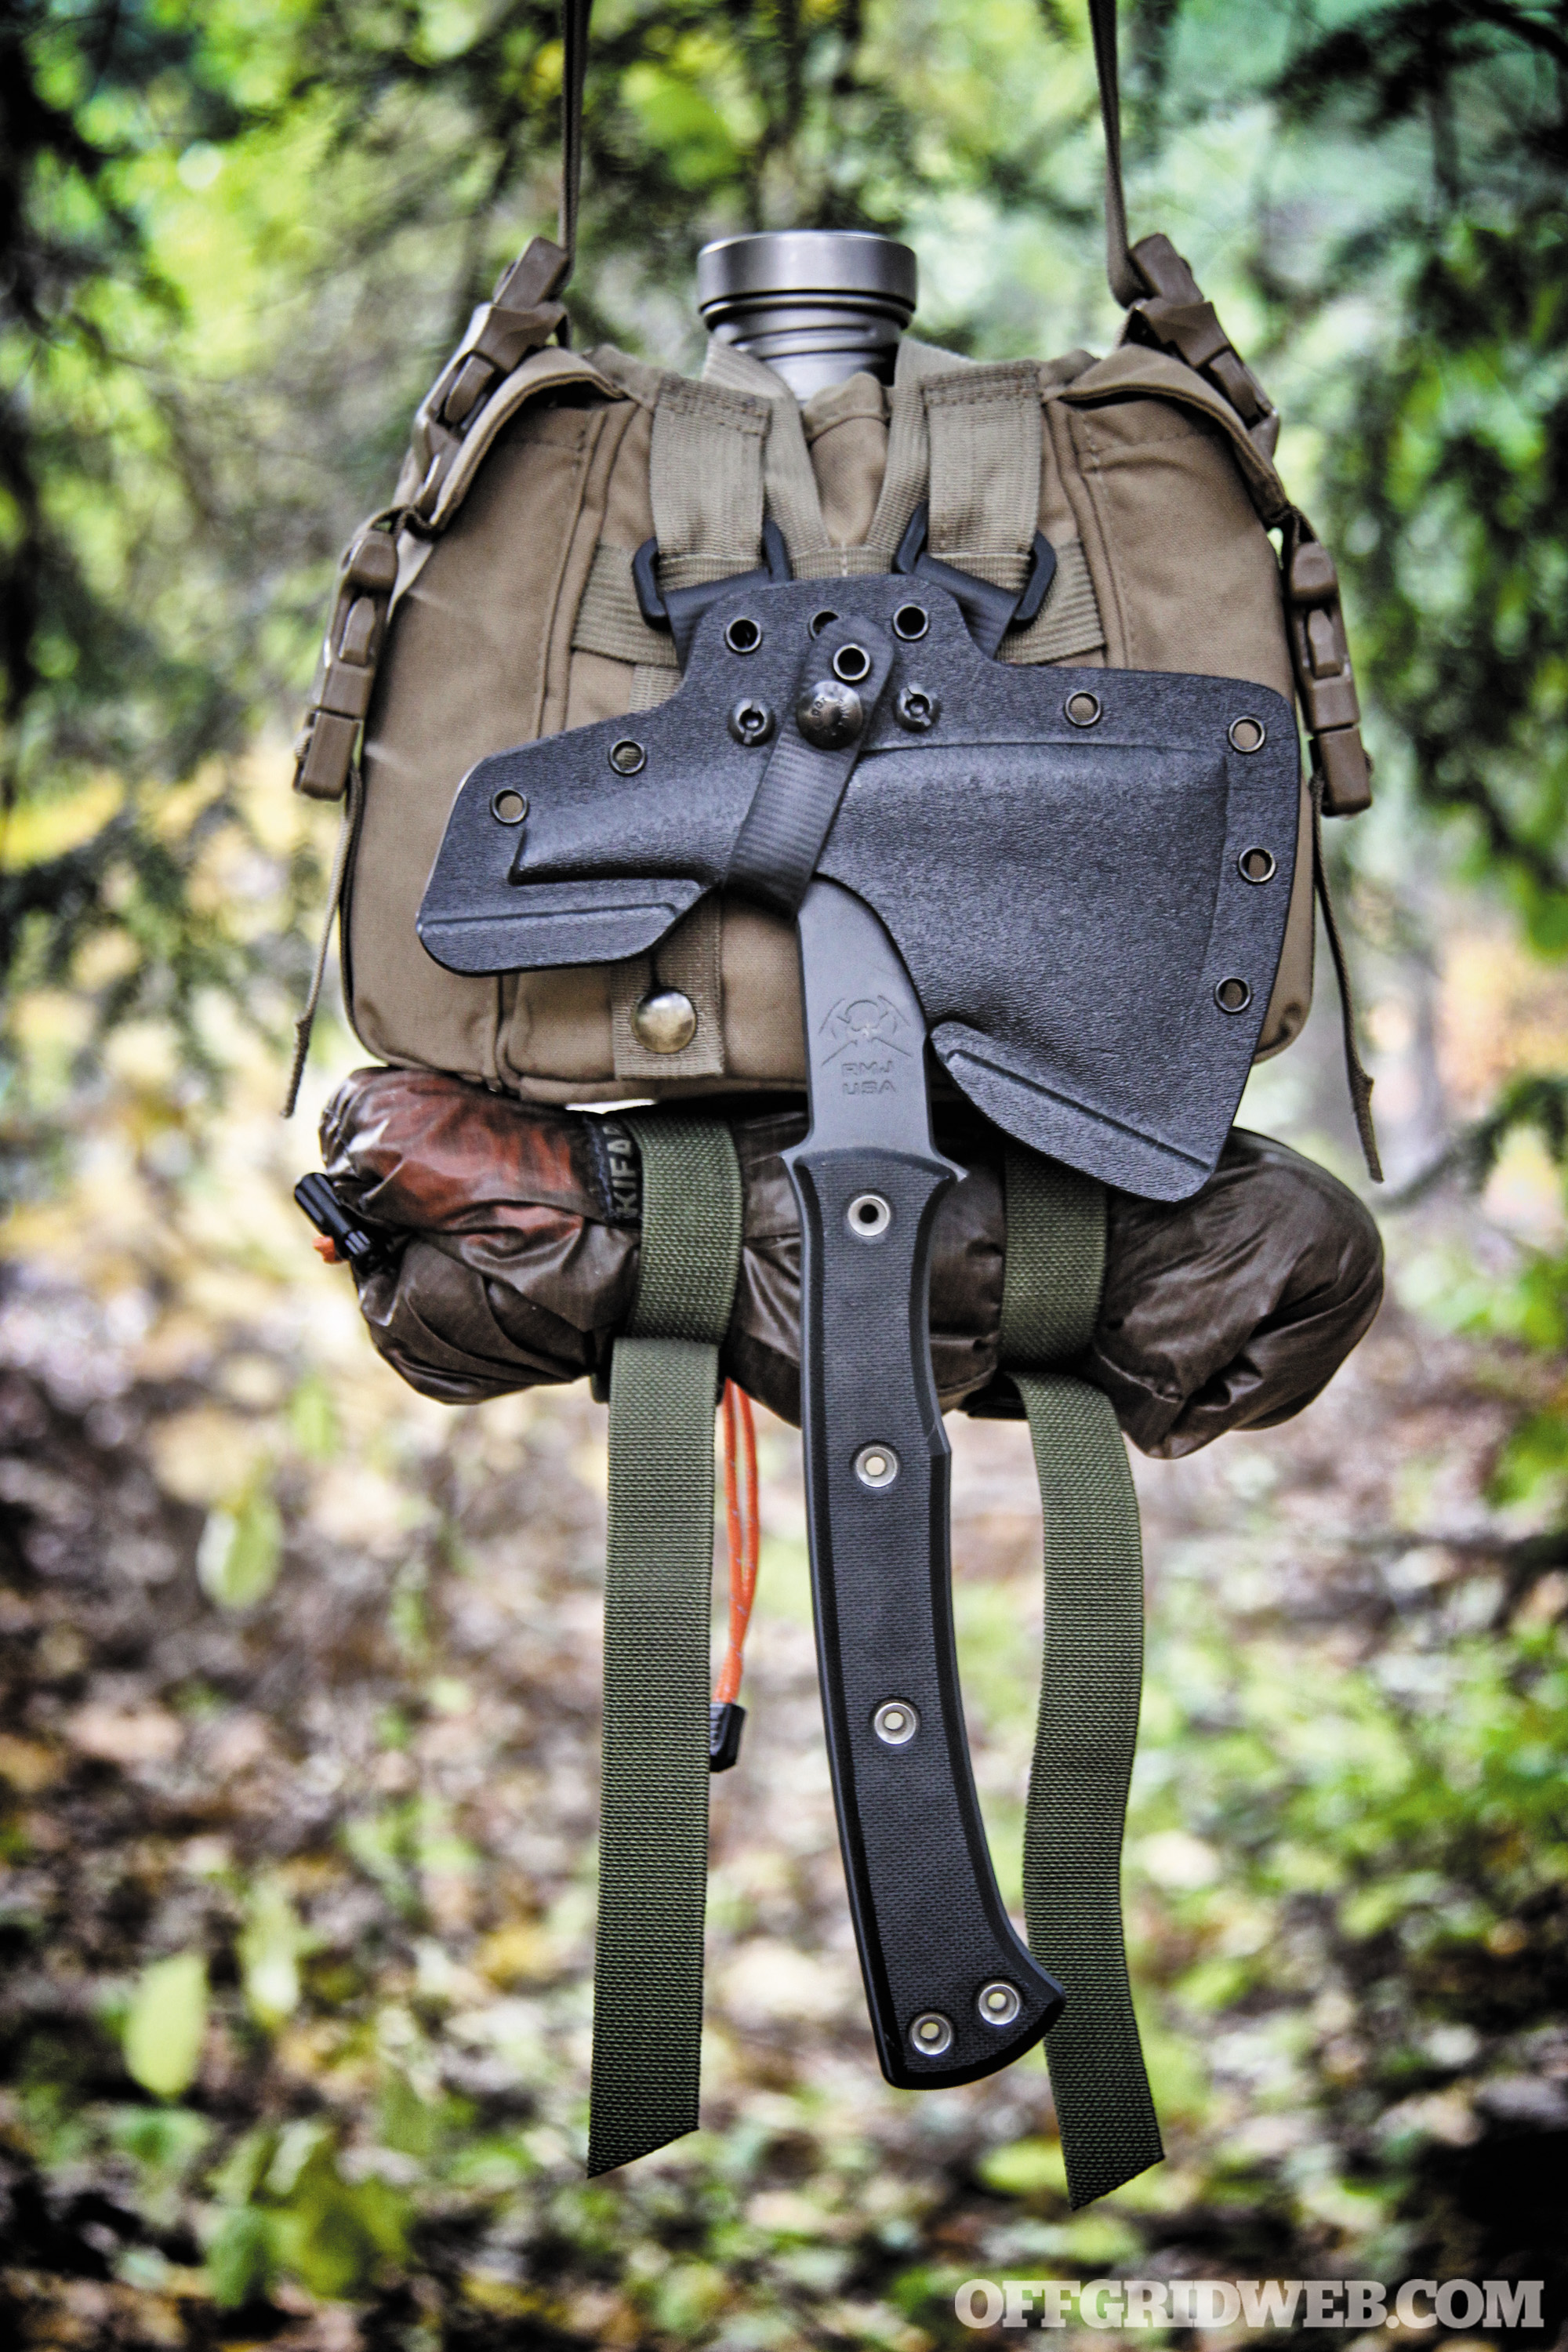
6. Canteen Carry
Water bottle carriers are popular within the bushcraft and survival community. It makes sense to build a kit around an item that addresses a basic need of survival. Since canteens are carried with a shoulder strap, an additional pound of weight usually isn’t too burdensome. Carried behind the bottle, the only part of the pocket hatchet exposed is the handle. It’s an easy way to add extra cutting power to your woods-walking kit.
Newbs, Beware — Risks of Using a Hatchet
You know the guy who’s new to firearms when you see him at the range. His gear is crisp, he has every accessory under the sun, and he lasers you with his muzzle. The same goes for pocket hatchet users. Whereas the rookie at the range is more likely to hurt someone else, the rookie axman is most likely to hurt himself. Here are some helpful hints to prevent you from bleeding your own blood.
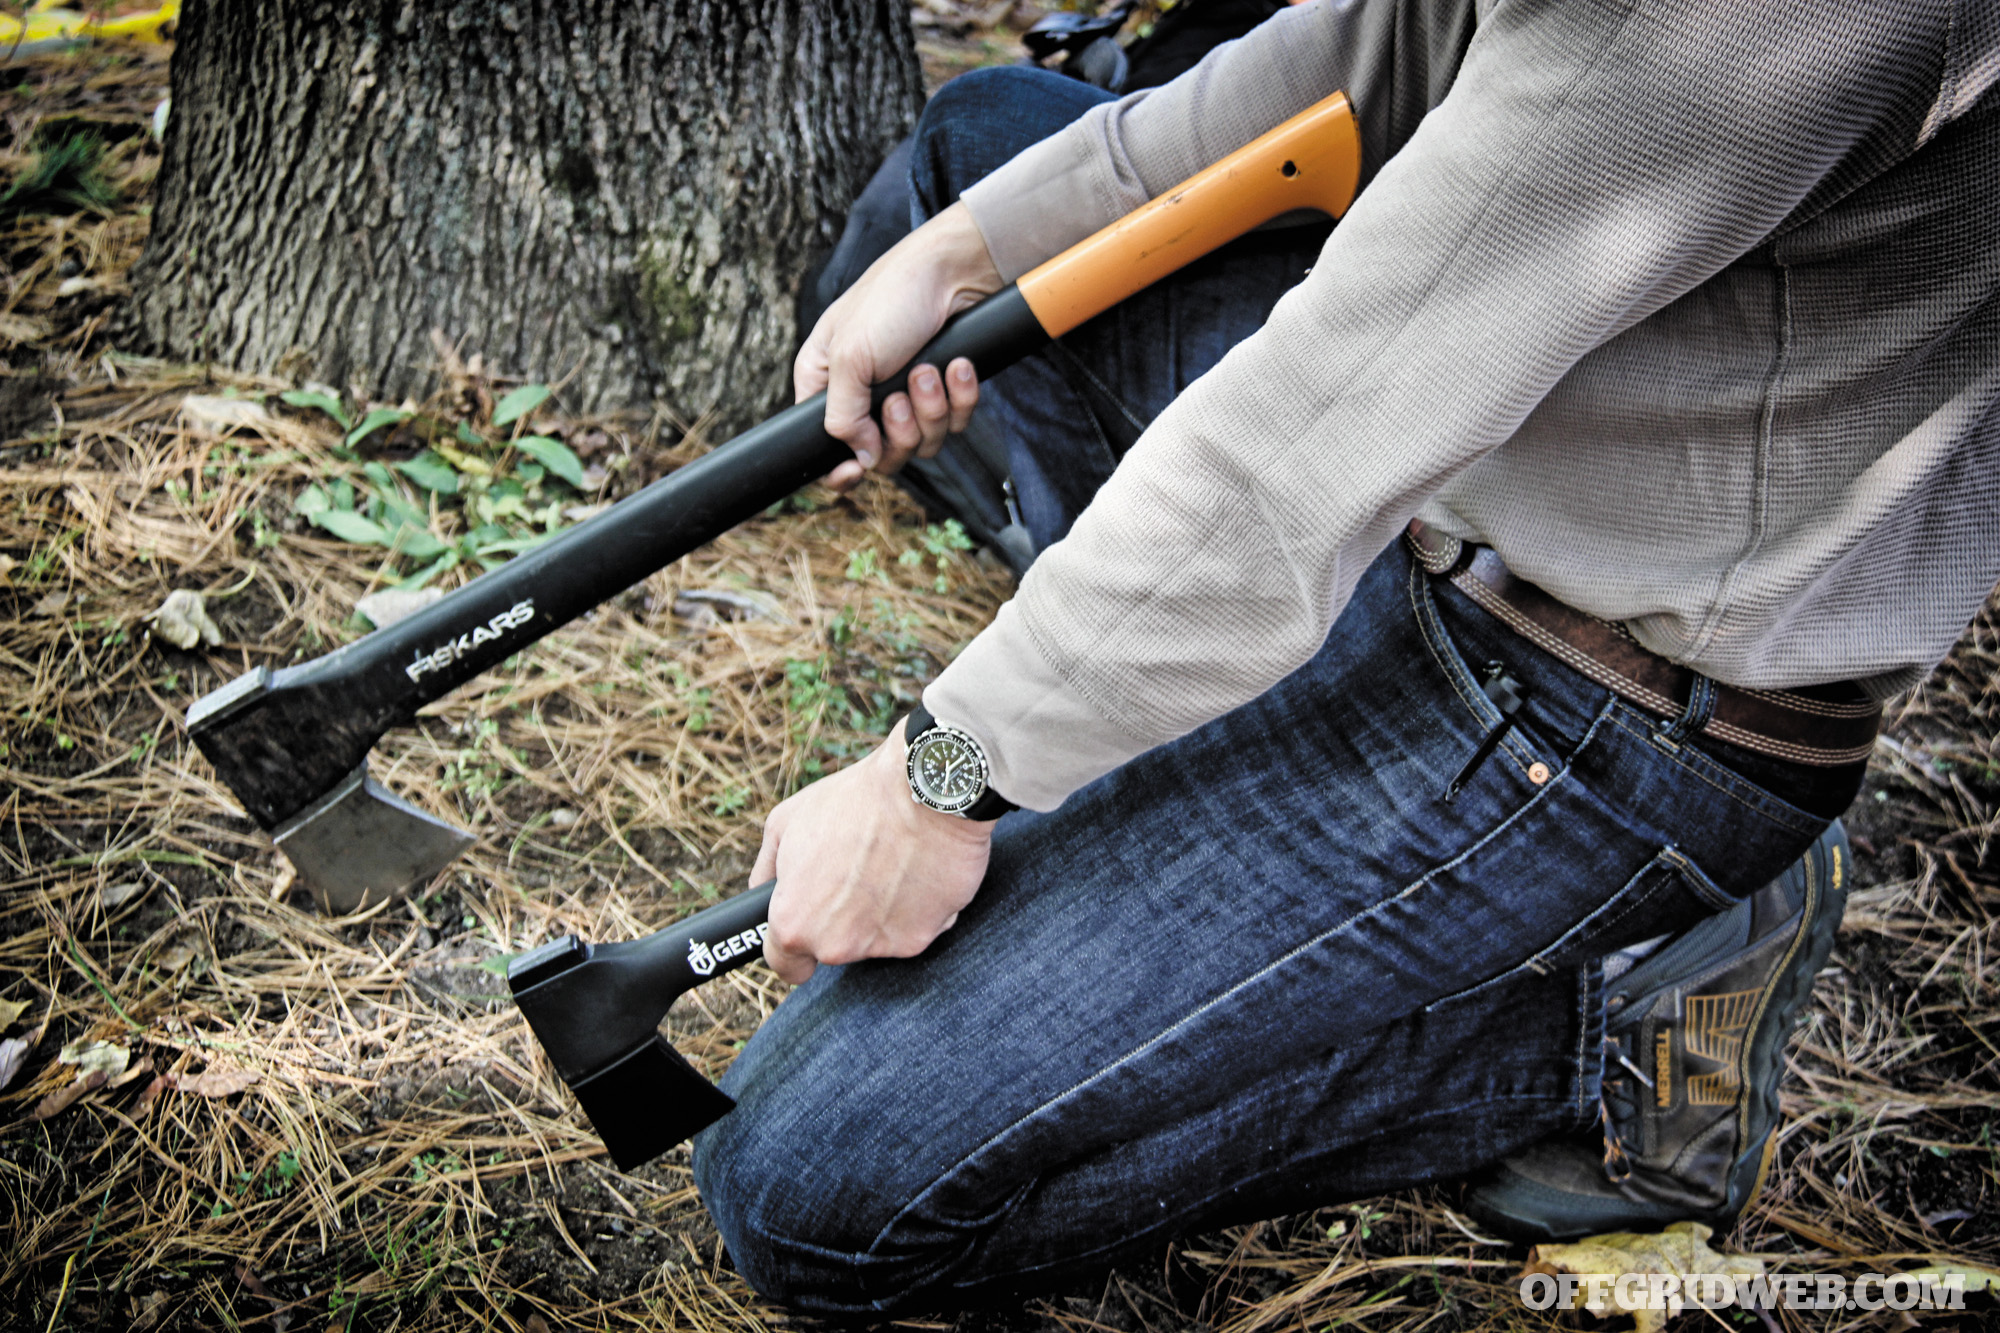
Mind the Follow Through
The longer the ax, the safer the ax. A newbie with a 36-inch felling ax is less likely to self-cut than one with a pocket hatchet. If you’re cutting wood and question your ability, take a knee. If you glance, your pocket hatchet will impact the dirt instead of your kneecap.
Edges Should Be Covered
Pocket hatchets cut. Don’t carry one without some sort of edge guard. Don’t leave your edge stuck in wood while in camp as the wood’s moisture can cause it to rust. If your pocket hatchet has a spike, burying one side leaves a pointy end exposed on the other.
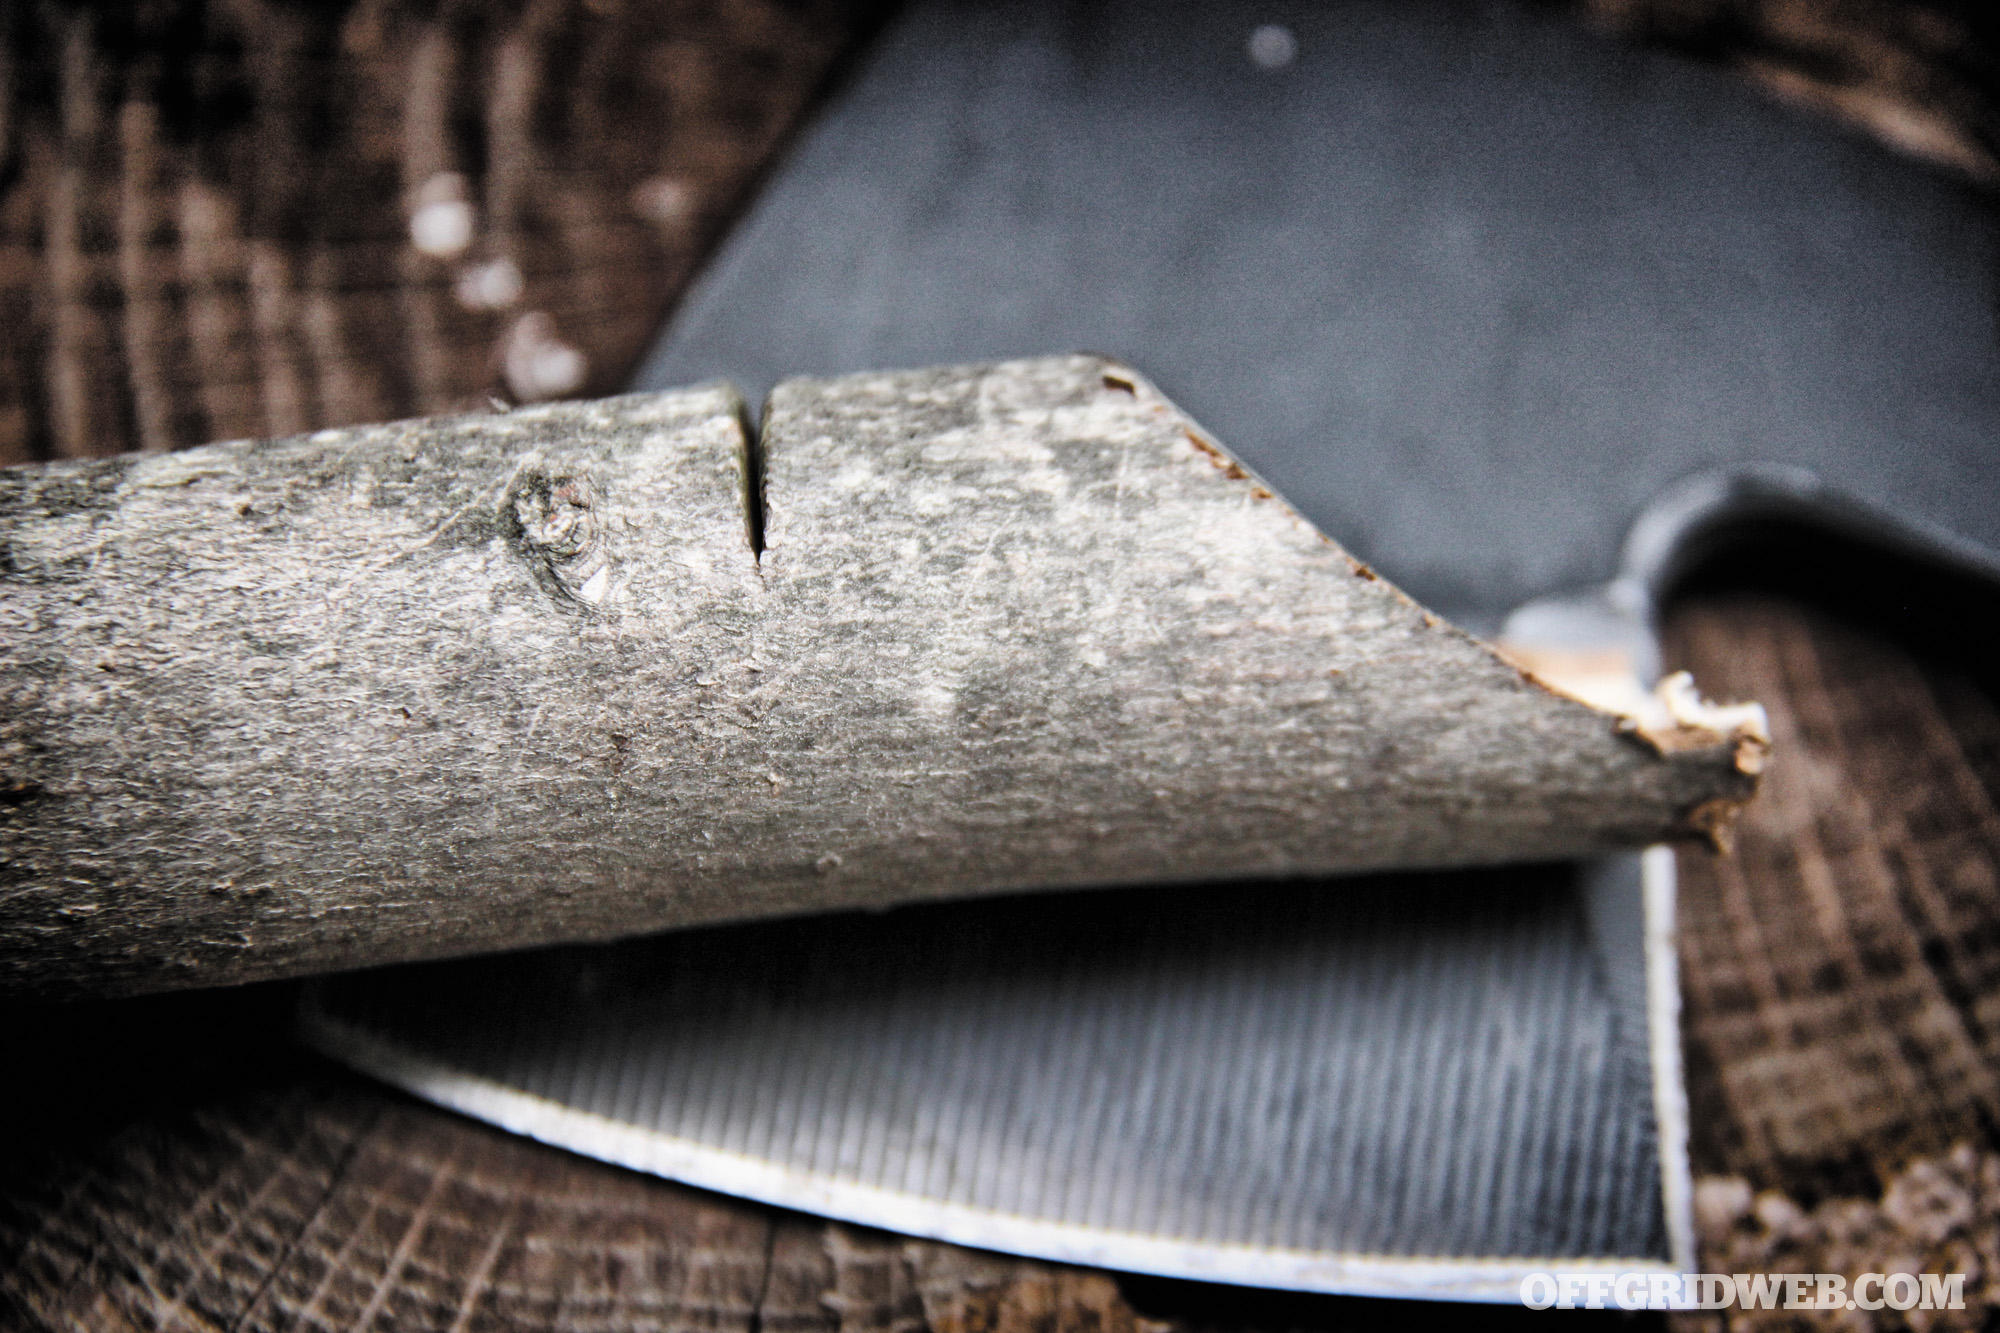
Slice the Grain, Don’t Compress It
Wood grain separates most easily when it is severed at an angle. Cut diagonally across it instead of down on it. Be careful, though; too shallow of an angle causes the cutting tool to glance.
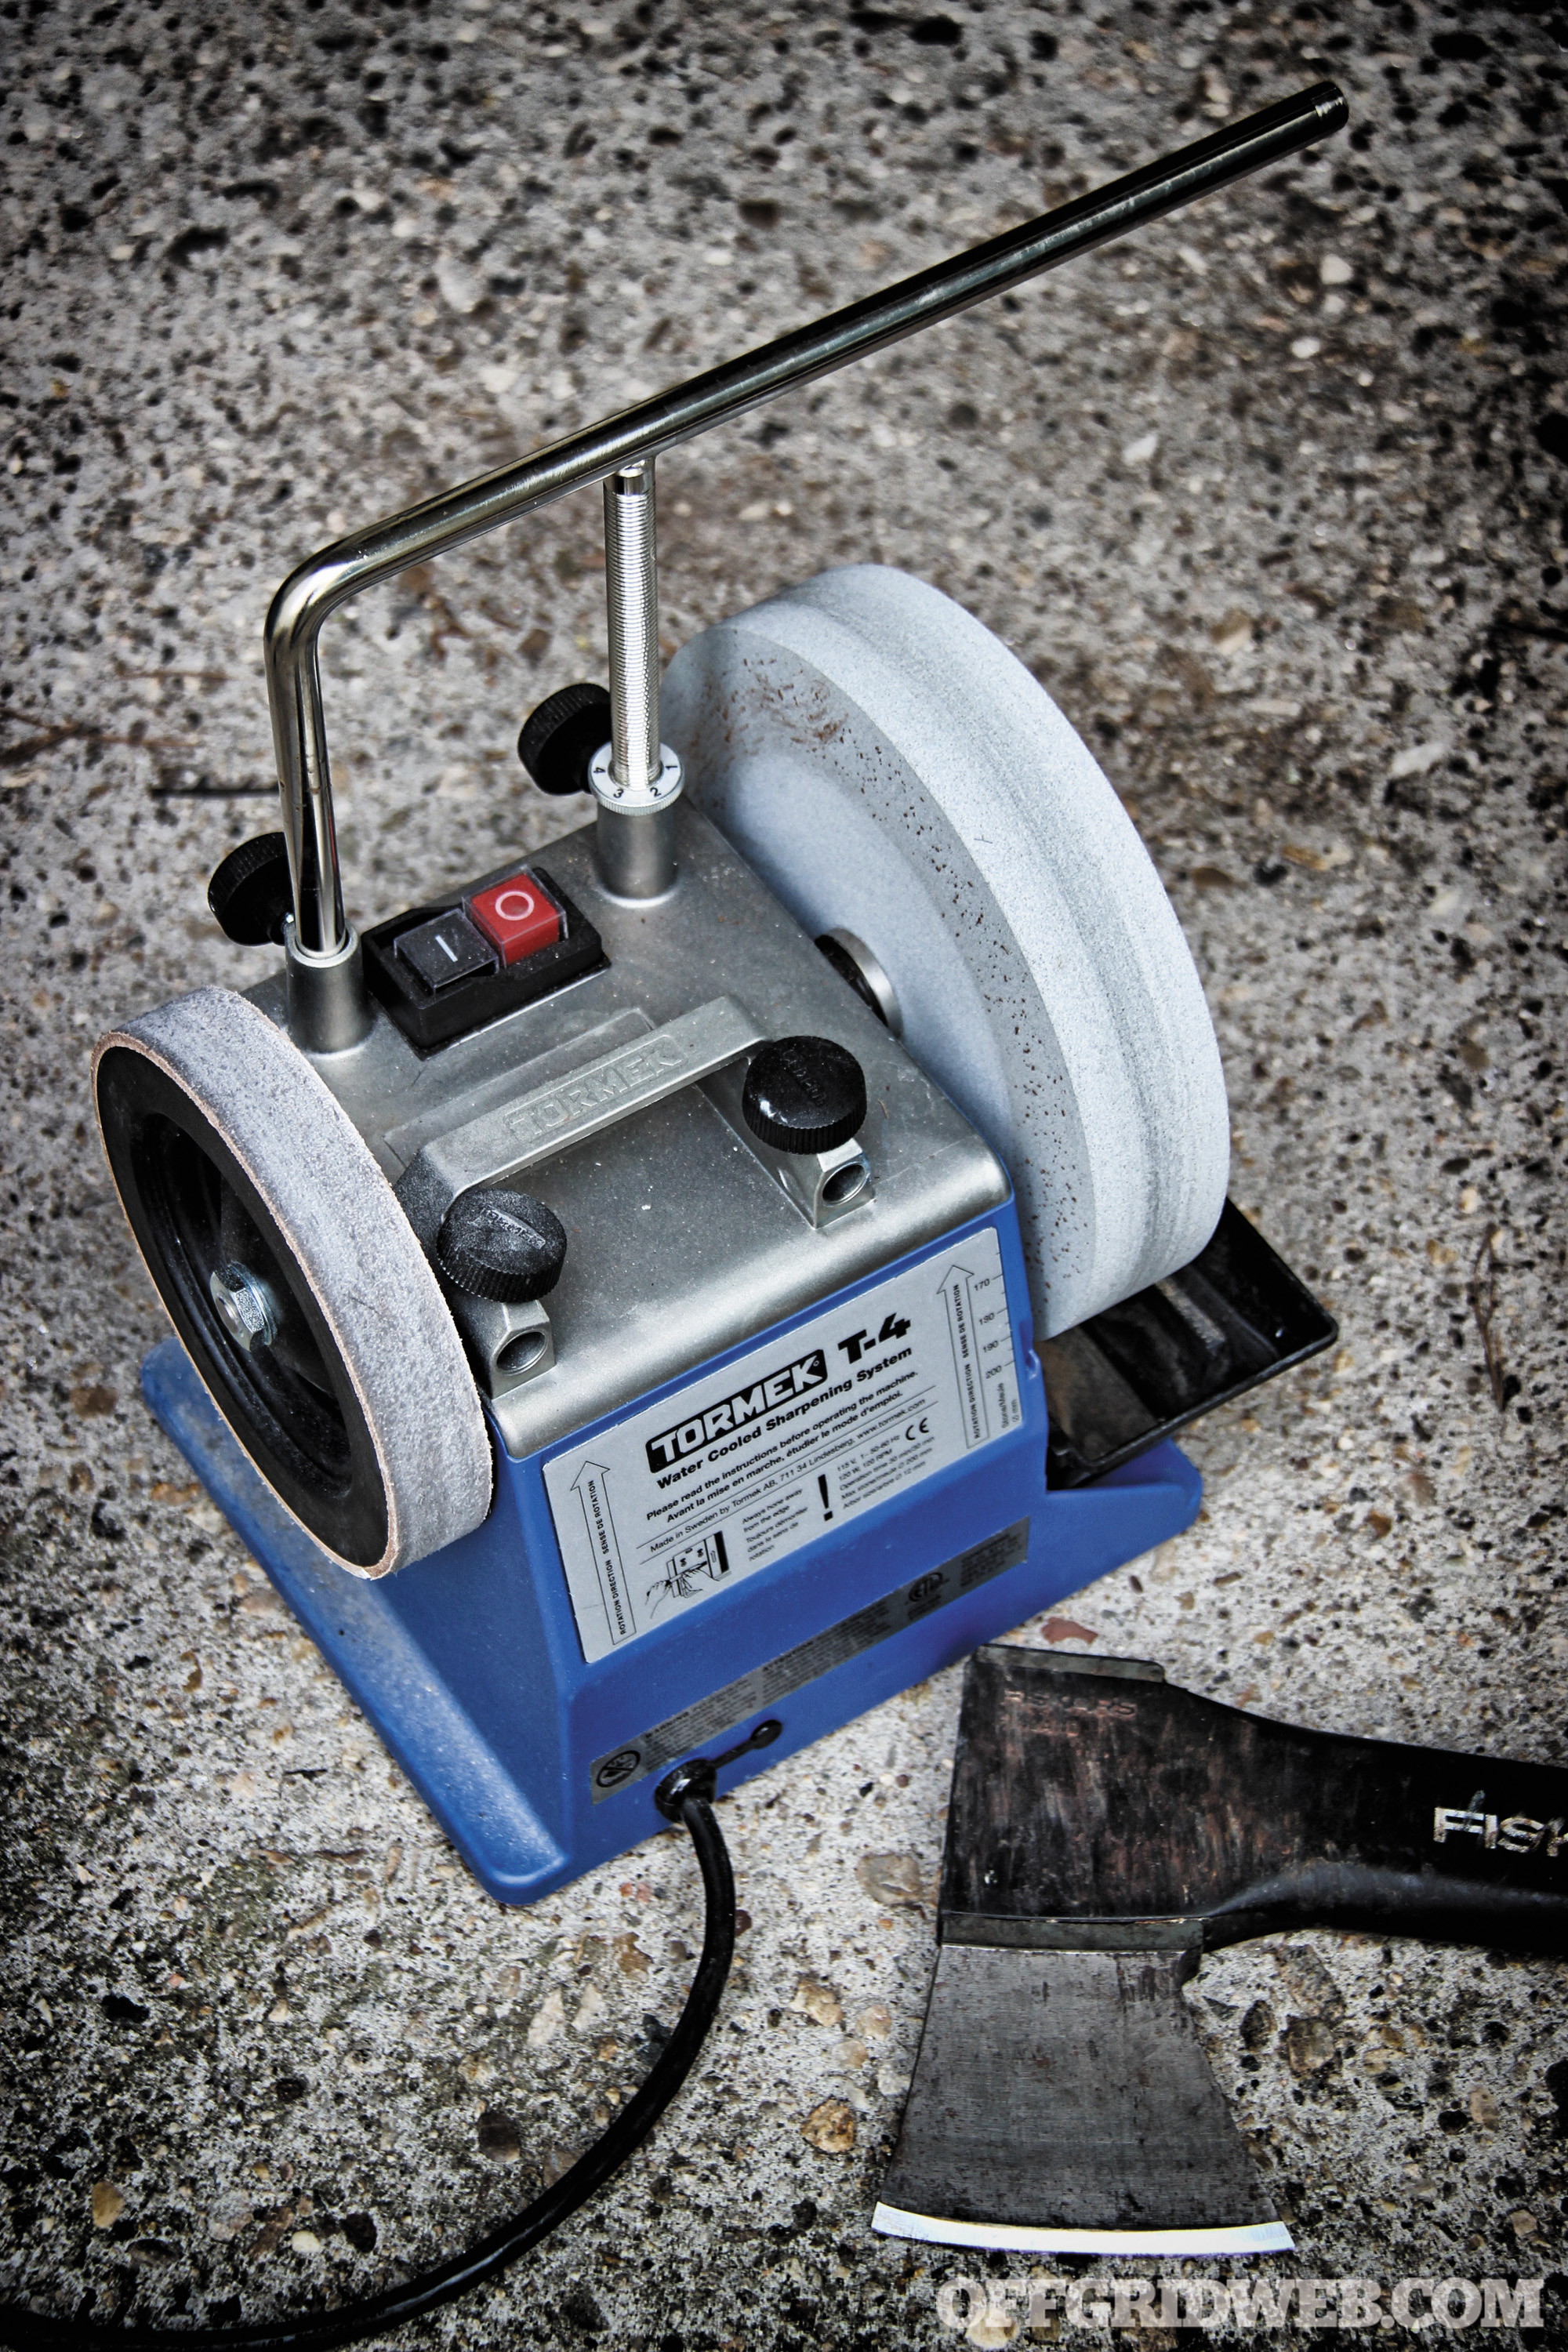
Keep Your Edges Sharp
Sharp is a relative term. Some guys like the ability to shave with their pocket hatchet while others want a “working edge” that’s broader and less likely to chip or roll. Whatever your preference, don’t let it dull. It’s easier to hone your edge after each use than re-profile it when it’s too late.
Never Lend Your Pocket Hatchet
This doesn’t make you a jerk, it makes you smart. If you value your tool, you don’t trust anyone with it. This is old woodsman etiquette. If you do lend out your pocket hatchet, only lend it to people who would be willing to fix the edge, replace the handle, or buy you a new one. Ax repairs take time, and a friend wouldn’t want you to invest a lot into fixing a screw up.
Final Thoughts
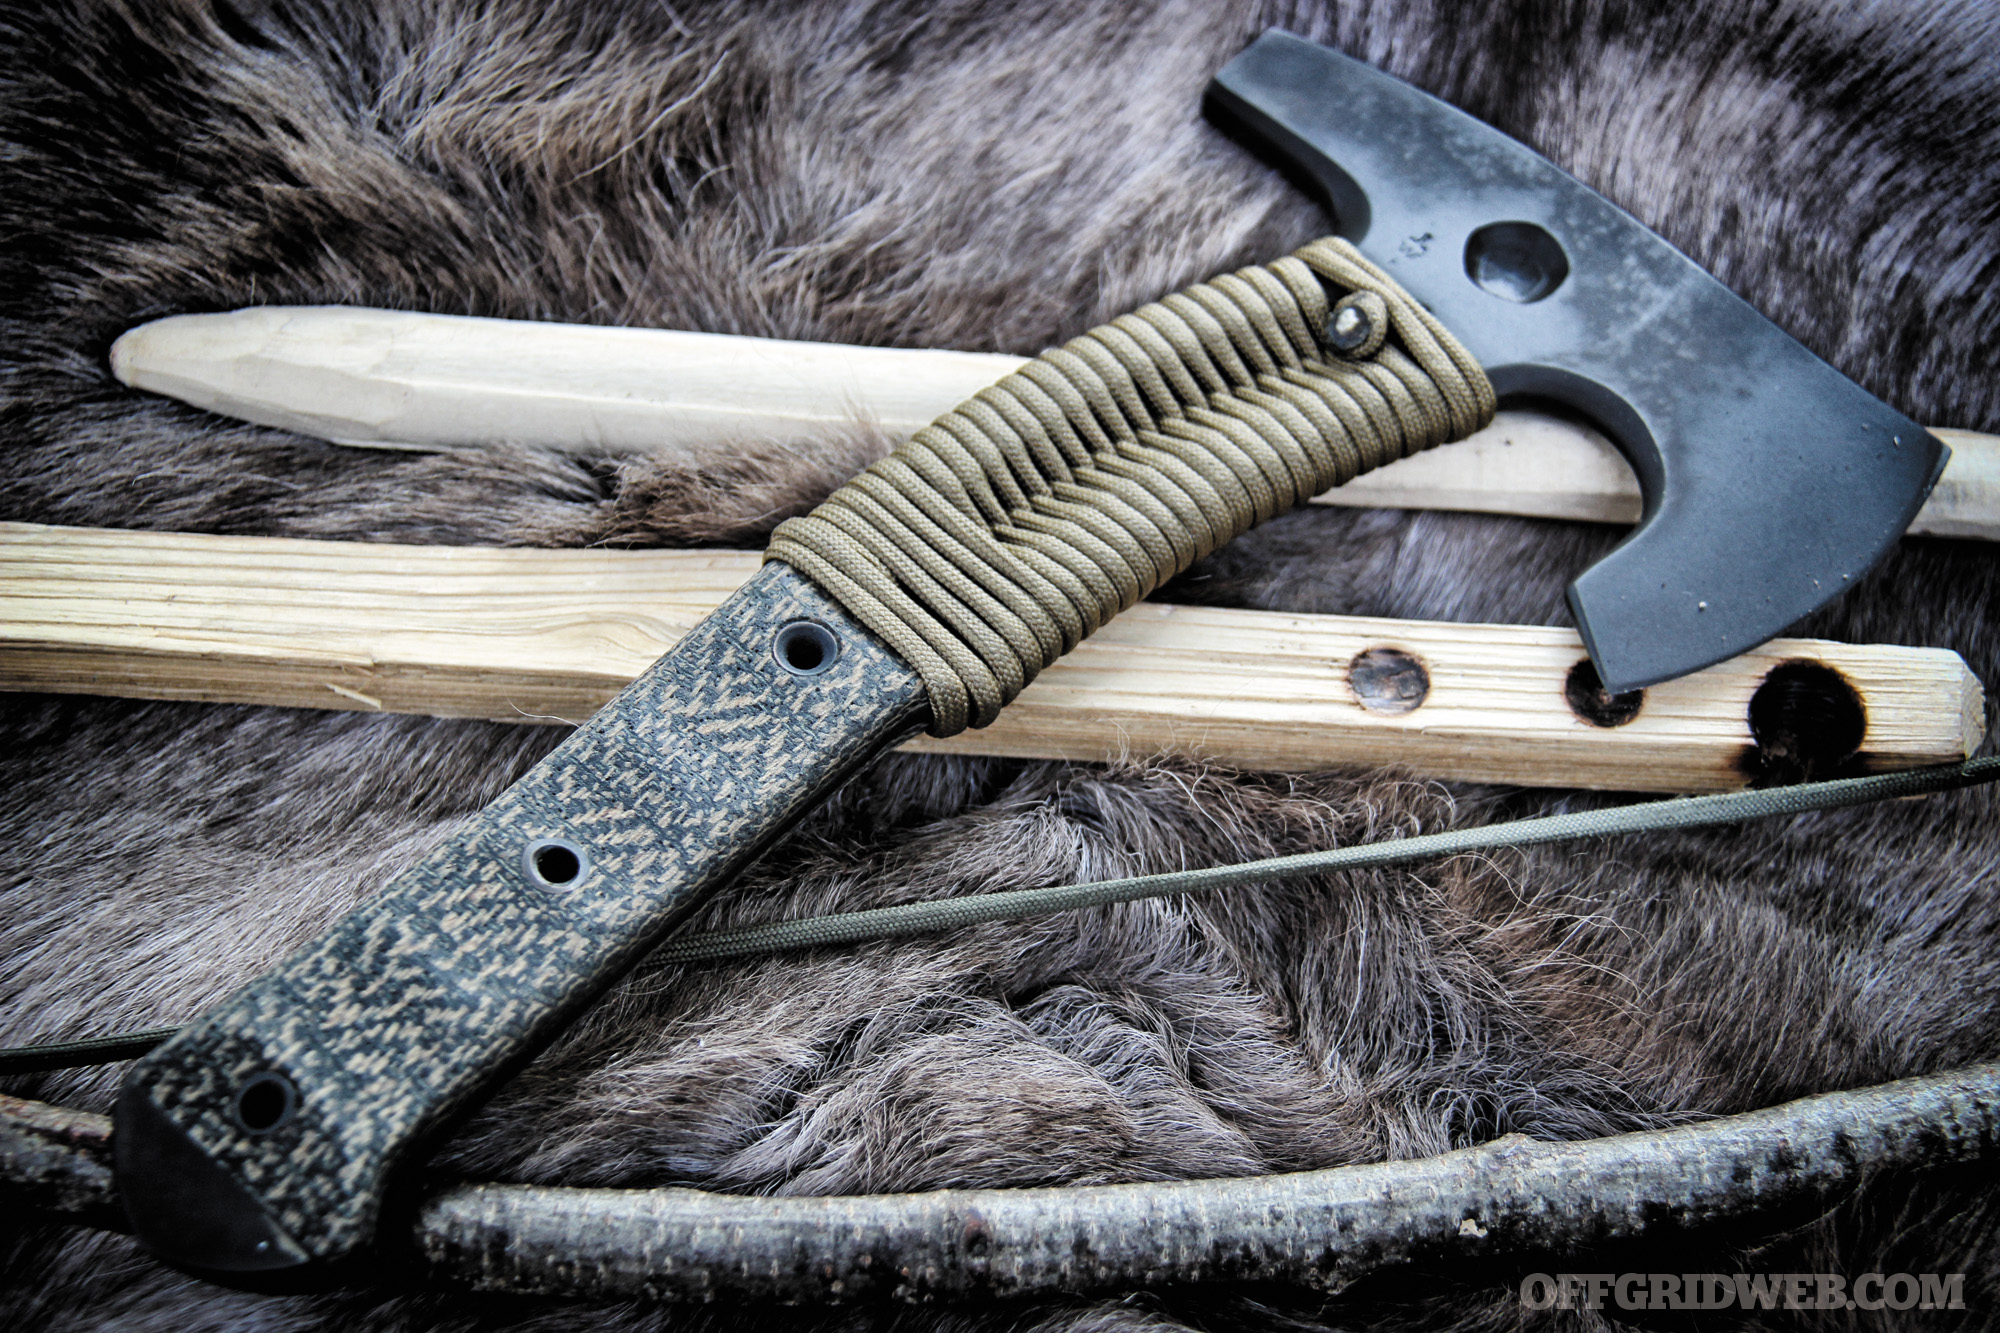
Above: The Wiglaf by Wenger Blades can be used in every stage of fire preparation. Included in the design is an integral bow drill divot for use as a bearing block for friction fire starting.
Pocket hatchets may be small in stature, but they make up for it in character. Compact, concealable, multipurpose, plenty of bite — the reasons to pack, hell, even EDC a pocket hatchet far outnumber the reasons not to. Next time you venture off-grid or head into a rough part of town, pair a pocket hatchet with a pistol and knife, and you have an excellent loadout for just about any emergency. Throw one into your pocket, bag, or kit and improve your survivability.
More From Issue 19
Don’t miss essential survival insights—sign up for Recoil Offgrid’s free newsletter today!
- All Tied Up: 10 Easy Survival Knots
- Book Review: “The Final Day” by William Forstchen
- Debunked: The Myth of the Retrofitted EMP-Proof Vehicle
- What If an EMP Rendered Your City Technologically Helpless?
- Portable Lumberjack: Pocket Hatchet Buyer’s Guide
- A Primer on Pocket Hatchets & Proper Technique
- 10 Lessons From an Urban Escape and Evasion Class
- Dehydrated Food Taste Tests – Dehydrated Delights
- Big-Battery Flashlights – Highlights
Read articles from the next issue of Recoil Offgrid: Issue 20
Read articles from the previous issue of Recoil Offgrid: Issue 18
Check out our other publications on the web: Recoil | Gun Digest | Blade | RecoilTV | RECOILtv (YouTube)
Editor’s Note: This article has been modified from its original version for the web.