In This Article
This article was originally published in Issue 4 of our magazine.
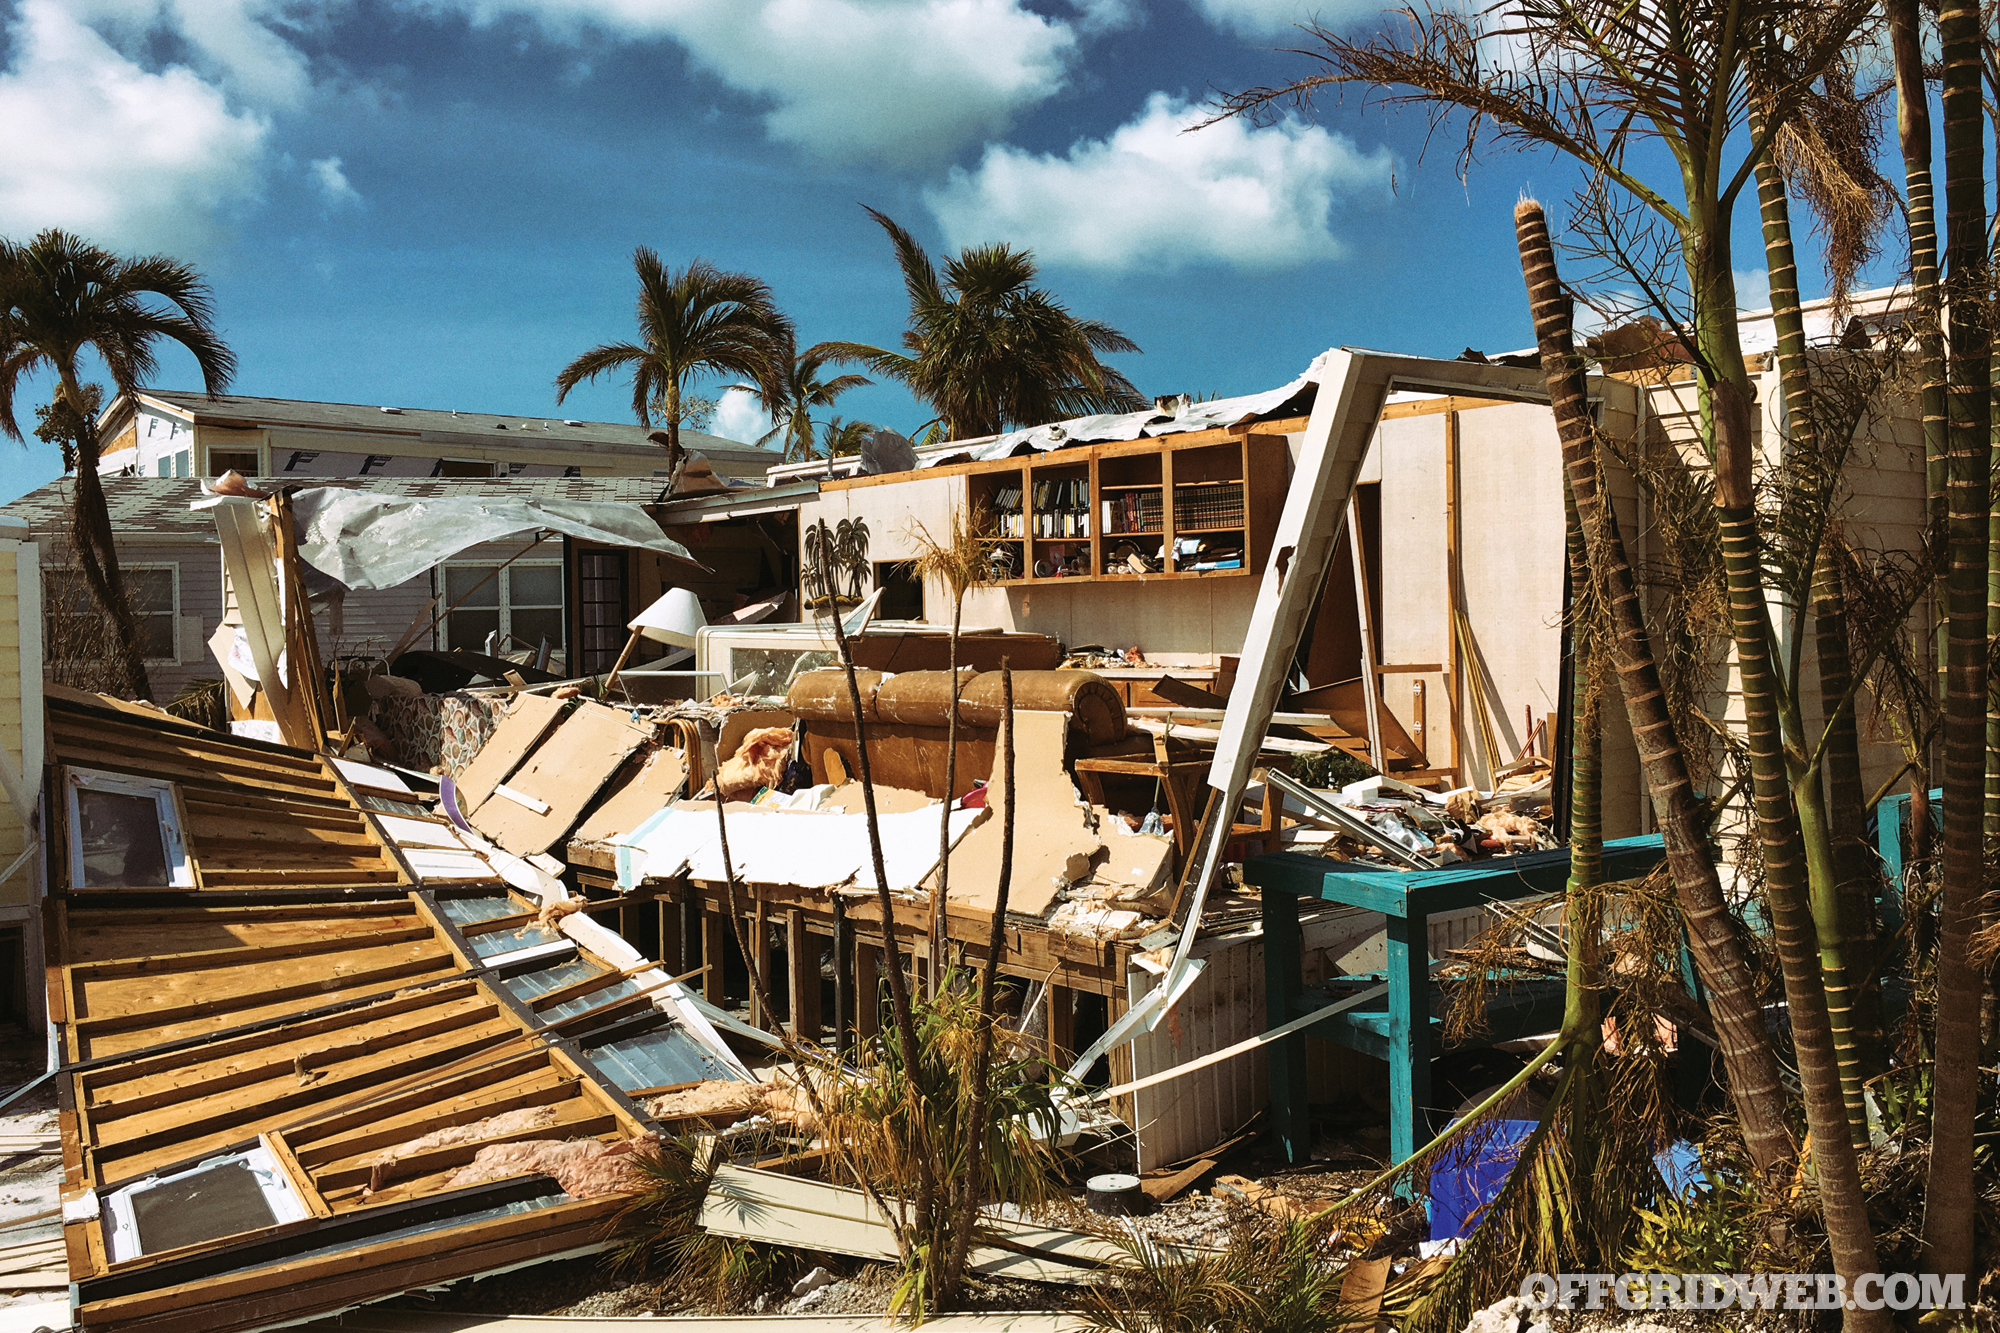
Disease-producing biological agents are among the most feared weapons ever used against humanity. Terrorism is the use of violence and threats to frighten, intimidate, and coerce a group of people, especially for political purposes. Combine the two and you get one of the most powerful and horrific instruments of death and destruction. According to some experts, bioterrorism poses one of the most significant threats currently facing the United States. It’s estimated that just one well-calculated attack could result in innumerable victims and cause enormous damage to critical infrastructure. Multiple attacks could potentially wreak havoc and destruction on a scale never before experienced on American soil.
There are many reasons to be concerned — unlike other types of terrorist attacks, a bioterror attack could infect large portions of the population before any of the victims begin to develop any obvious symptoms. The deployment of a biological agent in an urban area could not only result in a high number of causalities, but could also potentially shut down commerce and disrupt vital public services. The threat of bioterrorism is very real; even though it’s one of the biggest threats we face as a society, it’s also one of the least understood. The first step in preparing for this unimaginable risk is to be informed — it also doesn’t hurt to make some basic preparations.
An Overview of Bioterrorism
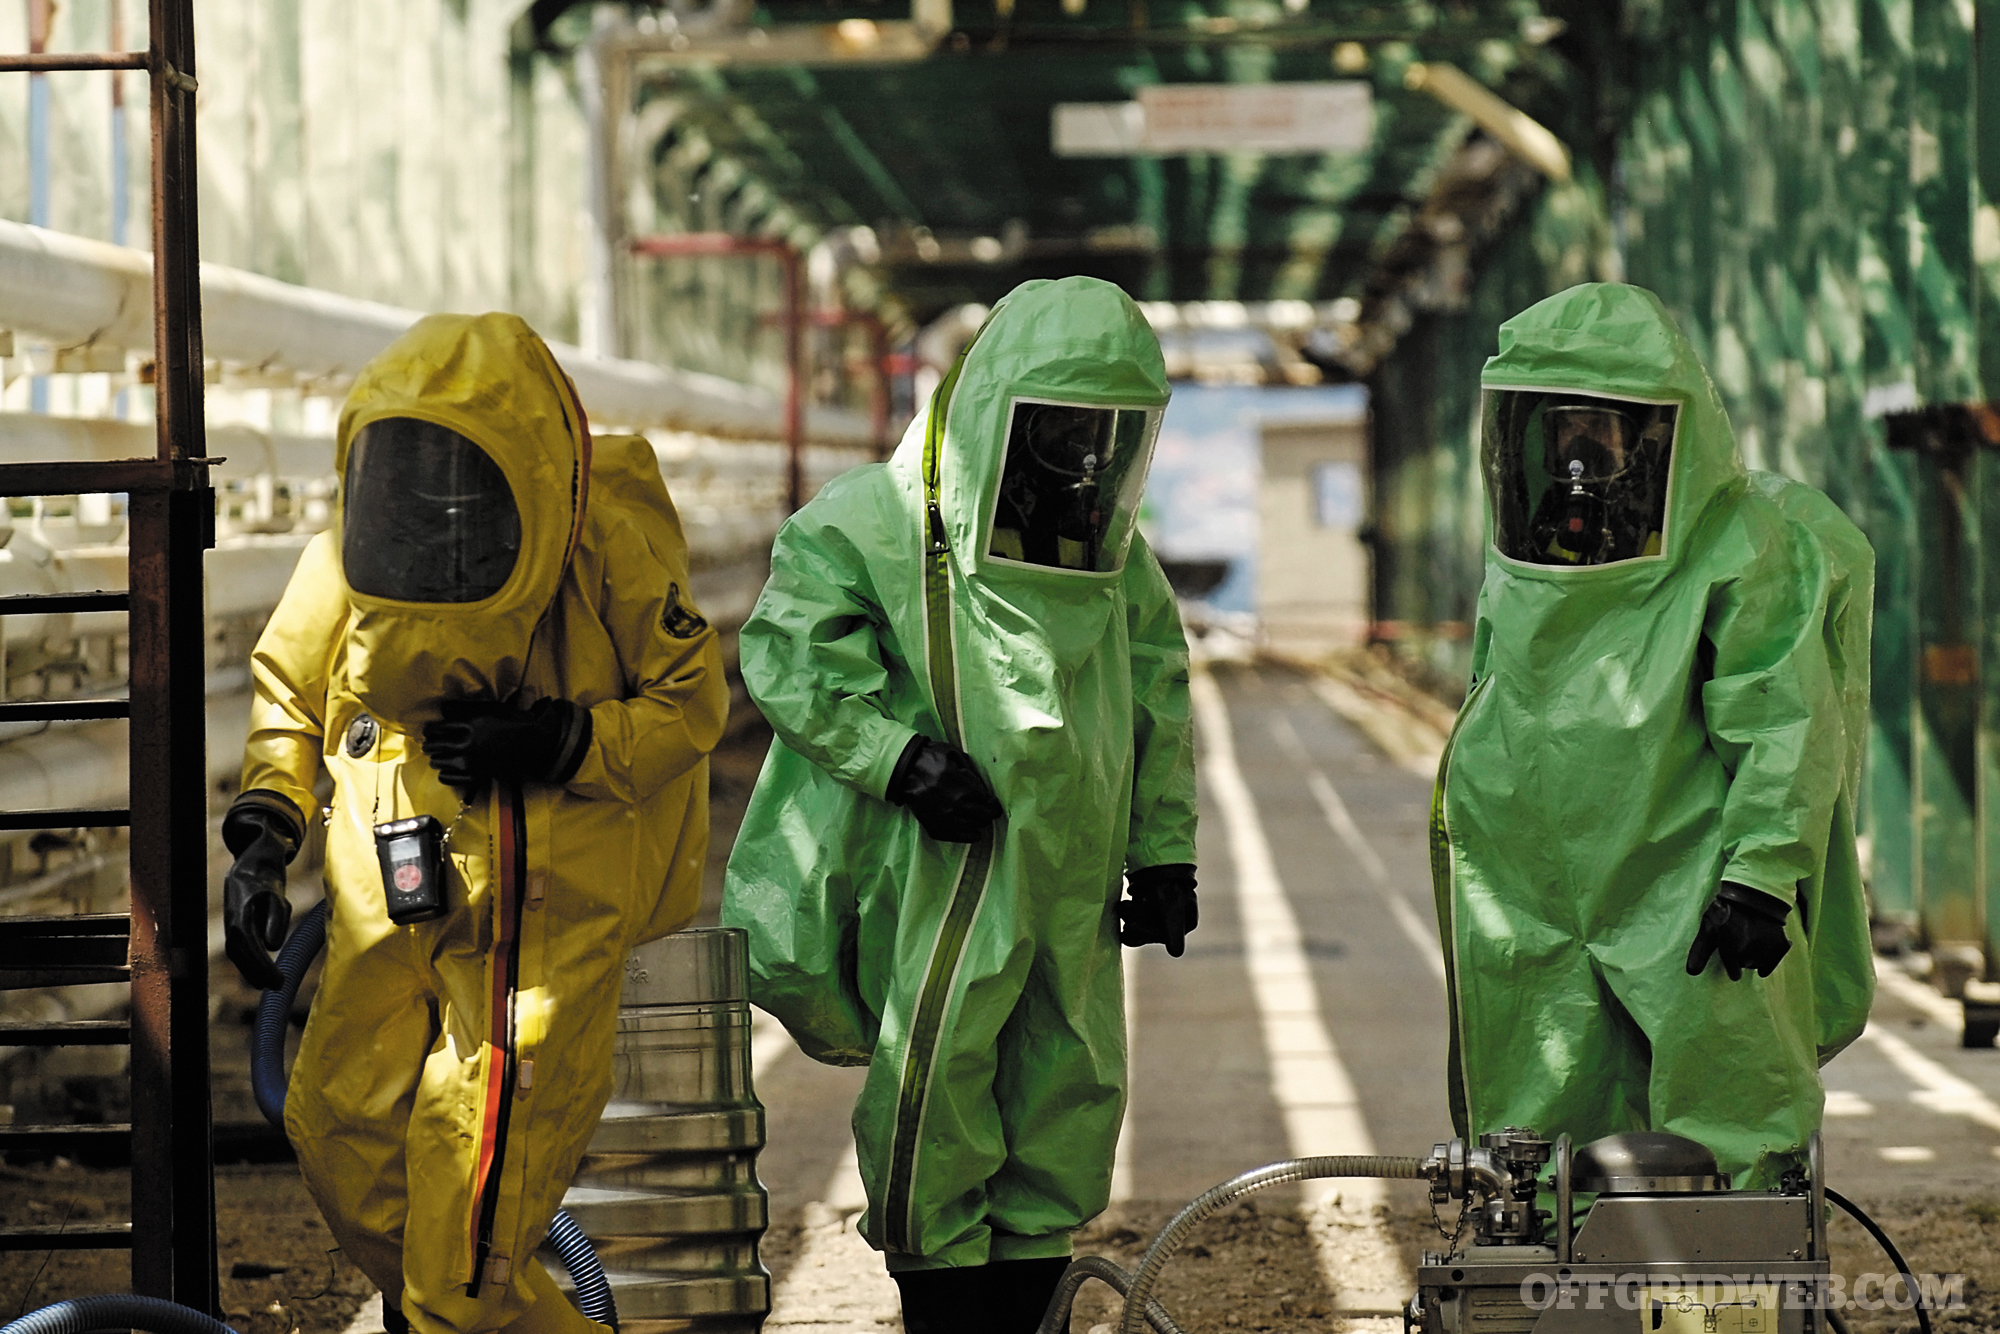
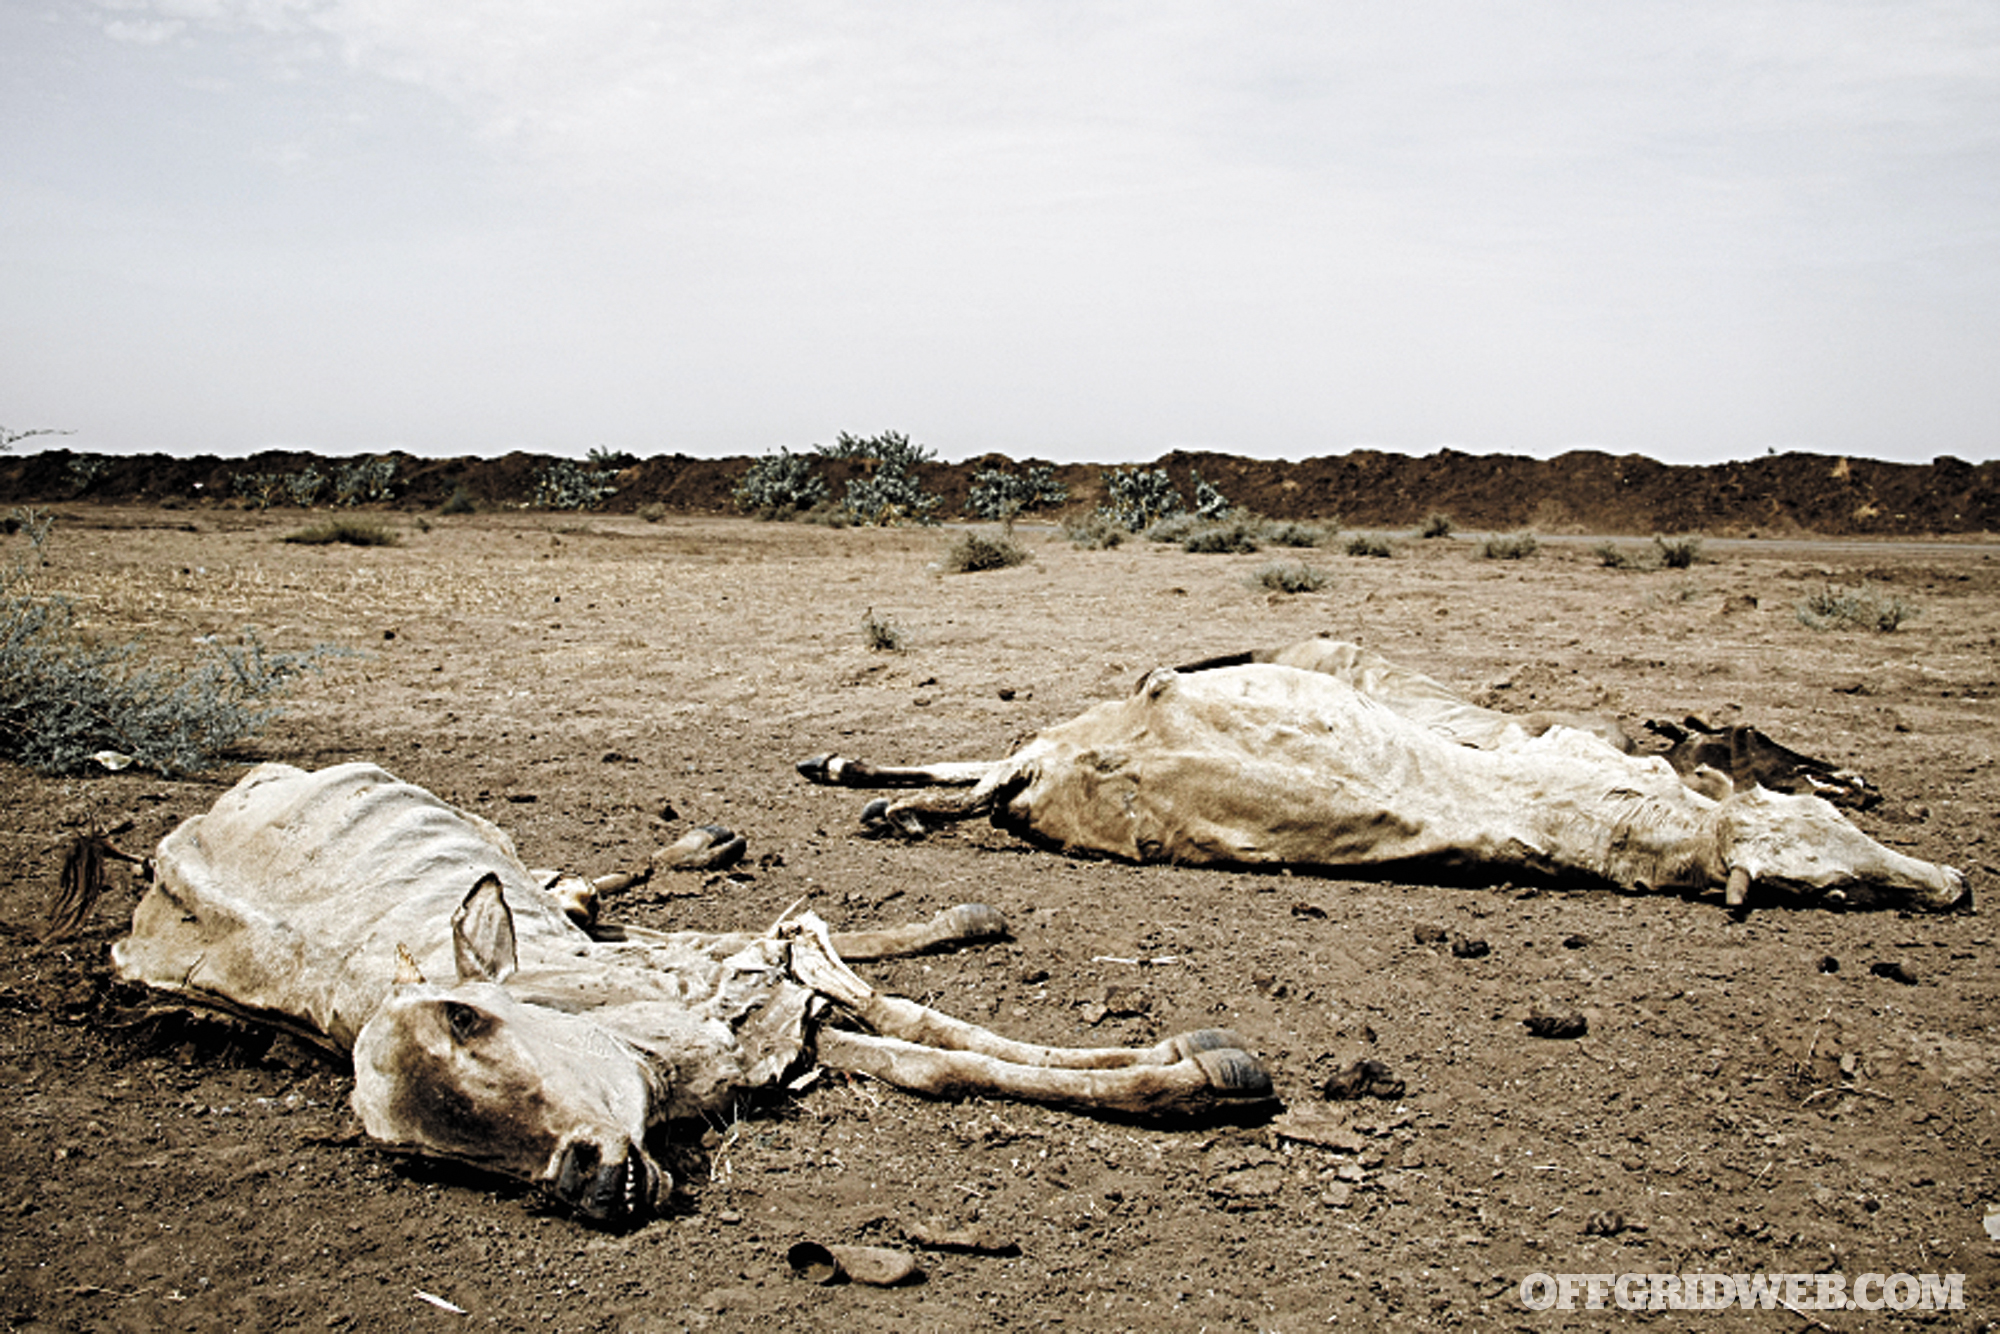
A bioterrorist attack involves the intentional spreading of biological agents such as bacteria, viruses, toxins, and germs with the specific intent of causing injury, illness, and death. A bioterrorist is similar to a conventional terrorist, except the attack can be silent, invisible, and highly contagious. Biological weapons can often continue causing illness and death well beyond the initial attack. A highly contagious agent can be deployed and systematically continue to spread indefinitely among the population far outside of the primary geographical target area. Moreover, humans need not always be the objective of an attack. Bioterrorists can also target crops, livestock, and the water supply, effectively compromising a substantial portion of a region’s food and drinking water.
Since detecting and confirming a suspected contamination takes time, immediately after an attack, portions of our food and water supplies can be potentially infected without our even knowing it.
Science vs. Nature
The term “bioterror” may be relatively new, but biological warfare has been around for many hundreds of years. One of the first accounts of biological attacks dates back to the year 1347, when the Tartar army catapulted bodies of plague victims over the walls of the port city of Caffa, on the Black Sea, to infect the occupants who refused to surrender. Many of the infected, who later escaped, went on to carry the disease to other cities and towns.
Today, bio-agents can be altered into incredibly effective killers by enhancing their natural ability to spread. With advances in technology, it’s now easier than ever, and far less expensive, to obtain raw materials and convert (weaponize) them into biological messengers of death.
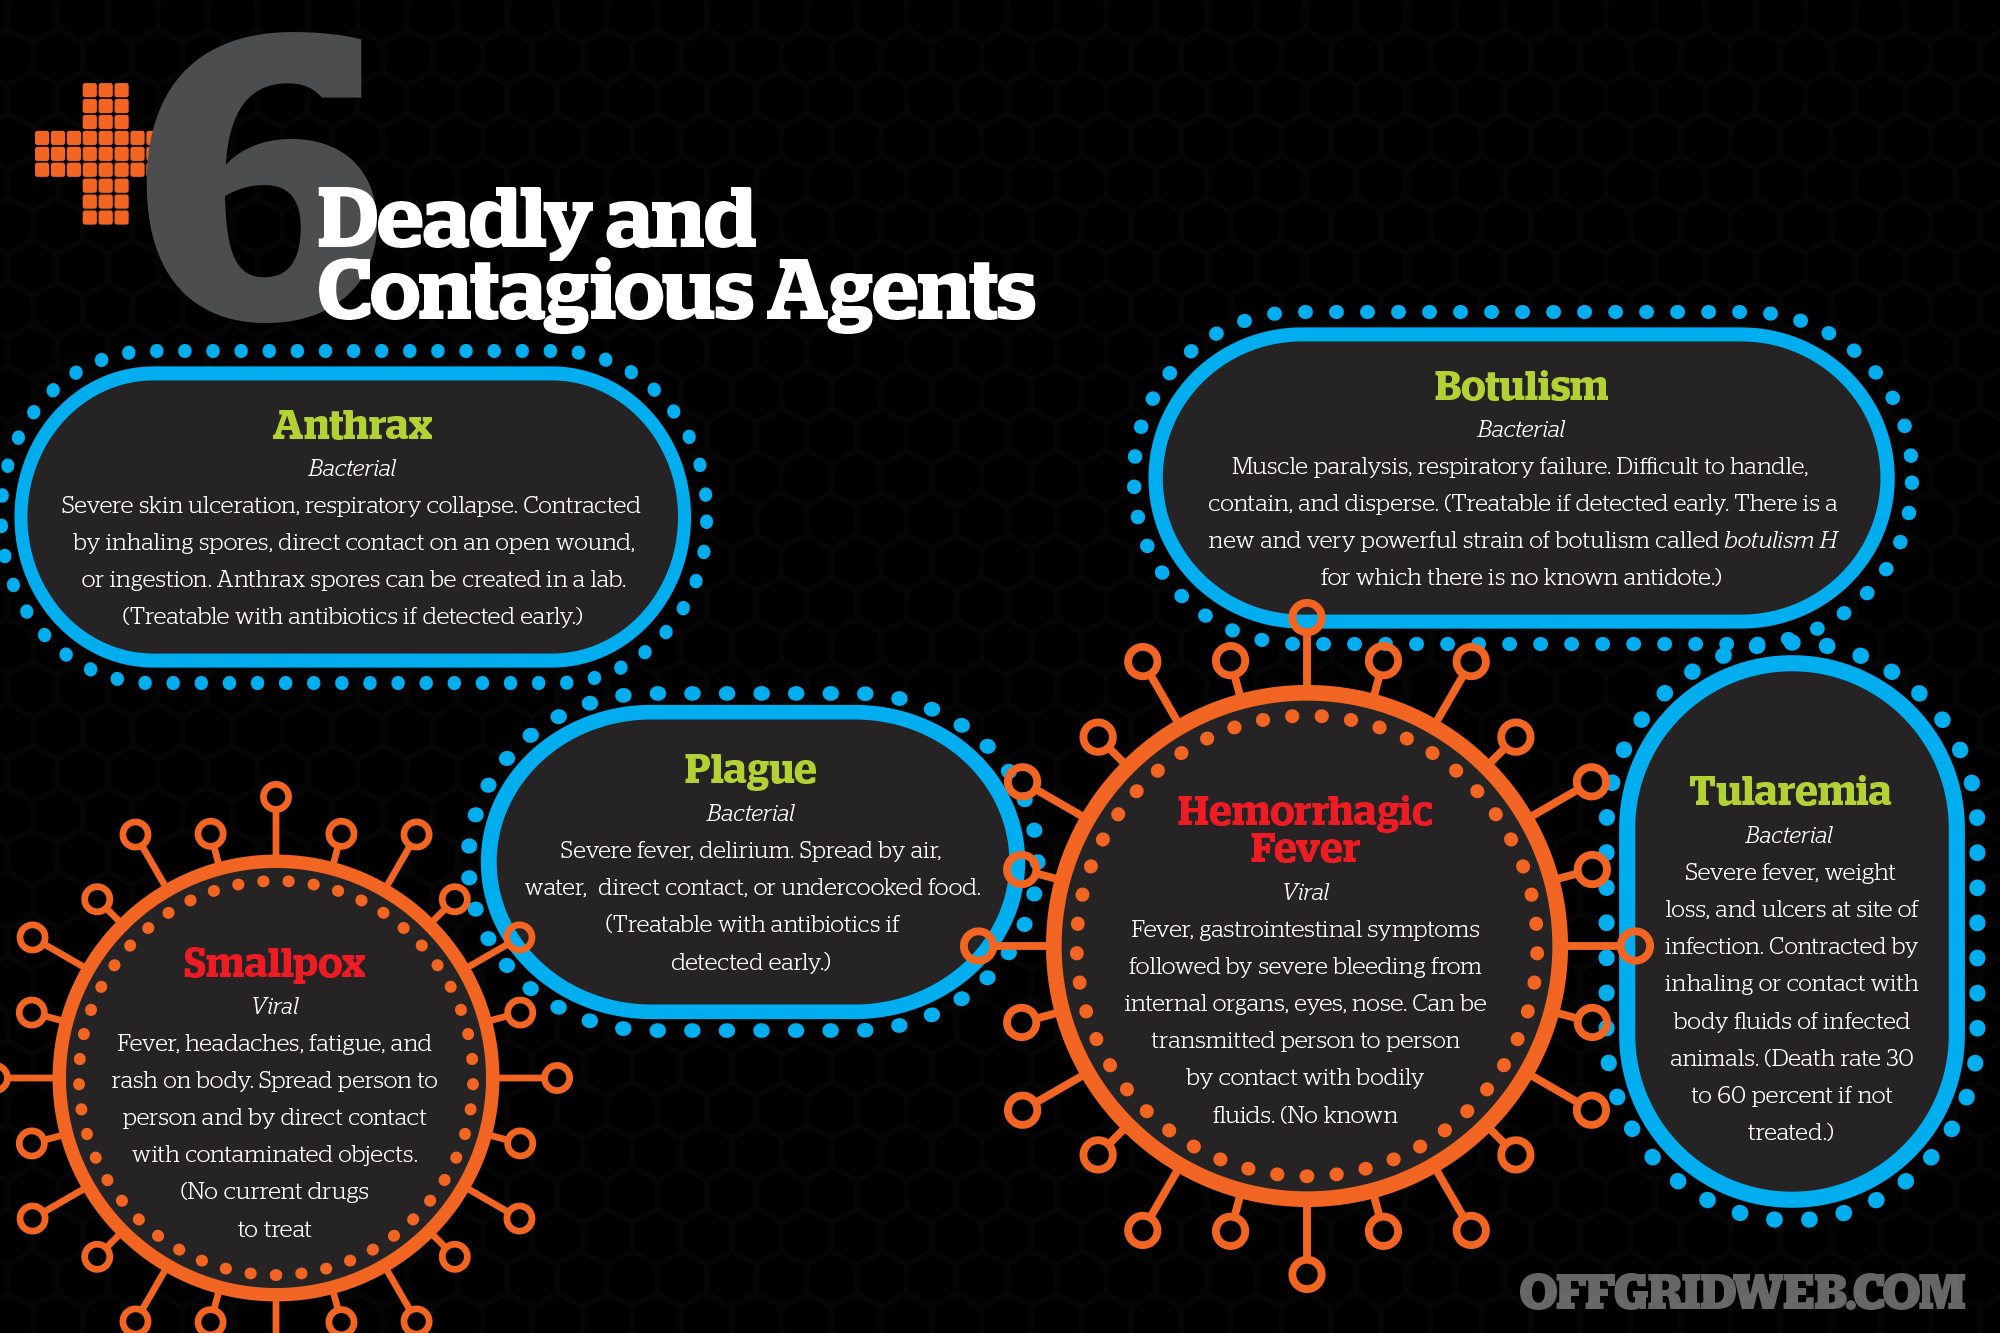
Infographic: 6 Deadly & Contagious Agents
A Potential Biological Attack
For most people, the full extent of a biological attack is difficult to imagine. Prior to the terrorist attacks on September 11, 2001, and the subsequent anthrax letter attacks, few people would have given the risk of bioterror a second thought. Today, however, a number of experts have repeatedly warned that it’s just a matter of time before there’s a significant bioterrorism attack on U.S. soil. Since 2001, senior government officials have placed bioterrorism among the top of the list of national security concerns.
How an actual biological attack would unfold depends on many variables, including which biological agent is used and how it’s dispersed. For the average person, trying to anticipate and prepare for every possible biological scenario is almost impossible. It makes more sense to plan and prepare to address the basic survival needs that are common to all disasters — food, water, security/self-defense, first-aid/medical, sanitation/hygiene, and of course, knowing when to stay put and when to get out. If the unthinkable happens, having a plan and appropriate supplies will be essential, especially in the days following the initial attacks.
Here are some things to consider:
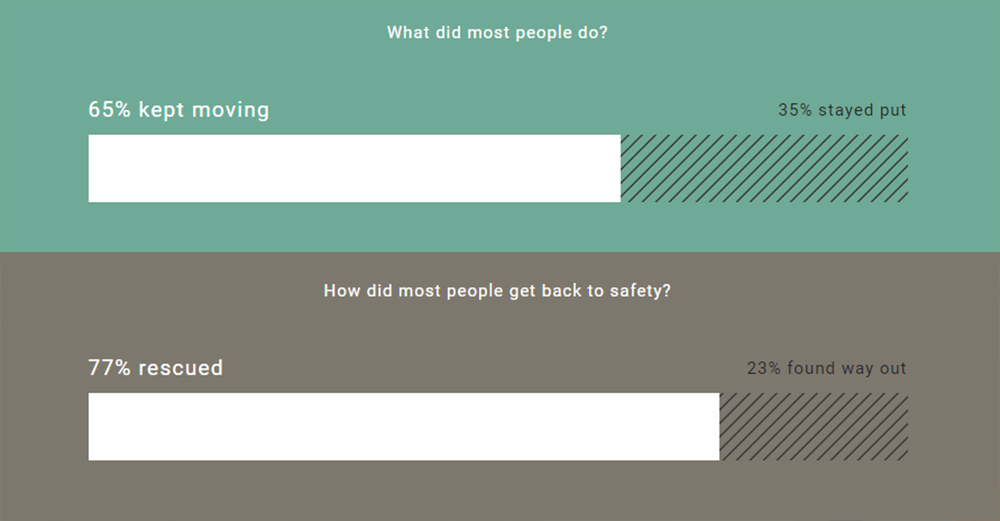
Staying Informed: Upon learning of a bioterrorism attack, the public will most likely look to local, state, and federal authorities for guidance and direction. Since the average person will have no clue what sort of bio-agent was used, how it was dispersed, or how far or in what direction it has traveled, knowing how best to respond will be difficult. Without substantial guidance, the public will be at a tremendous disadvantage. Although the best possible course of action may be to get as far away from the attacks as possible, that option may not be feasible. For instance, if the source of the attacks is unknown, leaving may be the worst thing to do since large crowds of departing residents may actually be unknowingly heading straight into an area of heavy contamination. Staying alert for critical warnings and alerts from government officials will be key to surviving the initial stages of a suspected attack.

Sheltering In Place: In some instances, the best option may be to shelter in place, avoiding all exposure to the infected and waiting for more detailed information. In the absence of a clearly defined plan with clear objectives — for example, knowing where to go and how to get there safely — staying put may be best. To shelter in place, however, you need supplies. Plan ahead and store an inventory of all the essentials.
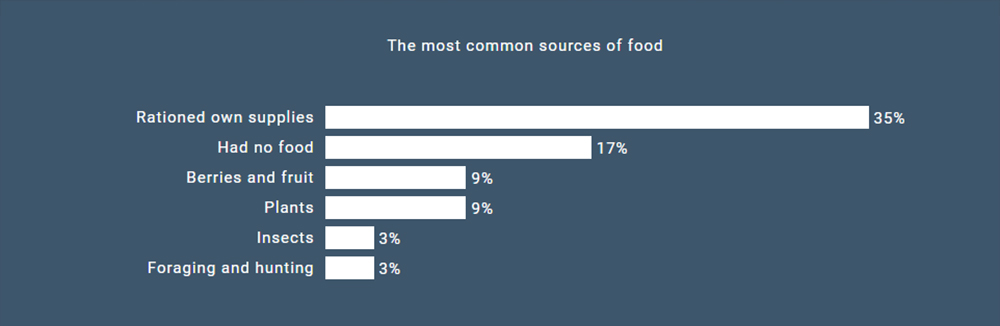
Having Food and Water: Having supplies will allow people to avoid exposure to potentially contaminated food and water, at least in the early stages of any attacks. Having supplies also makes it much easier to stay home and off the streets (i.e. sheltering in place). People who lack sufficient supplies will have no choice but to take to the streets in search of food and water.
Avoiding Exposure: Avoiding anything that may have been touched by an infected individual will reduce the possibility of exposure. During a potential attack, the public will need to protect itself not only from other people, but also from domestic animals, objects, food, and water. If the agent is airborne, staying indoors may be the only option for most people.
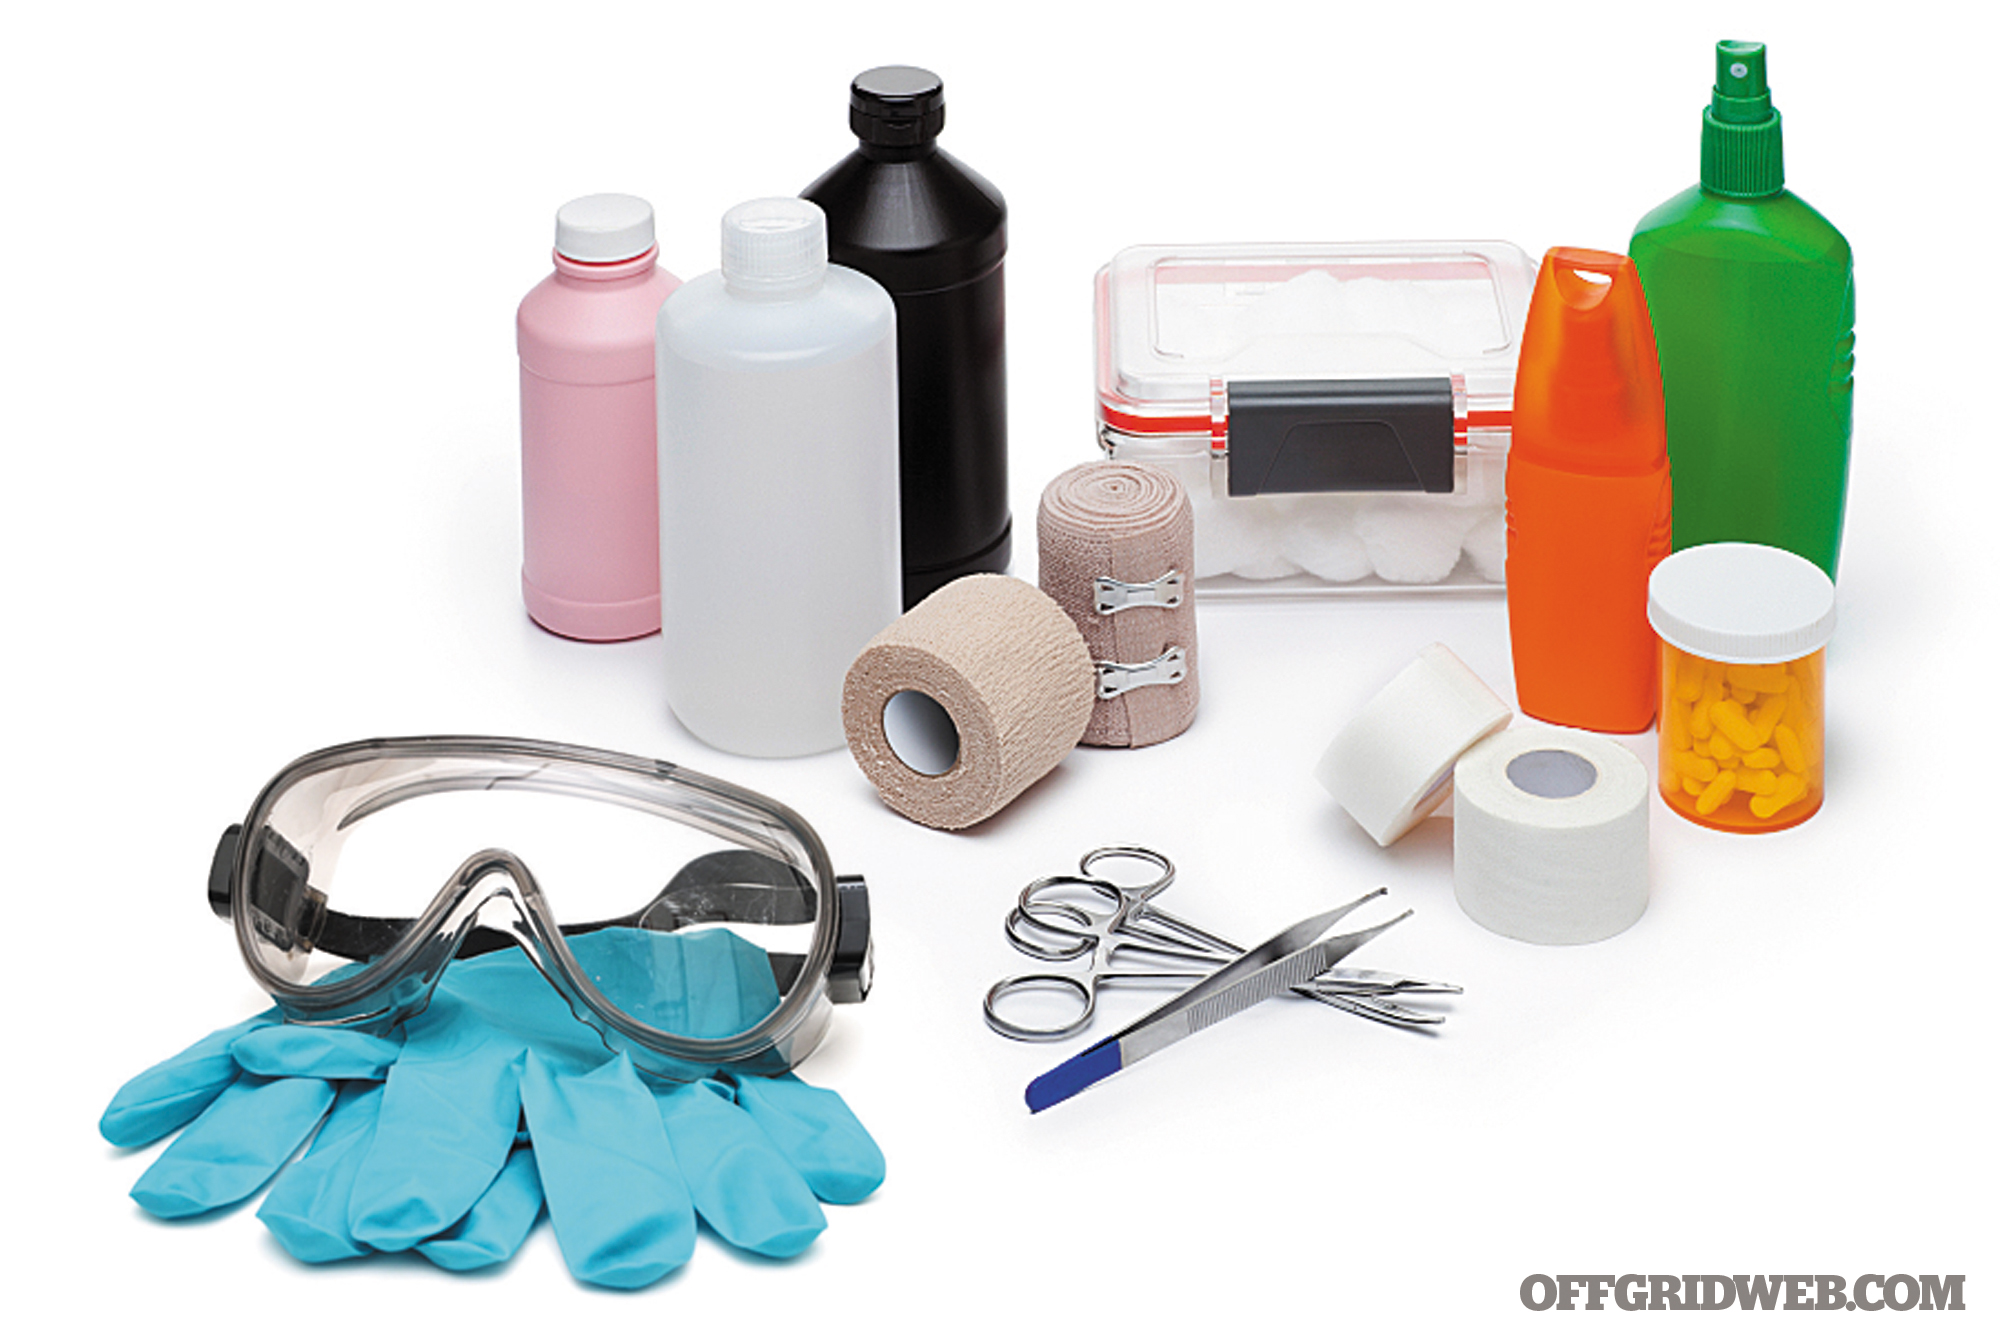
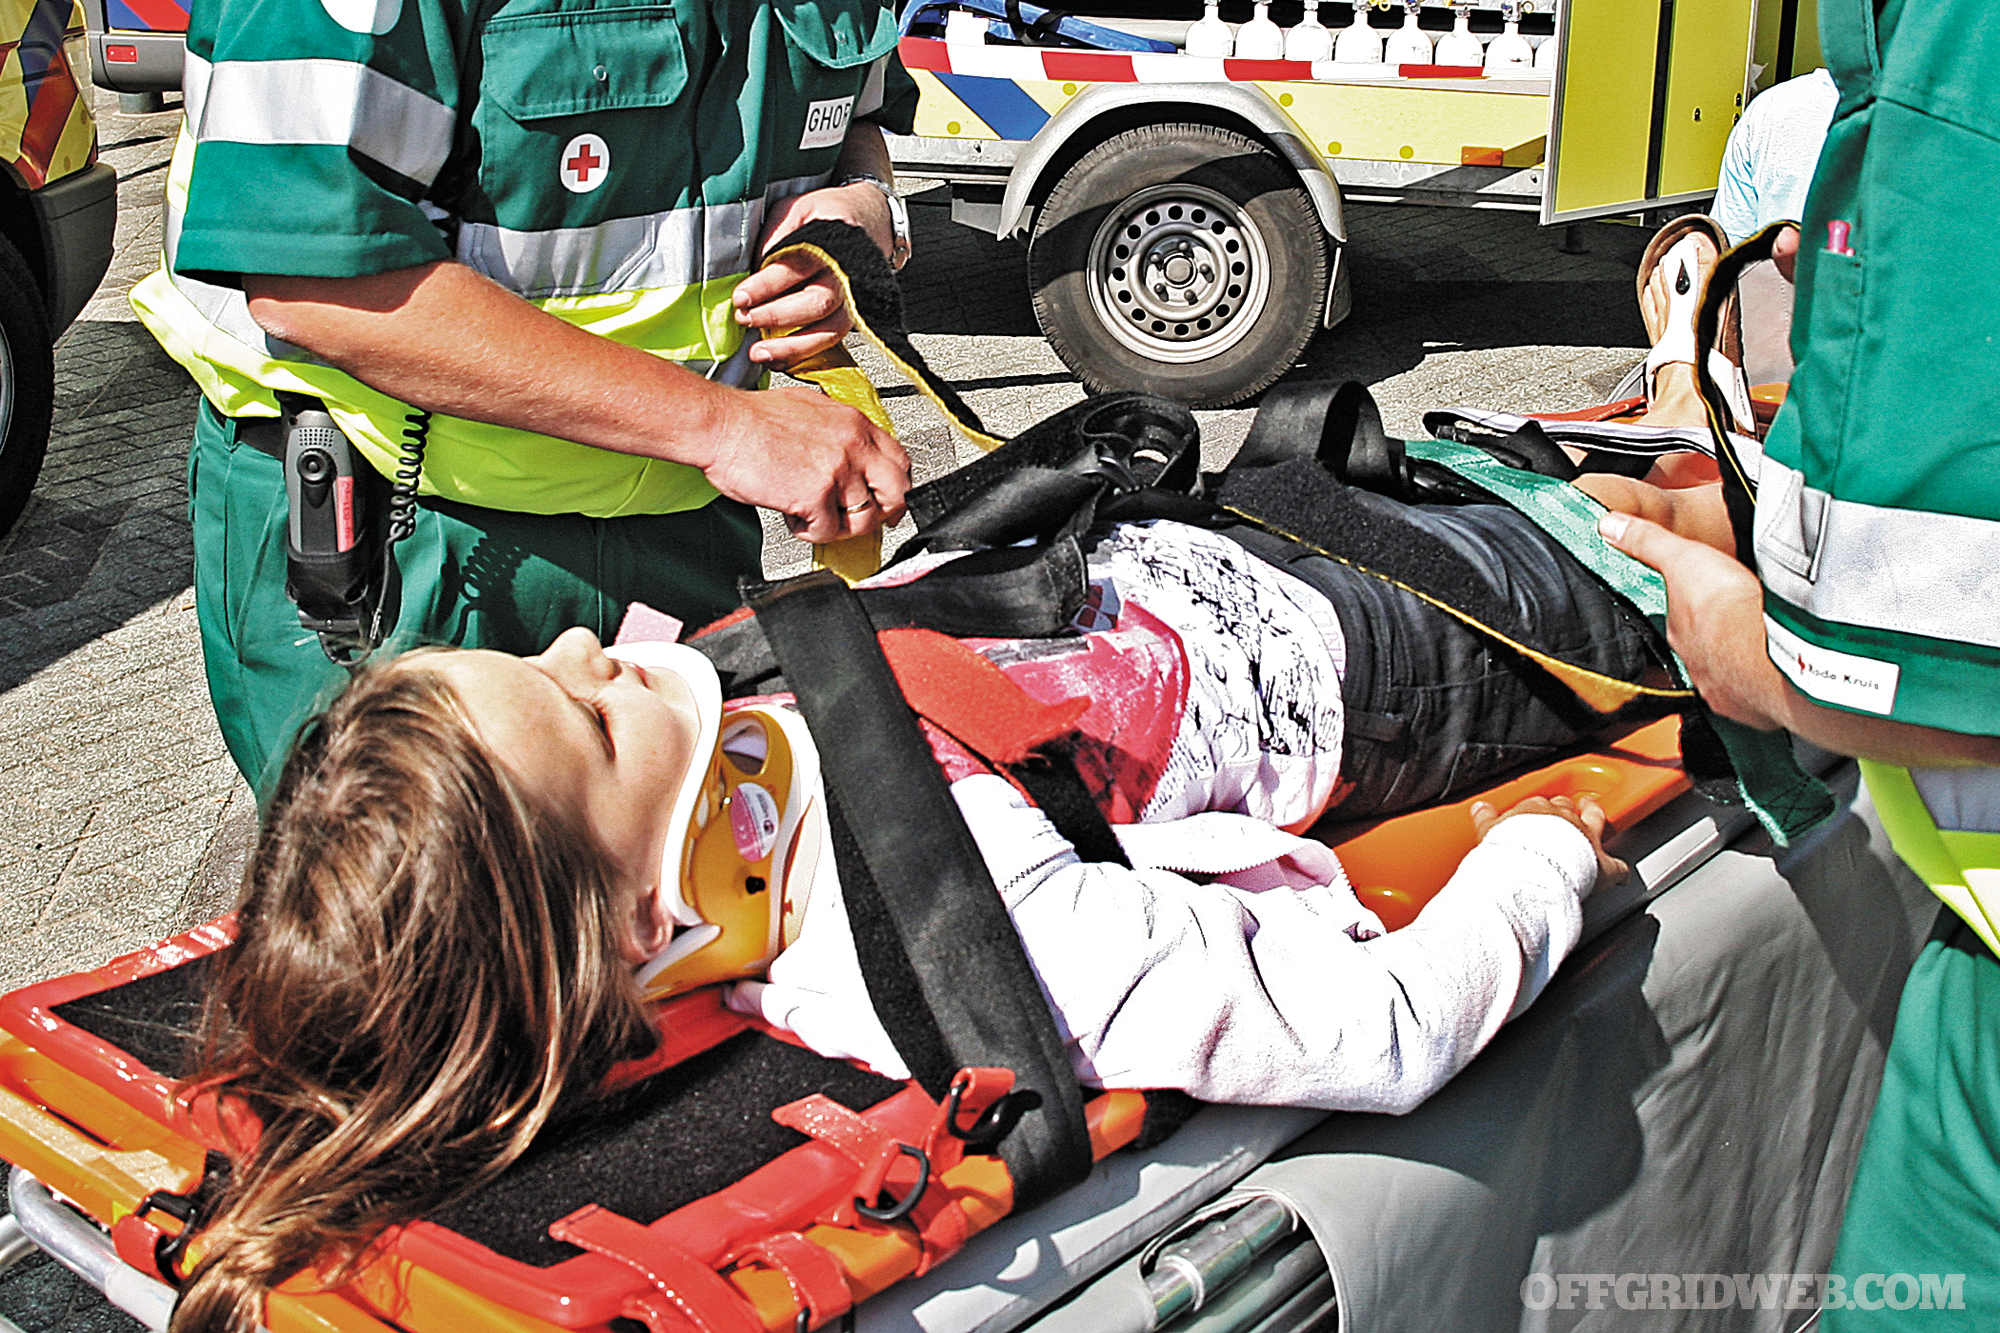
Having Medical Supplies: First-aid kits, prescription medications, particulate masks (N95), goggles, and surgical gloves are some of the basic supplies every household should maintain.
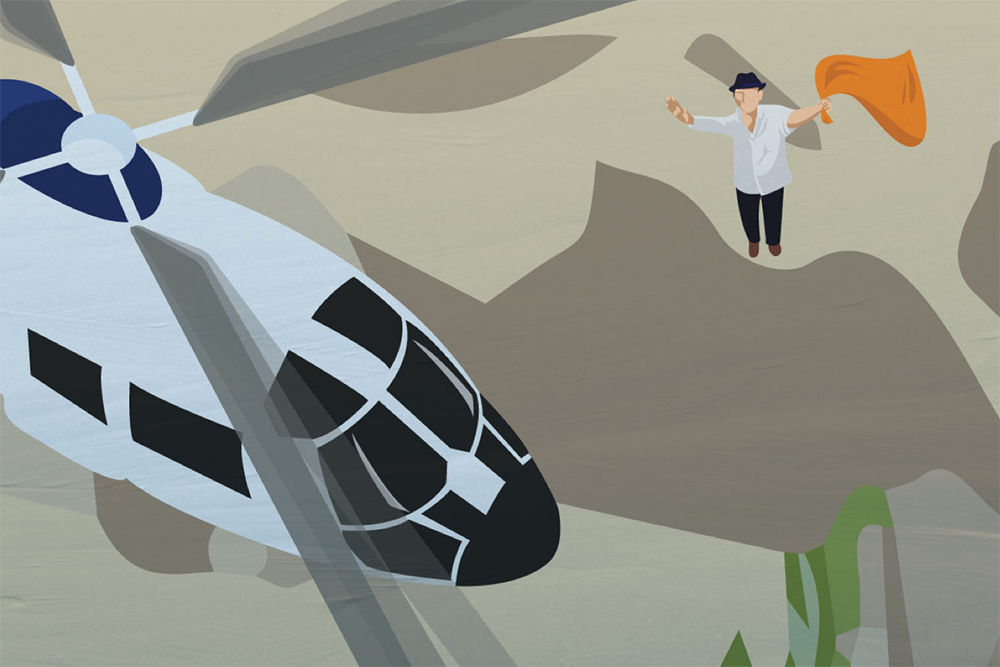
Having a Bug-Out Bag (BOB): Bugging out, or getting out fast to an alternate location, is usually not recommended unless you have a secure place to go and a safe way to get there. But if the authorities advise the public to evacuate, there will probably be no time to pack for the trip. In the event of an emergency evacuation order, having a pre-packed BOB can help your group get out quickly. Food, water, self-defense, eye and face protection, and important personal papers are just some of the things to have packed and ready to go.

5 Bioterrorism Quick Facts
1. Bioterrorism is a very real threat, especially to urban dwellers in densely populated areas. Terrorists also know that the most devastating aspects of a bioterror attack could be psychological — millions of people reacting to news of the attacks with fear and panic, causing inevitable waves of chaos.
2. Biological agents come in many different forms — some occur naturally, others are designed in a lab to be more effective. All can be lethal.
3. Biological agents can be spread in many different ways — person to person, through the air, or via water.
4. As with other kinds of terrorism, the objective of bioterrorism is to cause disruption, fear, and mass hysteria. Biological weapons appeal to terrorists because they are highly effective at achieving these goals. Agents can be released to spread far and wide, before the first person ever begins to show any symptoms.
5. A large metropolitan area, with a high population density, would be a most attractive target for terrorist. A well-coordinated series of attacks could have a devastating and long-lasting impact on society, the economy, civil order, and essential public services.
Summary
Bioterrorism is the stuff of nightmares. Terrorists know that one of the most devastating aspects of any bioterror attack will be the chaos that follows. In the aftermath of such a disaster there will be two groups of people — the prepared and the unprepared. Being prepared is not just about having supplies; it’s also about having a viable plan and being able to respond quickly to changing conditions. In the face of uncertainty, preparations can tilt the odds in your favor and expand your options. Stay safe and be prepared.
About The Author
Richard Duarte is a practicing attorney and a survival and firearms enthusiast; he currently teaches and consults in the areas of urban survival planning and preparation. He is the author of Surviving Doomsday — a Guide for Surviving an Urban Disaster. For the latest news and updates, connect with Richard at www.quickstartsurvival.com.