We’ve all heard of the KISS principle — keep it simple, stupid. When you’re out in the backcountry, whether it’s a relaxed weekend camping trip or a harrowing cross-country trek, this principle is a way of life. It’s the voice in your head that says, no, I probably don’t need to bring that panini press on the trail today.
Simplicity is also the reason some of the most experienced outdoorsmen are still relying on tools some of us would consider archaic, while the inexperienced gravitate to the fancy multi-purpose gear.
For example, a luxurious tent contains many parts which can be lost or damaged, but a bivvy bag can still keep you warm and dry with less components to worry about. A 23-function multi-tool sounds good on paper, but you might find that 22 of those functions never get used in the real world. And that high-tech GPS unit is great until it breaks or loses signal — then you’ll be back to using a magnetic compass.

When it comes to folding knives, you can spend all day browsing through unusual blade profiles, serration patterns, space-age materials, spring-loaded mechanisms, and innovative lock designs. There’s nothing wrong with these bells and whistles for a knife you’re only carrying around town, but yet again, simplicity takes priority for the outdoors. In a SHTF situation, would you rather have a knife that impresses your Instagram followers, or one that cuts reliably?
Outdoor Knives from TOPS
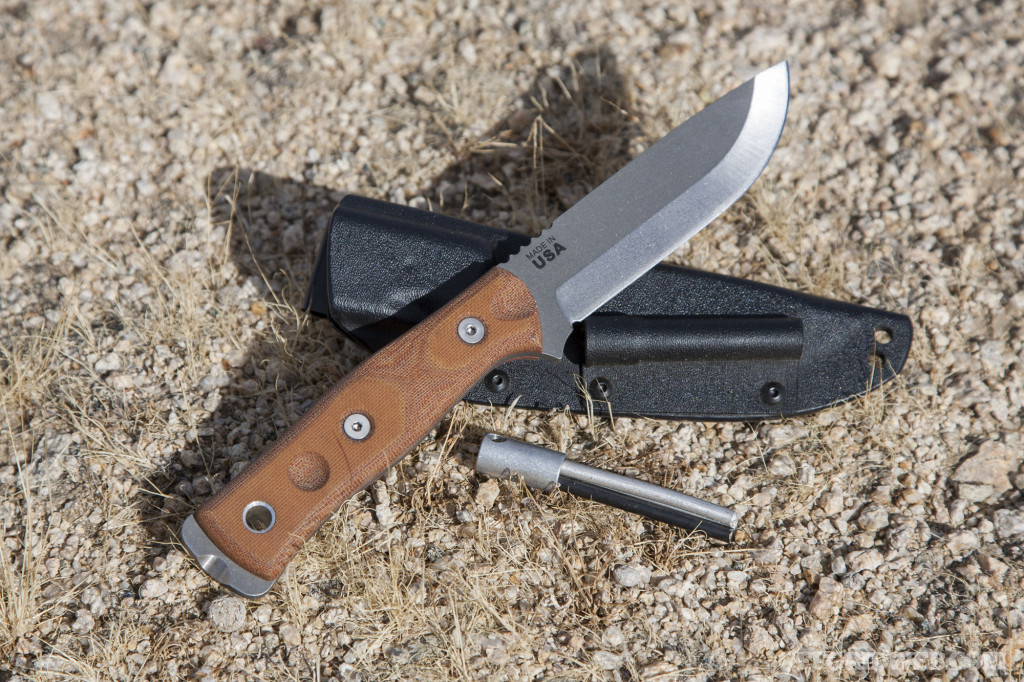
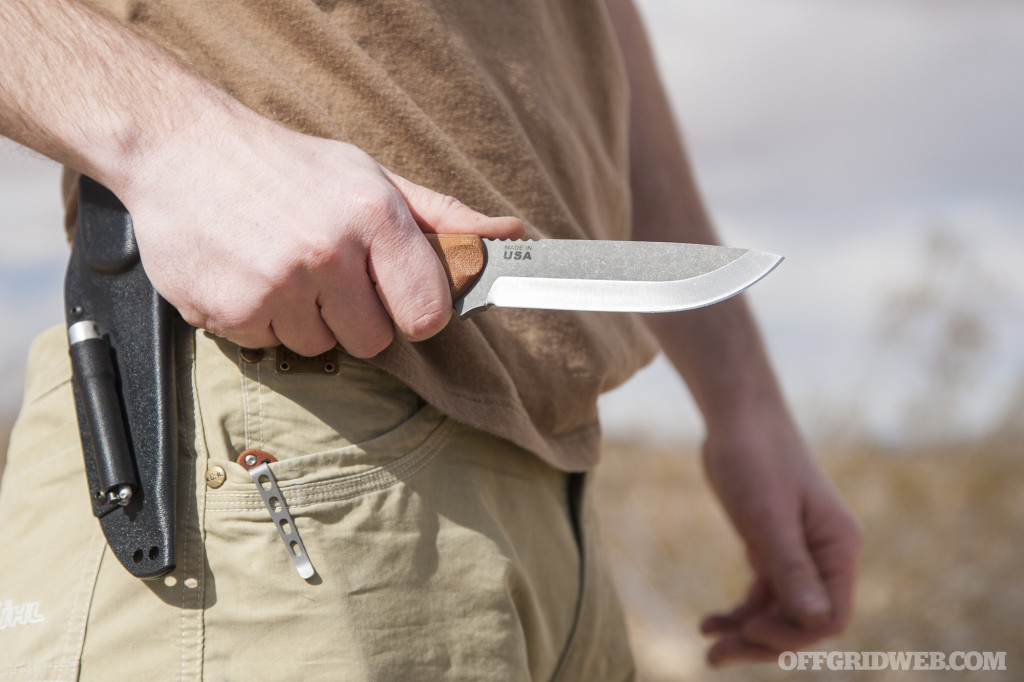
All this talk about simplicity may seem ironic in relation to TOPS Knives, since the company got its start producing some pretty extravagant blade designs, such as the massive Steel Eagle. However, TOPS now offers a huge range of knife styles, from over-the-top tactical blades to subdued EDC tools. Over the last few years, we’ve been pleased to see the company expanding its line of purposeful outdoor knives, and this move seems to be paying off. The simple fixed-blade B.O.B. Fieldcraft pictured below is now the company’s top-selling knife.
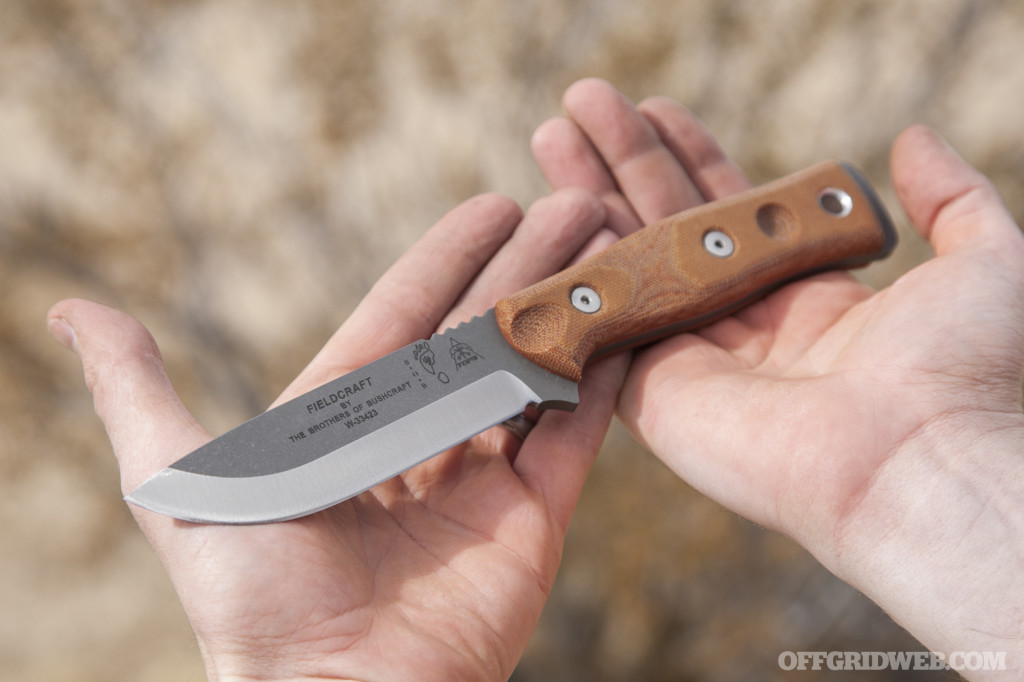
Ever since its release in 2013, we’ve liked the design of the Fieldcraft, with its elegant drop point, sturdy 1095 carbon steel construction, and tough canvas micarta handle scales. But at a 10-inch overall length, it’s not the sort of thing you can carry every day in the city or suburbs. For cutting tasks in urban environments or delicate work in the outdoors, we prefer a small folding knife.
Although TOPS mostly produces fixed blades, the company has offered a few folding knife designs over the years — there’s even a Fieldcraft Folder. But to us, these designs have always felt like fixed blades adapted into folders, and that’s a substantial compromise. They’re large and heavy in the pocket, and the pivot will never be as sturdy as a proper fixed blade for heavy tasks like batoning.
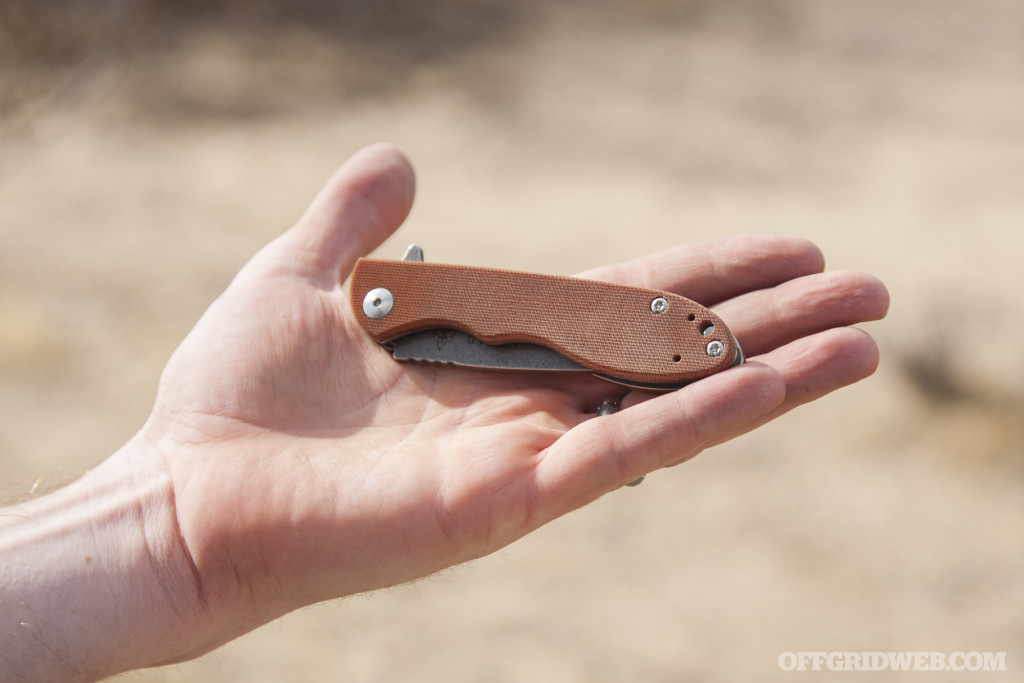
At SHOT Show 2018, we visited the TOPS Knives booth and noticed something new: a folding knife that felt sleek and slim enough for EDC, but also retained the outdoor-oriented simplicity we loved in the Fieldcraft series. Intrigued, we set out to learn more about this new folder.
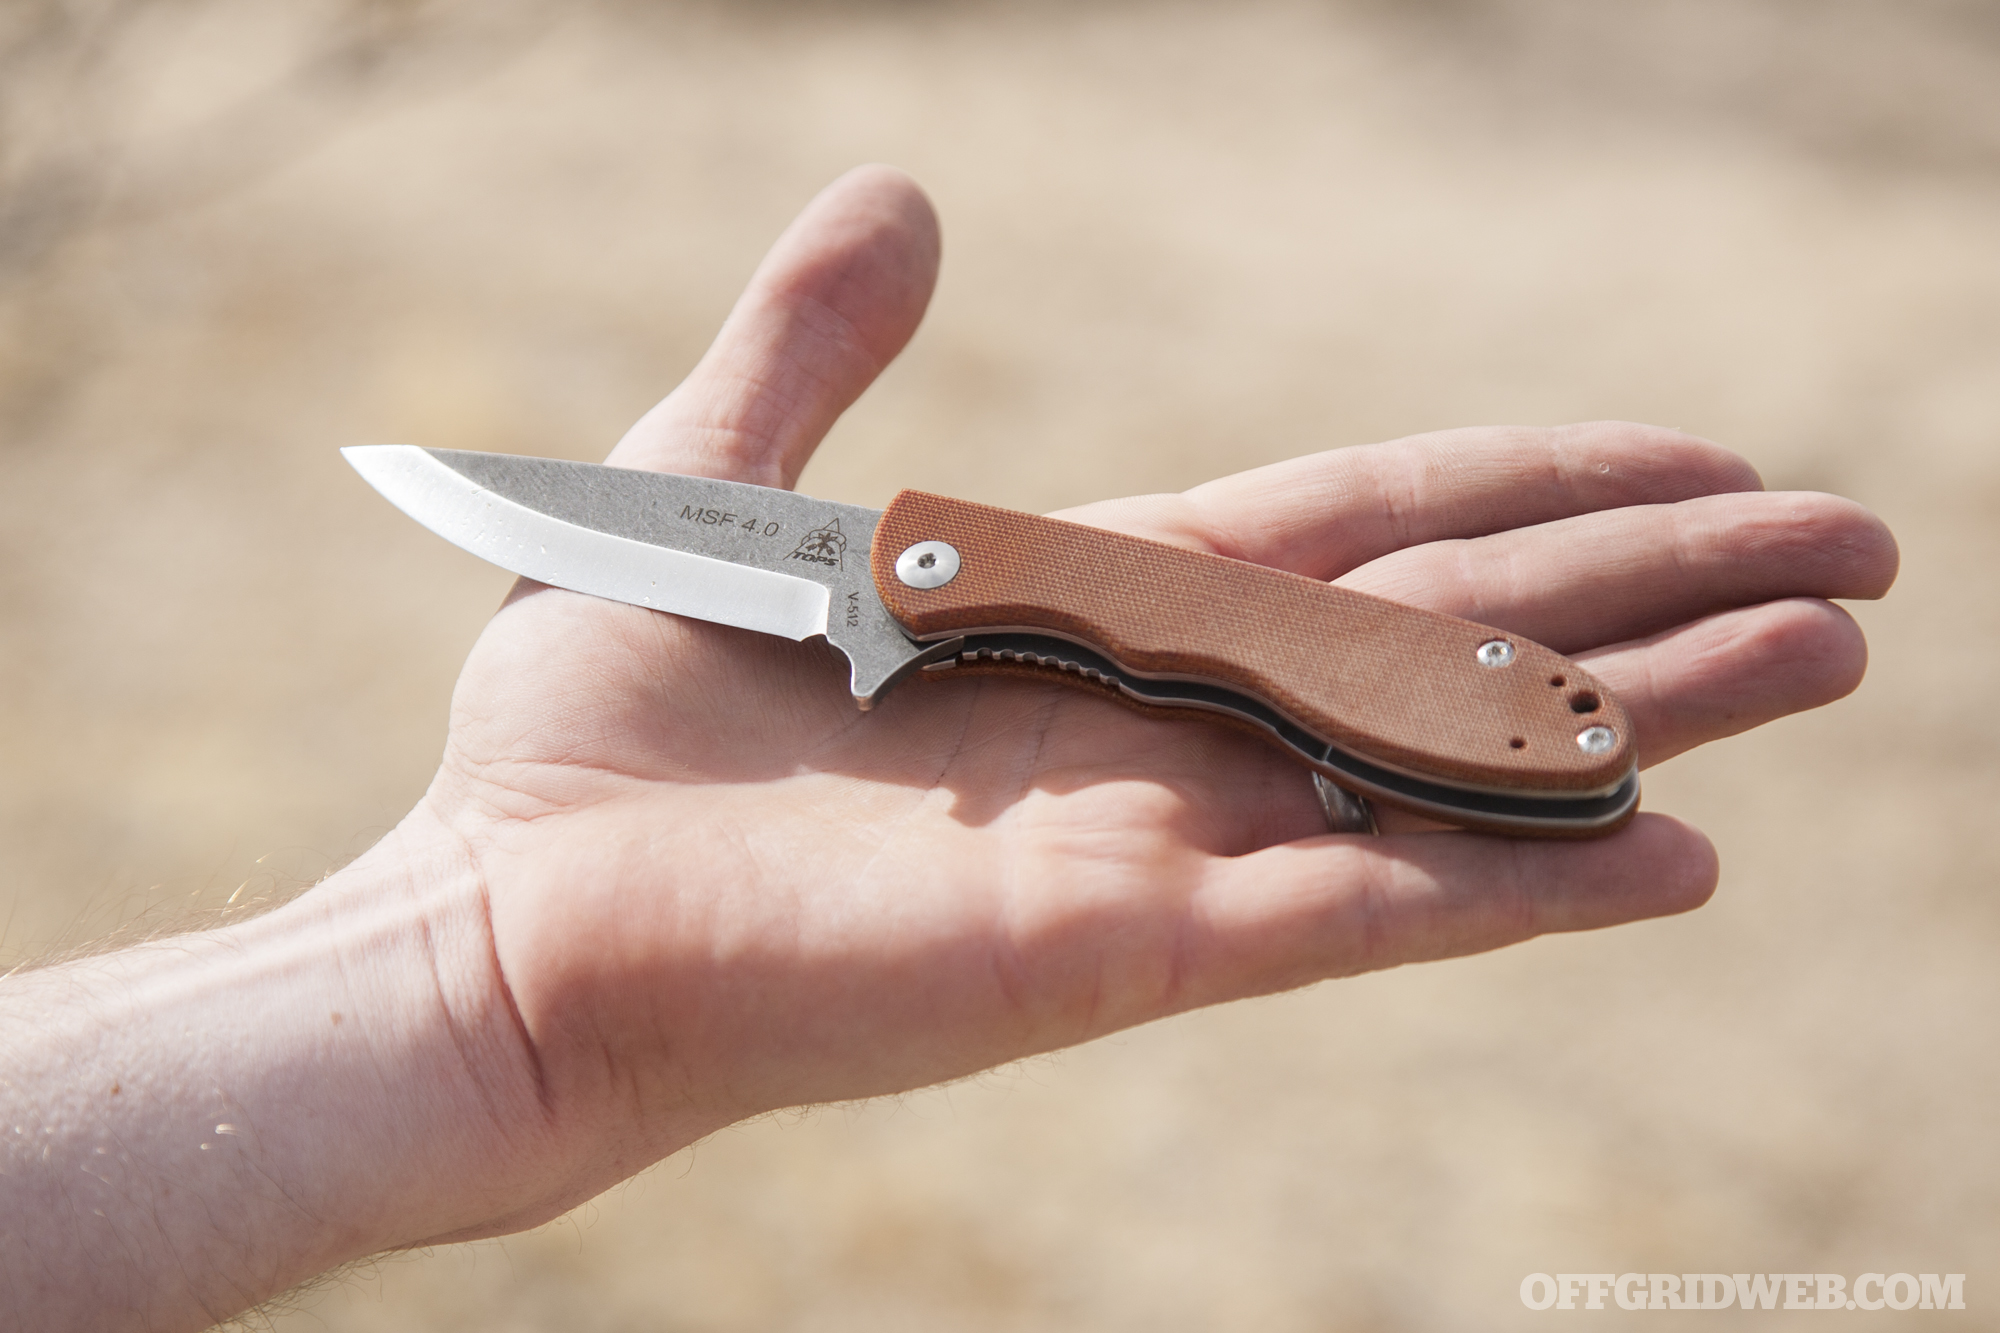
TOPS MSF 4.0
The knife we spotted at SHOT lacked one feature we’ve seen on every other TOPS knife: a “Made in USA” label etched onto the blade. Normally that’s a sign of some cost-cutting outsourcing, but unlike the countless cheap import knives we’ve handled from other companies, the MSF felt smooth, locked securely, and exhibited no visible manufacturing flaws. Even though this sample wasn’t made in the USA, it was clearly a quality product.
We spoke with Craig Powell, the General Manager at TOPS Knives, to learn more about the MSF 4.0. He told us that the knife was the product of a collaboration with Maserin Knives, a company that has been producing blades in Italy since 1960. Maserin has substantial experience manufacturing folding knives, so TOPS drew on this expertise to create a folding knife unlike the others it has produced in the past.
The TOPS MSF 4.0 was designed in the USA by Leo Espinoza, the man behind recently popular TOPS designs such as the Hammer Hawk and El Chete. As he designed this folder, Espinoza drew inspiration from his Mini Scandi neck knife, and the resemblance between the two is clear. Maserin manufactured the knife in Italy using materials specified by TOPS and the design provided by Espinoza.
Specs & Features
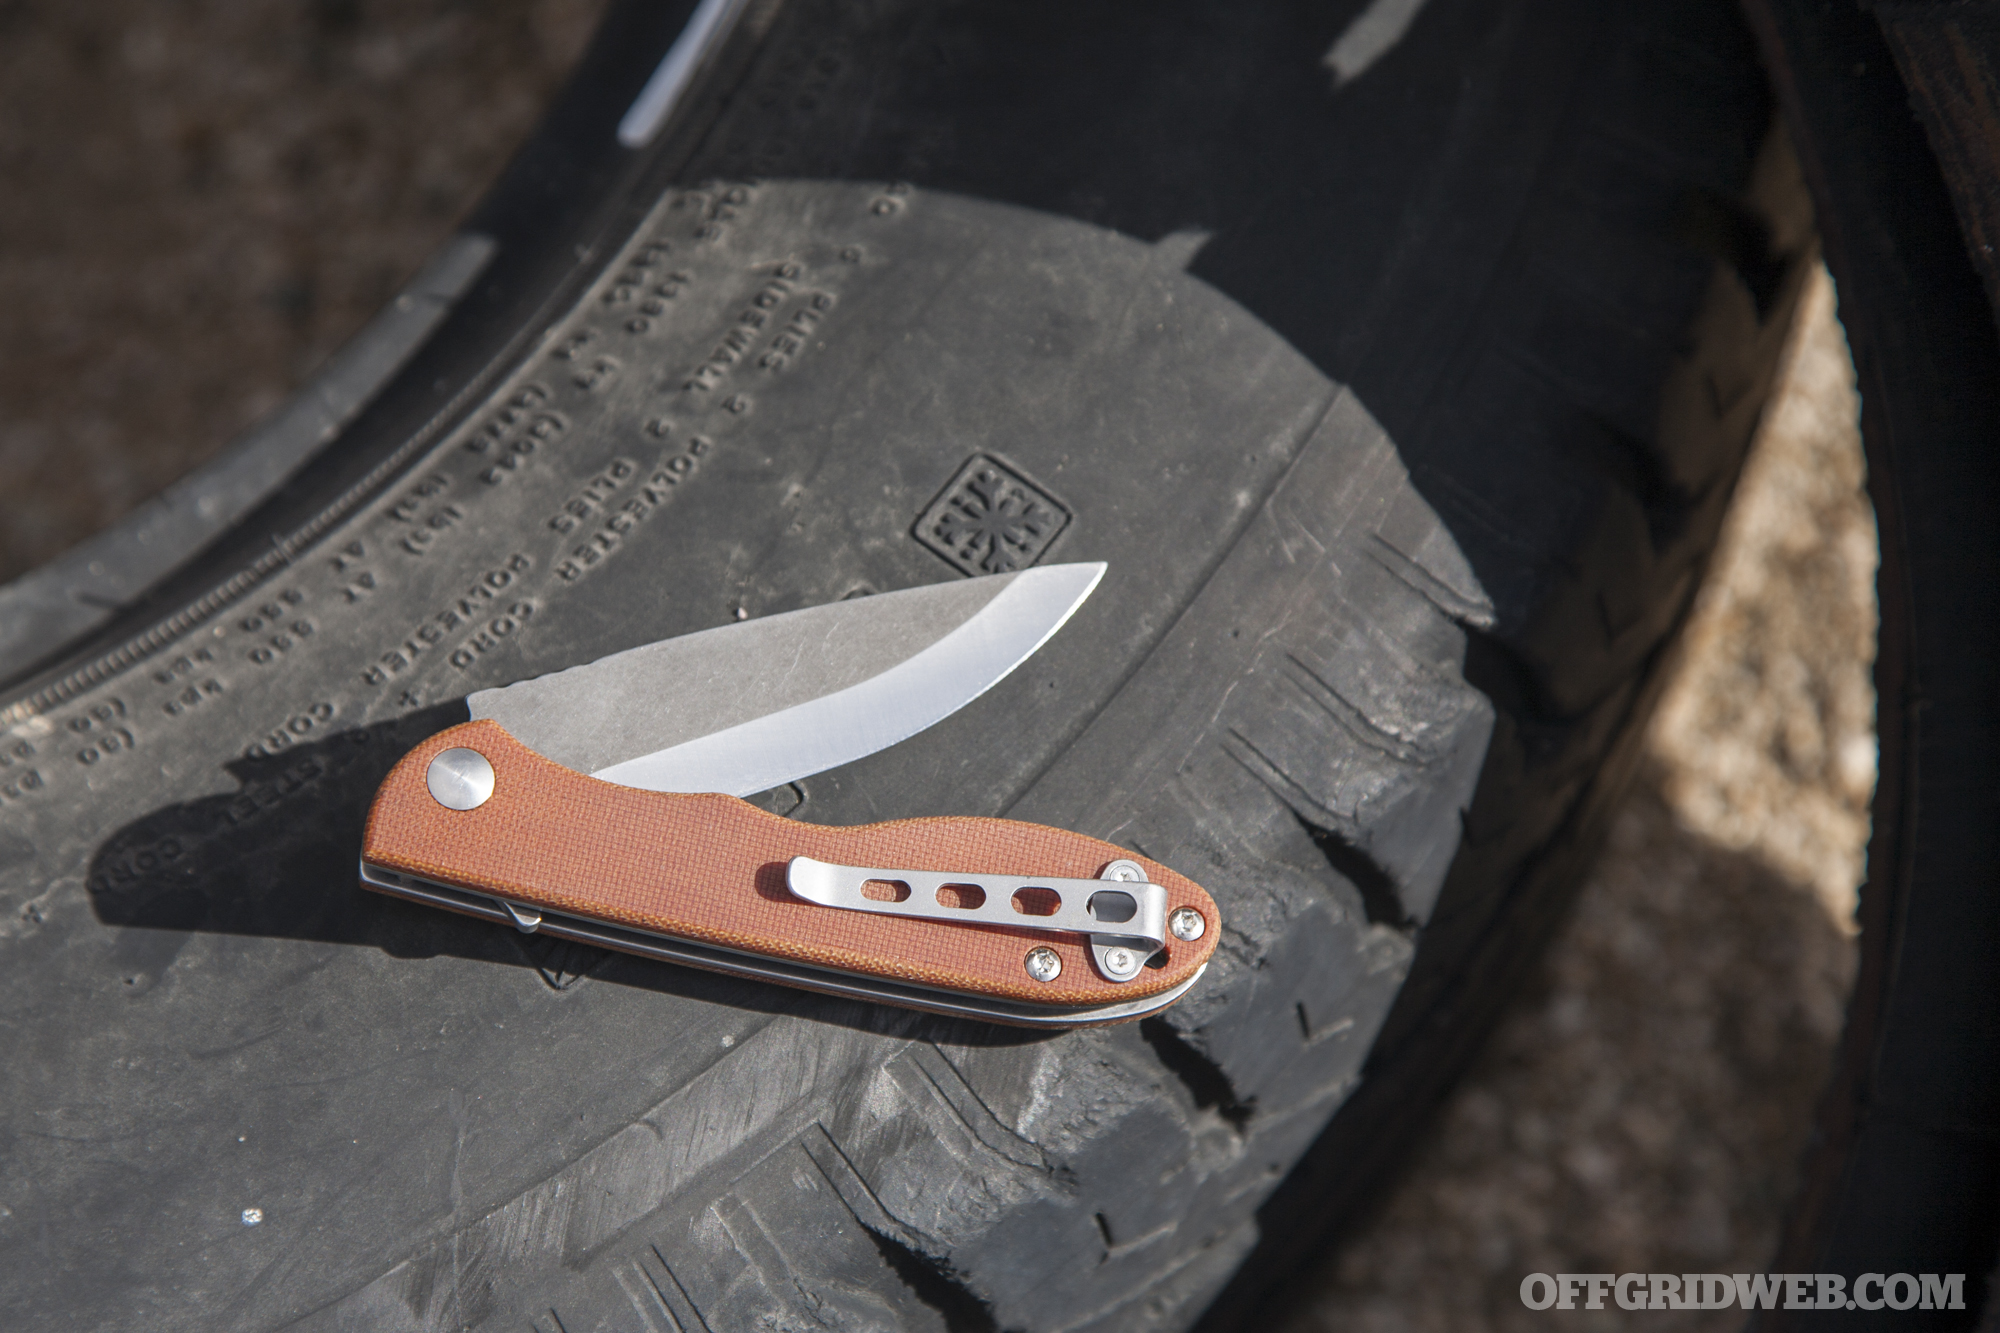
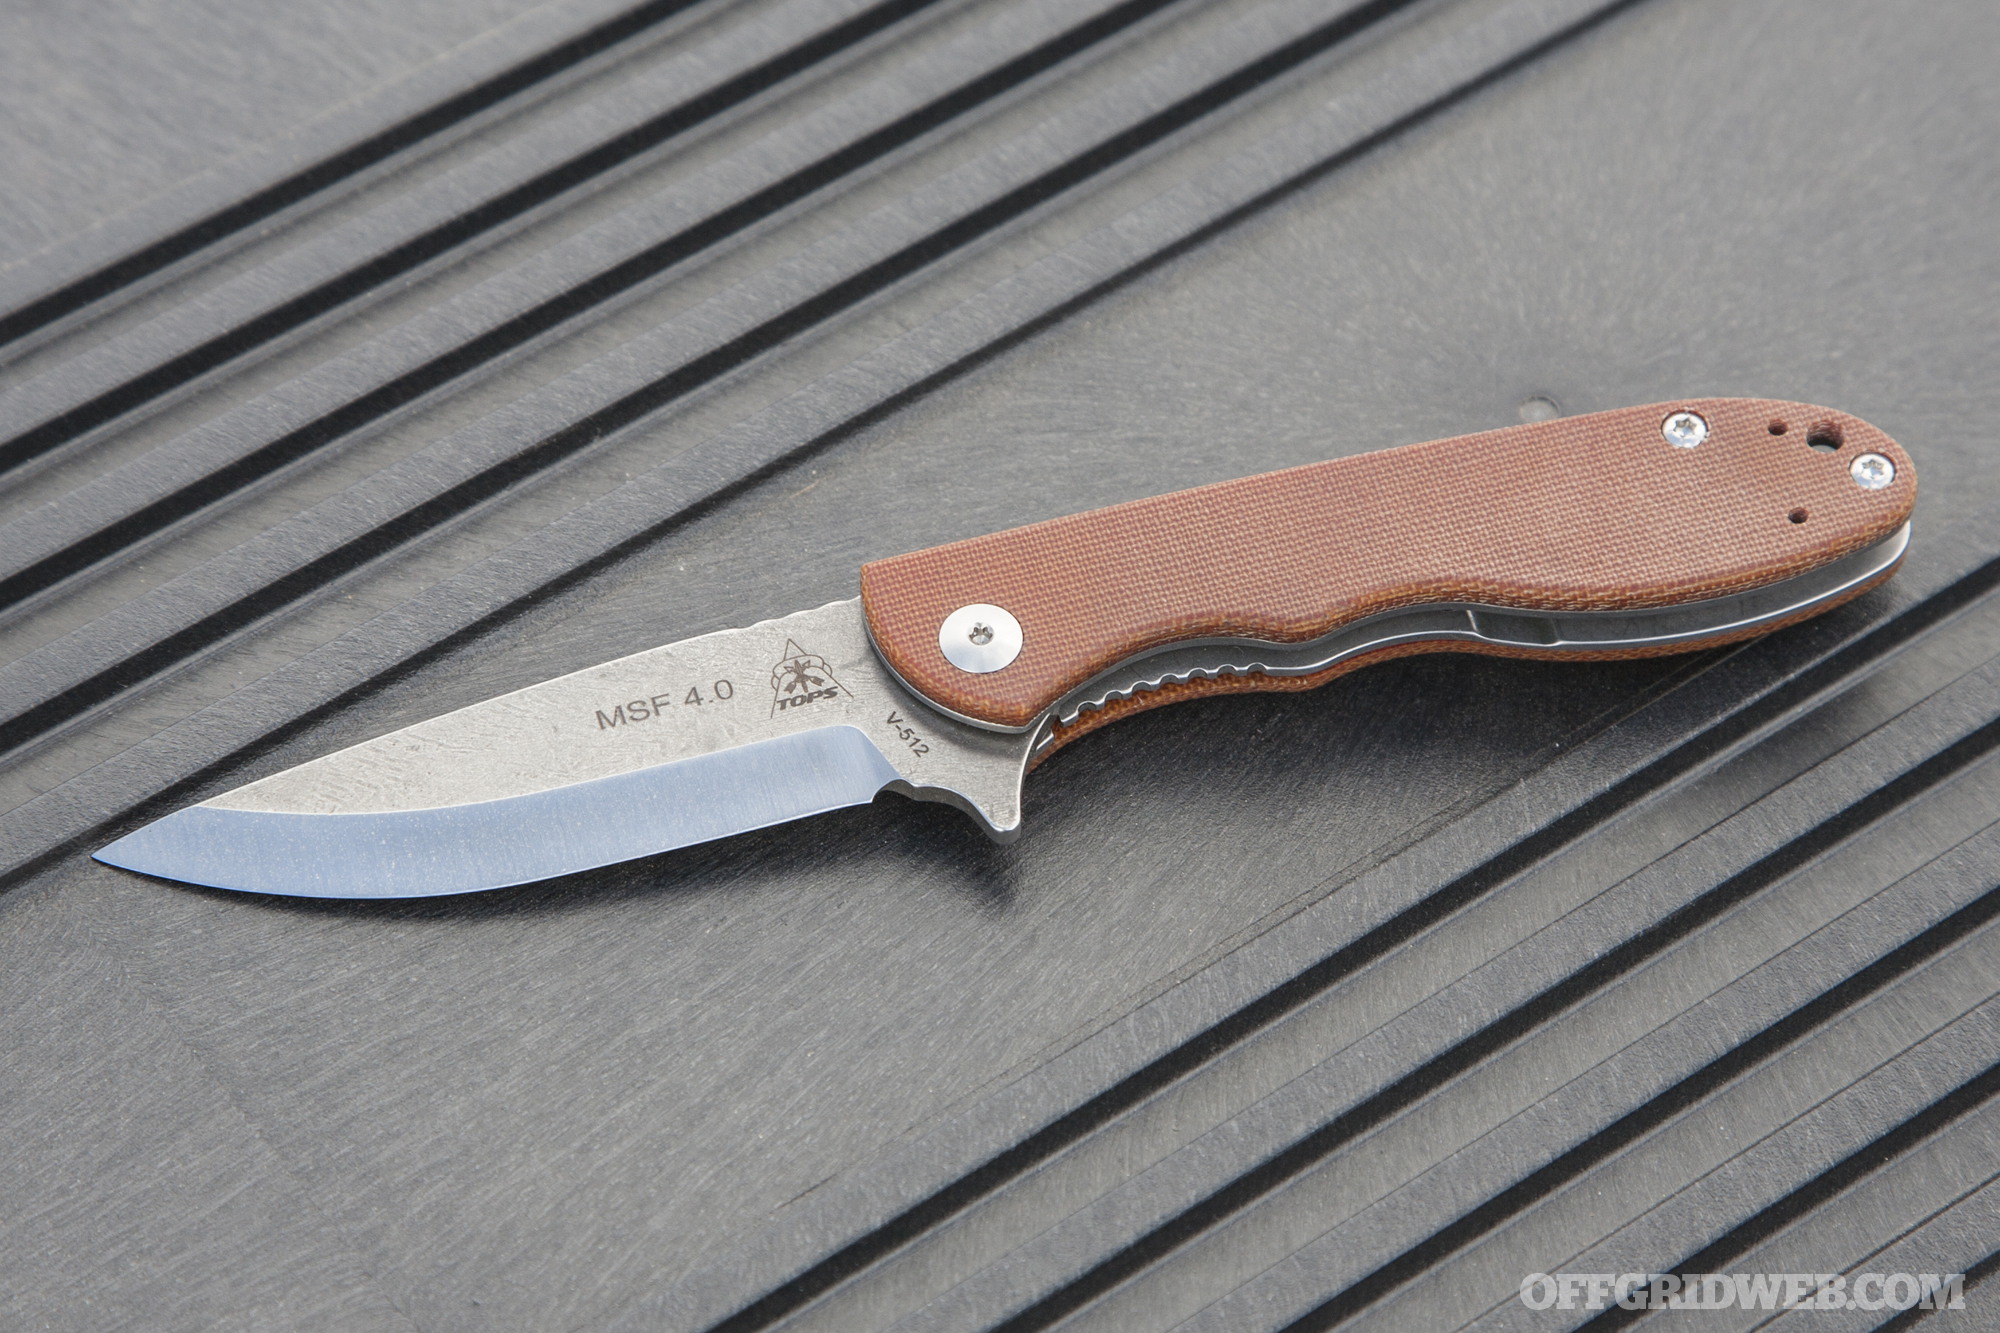
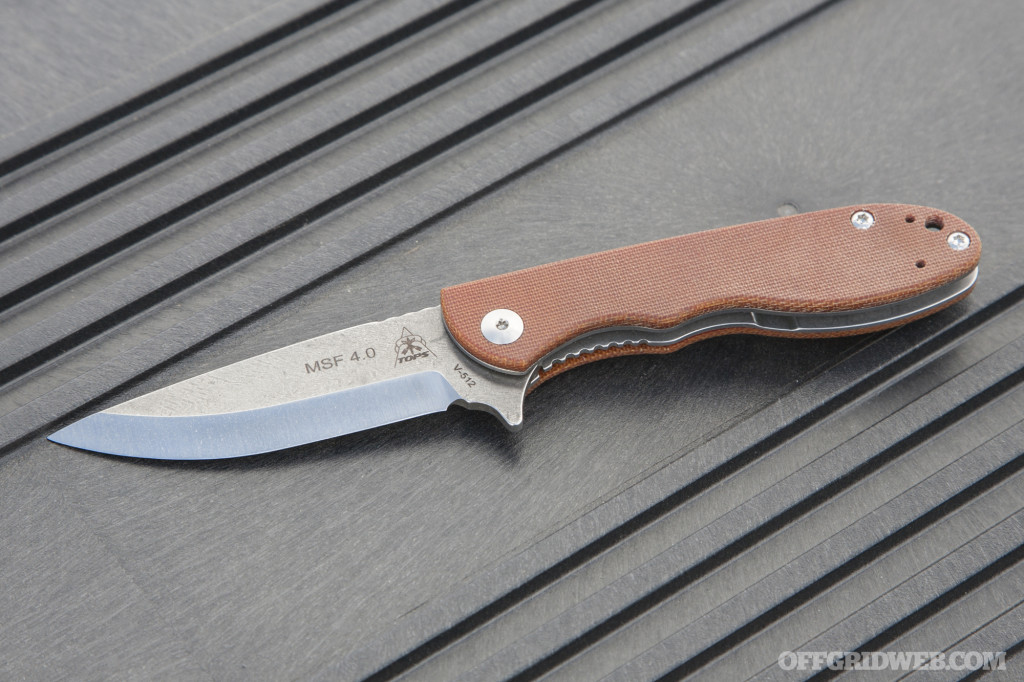
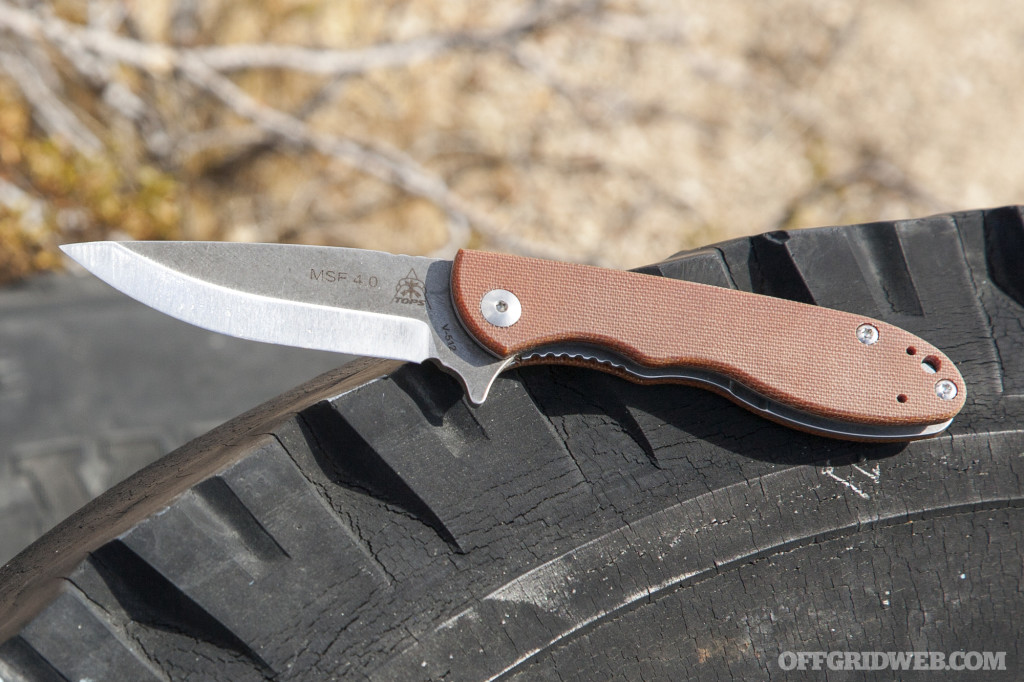
MSF stands for Mini Scandi Folder, although Mini Scandi Flipper would be an equally accurate description, since the knife features a manual flipper mechanism. The pivot includes ball-bearing washers for smooth opening, and a steel liner lock keeps the blade securely open while in use.

The “Scandi” in the name refers to the scandi grind applied to its blade — a completely flat single bevel without a secondary edge bevel. This grind is popular among traditional outdoor knives like the Finnish puukko, and it’s easy to see why. It allows for extremely precise shaving cuts, making it ideal for feather-sticking, and is easy to sharpen in the field with a flat stone, ceramic rod, or just about any other abrasive.
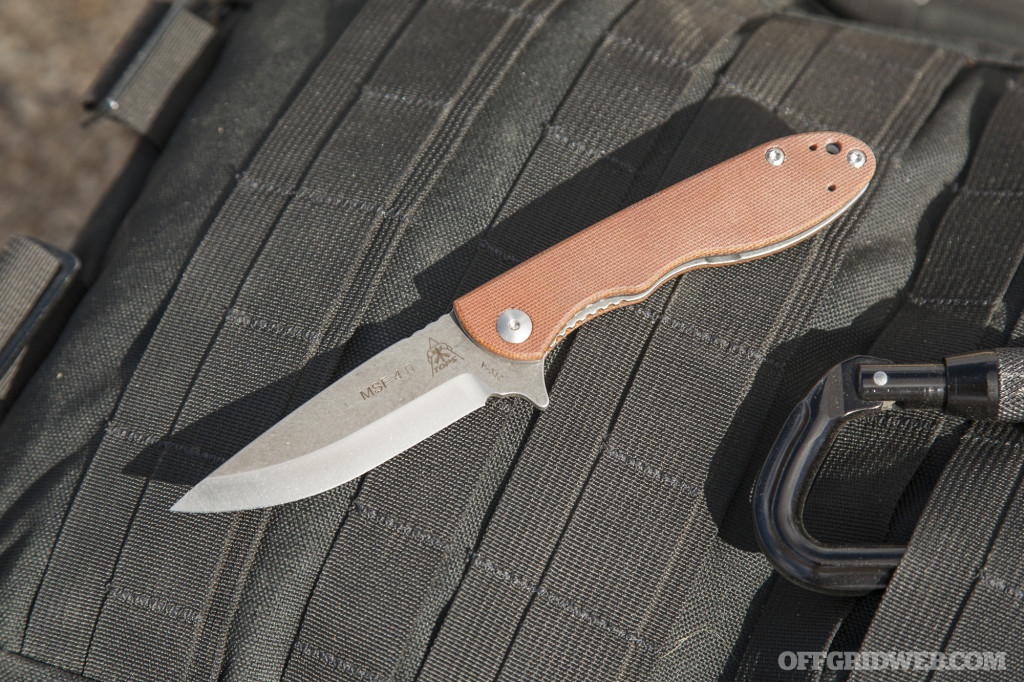
The MSF 4.0’s blade is made of Bohler N690Co, an Austrian stainless steel. The material lends itself well to outdoor use, since it offers high edge retention and added Cobalt for corrosion resistance.
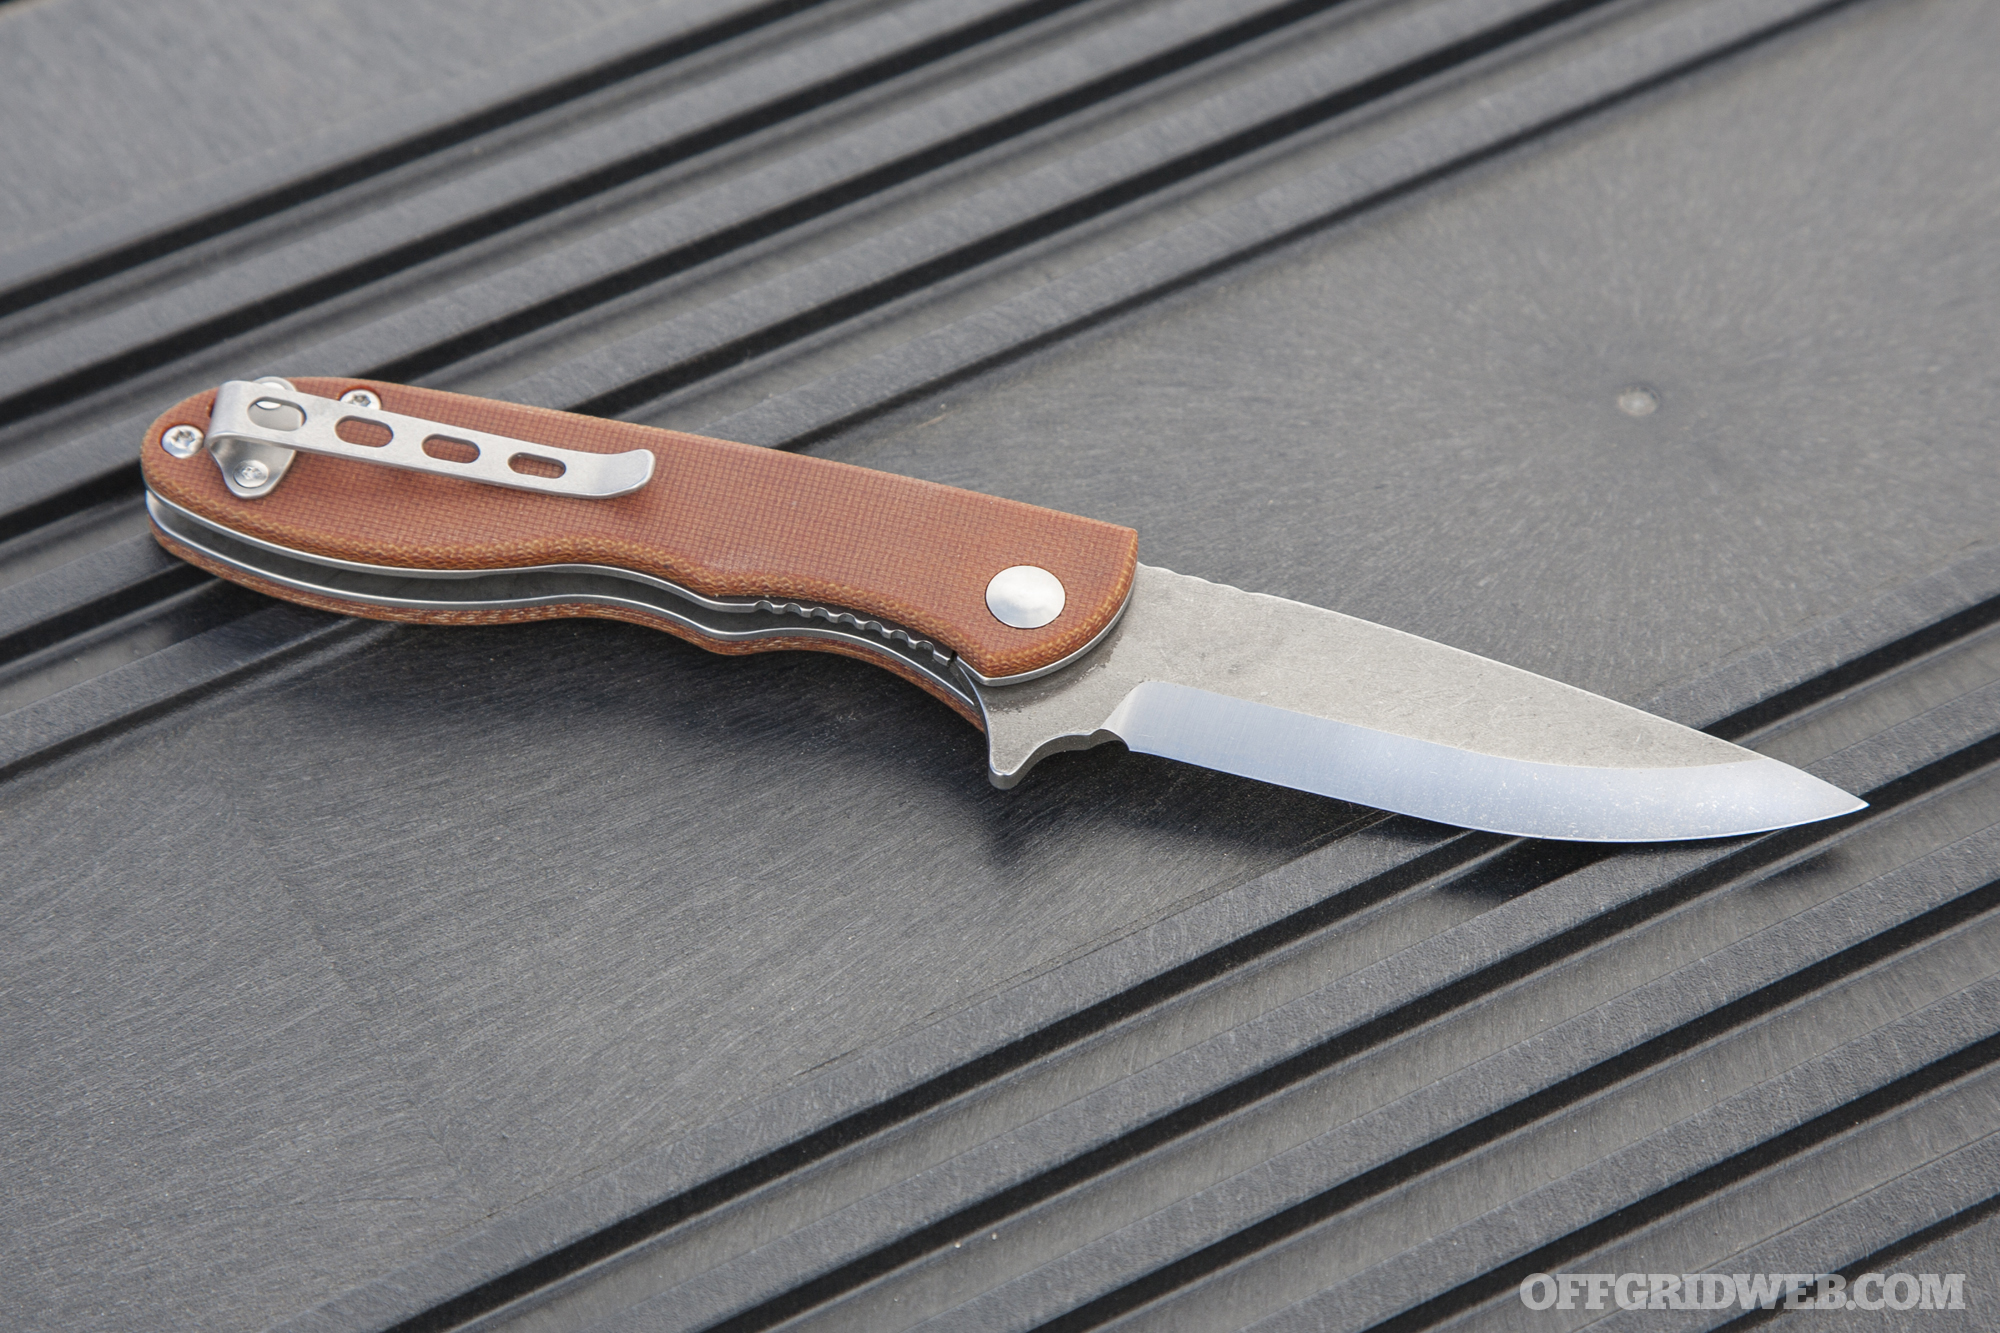
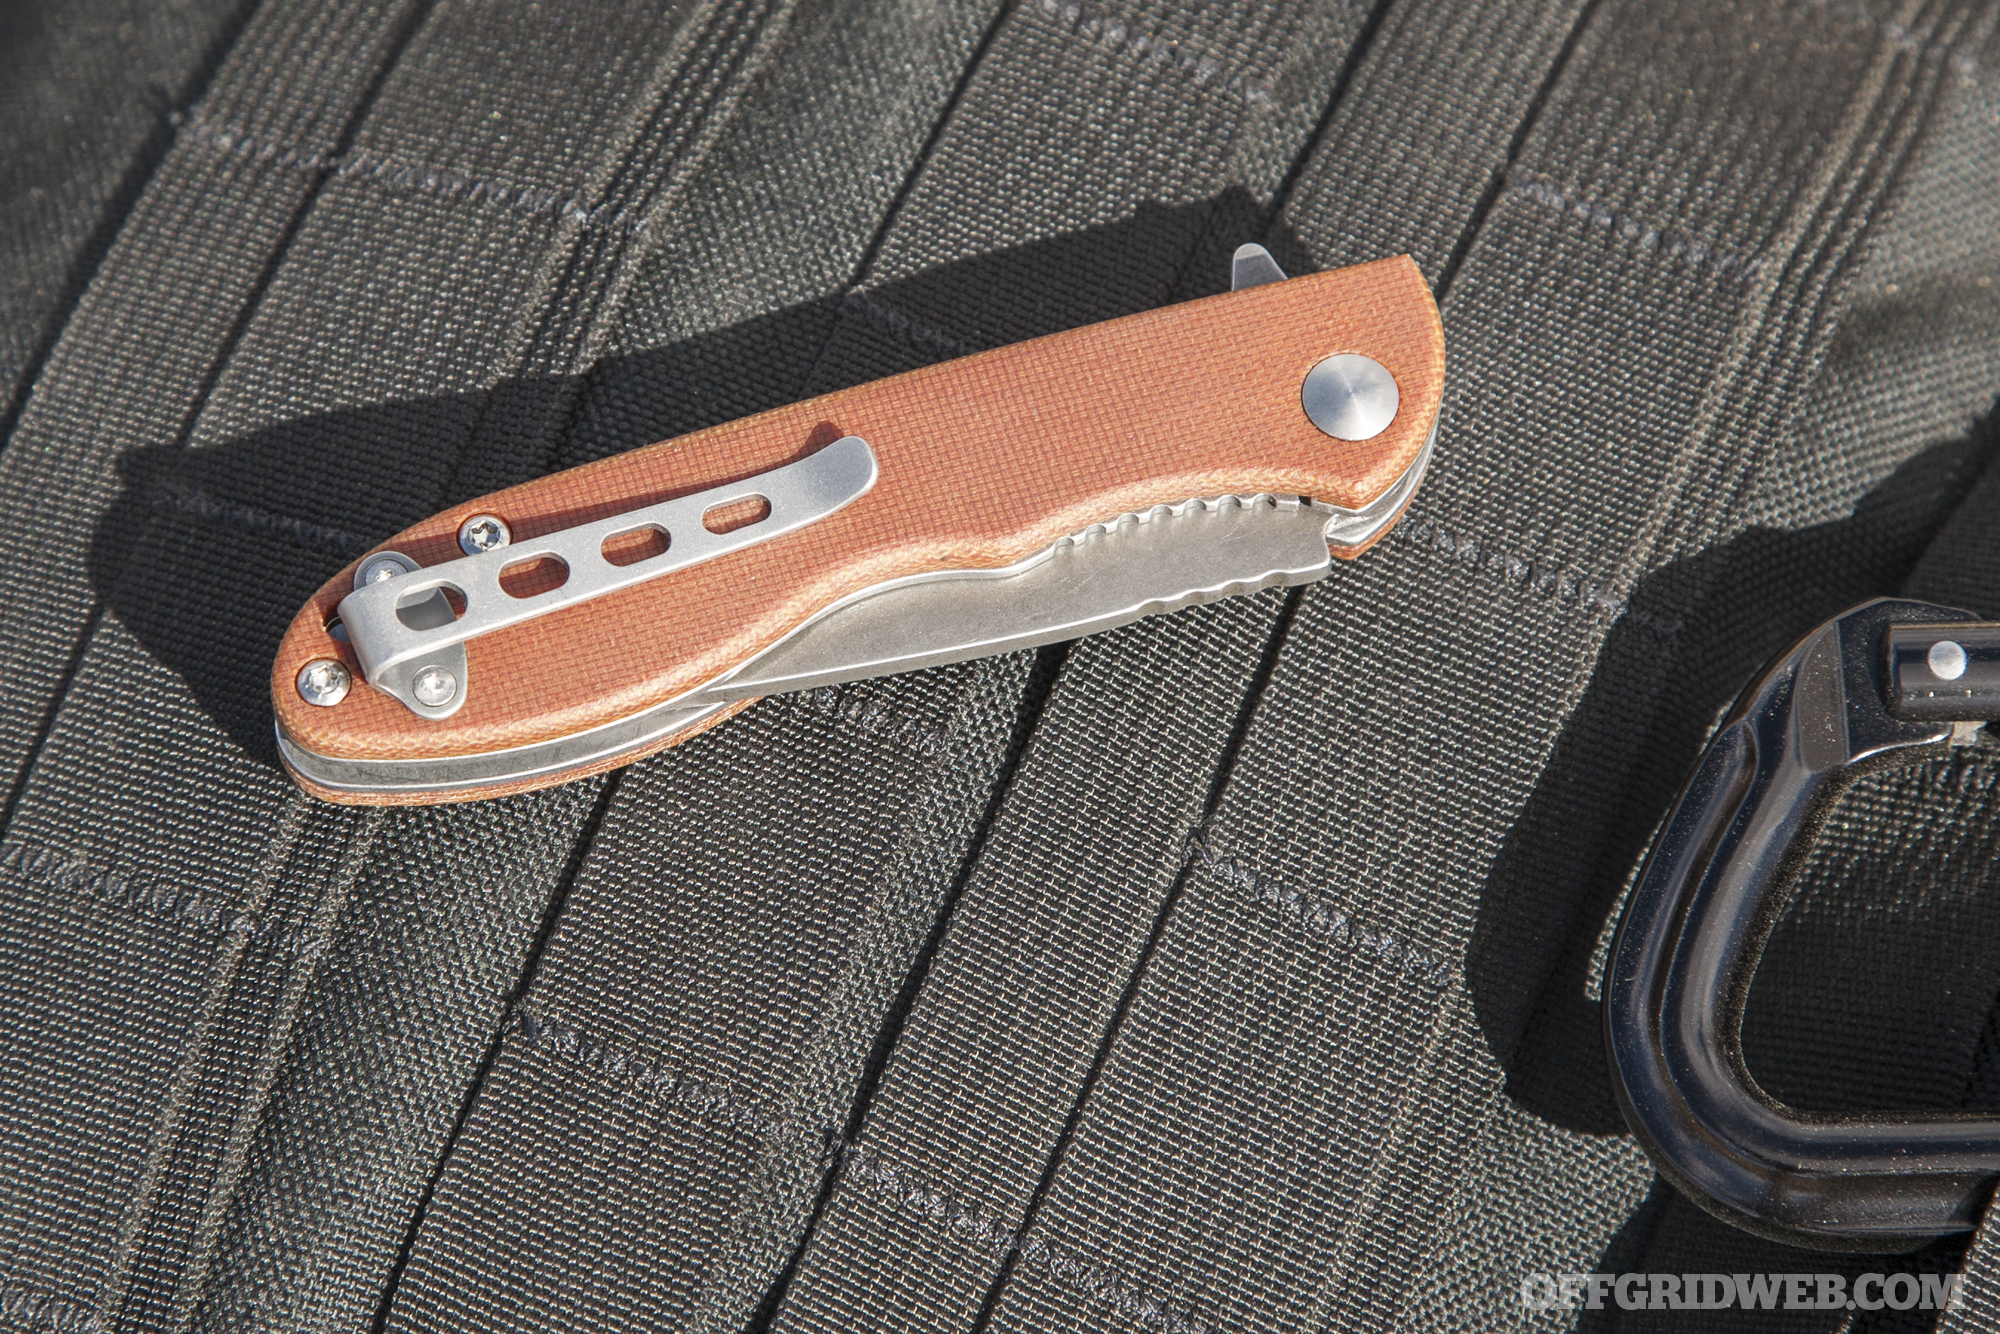
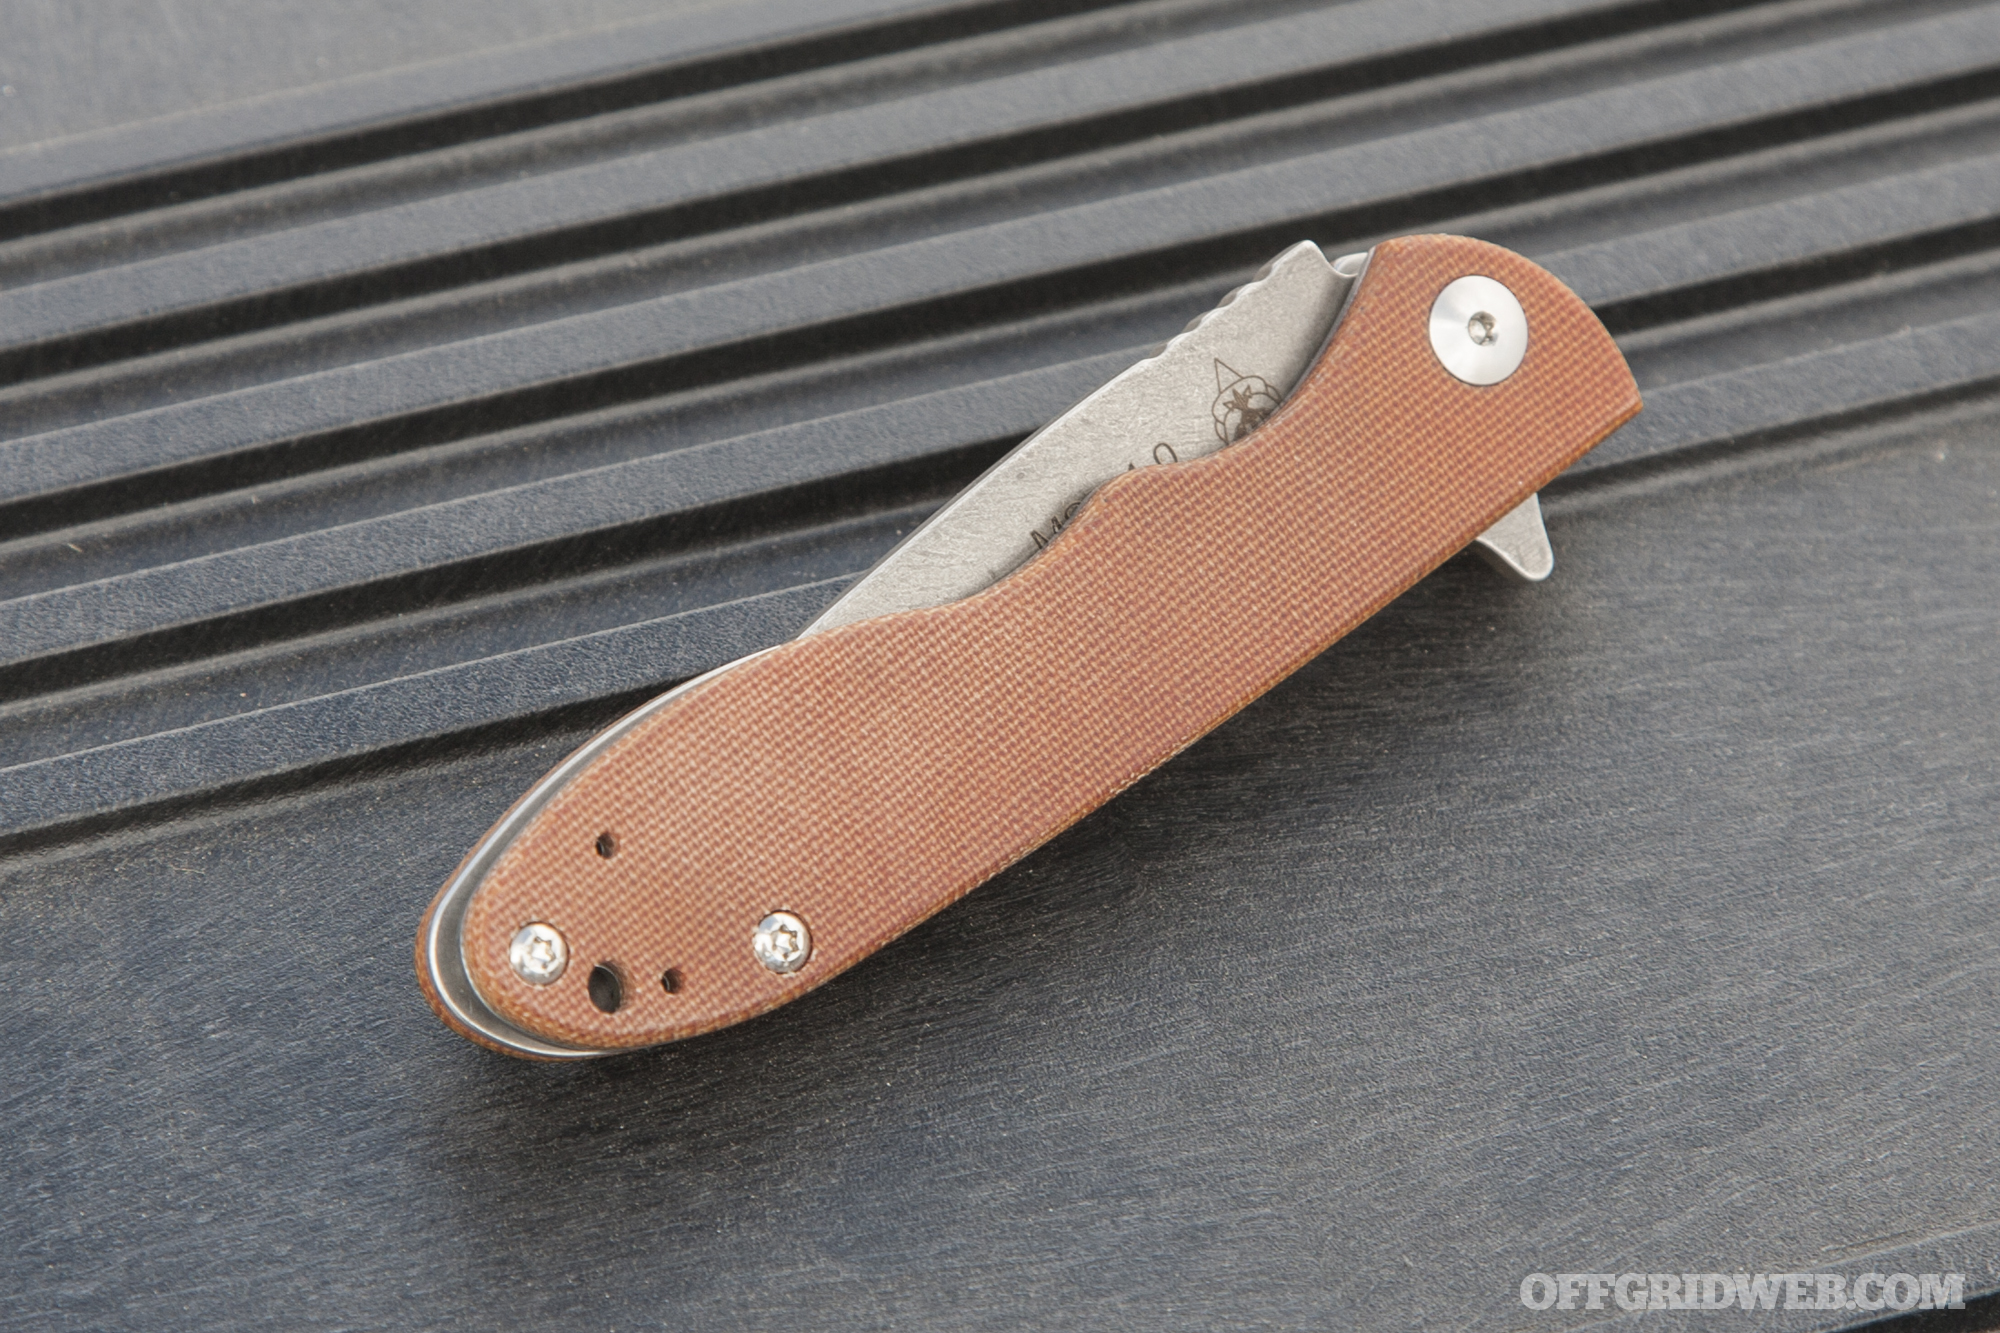
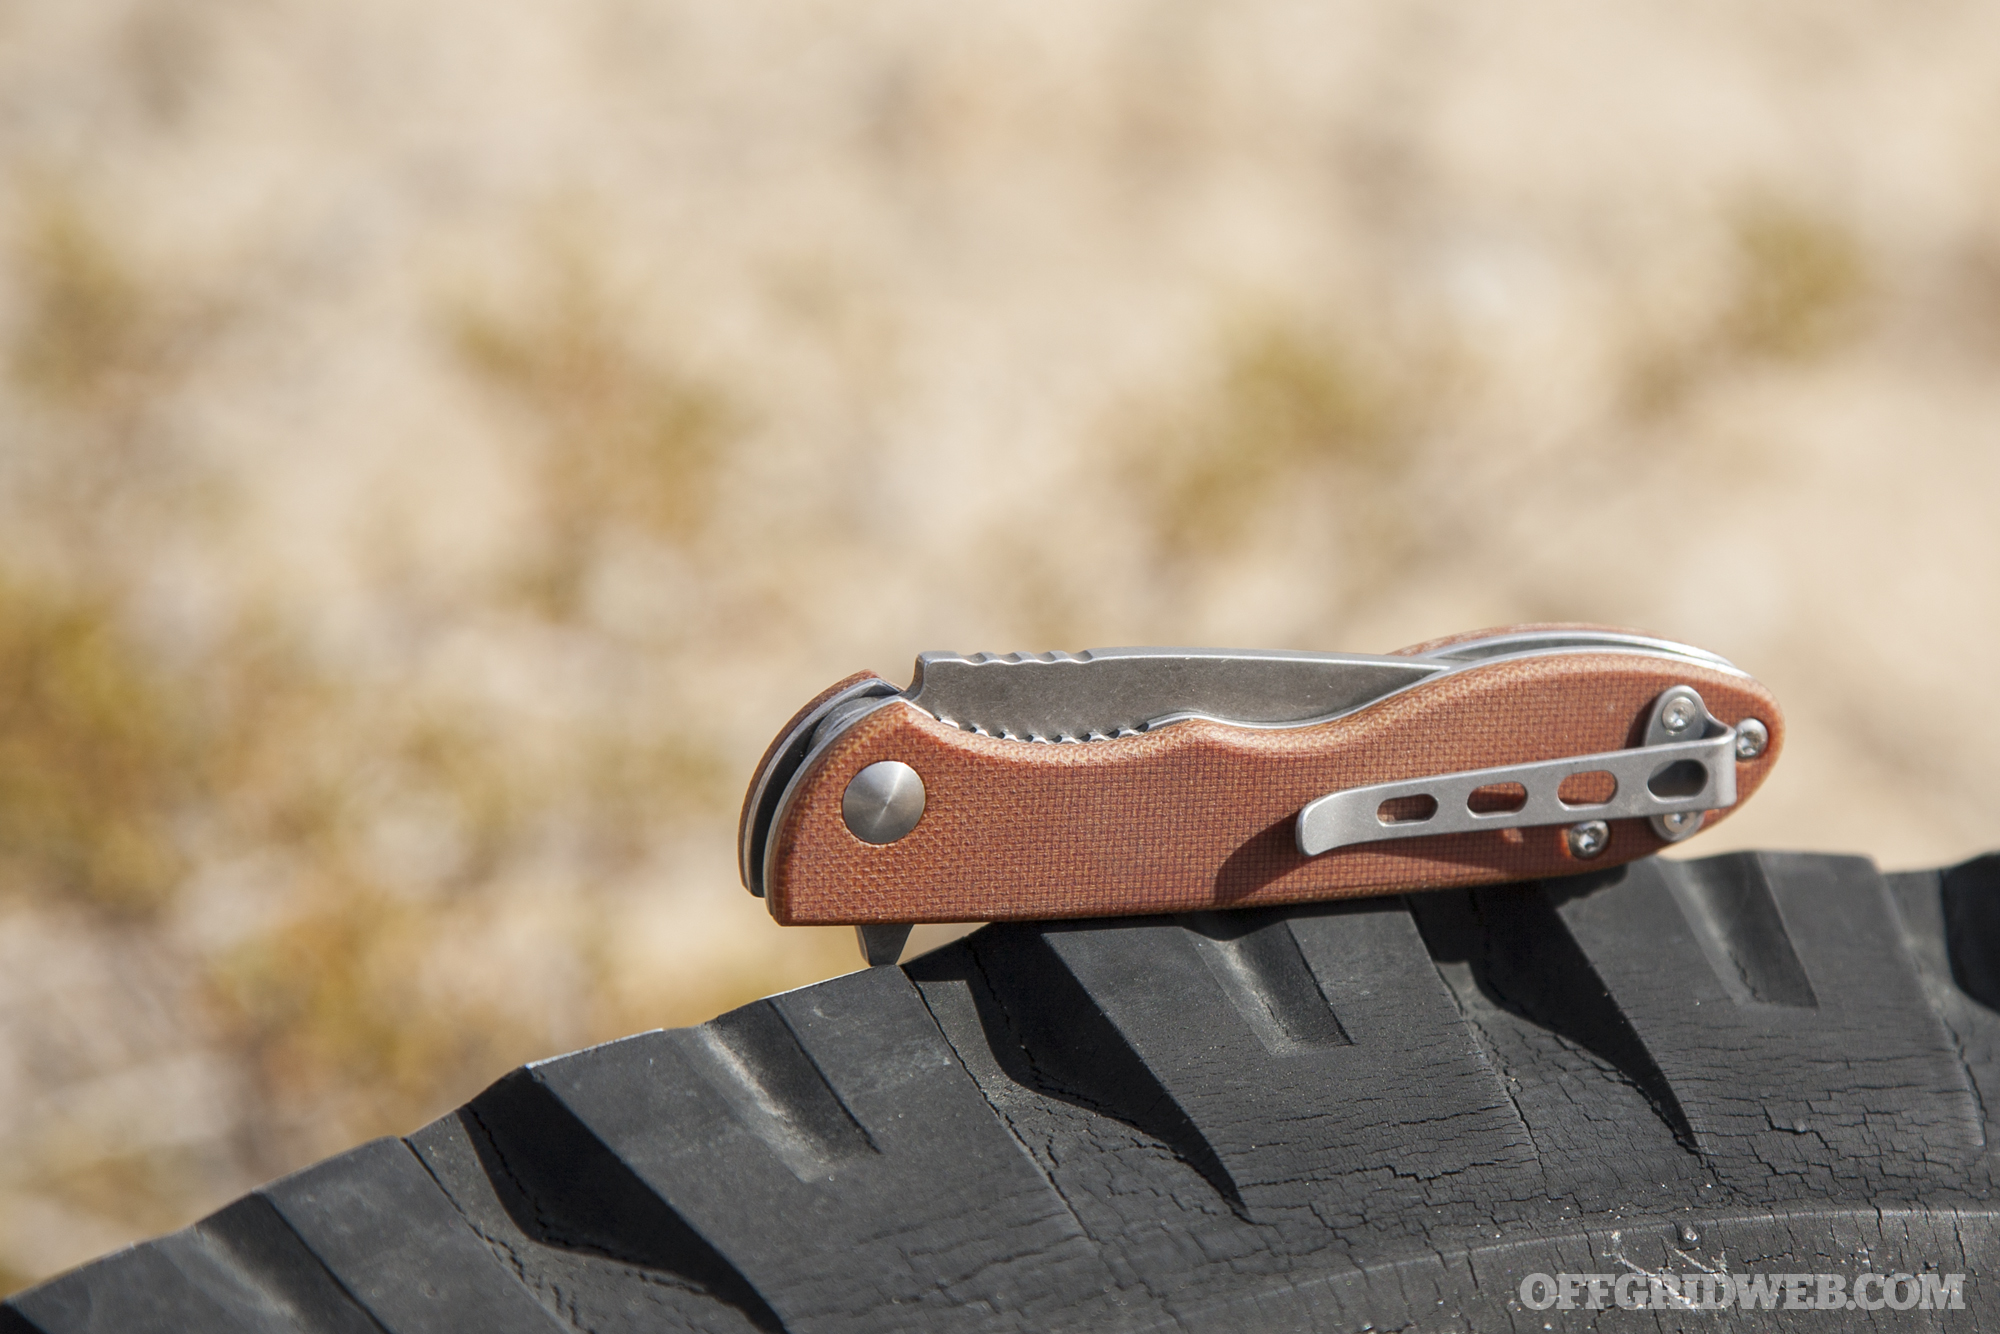
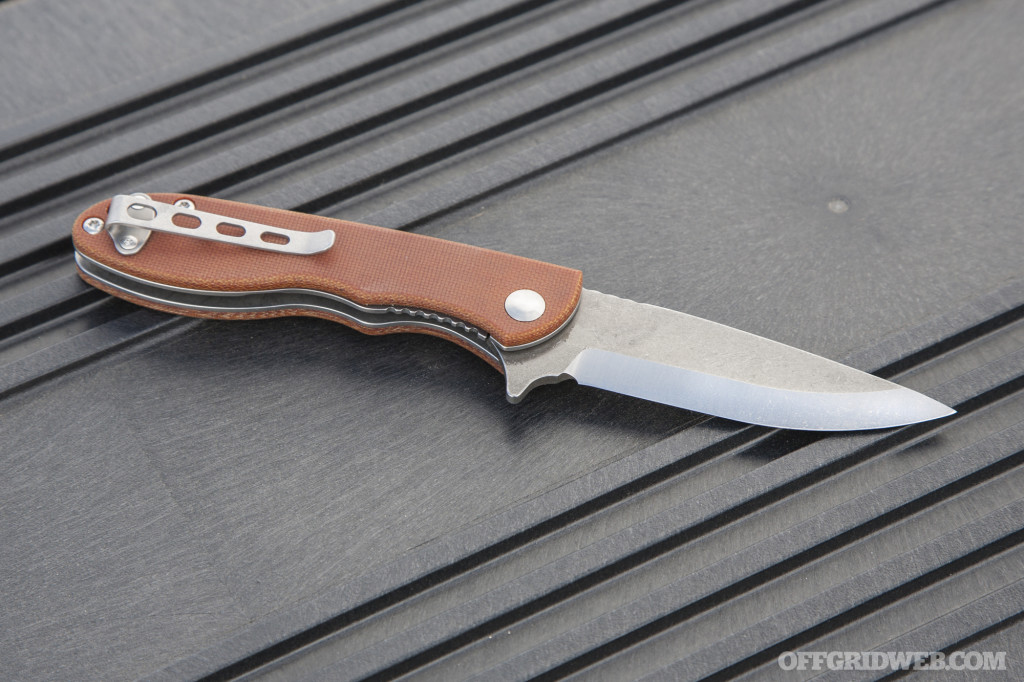
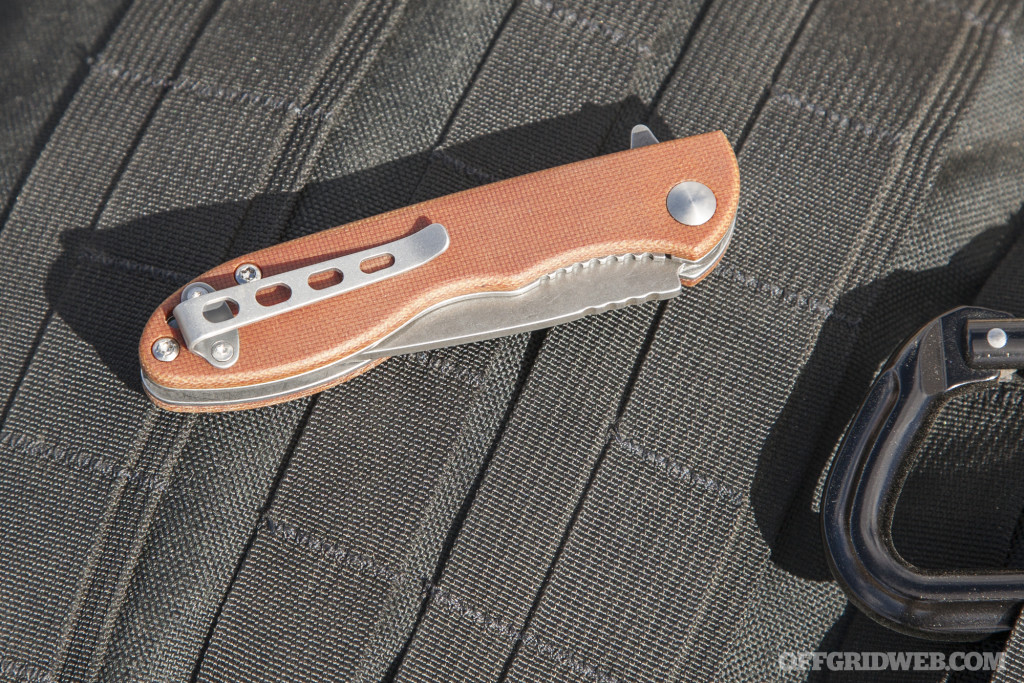
The knife’s simple design is finished off with a pair of tan canvas micarta scales, plus a lanyard hole and reversible deep-carry pocket clip for left- or right-handed carry. MSRP for the knife is $150, though it’s currently available through the company’s web store for $120.
Our Impressions
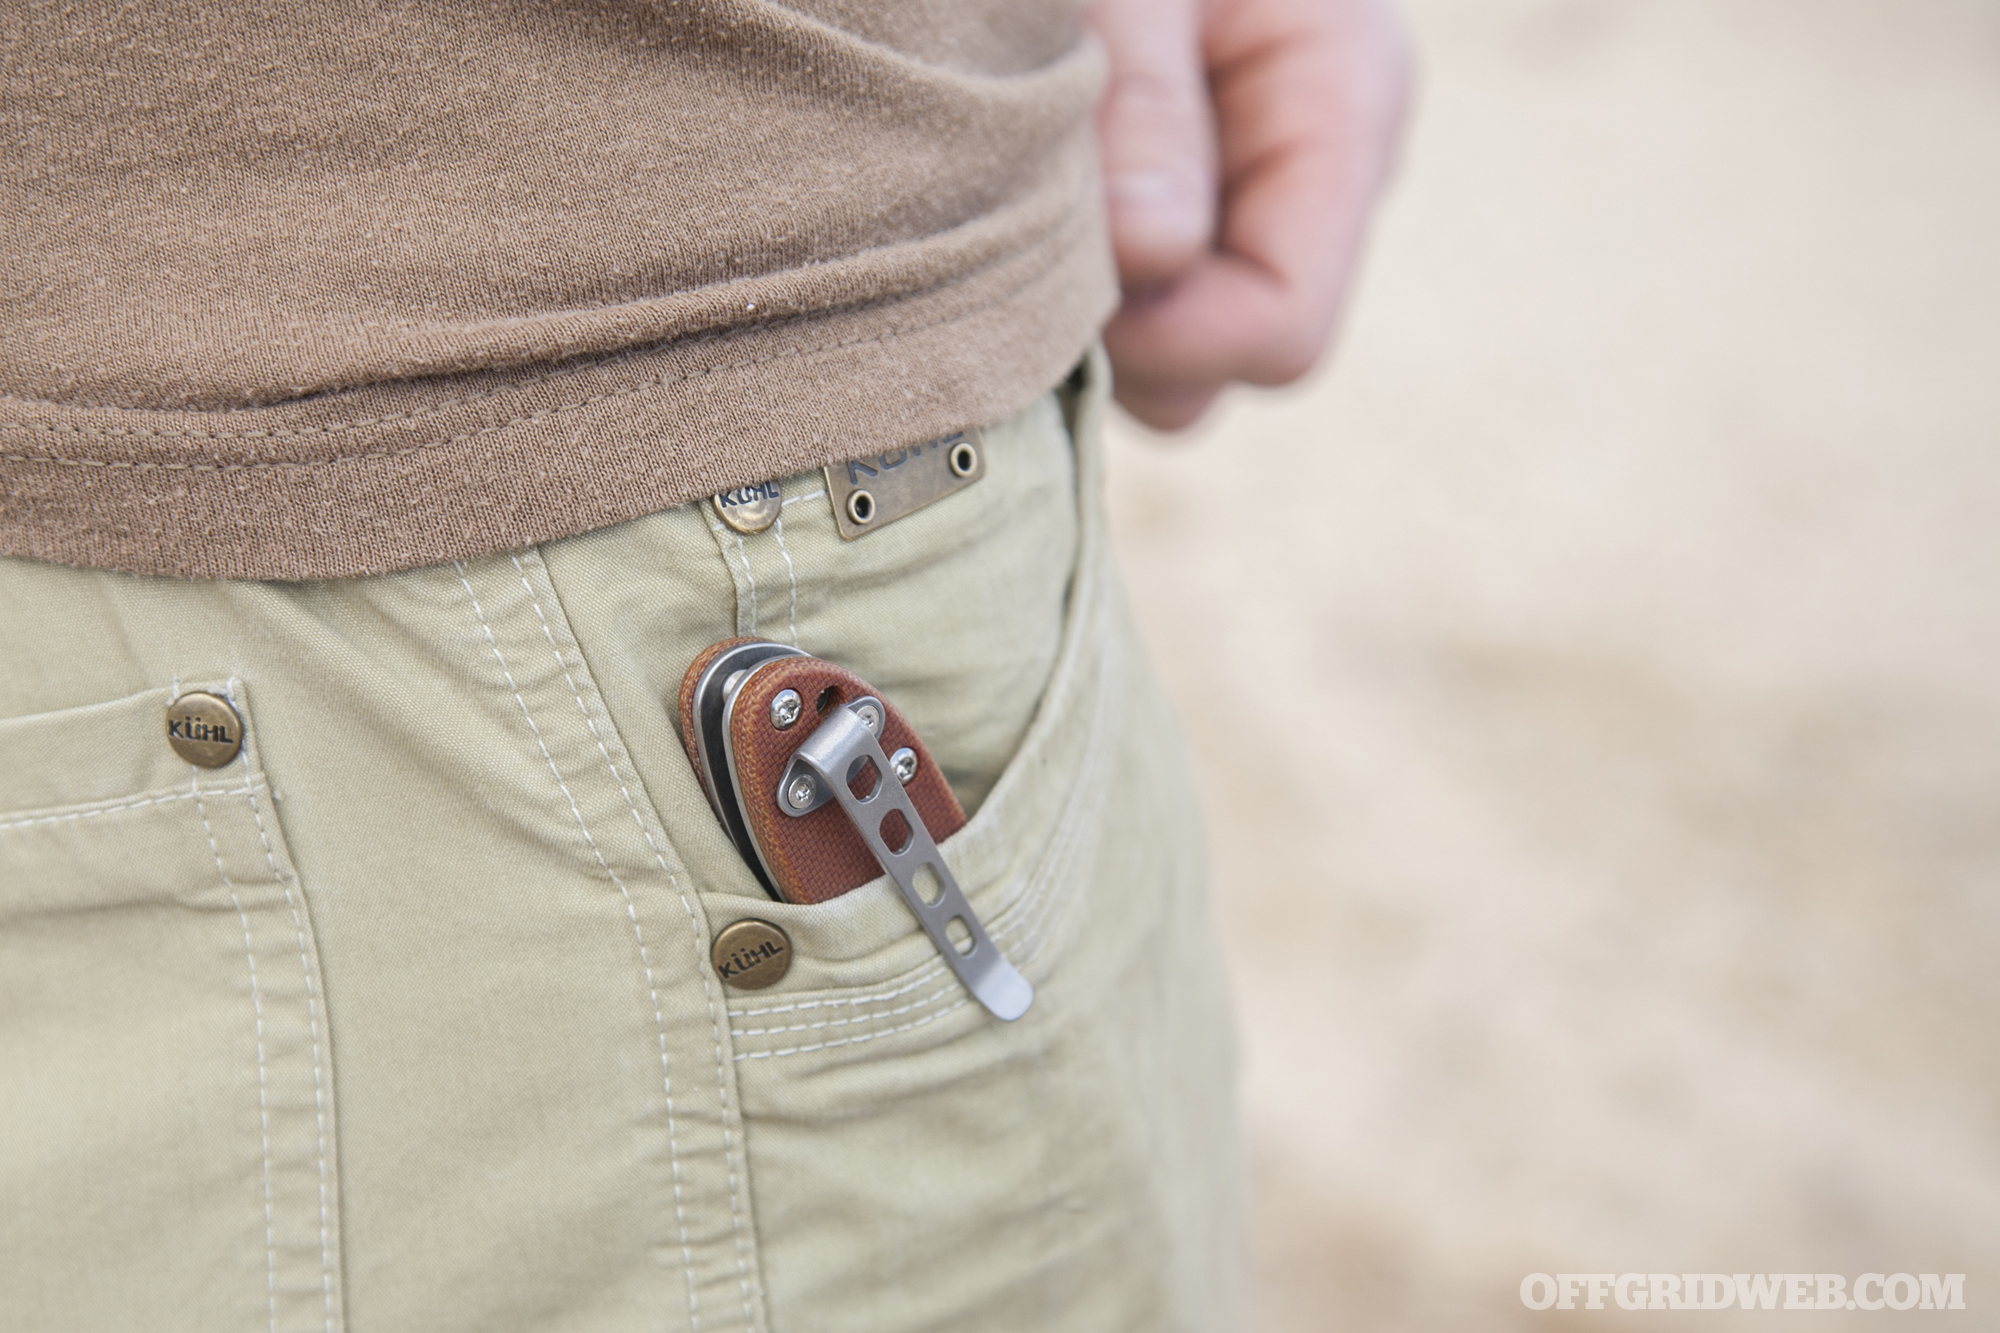
Since receiving the TOPS MSF 4.0, we’ve carried it daily, both in urban environments and while hiking in remote areas.

Each time we pull the knife out, we’re pleased by its simple design. It uses the tried-and-true liner lock that has been proven effective for decades. It’s not an auto or assisted-opener, but still has a manual flipper for quick blade access. The micarta handle scales are grippy but not excessively abrasive, and the clip tucks it nicely behind the hem of our pockets.

Most of all, we appreciate the true scandi grind, a feature that’s plentiful in the fixed-blade knife world but rare for folders. This enables the knife to be sharpened to a razor edge that glides through wood, cordage, paper, and even plastic. The downside is that its acute edge may wear more quickly than a double bevel, requiring the occasional use of a strop or steel to bring it back to full sharpness. That’s a compromise we’re willing to make for the added precision it provides.

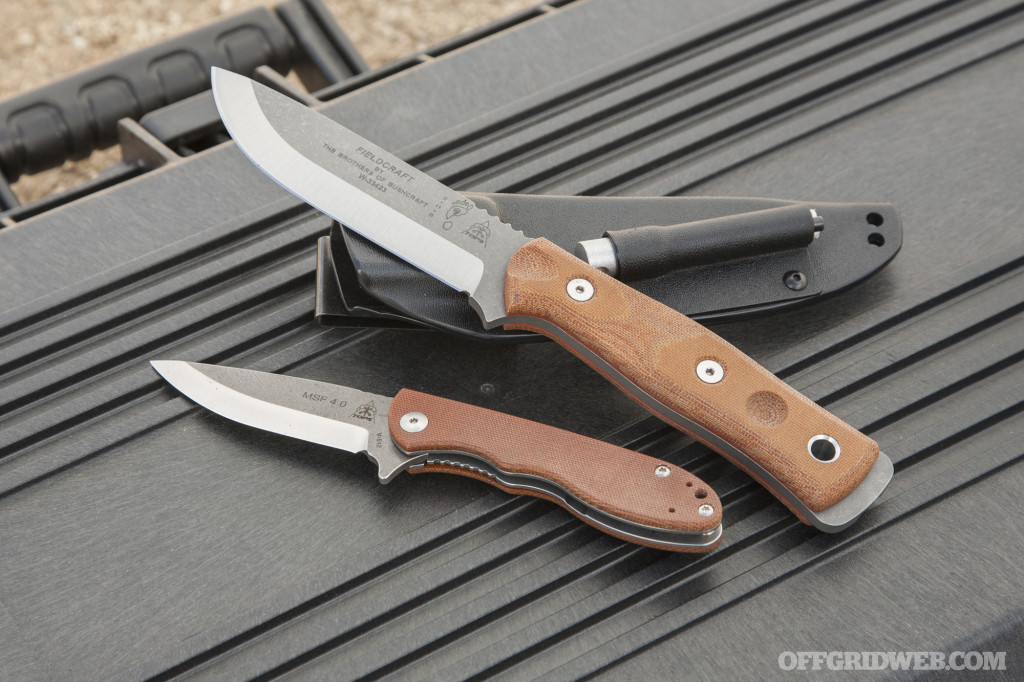
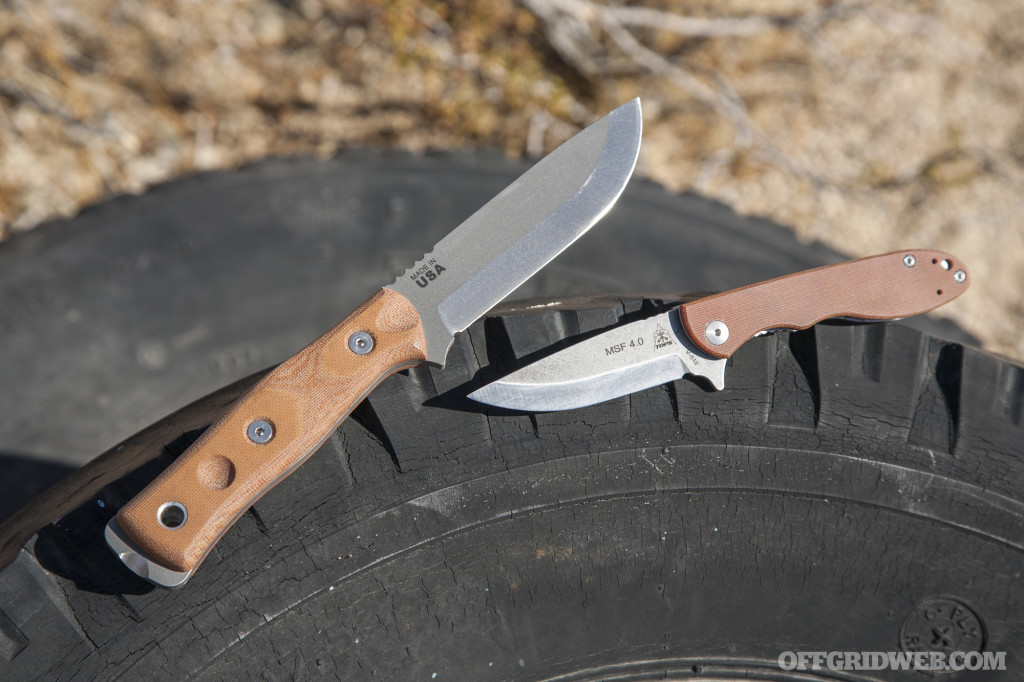
One thing we noted is that the tan micarta handle scales don’t really appear to be tan — they’re more of a reddish brown. This is especially apparent next to the tan micarta scales on the B.O.B. Fieldcraft, or when placing the knife alongside other coyote tan gear. However, this is a minor nitpick. The color isn’t ugly, it’s just not what you might expect from the product description.
Although this Italian-made knife is a deviation from the standard American-made TOPS knife line, we’d say that’s not a bad thing in this case. Folding knife lockup tolerances can be tricky to master for a company that primarily makes fixed blades, potentially leading to an over-engaged sticky lockbar or an under-engaged lock that may give way under pressure. We’ve experienced both over the years, and they’re both frustrating.

It was logical for TOPS to partner with Maserin, a company that has far more experience producing folders, and the result is a well-made knife at a price that won’t annihilate your bank account. Craig at TOPS said this knife was the first step in a potential partnership, and that the two companies may continue to collaborate in the future — after using this knife, we hope they do.
Pairing Up with the Fieldcraft Fixed-Blade
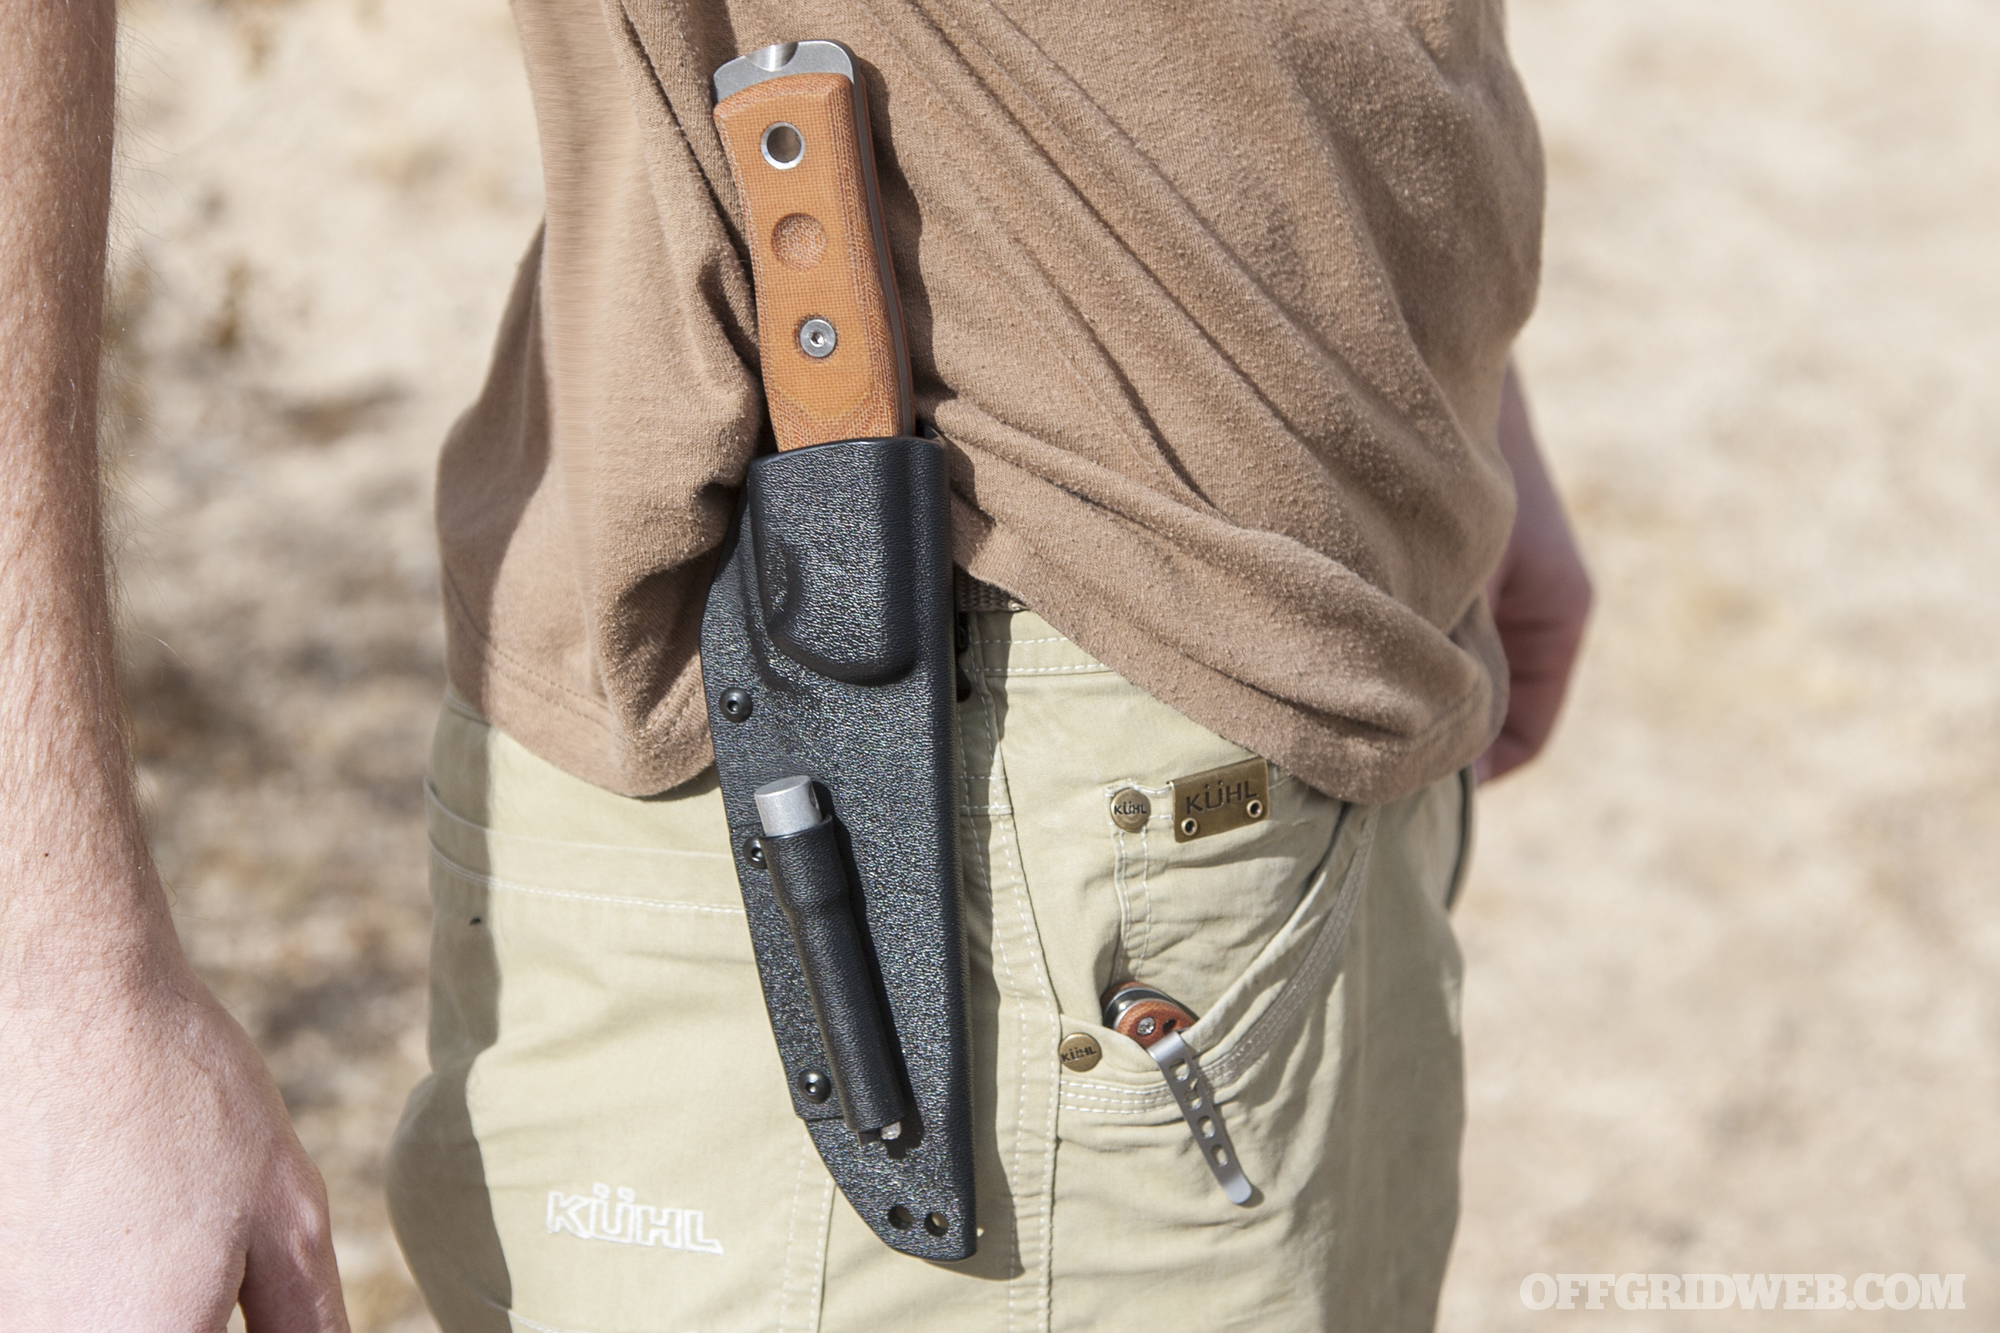
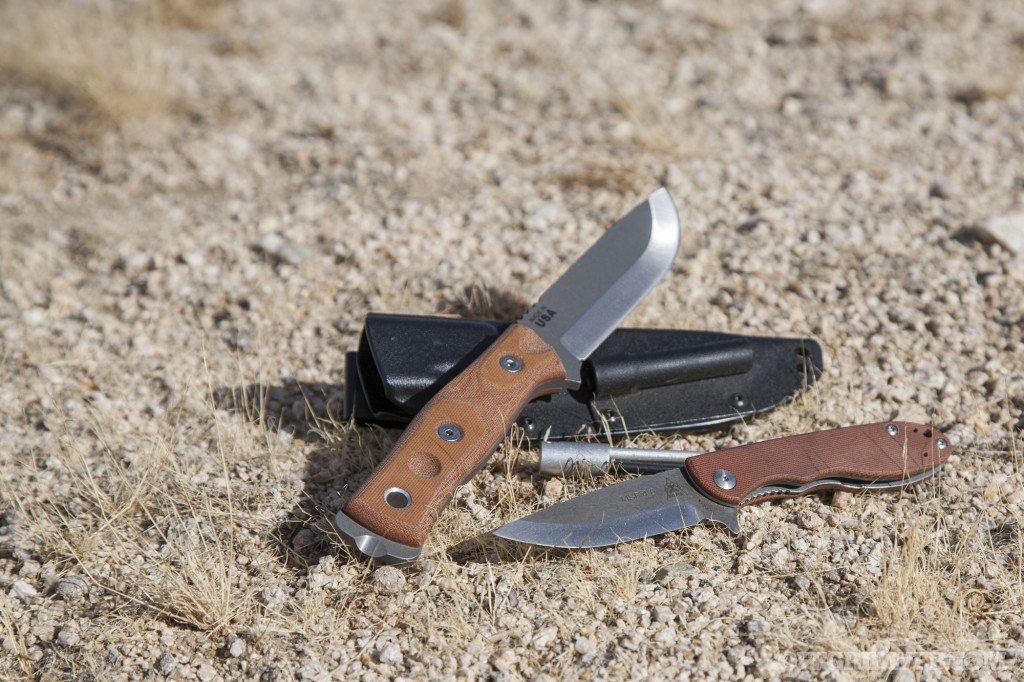
Unlike many other outdoor-oriented folders we’ve used, the MSF 4.0 isn’t a huge and heavy implement designed to replace your fixed blade — it’s designed as a precise complement to your fixed blade. With that in mind, we headed outside with the Fieldcraft in its belt sheath and the MSF in our pocket.

Although a stainless steel 154CM version of the Fieldcraft recently became available, we prefer the durability of 1095 high-carbon steel (see above re: simplicity). We also chose the tumble finish over a powdercoated finish for similar reasons. Its included Kydex sheath clips to a belt, and features a mounting point for the included fire-starting rod (with one piece of ferrocerium and two pieces of magnesium).
While the sturdy Fieldcraft is the obvious choice for heavy chopping and batoning through hard wood, it’s not the most precise tool for peeling, skinning, or delicate slicing, even when the hand is choked up on its spine. The MSF 4.0 fills in effectively for these purposes. Its tip also tapers more than that of the Fieldcraft, making it helpful for piercing items.
Though the MSF can handle most light tasks on its own, carrying it alongside the B.O.B. Fieldcraft is a great option for prolonged outdoor treks. And if you’re really heading out into the woods for a long period, you could supplement the setup further with an ax or saw.
Conclusions
Overall, the TOPS MSF 4.0 is an impressive EDC folder that works just as well in the backcountry shaving tinder as it does slicing open letters at home. The MSF’s simple design isn’t revolutionary, and we actually like it that way. Instead of trying to reinvent the wheel, it combines a handful of time-tested elements into a great little folding knife — one we can see ourselves carrying on a regular basis.
For more information on these knives, check out the TOPS MSF 4.0 and Fieldcraft Tumble Finish pages on TOPSknives.com.