Just two weeks. That’s all it took for society to collapse after the stock market crashed. With bank accounts frozen, cash was rare and useless. Stores were looted within days. Home invasions occurred daily. Murders became the new norm. Only the old-timers could remember anything like this happening before — at the beginning of the Great Depression. But back then, many people were farmers and could feed themselves. The others had useful skills they could trade for food. However, this time, with hordes of selfie-taking millennials, things were very different.
We hate to start an article with a gut check, but a lot of newbie preppers are overly concerned about getting the latest and greatest bug-out gear — while ignoring the basics. Many haven’t considered how they would get more food and supplies after the shit has hit the fan.
What if society has collapsed? How could you get what you need without having to rob or kill people? You could try to grow everything and make everything yourself, or you could go back to the way things were: a barter system.
Bartering is well known as humanity’s oldest form of commerce, and we’ve all done it since we were children. Through lunch swaps and schoolyard trades, we learned about supply and demand, value and negotiation, and even salesmanship. But that’s not all there is to know about bartering. There’s luck involved too, and it comes in the form of coincidence. Someone else must have what you need, and need something you have, for the trade to really work out well. If you ever find yourself in a situation where your money has lost much or all of its value, bartering would very likely make a comeback.
And when your neighborhood starts looking like it lies somewhere beyond the Thunderdome, you’d better be ready to trade!
Barter Background
The ancient Mesopotamian tribes were the first people known to have bartered for needed goods. We know this because they recorded the transactions on clay tables (the world’s first sales receipts). The seafaring Phoenicians picked up this handy form of commerce from their landlubber neighbors and began bartering across a wider expanse, not just from town to nearby town. Later, the Babylonians embraced the system and further refined it. Grain and other foods, teas, metal, spices, and even human skulls were bartered throughout the cradle of civilization.

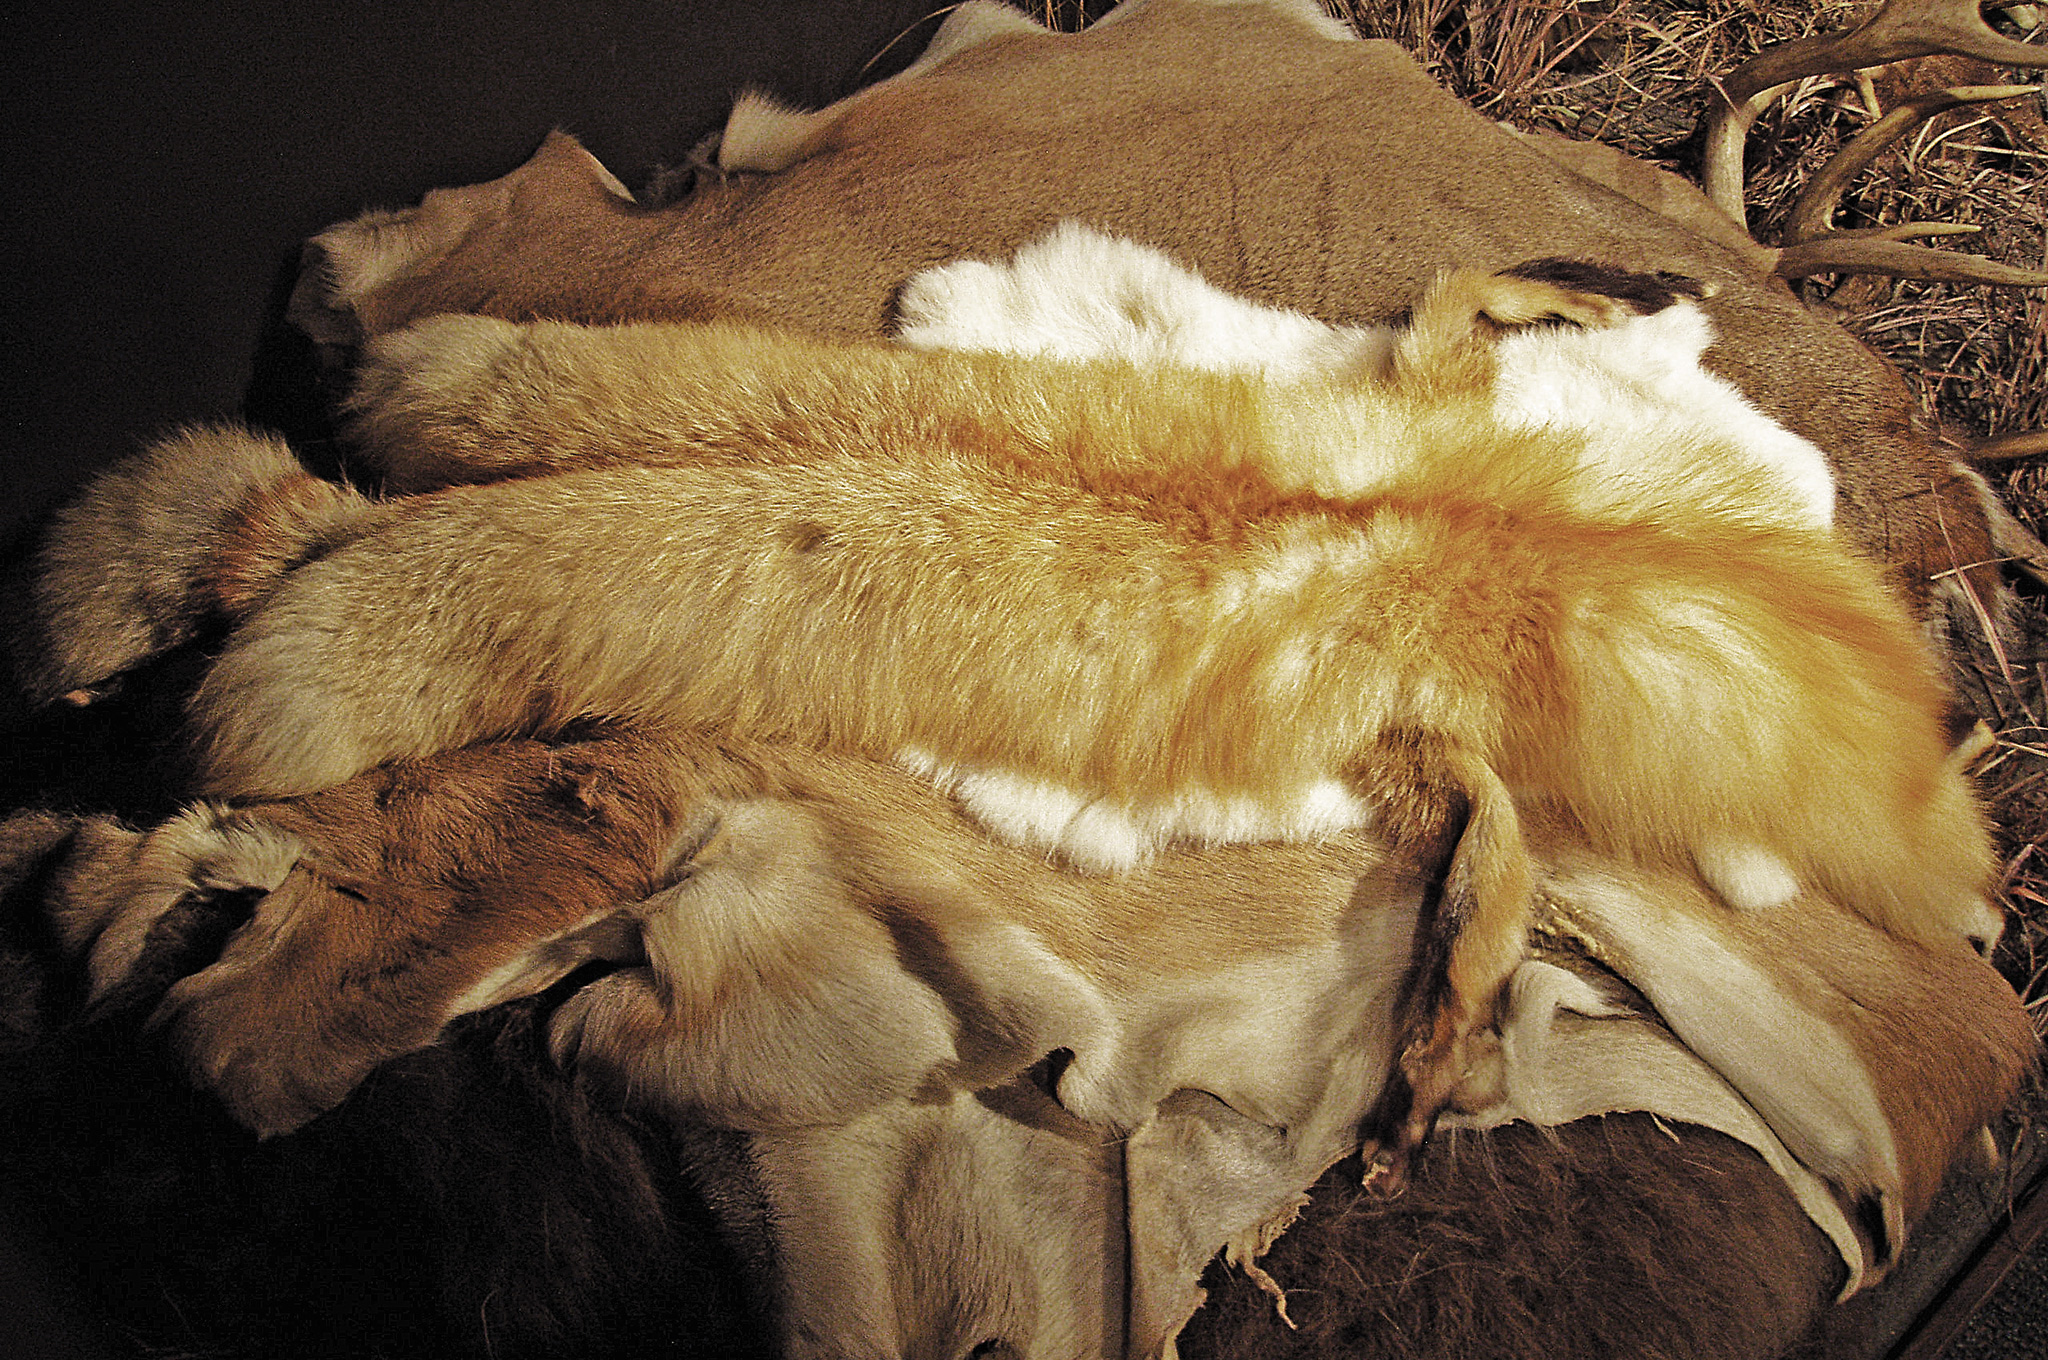
As the years passed and the barter system spread, forms of currency came into use — but bartering still continued. In some parts of ancient Africa, salt was rare enough to be worth its weight in gold. Salt maintained a high value in the Old World for a long time, and was even valuable enough that Roman soldiers were sometimes paid in salt. The late Middle Ages saw an explosion of cashless trade as Europeans traveled farther to barter silk, exotic spices, perfumes, and furs for other goods and services. Trade continued into colonial America, as the colonists traded with the Indians for fur. Of course trading wasn’t always fair. In a little known dick move by certain European traders, some Native American tribes had to stack up tanned deer skins to make a pile as tall as a musket to trade for the firearm. Once this trade standard became the norm, gunsmiths were ordered to make the muskets more cheaply and barrels longer so the traders could acquire a taller stack of buckskin.
In modern times, bartering made a comeback in 1930s America during the Great Depression. Even as recent as the summer of 2015, a barter economy began to grow in Europe.
The banks in Greece were closed by the government on June 28, 2015 in the face of the looming debt crisis. Officials feared a run on the banks and kept them closed for almost a month. When they did reopen, withdrawals were strictly limited and, for many, too small to live on. In late summer and fall of 2015 — and for the first time since Hitler had occupied Greece in WWII — a significant number of the Greek people relied on a barter system to feed their families and pay their debts. Similar situations were unfolding at the same time in Ukraine and Syria in 2015.
The upside to these stories of financial woe should be comforting to us. They show us that modern people have resiliency, creativity, and the ability to adapt. And this is exactly what we’d need if we have to revert to swapping trade goods.
The Basic One-On-One
The one-on-one trade would start out as you talk to a neighbor or someone you have a prior relationship with. Ask them how they’d feel about swapping some things they might not need right now for some things that they could really use. Choose your words carefully and make it all about them. At the end of the day, all they’re worried about is, “What’s in it for me?” If you desperately need something, you may not want to tip your hand, unless you think it would help your case. For example, telling the grandma down the street that your kid really needs fever reducer may result in her simply giving it to you, if you’re honest.
You may initiate the conversation, and you may be doing this primarily (or entirely) for your own benefit, but do try to persuade the other party that it’s in their best interest to trade with you. Tell them just a few of the things you’d be willing to trade, and a short list of the things you could use. You may bring things with you or simply list the items. Don’t make it too complicated or try to work a massive exchange of items. You’re building a trade relationship, one that you’ll want to continue, so you don’t want to overwhelm them. Trade a few things at a time. As you’re discussing the things that you each may want, let the conversation naturally evolve.
It may be very helpful to know the “sticker price” of the items, or the calorie count of foods, so you can better understand what would make an equal trade. But keep in mind that the value of various types of items changes by the nature of the crisis.
Once you agree on the terms of a trade, all you have to do is swap the items. Congrats! You’re part of a long heritage of traders.
Group Trading
This is quite a bit different from the personal and quiet nature of a one-on-one trade. A group trade is exactly what it sounds like. A group of people converge, each sets out a few items in front of them, and people start talking — typically in a noisy fashion and on top of each other.
We’ve been party to many “trade blankets” over the years, and the assembly of traders never fails to draw a crowd (when there are non-traders nearby). It’s also very common for side trades to occur. For example, a spectator may want something that you set out for trade, and they may start offering you things in exchange for it.

The upside of the group trade is that you multiply your chances of finding things that you need. The downside is that a lot of people will see what you have. In a WROL (without rule of law) situation, this could put you at great risk. Under these circumstances, you might wish to only bring trade goods that won’t rock anybody’s world. For example, you wouldn’t want half the town to see that you have people antibiotics instead of fish antibiotics, and that you didn’t trade them away and took the meds back home. You might get killed for something like that during a failure of civility. You may want to hold back certain items until they accumulate value in an extended emergency, or you may want to keep some things secret to keep yourself further out of harm’s way.
Trading Shop
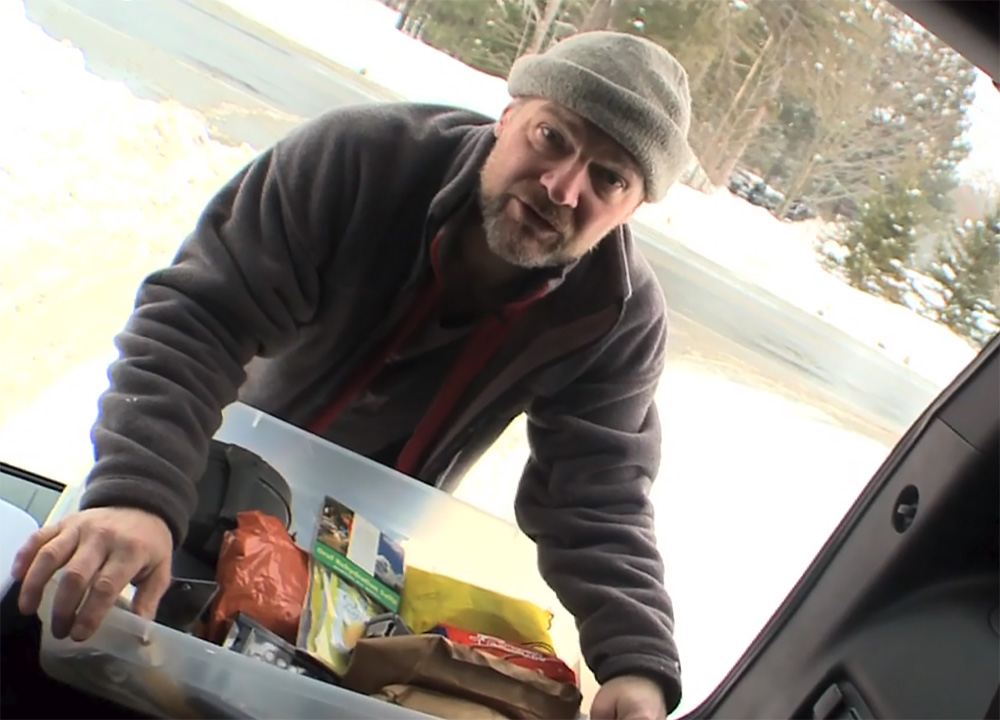
One more common way to trade is to bring your trade goods to a busy space and set up a temporary trade shop. This may be nothing more than a few items strewn over a blanket, or you could set up a table or even something more substantial like a booth. In essence, you become a shopkeeper and instead of taking money for your goods, you take trades.
It’s always a smart idea to do things like this with a partner. This way, you have two sets of eyes watching for shoplifters, and you have one person who can run after a thief and one who can guard the remaining goods. Always strive for strength in numbers during a crisis.
Conclusion
Barter isn’t a perfect system. Bartering is an ancient skill set that requires patience, keen observation, an understanding of value, solid people skills, and — oh yeah — something good to trade. That’s why money is so incredibly popular and useful. Dollars are the one thing that everybody wants, and it doesn’t take much skill or thought to use them. But in the event that currency loses its value, barter is the easiest and most practical system of trade that could be a substitute for dollars and rebooted overnight.

And even if the dollar didn’t die — let’s say electronic transfers of funds are interrupted — the barter system could still be used as a temporary measure if your cash money is in short supply.
Finally, you may expect this, but bartering can be fun. Trade sessions can be very lively. And while “having fun” won’t keep you alive in a crisis, it can make a pleasant diversion from your day-to-day tasks and even become entertaining. If you’re serious about this vehicle for preparedness, there’s no time like the present to start practicing your skills. Plan a trading session for the next time you get together with your prepping friends and family members. You might be surprised just how well it works out for you.
Rookie Mistakes
In many cultures, the trade blanket disappeared a couple hundred years ago. So it’s natural that your first few trades might be awkward, scary, and leave you with the short end of the stick — and that’s with the lights still on and the power still flowing. Here are a few tips that can keep you from looking like a total novice on your first trade session.
Don’t bring undesirable items.
A survival instructor once extolled the virtues of stone arrowheads as a grid-down trade item (on national TV, no less). The thing is, most people don’t have the skill to make primitive weapons and won’t perceive the value of those stone points. Avoid trying to barter items that are obsolete, broken, ready to break, or simply useless during an economic collapse.
Don’t feel like you have to trade.
If no one offers you anything you want or need, take your stuff and try again next time. And beware of something known as the “pity trade” — while the crazy cat lady may need your bag of cat food, you probably don’t need her tear-stained romance novels. Just walk away.
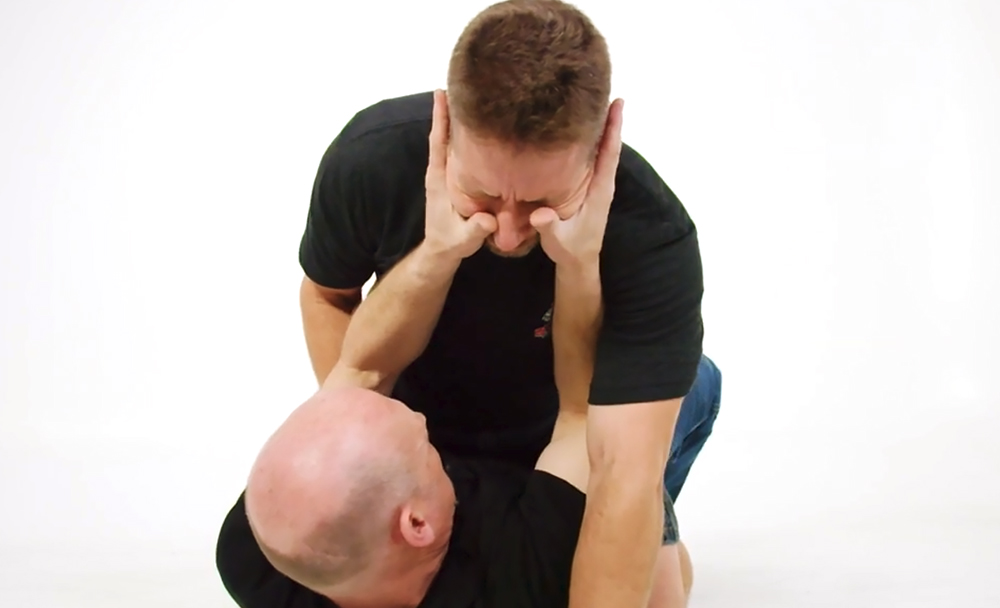
Don’t forget: This can be dangerous.
If someone wants something you have, but can’t seal the deal, don’t expect him to forget about it. Your valuable supplies could make you the target of theft and even murder. Likewise, bad trades can create trouble. Remember Mad Max’s trip to Barter Town? If we bust a deal, then we face the wheel!
Don’t forget about services.
Our ancestors often factored labor and services into their trade deals. We can too. Some professional work, such as medical, dental, automotive repair, carpentry, or security work, could be traded as a stand-alone item of great value or combined with goods to trade for high-value items.
Barter Bombs
Since “prepping” has become a multimillion-dollar-a-year industry, plenty of enterprising businesses have jumped on the doomsday bandwagon, creating products that are touted as post-apocalyptic “trade goods.” But are they really worth their salt (literally and figuratively)? We’ll be skipping these purchases at the next survival expo, and you probably should too.
Copper: Gold and silver have always retained value and probably always will. But what about the wafers, ingots, or perforated sheets of copper sold at prepper expos? Probably not. Who’s going to want those when their family is sick, thirsty, and starving?
Electric-powered self-reliance gear: Maybe there’ll be electricity after a crisis, but you shouldn’t bet on it. A plug-in grain mill, electric dehydrator, and other “self-reliance” equipment that requires electricity to function aren’t really that great of an idea.
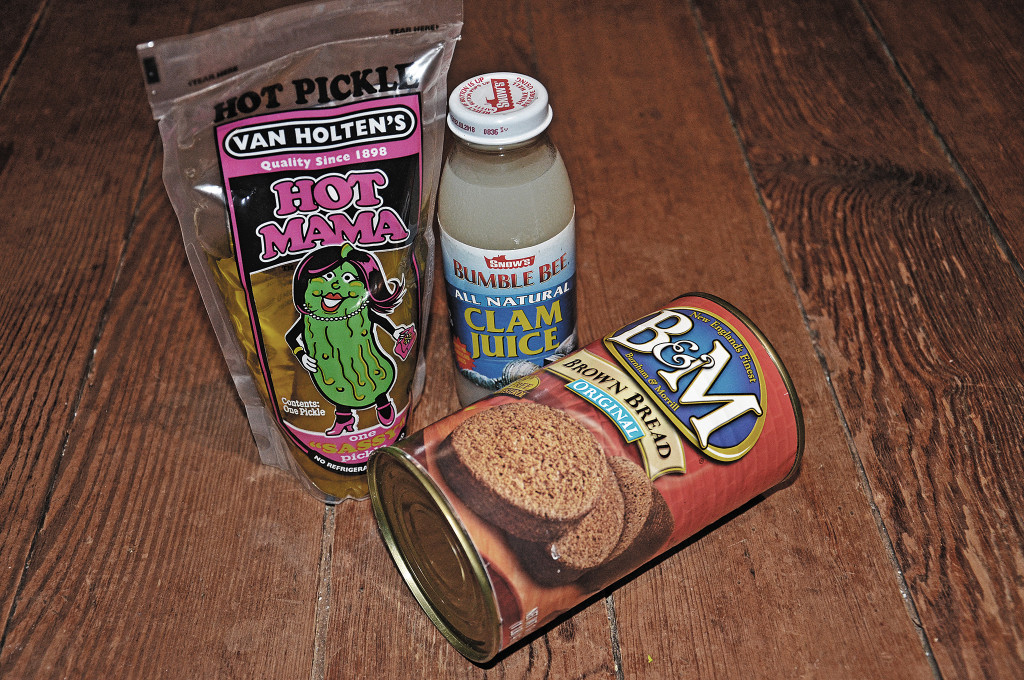
Nasty foods: Food and beverages that taste bad (or have gone bad) won’t do you any favors in the trade circle. People will eventually find out you tried to fool them and they’ll ban you from future trades or, worse yet, seek retribution. When acquiring supplies, ask for a taste test. If you have something gross in the back of the pantry, just feed it to the dog.
10 Better Barter Items
You’ll be the most popular trader at the End Times Swap Meet with these survival-savvy essentials.

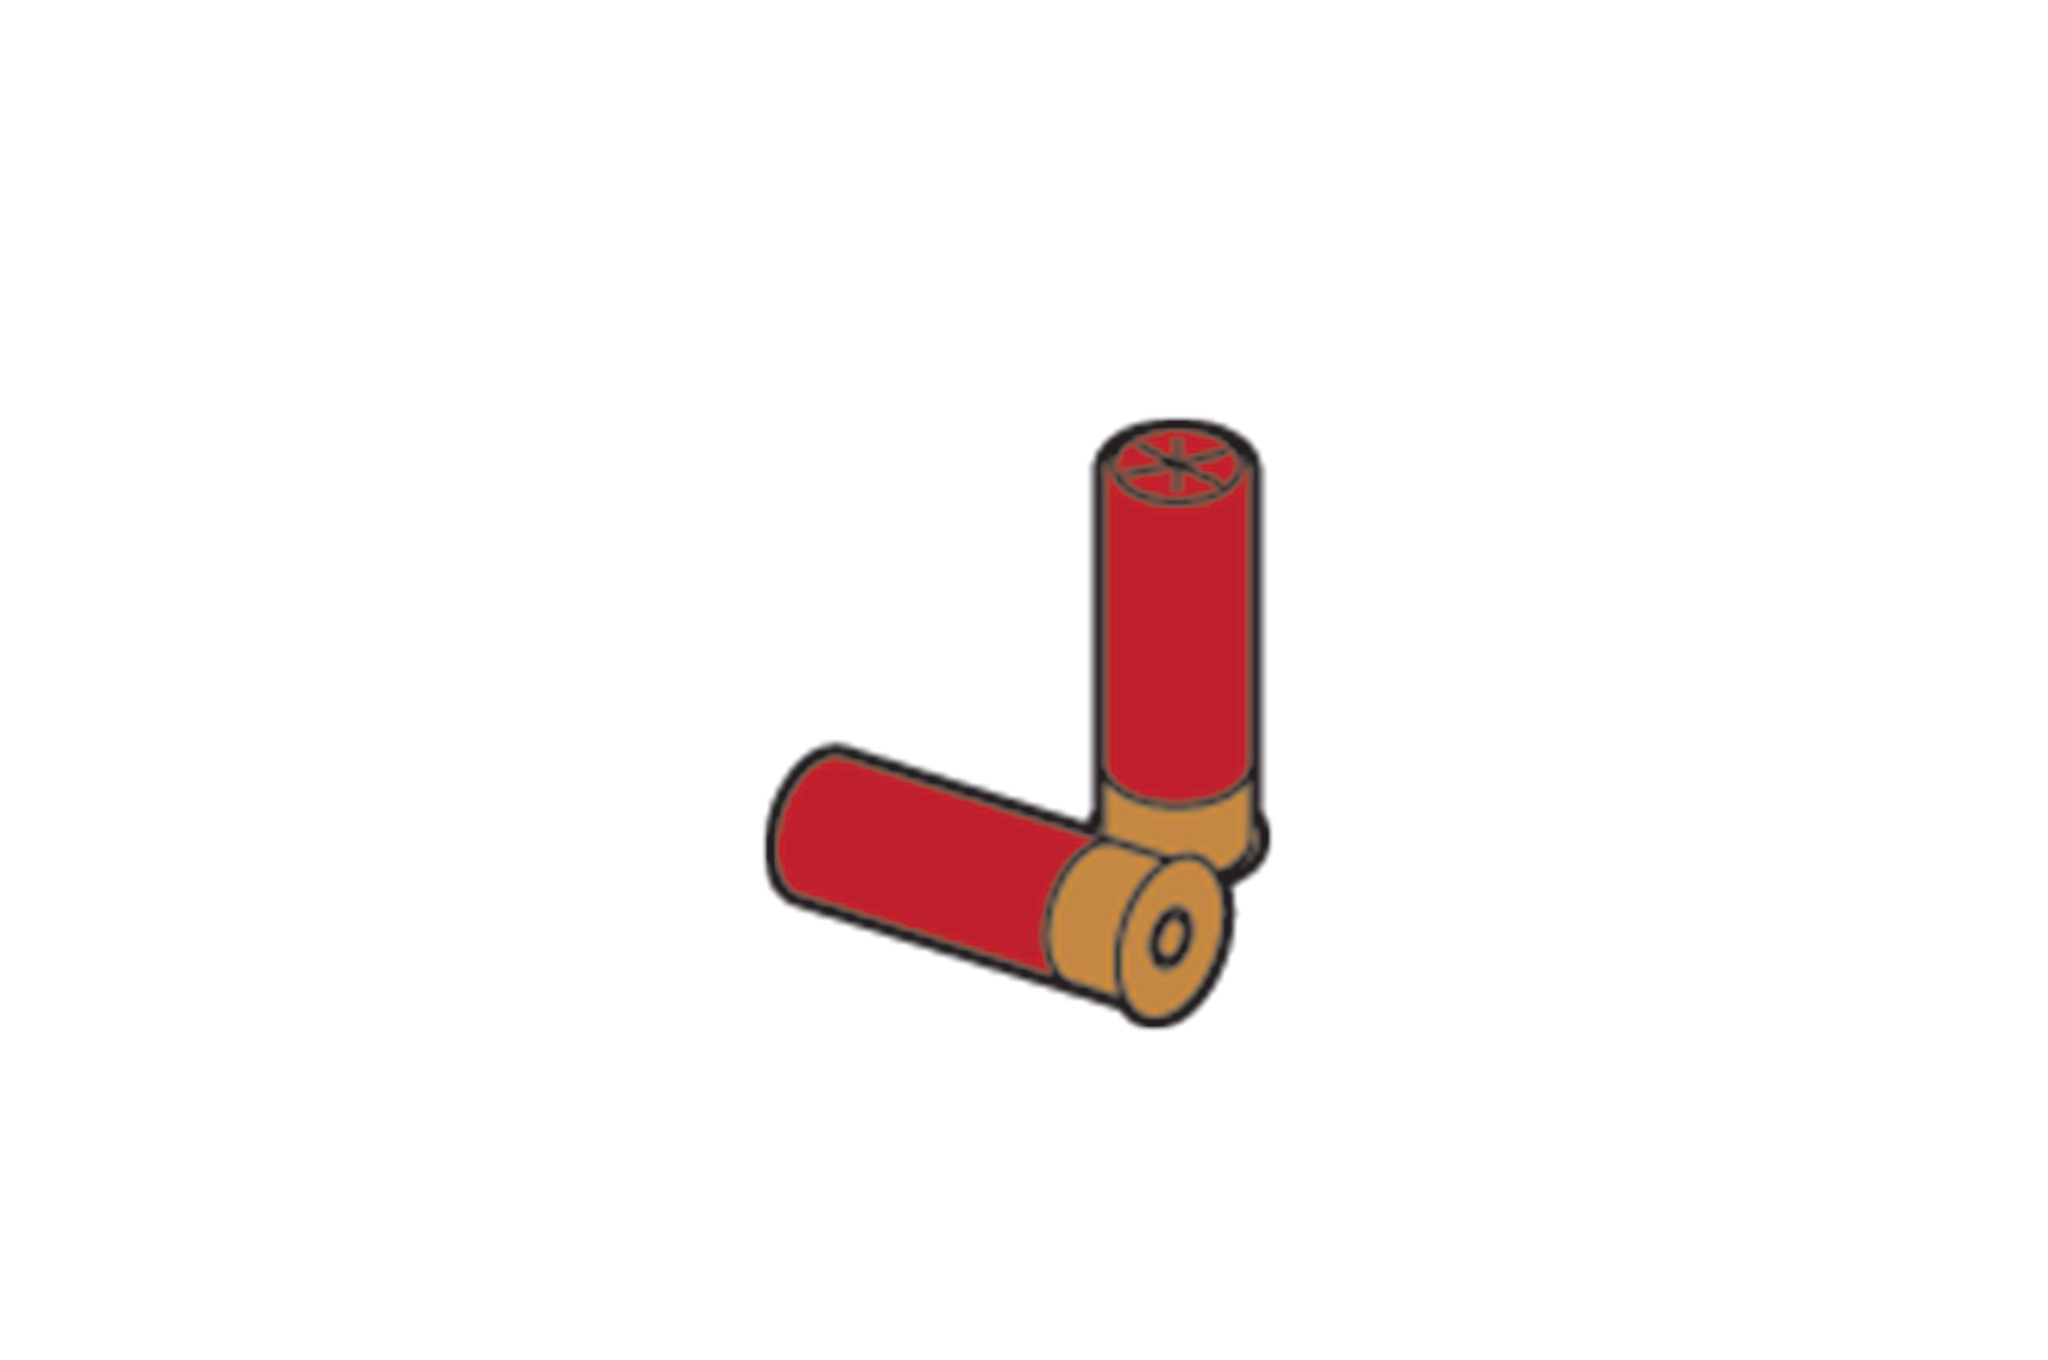
Ammo: .22 LR, 9mm, .223, 5.56mm, and 12-gauge shells are popular rounds.
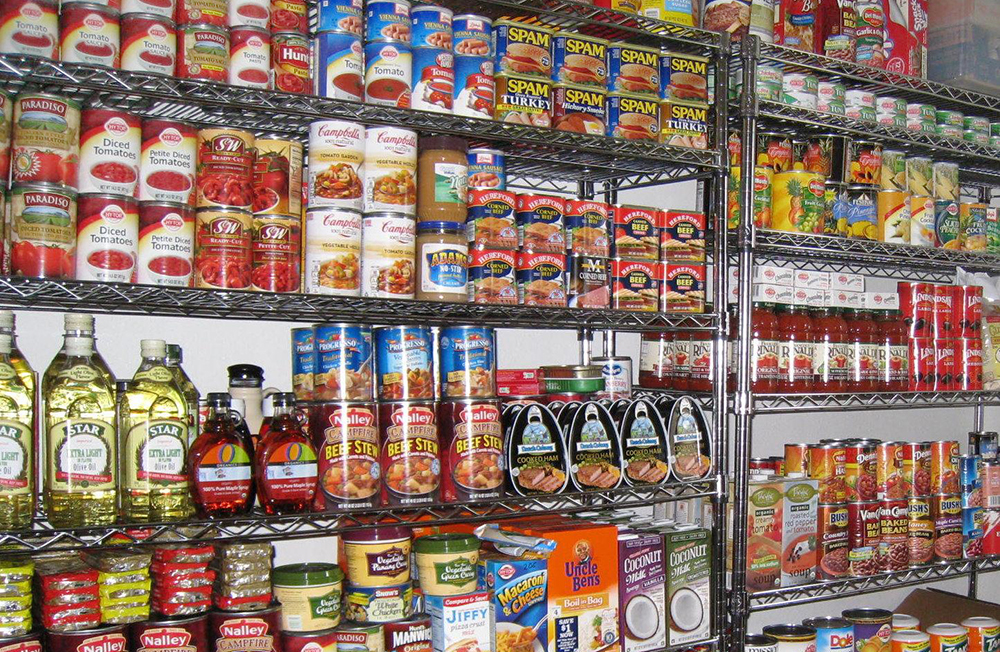
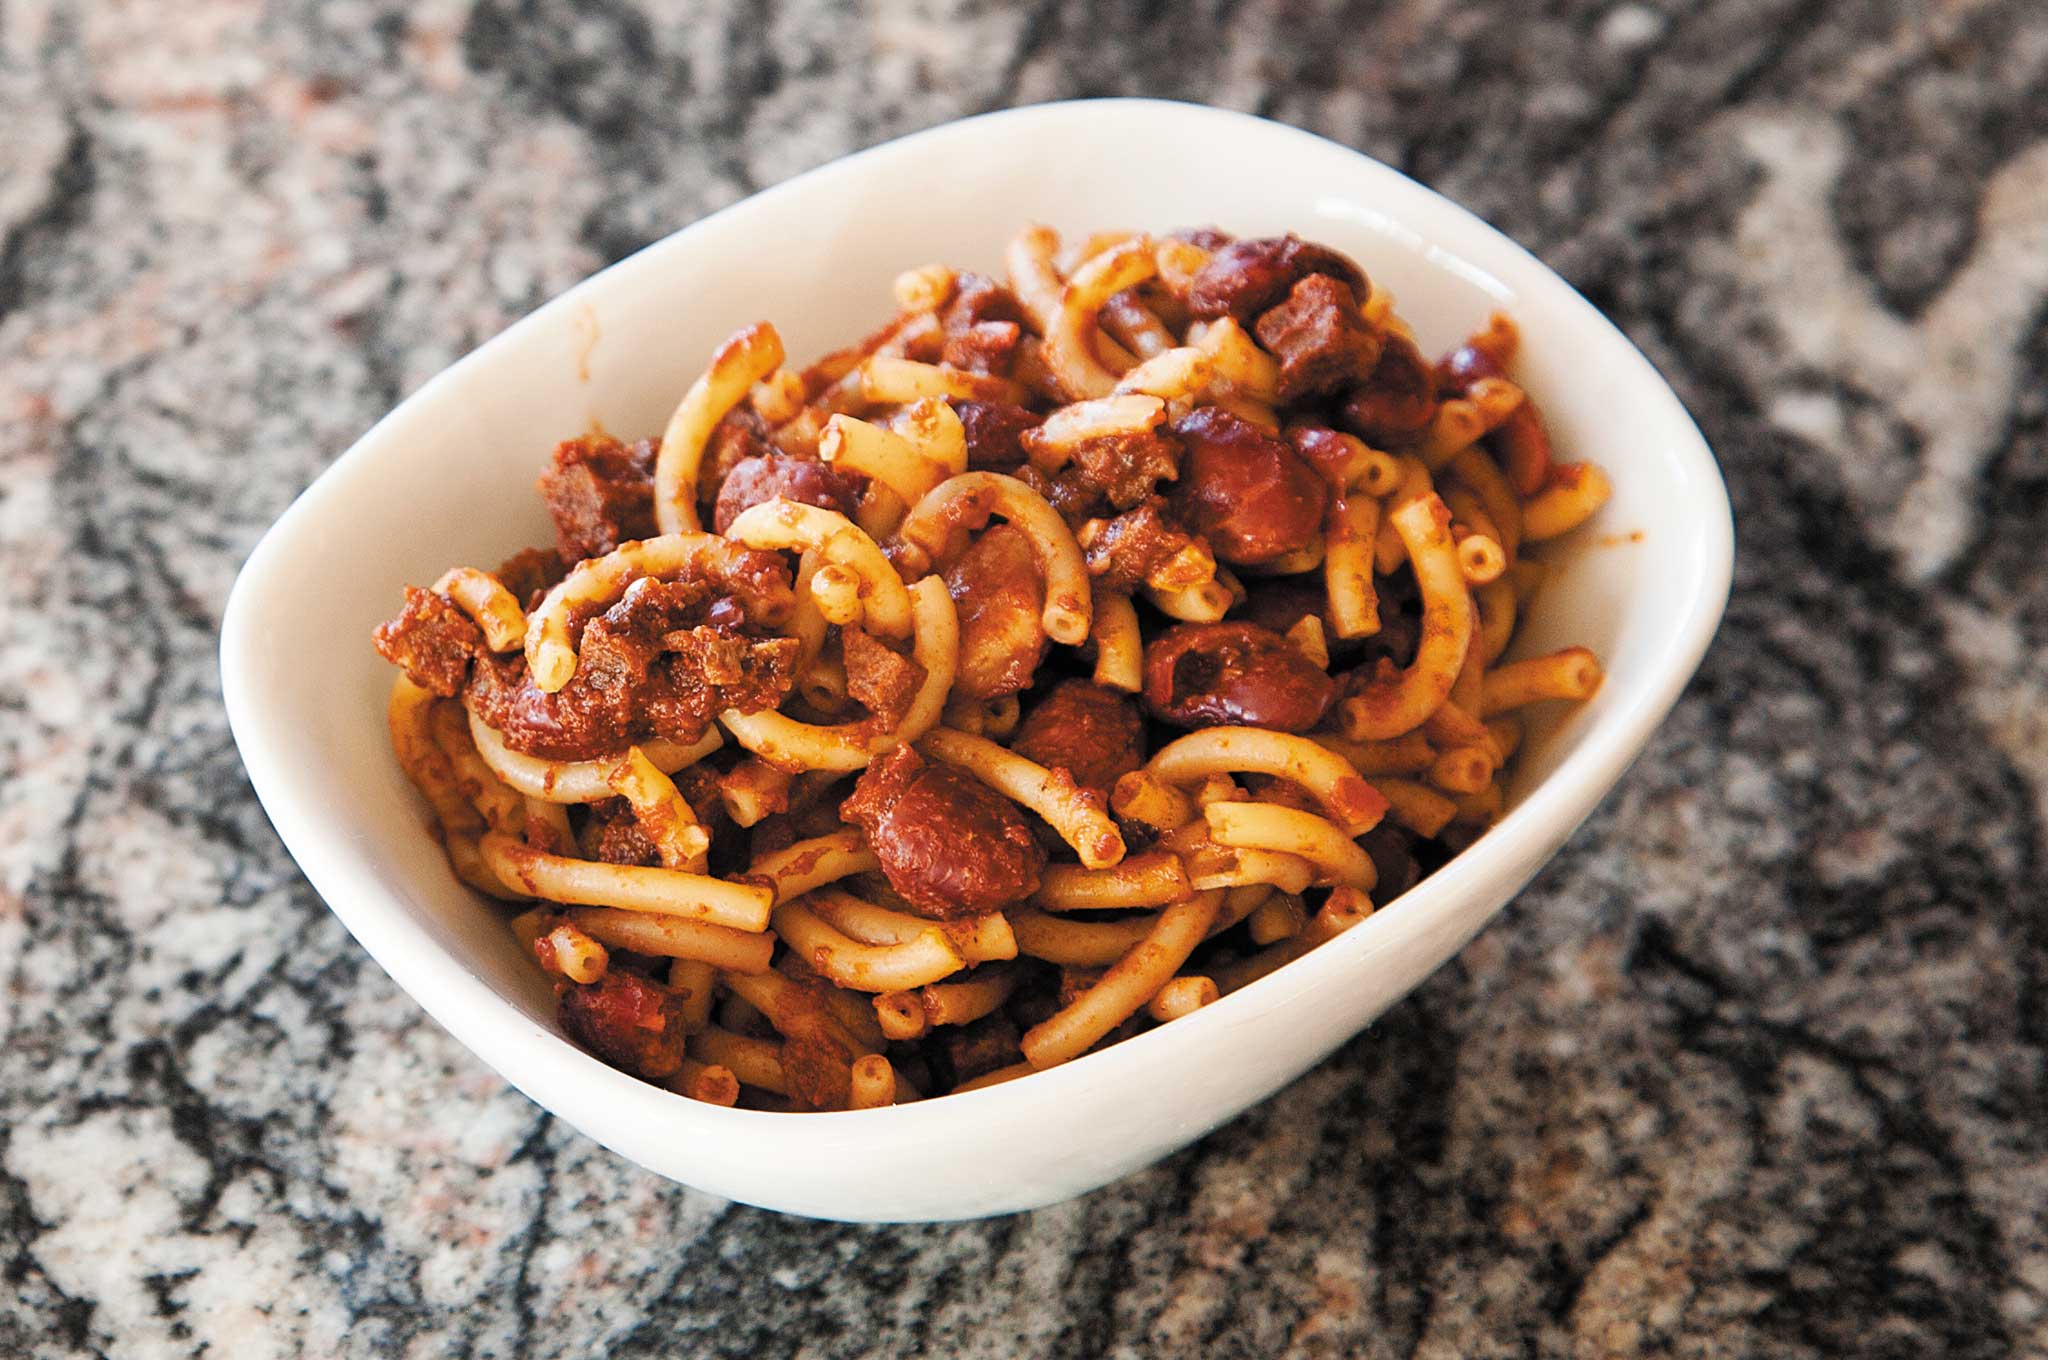
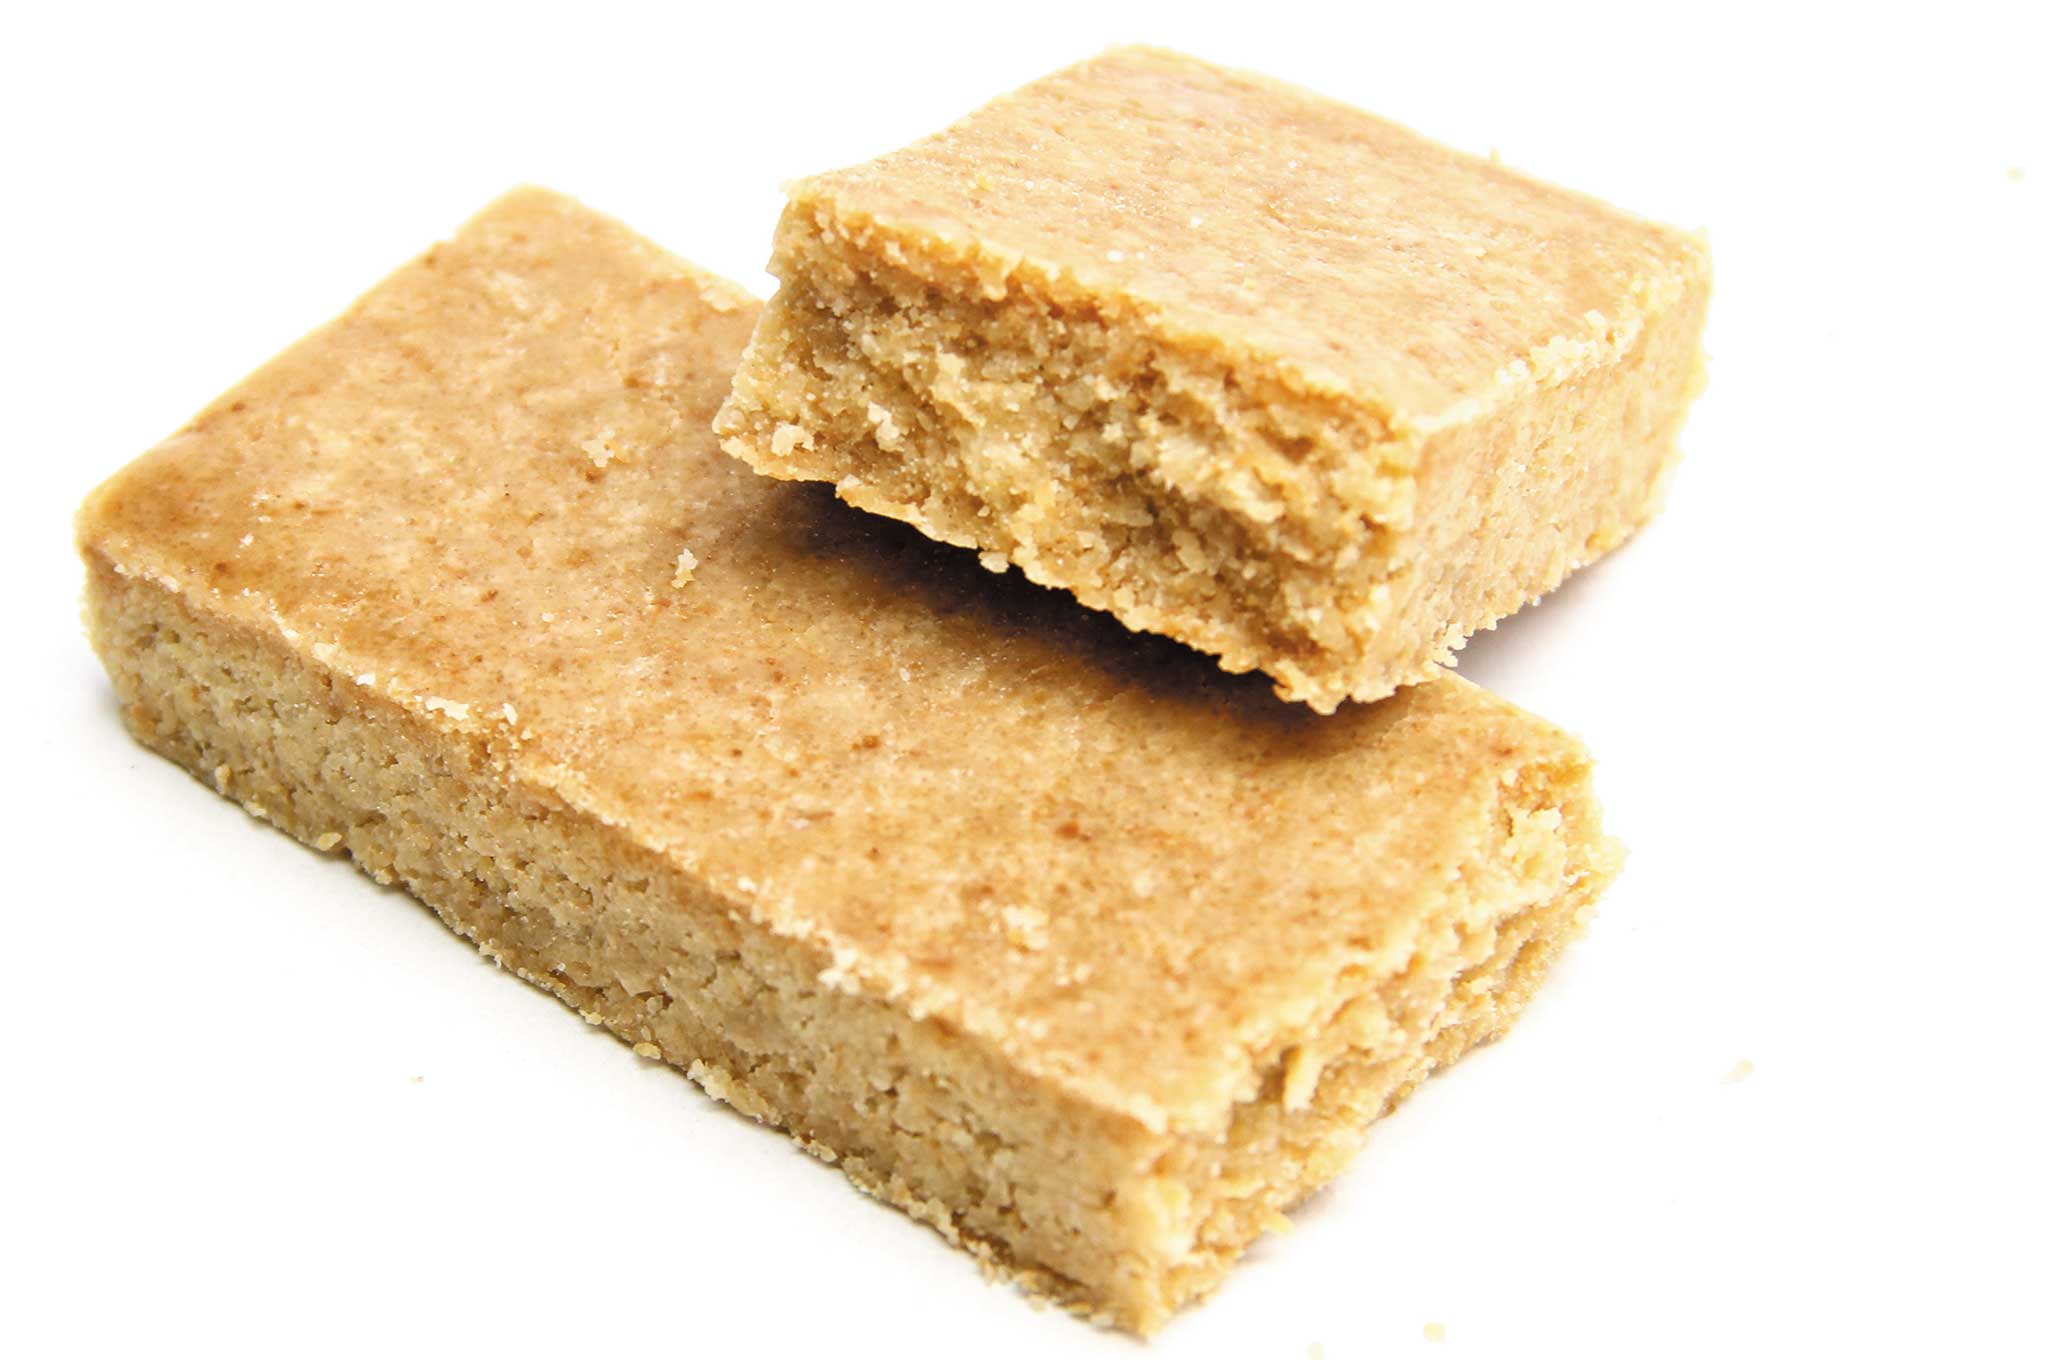
Dry goods: Food like rice, flour, and corn meal are cheap to buy, can last decades when stored with oxygen absorbers, and would always be in demand. MREs and survival rations could be hot ticket items as well.
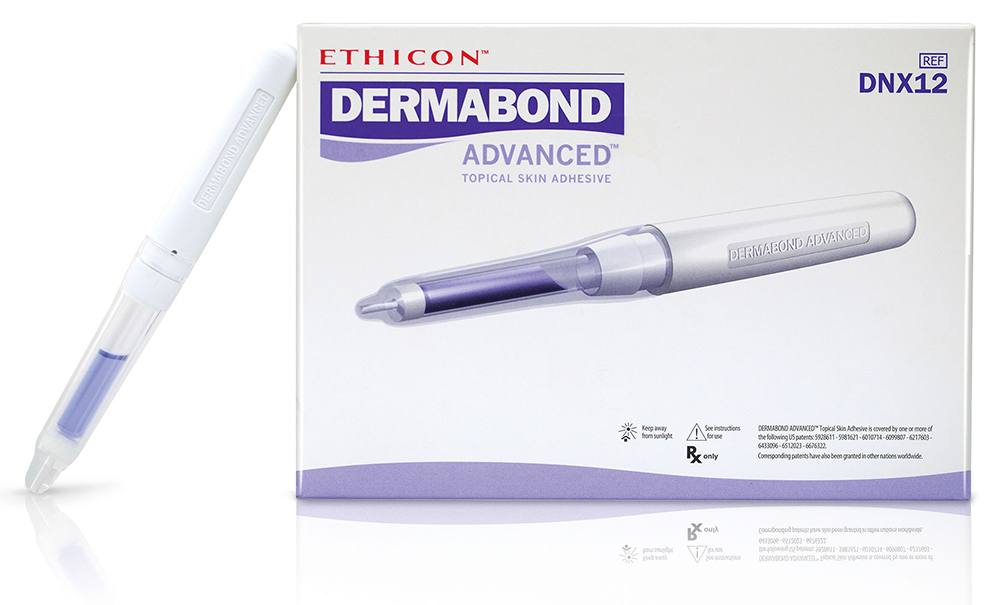
Medical supplies: Dressings and gauze last indefinitely. Antibiotics and other meds are even more valuable, though they won’t last forever.
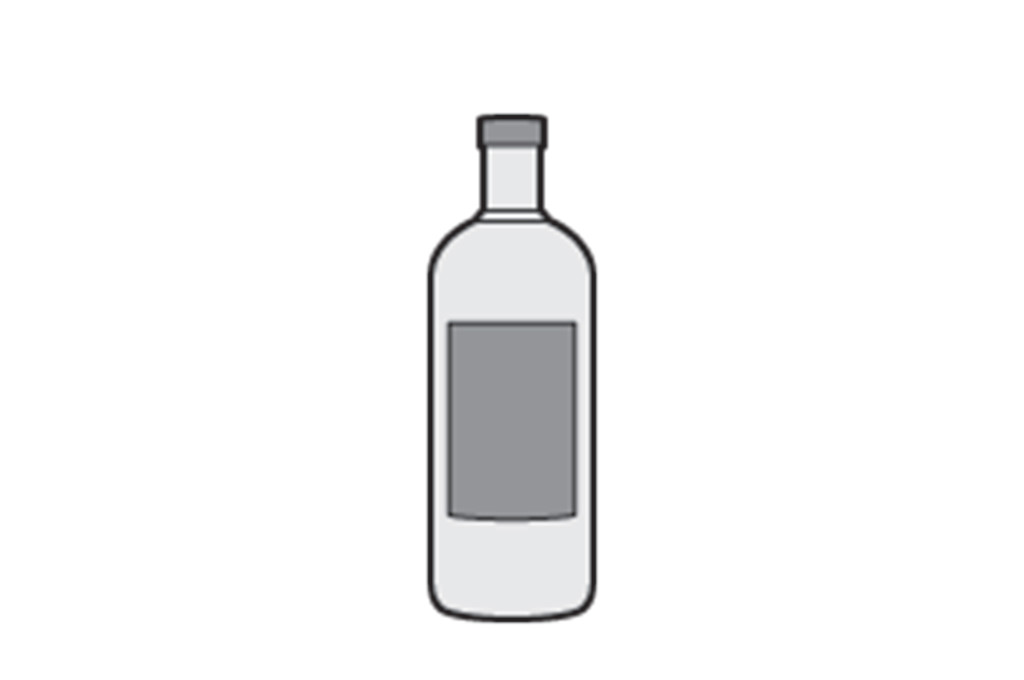
Alcohol: For drinking and sterilization, booze is long lasting and has wide appeal.
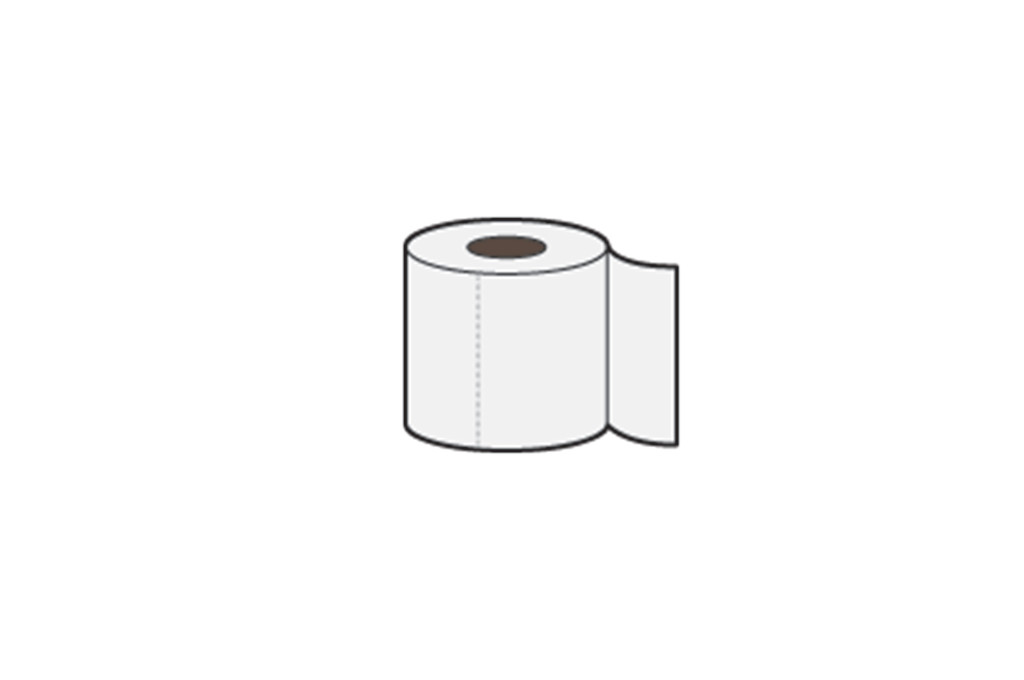
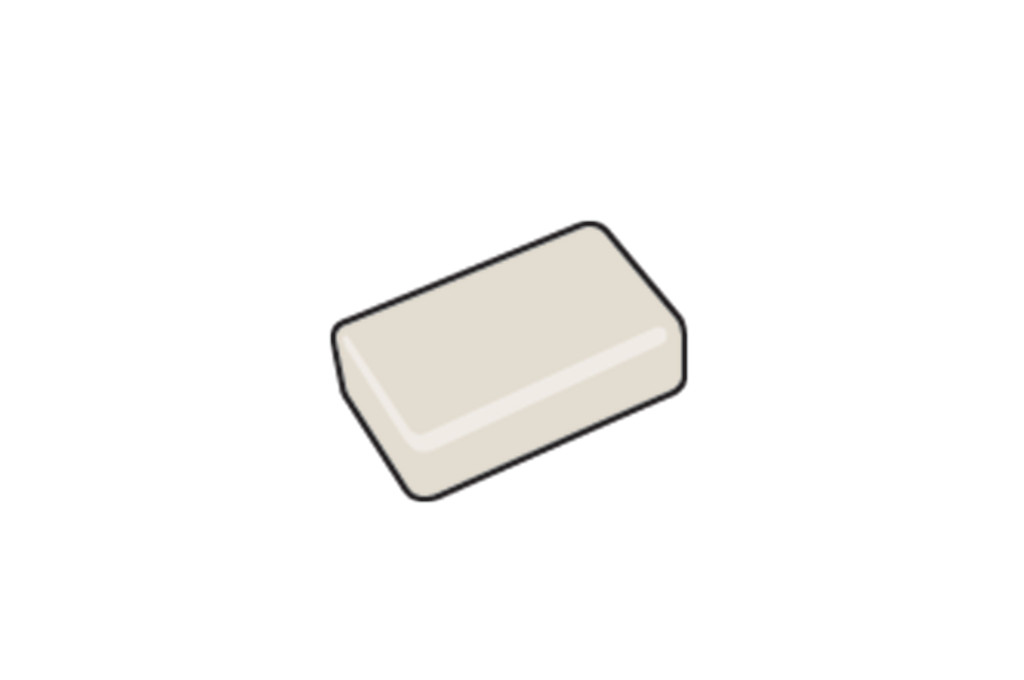
Hygiene items: Think about the soap, toothpaste, toilet paper, and the other things you use every day. People won’t stop needing these things in a crisis. Think about the little ones too. Diapers, baby wipes, and diaper rash cream could be very important.
Caffeine: Tea, coffee, and even Excedrine analgesic tablets are sources of energy and can reduce the pain of caffeine-withdrawal headaches, which will be a widespread inevitability when thousands of Starbucks shutter after a societal collapse.
Tobacco: Tobacco has been a coveted trade item for centuries.
Water disinfection/purification equipment: This is one of the most important items on the list, but people won’t realize it until the bottled water runs out.
Vegetable seeds and gardening tools: A long-term strategy, for sure, but a good one to resupply food. Just remember that there aren’t any magic beans that grow overnight. Most food crops with worthwhile calorie content will take three to four months to reach maturity.
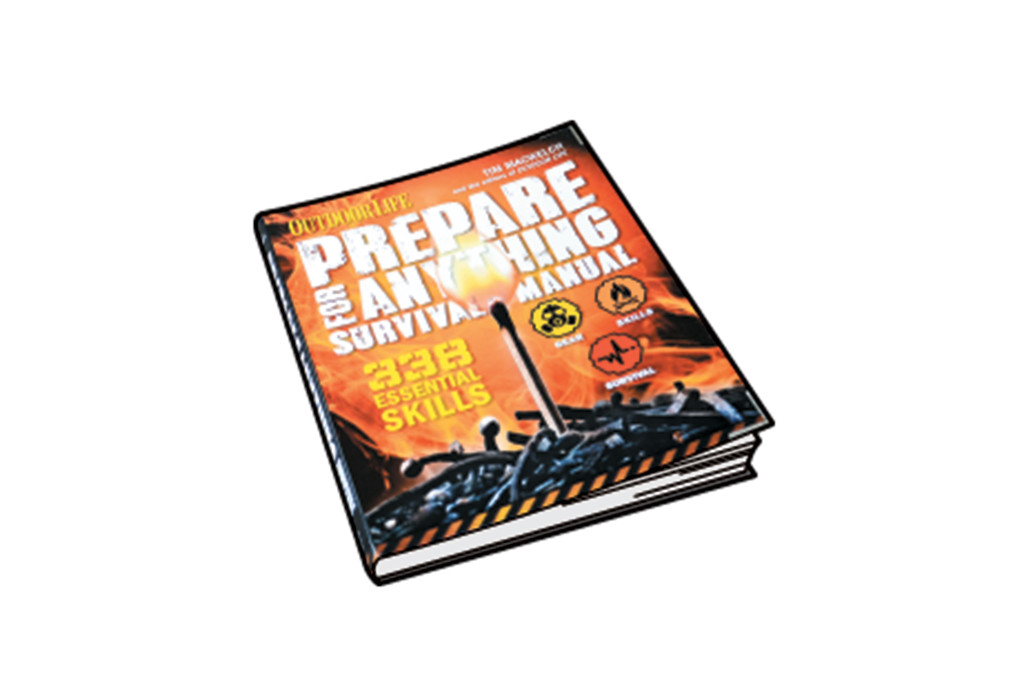
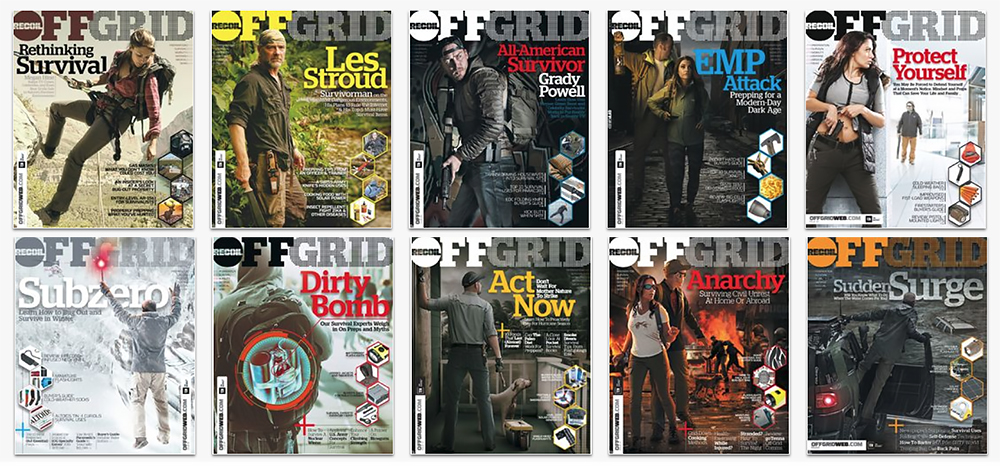
Useful literature: Detailed survival books (like any of this author’s) and information packed periodicals (like the one you’re reading right now) can give a person the information they need to increase their family’s chances of survival.
More From Issue 13
Don’t miss essential survival insights—sign up for Recoil Offgrid’s free newsletter today.
Read articles from the next issue of Recoil Offgrid: Issue 14
Read articles from the previous issue of Recoil Offgrid: Issue 12
Editor’s Note: This article has been modified from its original print version for the web.