It’s a windy day, but you don’t notice. You’ve been holed up at home playing Fallout 4 for the past two days and haven’t seen the weather reports. Suddenly, there’s a thunderous sound of windows breaking and columns cracking. The roof caves in, and you’re pancaked under tons of steel, wood, and concrete. What do you do?
Wind storms are possible throughout most of the country. Although a tornado brings wind speeds of up to 300 mph, its path is generally no wider than a mile. This makes the damage more localized and easier to access for responders. Although they have lower wind speeds, hurricanes may clear a path wider than 100 miles, which is more likely to spread rescuers out too thin.
If and when this happens, rescue teams will be in short supply — assuming that, given blocked roads and other hazards, they can even reach those most in need. In that case, everyday civilians must start the job themselves. Search and rescue will become self-search and self-rescue. Knowledge and preparation could make the difference in saving yourself and others, or waiting in vain for the government to arrive.
Before the Storm
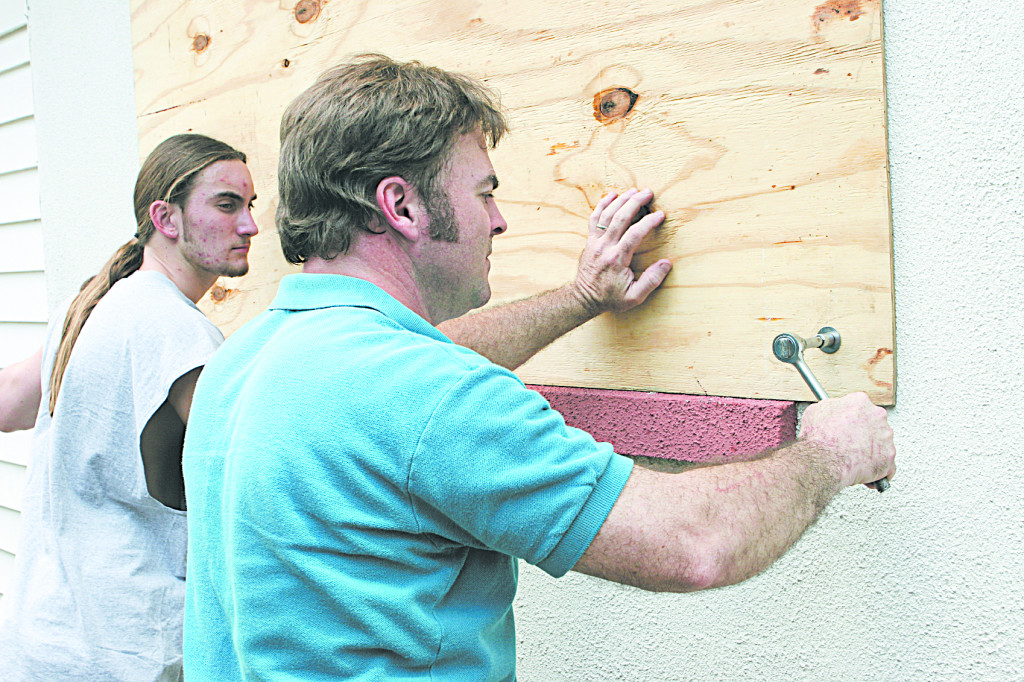
Protection of window openings is critical during high-wind events. If windows blow out and wind gets inside a typical residential home, the roof may quickly blow off. Pre-cut, location-labeled 5/8-inch plywood panels with pre-drilled holes work well, assuming that the screws are kept in a safe place. If thick plywood is too bulky and heavy for easy installation, consider polycarbonate hurricane panels. These plastic sheets are about one-quarter the weight of plywood and clear enough to transmit light.
Even if your home is made of concrete block, a common weak link may exist where the wood-frame gable end of the roof connects to the walls. Remember that part in Top Gun when the F-14’s canopy blew off and then the ejection seat rocketed through? Of course you do. Think of that gable end connector like a fragile latch that holds your roof (F-14 canopy) in place. If the latch goes, everything else goes with it. And Goose dies.
Once the home is “safed-up” as best as possible, listen closely for evacuation orders. If they come, and if it’s at all possible, then get the hell out of Dodge. It’s not a badge of honor to stoically remain — it’s foolhardy. If the storm hits hard, it could take weeks for supplies, power, and water to be restored. And if the supply cache and water storage basins you worked so hard to make are destroyed in the storm, what then?
If evacuation is really, truly impossible (and not just undesirable), then consider carefully where you’ll shelter. Residential homes and townhomes are built to a lower standard of construction than three-story-and-higher structures. Lightweight wood frame and light metal structures are especially prone to collapse during wind storms. This means you should stay out of mobile homes and buildings like airplane hangars, marina structures, etc. “Big box” stores like Home Depots or Walmarts aren’t much better given their long, unsupported roof spans.
In extreme cases, if you have advance notice of the incoming storm, consider breaking into buildings — this is a true, life-and-death emergency, right? — that are three stories or higher because they’re more heavily reinforced and subject to more stringent requirements. Or even better, consider specially reinforced structures like federal government buildings and hospitals, with public schools as a second-best option. Unless they’re made of old-school brick, their skeletons are more likely made of reinforced concrete or heavy steel frame. High-rise glass curtain wall buildings are an option as well; even if all of their windows blow out (a frequent occurrence) they remain structurally stable during high wind events.
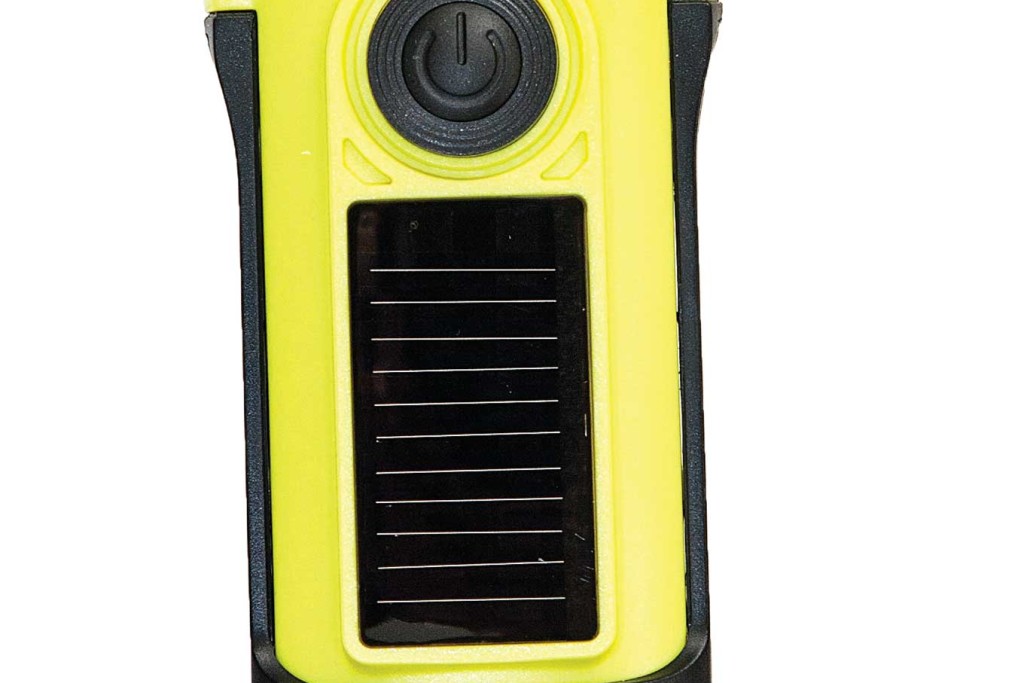
Once the wind picks up, put your egress (escape) bag on and don’t take it off. If you’re trying to sleep, sleep with it on. If and when things start happening, they’ll happen faster than you think. You won’t have time to look for it. Keep your phone charged as best you can at all times. Once the cell network opens back up (and it will) it has been proven to save lives by helping rescuers locate victims. Turn off any accessible utilities, including water, power, and gas lines. This will lessen the chance of fire and/or electrocution when those lines break. (See sidebar for a tool that can help you here.)

In single-family houses, the gable end of the roof is usually the weakest link. (Image courtesy of Simpson Strong-Tie...
Indicators of Collapse
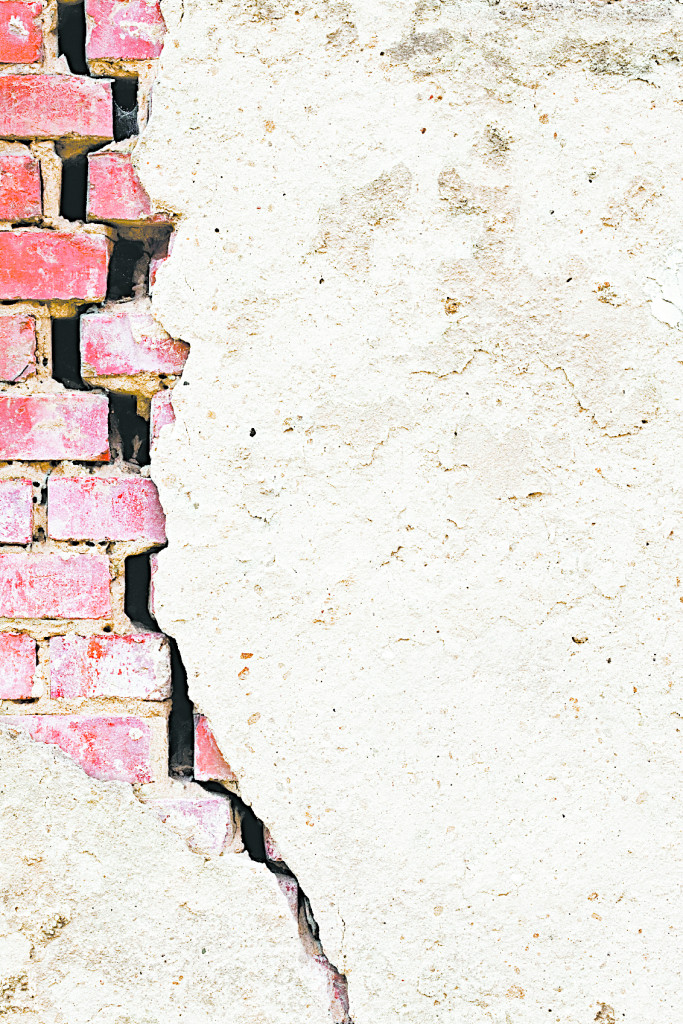
“Warning shots” of impending collapse will vary depending on the type of construction. Windows blowing out is not one of them, at least in taller structures. As the building is stressed, walls may begin to separate from ceilings and from other walls. Cracks will form at these junctions, and cracks wider than your thumb indicate that things are getting desperate. Dust hanging in the air or creaking and groaning that suddenly seem amplified also matter.
One of the final (and most eerie) indicators in a multi-story building is doors suddenly opening or closing by themselves as the building twists or “racks.” Disturbingly, when the doors close they often do not properly shut, but get jammed into the racked openings, possibly locking occupants inside. At that point you probably have less than 15 seconds to get out.
If It’s Collapsing Around You
Get out by any means necessary. Head towards the light — windows are often the most accessible egress points assuming that they’re below three stories. If in a multi-story building, try to make it to a stairwell, which is often specially reinforced. (The few survivors of the World Trade Center collapse during the 9/11 attacks were often found inside stairwells.) Otherwise, at least try to get into a hallway where there will be less debris to crush you. The centers of rooms away from the walls are often the most dangerous locations. As a last resort, shelter under heavy office equipment or furniture, or at least hug a wall. If the floors tilt as they fall, all of the debris will pile up against one side, so at least this way you may have a shot of not being crushed immediately.
If you’re being covered by debris, try to keep your arms and hands in front of your face as you fall. As with an avalanche, this can help create a life-saving air pocket (void) around your head.
Afterwards
Get out of the building as soon as you can gather your senses — don’t hang out or wait to see what happens next. Small hand tools, gloves, and headlamps can be invaluable to aid in your escape. Keep in mind that broken electrical lines mix poorly with broken water lines, even more so if gas lines are present. This makes the immediate threat of fire a distinct possibility, and it’s the reason smart rescue crews stretch and charge a water hose as soon as they pull up to a structural collapse even if no fire is visible.
If you are lightly buried, try to orient yourself. Not sure which way is up? Try to spit, and see which way the saliva falls. If you’re trapped inside a void, a little bit of water and air can make all the difference. This is why it’s critical to carry that egress bag on you at all times, especially if you have advance warning.
Helping Others
Again, unless there are family members or folks who owe you more than $10,000 in gambling debts inside, get yourself out of the building first. Then take time to reassess yourself first, and next, whatever damaged building it is you might want to get back into.
If hurricane winds suddenly appear to die down, remember that you are most likely within the calm eye of the storm — the other half is yet to pass by. Typically this calm period lasts less than an hour so whatever you’re going to do, begin immediately.
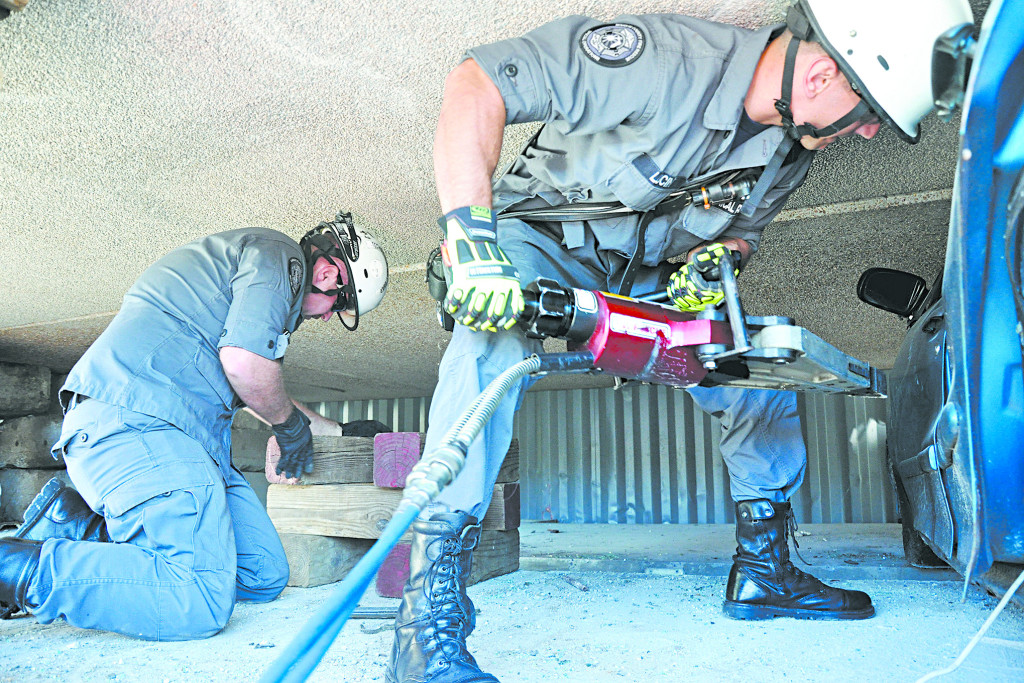
The first step in rescuing others from a collapsed or partially collapsed building is sizing up the structural damage, ideally while locating any surface victims. Be wary of any cracks wider than your thumb, or obviously missing supports like beams, columns, etc. “X” cracks forming between window openings indicate that huge shear forces have been absorbed and that the structure is in very fragile condition. If there’s a rubble pile, climb on top of it to get a better view and more access to surface victims. While there’s a chance of the rubble moving beneath your weight, thus posing more hazard to entombed victims, the possible benefit of finding more surface victims usually outweighs that risk. If at all possible, try to make sure the utilities are turned off before entering the building. Otherwise serious risks of fire and/or electrocution compound the threat of secondary collapse.
Once you’ve cleared the perimeter of all easily accessible surface victims, it may be time to make your way inside or start digging into the pile. Gloves, eye protection, and steel-toed boots are necessities here. An N-95 respirator or a Buff are also nice to have, considering the large amount of airborne dust and debris.
Focus your efforts on searching the stairwells. These sheltered locations often provide the most survivable voids for victims. If you can’t find the stairwells, focus on searching adjacent to any walls that are still standing. These areas are often more prone to harbor survivors. Out and away from the walls, in the middle of rooms, is where debris often piles up and crushes anything underneath.
This is the time to slow the pace somewhat and think before doing. Do not rush. Do not run. You need to be able search in a methodical manner. That means shouting out to possible victims, and being quiet while listening for calls back. It’s hard to hear while you’re running or breathing hard, or thinking about what you’re going to do next. Anyone who hasn’t been found yet is more likely than not buried under something — otherwise they would have walked out. That means their voices will be muffled and small.
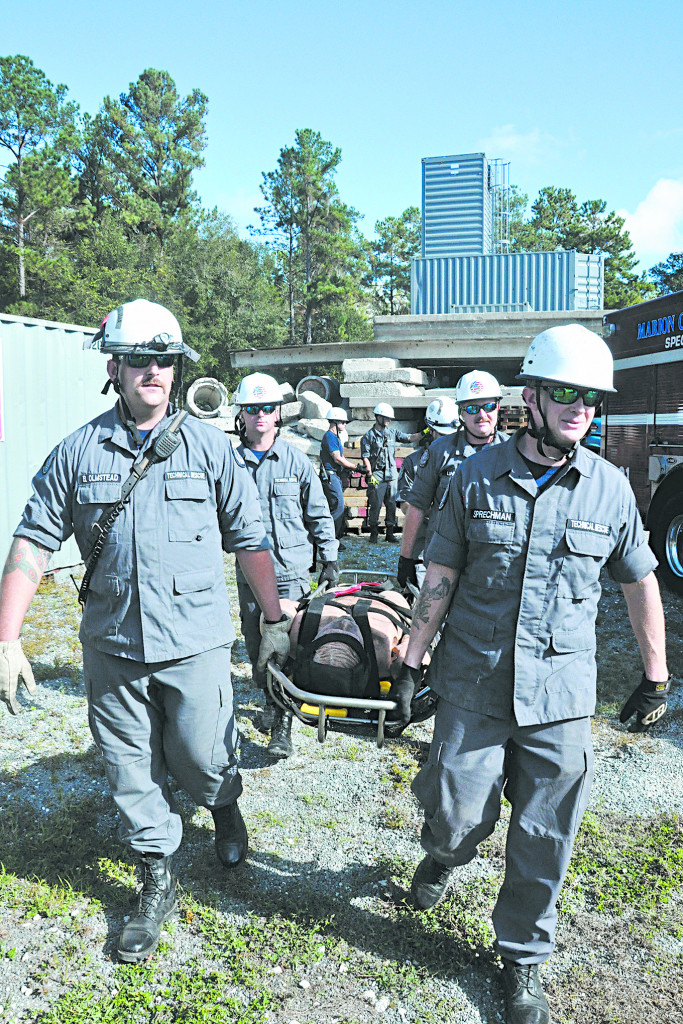
Remember, no matter how bad the collapse looks, keep in mind that there’s always a chance for survival. At least one World Trade Center survivor literally rode the building down, something which should have been technically impossible. Victims have survived in voids up to 14 days, and recent experience at the Haiti earthquake disaster has pushed the limits of survivability longer than anyone had previously thought. Even if you’re not a first responder by trade, you may still have the responsibility of one day being the first responder by chance.
Common Myths … Collapsed!
Duct tape on windows provides protection:
It doesn’t provide protection, but it does increase the chances of getting both glass shards and duct tape fragments inside your eyes when the windows blow.
My home was inspected by the local building department during construction. It must be structurally sound:
With all present building officials excluded, of course, inspections during residential construction are known for missing critical deficiencies, especially during construction booms when city inspectors are stretched thin. Concrete block walls may have never been filled with grout and reinforcing steel. Roof-to-wall connections may consist of a handful of toe-nailed screws. And the common gable-end wall weakness makes many homes built before 2002 (when more stringent wind resistance requirements commonly came into effect) prone to wind-related roof collapses.
The government will help us:
Depending on the scale of the disaster, rescue resources will be spread over a huge area. This means that if the town next door was hit harder than yours, most or all of the government resources could be diverted to that area. One collapsed house in your town will not draw attention when 100 houses in the next town were knocked over. Survivors of Hurricane Katrina still remember trying to signal Blackhawk helicopters from the roof as they flew by. However, many of those flights were focused on aiding the tourist and convention center locations instead of the more sparsely populated residential sections. This led to help being significantly delayed in certain areas.
Snow-Related Collapse
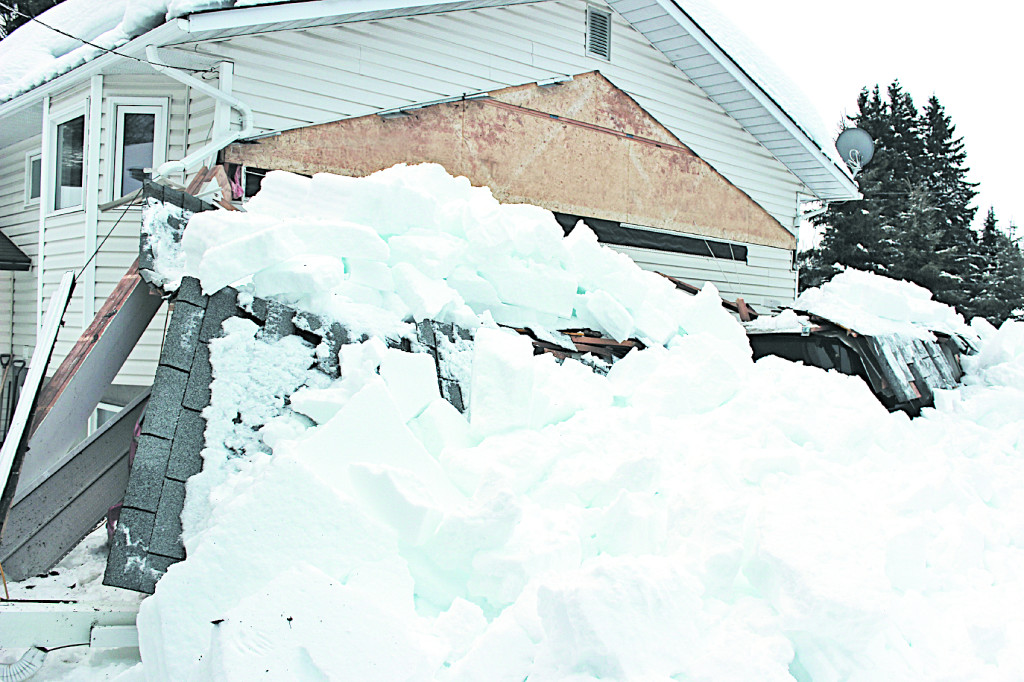
With the recent winters being more severe than almost any in recent history, snow-related structural collapses are occurring with record frequency. A major factor is lack of “warm-up” or sunny days that lead to ice and dense snow. This dramatically increases the stress on the roof.
To help avoid a collapse, inspect all four sides of your roof for covering snow — just because the front is clear doesn’t mean the backside is the same. Although roof capacities (and snow density) will vary, as a rule of thumb anything more than 24 inches of snow on the roof is a red flag. Reduce that value to 18 inches if rain and/or ice is expected. Talk to a local structural engineer and/or your local building department, since local weather patterns and construction types are often the deciding factor in allowable thickness. Sagging roofs and rafters indicate excessive snow weight. Popping noises, creaking, and visible cracking are also signs that the structure is being overloaded.
To use a snow rake (roof rake), start from the roof edges and work your way to the center. Buy a rake that’s long enough to allow you to remove the snow while standing on the ground. Climbing on the roof will only add to the weight on the over-burdened roof and increase your chances of falling off. An icy ladder plus iced boots is a deadly combination. To avoid damaging the shingles, shave the snow down to a few inches in thickness but avoid trying to scrape the roof completely clean. Also make sure that snow is cleared from your furnace and dryer exhaust vents.
In rural areas, establish a communication and evacuation plan with an offsite party. Check in with them using scheduled, twice daily status updates. If two consecutive calls are missed then the emergency rescue plan should go into effect. Return to or remain at your last reported location and await contact. If you think a collapse is likely, keep your supply bag on your person at all times and consider woolen undergarments, which will maintain their warmth even if they get wet.
Try to keep a fire going, but make sure that adequate ventilation is maintained. If you run out of water, do your best to melt ice and snow before consuming. Keep in mind that if you’re already cold, eating snow will only lower your temperature further. At a minimum, try to thaw snow enough in your hands to be able to mold it into a ball before sucking on it. If things really go bad and your home suddenly becomes a snow cave, cold will quickly dull your mind — make a plan while you can still think clearly.
Vital Gear
If you want to prep for a building collapse, but the closest you’ve ever come to a search and rescue is watching reruns of Baywatch, you’ll need to start by reading the main feature in these pages and any reputable books or online sources you can find. Then, you need the right gear. Sure you can do a lot with your bare hands and when you’ve got adrenaline on your side. But imagine how much more you can do with a little bit of assistance. Keep these small items, plus a couple of bottles of water, in your egress bag always.
Gloves
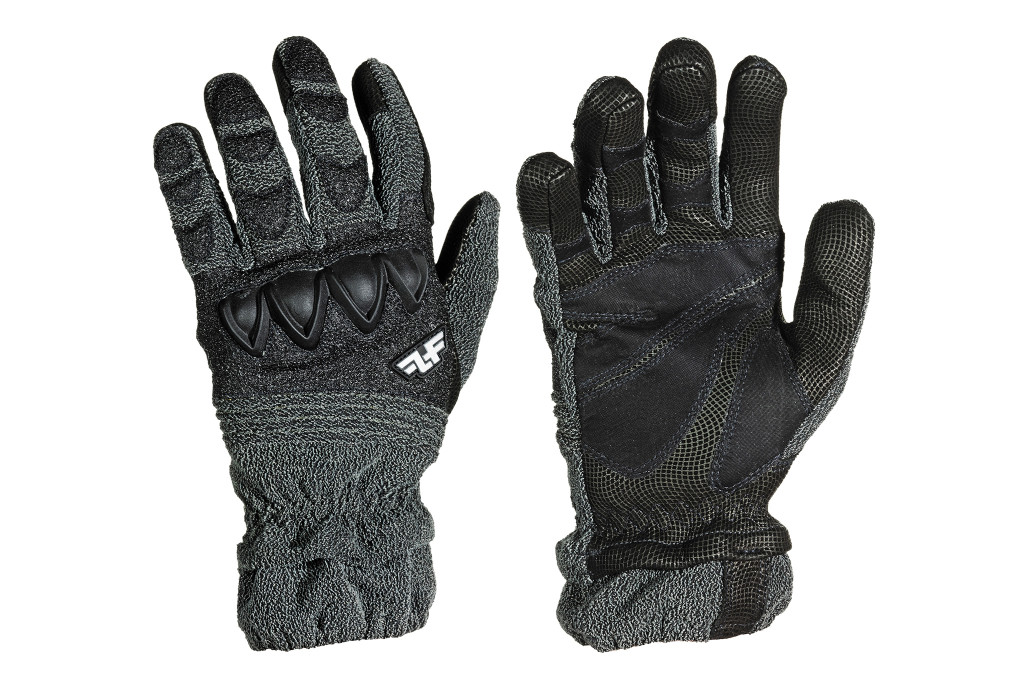
You need paw protection to help safely lift small objects and clear debris. The Stryker Gloves from Line of Fire can do just that and more. This heavy-duty glove has four-way stretch Kevlar, flexible abrasion- and impact-resistant knuckles, and Line of Fire’s TEGS grip surface atop the leather palm and fingers. For more info, go to www.loftactical.com.
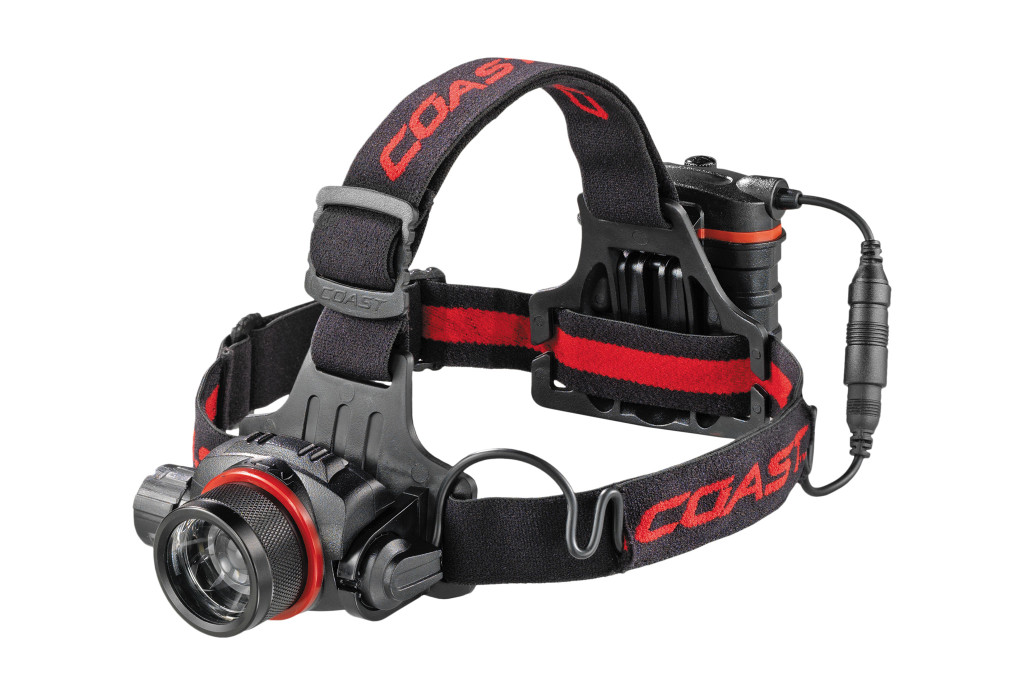
Headlamp
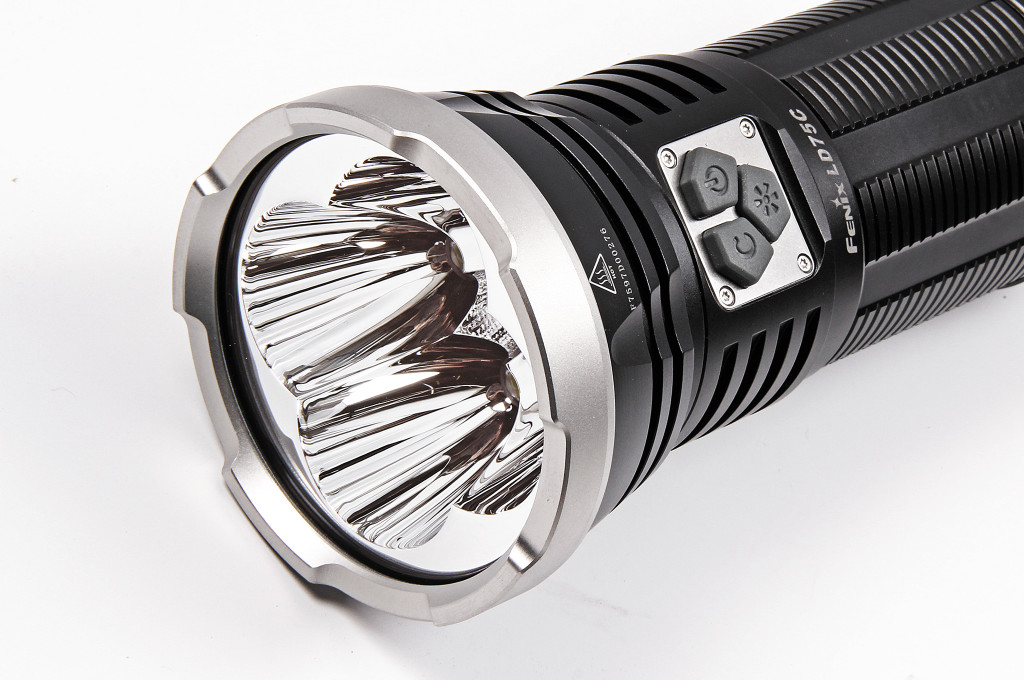
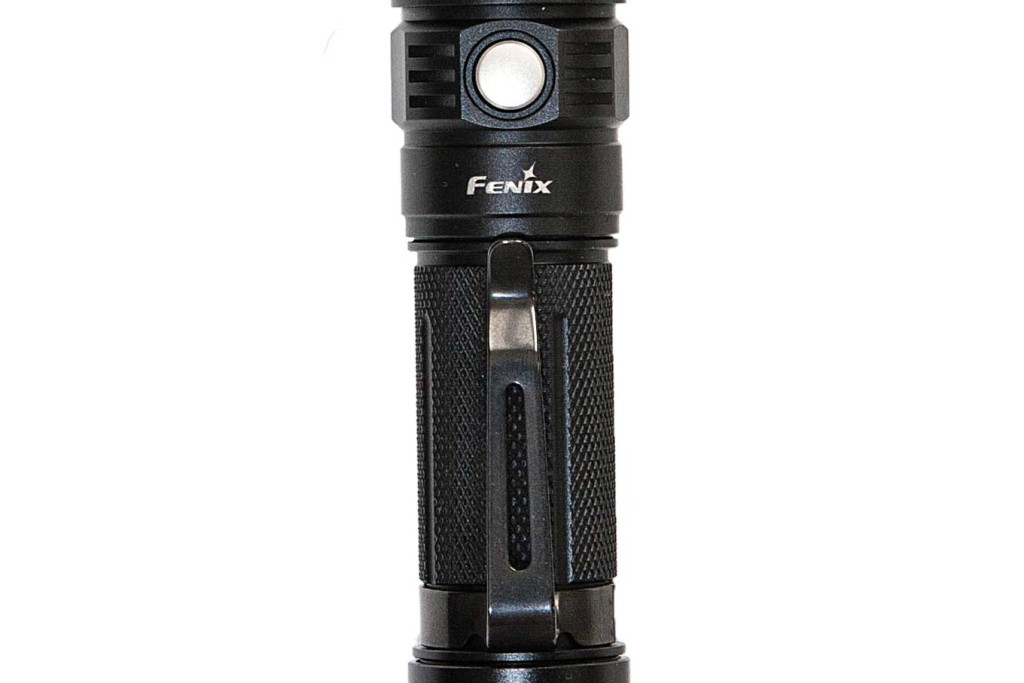
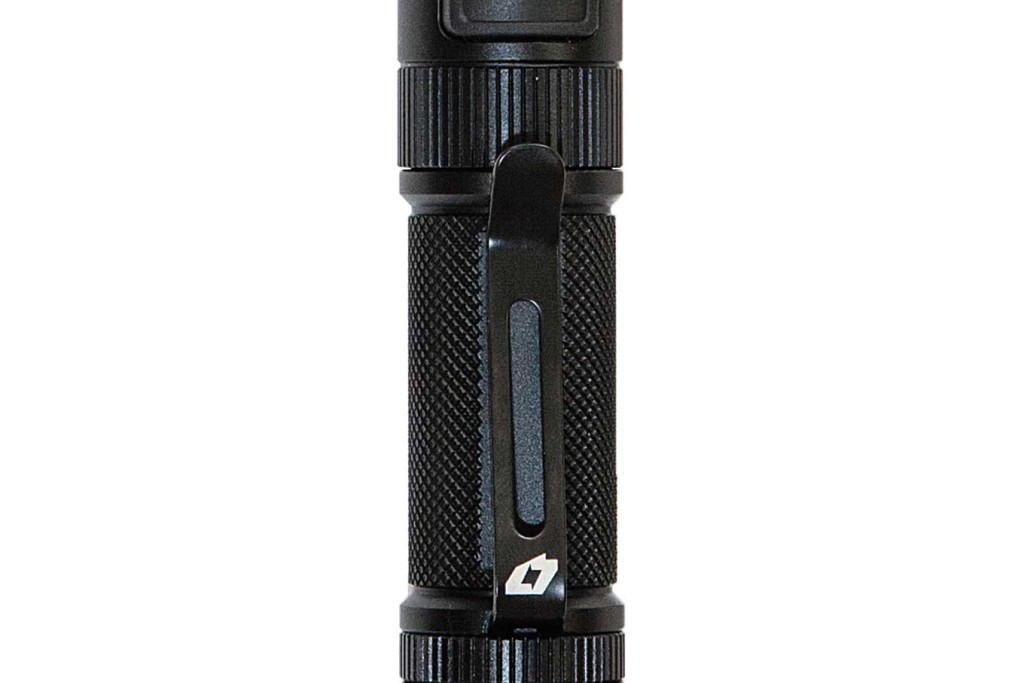
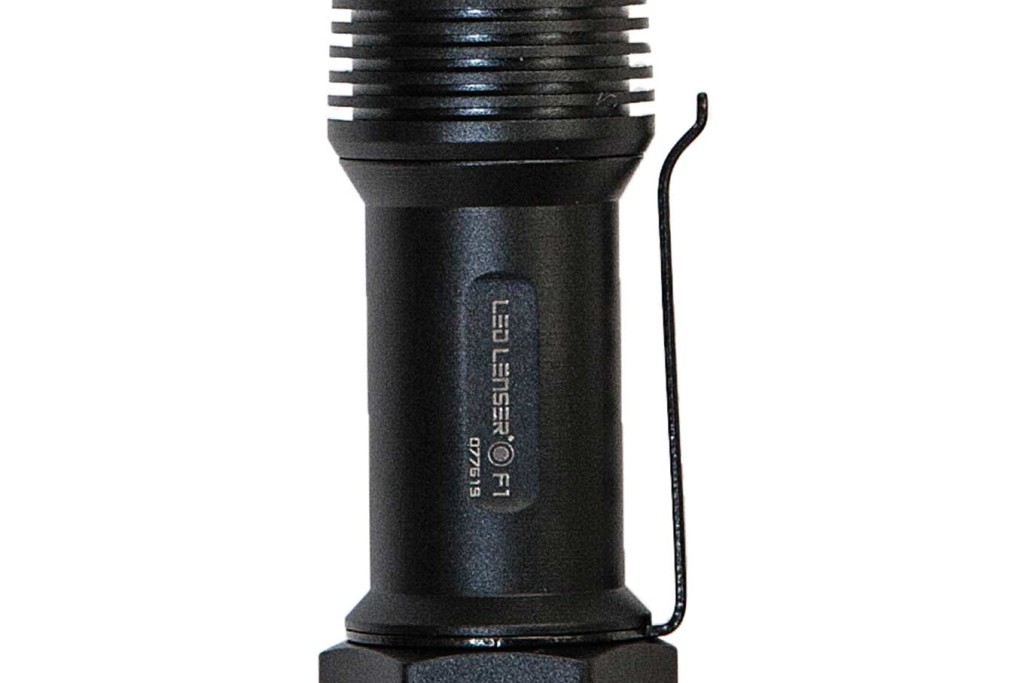
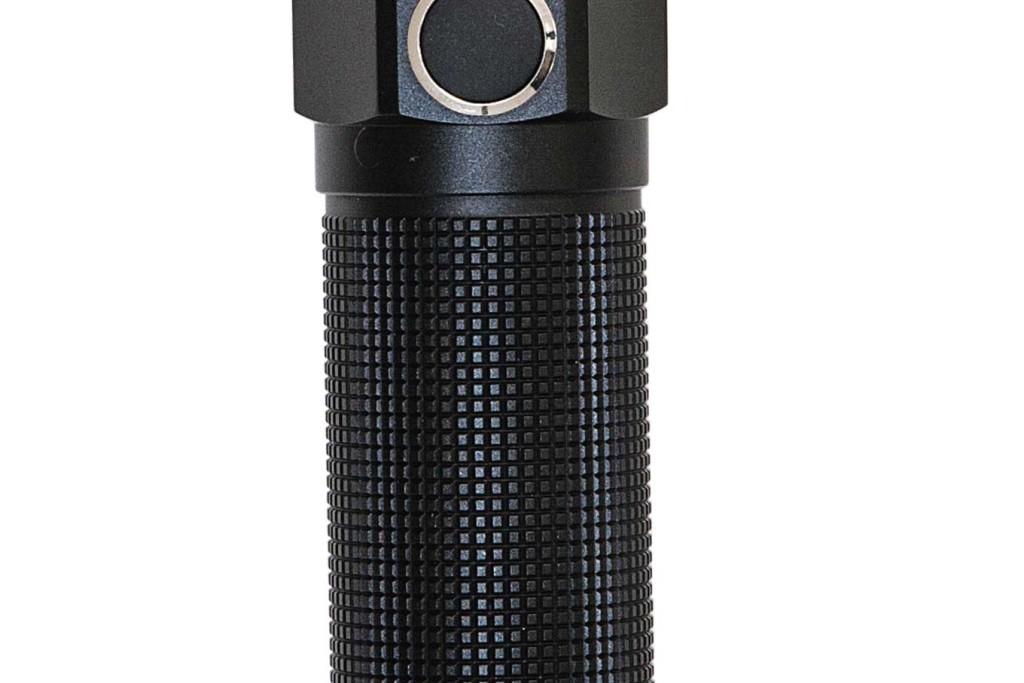
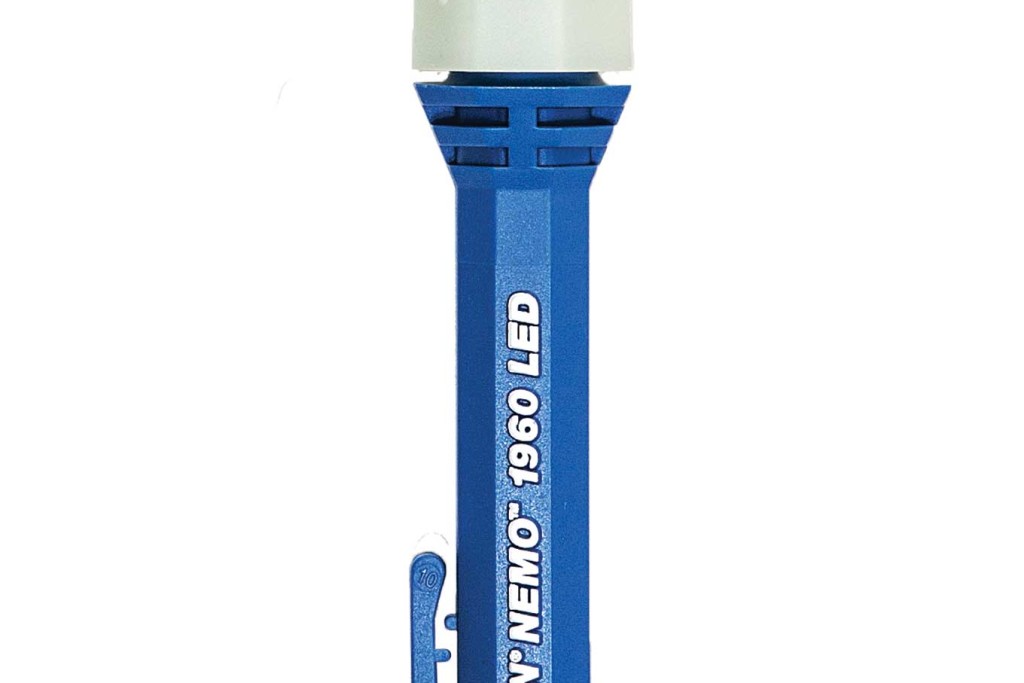
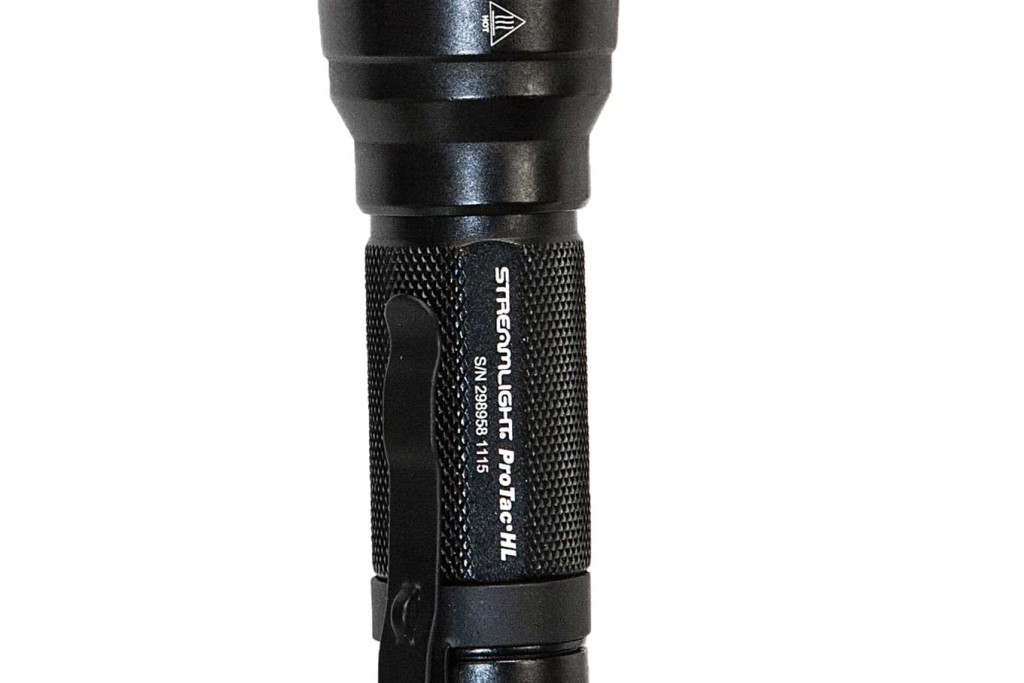
Powerful flashlights are great — until you realize that you need two hands to accomplish most any task related to search and rescue. The Coast HL-8 headlamp features a huge 390-lumen adjustable light output powered by four easily-scrounged AA batteries. And because the old adage still holds true that “two is one, one is none,” a small powerful flashlight should be part of your everyday-carry kit at all times. For more info, go to www.coastportland.com.
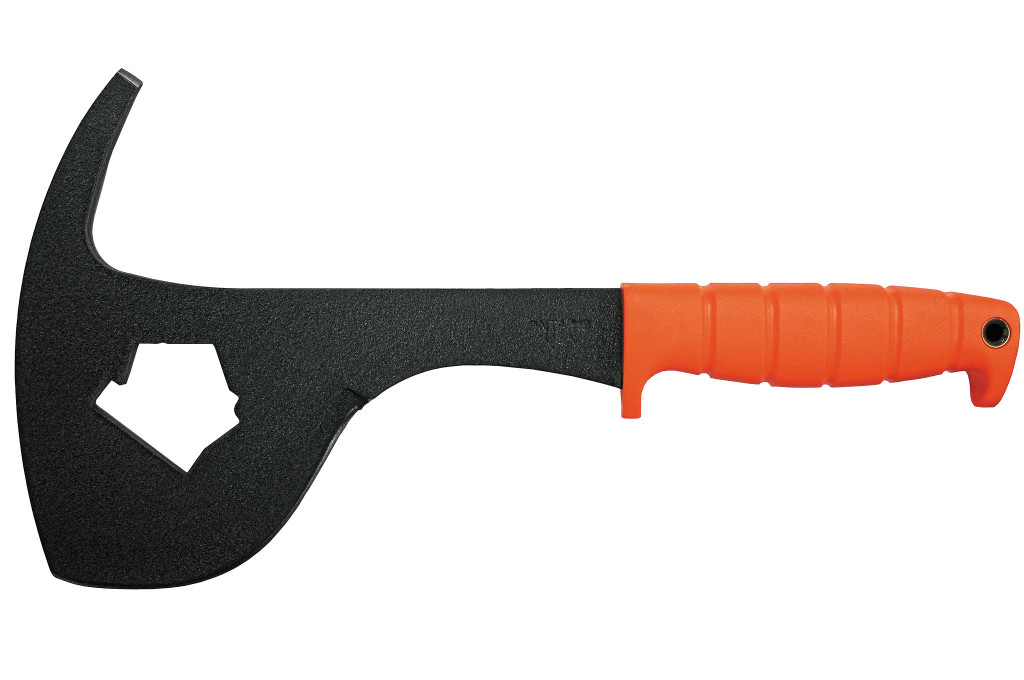
Axe
Made of 1/4-inch-thick 1095 epoxy powdercoated carbon steel with full-tang construction, the SP16-SPAX Rescue Tool by Ontario Knife Company was modeled after WWII emergency crash axes. It’s designed for breaching walls, although its 2.1-pound weight means it can still be carried on you full time. It even has a built-in opening so the tool can be used like a wrench, with the hole sized to turn fire hydrants or gas valves. For more info, go to www.ontarioknife.com.
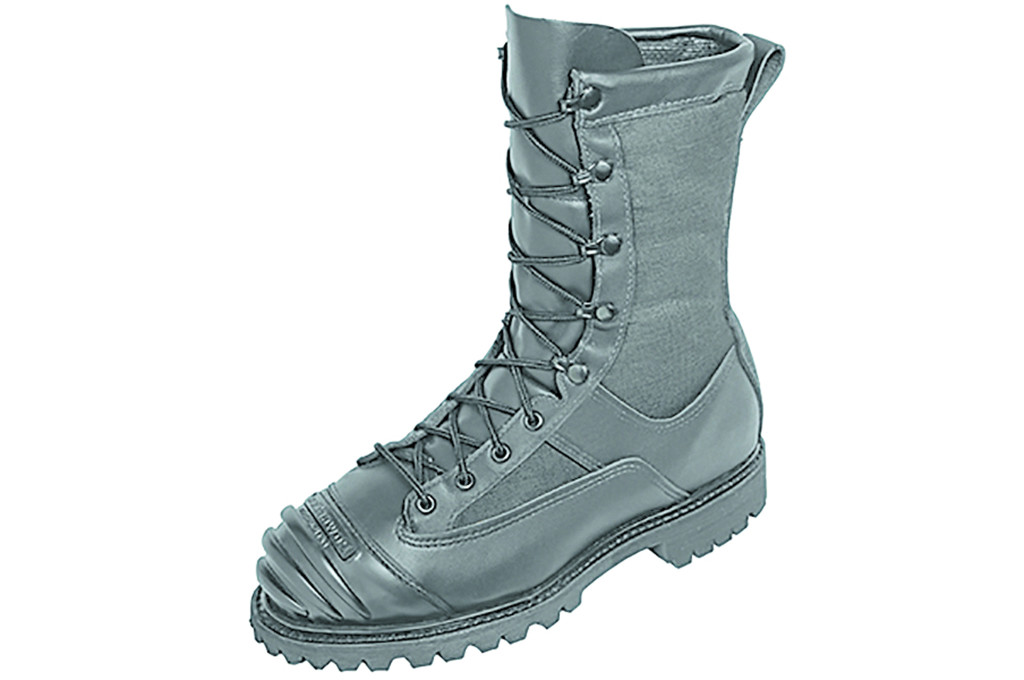
Boots
Steel- or safety-toed boots are a must for any kind of structural collapse scenario, given the possibility of shifting debris falling on your feet or puncture items underfoot. One of the best examples of this type is the Pro Series Model 6006 by Honeywell. These 8-inch technical rescue boots feature a composite toe cap, steel bottom plate and ladder shank, and 7-ounce Kevlar/Nomex ripstop cloth paneling. For more information, go to www.honeywellfirstresponder.com.
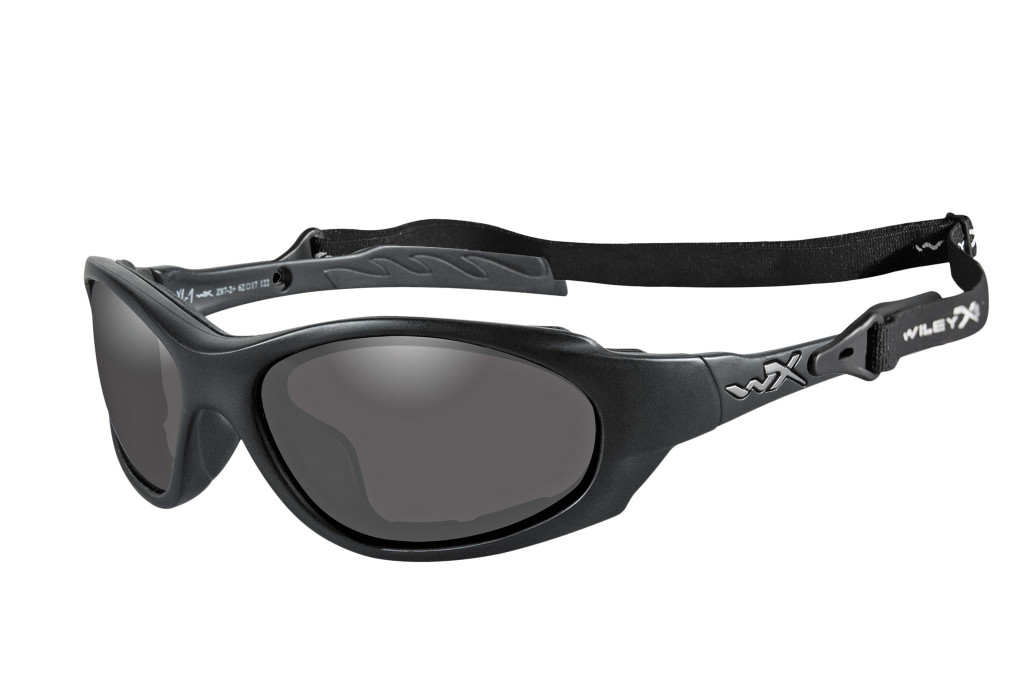
Eye Protection
Losing your eyesight means immediately losing your effectiveness, and your status changing from rescuer to victim. Fortunately, there’s eye protection like the Wiley-X XL-1 Advanced frames, which include interchangeable clear and dark lenses. Keep the clear lenses in at all times, even indoors at night, if you suspect a collapse or breaking windows is possible. We love the positive-connection elastic straps that won’t come off even when they get caught on something, as well as the removable foam gaskets which block out dust and debris and combine the best of both goggles and sunglasses. For more information, go to www.wileyx.com.
About the Author
Andy Schrader is a licensed professional engineer and certified by the U.S. Army Corps of Engineers as a structural specialist responder. He is assigned to Florida’s Urban Search and Rescue (USAR) Task Force 8, based in Marion County, Florida. His company, Recon Response Engineering, specializes in educating the public, technical rescue crews, and firefighters on the subject of structural collapse.
www.reconresponse.com
www.facebook.com/ReconResponse
SOURCES
Collapse Operations for First Responders by John O’Connell ≫ www.pennwellbooks.com
DisasterEngineer.org ≫ www.disasterengineer.org
Simpson Strong-Tie Company ≫ www.strongtie.com
More From Issue 12
Don’t miss essential survival insights—sign up for Recoil Offgrid’s free newsletter today.
Read articles from the next issue of Recoil Offgrid: Issue 13
Read articles from the previous issue of Recoil Offgrid: Issue 11
Editor’s Note: This article has been modified from its original print version for the web.
